
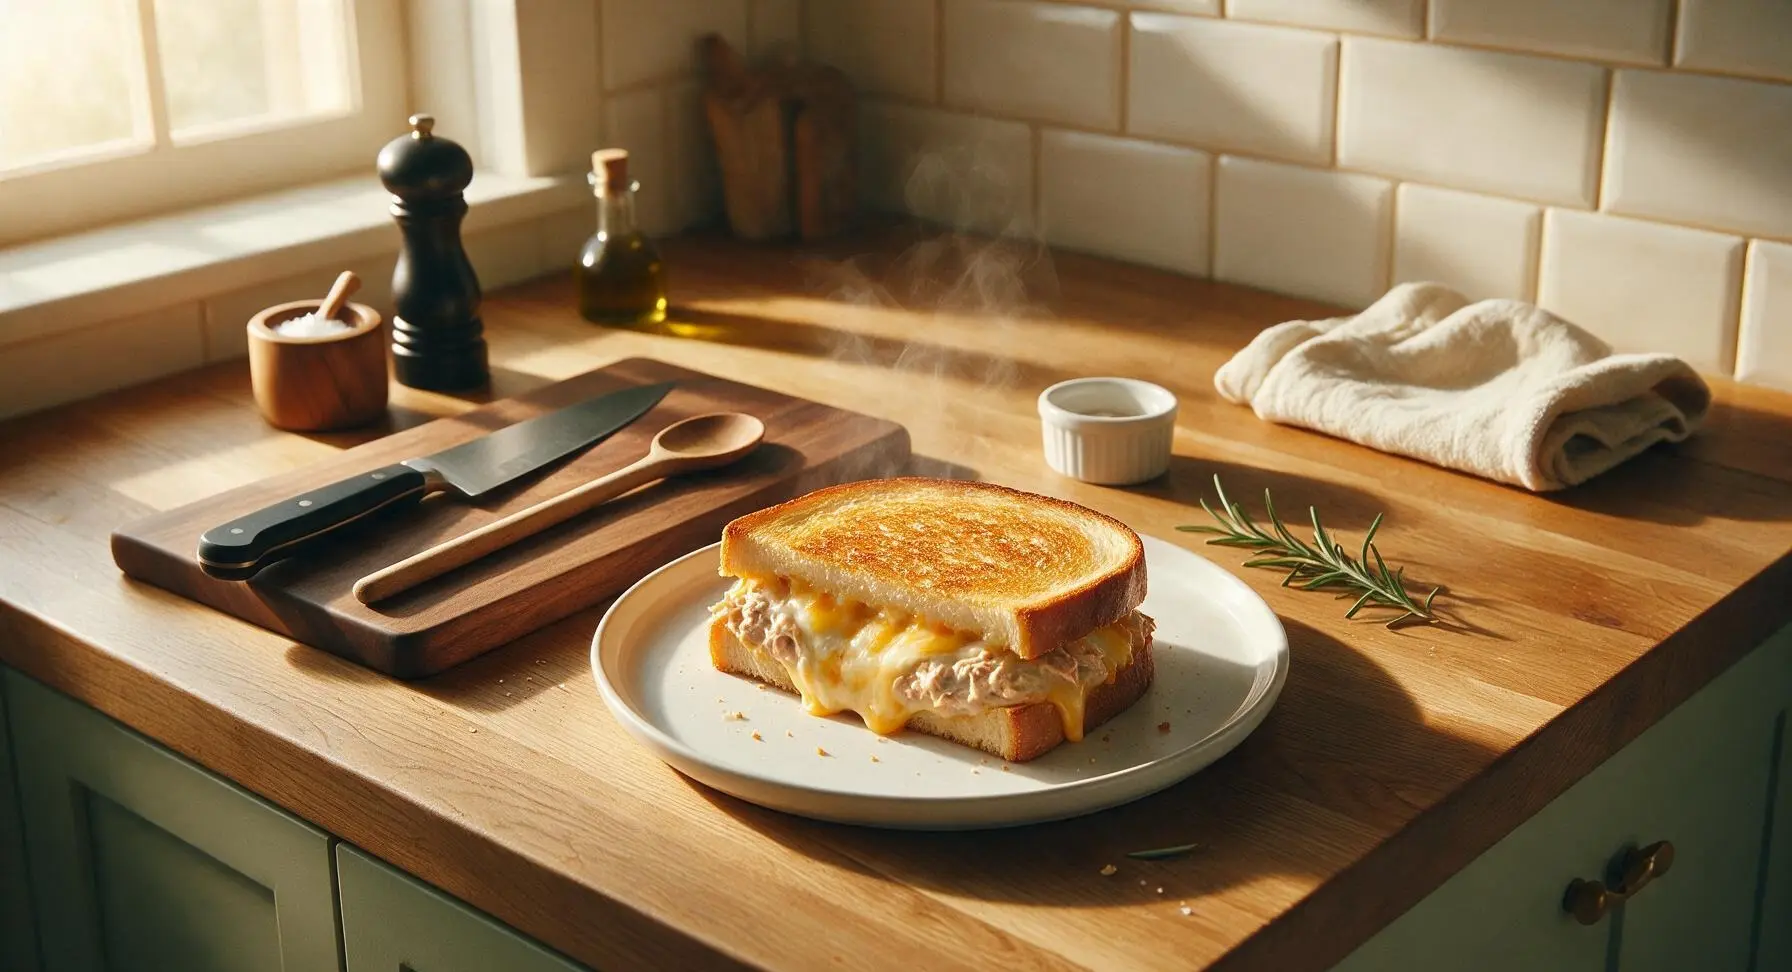
tuna and cheese toastie

title 1
tuna and cheese toastie
⏱️ cook time 7 minutes
🍽️ servings 2
⚡ Difficulty easy

intro

Crispy buttery golden bread oozing with melted sharp cheddar and creamy savory tuna filling, this classic toastie is the ultimate fast, cozy, satisfying meal.

Ingredients
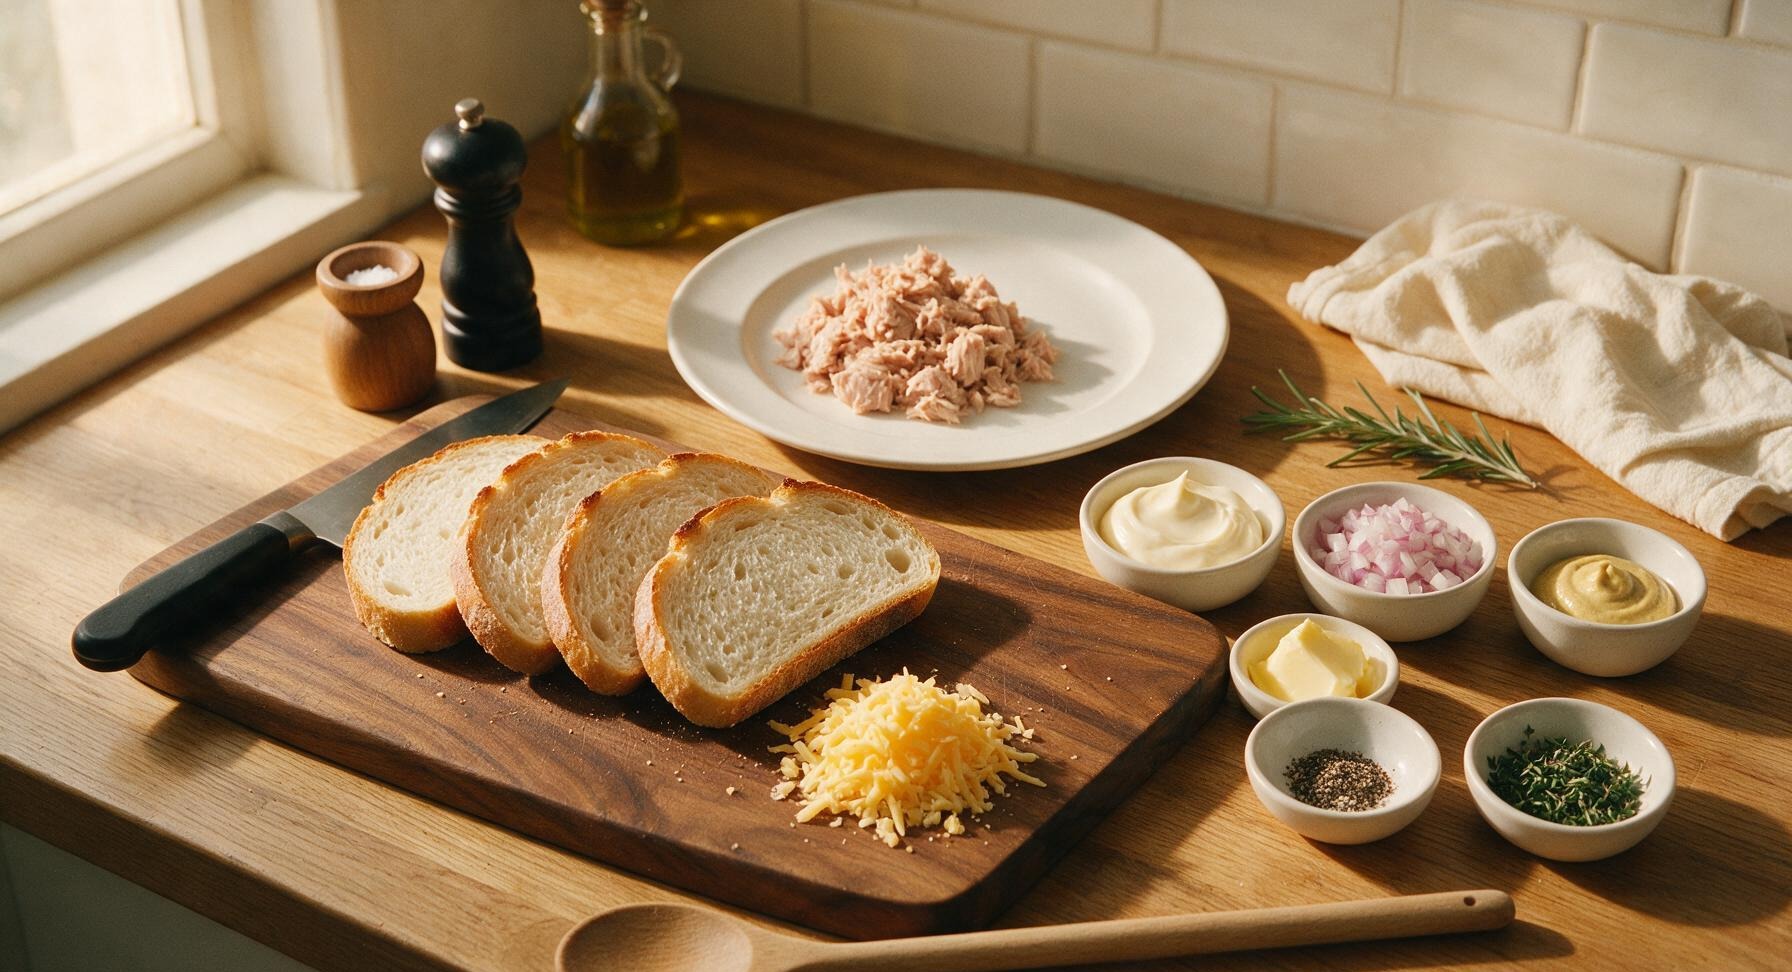
Sourdough bread 4 slices (240g total)
Canned tuna in water, drained 185g can
Sharp cheddar cheese, freshly grated 80g
Full-fat mayonnaise 2 tbsp (30g)
Red onion, finely diced 1 tbsp (15g)
Dijon mustard 1 tsp (5g)
Unsalted butter, softened 1 tbsp (14g)
Freshly ground black pepper 1/4 tsp
Fresh thyme leaves, chopped 1 tsp

Steps

1

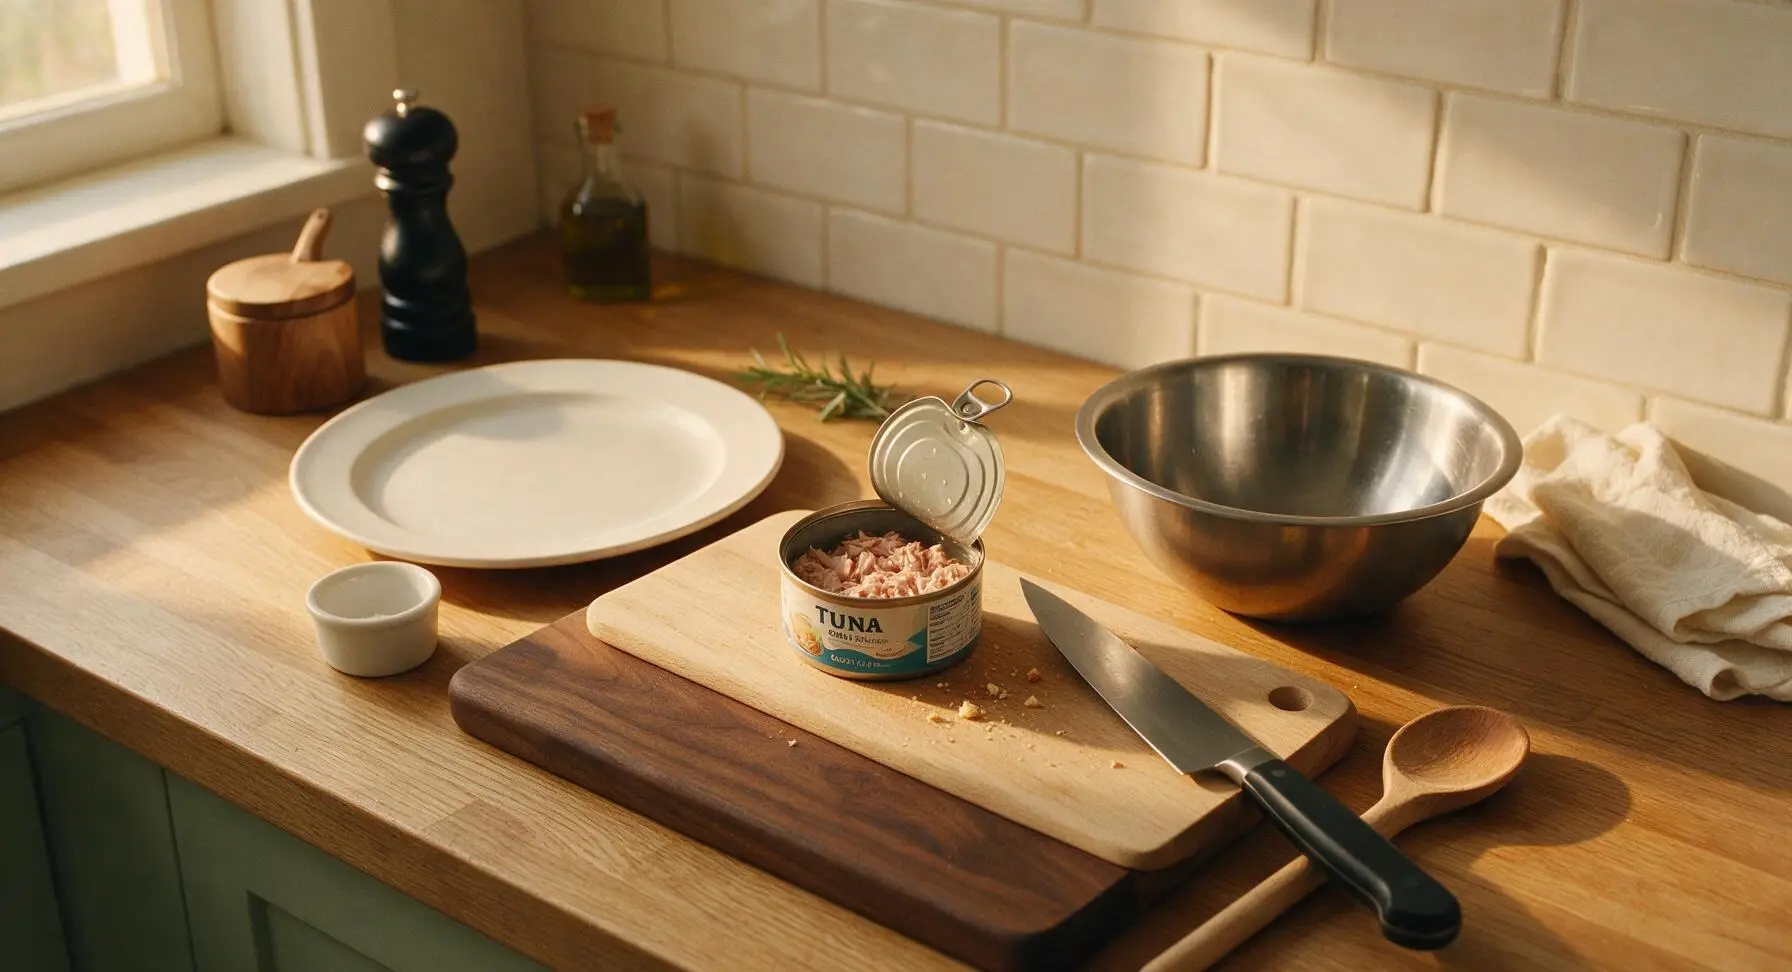
Drain the Canned Tuna

Open the 185g can of tuna, hold the pressed lid against the tuna, and tilt to drain all excess water completely. Flake the drained tuna lightly into the stainless steel mixing bowl, breaking up any large clumps until the tuna is crumbly and dry, with no pooled liquid remaining.
Step 1
step1:Drain the Canned Tuna
2

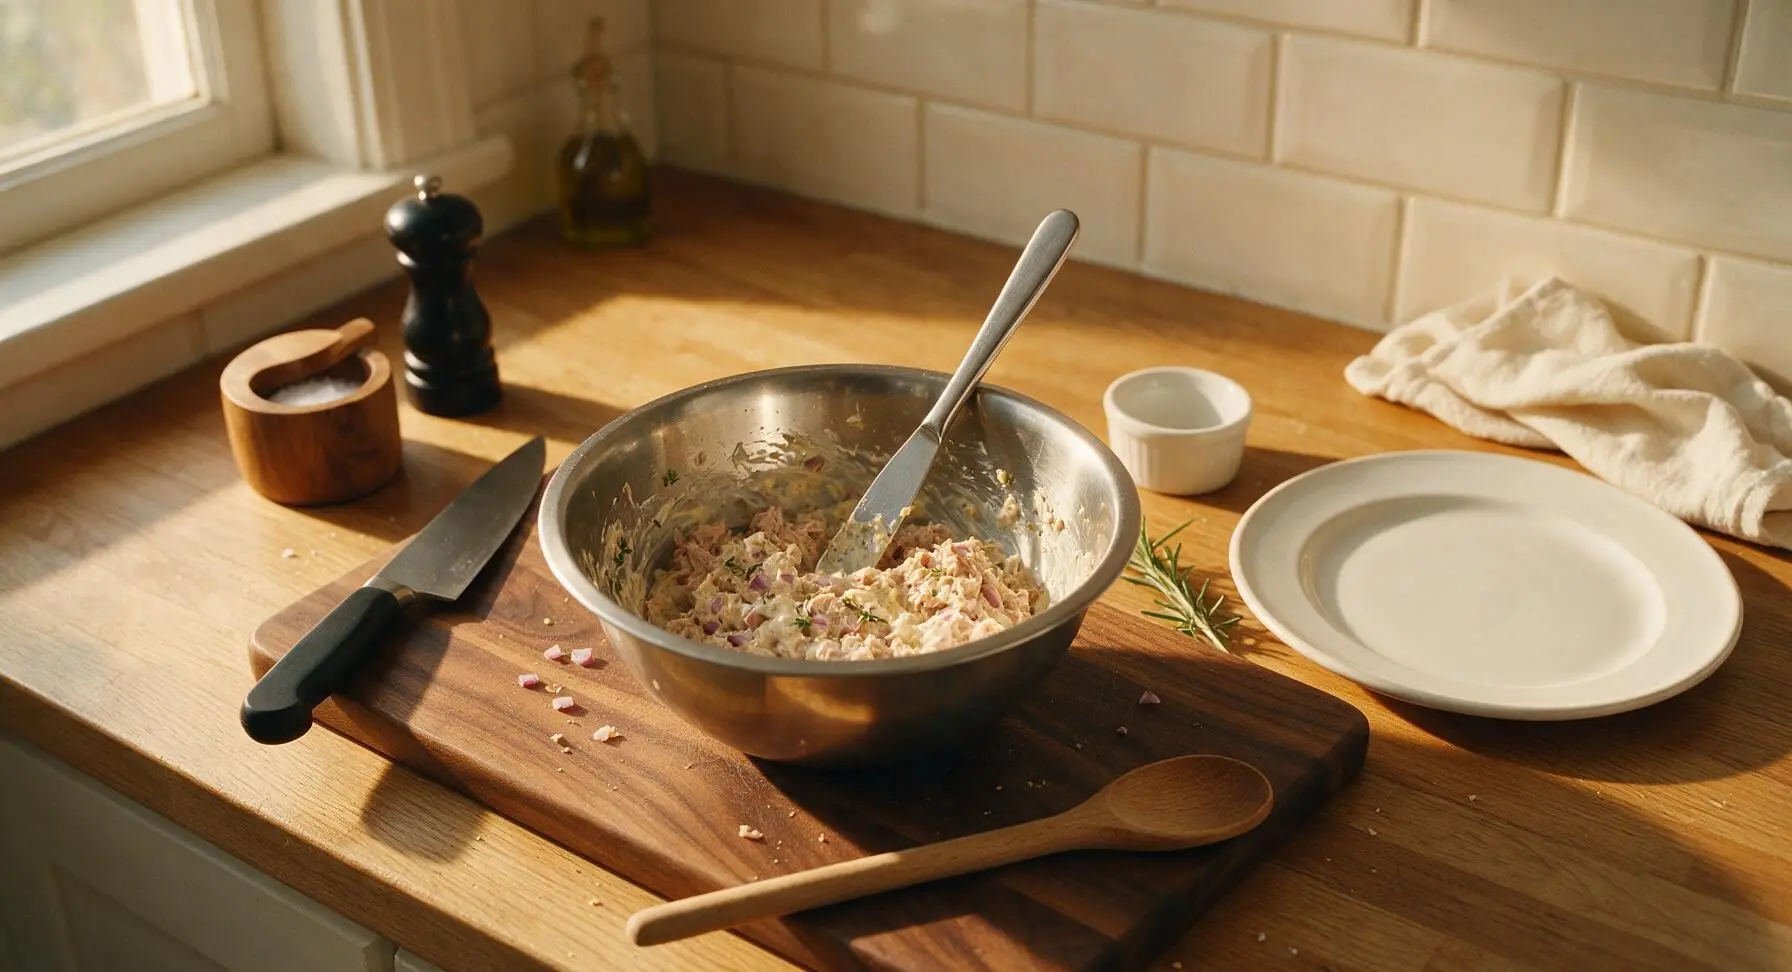
Combine Tuna Filling

Add the 2 tablespoons full-fat mayonnaise, 1 tablespoon finely diced red onion, 1 teaspoon Dijon mustard, 1/4 teaspoon freshly ground black pepper, and 1 teaspoon chopped fresh thyme to the flaked tuna in the mixing bowl. Stir thoroughly with the stainless steel butter knife until all ingredients are evenly combined into a creamy, cohesive mixture with no dry patches of tuna. Taste and add extra pepper if desired.
Step 2
step2:Combine Tuna Filling
3

Grate the Sharp Cheddar

Grate the 80g block of sharp cheddar on the coarse side of the stainless steel box grater, creating light, fluffy shreds. Do not pack the grated cheese tightly, as loose shreds melt more evenly during cooking. Set half the grated cheese aside to top the sandwiches during the final cooking stage.
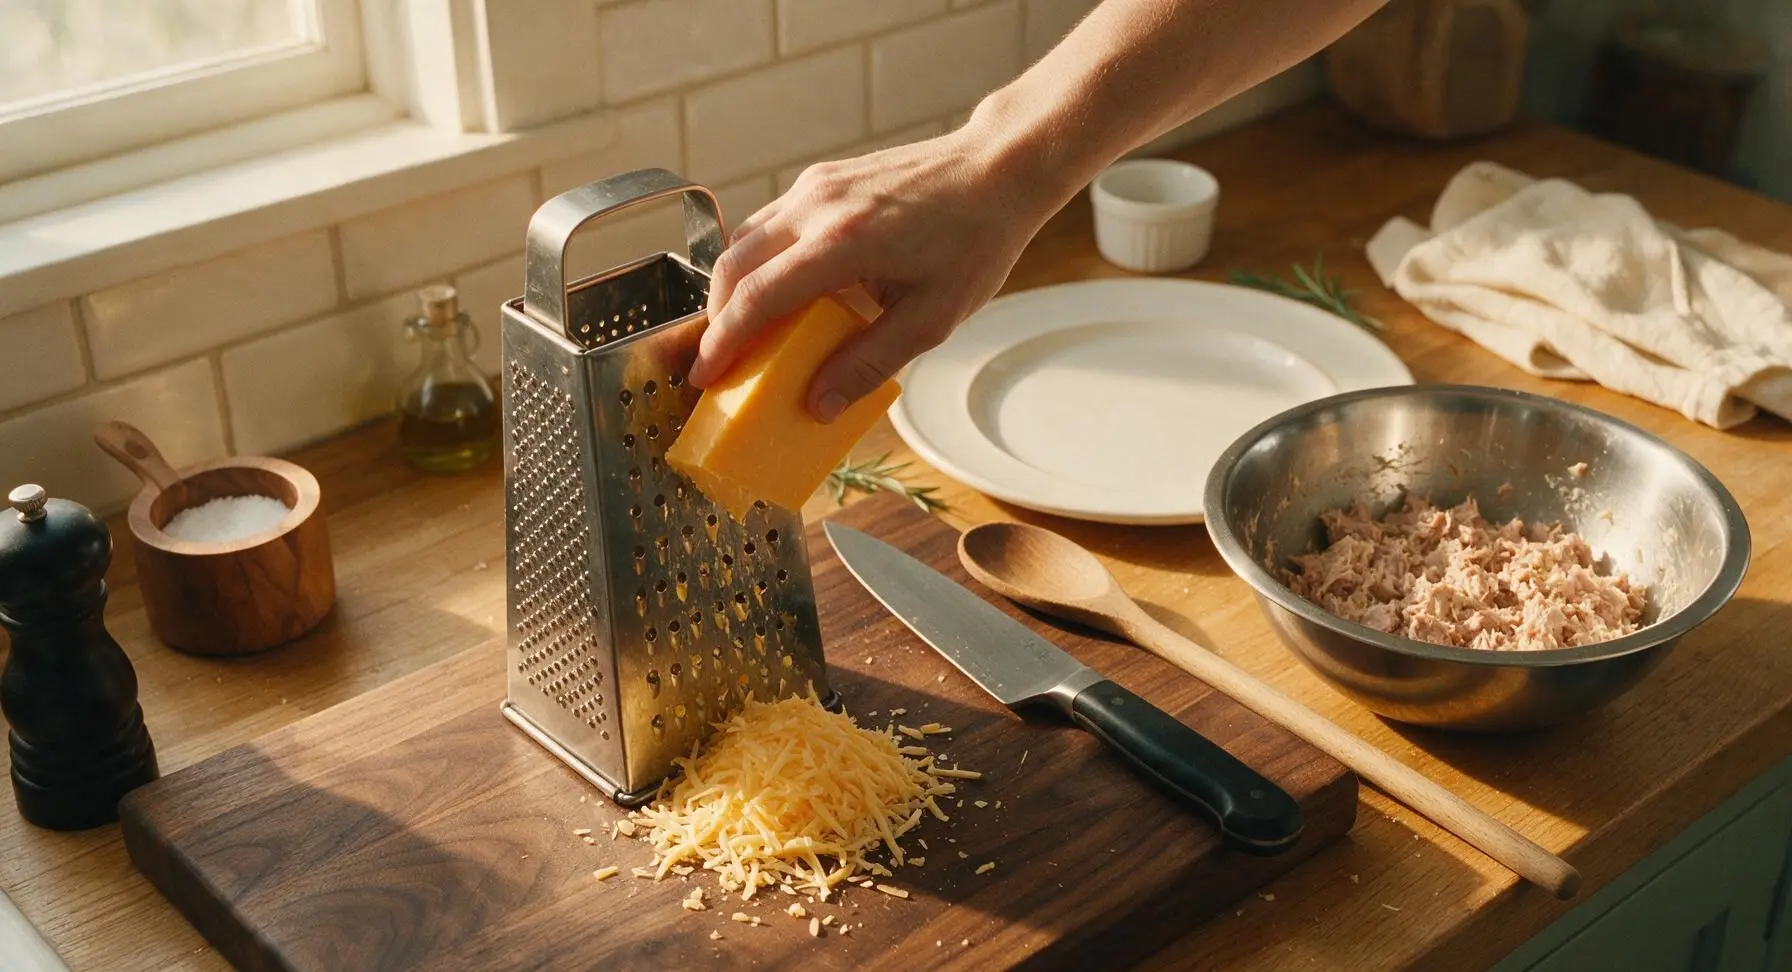
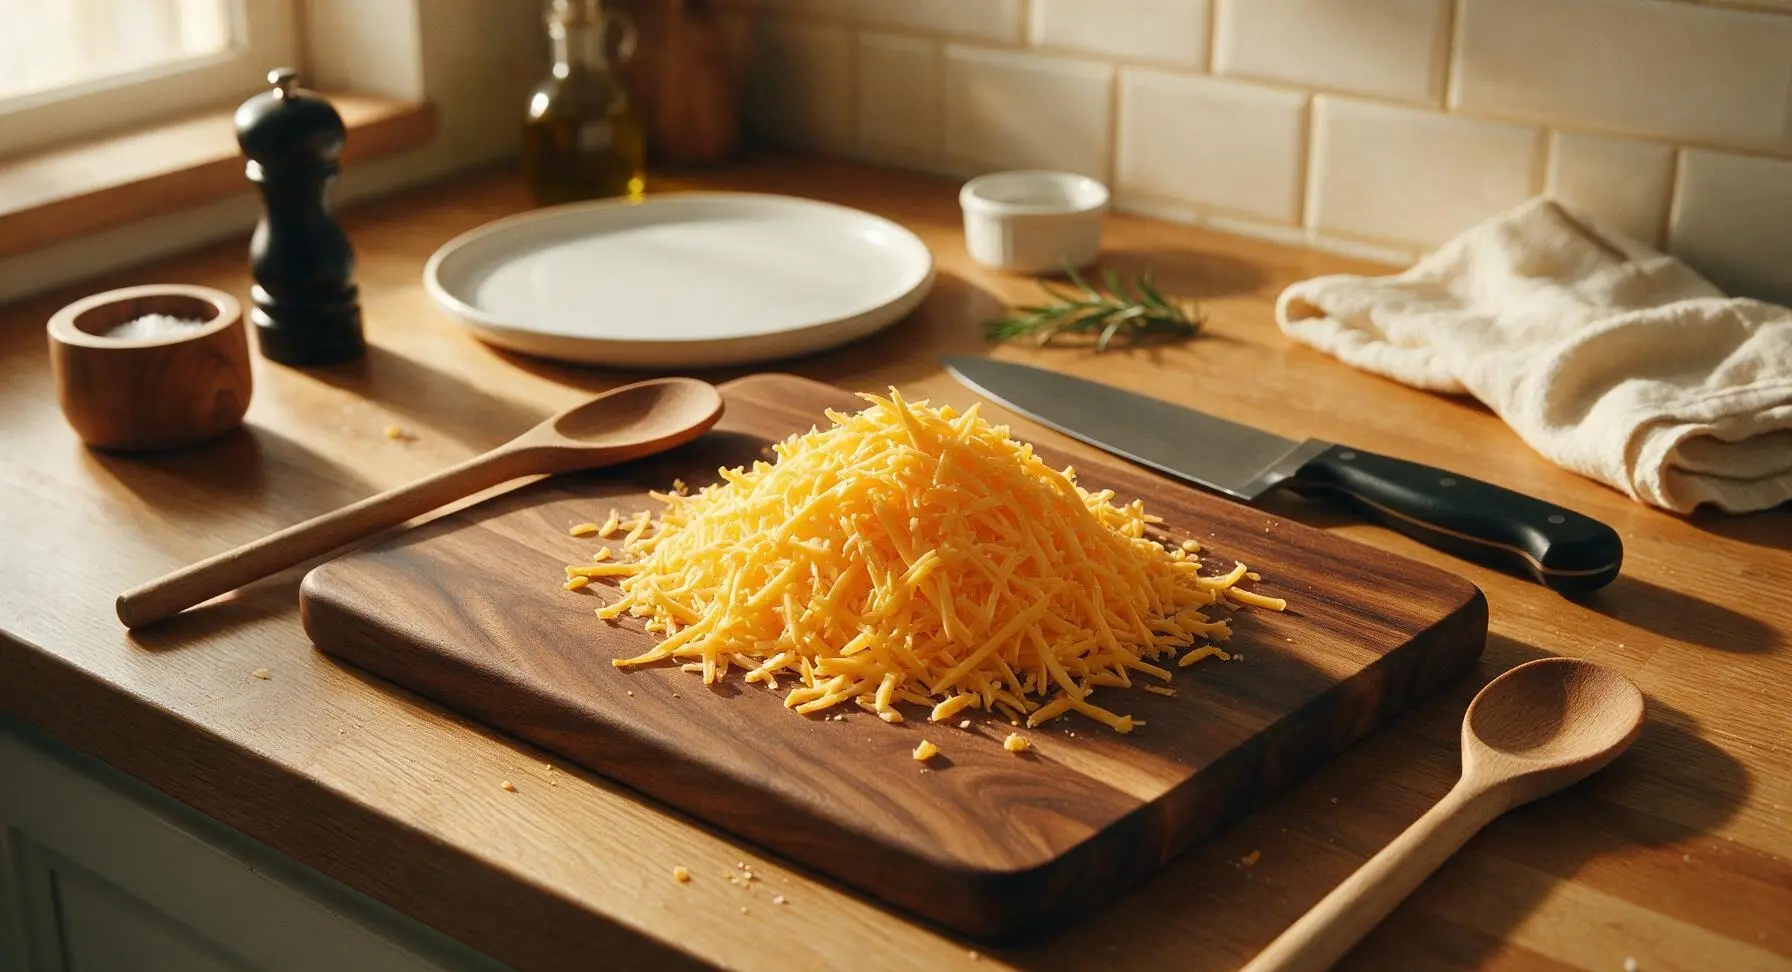
Step 3
step3:Grate the Sharp Cheddar
Step 3
step3:Grate the Sharp Cheddar
4

Assemble the Toasties

Lay all 4 slices of sourdough bread flat on the beech cutting board. Spread half the tuna mixture evenly across 2 of the bread slices, leaving a 5mm border around the edge to prevent filling from oozing out during cooking. Top the tuna layer with half the grated cheddar, then place the remaining 2 bread slices on top to form two sandwiches. Press down gently on the top of each sandwich to help the layers adhere.
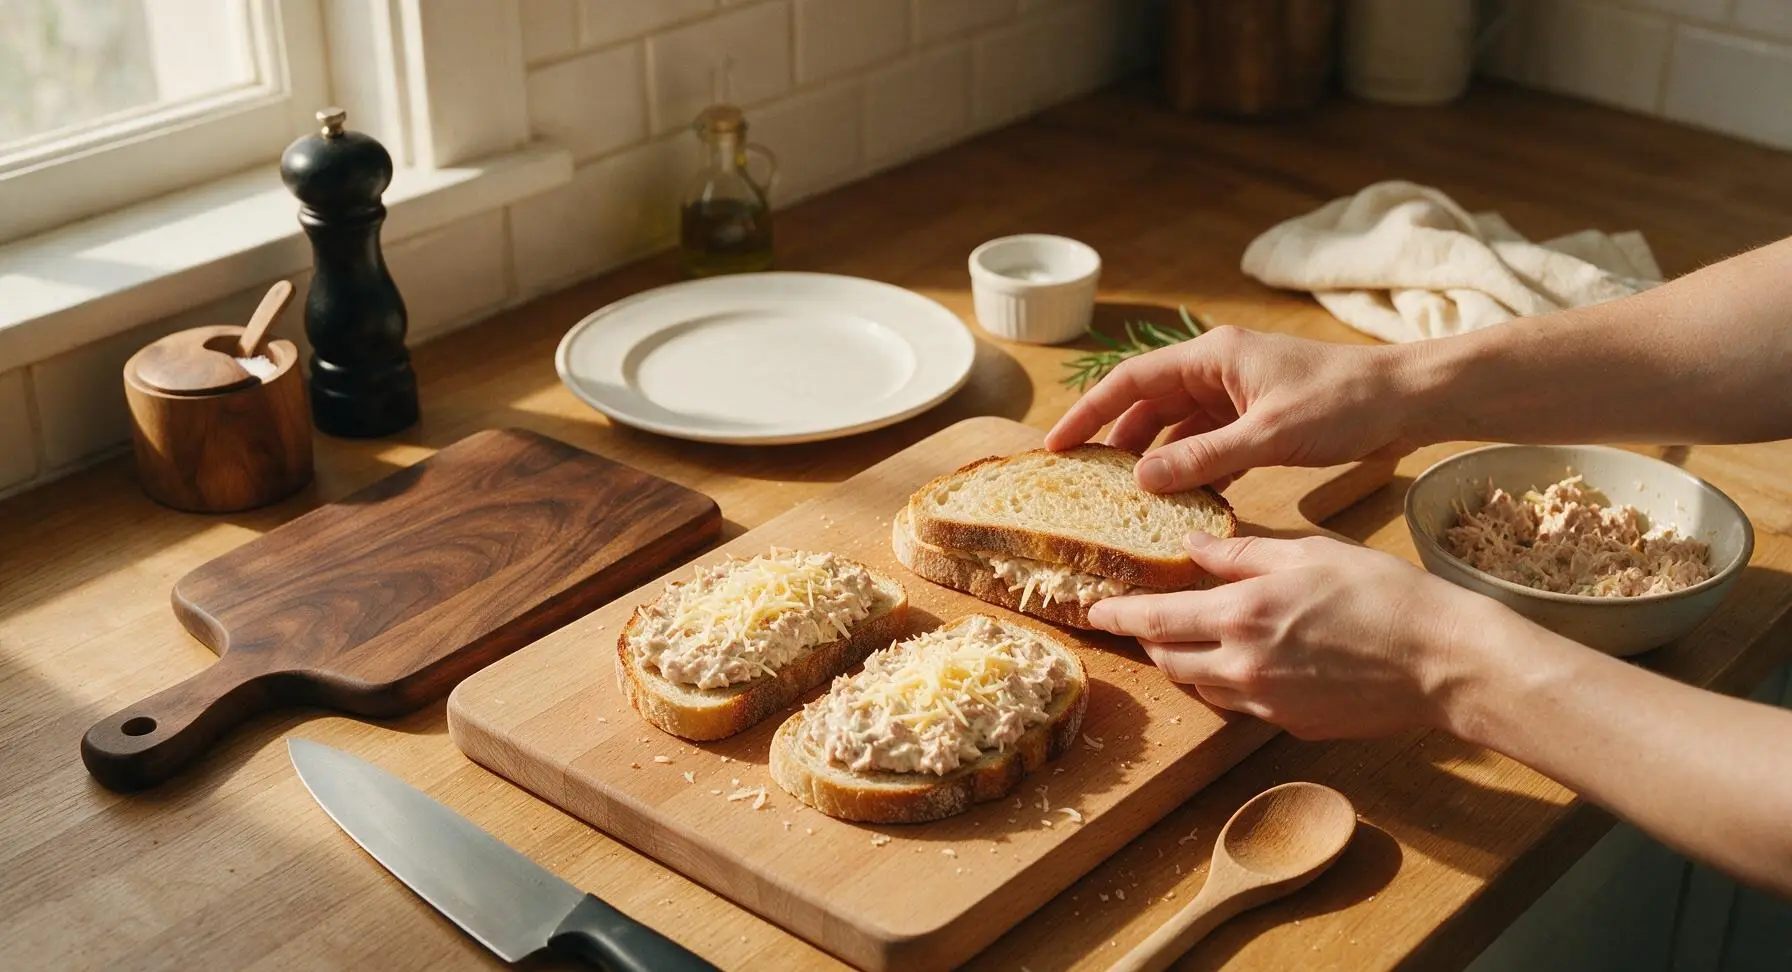
Step 4
step4:Assemble the Toasties
5

Butter Bread Exteriors

Use the stainless steel butter knife to spread the 1 tablespoon softened unsalted butter evenly across the outer top surface of both assembled sandwiches, coating every edge right to the crust. The butter layer should be thin but complete, with no bare dry patches of bread, to create a crispy golden crust. Carefully flip each sandwich and butter the opposite outer surface the same way.
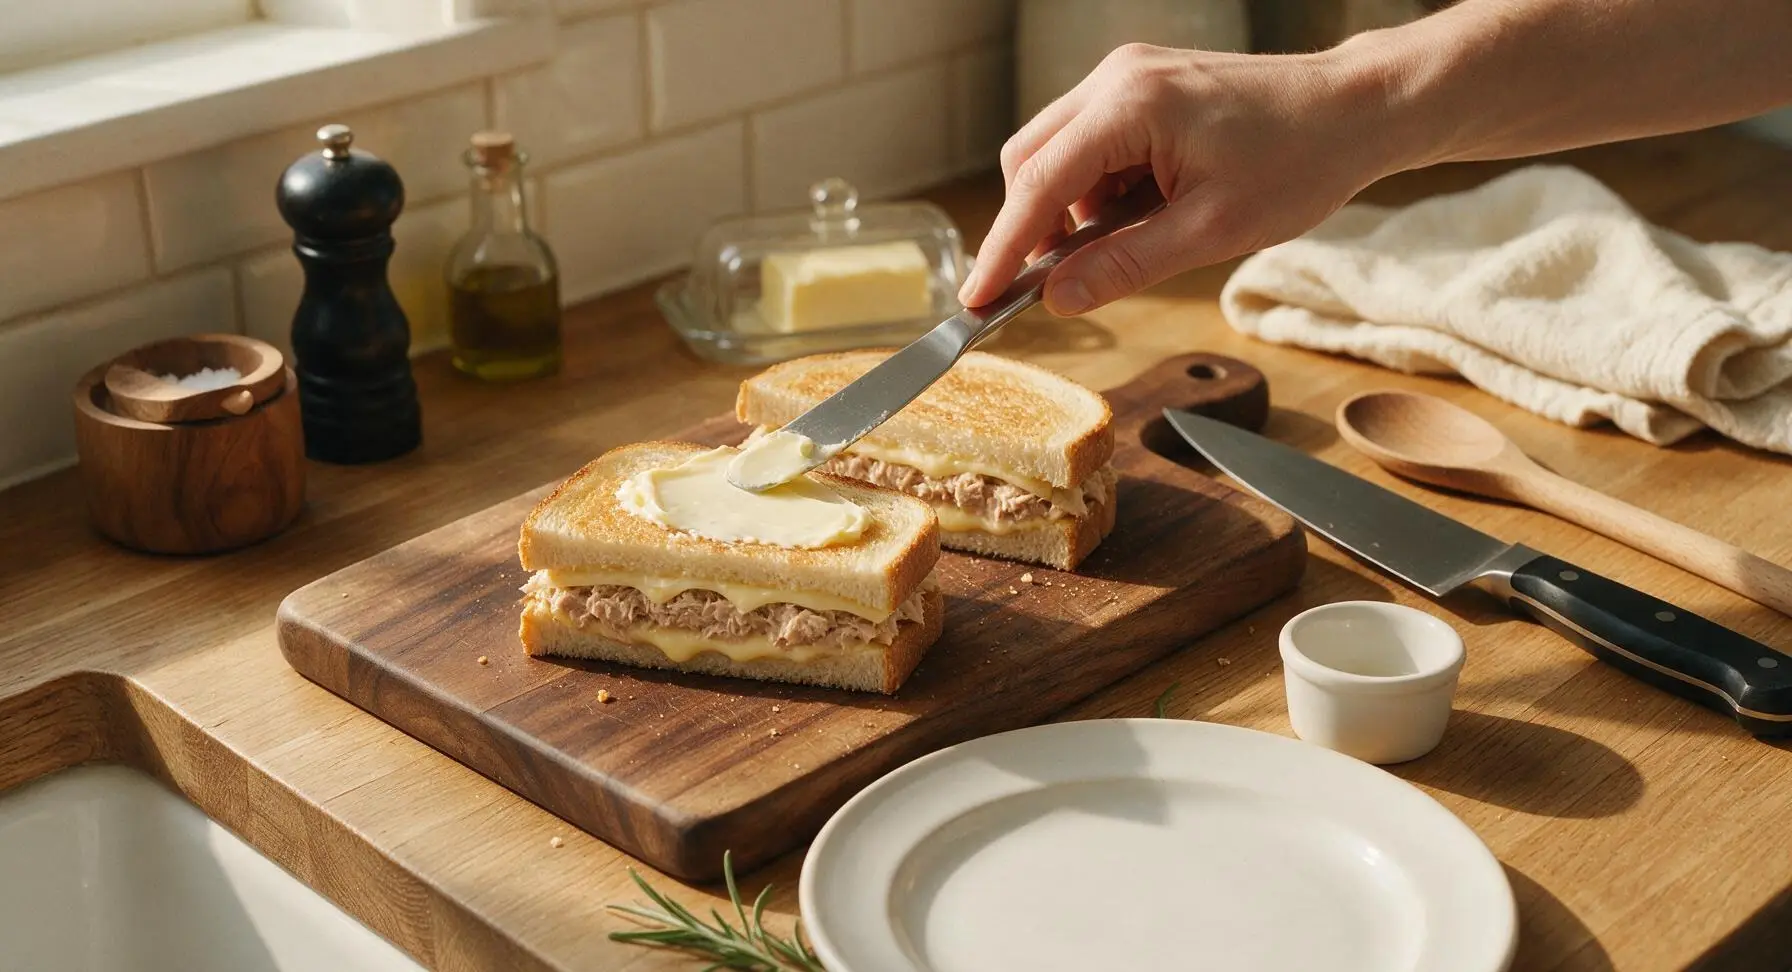
Step 5
step5:Butter Bread Exteriors
6

Toast First Sandwich Side

Place the 24cm non-stick skillet on the stovetop over medium-low heat (approximately 160C / 320F). Once the pan is warm (no smoking), carefully place both buttered sandwiches in the pan. Cook for 3-4 minutes, until the bottom bread is deep golden brown and crispy, and the cheese nearest the pan has started to melt. Do not press down hard on the sandwiches while cooking, as this will squeeze out filling.
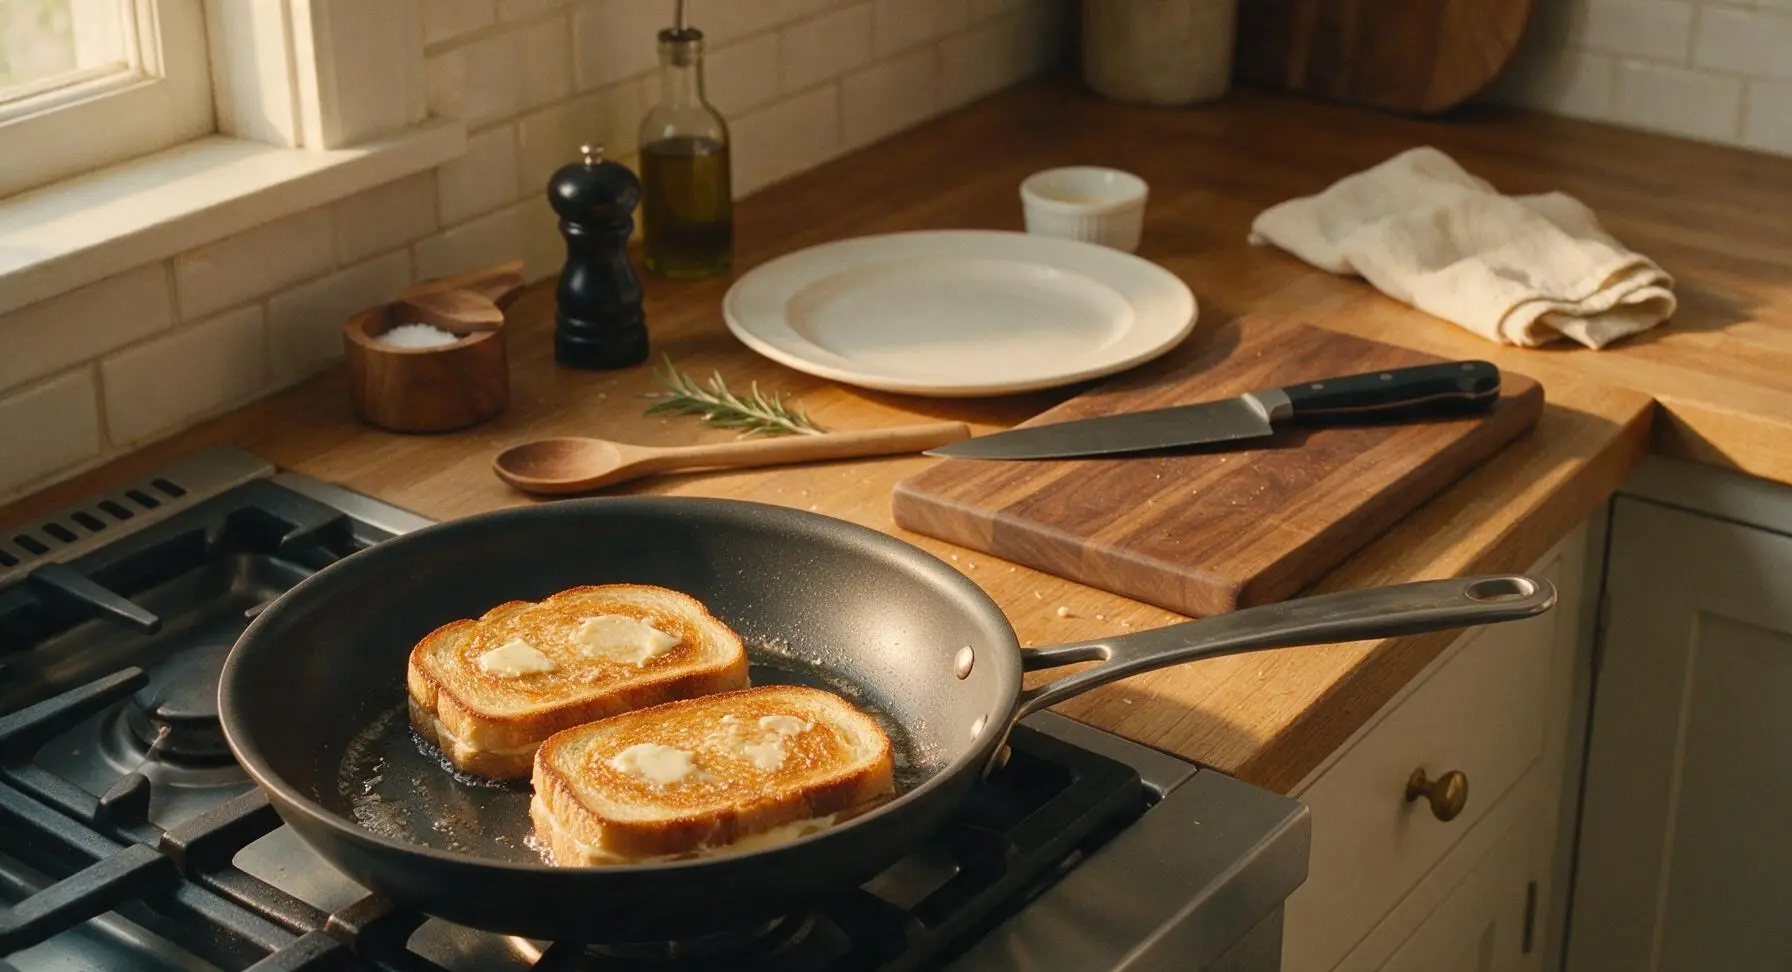
Step 6
step6:Toast First Sandwich Side
7

Flip and Melt Cheese

Use the thin slotted stainless steel spatula to carefully flip both sandwiches. Sprinkle the remaining grated cheddar evenly over the top of the cooked side of each sandwich, then reduce heat to low, cover the pan with the glass lid, and cook for a further 3-4 minutes. Cook until the second side is crispy golden brown, and all cheese is fully melted and stringy, with no firm shreds remaining.
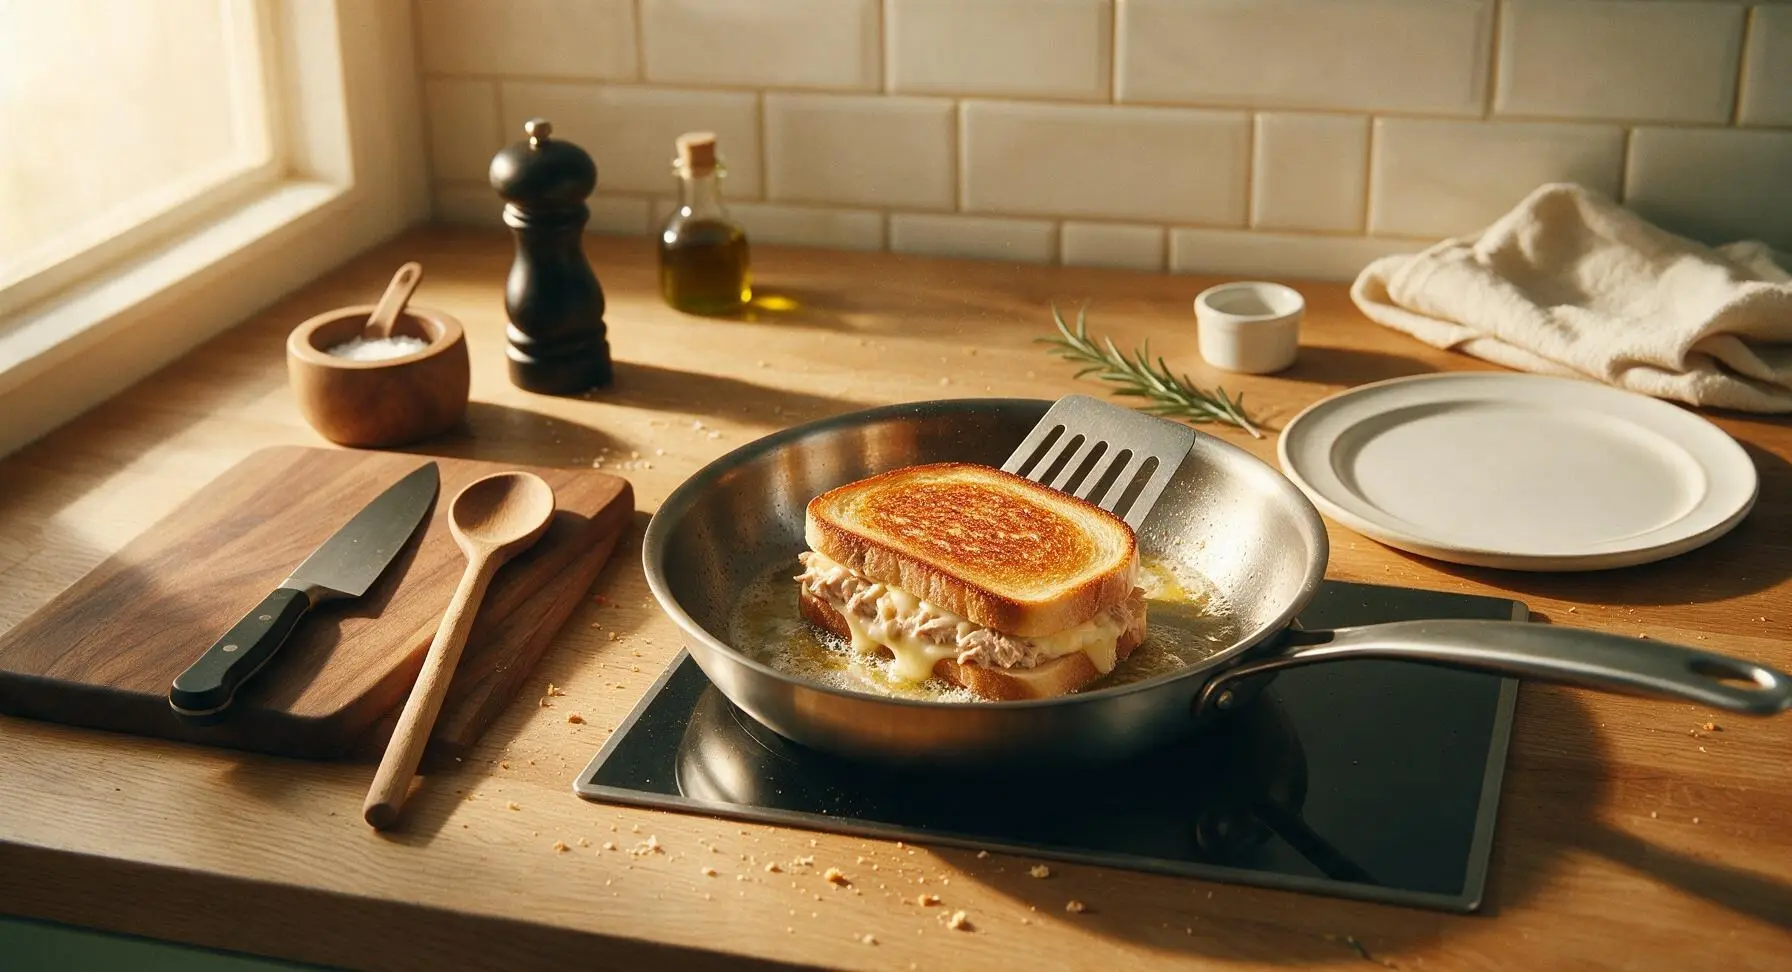
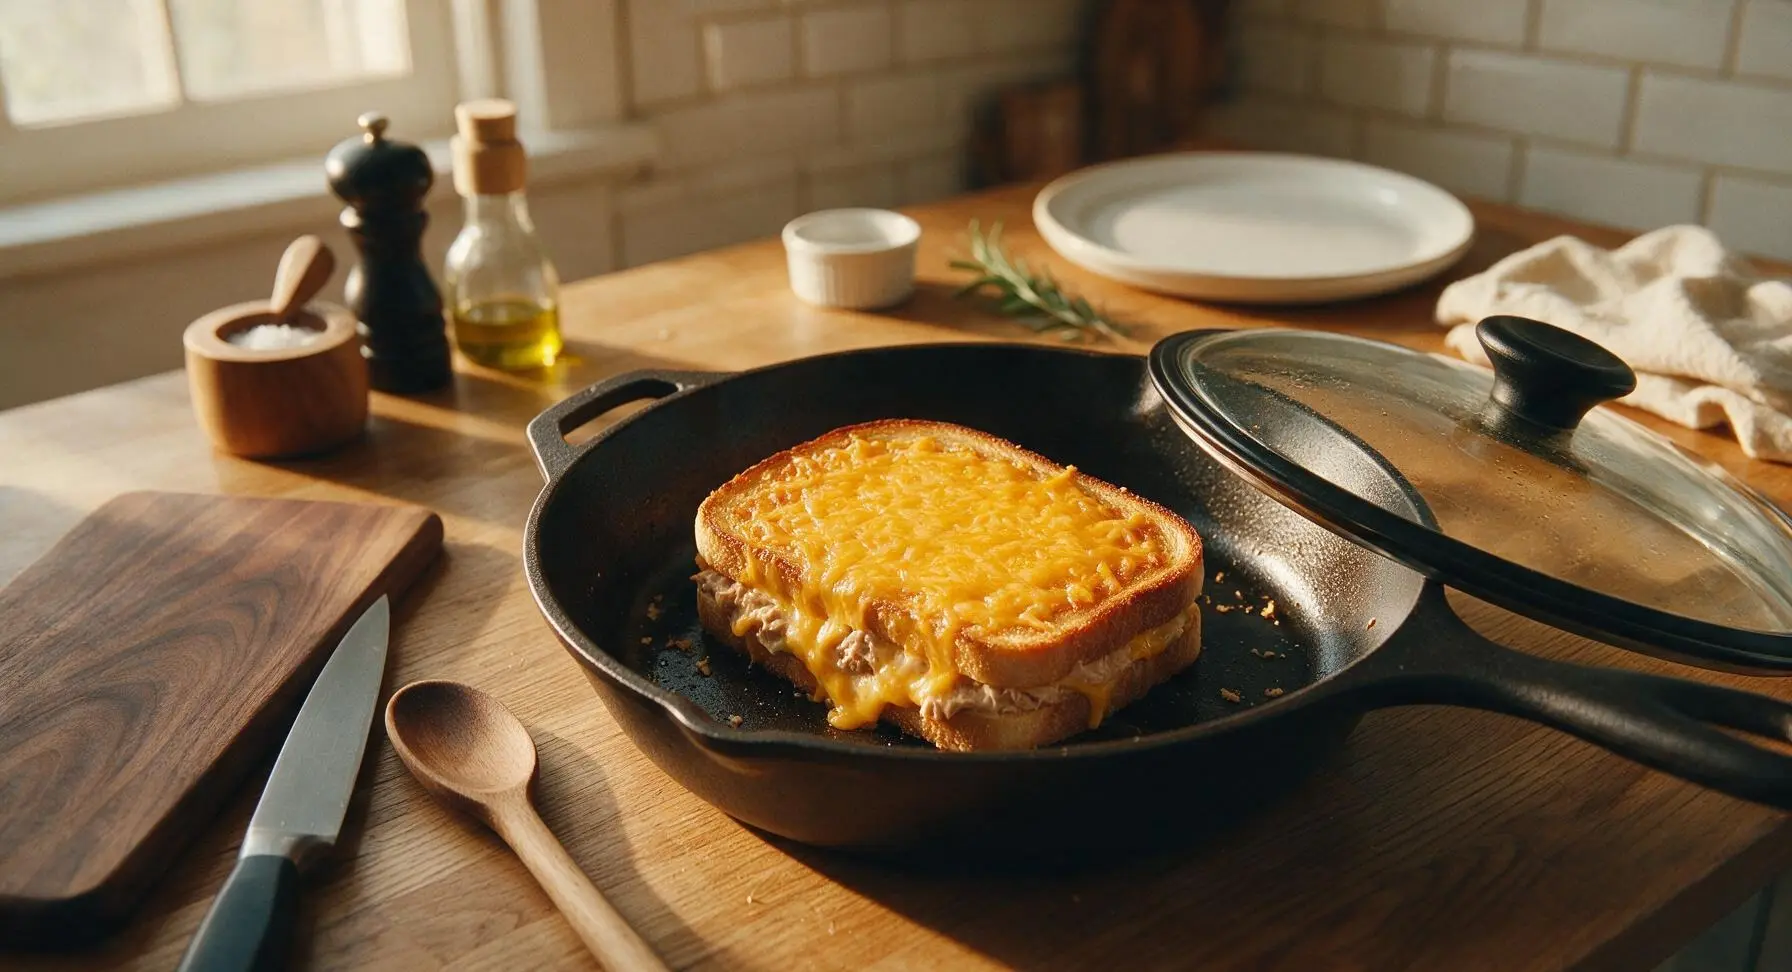
Step 7
step7:Flip and Melt Cheese
Step 7
step7:Flip and Melt Cheese
8

Rest and Plate Toasties

Once both sides are crispy and cheese is fully melted, use the spatula to lift the toasties from the pan onto the light beech cutting board. Let them rest for 1 minute to allow the filling to set (this prevents oozing when cut), then use the wooden-handled paring knife to cut each sandwich diagonally into two triangular halves. Transfer to the matte cream stoneware dinner plate to serve, garnished with a small sprig of fresh thyme.
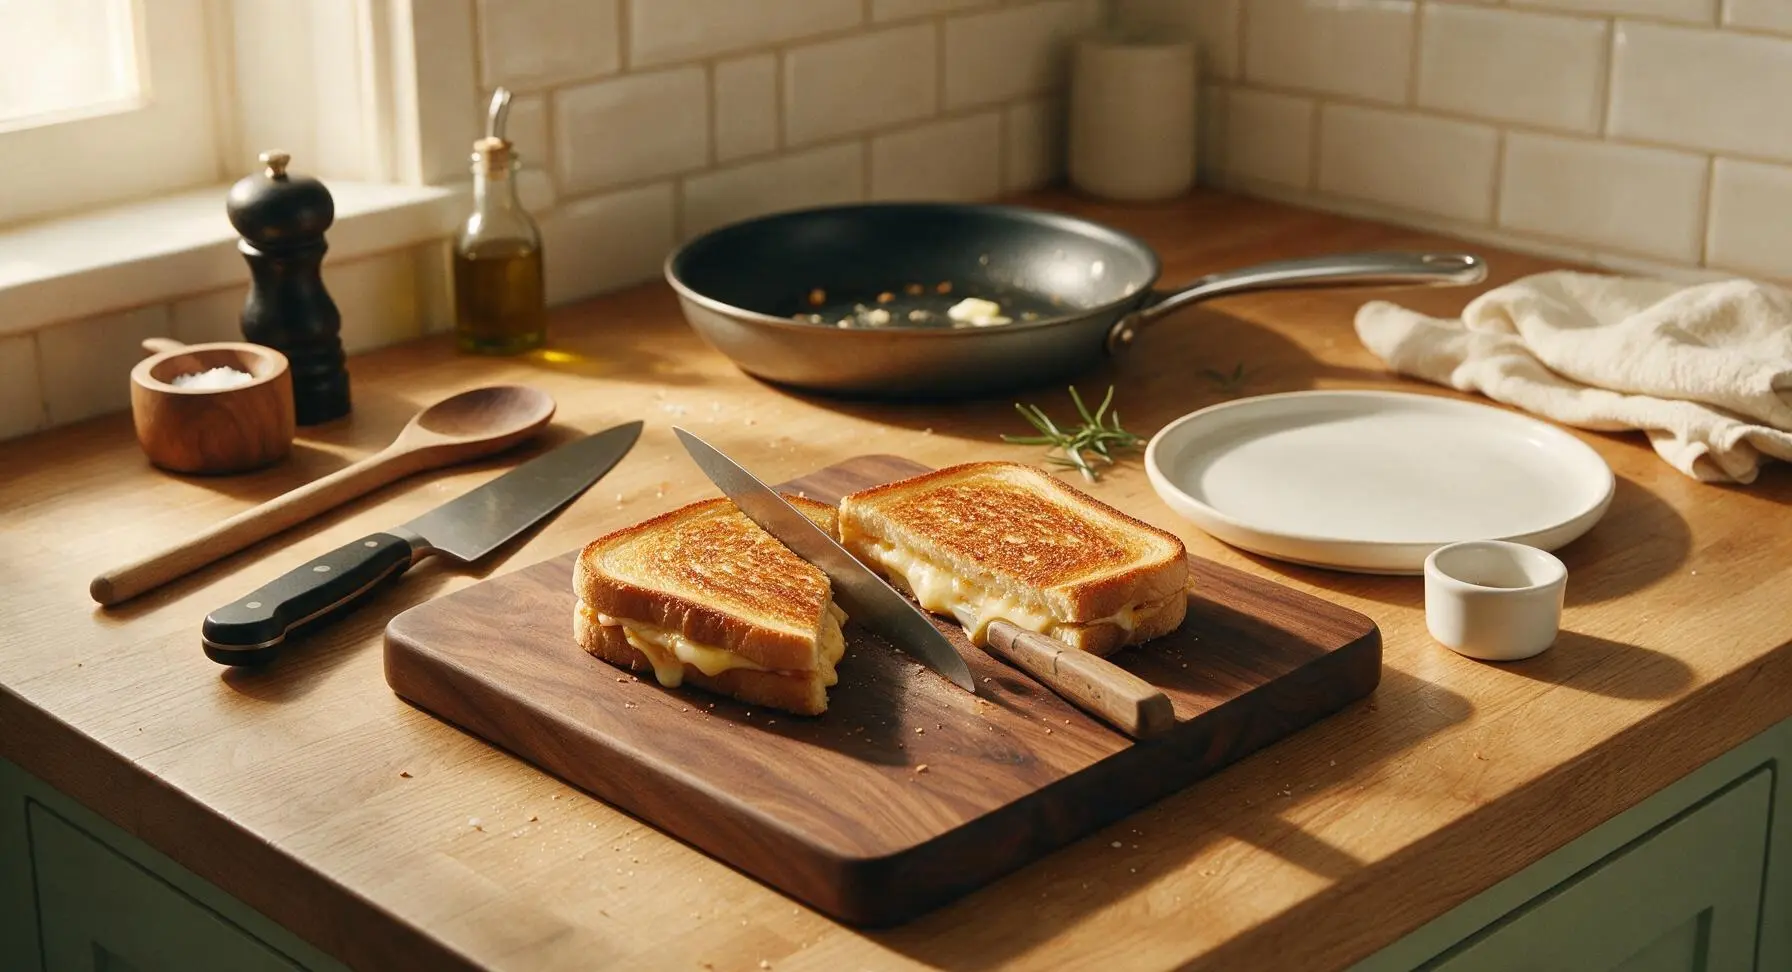
Step 8
step8:Rest and Plate Toasties

Tips

1.Grate your own cheese instead of using pre-shredded packaged cheese. Pre-shredded cheese is coated in potato starch anti-caking agents that prevent it from melting into a smooth, stringy texture, while freshly grated cheese melts evenly for that perfect oozing cheese pull.
2.Cook over medium-low heat instead of high heat. High heat will burn the bread exterior before the cheese has time to fully melt and the filling warms through, leading to charred toast and a cold, unmelted center.
3.Let the toastie rest for 1 full minute after cooking before cutting. This allows the hot melted cheese and tuna filling to set slightly, so it doesn’t gush out the sides when you slice it, keeping every bite neatly contained.


✨ You May Also Like

Lunch
🍜 United States

Creamy, salty, tangy nostalgic Midwestern sandwich pairing rich peanut butter with crisp briny dill pickles for a fast, satisfying no-cook meal.

⏱️ 5 minutesLunch ★ 4.6
Lunch
🍜 United States

Crispy, melty pressed sandwich layered with savory roast pork, ham, Swiss cheese, pickles, and tangy mustard: a beloved Cuban-American comfort classic.

⏱️ 25 minuteLunch ★ 4.9
Lunch
🍜 United States

Hearty, briny New Orleans pressed sandwich stacked with cured Italian meats, provolone, and zesty olive salad, served cold for bold, portable flavor.

⏱️ 1 hour 20Lunch ★ 4.7
Lunch
🍜 United States

A tangy, creamy Southern American staple, this no-cook cheesy sandwich is packed with sharp cheddar and sweet pimentos for a satisfying, portable bite.

⏱️ 1 hour 15Lunch ★ 4.8
Lunch
🍜 United States

Crispy Cajun-spiced fried shrimp piled on crusty French bread with tangy remoulade and fresh toppings, the iconic Louisiana street food sandwich.

⏱️ 35 minuteLunch ★ 4.4
Lunch
🍜 United States

Stacked, savory deli-style corned beef sandwich with melted Swiss, tangy mustard, and crisp griddled rye— a fast, hearty, satisfying classic.

⏱️ 15 minuteLunch ★ 4.9

tuna and cheese toastie:Frequently Asked Questions

1.Why does my tuna and cheese toastie turn out soggy instead of crispy? ▾
Sogginess almost always comes from excess moisture! Make sure you drain your canned tuna completely—press it with a fork against the can edge to squeeze out every last drop of water. Avoid overloading the filling with too much mayo, and spread softened butter directly on the outer sides of the sourdough to create a moisture barrier as it cooks.
2.Can I use pre-shredded cheddar instead of freshly grated for this toastie? ▾
You can, but freshly grated sharp cheddar melts far better for that perfect oozing pull! Pre-shredded cheese is coated in anti-caking agents like potato starch that make it melt clumpier and less smooth. If pre-shredded is all you have, toss it with a tiny pinch of cornstarch to help it melt more evenly as it cooks.
3.What’s the best heat setting to cook this toastie so the bread doesn’t burn before the cheese melts? ▾
Stick to medium-low heat, around 325°F if you’re using a panini press or skillet. If the heat is too high, the buttery bread will burn to a crisp before the cheddar fully melts and the tuna filling warms through. Cook 3-4 minutes per side, pressing gently with a spatula, until golden and oozing.
4.Can I make this tuna toastie ahead of time for meal prep? ▾
These toasties are best eaten fresh right off the heat, but you can prep the tuna filling 2-3 days ahead! Mix the drained tuna, mayo, and diced red onion, store it in an airtight container in the fridge, and assemble and cook the toastie when you’re ready to eat. Don’t assemble raw sandwiches ahead, as the bread will turn soggy.
5.I don’t have sourdough bread—what other breads work well for this recipe? ▾
Sourdough’s tang and sturdy crumb is ideal, but you have great swaps! Thick-cut white sandwich bread, country loaf, rye, or whole wheat all work beautifully, as long as slices are at least ½-inch thick so they hold up to the filling without tearing. Avoid thin, soft sandwich bread, which will get soggy and fall apart easily.
6.Do I need a panini press to make a perfect toastie, or can I use a regular skillet? ▾
You absolutely don’t need a fancy press! A regular cast iron or nonstick skillet works perfectly. Just assemble your sandwich, butter the outsides, and cook over medium-low heat, pressing down firmly with a spatula occasionally as it cooks. For even pressure, set a heavy canned good on top of the sandwich while each side cooks.
7.Can I swap the full-fat mayo for a lighter version to cut calories? ▾
You can, but full-fat mayo gives the tuna filling that rich, creamy texture that balances sharp cheddar so well. If you use light mayo, cut back on the amount slightly—it has higher water content that can make your filling runny and lead to soggy bread. You can also mix half light mayo with plain Greek yogurt for a tangy, lighter swap.
8.The red onion taste is too sharp for me—can I adjust that, or leave it out entirely? ▾
Absolutely! If raw red onion feels too punchy, soak the finely diced onion in ice water for 10 minutes before mixing it into the tuna filling to mellow out its sharp bite. You can also swap it for thinly sliced pickled red onion for a tangy twist, or leave it out entirely if you prefer a simpler flavor.
9.How do I get that perfect, stretchy melted cheese pull in every bite? ▾
The trick is to layer cheese on both sides of the tuna filling! Place a thin layer of grated cheddar directly against each slice of bread, then pile the tuna mix in between. This creates a melted cheese seal that holds the filling in, and as the cheese melts evenly, you’ll get that iconic, satisfying stretchy pull with every bite.
10.Can I add extra mix-ins to the tuna filling without ruining the classic flavor? ▾
Of course! The classic base is delicious on its own, but small add-ins work beautifully. Try a pinch of black pepper, a squeeze of fresh lemon juice, a tiny bit of diced celery for crunch, or a dash of hot sauce for a subtle kick. Just don’t overload the filling—keep add-ins finely chopped so the sandwich doesn’t fall apart.

Comments (11)

2 days ago

OMG this is the easiest weeknight lunch win ever! My kids devoured two each after soccer practice, I didn’t even have to drag out a bunch of ingredients. 7 minutes flat? No joke, I timed it. Added a little dill to the tuna mix per my oldest’s request and it was chef’s kiss. SO good.

yesterday

Wait the dill addition sounds genius! My kids are also picky after practice, I’m gonna test that this week.

yesterday

Love the dill hack! So glad your crew enjoyed it — quick, filling meals for busy practice nights are exactly what this recipe is made for.

3 days ago

Game changer for my dorm meal rotation! I don’t have a full kitchen, just a tiny panini press and this works perfectly. No fancy ingredients, uses canned tuna I already stock for cheap, cheese slices, bread. Saved me from spending $12 on a sad campus sandwich shop toastie this week.

2 days ago

So stoked this works for dorm cooking! You can even mix in a little hot sauce if you want an extra kick without any extra prep work.

1 week ago

I’ve been making tuna melts for 50 years and this classic recipe is just as good as my old go-to! I used sourdough instead of white bread because that’s what I had on hand, and it crisped up beautifully. Only reason it’s not 5 stars is I wish it mentioned draining the tuna really well so it doesn’t make the bread soggy, I almost forgot that step!

5 days ago

Oh thanks for the soggy bread tip! I made this last week and had that exact problem, I definitely didn’t drain my tuna enough.

5 days ago

Great catch on the tuna draining tip! We’ll add that note to the recipe instructions right away — sourdough swap sounds absolutely delicious too.

5 days ago

Made this for a quick potluck appetizer last weekend, cut them into little triangles and they were gone in 10 minutes! People kept asking for the recipe, I had to send the link to three different guys from my softball team. Pro tip: add a thin slice of tomato inside if you want a little freshness.

3 days ago

The triangle cut for potlucks is such a smart move! I’m bringing these to my book club next week, stealing that idea.

2 weeks ago

Perfect for meal prep! I make a batch of these on Sunday, wrap them individually, and they heat up great in the office toaster oven all week. Way better than sad desk salads, and the protein from the tuna keeps me full straight through my 3pm meetings. No mid-afternoon vending machine runs for me this week!

yesterday

It was fine? I mean it’s a tuna and cheese toastie, hard to mess up, but I felt like it was missing something. Maybe a little mustard in the tuna mix? I added that on my second try and it was way better. Cook time was accurate though, super quick to throw together.

2 hours ago

Oh the mustard addition is a must! I do a squirt of dijon every time, it cuts the richness of the cheese so well.

2 hours ago

Dijon mustard in the tuna mix is such a tasty upgrade! We love that you customized it to fit your taste, that’s what easy classic recipes are all about.

30 minutes ago

Made this for my two kids’ after school snack and they both gobbled it up — my 10 year old said it’s ‘better than the school cafeteria’s’ which is the highest possible praise in my book. I used colby jack cheese because that’s what we had, and it melted perfectly. Zero complaints, will be making this at least twice a week now.

5 minutes ago

Cafeteria-level praise is the ultimate win! Colby jack is such a great melty cheese choice for this, perfect swap.

5 minutes ago

I wanted to love this but my bread got really soggy even though I thought I drained the tuna? Maybe I pressed it too hard? Flavor was good but the texture was off for me. Cook time was definitely on point though, it came together so fast.

just now

Honey, try toasting the bread a tiny bit first before you add the filling! That keeps the moisture from seeping in, I’ve been doing that for decades and no more soggy toasties.

just now

GrandmaRuth’s pre-toast tip is spot on! Also, make sure you’re not overloading the sandwich with too much tuna mix — a thin, even layer works best to keep that crispy bread texture.

2 hours ago

SO good! I elevated mine a little with a sprinkle of everything bagel seasoning on the outside of the bread before toasting, and it gave the most perfect crunch and extra flavor. This is going to be my go-to lazy weekend lunch for sure. So simple, so satisfying.

30 minutes ago

Everything bagel seasoning??? That’s genius, I’m trying that tomorrow for brunch. I bet a little pickled onion inside would go crazy with that too.

just now

Solid classic recipe! I used whole wheat bread and added a little hot honey for a sweet-spicy kick, and it hit the spot. Took exactly 7 minutes like the recipe said, which is perfect for when I’m running late for work and need something quick to grab. Only downside is my cat kept begging for a bite the whole time I was eating it.

1 week ago

I was skeptical of how simple this was but wow, it’s perfect. I’ve been making fancy tuna melts with a million ingredients for years and this back-to-basics version is actually better. No unnecessary add-ins, just crispy bread, creamy melted cheese, well-seasoned tuna. 10/10, no notes.



