
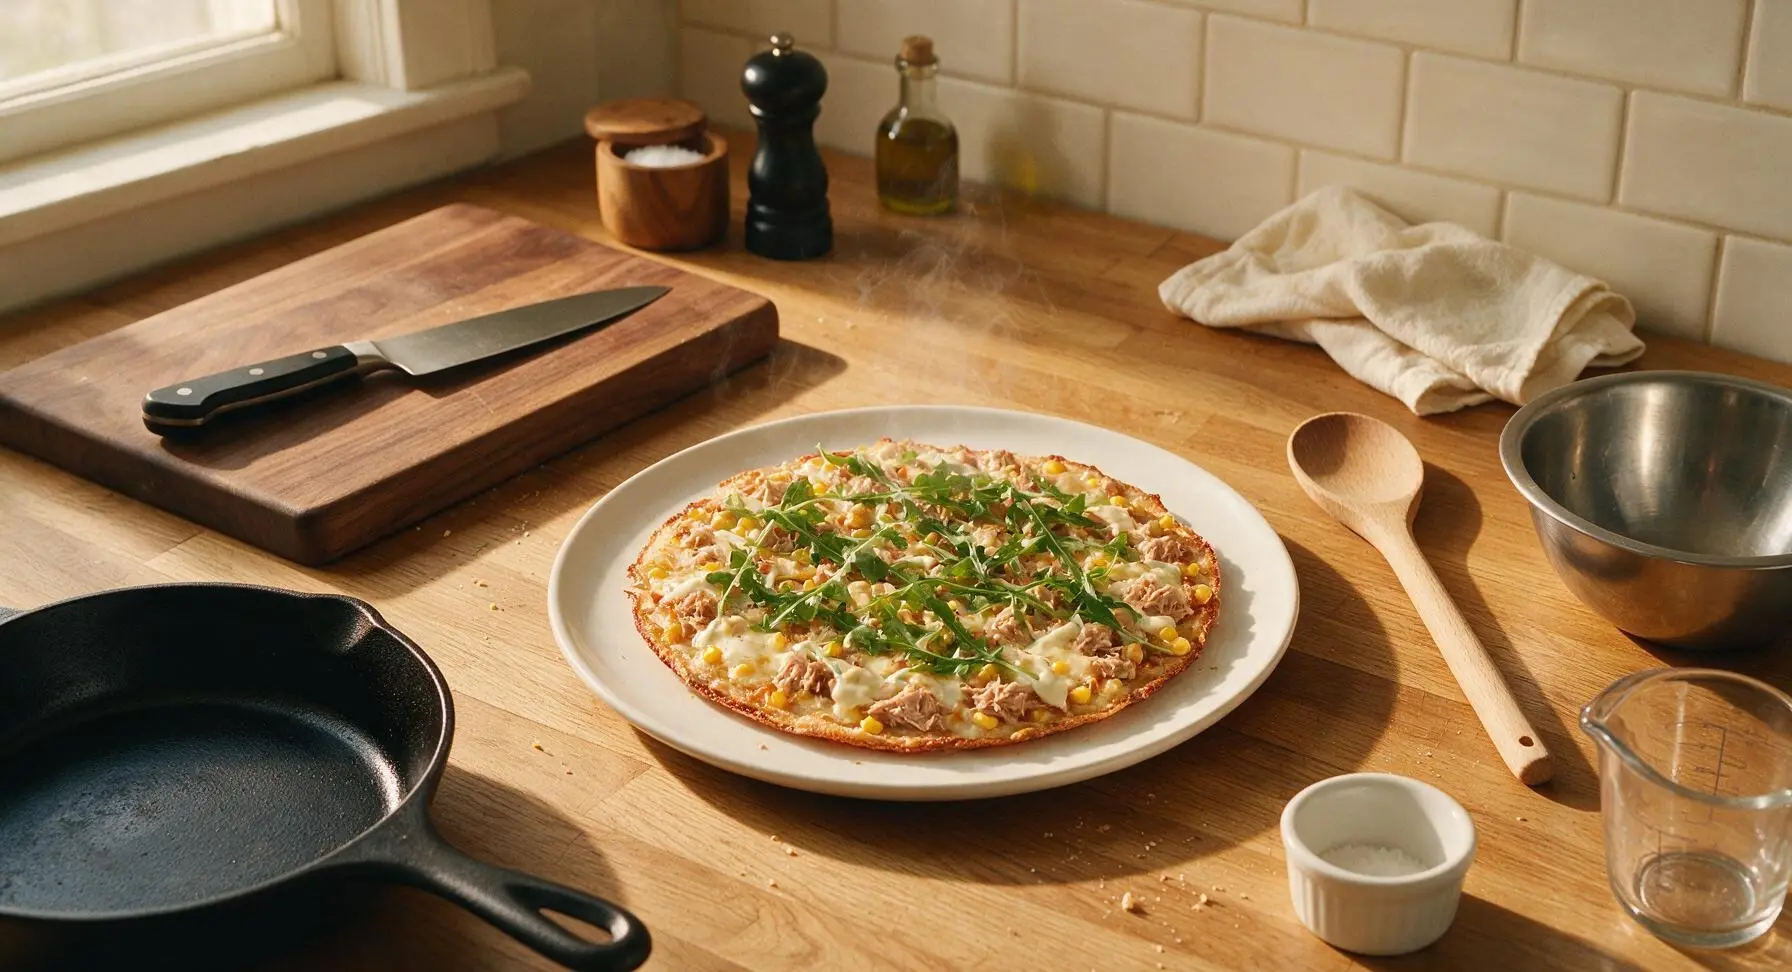
Tuna Pizza

title 1
Tuna Pizza
⏱️ cook time 14 minutes
🍽️ servings 4
⚡ Difficulty easy

intro

Crispy thin-crust pizza topped with briny flaked tuna, melted mozzarella, sweet corn, and creamy mayo, finished with peppery fresh arugula for a fast, satisfying weeknight meal ready in under 30 minutes.

Ingredients
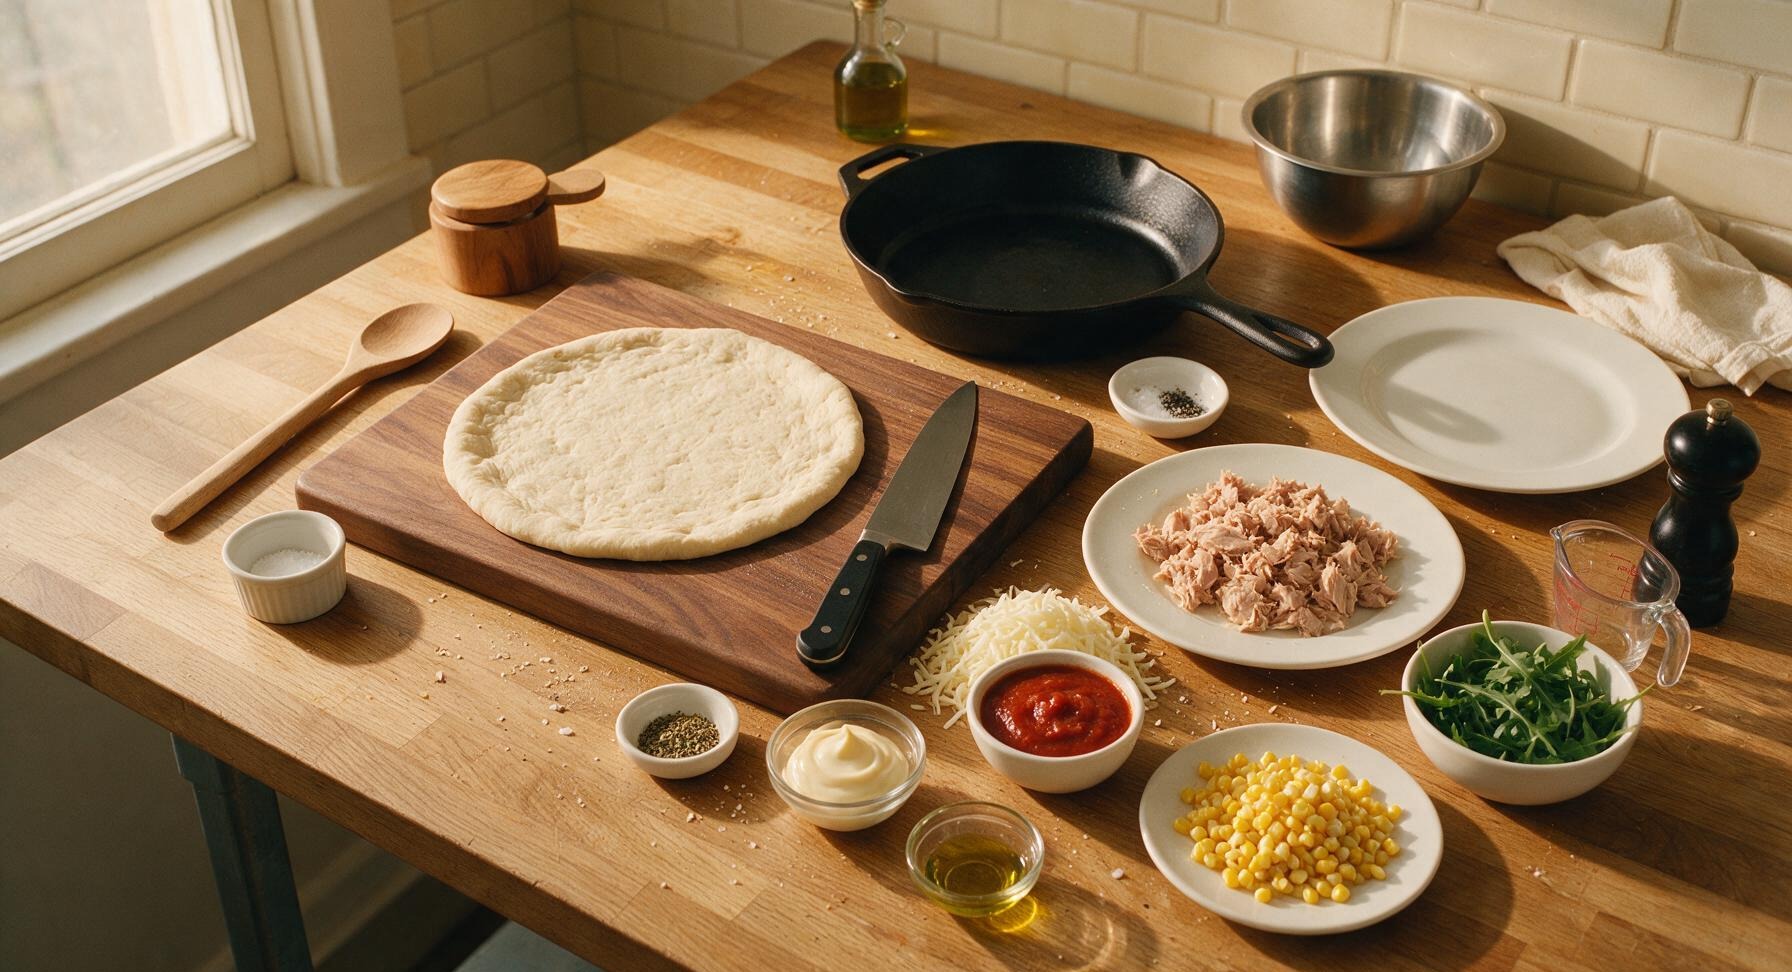
Thin-crust pizza dough 280g (10oz)
Canned tuna in water, drained 180g (two 5oz cans, drained)
Low-moisture mozzarella cheese, shredded 170g (1.5 cups)
Unsweetened marinara sauce 80ml (1/3 cup)
Frozen sweet corn, thawed 70g (1/2 cup)
Kewpie mayonnaise 30ml (2 tbsp)
Extra virgin olive oil 5ml (1 tsp)
Dried oregano 1 tsp
Fresh arugula 30g (1 cup, loosely packed)
Kosher salt 1/2 tsp
Freshly ground black pepper 1/4 tsp

Steps

1

Preheat Oven and Prep Pan

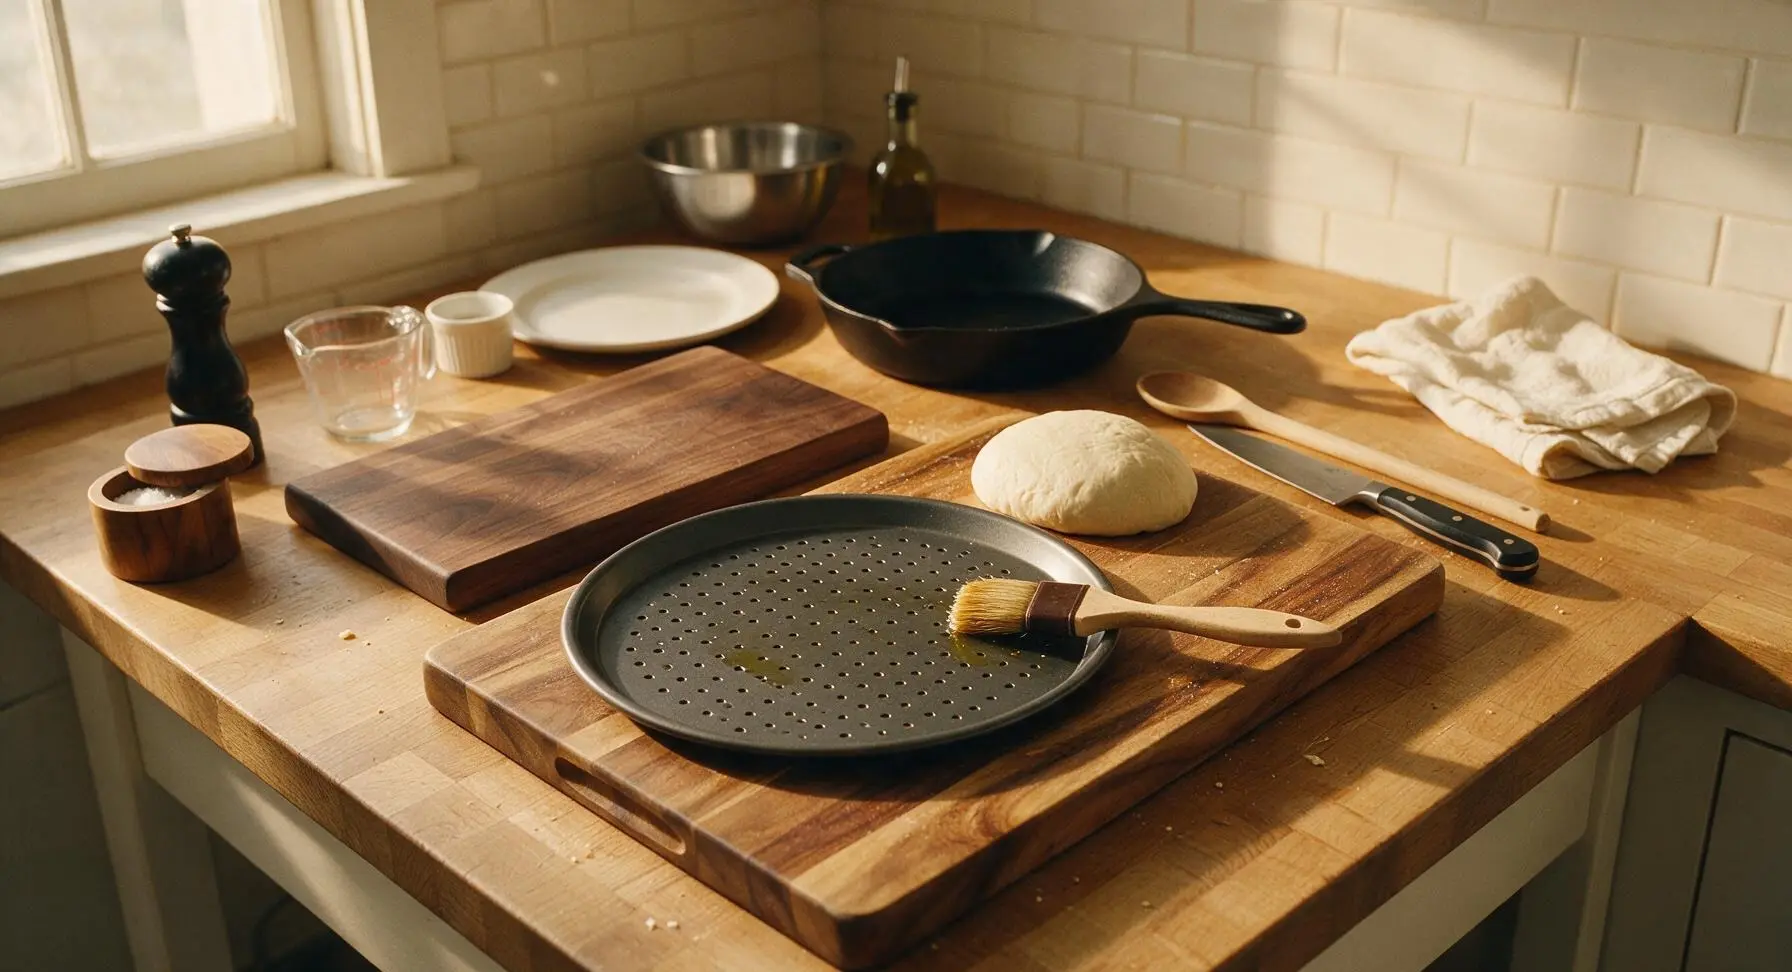
Place an oven rack in the middle position, preheat oven to 230C (450F). Use the pastry brush to coat the surface of the 12-inch perforated pizza pan with a thin layer of olive oil (1/4 tsp), set aside. Allow the thin-crust pizza dough to rest at room temperature for 10 minutes if refrigerated, until it stretches easily without shrinking back when pulled gently.
Step 1
step1:Preheat Oven and Prep Pan
2

Mix Tuna Filling

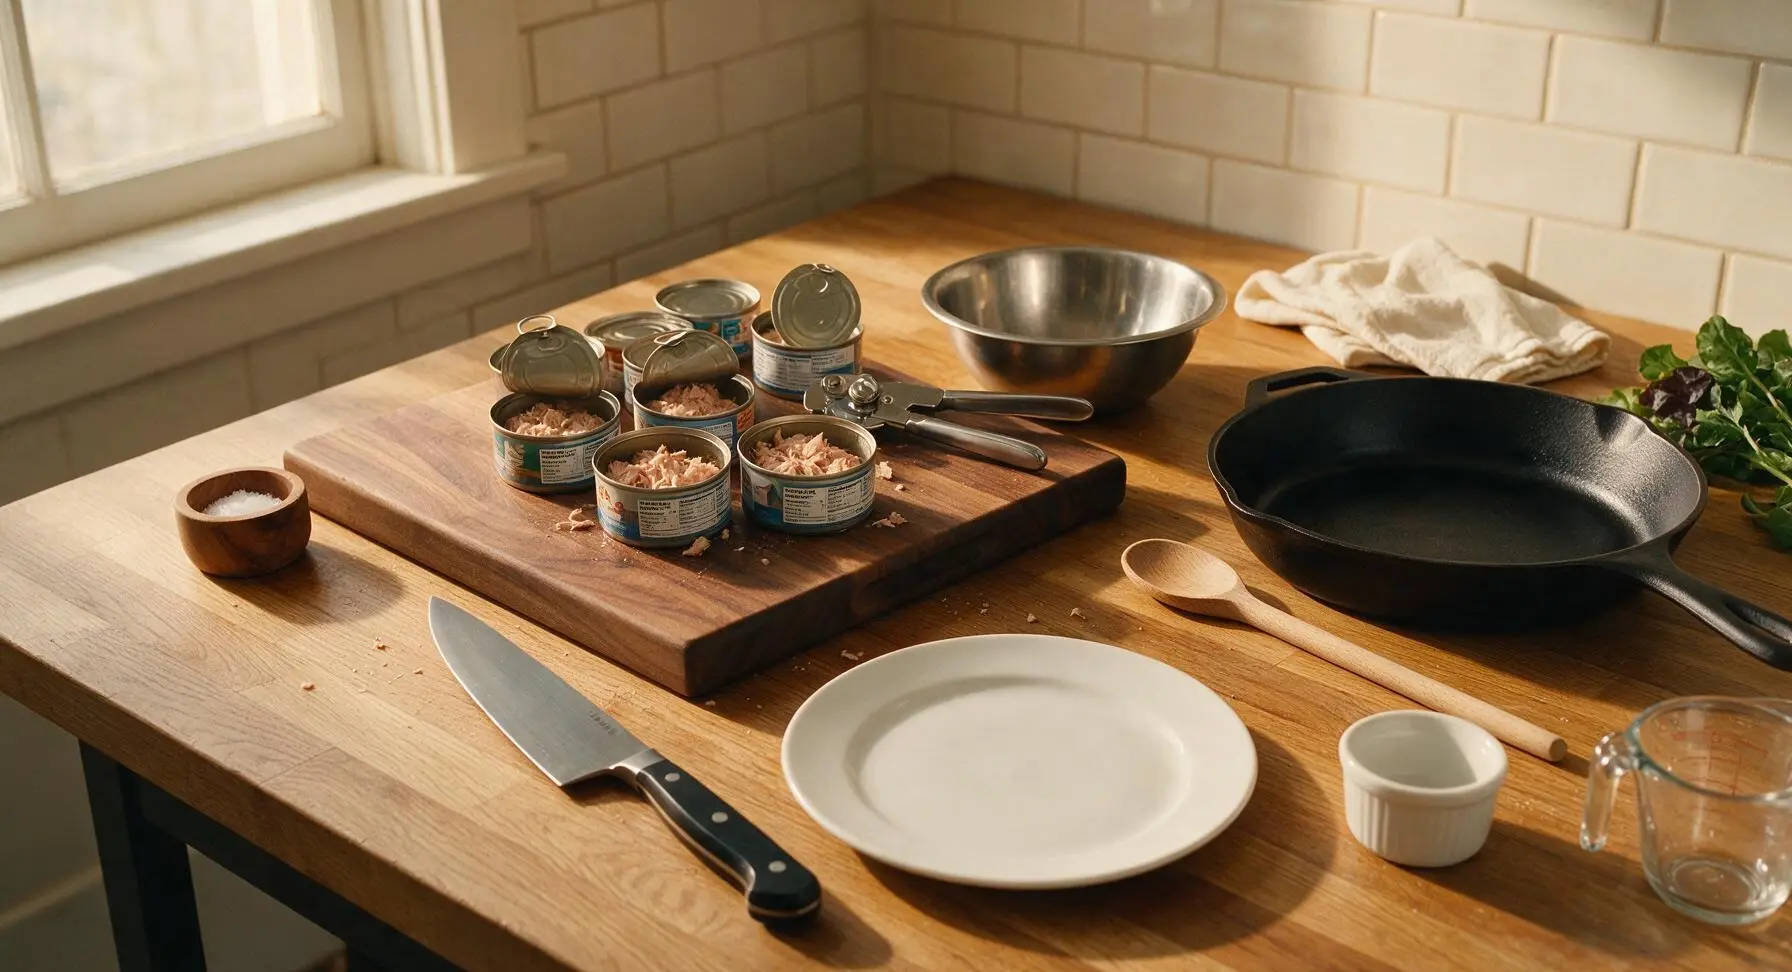
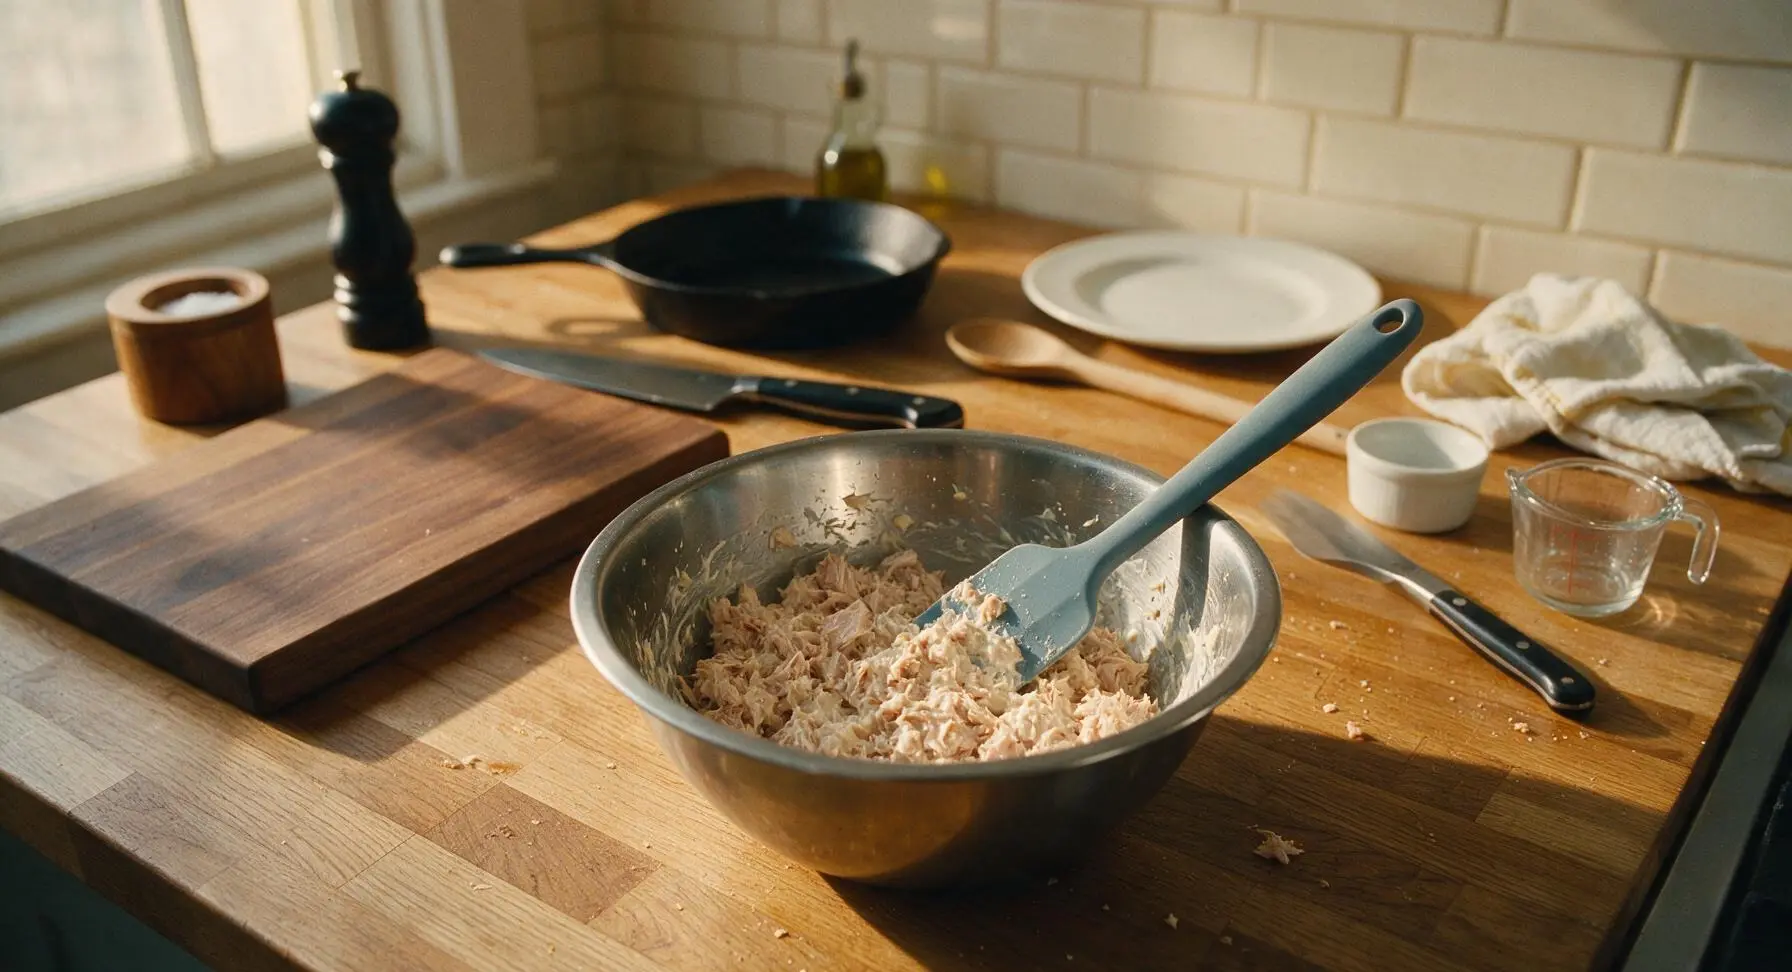
Use the manual can opener to open the canned tuna, drain completely of all water by pressing the lid firmly against the tuna to squeeze out excess moisture (this prevents soggy crust). Add drained tuna to the medium stainless steel mixing bowl, flake into small pieces with a fork, add 1 tbsp of the Kewpie mayo, 1/4 tsp kosher salt, and all the black pepper, stir with the small dusty blue silicone spatula until evenly combined with no large tuna clumps remaining, set aside.
Step 2
step2:Mix Tuna Filling
Step 2
step2:Mix Tuna Filling
3

Roll Dough to Size

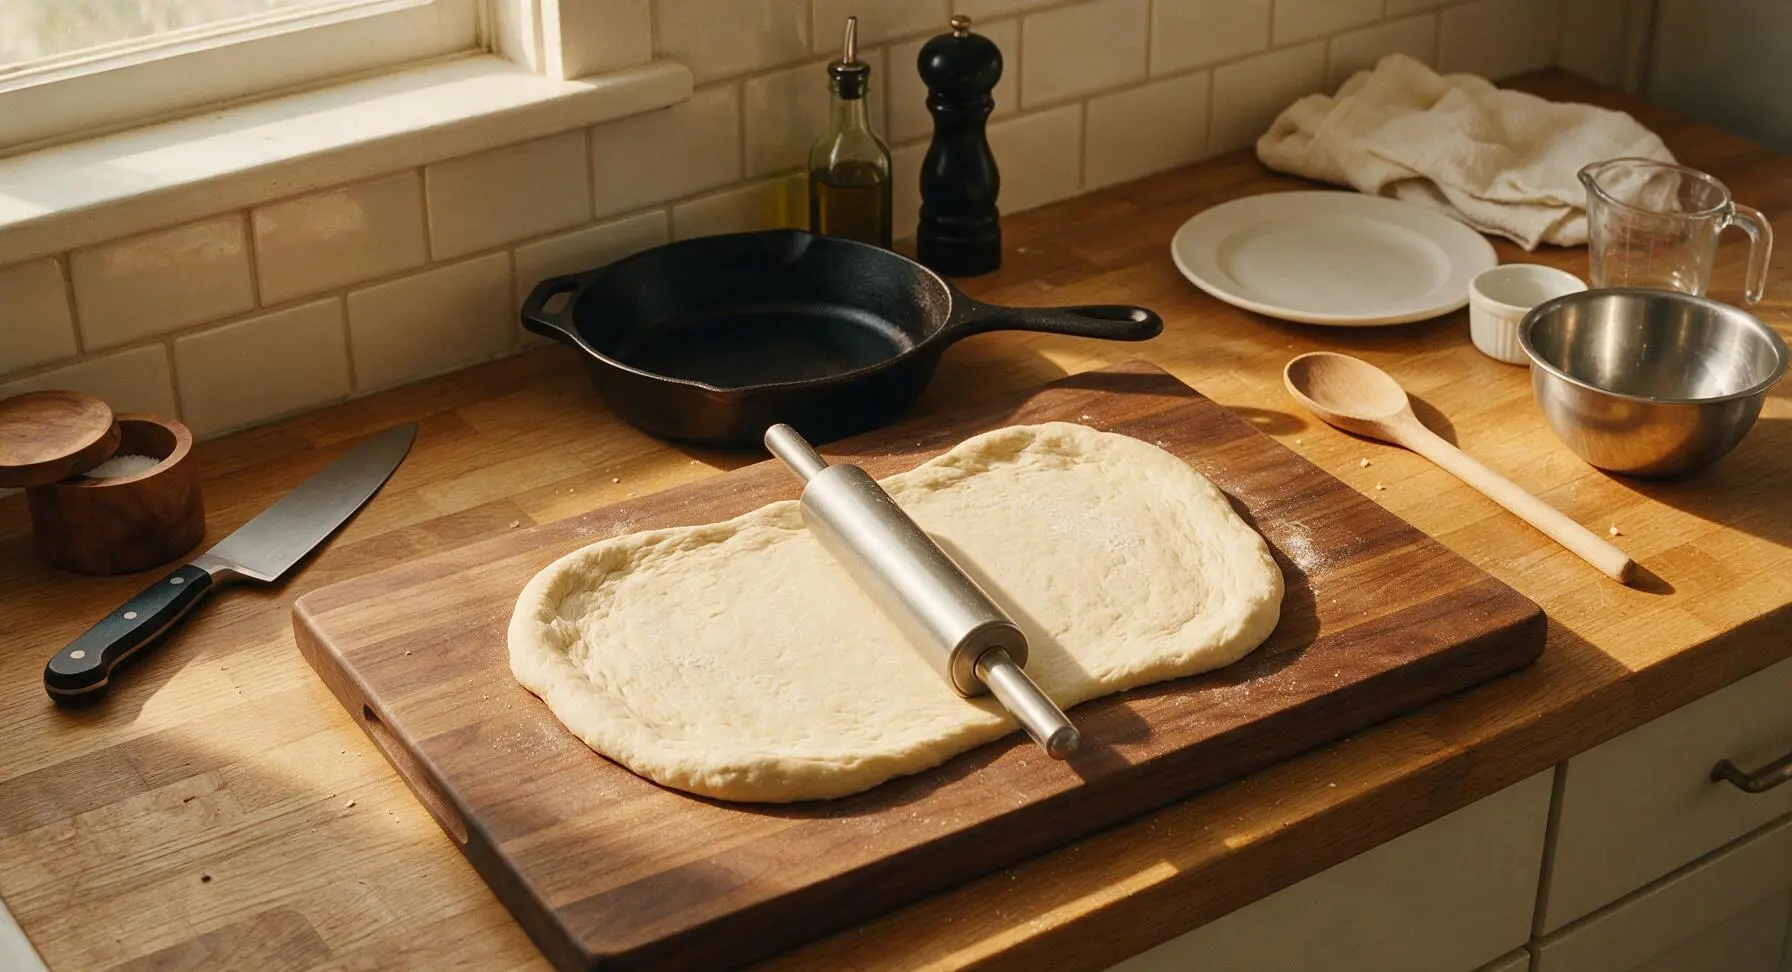
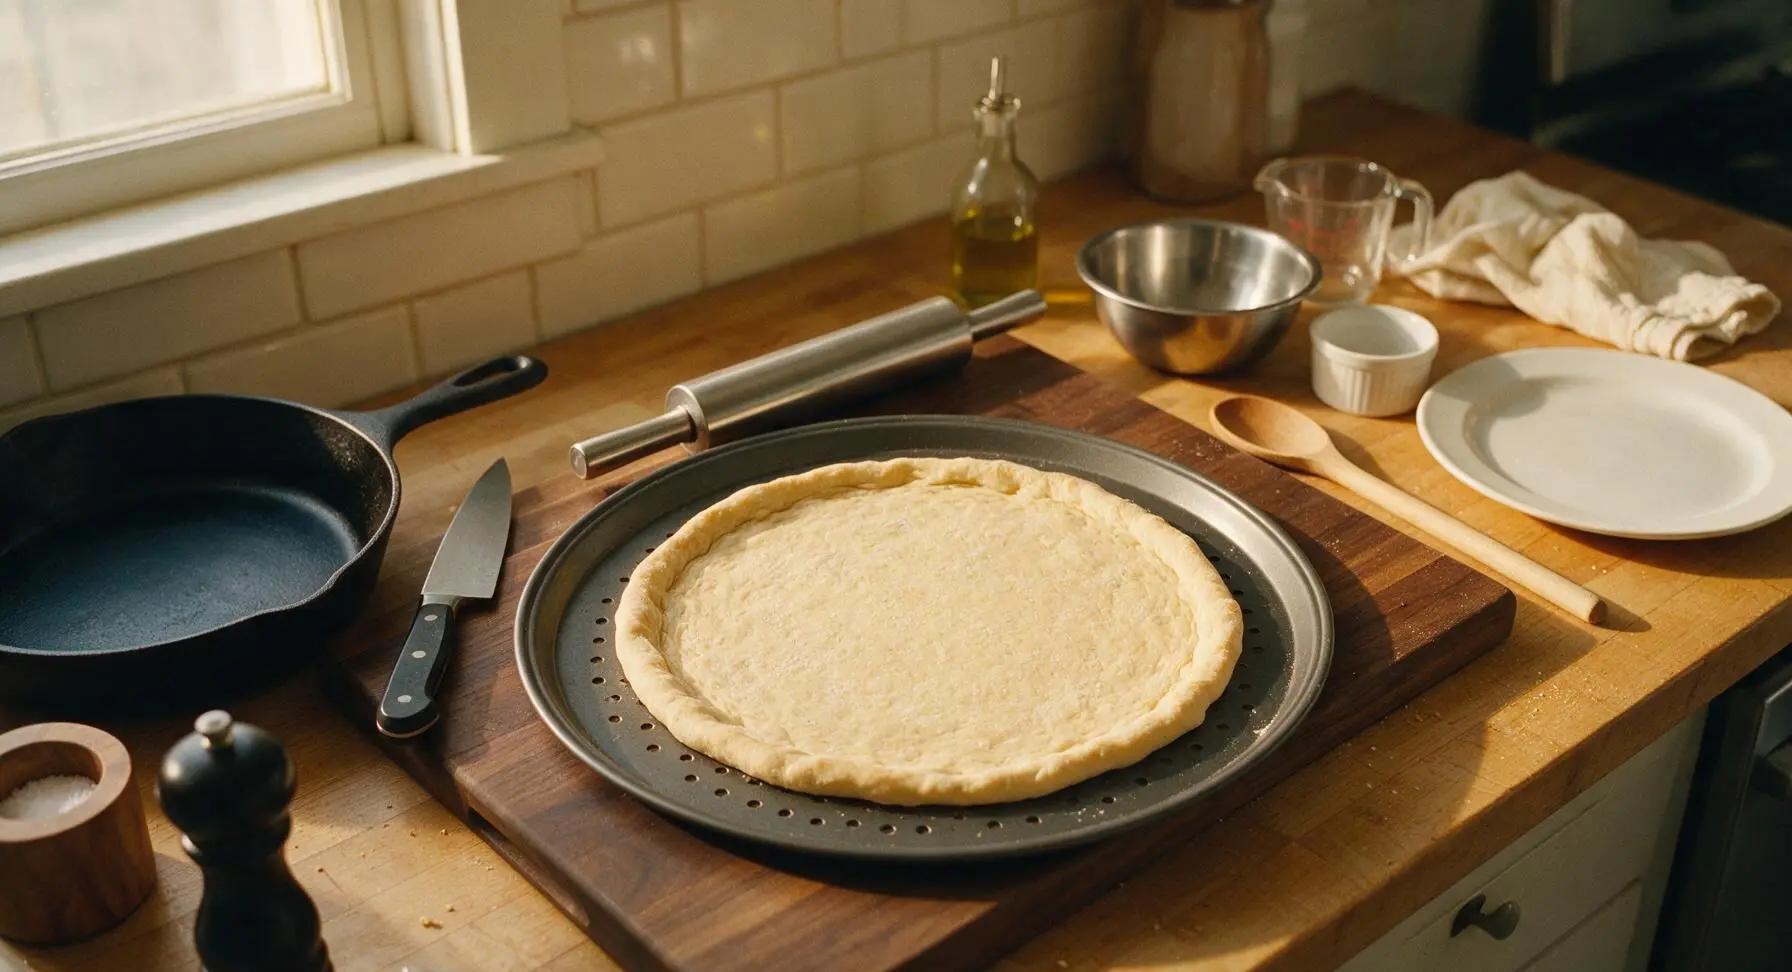
Place the rested room-temperature pizza dough on the acacia wood cutting board, lightly dust with a pinch of all-purpose flour if sticky (avoid over-flouring). Use the stainless steel rolling pin to roll the dough into a 12-inch round, roughly 3mm (1/8 inch) thick, leaving a slightly thicker 1cm edge for the crust. Carefully lift the rolled dough and lay it flat on the oiled perforated pizza pan, pressing gently to fit the pan shape, crimping the thicker edge slightly to form a raised crust rim.
Step 3
step3:Roll Dough to Size
Step 3
step3:Roll Dough to Size
4

Spread Sauce Evenly

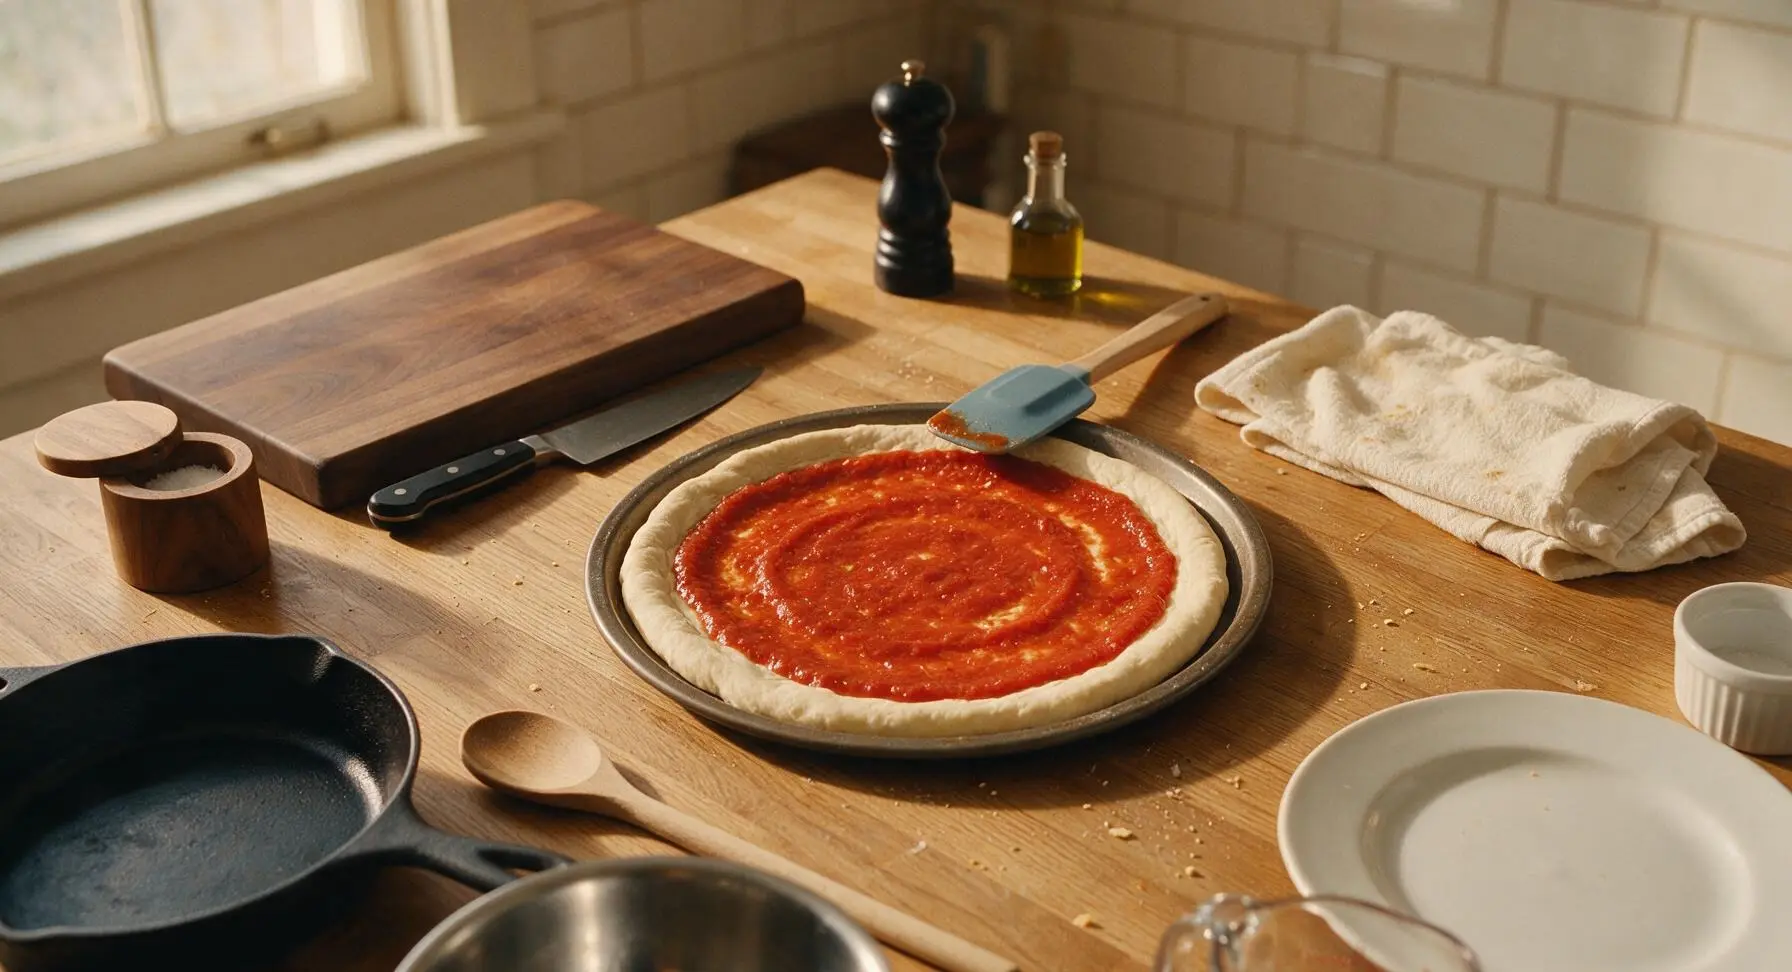
Scoop the 1/3 cup marinara sauce onto the center of the rolled dough. Use the flexible head of the dusty blue silicone spatula to spread the sauce in a thin, even layer across the dough, stopping 1cm from the raised crust edge. Sprinkle the dried oregano and remaining 1/4 tsp kosher salt evenly over the sauce. Do not add too much sauce, as this will make the crust soggy under the tuna topping.
Step 4
step4:Spread Sauce Evenly
5

Layer Cheese and Toppings

Sprinkle 3/4 of the shredded mozzarella evenly over the sauced dough, creating a thin cheese layer that covers most of the sauce. Spoon small, evenly spaced clumps of the prepared tuna-mayo mixture across the cheese, leaving 2cm gaps between clumps. Scatter the thawed, thoroughly patted-dry sweet corn kernels across the top, then sprinkle the remaining 1/4 of the mozzarella over the toppings to help hold everything in place. Use the pastry brush to brush the exposed crust edge with the remaining 3/4 tsp olive oil for a golden, crispy finish.
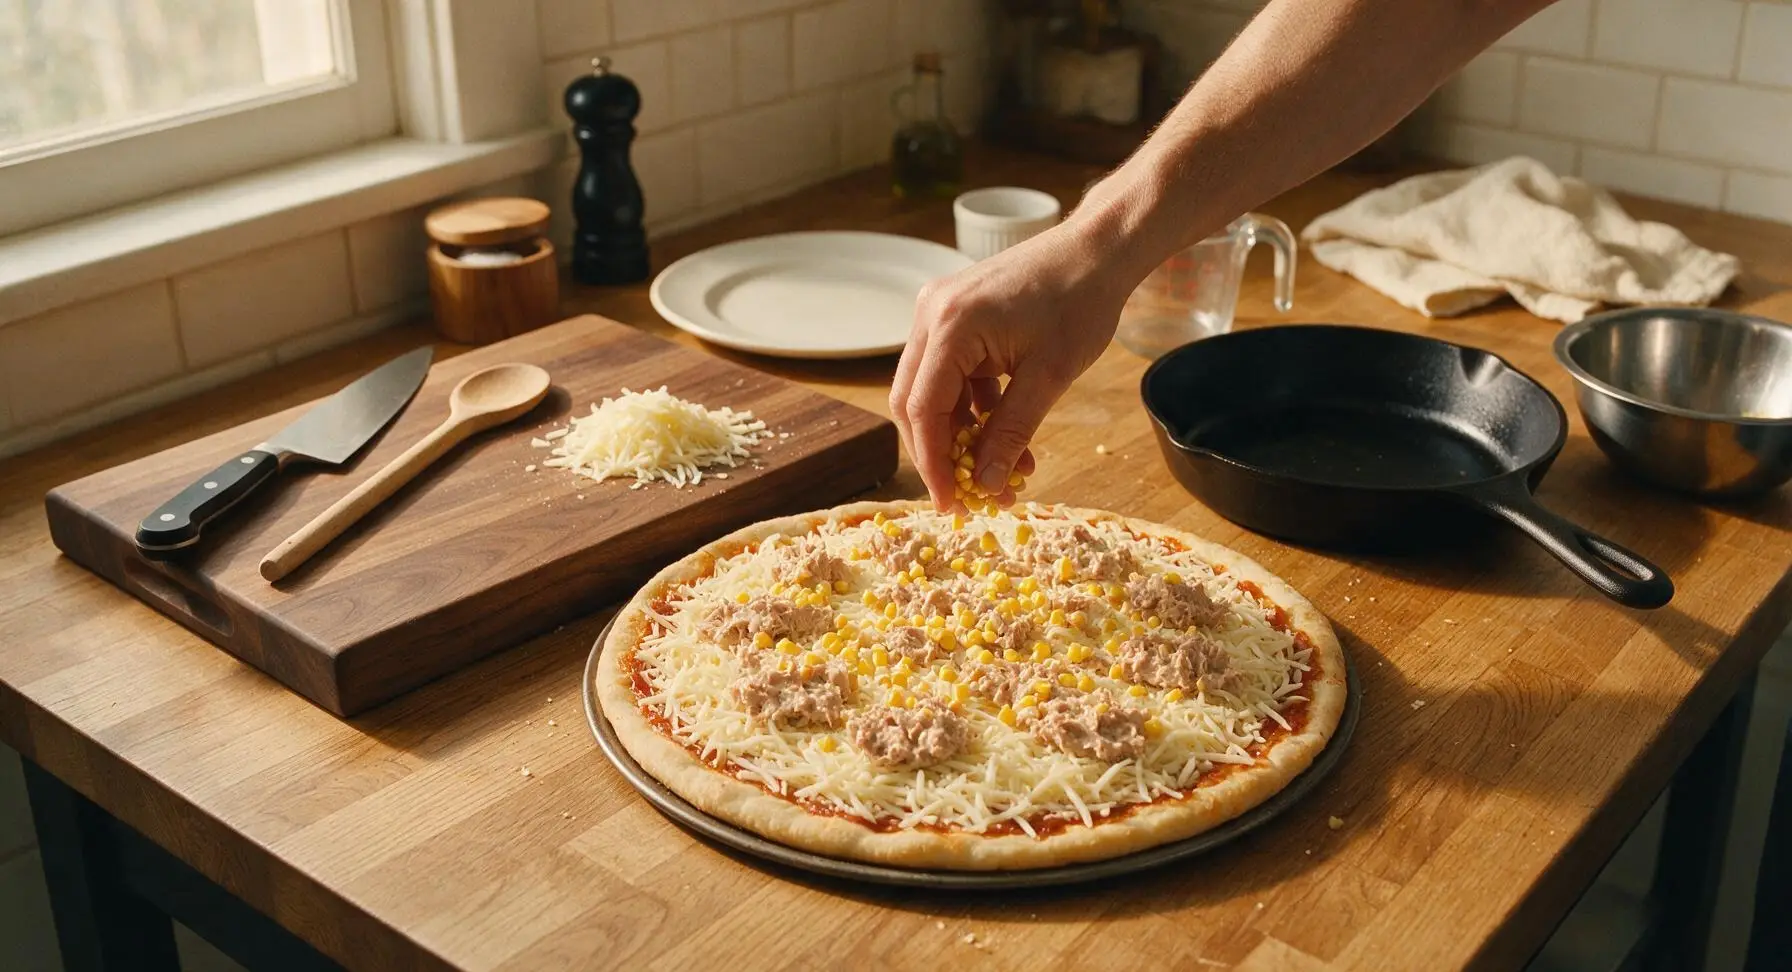
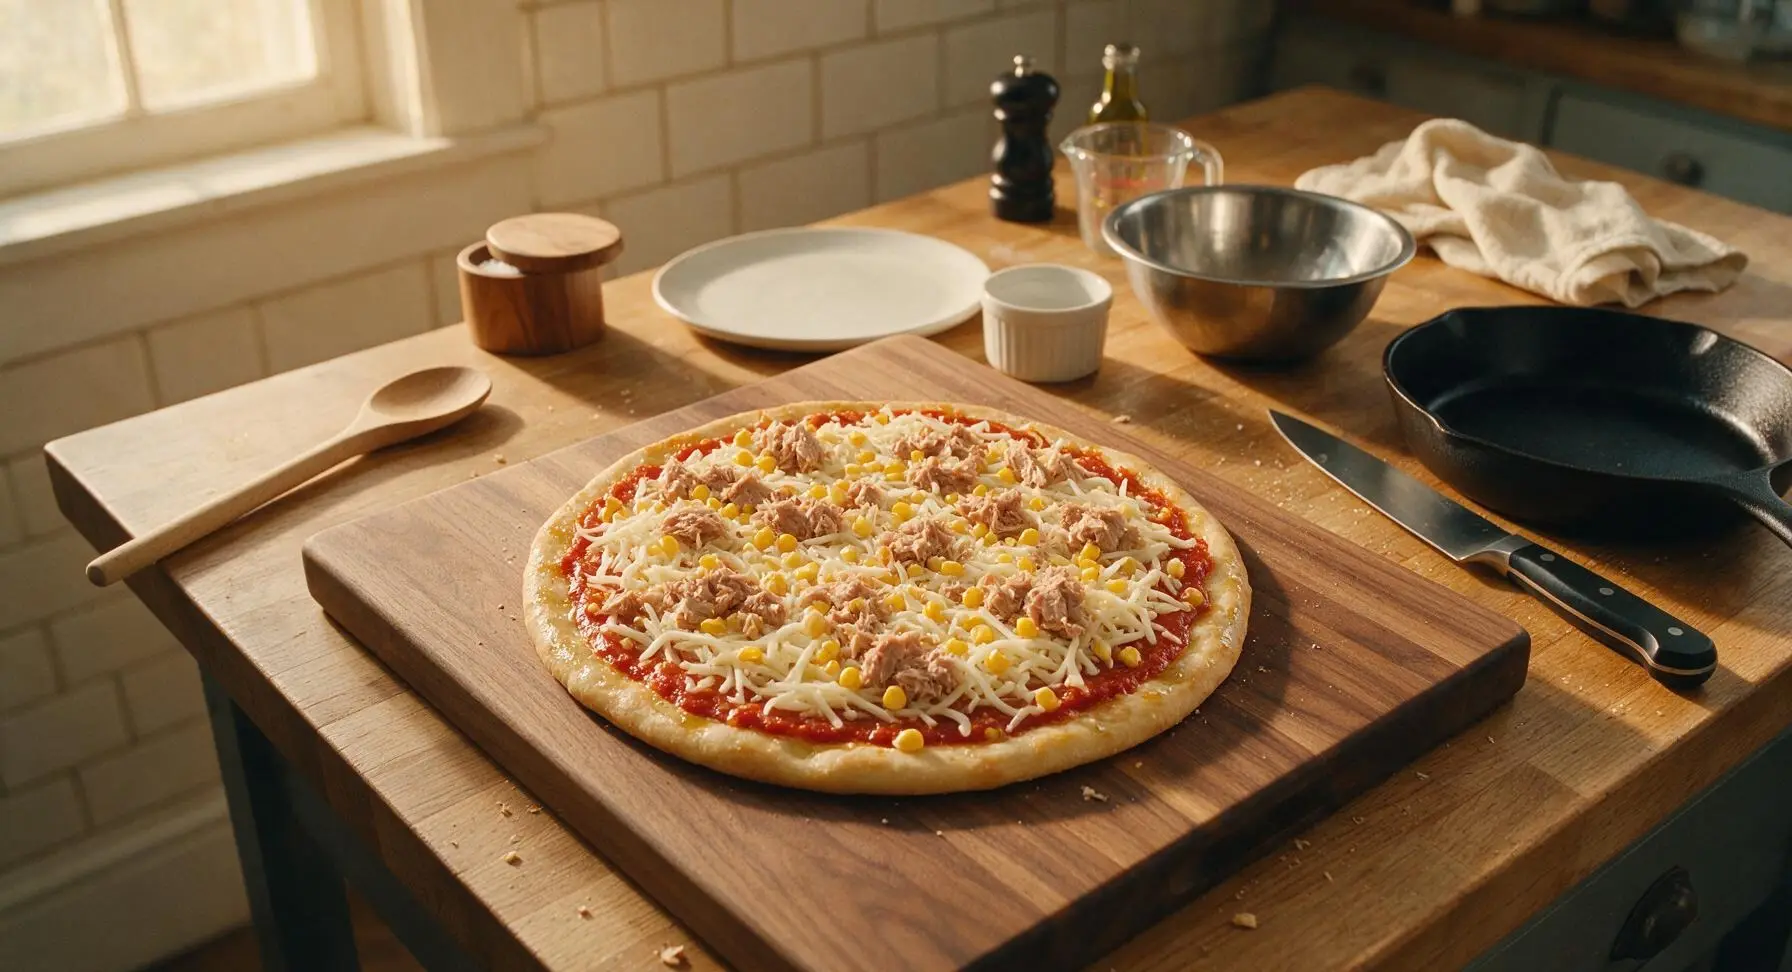
Step 5
step5:Layer Cheese and Toppings
Step 5
step5:Layer Cheese and Toppings
6

Bake to Golden Crisp

Carefully slide the pizza pan into the preheated 230C (450F) oven on the middle rack. Bake for 12-14 minutes, until the crust edge is deep golden brown and crispy, the cheese is fully melted and bubbling across the surface, and the edges of the tuna topping are just starting to turn light golden. Do not overbake, as the tuna will become dry and tough. Use the cream and sage striped oven mitts to carefully remove the hot pan from the oven once done.
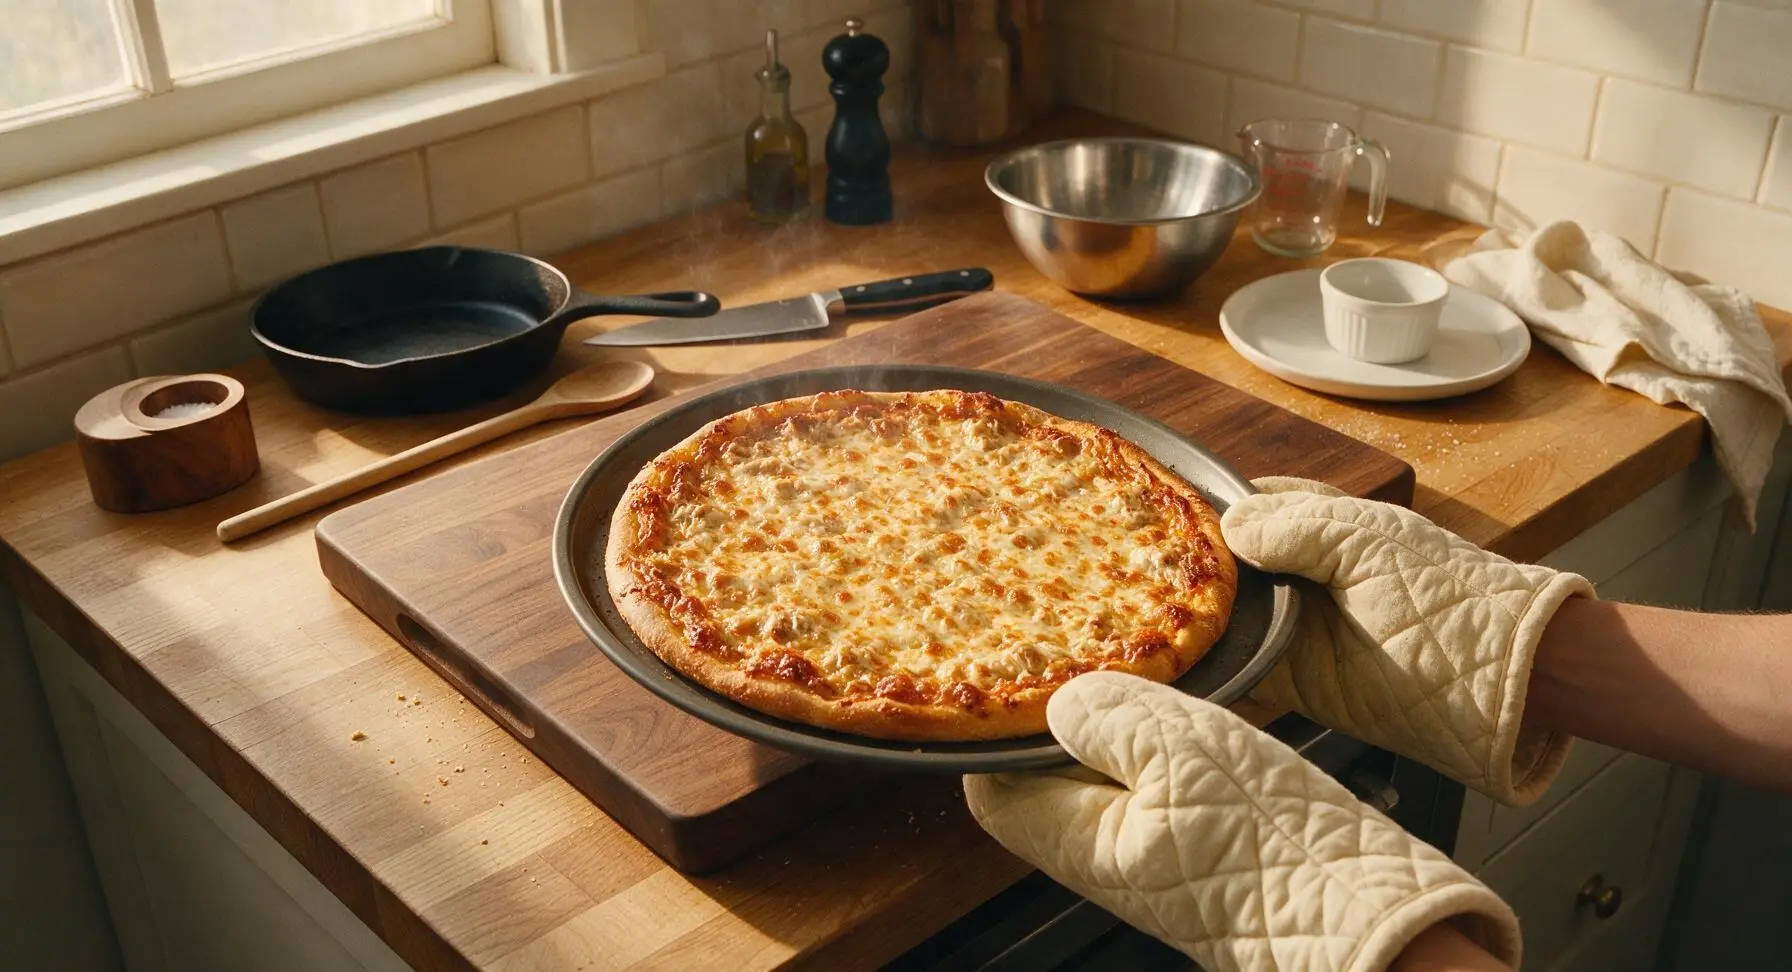
Step 6
step6:Bake to Golden Crisp
7

Garnish and Slice

Let the hot pizza rest on the pan for 2 minutes to set the cheese, then carefully slide it onto the large matte white ceramic serving platter. Drizzle the remaining 1 tbsp Kewpie mayo in a thin zig-zag pattern across the top of the pizza. Pile the fresh arugula loosely in the center of the pizza, and give it a single light twist of black pepper from the grinder. Use the stainless steel pizza wheel to slice the pizza into 8 equal wedges, and serve immediately.
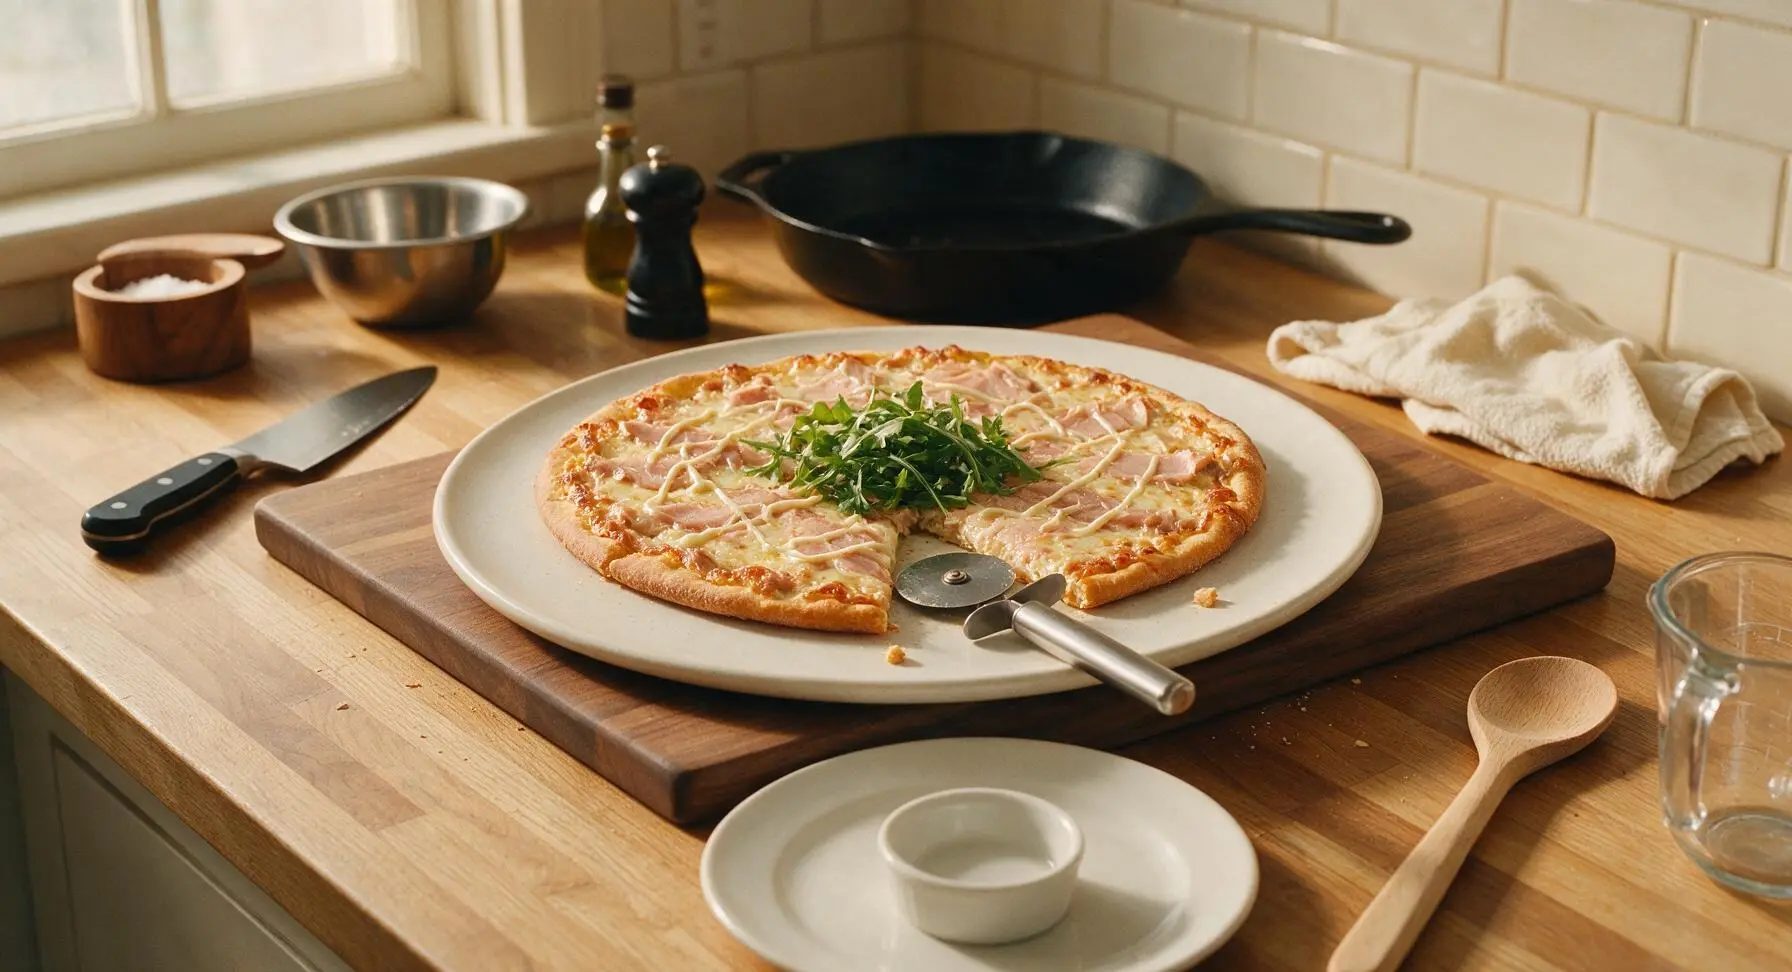
Step 7
step7:Garnish and Slice

Tips

1.Drain canned tuna and thawed corn extremely well before use: press tuna firmly with the can lid to squeeze out all trapped water, and pat corn dry with a paper towel, as excess moisture will seep into the thin crust and create a soggy, undercooked center even at high oven temperatures.
2.Avoid overloading the pizza with sauce or cheese: a thin 1/3 cup layer of marinara and light cheese covering creates a crisp crust, while heavy toppings will weigh down the dough and prevent it from crisping properly in the short bake time.
3.Let the baked pizza rest for 2 full minutes before slicing: this short rest allows melted cheese to set slightly, so toppings don’t slide off slices when cut, and prevents the crust from getting soggy from trapped steam under the melted cheese.


✨ You May Also Like

Main Course
🍜 United Kingdom

A showstopping classic of tender seared beef, savory mushroom duxelles, and crisp prosciutto wrapped in flaky golden puff pastry, baked to juicy perfection.

⏱️ 2 hours 1Main Course ★ 4.7
Main Course
🍜 India

Tender charred marinated chicken simmered in a rich, spiced creamy tomato sauce, this iconic Anglo-Indian curry pairs perfectly with basmati rice or warm naan.

⏱️ 50 minuteMain Course ★ 4.6
Main Course
🍜 Thailand

Classic tangy, sweet, and savory Thai stir-fried rice noodles with shrimp, tofu, and crunchy garnishes, balancing all five core Thai flavor profiles.

⏱️ 30 minuteMain Course ★ 4.5
Main Course
🍜 United Kingdom

Crispy golden beer-battered cod and fluffy double-fried chips, served with tangy tartar sauce and malt vinegar: the timeless, beloved British pub comfort classic.

⏱️ 45 minuteMain Course ★ 4.7
Main Course
🍜 Mexico

Smoky, chile-marinated pork tacos with caramelized pineapple, fresh cilantro, and lime: a beloved classic Mexican street food perfect for casual summer gatherings.

⏱️ 1 hour 45Main Course ★ 4.8
Main Course
🍜 United States

Crunchy Fritos corn chips layered with savory beef chili and melted cheddar, topped with cool, zesty fixings for a beloved, cozy Tex-Mex comfort food.

⏱️ 35 minuteMain Course ★ 4.8

Tuna Pizza:Frequently Asked Questions

1.Can I use store-bought thin-crust dough instead of homemade to cut down on prep time? ▾
Absolutely! Store-bought refrigerated or frozen thin-crust dough works perfectly for this 30-minute weeknight meal. Let refrigerated dough rest 10 minutes at room temperature before rolling, and par-bake frozen crusts for 3 minutes before adding toppings to lock in that signature crisp, non-soggy texture.
2.Why do you recommend canned tuna packed in water instead of oil for this pizza? ▾
Tuna packed in water helps prevent soggy crust, since oil-packed tuna leaches extra grease as it bakes. If you only have oil-packed tuna on hand, drain it extra thoroughly, then pat the flakes dry with paper towels for 30 seconds before adding it to your pizza to keep the crust crisp.
3.How do I keep my thin crust from getting soggy under the tuna and other toppings? ▾
The most reliable trick is a quick 2-minute par-bake of your rolled-out crust at 475°F before adding any toppings. Also, stick to low-moisture mozzarella, don’t overdo the marinara, and make sure your tuna and thawed corn are fully drained of excess liquid before layering.
4.Can I use fresh sweet corn instead of frozen thawed corn for this recipe? ▾
Totally! Fresh cut sweet corn works beautifully, especially during peak summer corn season. You don’t even need to pre-cook it—just cut kernels straight off the cob, pat them dry if they’re extra juicy, and scatter them over the pizza for a brighter, snappier sweet flavor.
5.What oven temperature gives the crispiest crust for this tuna pizza? ▾
Crank your oven to 475°F, and preheat a pizza stone, baking steel, or rimmed baking sheet for 20 minutes first if you have one. Bake the topped pizza for 8 to 10 minutes, until crust edges are deep golden and crispy, and cheese is melted with scattered bubbly brown spots.
6.Do I have to add mayo to this pizza? I don’t love the flavor of mayo on pizza. ▾
No, the mayo is totally optional, though it adds a rich, creamy contrast to the briny tuna and crisp crust. If you skip it, swap in a light drizzle of extra-virgin olive oil after baking, a sprinkle of grated parmesan, or an extra thin layer of marinara to keep toppings from feeling dry.
7.Can I make this crispy tuna pizza ahead of time for weekly meal prep? ▾
This pizza is best eaten fresh right out of the oven for maximum crispness, but you can prep all components ahead. Shred cheese, drain tuna, thaw corn, and roll out dough 1 to 2 days in advance, storing everything airtight in the fridge. Assemble and bake right when you’re ready to eat.
8.What’s the best way to drain canned tuna properly so it doesn’t make my pizza soggy? ▾
Open the can lid most of the way, hold it over the sink, and press the lid firmly against the tuna to squeeze out as much excess water as possible. Then, flake the tuna onto a paper towel-lined plate and pat the top lightly to soak up any remaining surface moisture before adding it.
9.Can I use fresh mozzarella instead of low-moisture mozzarella for this recipe? ▾
Fresh mozzarella has very high moisture content that will make your thin crust soggy if used straight from the pack. If that’s all you have, slice it thin, lay slices on paper towels for 15 minutes to drain excess whey, and use half the amount you would of low-moisture mozzarella to avoid a soggy pie.
10.When should I add the fresh arugula so it doesn’t get wilted or slimy? ▾
Always add fresh arugula immediately after you pull the pizza out of the oven, right before slicing and serving. The residual heat from the pie will slightly soften the leaves without turning them slimy or bitter, and that peppery bite cuts through the rich cheese and creamy mayo perfectly.
11.What extra toppings work well on this crispy tuna pizza without ruining the texture? ▾
Stick to low-moisture add-ins to keep the crust crisp: great options include thin-sliced red onion, sliced black olives, a sprinkle of red pepper flakes, rinsed capers, or a pinch of dried oregano. Skip very wet toppings like fresh tomato slices unless you drain them thoroughly first.
12.I don’t have marinara sauce on hand—what’s a good substitute? ▾
If you don’t have unsweetened marinara, swap in a thin layer of tomato paste mixed with a pinch of garlic powder, salt, and Italian seasoning. You can also skip red sauce entirely for a white pie: spread a very thin layer of garlic-infused mayo on the par-baked crust instead.
13.How thin should I roll the pizza dough to get that perfect crispy texture? ▾
Roll or stretch your dough to roughly 1/8 of an inch thick, leaving a slightly thicker 1/2 inch border for the puffed crust edge. If the dough springs back as you roll, let it rest 5 minutes covered with a clean kitchen towel to relax the gluten, then try again.
14.Can I bake this crispy tuna pizza on the grill instead of in the oven? ▾
Definitely! Grilled tuna pizza is perfect for summer cookouts. Preheat your grill to 475°F, oil the grates well, par-cook one side of the rolled dough for 2 minutes, flip it, add toppings to the cooked side, close the lid, and grill 5 to 7 more minutes until cheese is melted and crust is crisp.
15.How do I store leftovers, and what’s the best way to reheat them to keep the crust crisp? ▾
Leftovers will stay fresh in an airtight container in the fridge for up to 3 days. Never reheat in the microwave, which makes crust soggy—instead, reheat slices on a baking sheet in a 400°F oven for 5 to 7 minutes, or in a dry skillet over medium heat for 3 minutes until crisp.
16.Is there a good gluten-free crust option that works for this tuna pizza? ▾
Yes! Most store-bought thin gluten-free pizza crusts work perfectly, just follow the par-bake instruction on the package before adding toppings to avoid sogginess. For homemade, a thin rice flour or well-pressed cauliflower crust par-baked for 5 minutes will hold up well to all your toppings.
17.Can I use chunk light tuna instead of solid albacore tuna for this recipe? ▾
Absolutely! Chunk light tuna works perfectly, and often has a milder, more approachable flavor that pairs great with the sweet corn and melted cheese. Just make sure you drain and pat it dry the same way you would solid albacore to avoid adding excess moisture that would make the thin crust soggy.

Comments (9)

2 days ago

OMG this crispy tuna pizza is such a game changer for our weeknight dinners! I was so sick of the same old frozen pizza nights, and this only took 14 minutes like the recipe says? My kids devoured two slices each before I even sat down. 10/10 will be adding this to our regular meal prep rotation!

1 day ago

Right?! I made this for my kid’s after-school snack last week and they asked for it again the next day. So much cheaper than takeout too!

1 day ago

So happy to hear this is a hit with the kids! Pro tip: sprinkle a little extra parmesan the last minute of baking for even more crispy, cheesy goodness if that’s your vibe!

3 days ago

Brought this to our neighborhood block party potluck last weekend and people were asking me for the recipe left and right! The crust gets so perfectly crispy, I was worried the tuna would make it soggy but nope — held up amazing even after sitting out for an hour. SO good.

2 days ago

Thrilled it was a potluck hit! The trick to no soggy crust is pre-baking it for 2 minutes before adding toppings, which sounds like you nailed! Great work.

just now

Super easy to throw together after work when I don’t feel like putting in a ton of effort. I added a little sriracha drizzle on top for a kick and it slapped. Only reason it’s not 5 stars is I wish the recipe suggested a little hot sauce addition, but it was easy enough to tweak on my own. Will make again for sure.

1 week ago

As a college student with barely any cooking skills and a tiny dorm oven, this was perfect! Canned tuna is so cheap, I already had most of the ingredients, and cook time was so fast I didn’t even burn it lmao. Only note is I wish I’d added more red onion.

5 days ago

Same! I keep a few cans of tuna in my dorm pantry specifically for this recipe now. The red onion addition is chef’s kiss, I do that too now.

5 days ago

Swapped the regular pizza crust for a gluten-free thin crust and this still turned out perfectly crispy! I was nervous gluten-free crust would get too crumbly but the tuna and light cheese topping worked so well. Already texted the recipe to my gluten-free bestie.

2 weeks ago

Made a batch of these on Sunday for my weekday lunches and they held up so much better than I expected! I crisped the edges extra, stored them in airtight containers, and just popped them in the toaster oven for 2 minutes at lunchtime. Game changer for work lunches honestly.

6 days ago

How do you keep the tuna from getting dried out when you reheat? I tried meal prepping this last month and it got a little rubbery!

5 days ago

Great question! To keep tuna from drying out during reheating, cover the pizza loosely with a small piece of foil while warming, and don’t reheat longer than 2-3 minutes at 375F. Works like a charm!

30 minutes ago

I added pickled jalapeños and a dash of old bay to the tuna mix and oh my GOD it was so good. The crispy crust paired with the briny jalapeños and savory tuna? I’m never ordering delivery pizza again.

10 minutes ago

That flavor combo sounds incredible! Old bay on tuna is such an underrated move, I’m definitely going to test that version for the blog soon. Thanks for the idea!

5 minutes ago

I’m literally the worst at cooking, I burn toast 90% of the time, and even I pulled this off! The instructions were so straightforward, 14 minutes exactly like it said, and the crust came out crispy just like the photos. So proud of myself lol.

yesterday

Made this for my girlfriend last night for our casual at-home date night and she was obsessed! We’ve been trying to do more fun homemade meals instead of getting takeout, and this felt fancy even though it was so easy and fast. We paired it with a little side salad and it was perfect.

8 hours ago

I did this too for my anniversary dinner! I added a little arugula on top after baking for a peppery bite, looked and tasted like something from a fancy wood-fired pizza place. 10/10 date night pick



