
unstuffed bell pepper casserole

title 1
unstuffed bell pepper casserole
⏱️ cook time 40 minutes
🍽️ servings 6
⚡ Difficulty easy

intro

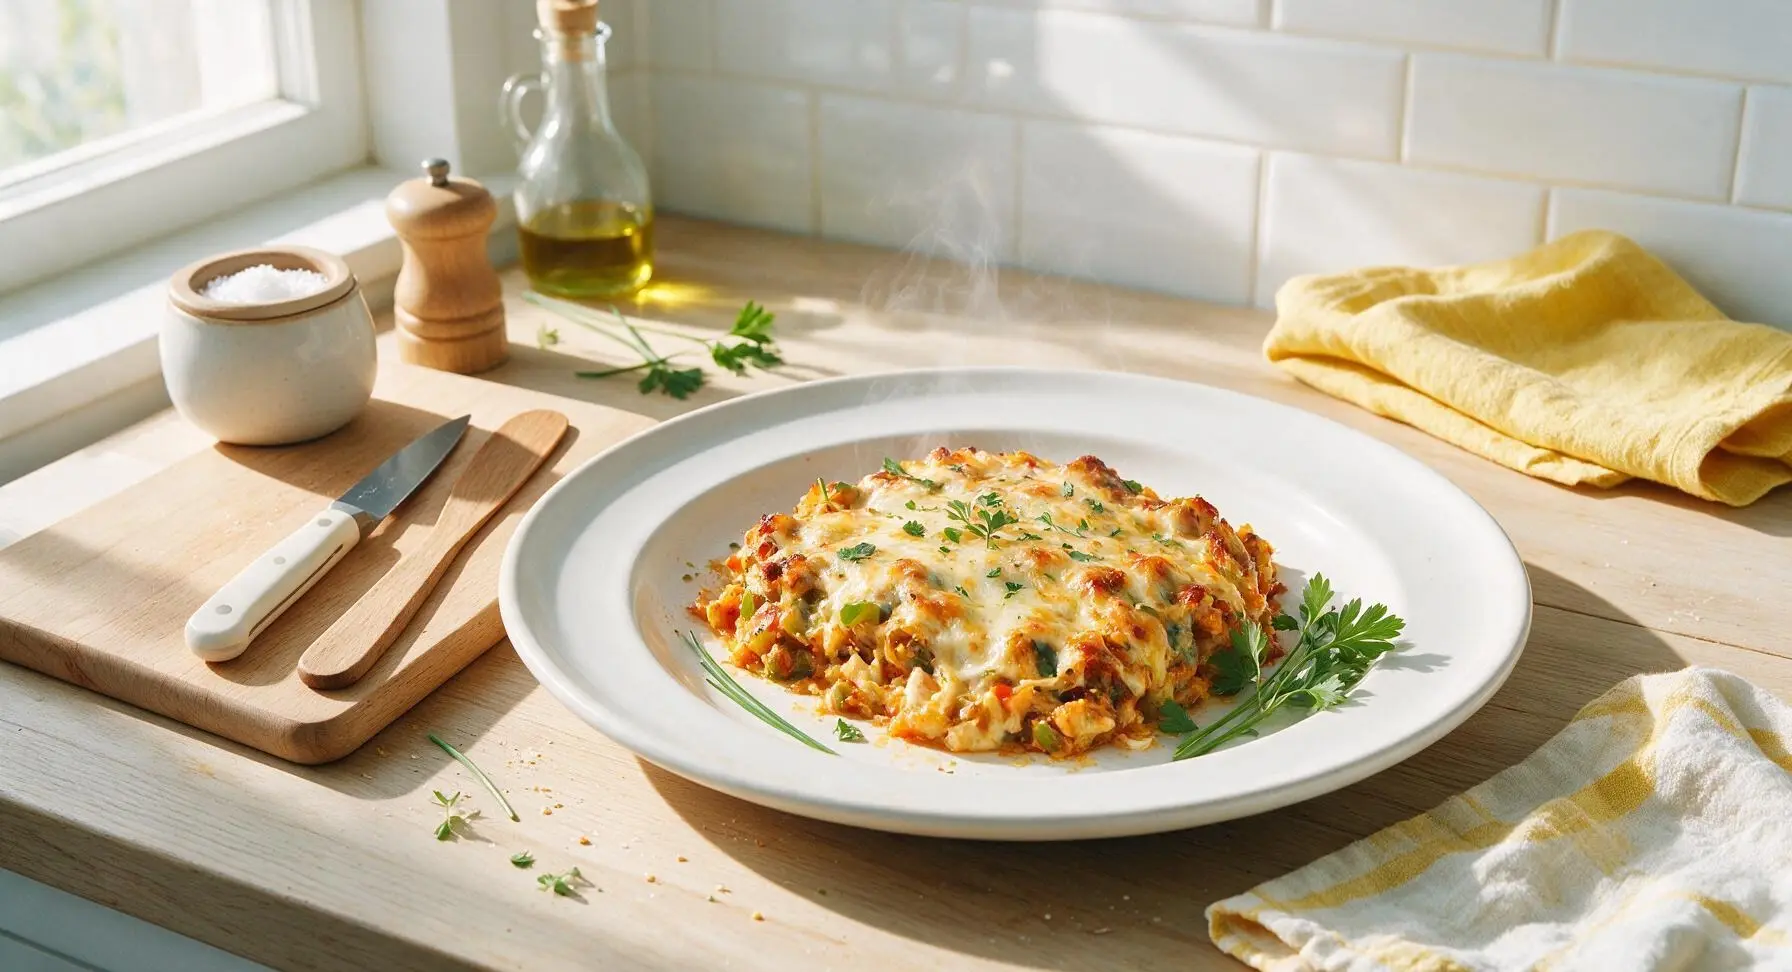
All the savory, cozy flavor of classic stuffed bell peppers baked into a cheesy, hands-off one-pan casserole—no tedious pepper stuffing required for easy weeknight dinners.

Ingredients
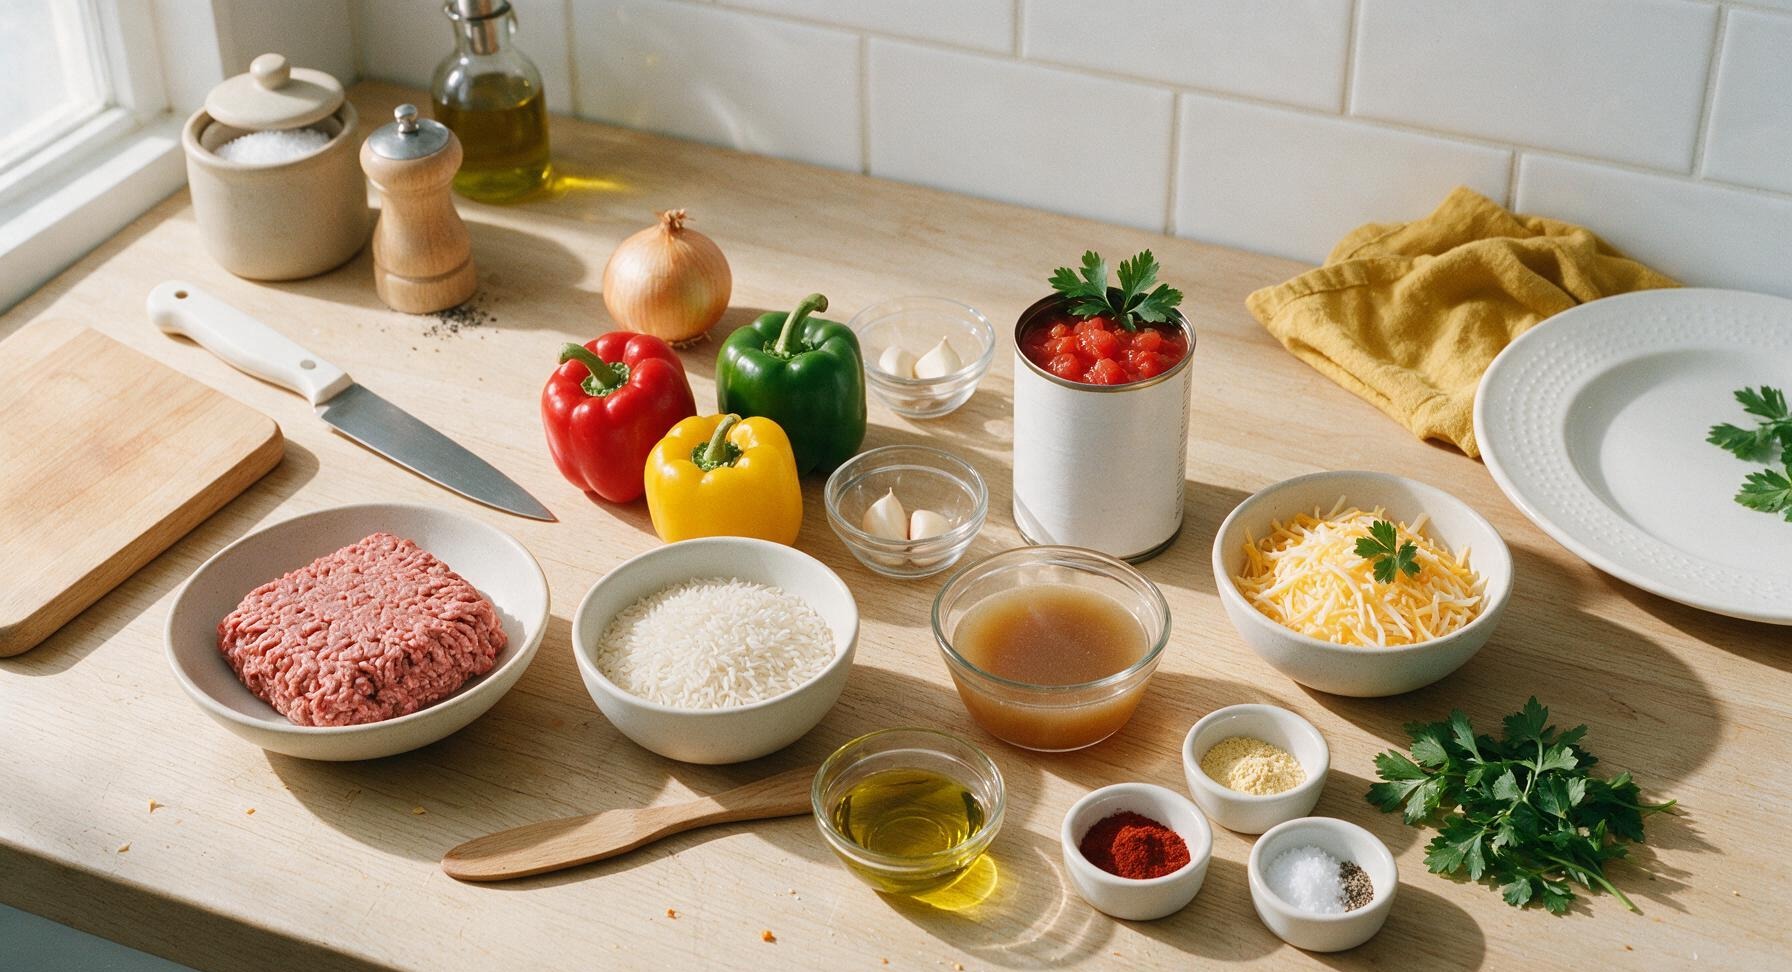
Lean ground beef (90/10) 1 lb (450g)
Mixed bell peppers (red, green, yellow) 3 medium (450g total, seeded)
Long-grain white rice (uncooked) 1 cup (185g)
Yellow onion 1 medium (150g)
Garlic cloves 2 (6g total)
No-salt-added diced tomatoes (with juices) 1 14.5oz can (410g)
Low-sodium beef broth 1.5 cups (360ml)
Sharp cheddar cheese 1.5 cups (170g, shredded)
Extra-virgin olive oil 1 tbsp (15ml)
Smoked paprika 1 tsp (2g)
Garlic powder 1 tsp (3g)
Kosher salt 1 tsp (5g)
Ground black pepper ½ tsp (1g)
Fresh flat-leaf parsley 2 tbsp (8g, for garnish)

Steps

1

Chop Aromatics and Peppers

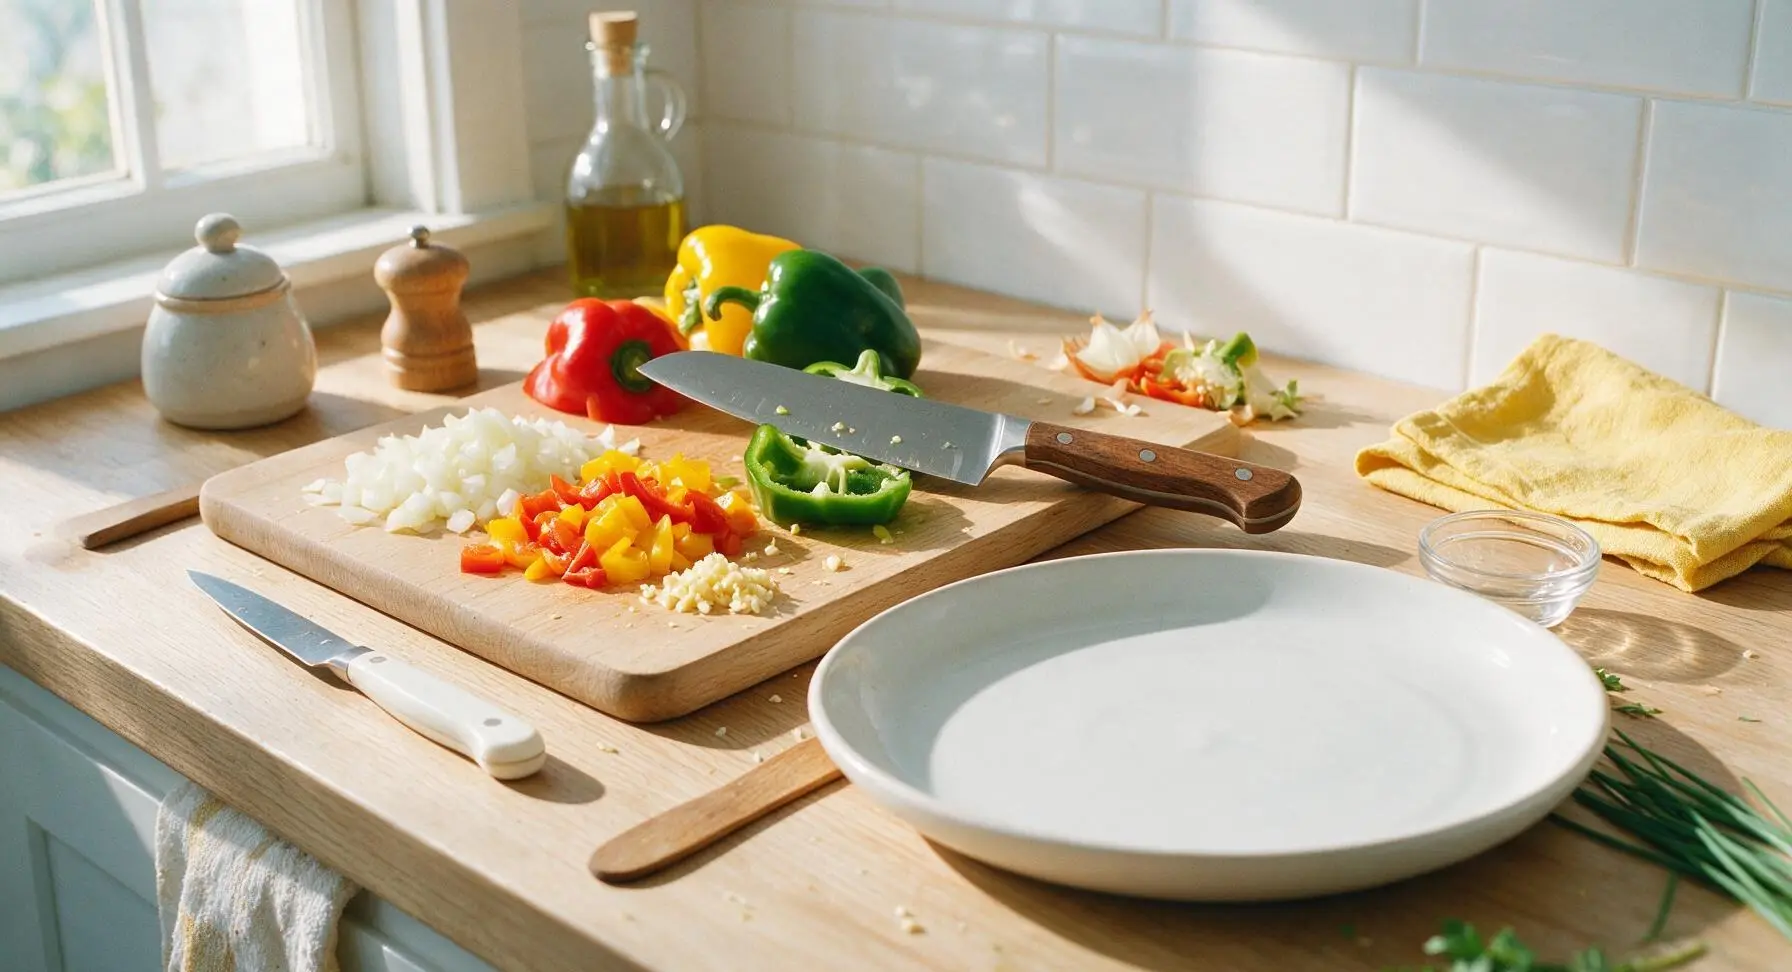
Place the light maple cutting board at center-left counter. Use the walnut-handle santoku knife to dice the yellow onion into ½-inch pieces, seed and chop the mixed bell peppers into 1-inch chunks, and mince the garlic cloves finely. Set prepped vegetables aside on the edge of the cutting board. Aim for evenly sized pieces to ensure consistent cooking across all vegetables; this prep takes approximately 8 minutes.
Step 1
step1:Chop Aromatics and Peppers
2

Brown the Ground Beef

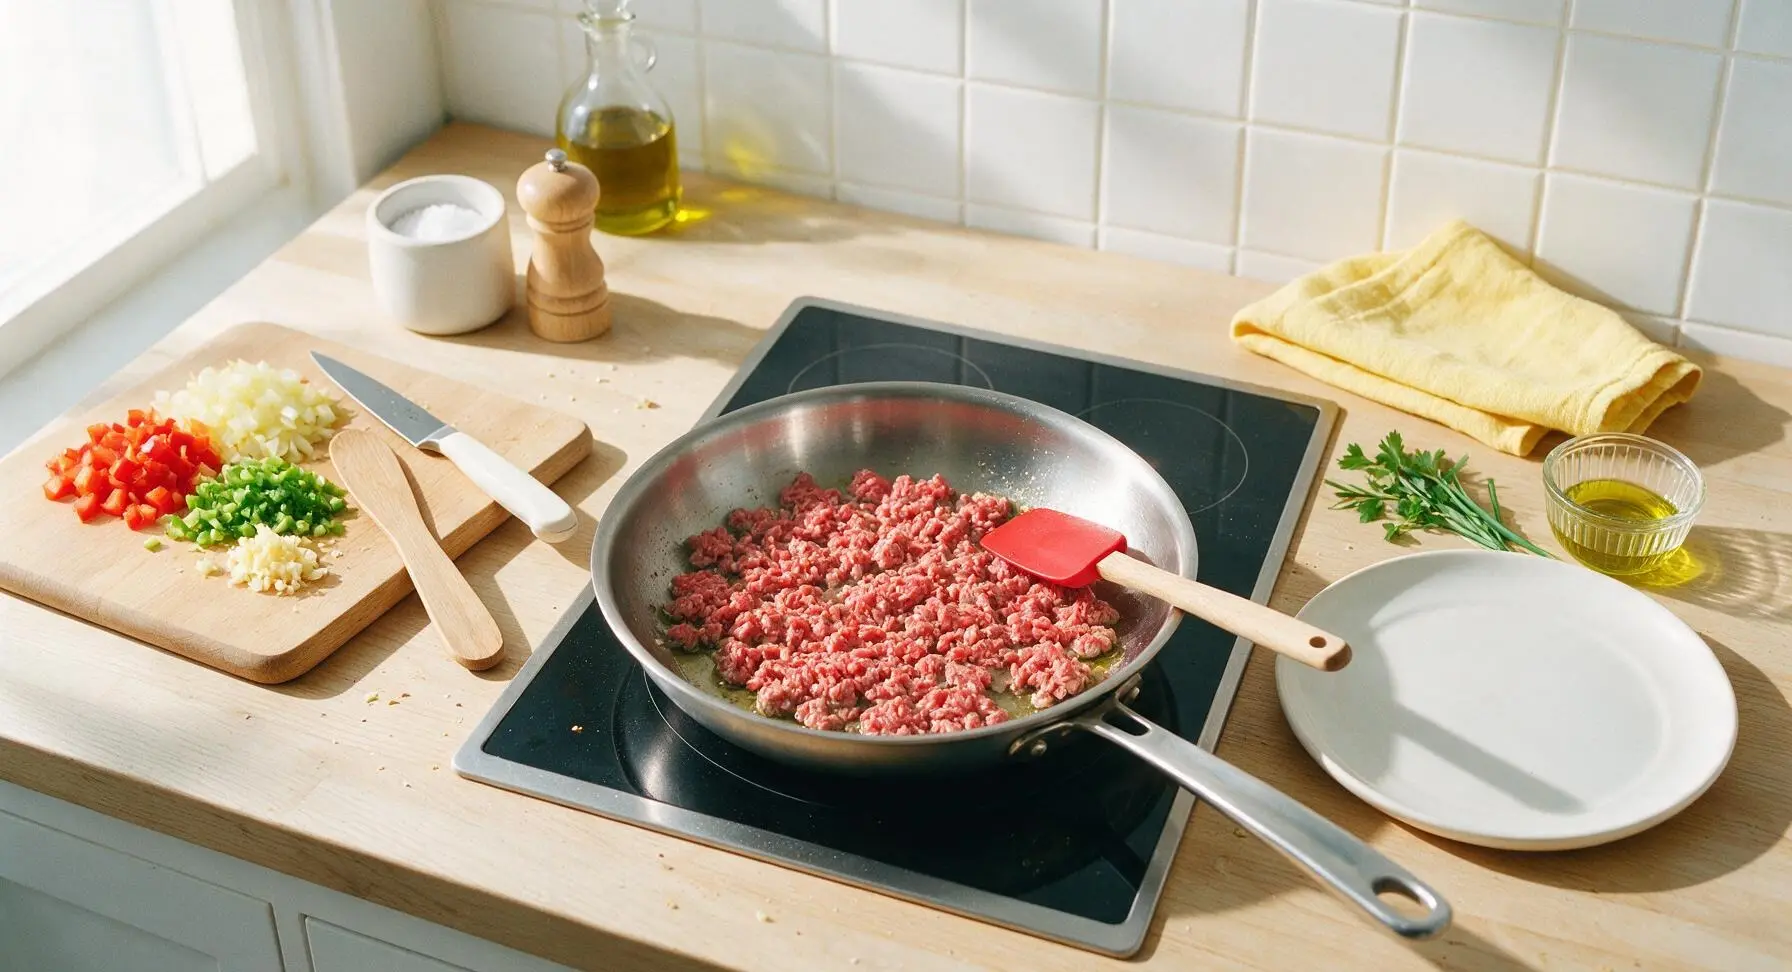
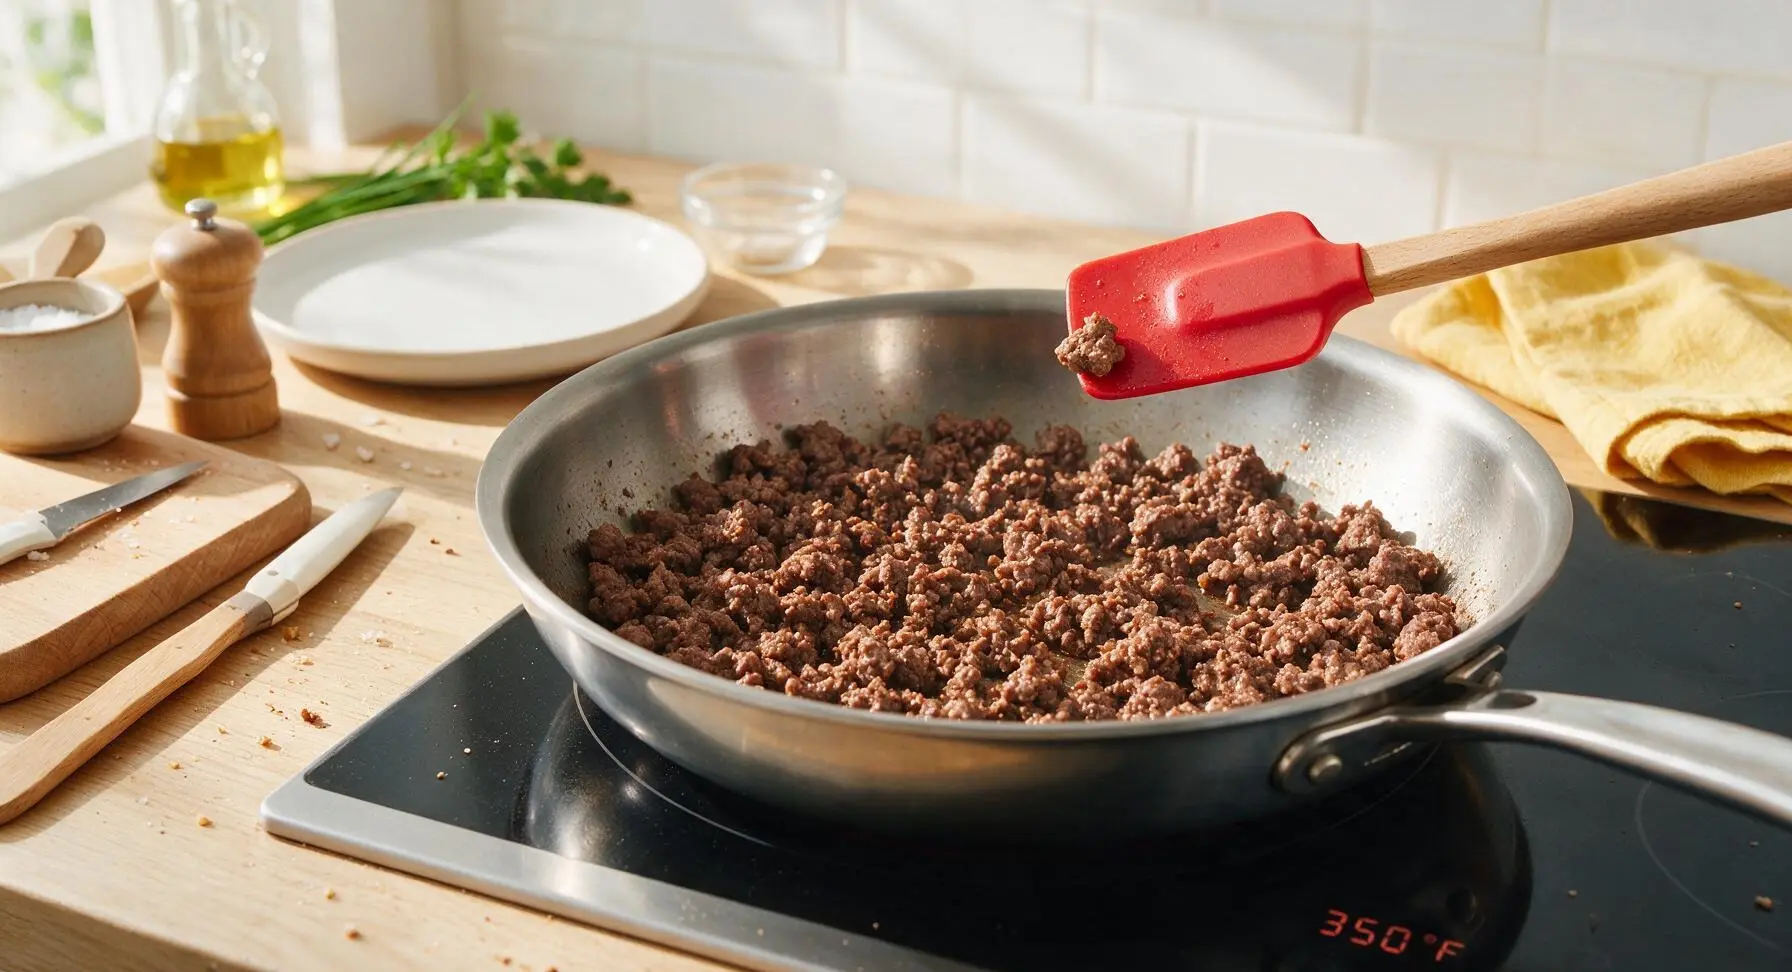
Place the stainless steel skillet on the matte black induction cooktop set to medium heat (350°F / 175°C). Add 1 tablespoon olive oil, then crumble the 1lb lean ground beef into the skillet. Use the red silicone spatula to break the beef into small, pea-sized crumbles as it cooks for 6-7 minutes, until no pink remains and the beef is evenly deep brown with slight crispy edges. Carefully drain any excess rendered fat from the skillet before proceeding.
Step 2
step2:Brown the Ground Beef
Step 2
step2:Brown the Ground Beef
3

Sauté Prepped Vegetables

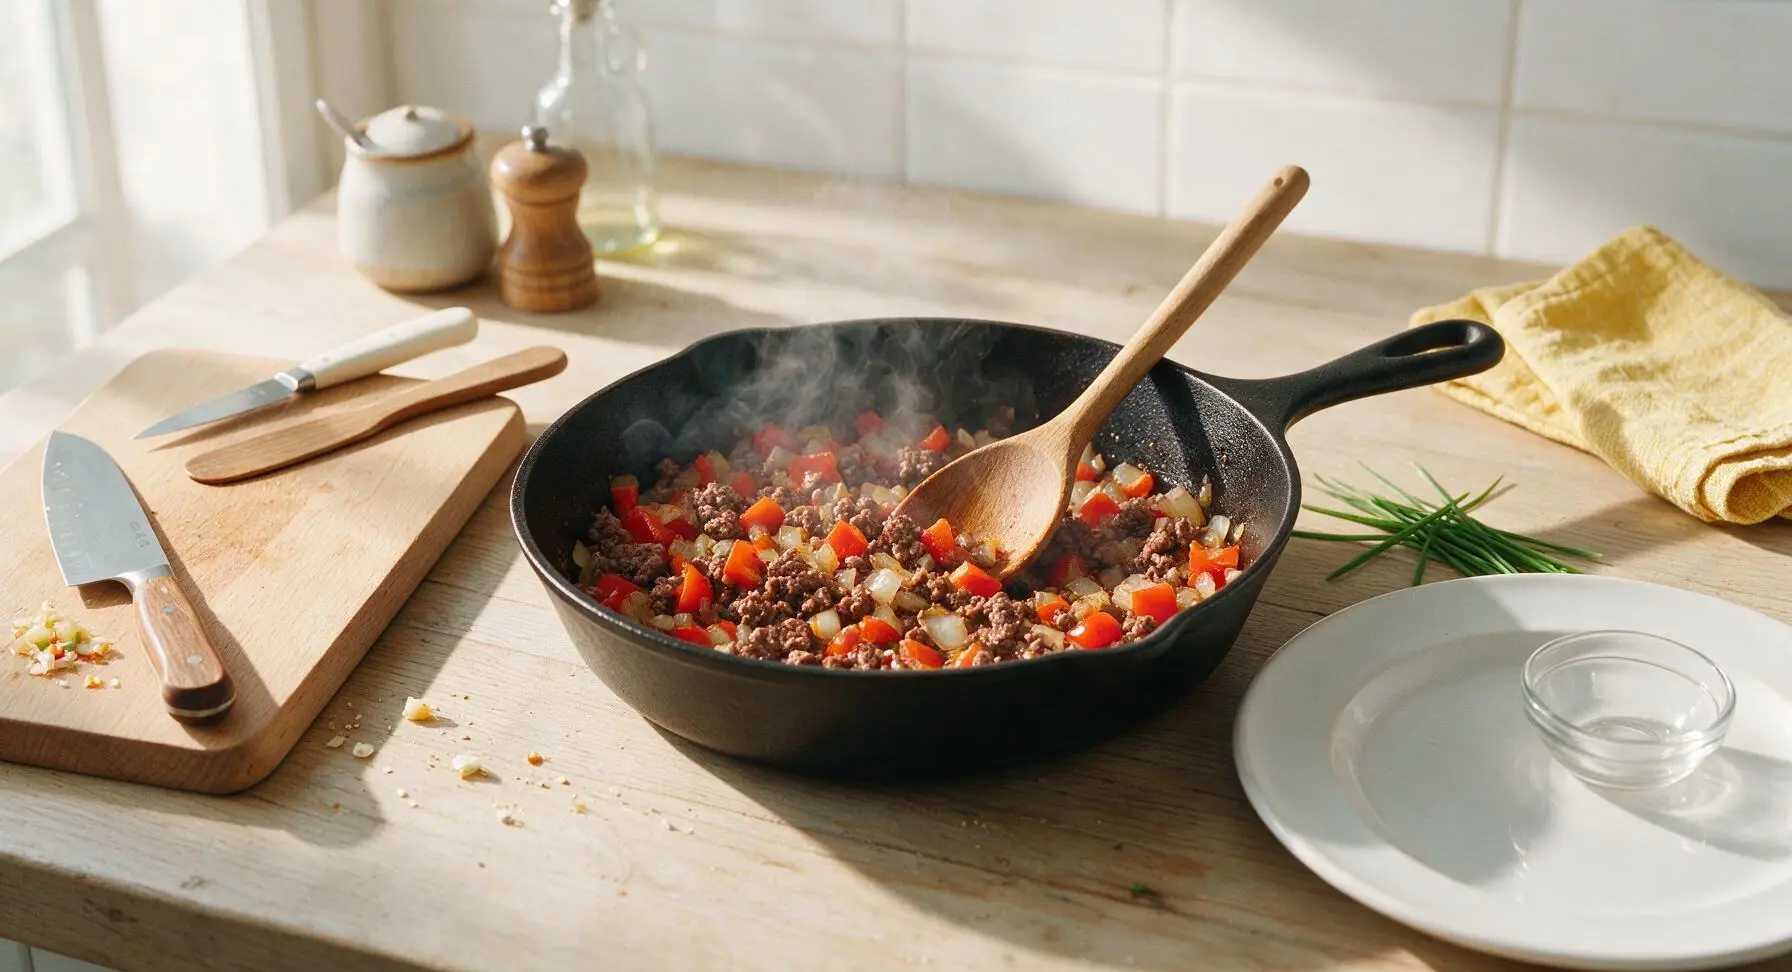
Add the diced onion and chopped bell peppers to the skillet with the browned beef. Stir with the beech wood mixing spoon to combine, and cook for 4 minutes over medium heat, until the onions turn translucent and the peppers soften slightly but still retain a firm, crisp bite. Add the minced garlic, smoked paprika, garlic powder, salt, and black pepper, and stir constantly for 30 seconds until the spices release a warm, fragrant aroma.
Step 3
step3:Sauté Prepped Vegetables
4

Add Rice and Liquids

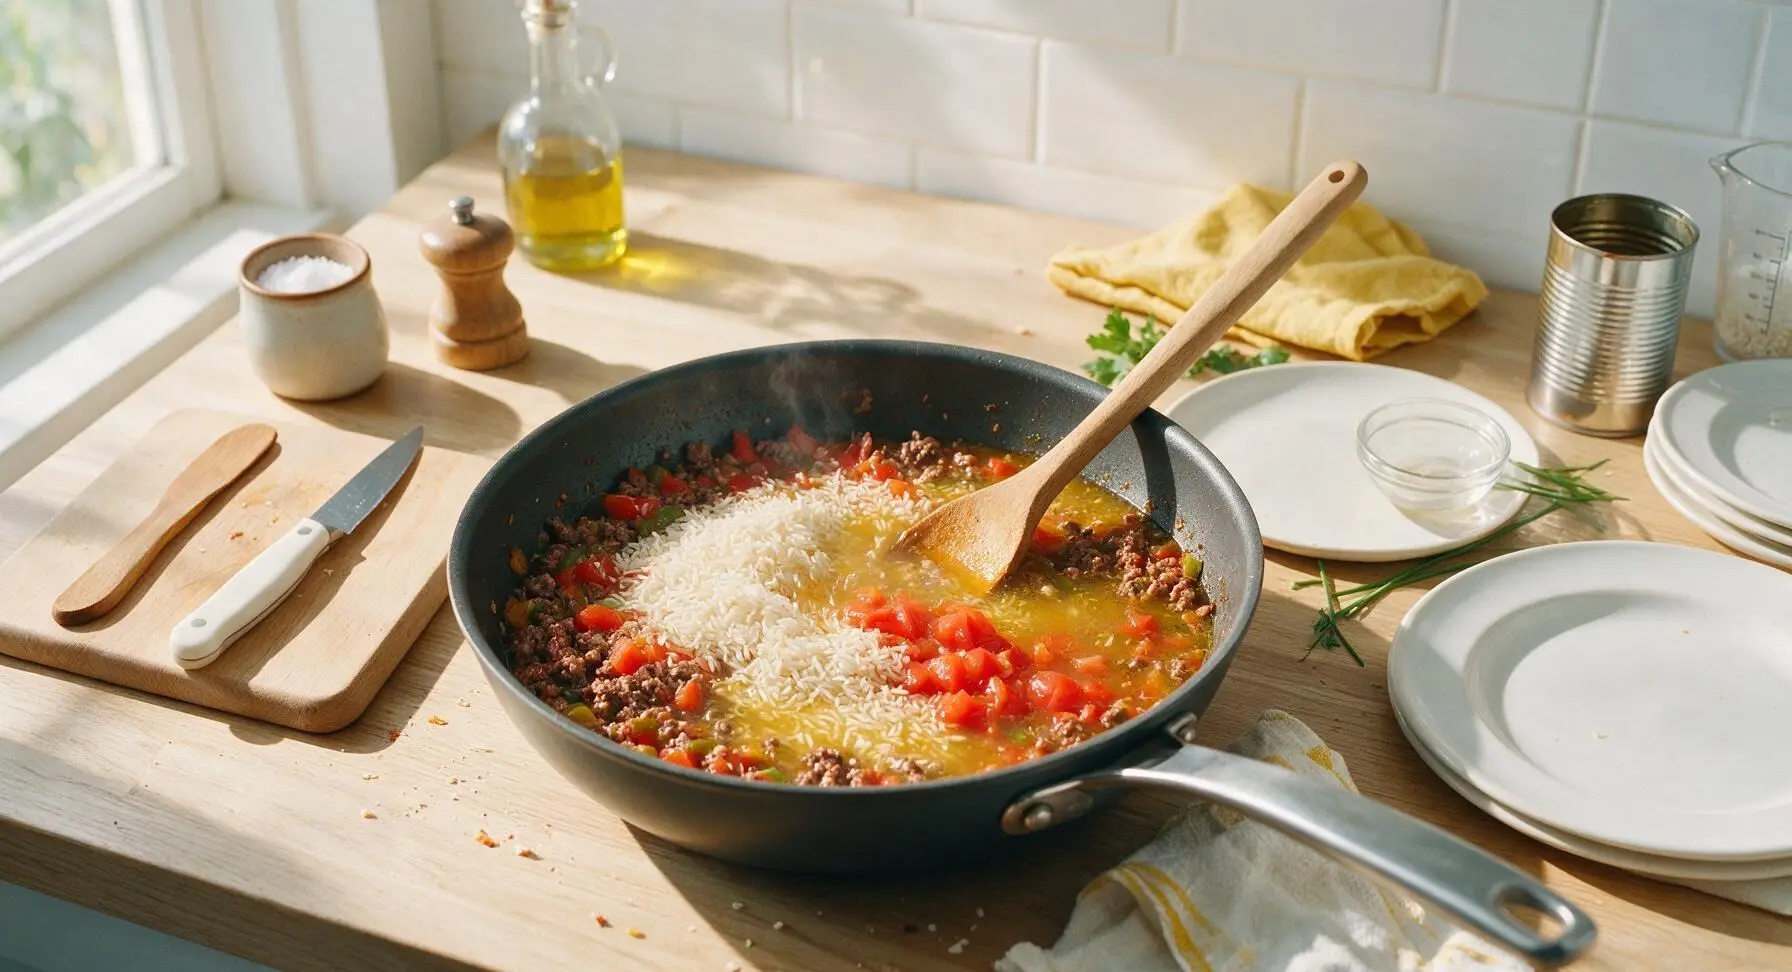
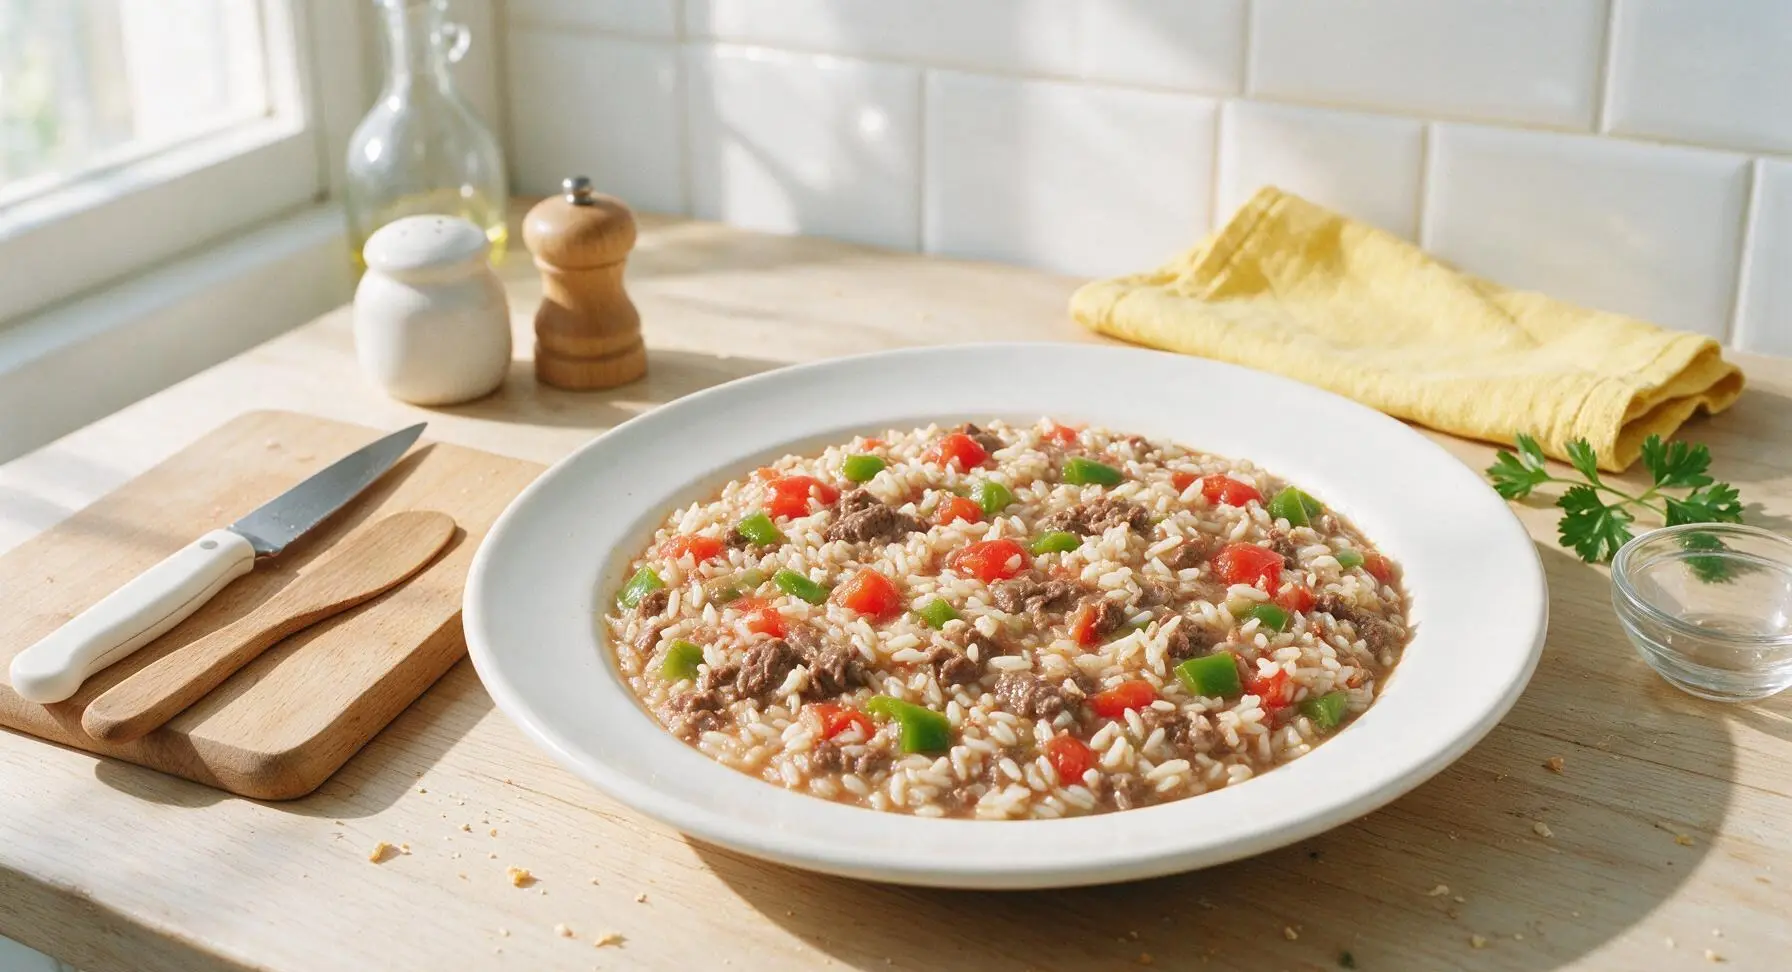
Pour the uncooked long-grain white rice, canned diced tomatoes with all their juices, and 1.5 cups low-sodium beef broth into the skillet. Stir thoroughly with the beech wood mixing spoon to evenly distribute the rice, ensuring no rice clumps stick to the bottom of the pan. Bring the mixture to a gentle rolling simmer, then reduce heat to low (200°F / 95°C), cover, and cook for 12 minutes, until the rice is tender and has absorbed 90% of the liquid, with no hard, crunchy grains remaining when tasted.
Step 4
step4:Add Rice and Liquids
Step 4
step4:Add Rice and Liquids
5

Layer in Baking Dish

Remove the skillet from heat. Pour the entire beef, pepper, and rice mixture into the 9x13 matte off-white ceramic baking dish, spreading it into a smooth, even layer across the bottom with the red silicone spatula. Sprinkle the shredded sharp cheddar cheese evenly over the top of the mixture, covering the surface completely with a thin, uniform layer of cheese.
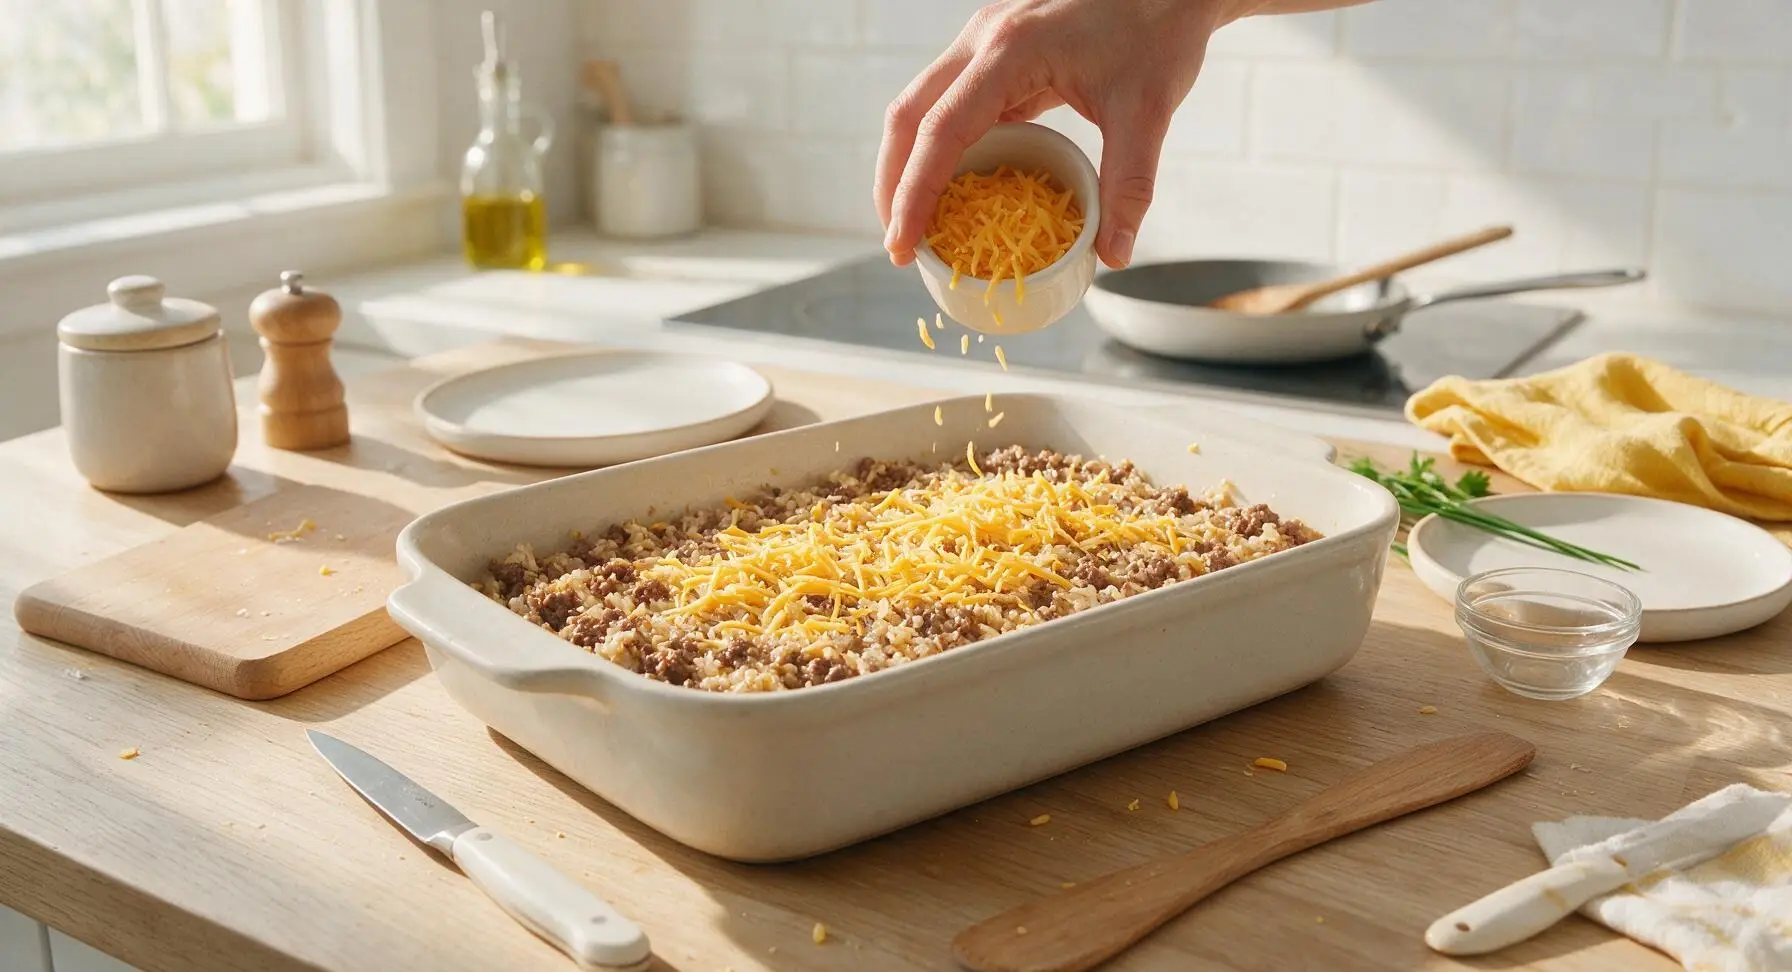
Step 5
step5:Layer in Baking Dish
6

Bake to Golden Perfection

Transfer the assembled baking dish to a preheated 375°F (190°C) oven. Bake uncovered for 17 minutes, until the cheese is fully melted, bubbling around the edges of the dish, and just starting to turn light golden brown in scattered spots. Remove from the oven and let rest for 5 minutes at room temperature to allow the filling to set slightly.
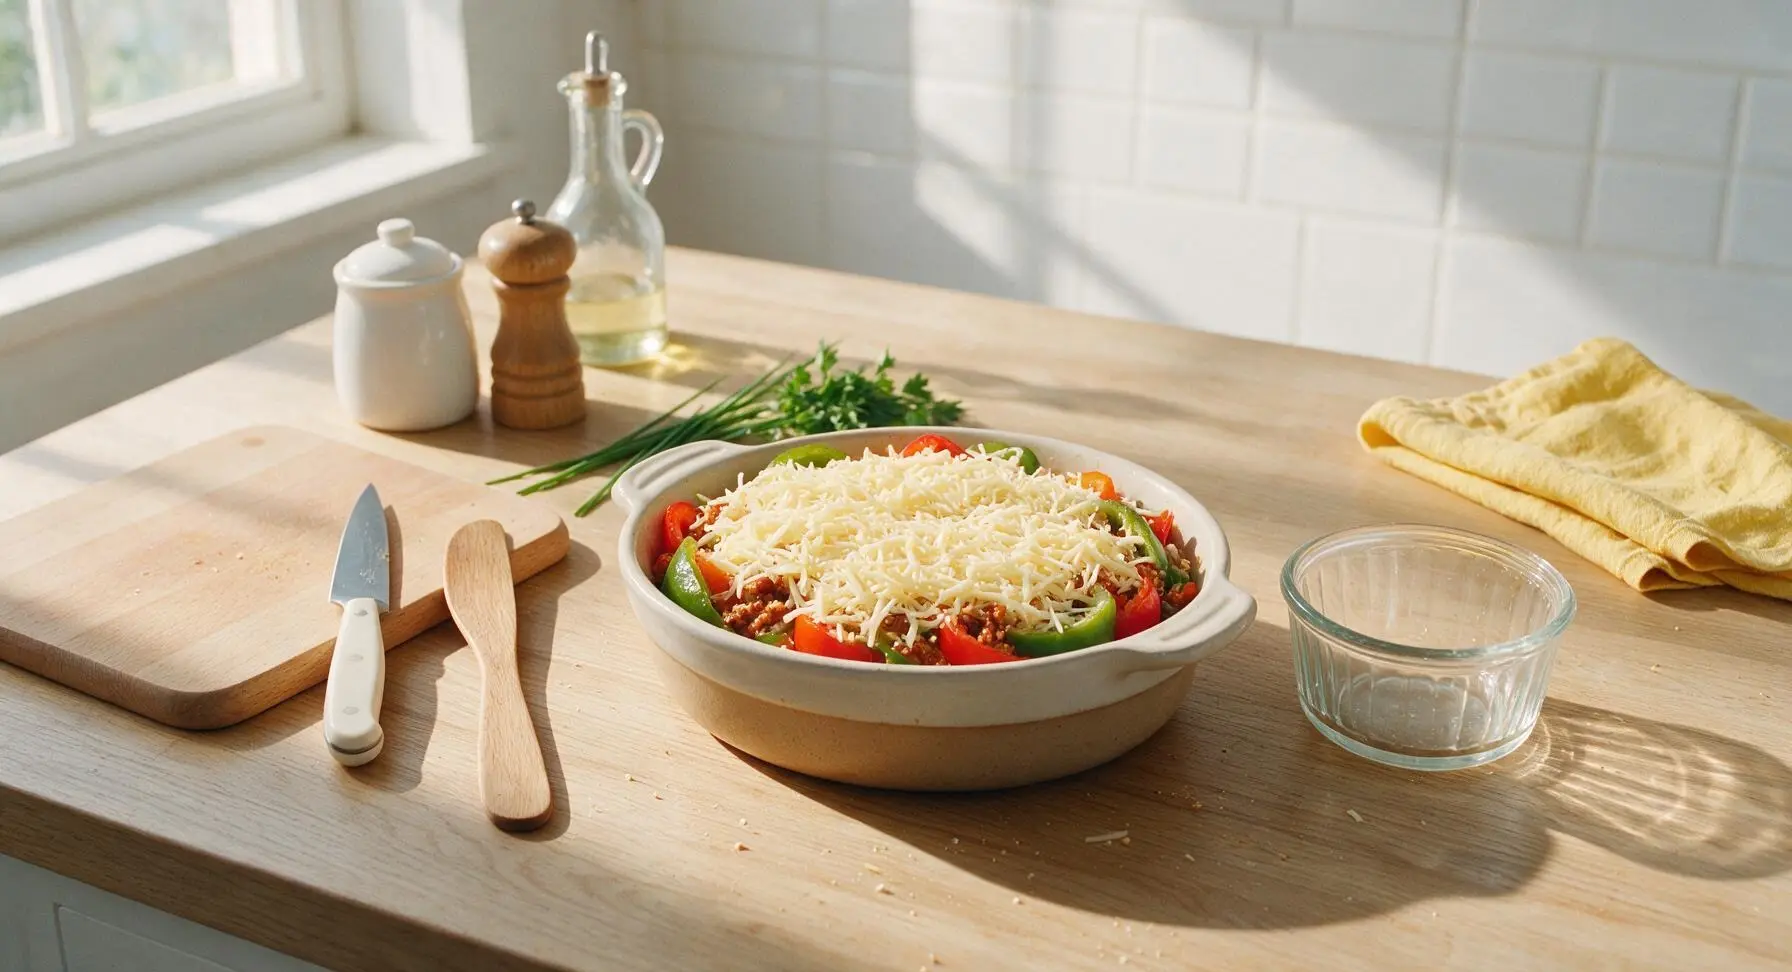
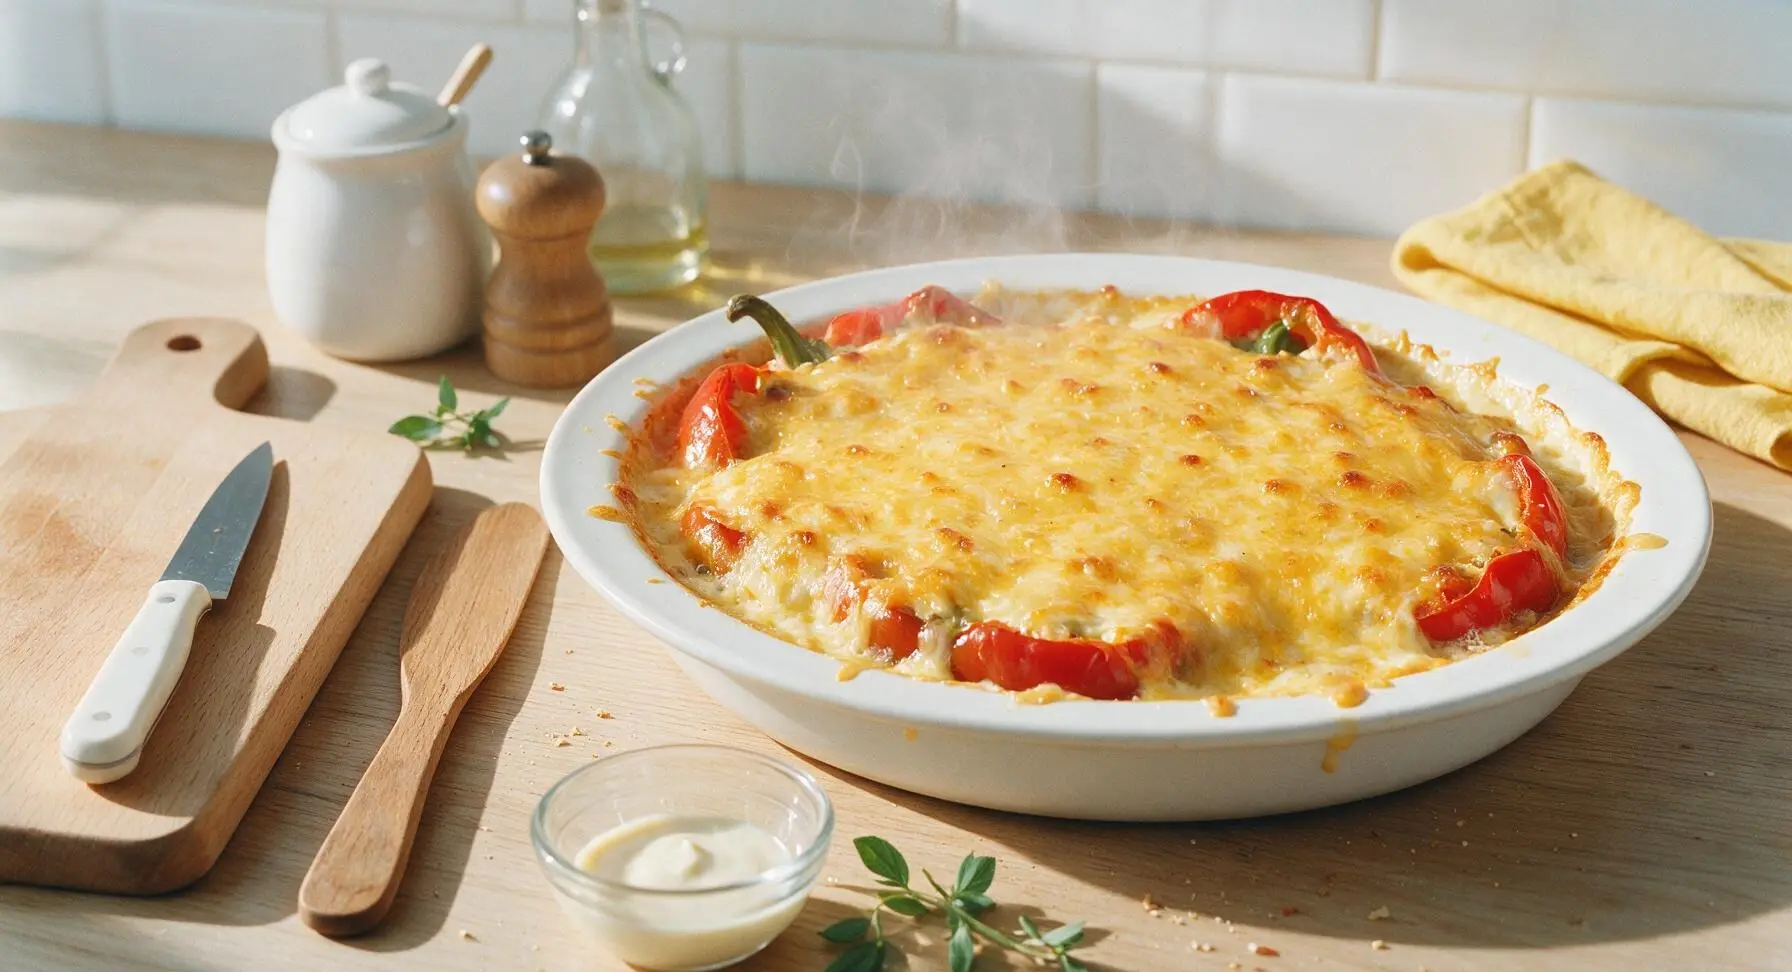
Step 6
step6:Bake to Golden Perfection
Step 6
step6:Bake to Golden Perfection
7

Garnish and Serve

Finely chop the reserved fresh flat-leaf parsley, and sprinkle it evenly across the top of the warm baked casserole. Use a large serving spoon to scoop generous 1.5-cup portions onto the matte white speckled dinner plates to serve.
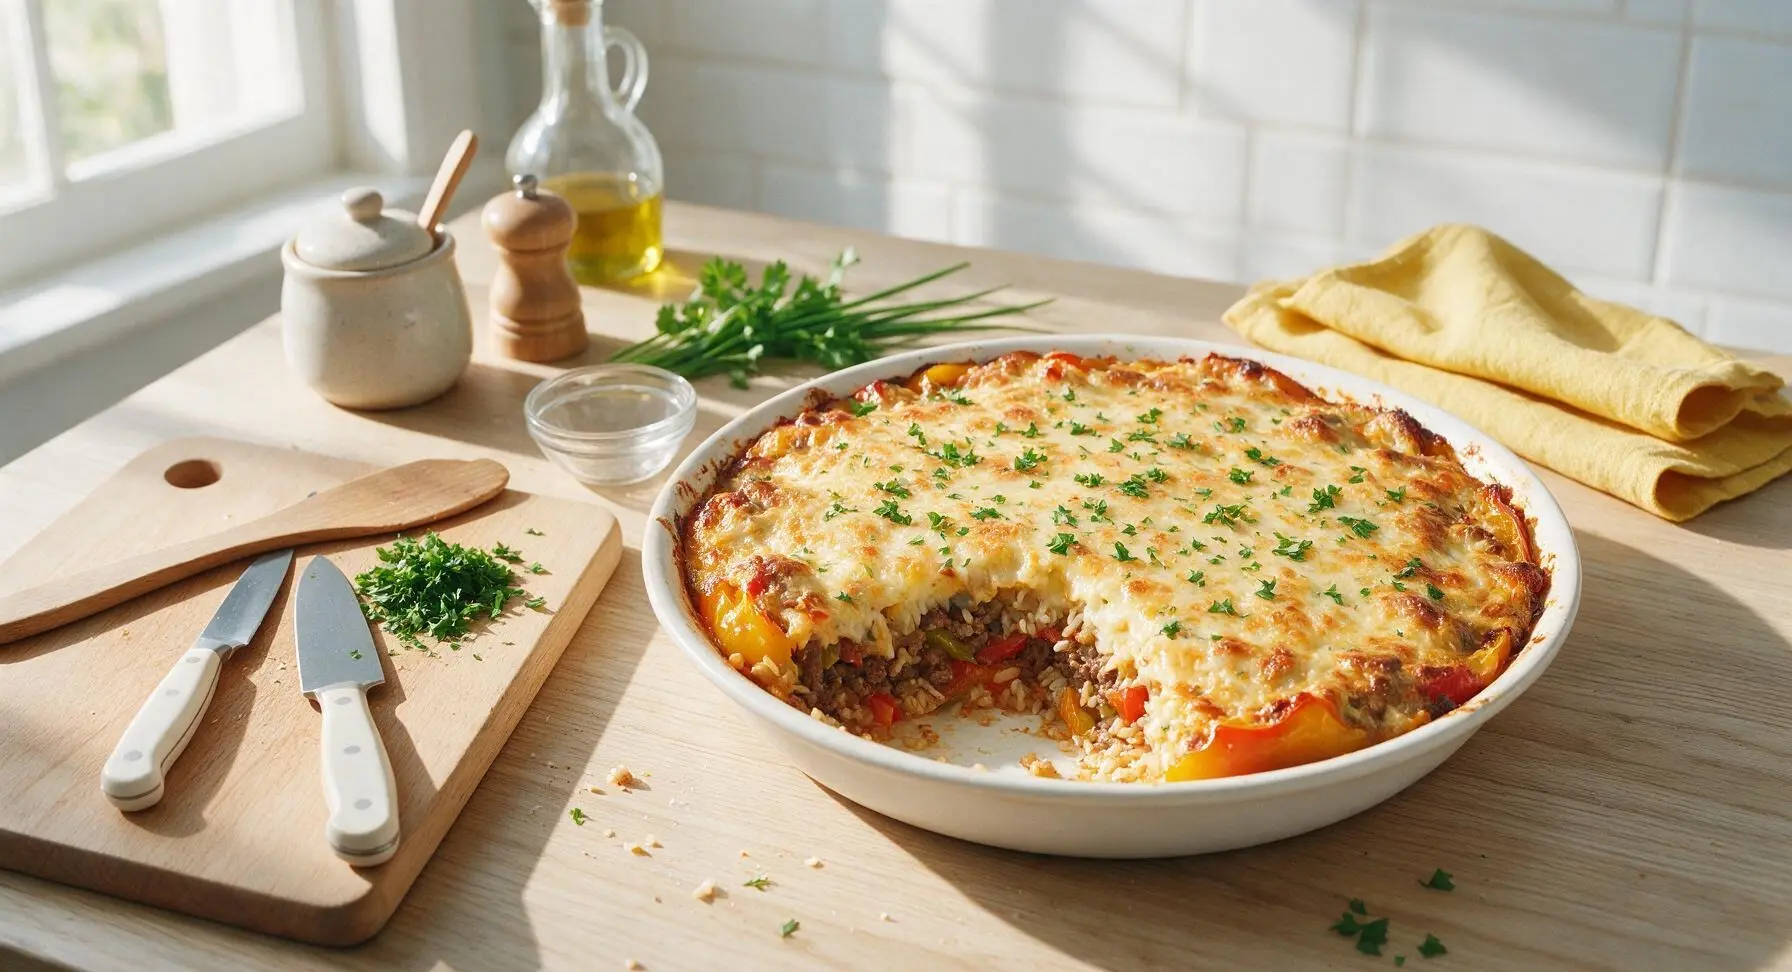
Step 7
step7:Garnish and Serve

Tips

1.Do not rinse the long-grain white rice before adding it to the skillet: the thin layer of surface starch on the rice grains helps thicken the casserole filling slightly, creating a cohesive texture instead of a watery, separated final dish.
2.For a brighter, fresher pepper flavor, reserve ½ cup of the chopped bell peppers to sprinkle on top of the cheese before baking: these pieces will roast lightly in the oven instead of softening fully in the simmered filling, adding a pleasant crisp-tender contrast.
3.Resist the urge to serve the casserole immediately after pulling it from the oven: the 5-minute rest time allows the hot cheese and absorbed liquid to set, so servings hold their neat shape instead of sliding apart when scooped onto plates.


✨ You May Also Like

Main Course
🍜 United Kingdom

A showstopping classic of tender seared beef, savory mushroom duxelles, and crisp prosciutto wrapped in flaky golden puff pastry, baked to juicy perfection.

⏱️ 2 hours 1Main Course ★ 4.7
Main Course
🍜 India

Tender charred marinated chicken simmered in a rich, spiced creamy tomato sauce, this iconic Anglo-Indian curry pairs perfectly with basmati rice or warm naan.

⏱️ 50 minuteMain Course ★ 4.6
Main Course
🍜 Thailand

Classic tangy, sweet, and savory Thai stir-fried rice noodles with shrimp, tofu, and crunchy garnishes, balancing all five core Thai flavor profiles.

⏱️ 30 minuteMain Course ★ 4.5
Main Course
🍜 United Kingdom

Crispy golden beer-battered cod and fluffy double-fried chips, served with tangy tartar sauce and malt vinegar: the timeless, beloved British pub comfort classic.

⏱️ 45 minuteMain Course ★ 4.7
Main Course
🍜 Mexico

Smoky, chile-marinated pork tacos with caramelized pineapple, fresh cilantro, and lime: a beloved classic Mexican street food perfect for casual summer gatherings.

⏱️ 1 hour 45Main Course ★ 4.8
Main Course
🍜 United States

Crunchy Fritos corn chips layered with savory beef chili and melted cheddar, topped with cool, zesty fixings for a beloved, cozy Tex-Mex comfort food.

⏱️ 35 minuteMain Course ★ 4.8

unstuffed bell pepper casserole:Frequently Asked Questions

1.Do I have to use uncooked long-grain white rice for this recipe, or can I use leftover cooked rice? ▾
Uncooked long-grain white rice is ideal here, as it slowly absorbs all the savory beef, garlic, onion, and pepper juices as it bakes for perfectly fluffy, flavorful grains. If you use leftover cooked rice, cut added cooking liquid by ⅔, and stir it in during the last 20 minutes of baking to avoid mushy, gummy texture.
2.Can I swap the 90/10 lean ground beef for a different protein? ▾
Absolutely! 90/10 ground beef balances rich flavor without excess grease, but you can swap it 1:1 for ground turkey, ground chicken, or plant-based ground crumbles. If you use a fattier 80/20 beef blend, drain off excess rendered grease after browning to keep the finished casserole from turning soggy.
3.Do I need to pre-cook the bell peppers before assembling the casserole? ▾
No pre-cooking is required—that’s part of this recipe’s low-fuss, weeknight-friendly appeal! Just dice your mixed red, green, and yellow bell peppers into uniform ½-inch pieces so they cook evenly alongside the rice and beef. They’ll turn perfectly tender-crisp, never mushy, as the casserole bakes.
4.How do I prevent the rice from turning out crunchy or undercooked in the center? ▾
Two simple steps fix undercooked rice every time: First, keep your baking dish tightly covered with foil for the first 40 minutes of bake time to trap essential steam. Second, make sure any added cooking liquid is at a gentle simmer before the dish goes in the oven. Stick to regular long-grain white rice, not instant or brown, for reliable results.
5.Can I make this casserole ahead of time for weekly meal prep? ▾
Definitely! This dish holds up beautifully for meal prep. You can assemble the full uncooked casserole, cover it tightly, and store it in the fridge for up to 2 days before baking, or bake it fully, portion into airtight containers, and refrigerate for up to 4 days. It reheats in the microwave in 90 seconds per serving.
6.What kind of cheese works best for the classic cheesy topping? ▾
For that gooey, savory classic stuffed pepper flavor, I recommend a blend of shredded sharp cheddar and mozzarella, added during the last 10 minutes of baking so it melts fully without burning. If you like a little kick, swap half the cheddar for pepper jack, or use a pre-shredded Italian blend for convenience.
7.My family dislikes green bell peppers—can I use only red and yellow varieties? ▾
Of course! The mixed pepper blend is simply a suggestion to balance the bright, slightly bitter flavor of green peppers with the sweet, mellow taste of red and yellow ones. If your household prefers sweeter peppers, use only red and yellow at the same total volume called for; no cook time or other ingredient adjustments are needed.
8.Can I freeze this casserole for quick future dinners? ▾
Yes, this casserole freezes extremely well. Let a fully baked casserole cool completely, then wrap it tightly in a double layer of plastic wrap and foil, and freeze for up to 3 months. Thaw it in the fridge overnight, then reheat covered at 350°F for 25 to 30 minutes, adding a fresh sprinkle of cheese on top if you’d like.

Comments (7)

3 days ago

OMG this was such a game changer for our weeknight family dinner! I’ve always hated how much work regular stuffed peppers are, with all the parboiling and stuffing each individual one. This casserole version took literally no effort, my kids devoured it – even the one who swears he hates bell peppers! I threw in a little extra shredded cheddar on top the last 5 minutes and it was chef’s kiss. 10/10 will be adding this to our regular meal prep rotation.

2 days ago

Wait the extra cheddar trick sounds amazing! Did you use sharp or mild cheddar? I’m making this for our neighborhood potluck this weekend and want it to be perfect.

2 days ago

So glad your family loved it! The extra cheddar hack is *chef’s kiss* – for potlucks, sharp cheddar holds up great and adds an extra punch of flavor, but mild works perfectly too if you’re serving folks who prefer a more mellow cheese taste. Pro tip: you can assemble this the night before and pop it in the oven when you’re ready to save even more time!

1 week ago

Made this last night to use up a bunch of bell peppers from my garden, and holy cow it was SO good. I swapped the ground beef for ground turkey since that’s what I had in the fridge, added a dash of smoked paprika, and it came out perfect. Super easy too, which is a win because I don’t have a ton of patience for fussy recipes after work. Will absolutely make again.

5 days ago

Love the garden pepper and ground turkey swap! Smoked paprika is such a great add to give it that little extra depth – thanks for sharing your tweak, I’m definitely going to try that next time I make it myself!

5 days ago

I made a big batch of this on Sunday for my weekday lunches, and it held up perfectly all week! Tastes just as good reheated in the microwave as it did fresh out of the oven. I added a can of corn to mine for a little extra veggie crunch, and it was chef’s kiss. Easy, affordable, and actually filling – what more could you want for meal prep?

2 hours ago

Okay so I’m literally the worst at cooking, like I burn toast half the time, but this recipe was so easy I actually pulled it off! My roommates were shocked I made something that tasted this good. Only thing is I think I overdid it on the rice a little bit, so it was a touch dry? Any tips for next time?

30 minutes ago

I had that same issue my first time making it! I just added an extra splash of tomato sauce and a couple tablespoons of beef broth before baking, and it came out perfectly moist the second go around.

5 minutes ago

So proud of you for giving this a go – cooking is all about practice! Sarah’s tip about extra tomato sauce and broth is spot on. If you’re using leftover rice that’s a little dried out, that can also make the casserole drier, so adding a splash more liquid will fix that right up. Next time it’ll be 5 stars for sure!

yesterday

Brought this to my office potluck yesterday and people were begging me for the recipe before we even got to dessert! I made it with a mix of red, yellow, and green bell peppers so it looked super colorful on the table, and even the folks who say they don’t like casseroles went back for seconds. Such a crowd pleaser, and way less work than individual stuffed peppers.

yesterday

Wait was this the casserole in the glass dish on the end of the table by the brownies?? I had two helpings, that was incredible! No wonder everyone was raving about it, I’m definitely making this for my family next week.

2 weeks ago

So happy I found this recipe! I swapped the regular rice for cauliflower rice to keep it low-carb and gluten free, used diced fire-roasted tomatoes instead of regular, and it came out absolutely delicious. Even my husband, who turns his nose up at any ‘diet food’, went back for a second helping. This is going to be a staple in our house for busy nights.

1 week ago

That cauliflower rice swap is genius for low-carb and gluten-free folks! Fire-roasted tomatoes add such a great smoky sweetness, I love that tweak. So glad even your non-diet-food husband enjoyed it – that’s the ultimate seal of approval!

2 days ago

This recipe is perfect for anyone trying to save on groceries right now! All the ingredients are super affordable, it makes a ton of servings, and it tastes way better than the expensive takeout I usually order on busy weeknights. I spent less than $12 on ingredients and got 6 full servings out of it – absolute win. Will be making this at least twice a month going forward.



