
vanilla sauce

title 1
vanilla sauce
⏱️ cook time 10 minutes
🍽️ servings 4
⚡ Difficulty easy

intro

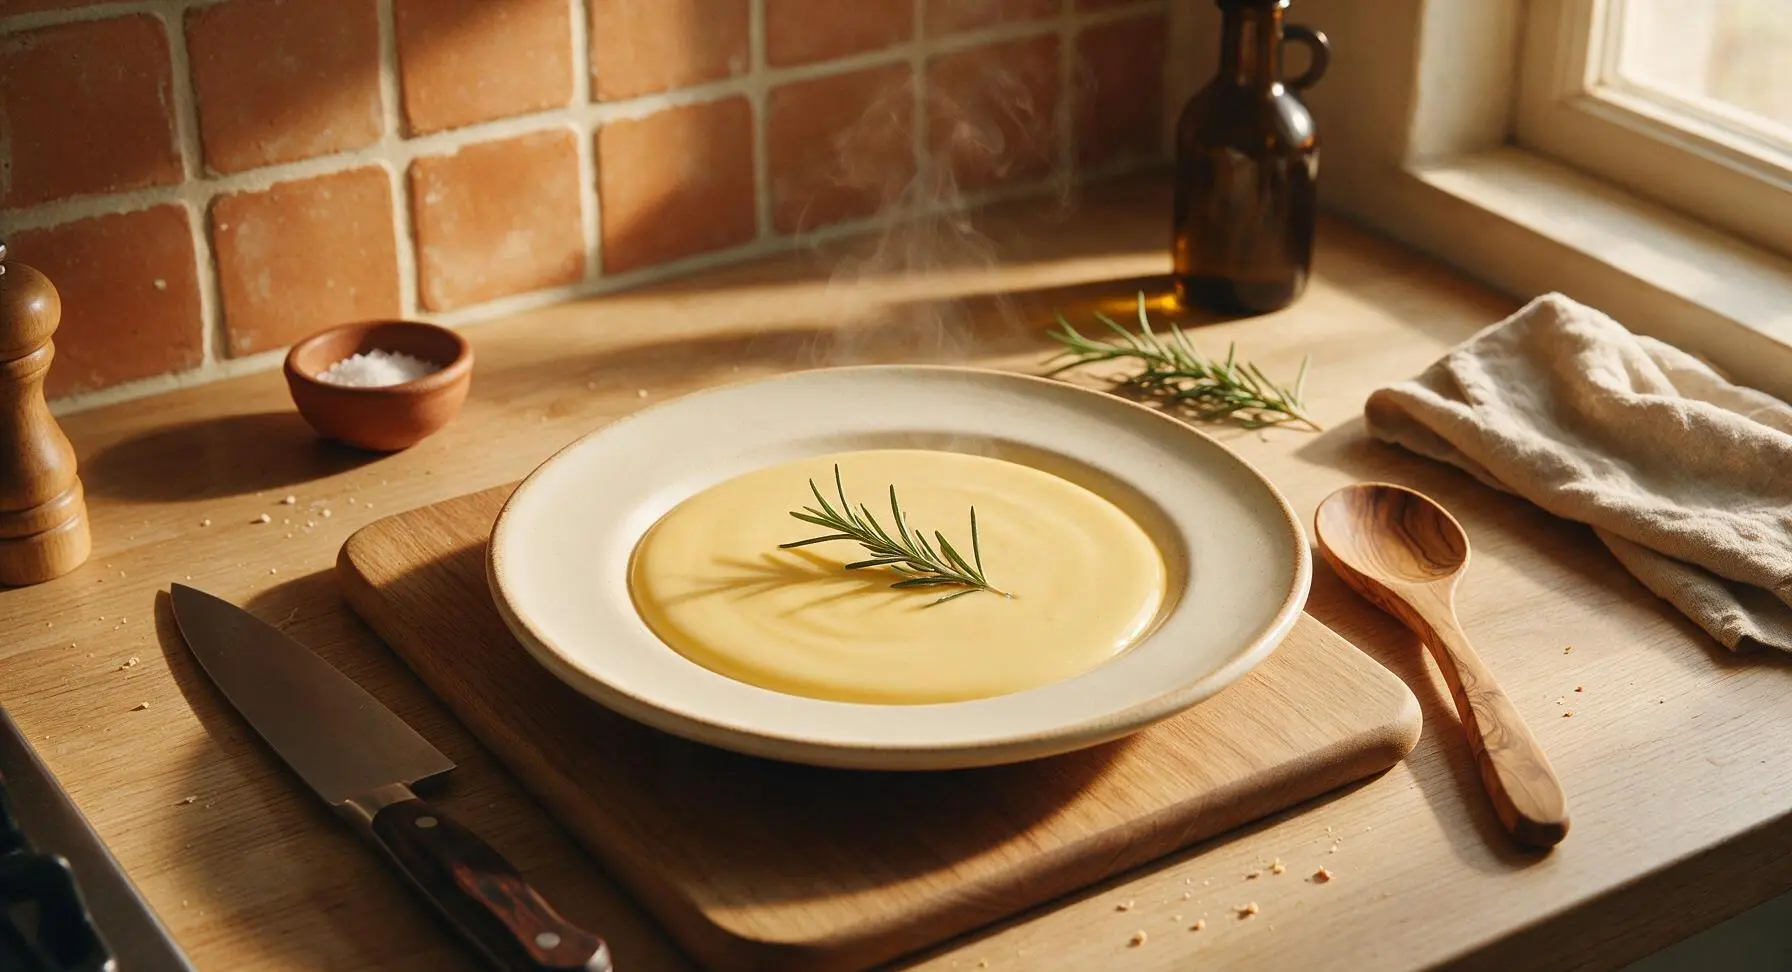
Silky, aromatic vanilla sauce (classic crème anglaise) is a versatile dessert staple, perfect drizzled over cake, bread pudding, poached fruit, or ice cream with luxuriously smooth texture.

Ingredients
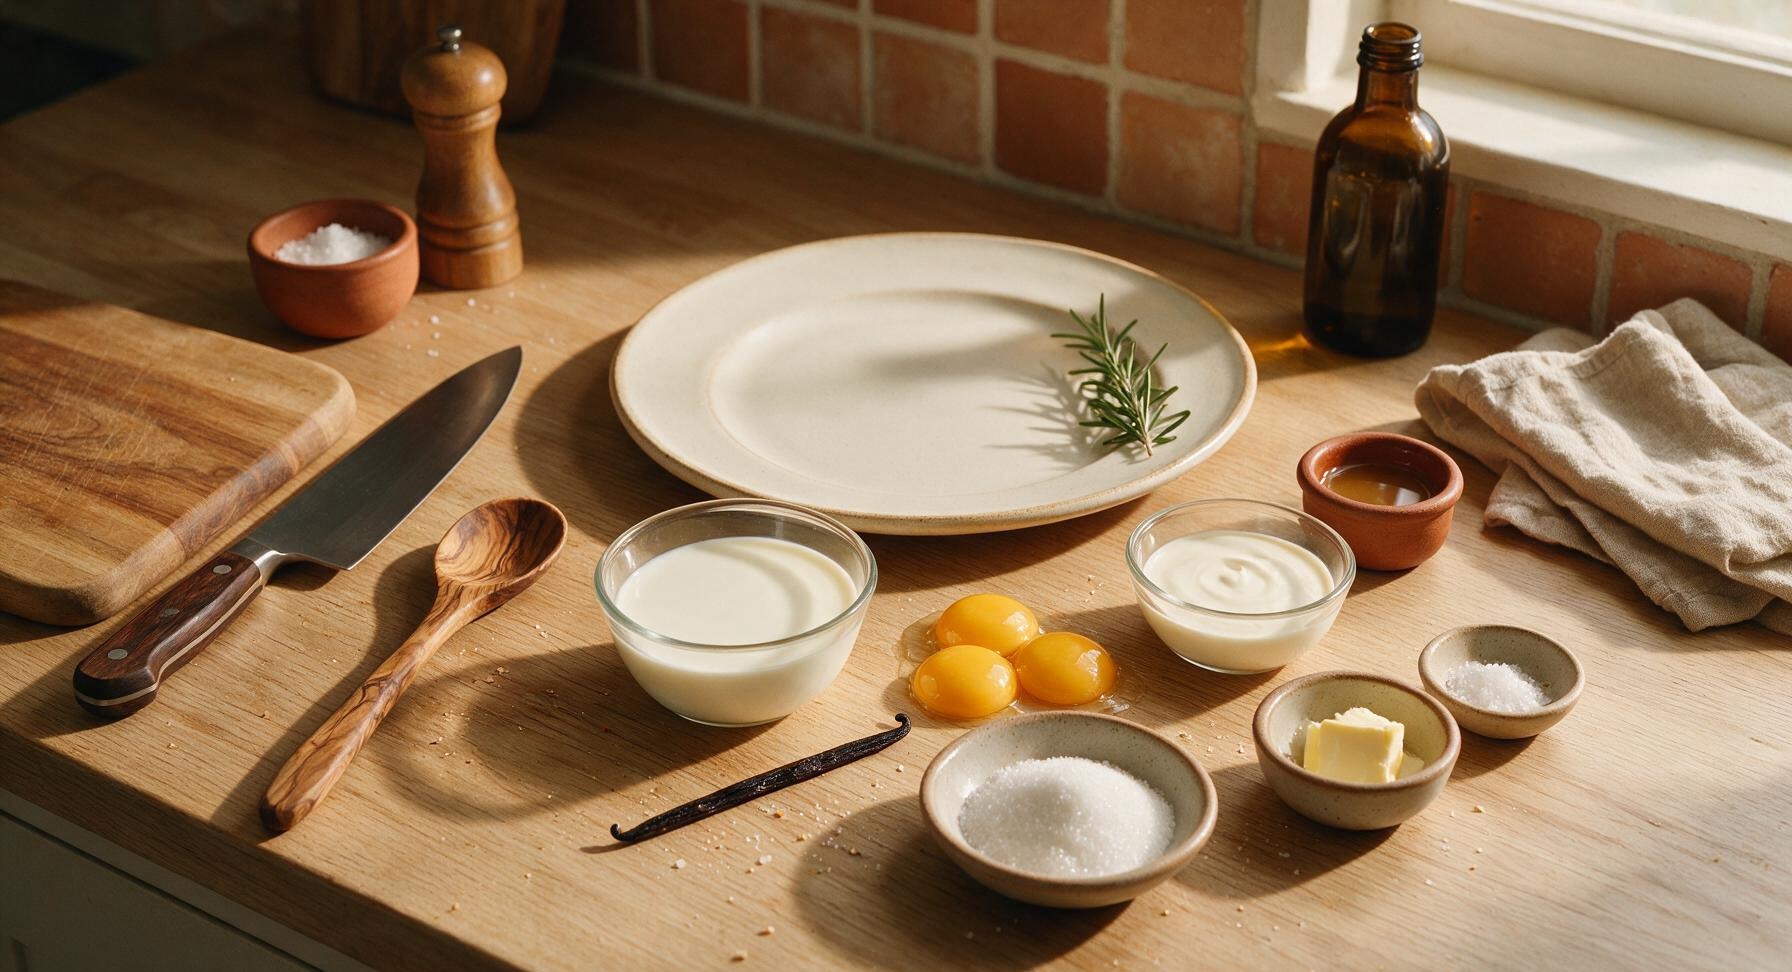
Whole milk 1.5 cups (360ml)
Heavy cream 0.5 cup (120ml)
Large egg yolks 3 each
Whole vanilla bean 1 each
Granulated sugar 1/4 cup (50g)
Fine sea salt 1/8 tsp
Unsalted butter 1 tbsp (14g, optional)

Steps

1

Heat the Dairy Base

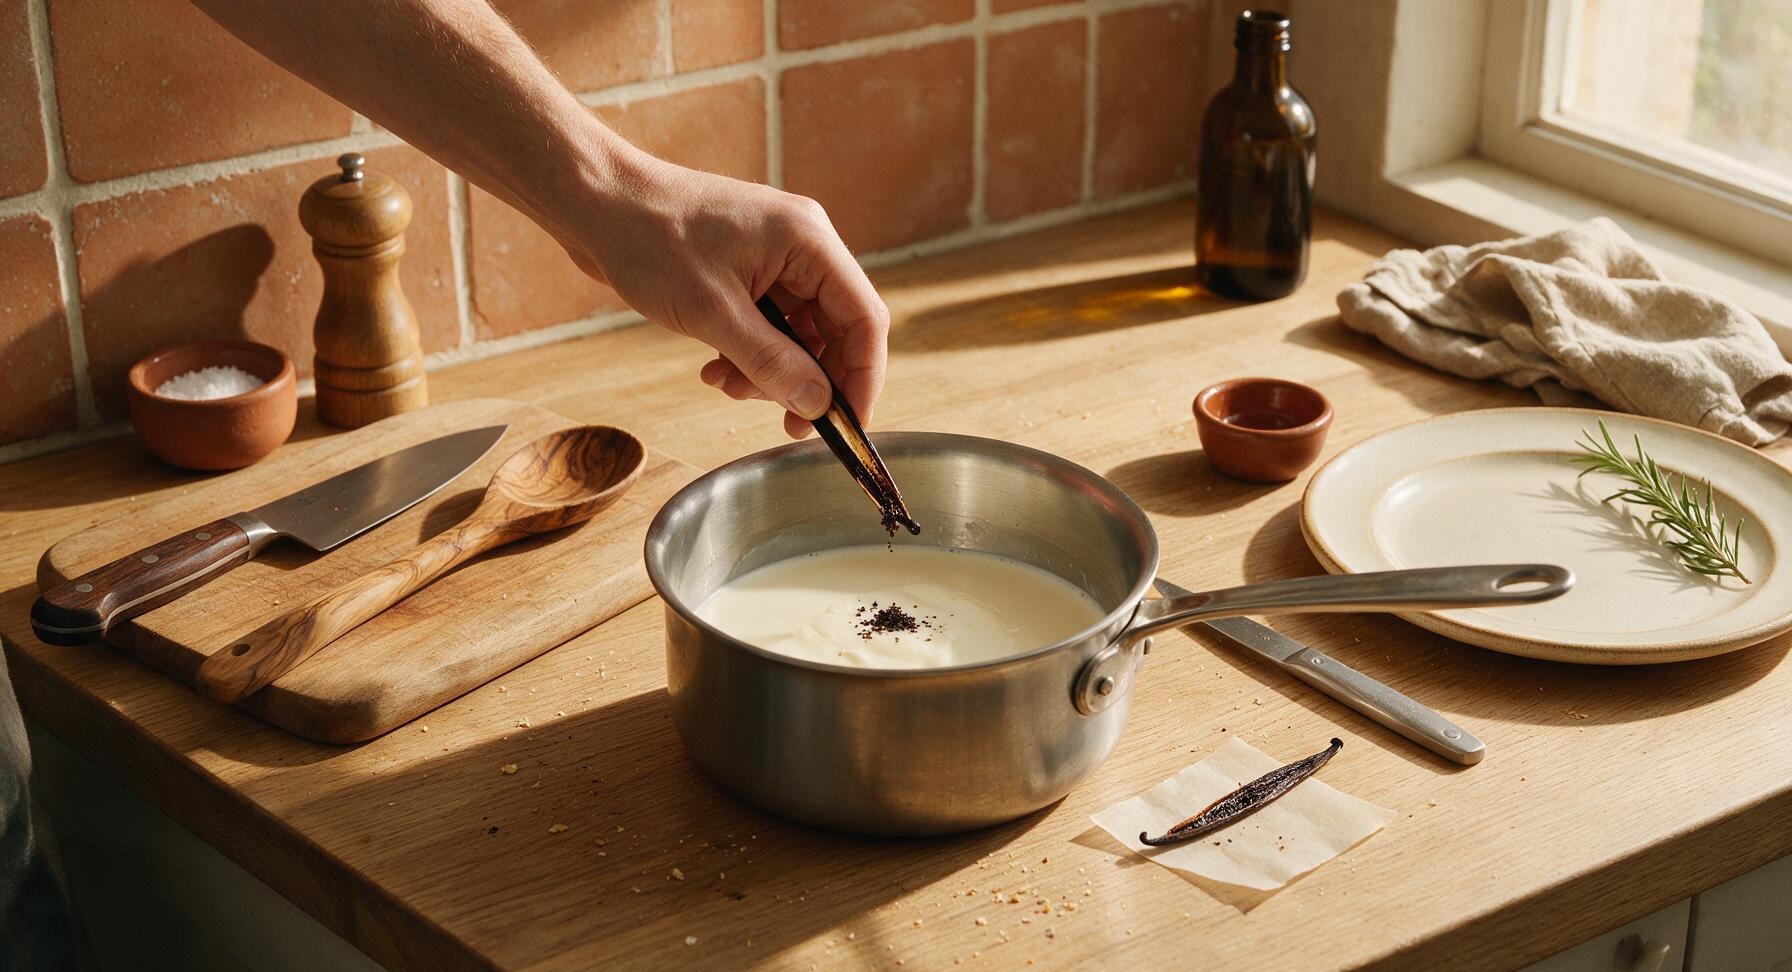
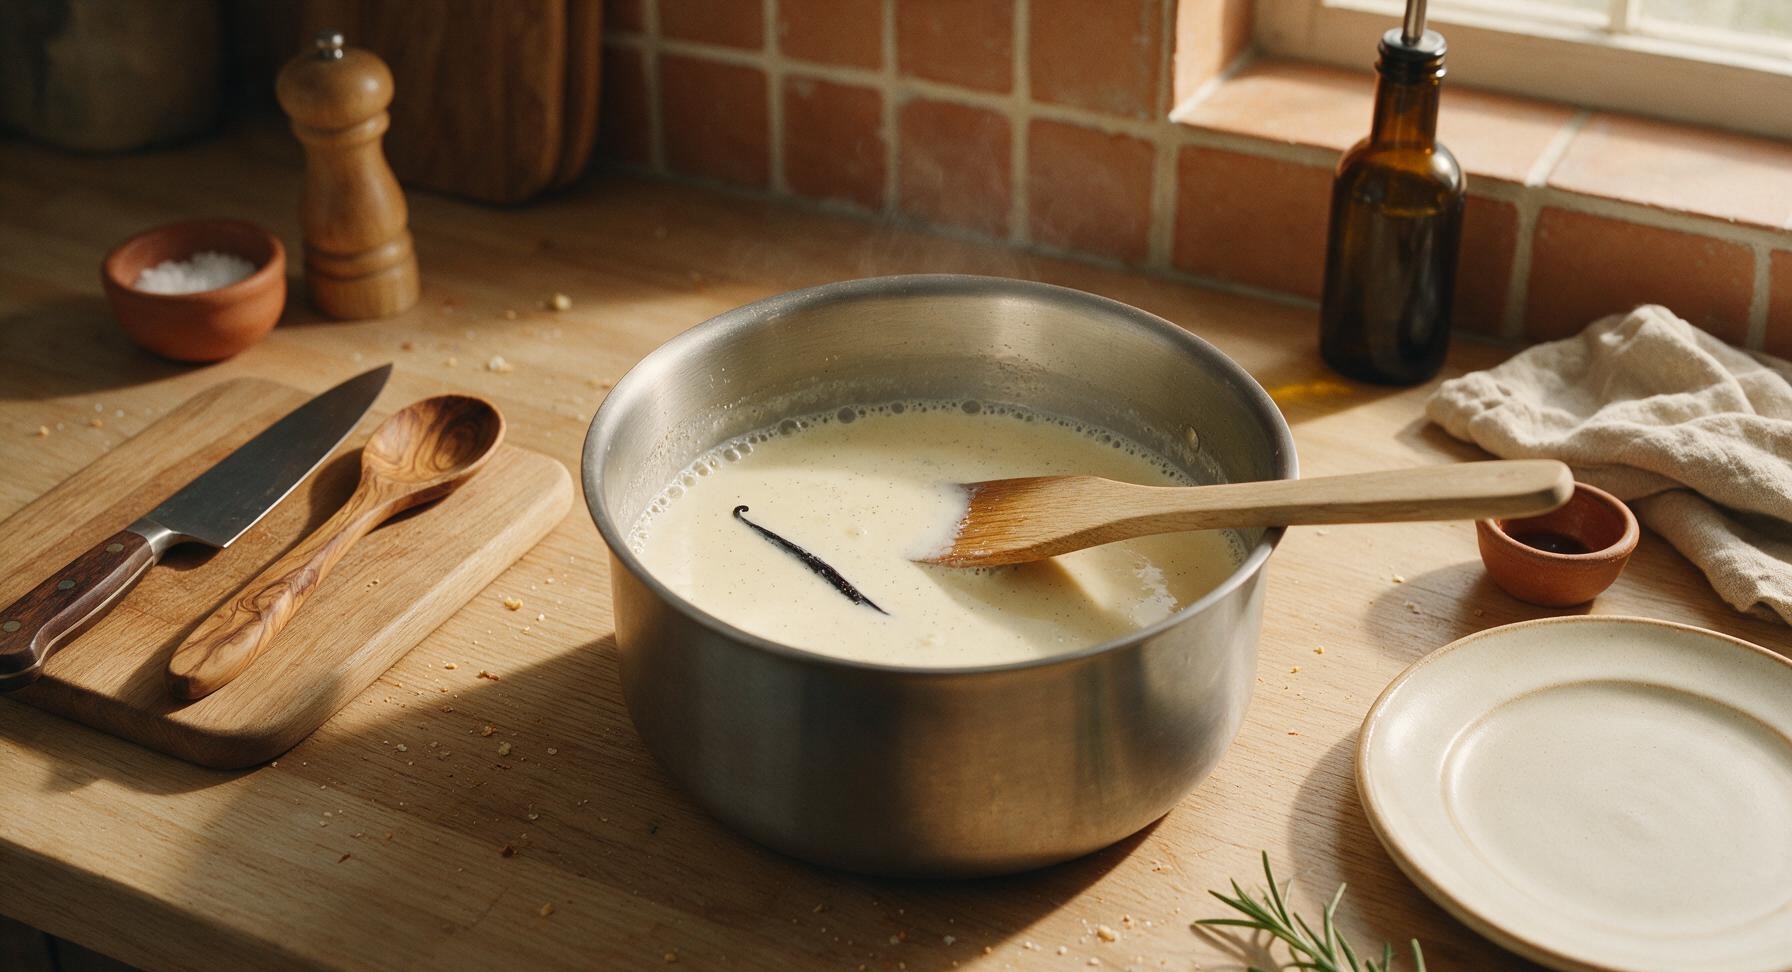
Pour 1.5 cups whole milk and ½ cup heavy cream into the heavy-bottomed stainless steel saucepan. Use the paring knife to split the vanilla bean lengthwise down the center, scrape out all the tiny dark seed paste with the tip of the knife, and add both the scraped seeds and empty bean pod to the saucepan. Place the pan over medium-low heat, stirring occasionally with the wooden spatula, until the mixture reaches a gentle simmer (170°F / 77°C) – small bubbles will form around the edge of the pan, but do not let it come to a rolling boil. Remove the pan from heat immediately once simmering, and let it steep for 5 minutes to infuse vanilla flavor.
Step 1
step1:Heat the Dairy Base
Step 1
step1:Heat the Dairy Base
2

Whisk Yolk-Sugar Base

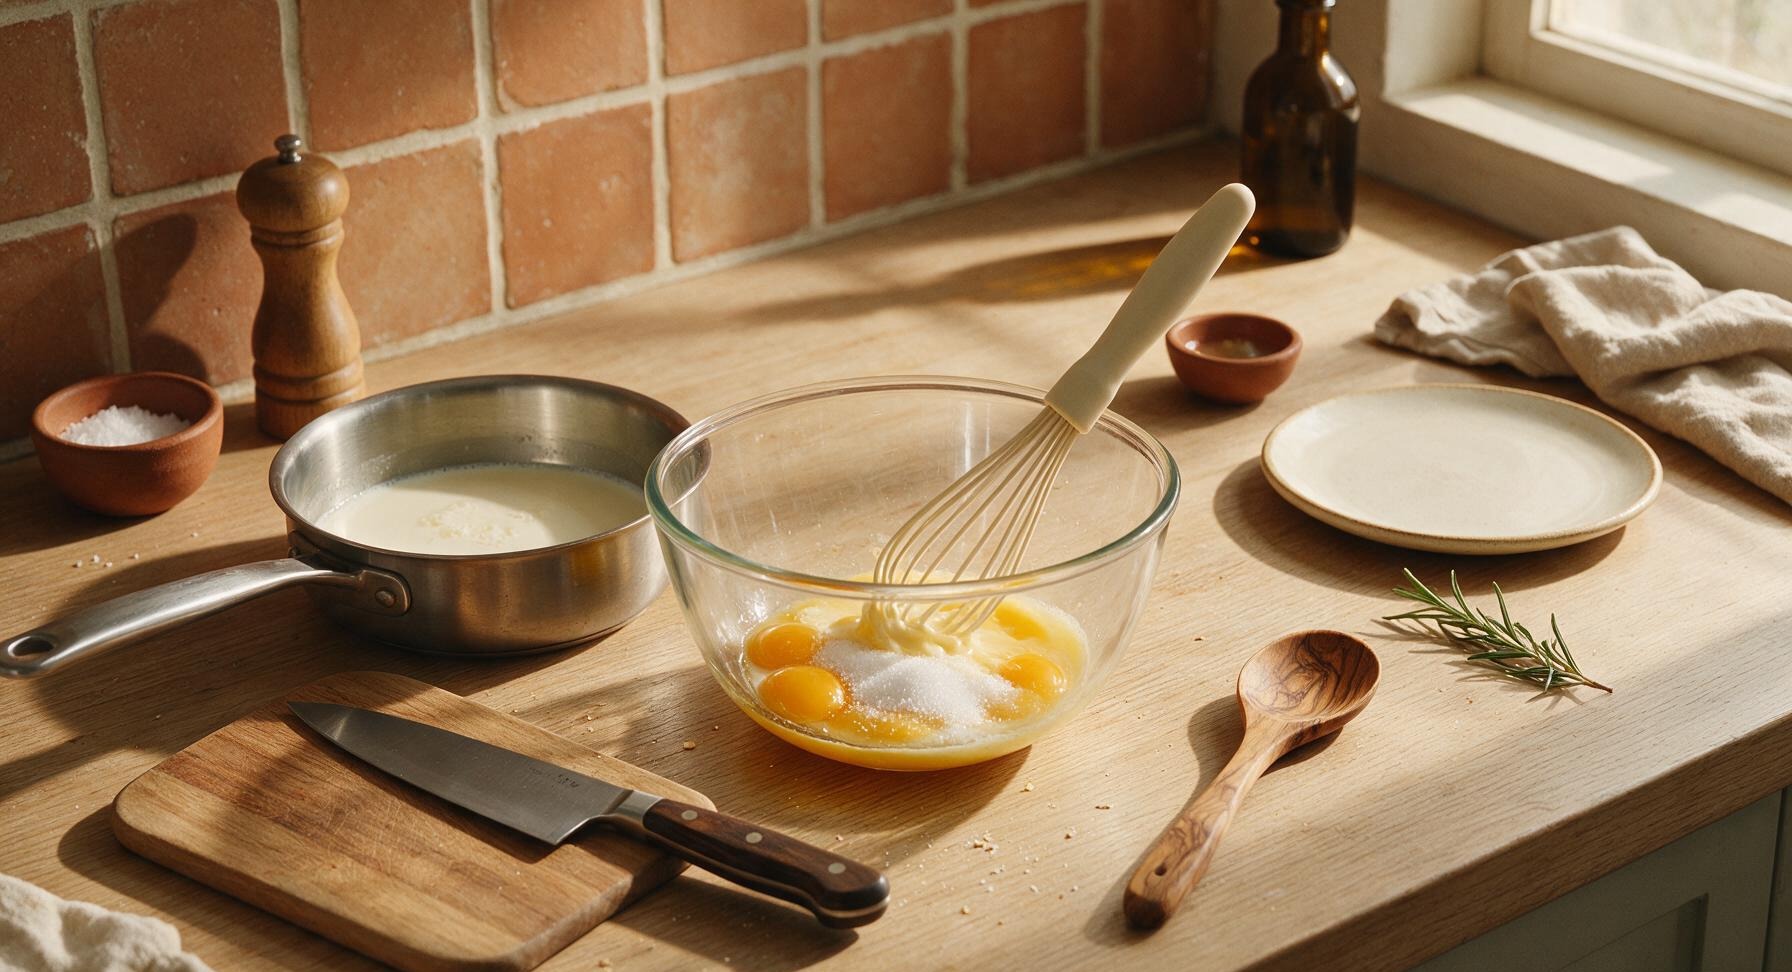
While the dairy steeps for 5 minutes, add the 3 large egg yolks, ¼ cup granulated sugar, and 1/8 tsp fine sea salt to one of the clear glass prep bowls. Use the silicone whisk to beat the mixture continuously for 1-2 minutes, until it turns pale lemon yellow, thickens slightly, and leaves a thin ribbon trail when the whisk is lifted above the bowl. Do not over-whisk to the point of creating thick foam.
Step 2
step2:Whisk Yolk-Sugar Base
3

Temper Egg Mixture

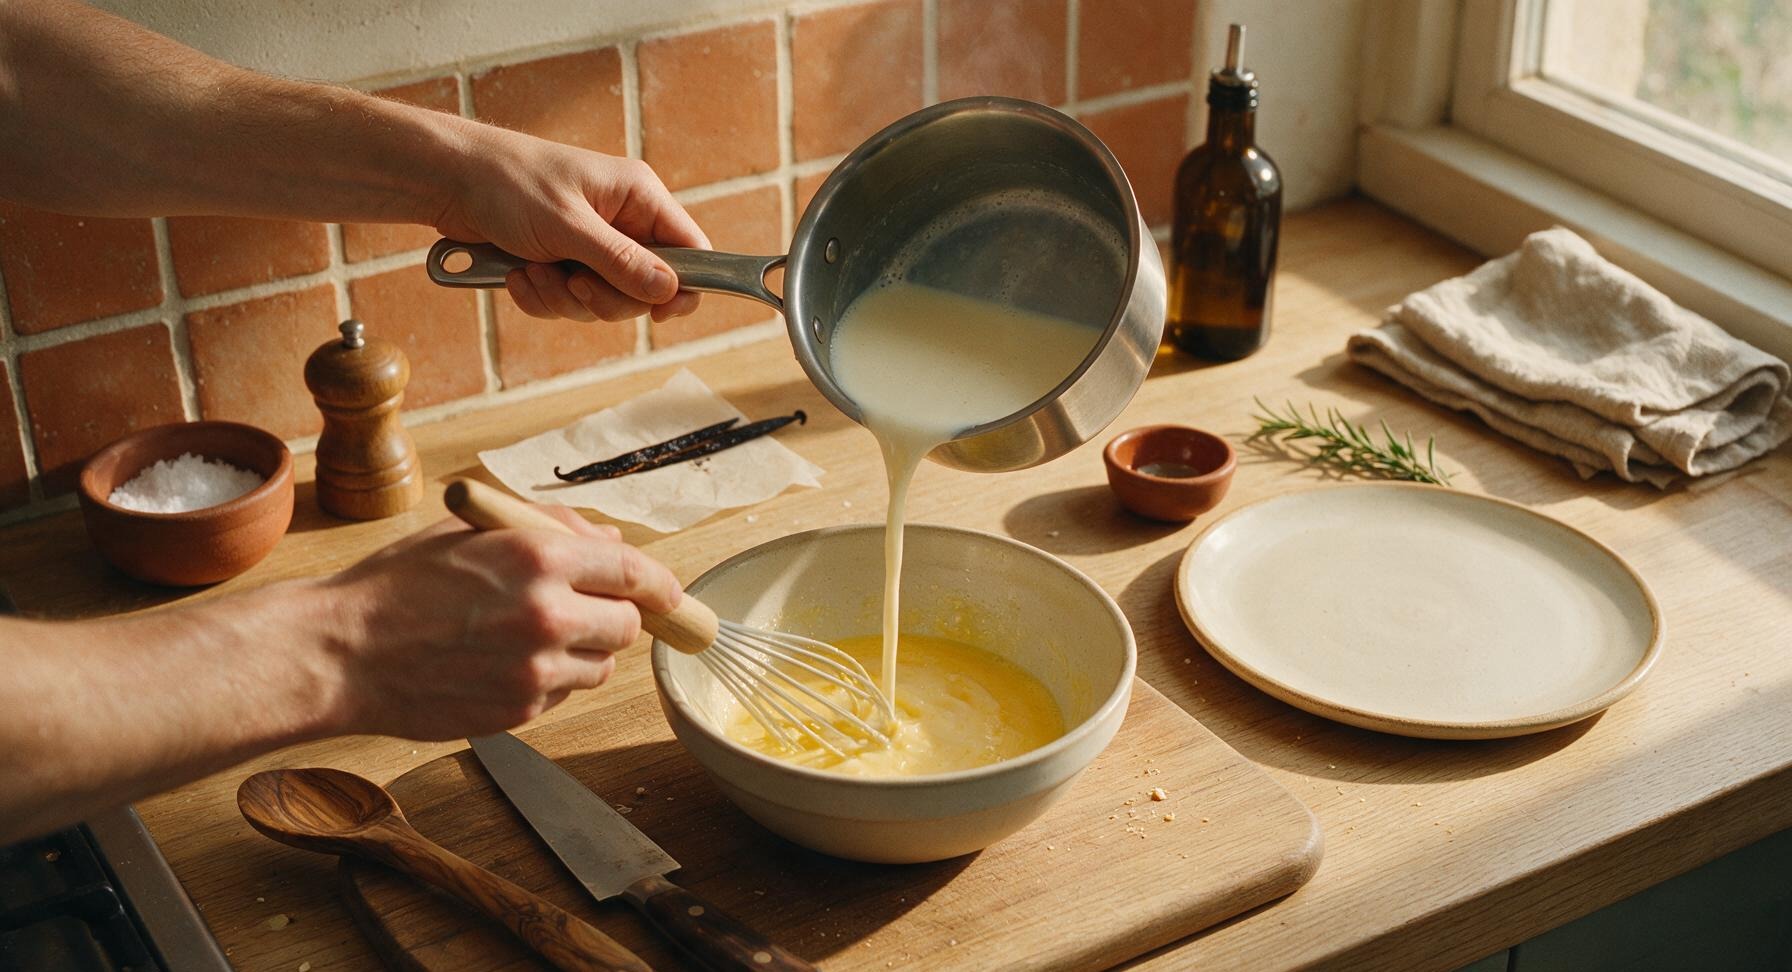
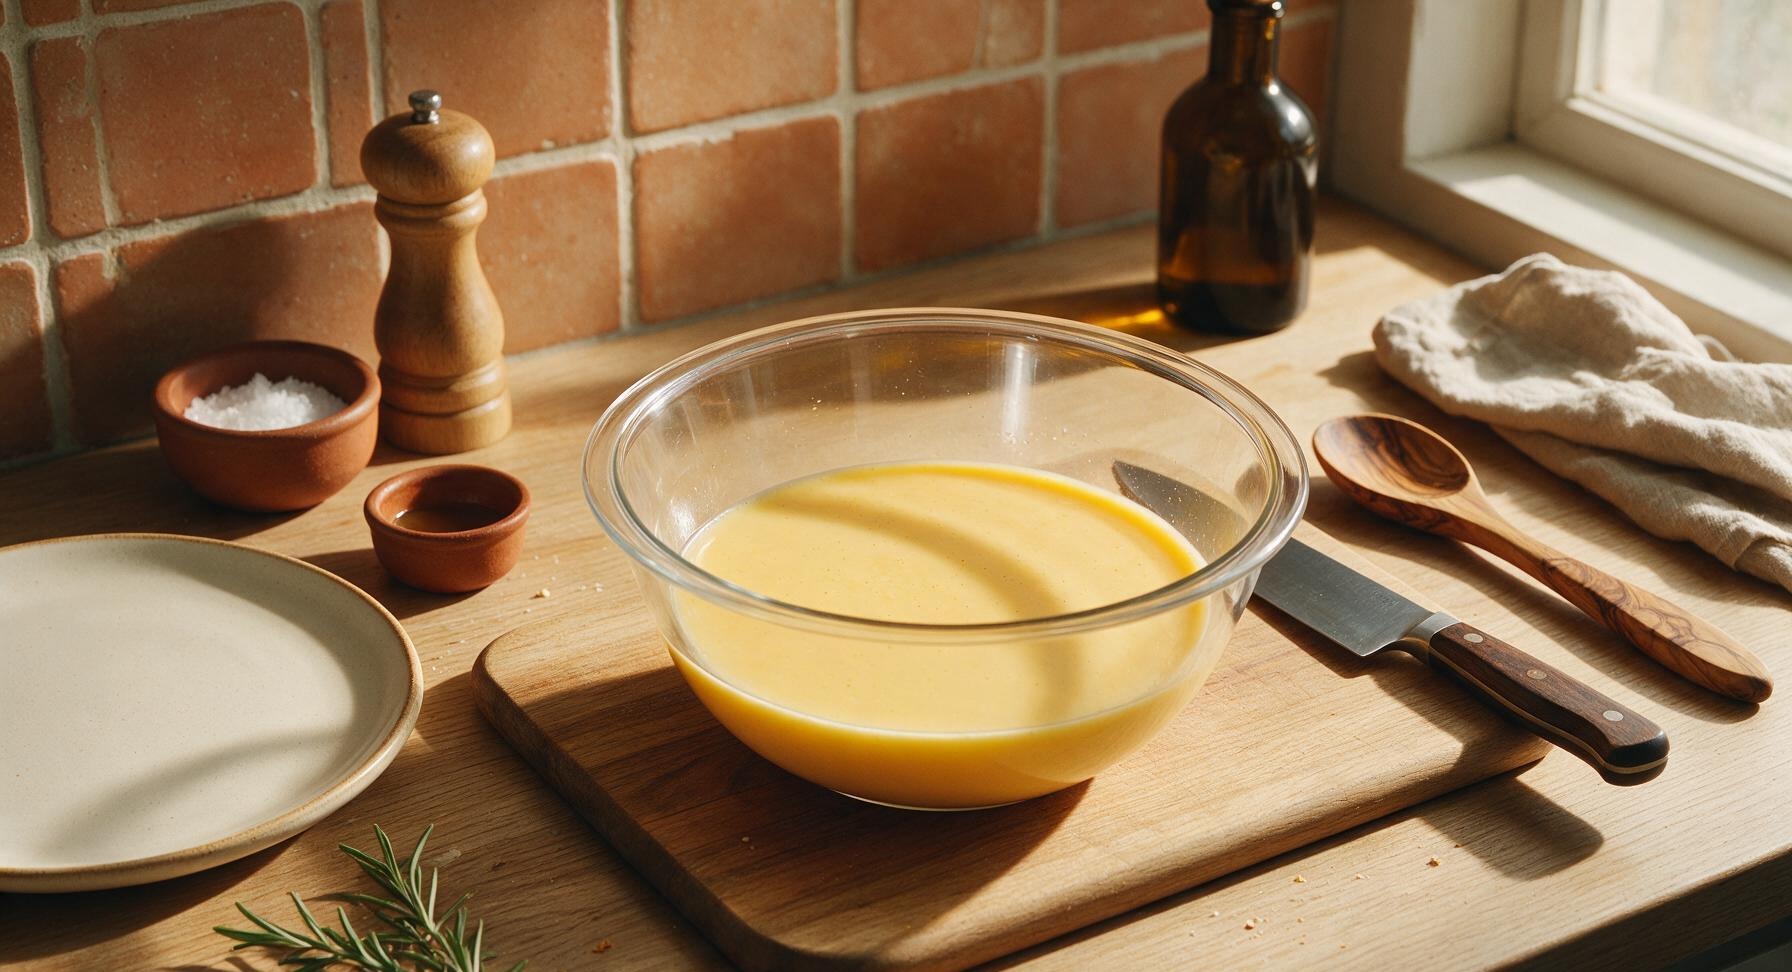
After the dairy has steeped 5 minutes, remove the vanilla bean pod from the pan with the wooden spatula and set it aside on the parchment square. While whisking the egg yolk mixture constantly and slowly, pour a thin, steady stream of ½ cup of the warm dairy into the egg bowl to raise the temperature of the eggs gradually. This prevents the eggs from curdling when added to the hot pan. Continue whisking the entire time you pour to distribute heat evenly.
Step 3
step3:Temper Egg Mixture
Step 3
step3:Temper Egg Mixture
4

Cook Sauce Until Thickened

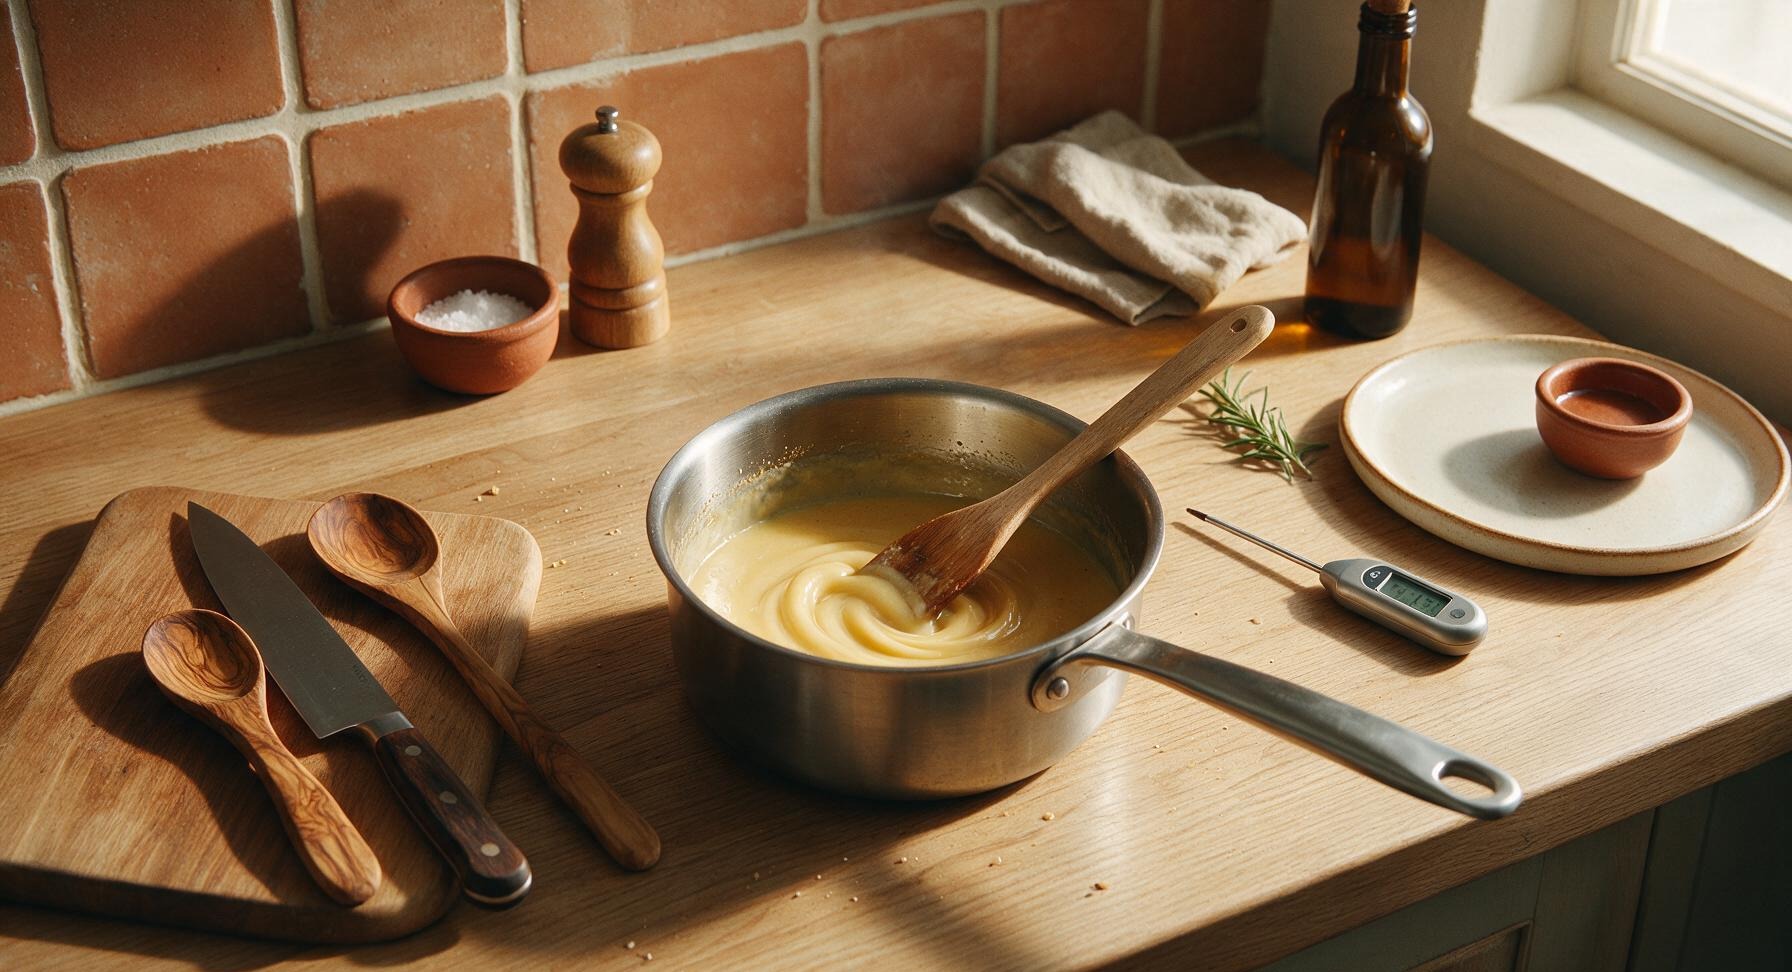
Pour the tempered egg mixture back into the remaining warm dairy in the stainless steel saucepan, stirring constantly with the wooden spatula over low heat. Cook the sauce for 3-4 minutes, stirring continuously in a figure-8 pattern to cover the entire bottom of the pan, until the sauce reaches 175°F (80°C) and thickens enough to coat the back of the spatula. If you draw a line through the sauce on the spatula with your finger, the line should hold its shape without running. Do not let the sauce exceed 180°F (82°C), as this will cause curdling.
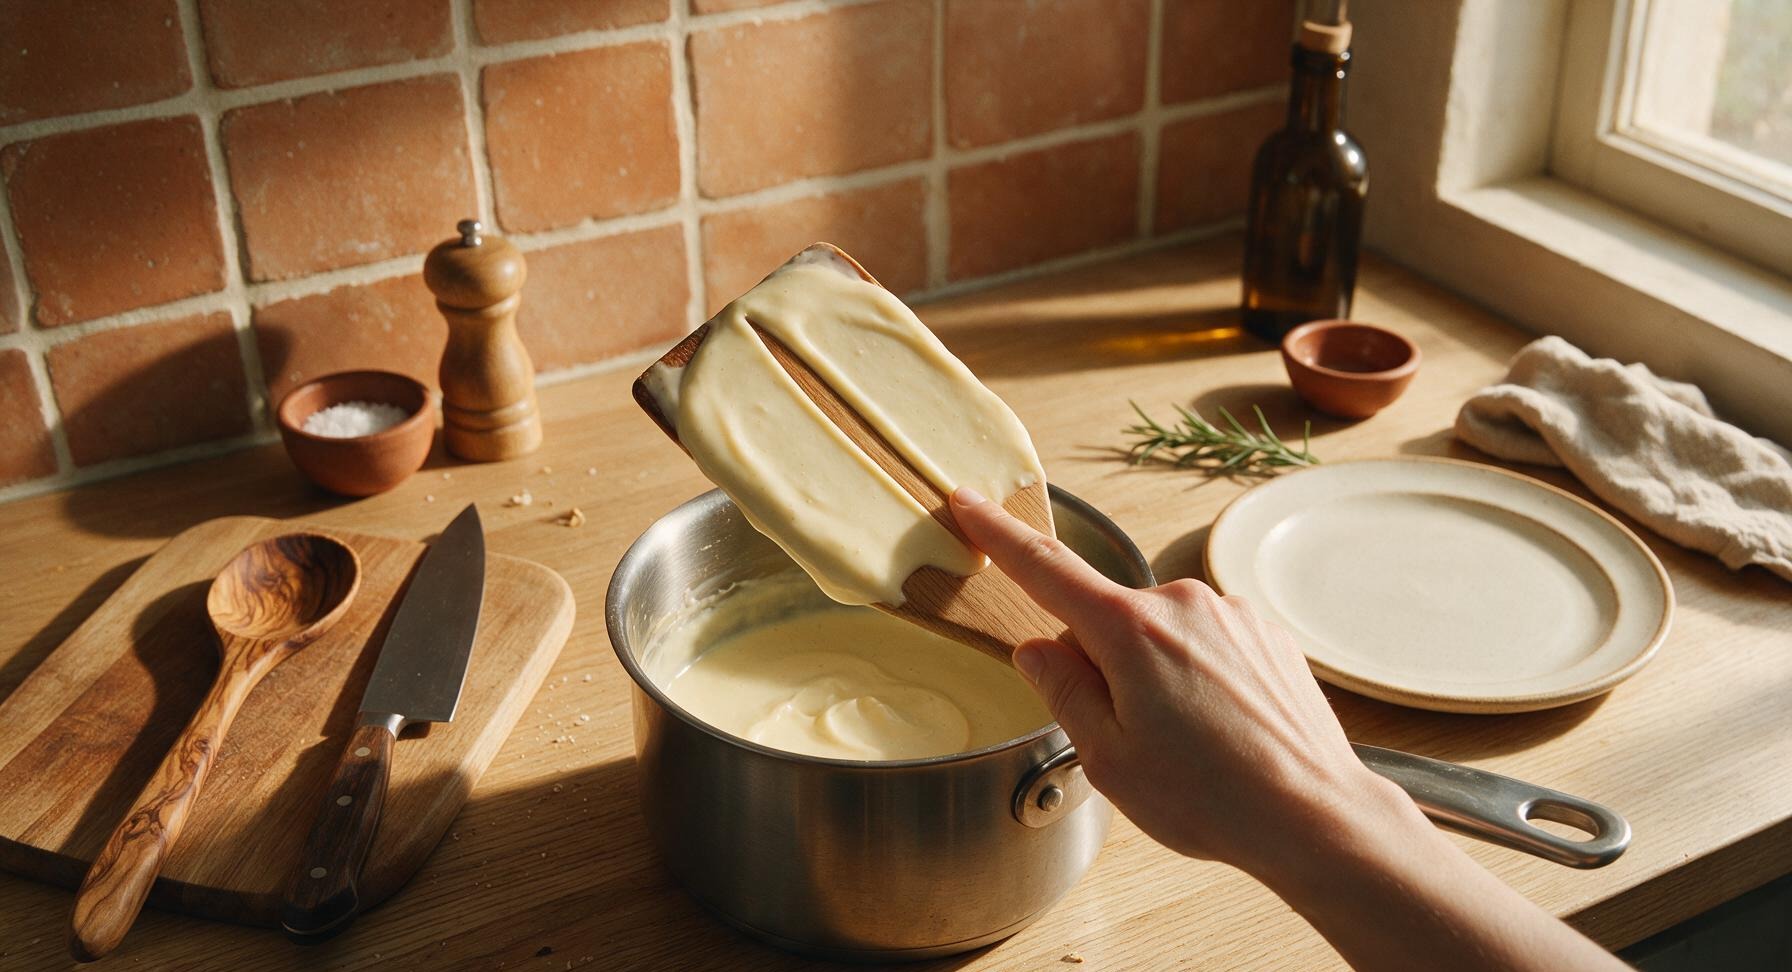
Step 4
step4:Cook Sauce Until Thickened
Step 4
step4:Cook Sauce Until Thickened
5

Strain the Finished Sauce

Remove the pan from heat immediately once the sauce reaches the correct thickness. Stir in the 1 tbsp optional unsalted butter until fully melted and incorporated, for extra silkiness and shine. Set the fine-mesh stainless steel strainer over a clean clear prep bowl, and pour the hot sauce through the strainer to catch any tiny curdled egg bits, resulting in a perfectly silky texture.
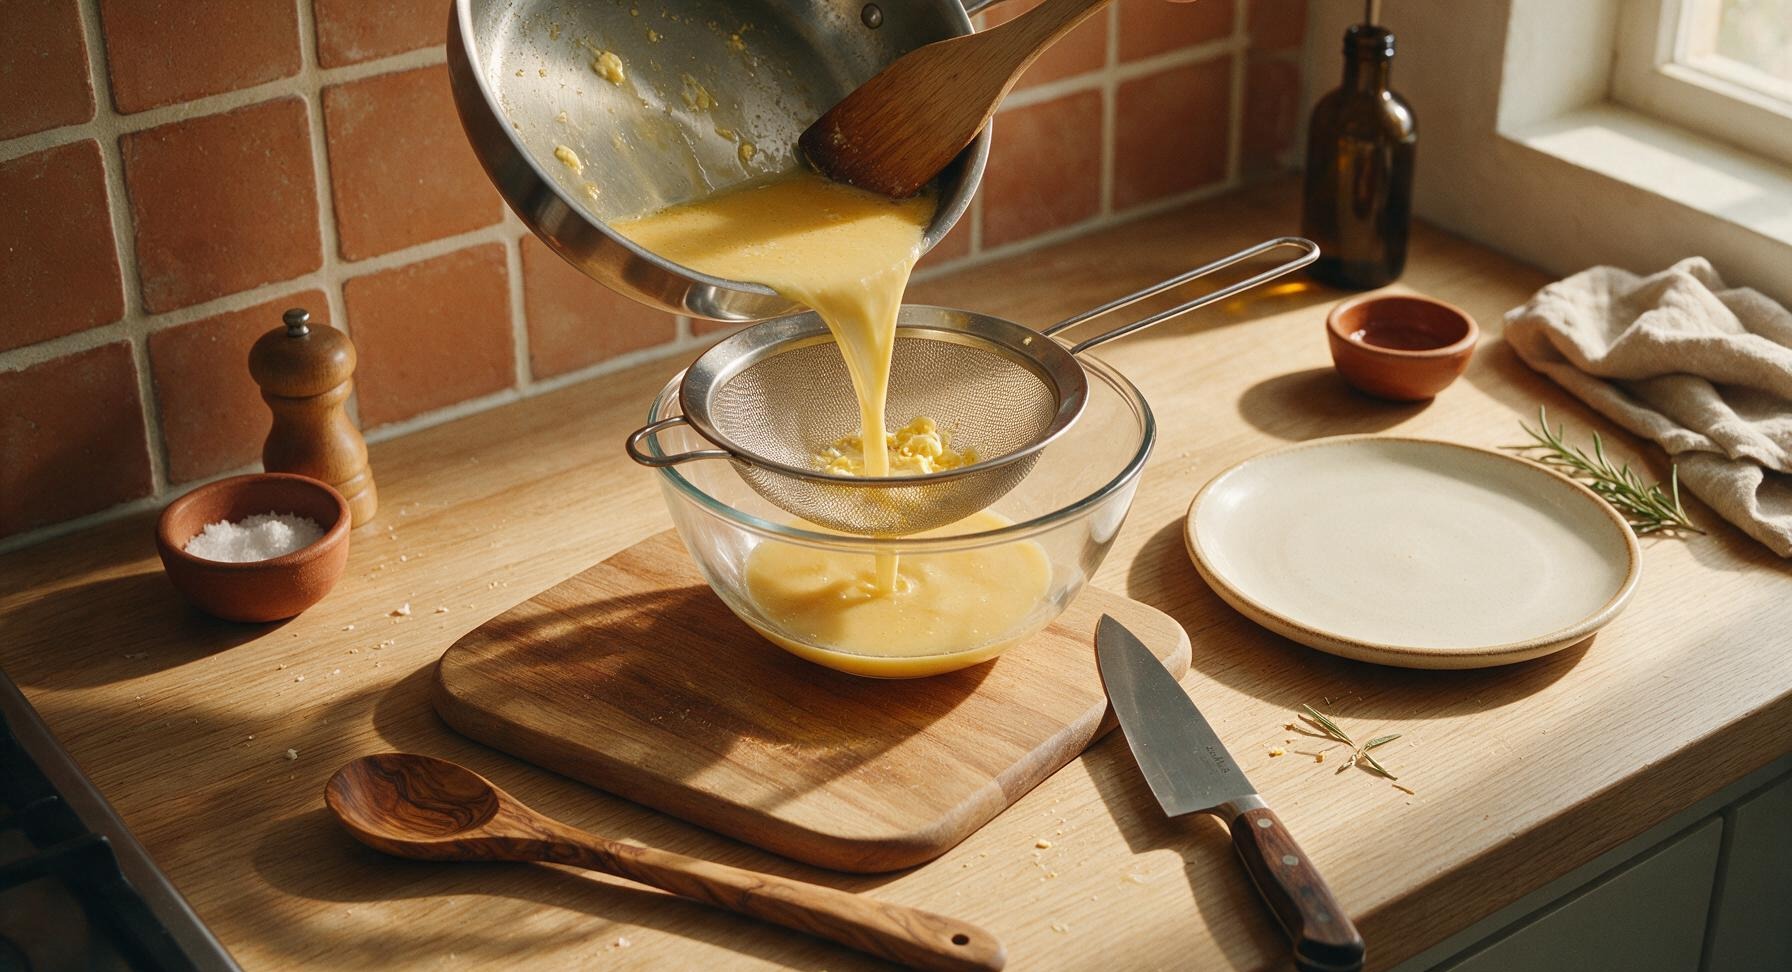
Step 5
step5:Strain the Finished Sauce
6

Cool and Serve Sauce

Let the strained sauce cool for 10 minutes at room temperature, stirring occasionally to prevent a skin from forming on the surface. If not serving immediately, press a piece of plastic wrap directly onto the surface of the sauce (to prevent skin formation) and refrigerate for up to 3 days. Pour the cooled, smooth sauce into the white porcelain gold-rimmed sauce boat for serving, and garnish with a small mint sprig if desired. The sauce is perfect served warm or chilled over bread pudding, poached fruit, cake, or ice cream.
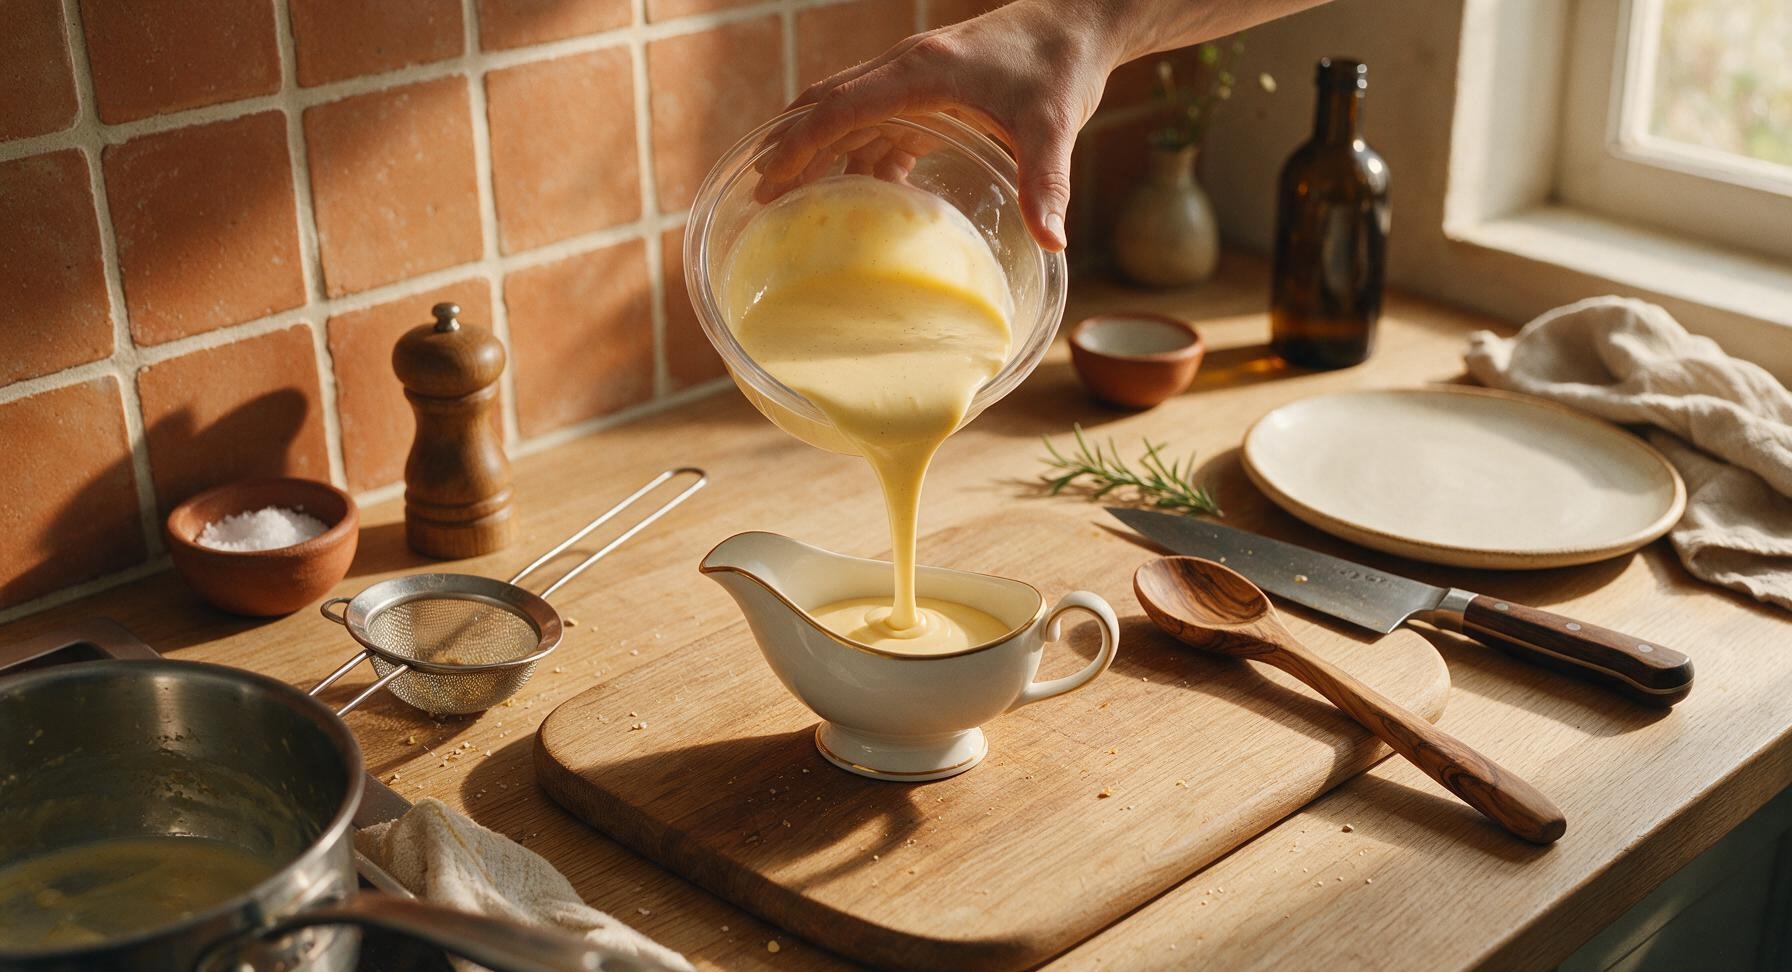
Step 6
step6:Cool and Serve Sauce

Tips

1.Avoid boiling the sauce after adding eggs: Egg yolks curdle rapidly at temperatures above 180°F (82°C), creating lumpy, grainy sauce. If small curds form, immediately pour the sauce into a blender and blend on high for 10 seconds, then strain to rescue the batch.
2.For the deepest vanilla flavor, let the vanilla bean steep in warm dairy for the full 5 minutes before tempering. If using pure vanilla extract instead of a bean, add 2 tsp extract after straining the hot sauce to preserve delicate aromatic compounds that break down at high heat.
3.Prevent skin formation as the sauce cools by pressing plastic wrap directly against the entire surface of the sauce (not just stretched over the bowl top) to block air contact. If a skin does form, pour the sauce through the fine strainer once more before serving to remove it.


✨ You May Also Like

Desserts & Baking
🍜 Italy

Creamy, coffee-kissed classic Northern Italian no-bake dessert, with layers of rum-spiked mascarpone cream, soft ladyfingers, and a rich cocoa dusting.

⏱️ 4 hours 3Desserts & Baking ★ 4.7
Desserts & Baking
🍜 France

Flaky, shatteringly crisp, buttery French croissants with golden exteriors and soft, airy layered interiors, perfect for pairing with coffee for a special morning treat.

⏱️ 12 hours Desserts & Baking ★ 4.5
Desserts & Baking
🍜 United States

Warm, spiced baked apples topped with a fluffy golden biscuit crust, this cozy dessert pairs perfectly with vanilla ice cream for cool-weather comfort.

⏱️ 55 minuteDesserts & Baking ★ 4.6
Desserts & Baking
🍜 United States

A star-spangled classic American blueberry pie with buttery flaky crust and bright sweet-tart filling, perfect for summer patriotic gatherings.

⏱️ 1 hour 25Desserts & Baking ★ 4.7
Desserts & Baking
🍜 United States

A beloved no-bake regional Maine candy with a chewy coconut-potato center coated in rich dark chocolate, a New England holiday staple since the 1870s.

⏱️ 2 hours 3Desserts & Baking ★ 4.8
Desserts & Baking
🍜 France

Luxuriously creamy, floral frozen custard made with aromatic Tahitian vanilla beans, boasting a smooth, rich texture that melts slowly on the tongue.

⏱️ 3 hours 3Desserts & Baking ★ 4.5

vanilla sauce:Frequently Asked Questions

1.Why did my crème anglaise curdle while I was cooking it, and is there a way to fix it? ▾
Curdling happens when egg yolks get too hot (over 185°F) and cook into tiny lumps, usually from cranking the heat too high or not stirring consistently. You can absolutely rescue it: immediately pour the sauce into a cold bowl, blend for 10 to 15 seconds with an immersion blender, then strain through a fine-mesh sieve for a smooth, usable final sauce.
2.Can I use vanilla extract instead of a whole vanilla bean in this recipe? ▾
Absolutely! A whole vanilla bean delivers that deep, floral, speckled classic look, but if you don’t have one on hand, swap in 2 teaspoons of pure vanilla extract. Just stir it in after you take the sauce off the heat, right before straining, so the delicate vanilla flavor doesn’t cook off and turn bitter.
3.How do I tell when crème anglaise is done if I don’t have a kitchen thermometer? ▾
Use the classic 'coat the back of a spoon' test. Dip a metal spoon into the warm sauce, then run your finger straight across the spoon’s back. If the line holds cleanly without running, and the sauce clings in a thin, even layer, it’s done—this usually hits right around 180°F, before the sauce comes to a simmer.
4.What desserts pair best with classic vanilla crème anglaise? ▾
This silky, versatile sauce works with so many treats! It’s iconic drizzled over warm bread pudding, poached pears or peaches, dense pound cake, chocolate lava cake, and summer fruit crumbles. You can also spoon it over vanilla ice cream for an extra luxe touch, or use it as a rich base for homemade custard ice cream.
5.How long does homemade crème anglaise last in the fridge, and can I freeze it? ▾
Stored in an airtight container with plastic wrap pressed directly to the sauce’s surface (to prevent a tough skin from forming), it will stay fresh for 3 to 4 days in the fridge. I don’t recommend freezing it, though—the egg and dairy base will separate when thawed, leaving a grainy, watery texture that’s nearly impossible to fix.
6.Is it really necessary to strain the sauce after cooking? ▾
Straining is a 30-second step that makes a huge difference in final texture. It catches any tiny bits of curdled egg that can form even with careful cooking, for that ultra-silky mouthfeel, and removes any stringy bits of vanilla bean pod so you don’t get chewy, unexpected bits in your finished sauce.
7.Can I make a dairy-free version of crème anglaise for guests with allergies? ▾
You can, though it won’t be an exact match for the classic version. Swap the whole milk and heavy cream for full-fat oat milk and well-shaken canned full-fat coconut cream for the closest rich, creamy texture. Keep the same egg yolk, sugar, and vanilla ratios, and cook over low heat to avoid curdling the eggs.
8.My crème anglaise turned out too thin—what went wrong, and can I fix it? ▾
Thin sauce almost always means you undercooked it, so the egg yolks didn’t have a chance to set and thicken the dairy base. To fix it, pour the sauce back into a clean saucepan, cook over very low heat while stirring constantly, and test frequently with the spoon coat method until it reaches that perfect drizzly consistency.
9.Do I have to use both heavy cream and whole milk, or can I just use all milk? ▾
The mix of whole milk and heavy cream creates that perfect, drizzly, rich balance. Using all milk will make a thin, watery sauce that lacks that luxe mouthfeel, while all heavy cream will be too thick to pour easily. If you only have 2% milk on hand, add one extra egg yolk to boost thickness and richness.

Comments (9)

2 days ago

OMG this crème anglaise was SO good! I poured it over my bread pudding for our Sunday family dinner last night and every single person asked for the recipe. Took me literally 10 minutes just like the post says, total game changer for quick dessert toppings! Only thing I did was add a tiny extra splash of vanilla because I’m extra like that 😂

yesterday

Wait did you use regular vanilla extract or vanilla bean paste? I’ve been debating which works better for this sauce!

2 hours ago

So glad it was a hit at your family dinner, Sarah! Both regular vanilla extract and vanilla bean paste work beautifully here – paste will give you those pretty little vanilla specks if you’re going for a fancy look, but extract tastes just as delicious!

5 days ago

My kids loved it! I made this to go with the apple crisp I brought to our neighborhood potluck last weekend, and even the picky eaters were drizzling extra on their plates. So easy even I didn’t mess it up, and I burn toast half the time lmao. Will 100% be making this on repeat for all our fall desserts.

3 days ago

Love hearing this, Liz! This sauce is such a perfect match for apple crisp – total fall vibe. So glad even the picky eaters approved!

5 minutes ago

Wait this is way easier than I thought crème anglaise would be? I always thought you needed fancy pastry skills to make it, but this came out perfectly smooth first try. Drizzled it over my morning french toast and honestly I’ll never eat plain french toast again. 10/10.

1 week ago

Quick question – can I make this ahead of time for meal prep? I’m hosting a dinner party this weekend and want to get as much done ahead as possible so I’m not running around like a crazy person when guests show up.

5 days ago

I made this 2 days ahead for my birthday dinner last month! Just stored it in an airtight mason jar in the fridge and gave it a good stir before serving, it was perfect!

3 days ago

Great question, Gabby! This sauce stays great in the fridge for up to 3 days when stored in an airtight container. Just give it a quick whisk before serving if it separates a little, and you’re good to go!

2 hours ago

Tasted amazing but I think I cooked mine a little too long? It got a little thicker than I wanted by the time I took it off the heat. Still tasted great over my chocolate lava cake though, no complaints here just a note for next time!

30 minutes ago

Thanks for the honest note, Nate! Next time, pull it off the heat as soon as it coats the back of a spoon – it’ll keep thickening a little as it cools, so err on the thinner side when you take it off the stove. So glad it still tasted great with your lava cake!

yesterday

SO good. I’ve been buying the jarred vanilla sauce from the grocery store for years and this tastes 100x better for half the cost. Took 10 minutes flat, no fancy equipment needed. Drizzled it over grilled peaches last night and my partner said it’s restaurant quality. Obsessed.

2 hours ago

Ooh grilled peaches with this sounds insane! I’ve only ever put this on cake and bread pudding, I need to try it with fruit stat.

3 days ago

I swapped the whole milk for oat milk to make it dairy free for my sister who’s lactose intolerant, and it still turned out incredible! Everyone at our family game night had no idea it was dairy free, they all thought it was the regular fancy restaurant version. Will be making this swap every time!

2 days ago

Oh thank you for mentioning the oat milk swap! My kid has a dairy allergy and I’ve been looking for a good vanilla sauce recipe that works with non-dairy milk, can’t wait to try this!

2 weeks ago

Brought this to our weekend tailgate to go with the berry cobbler my buddy made, and people were literally putting this on everything – cobbler, cookies, even a couple people dipped their pretzels in it lmao. Ridiculously easy to make, didn’t curdle at all even when I got distracted talking to my neighbor while cooking. 10/10 will make again.

30 minutes ago

Wait dumb question – do I have to temper the eggs for this? I’ve messed up custard sauces so many times by scrambling the eggs, I’m paranoid I’ll ruin this even though the recipe says it’s easy 😅

5 minutes ago

I was nervous about this too! Just take it slow, add a little bit of the warm milk to the eggs while whisking like crazy before you pour it all back in the pan, and you won’t get scrambled eggs. I did it first try and I’m terrible at custards!

just now

No dumb questions! Hank is exactly right – tempering the eggs slowly while whisking constantly will keep them from scrambling. Just keep the heat on medium-low and don’t rush it, and you’ll have perfectly smooth sauce in 10 minutes. You’ve got this!



