
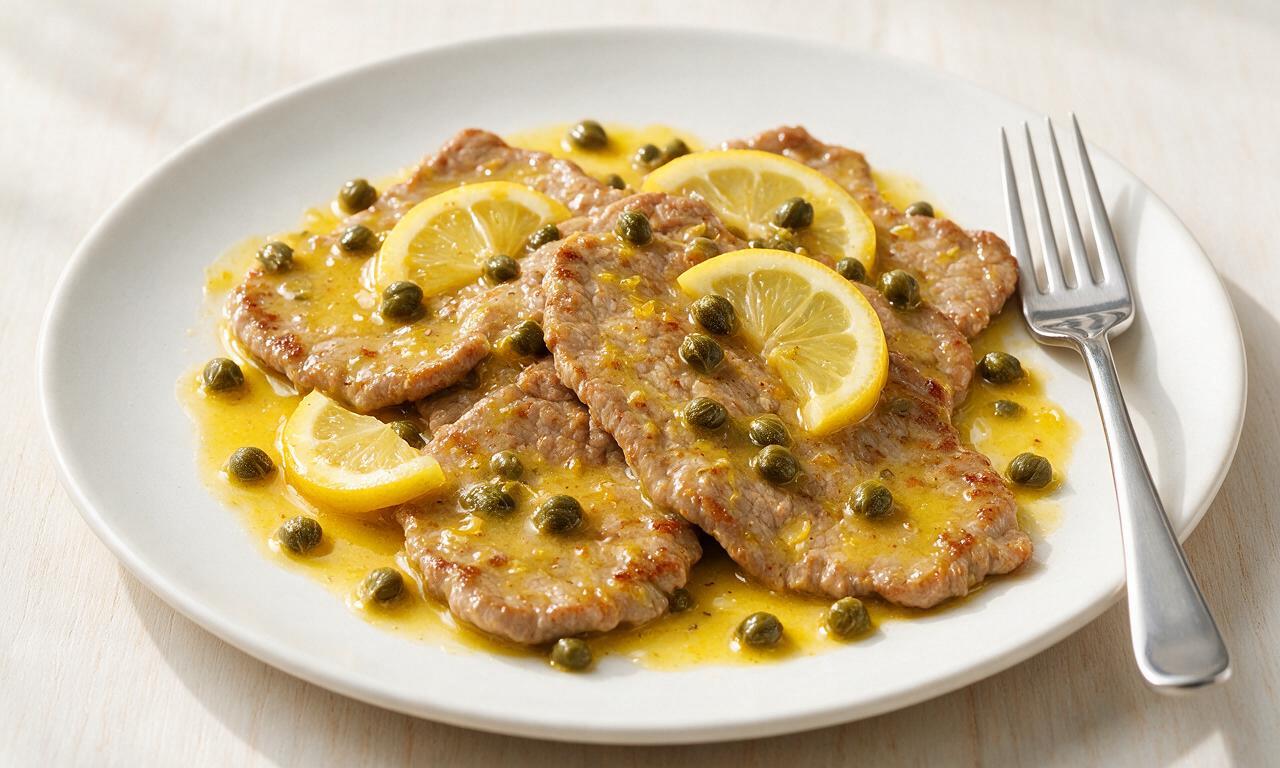
Veal Piccata

Veal Piccata
⏱️ cook time 25 minutes
🍽️ servings 4
⚡ Difficulty easy

intro

Tender thin-cut veal in a bright, tangy lemon-caper butter sauce—an elegant, restaurant-worthy dish ready in under 30 minutes.

Ingredients

Thin-cut veal cutlets (trimmed of excess fat) 680 grams (4 x 170g pieces)
All-purpose flour 80 grams (2/3 cup)
Kosher salt 1 teaspoon
Freshly ground black pepper 1/2 teaspoon
Unsalted butter (divided) 113 grams (8 tablespoons)
Extra-virgin olive oil 45 ml (3 tablespoons, plus extra as needed)
Dry white wine (Pinot Grigio or Sauvignon Blanc) 120 ml (1/2 cup)
Low-sodium chicken broth 120 ml (1/2 cup)
Fresh lemon juice 60 ml (1/4 cup, from 2-3 medium lemons, reserve 4 thin slices for garnish)
Capers (rinsed, drained) 30 grams (3 tablespoons)
Fresh flat-leaf parsley (finely chopped) 8 grams (2 tablespoons)

Steps

1

Prep and pound veal

Place veal cutlets between two sheets of plastic wrap on a wooden cutting board. Use a meat mallet or heavy rolling pin to pound each cutlet to a uniform 6mm (1/4 inch) thickness. Season both sides of each cutlet evenly with 3/4 teaspoon kosher salt and 1/4 teaspoon freshly ground black pepper.
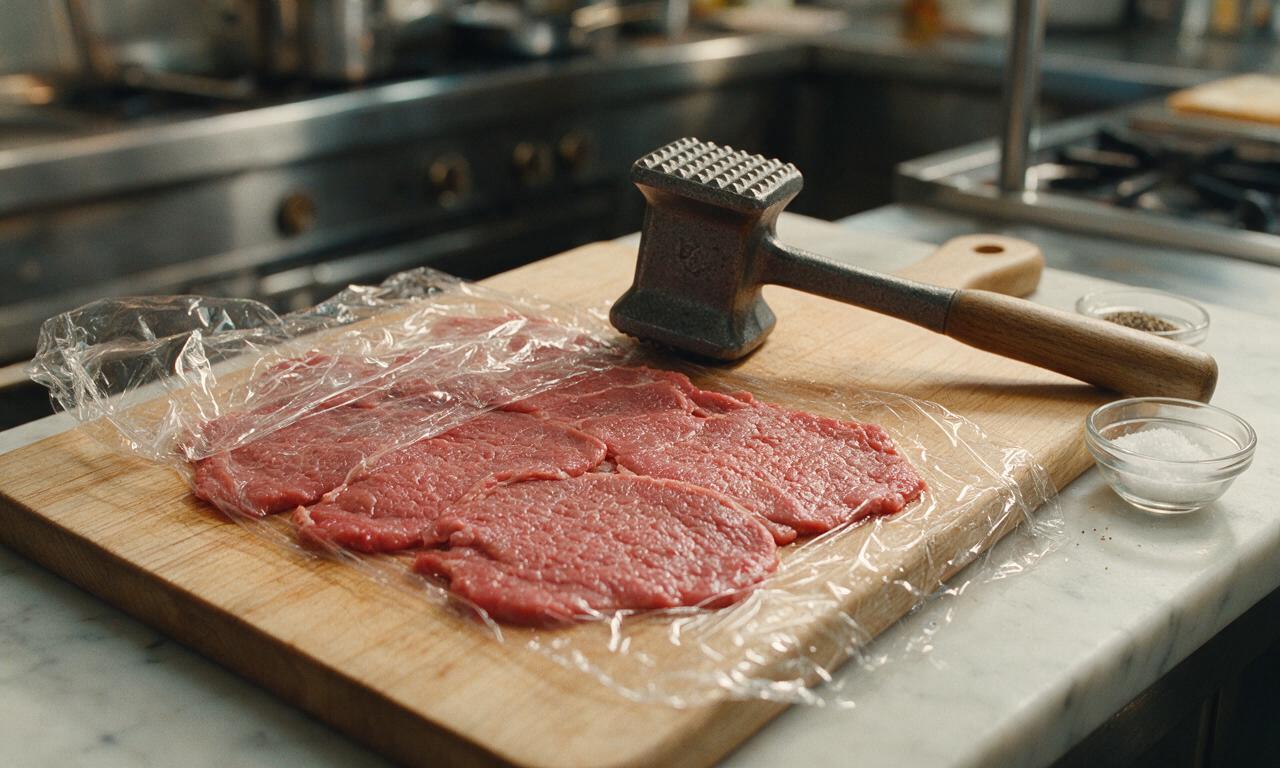
Step 1
step1:Prep and pound veal
2

Dredge veal in flour

Spread all-purpose flour in a wide, shallow dish. Dredge each pounded veal cutlet lightly in the flour, shaking off all excess to leave only a thin, even coating—thick flour clumps will turn gummy in the finished sauce. Set coated cutlets on a clean plate for 2 minutes to allow the flour to adhere to the meat surface.
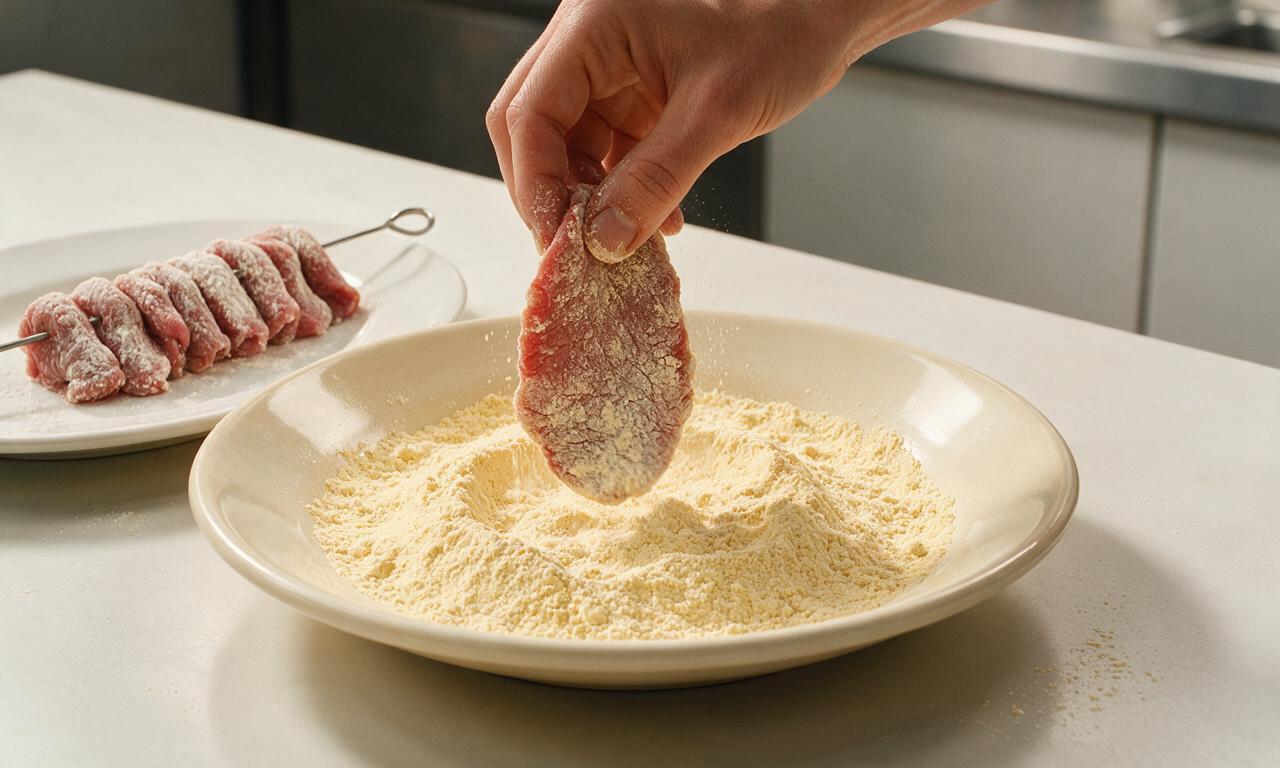
Step 2
step2:Dredge veal in flour
3

Sear veal cutlets

Heat 2 tablespoons (30ml) extra-virgin olive oil and 2 tablespoons (28g) unsalted butter in a large heavy-bottomed stainless steel skillet over medium-high heat until butter foams and turns pale golden, about 2 minutes. Work in 2 batches to avoid crowding the pan: add 2 cutlets at a time and sear for 1.5 minutes per side, until light golden brown on both surfaces. Transfer seared cutlets to a clean plate, tent loosely with aluminum foil, and repeat with remaining cutlets, adding 1 extra tablespoon (15ml) olive oil if the pan appears dry.
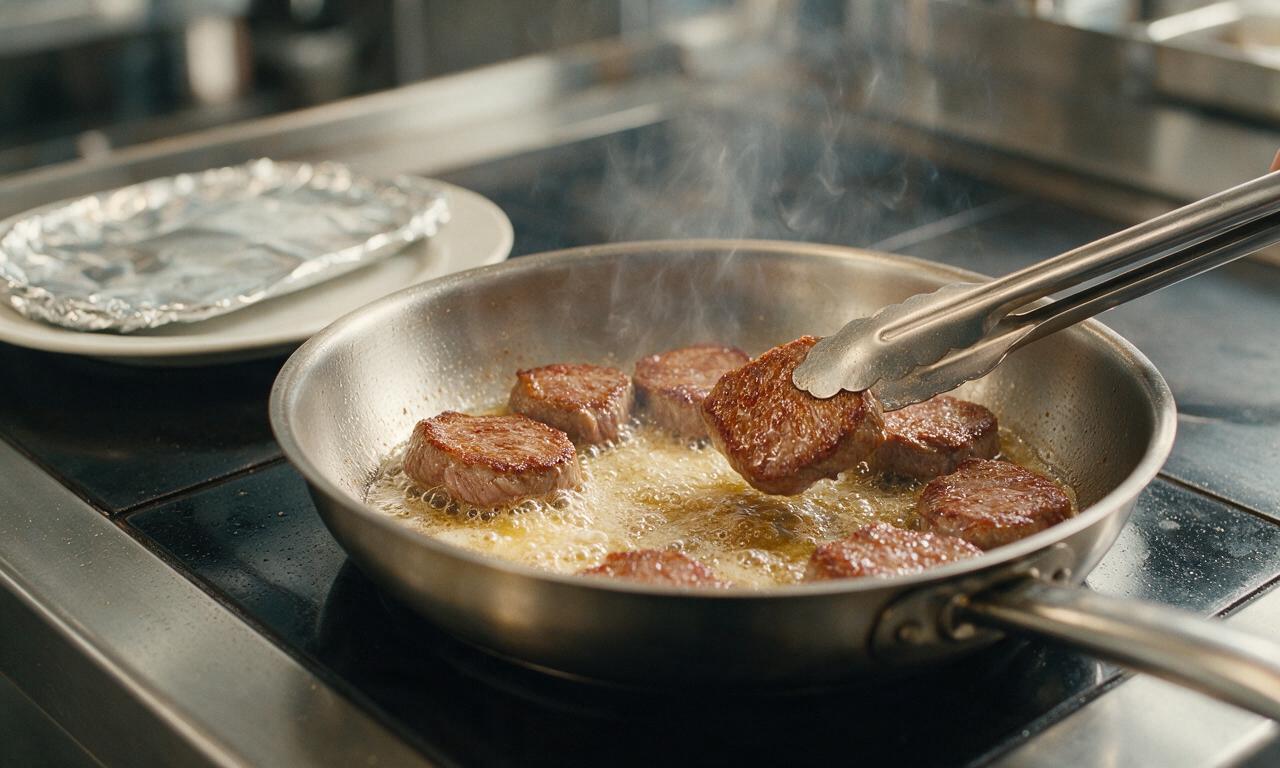
Step 3
step3:Sear veal cutlets
4

Build pan sauce base

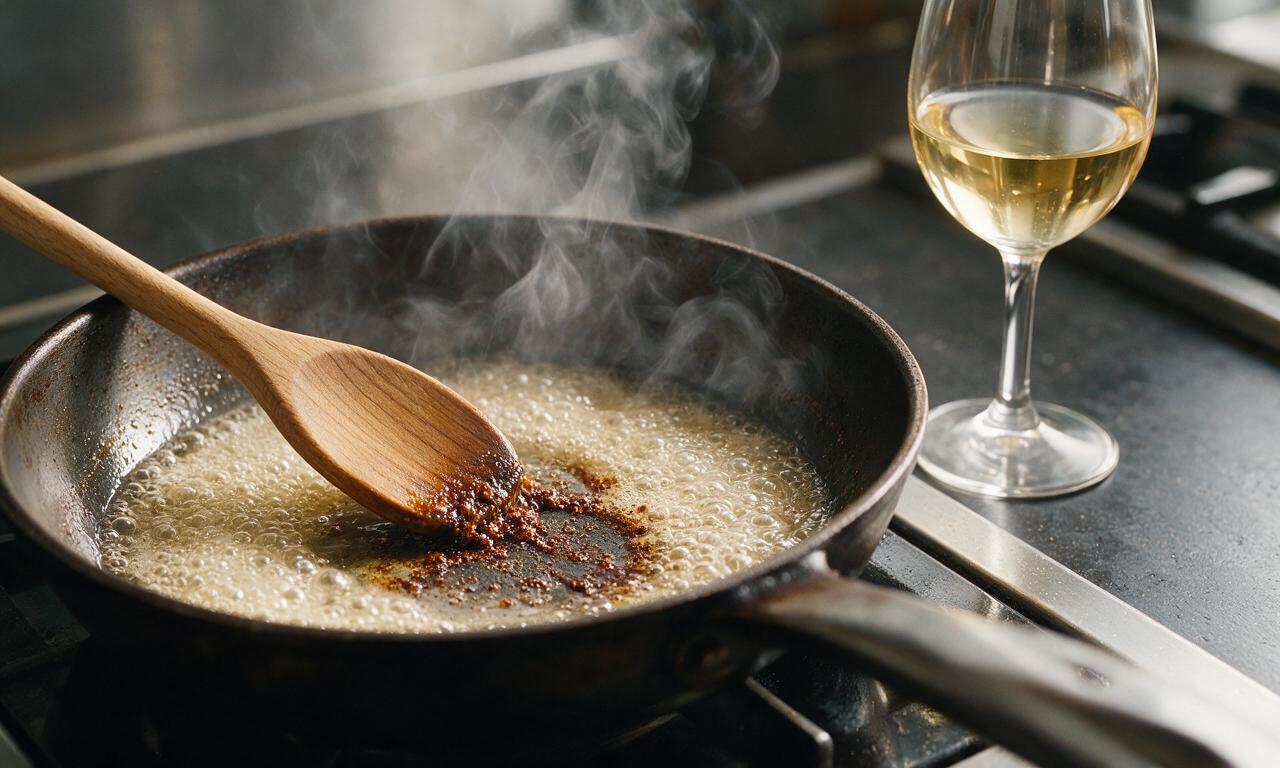
Lower stovetop heat to medium. Pour dry white wine into the same used skillet, using a wooden spoon to scrape up all browned flavorful bits (fond) from the pan bottom. Simmer the wine for 3 minutes until reduced by half, then stir in chicken broth, remaining 1/4 teaspoon kosher salt and 1/4 teaspoon black pepper, and simmer for 2 additional minutes.
Step 4
step4:Build pan sauce base
5

Finish lemon-caper sauce

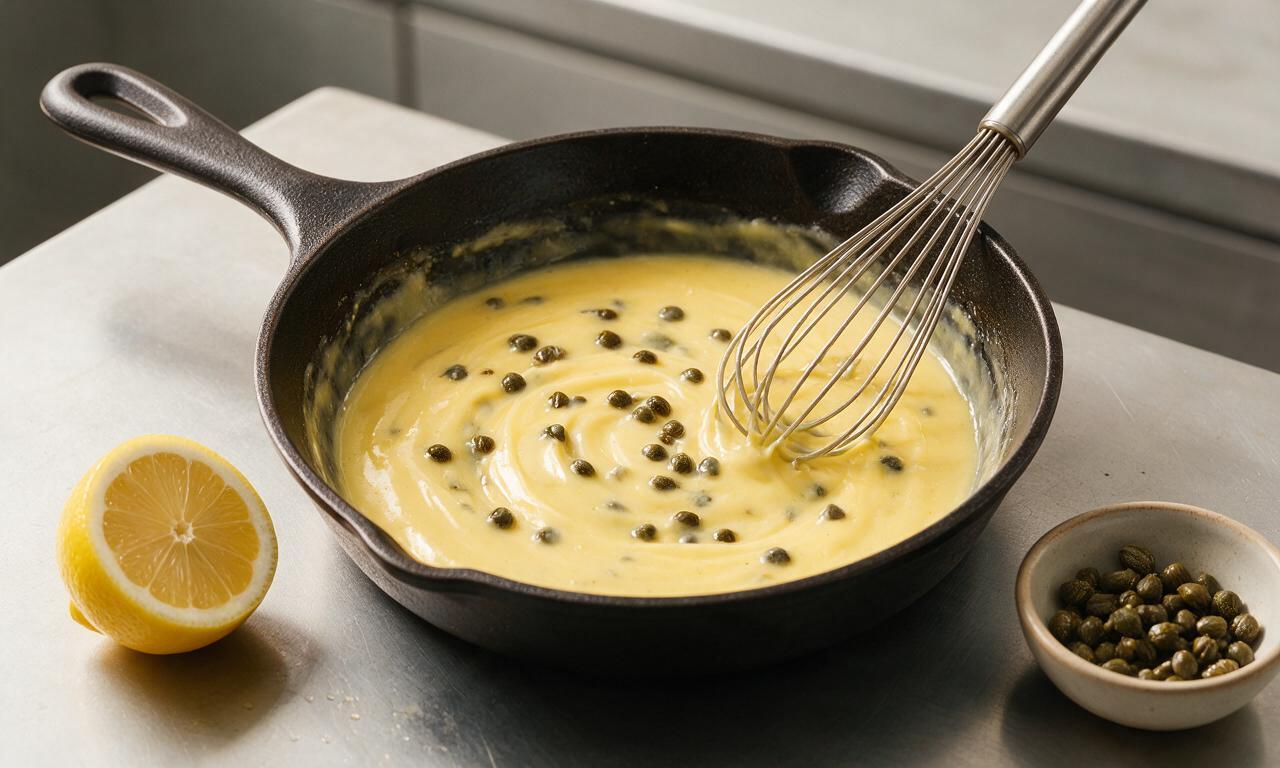
Stir fresh lemon juice and rinsed, drained capers into the reduced liquid, then lower heat to medium-low. Whisk in the remaining 6 tablespoons (85g) of cold unsalted butter 1 tablespoon at a time, waiting until each piece fully melts and incorporates before adding the next, to create a smooth, emulsified sauce over about 2 minutes total. Do not let the sauce boil after adding butter, as high heat will cause the sauce to separate.
Step 5
step5:Finish lemon-caper sauce
6

Warm veal and serve

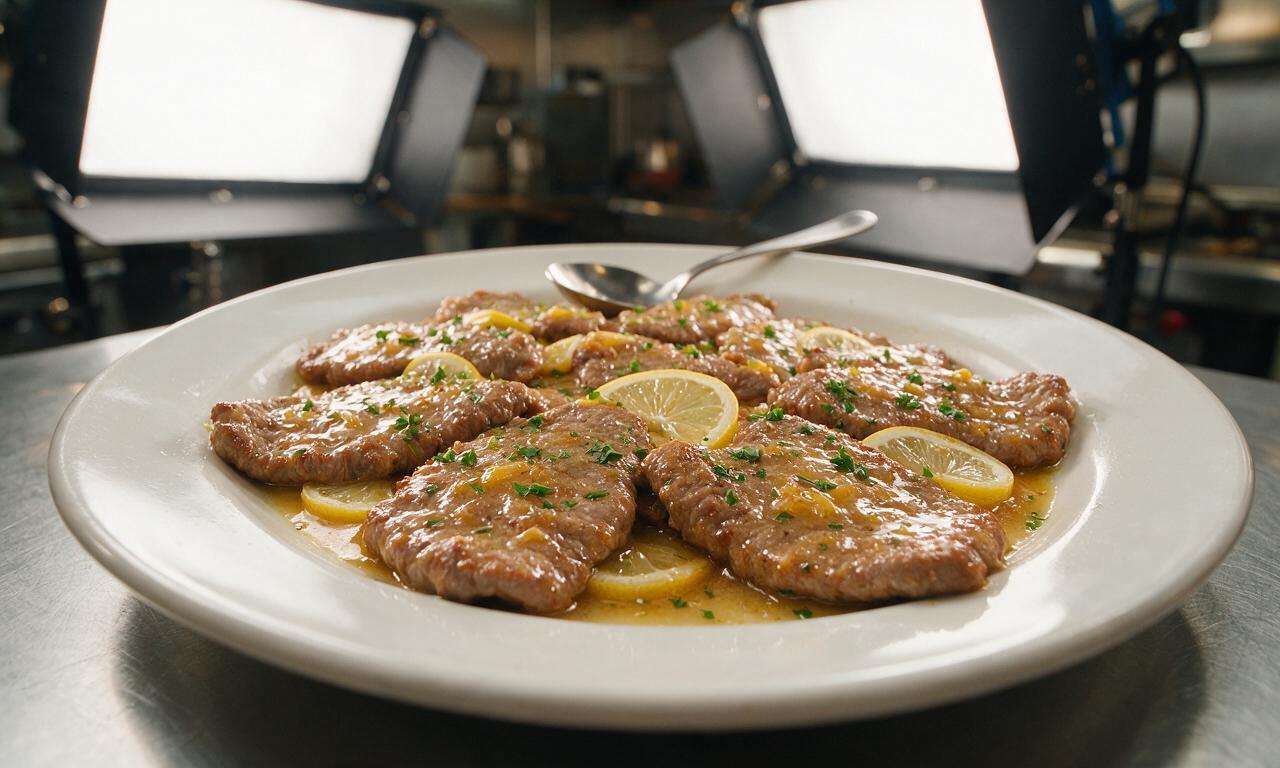
Return seared veal cutlets and any accumulated juices from the resting plate back to the skillet, spooning sauce over the top of each cutlet. Let the veal warm through in the sauce over low heat for 1 minute, then transfer cutlets to a warm serving platter. Sprinkle with chopped fresh flat-leaf parsley, garnish with reserved thin lemon slices, and serve immediately.
Step 6
step6:Warm veal and serve

Tips

1.Pound veal to an even 1/4-inch thickness to ensure every cutlet cooks at the same rate, preventing overcooked, tough thin edges and undercooked thick centers.
2.Always rinse capers under cool water before adding them to sauce to wash away excess pickling brine, which can make the finished dish unpleasantly salty.
3.Use cold butter straight from the fridge when emulsifying the pan sauce—cold butter melts slowly and creates a silkier, more stable sauce than room-temperature butter.


✨ You May Also Like

Main Course
🍜 United Kingdom

A showstopping classic of tender seared beef, savory mushroom duxelles, and crisp prosciutto wrapped in flaky golden puff pastry, baked to juicy perfection.

⏱️ 2 hours 1Main Course ★ 4.7
Main Course
🍜 India

Tender charred marinated chicken simmered in a rich, spiced creamy tomato sauce, this iconic Anglo-Indian curry pairs perfectly with basmati rice or warm naan.

⏱️ 50 minuteMain Course ★ 4.8
Main Course
🍜 Thailand

Classic tangy, sweet, and savory Thai stir-fried rice noodles with shrimp, tofu, and crunchy garnishes, balancing all five core Thai flavor profiles.

⏱️ 30 minuteMain Course ★ 4.6
Main Course
🍜 United Kingdom

Crispy golden beer-battered cod and fluffy double-fried chips, served with tangy tartar sauce and malt vinegar: the timeless, beloved British pub comfort classic.

⏱️ 45 minuteMain Course ★ 4.9
Main Course
🍜 Mexico

Smoky, chile-marinated pork tacos with caramelized pineapple, fresh cilantro, and lime: a beloved classic Mexican street food perfect for casual summer gatherings.

⏱️ 1 hour 45Main Course ★ 4.7
Main Course
🍜 United States

Crunchy Fritos corn chips layered with savory beef chili and melted cheddar, topped with cool, zesty fixings for a beloved, cozy Tex-Mex comfort food.

⏱️ 35 minuteMain Course ★ 4.9

Veal Piccata:Frequently Asked Questions

1.What’s the best cut of veal to use for classic veal piccata?
Opt for thin-cut veal top round or leg cutlets, trimmed of all excess fat and silverskin for the most tender, delicate bite. If your cutlets are thicker than ¼-inch, pound them evenly between two sheets of plastic wrap with a meat mallet to ensure fast, even cooking and that signature restaurant-style texture.
2.What can I substitute for veal if I don’t eat it?
You have two excellent, close-texture swaps: thin-cut, pounded chicken breast cutlets, or thin pork loin cutlets. Stick to the exact same cooking method, adjusting cook time slightly to hit 165°F for chicken and 145°F for pork, and the bright lemon-caper butter sauce will pair just as beautifully with either protein.
3.What’s the ideal thickness for veal cutlets in this recipe?
Aim for a uniform ¼-inch thickness across every cutlet. This thickness cooks fully in just a couple of minutes per side, stays perfectly tender, and gives you the ideal ratio of light crisp seared crust to delicate veal in every bite. Even thickness also prevents thin edges from overcooking while thicker spots stay underdone.
4.Can I prep veal cutlets ahead of time to speed up weeknight cooking?
Absolutely! You can trim and pound your cutlets up to 24 hours in advance, storing them tightly wrapped in the refrigerator. Hold off on coating them in flour until right before searing, though—flouring too early will create a gummy coating that prevents that light, crisp outer sear we want on finished piccata.
5.Why does the recipe call for divided unsalted butter instead of adding it all at once?
Great question! You’ll use the first portion of butter to sear the floured veal cutlets over medium-high heat, building a golden, flavorful crust and tasty browned pan bits called fond. The remaining butter gets stirred in off-heat at the end to create a silky, emulsified lemon-caper sauce that won’t turn greasy or break.
6.Why does the recipe specify kosher salt instead of regular table salt?
Kosher salt has larger, irregular crystals that distribute more evenly across the veal and into the sauce, making it far easier to season to taste without accidentally over-salting. If you only have table salt on hand, use half the measured amount, as table salt is much denser and saltier per teaspoon than kosher salt.
7.Do I really need to use freshly ground black pepper instead of pre-ground pepper?
Freshly ground black pepper has a bright, sharp, aromatic flavor that balances the rich butter and bright lemon in the sauce far better than flat, dusty pre-ground pepper. If you only have pre-ground pepper on hand, it will work in a pinch, but expect a slightly less complex, muted seasoning flavor in your finished dish.
8.Can I use a gluten-free flour instead of all-purpose flour to coat the veal?
All-purpose flour creates the light, delicate coating that helps the tangy butter sauce cling to each cutlet, but a 1:1 gluten-free all-purpose flour blend works perfectly as a swap. No matter which flour you use, be sure to shake off all excess coating before searing to avoid a gummy, pasty crust on your veal.
9.My veal always turns out tough when I make piccata—what am I doing wrong?
Tough veal almost always stems from two common missteps: using cutlets that are too thick, or overcooking the lean meat. Veal cutlets only need 1 to 2 minutes per side over medium-high heat to reach a safe 145°F internal temperature; any longer, and the delicate meat will quickly turn dry, chewy, and tough.
10.How do I keep floured veal from sticking to the pan when searing?
Start by making sure your pan is fully preheated over medium-high heat before adding the first portion of butter, and don’t overcrowd the pan—cook cutlets in batches if needed. Wait for the butter to stop foaming before adding veal, and resist flipping too early; cutlets release naturally once their golden crust is fully set.
11.How do I keep the lemon-caper butter sauce from tasting overly bitter?
Bitter sauce usually comes from three small, easy-to-fix missteps: burning butter during searing, including bitter white lemon pith with your fresh juice, or using unrinsed extra-briny capers. Scrape up the tasty browned pan fond, add the final butter off-heat, and give briny capers a quick rinse for bright, balanced flavor.
12.What sides pair best with classic veal piccata for a full meal?
This bright, tangy dish pairs perfectly with light, simple sides that soak up the delicious butter sauce. Opt for buttery angel hair pasta, creamy parmesan risotto, roasted asparagus, garlicky sautéed spinach, or crusty artisan bread to catch every last drop, and keep sides lightly seasoned so they don’t compete with the piccata.
13.How should I store and reheat leftover veal piccata?
Store cooled leftover veal and sauce in an airtight container in the fridge for up to 3 days, or freeze for up to 2 months. Thaw frozen leftovers overnight in the fridge, then reheat gently in a skillet over low heat to avoid overcooking the veal or breaking the silky butter sauce; expect slightly softer veal texture than fresh.

Comments (6)

2 days ago

OMG this was SO good! I made it for our Sunday family dinner last night and even my super picky 10 year old who hates all ‘fancy grown up food’ cleaned his plate and asked for seconds. The lemon caper sauce is an absolute game changer— I didn’t have white wine on hand so I used a splash of chicken broth with a tiny squeeze of extra lemon and it still turned out perfect. 10/10 will be adding this to our weekly rotation!

yesterday

Wait the chicken broth swap is genius! I never keep white wine around for cooking either, I was gonna skip this recipe till I saw your comment—def trying it tomorrow for meal prep!

yesterday

So glad your family loved it! The chicken broth swap works beautifully, and if you want a little extra depth you can add a tiny pinch of white wine vinegar to mimic that dry wine tang. Happy cooking!

5 minutes ago

Full transparency, I’ve never cooked veal before in my life and was super nervous I’d mess it up, but this recipe was so straightforward! 25 minutes total cook time is no joke, I had it on the table faster than I can run to the local Italian takeout spot. The only tweak I made was adding a little extra butter at the end to make the sauce extra silky, no regrets.

just now

That butter finish is a classic pro move, Tony! So stoked this recipe gave you the confidence to try cooking veal for the first time—sounds like you nailed it.

1 week ago

Brought this to our neighborhood potluck over the weekend and people were lined up for seconds! I prepped the veal cutlets the night before and made the sauce right before we headed over, and it held up so great even after sitting on the buffet table for an hour. Multiple neighbors asked for the recipe, so I sent ‘em all this link! Only note is make sure you pound the cutlets nice and thin so they cook evenly, learned that the hard way on my first batch.

3 days ago

Wait I made this for my girlfriend’s birthday dinner and she thought I ordered it from the fancy Italian place downtown 😂 I burned the first two cutlets a little ‘cause I had the heat too high, but once I turned it down to medium it was smooth sailing. The capers hit so hard, 100% will make this again for date night.

2 days ago

Pro tip for next time: let your pan come up to temp slowly instead of cranking it high right away! Saved me so many burned cutlets when I was first learning to make this. Great call picking this recipe for a birthday dinner, it never misses!

2 days ago

Happy to hear the birthday dinner was a hit! Medium heat is definitely the sweet spot for these thin cutlets—they cook in just a couple minutes per side so you don’t need super high heat to get that nice golden crust.

2 weeks ago

Super easy to make gluten free! I swapped the regular all purpose flour for a 1:1 GF flour blend and you literally couldn’t tell the difference. The bright lemon flavor doesn’t get weighed down at all, it’s so light and perfect for summer dinners on the patio. My husband said it’s better than the veal piccata we had on our trip to Rome last year, wild!

1 week ago

Oh thank you for sharing the GF swap! I have celiac and have been looking for a good piccata recipe that doesn’t require a bunch of weird ingredients, can’t wait to try this next weekend when we have friends over.

30 minutes ago

Meal prep win! I made a double batch on Sunday, portioned it out with some roasted broccoli and orzo, and it reheated perfectly for lunches all week. No soggy breading, the sauce still tasted bright even after being microwaved at work. I was worried veal would be too fancy for quick weeknight meals but this is so low effort it’s going in my regular lunch rotation for sure. SO good.



