
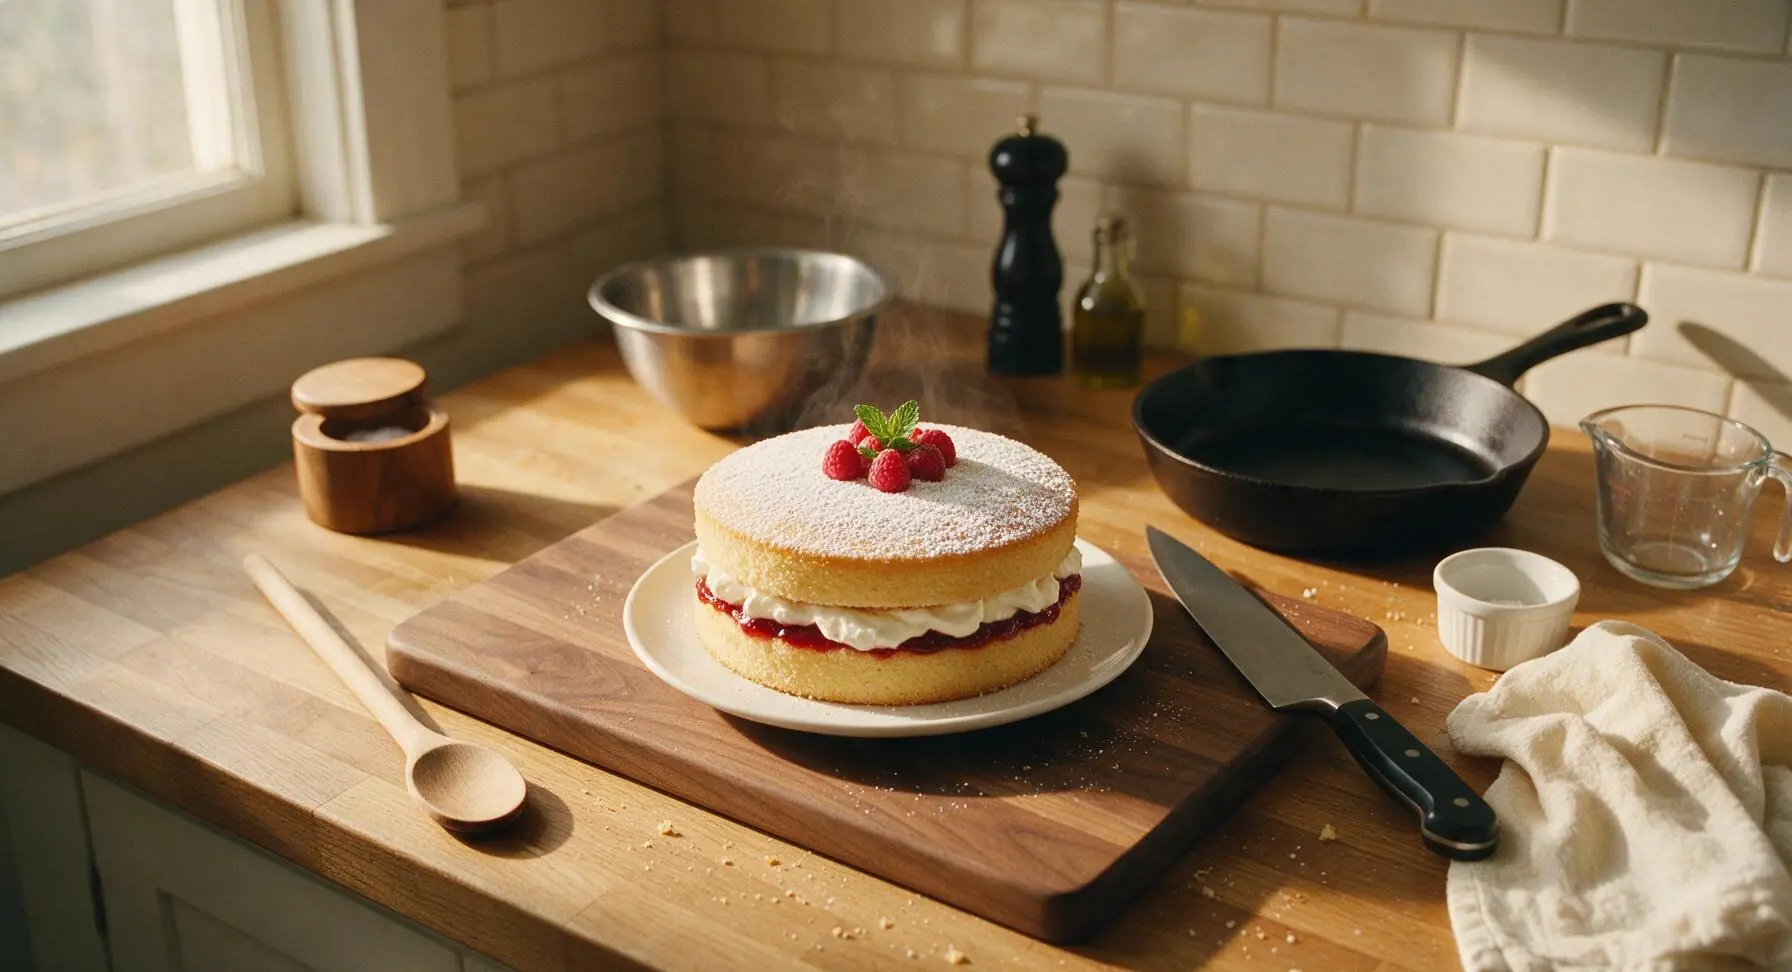
Victoria Sponge

title 1
Victoria Sponge
⏱️ cook time 25 minutes
🍽️ servings 8
⚡ Difficulty easy

intro

Light, buttery golden sponge layers sandwiched with tangy raspberry jam and billowy whipped cream, dusted with powdered sugar: Britain’s most beloved timeless teatime dessert.

Ingredients
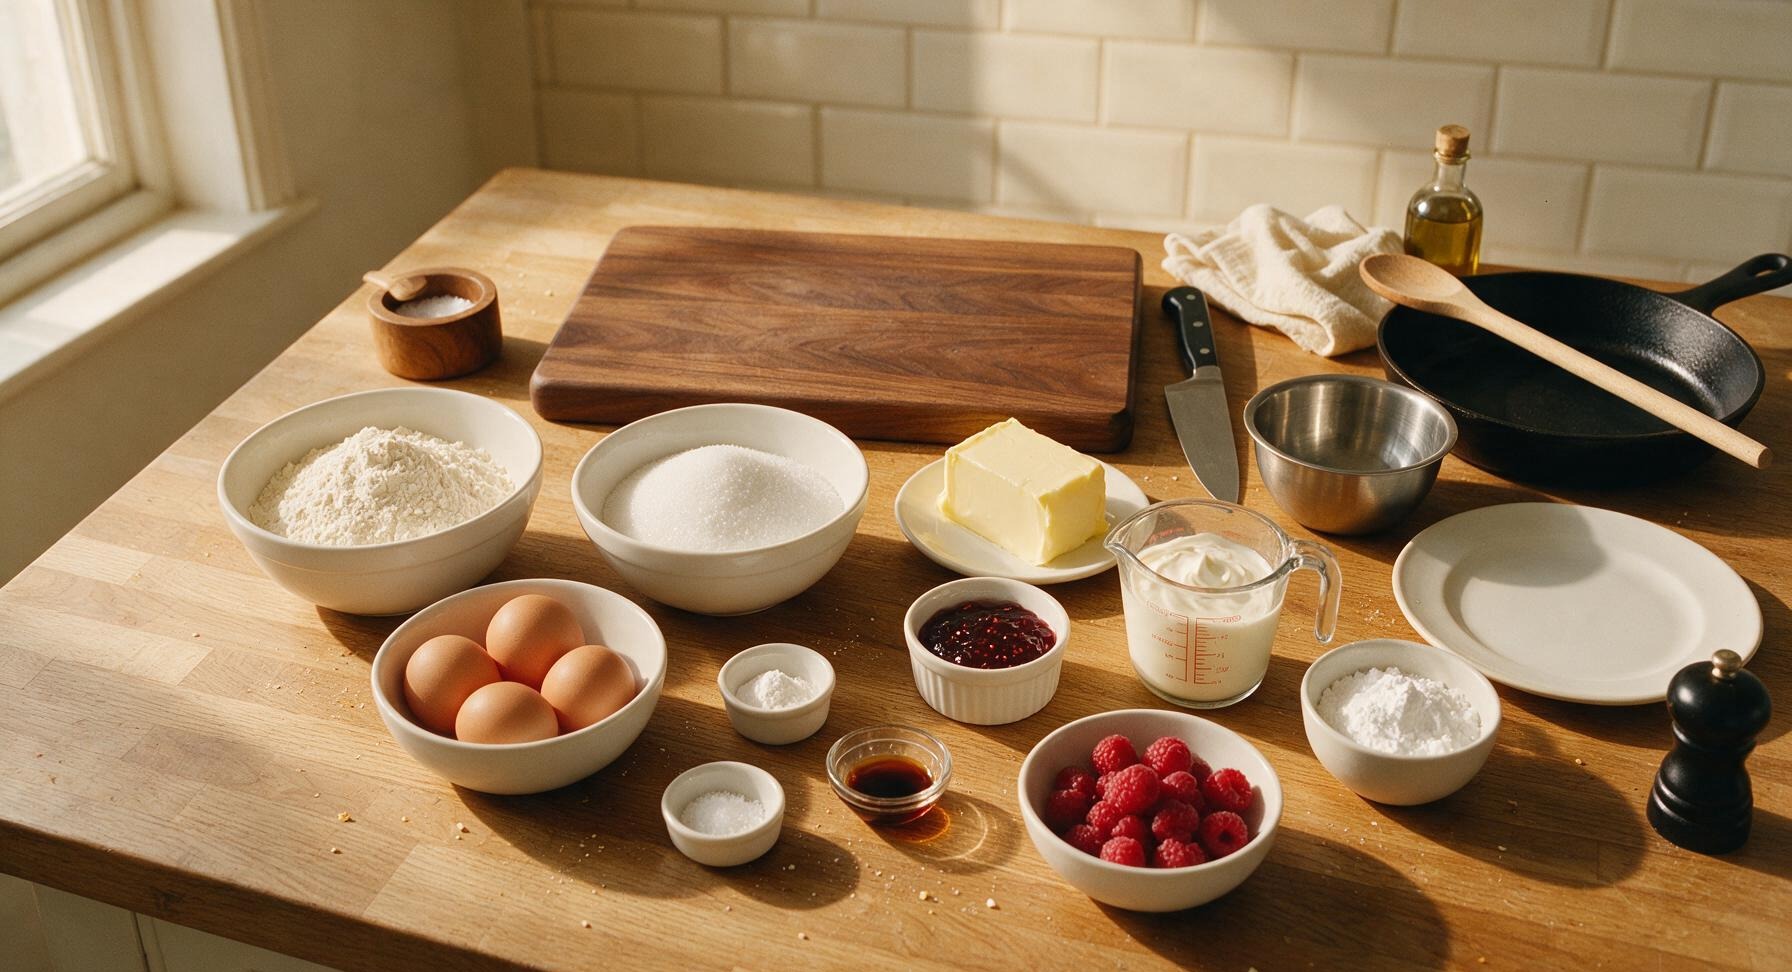
Unsalted butter 200g, softened to room temperature
Caster sugar 200g
Self-raising flour 200g, sifted
Large free-range eggs 4 (approx 200g total, room temperature)
Baking powder 1 tsp
Fine sea salt 1/4 tsp
Vanilla extract 1 tsp
Seeded raspberry jam 150g, good quality
Double (heavy) cream 150ml, chilled
Powdered (icing) sugar 2 tbsp, for dusting
Fresh raspberries 50g, for garnish

Steps

1

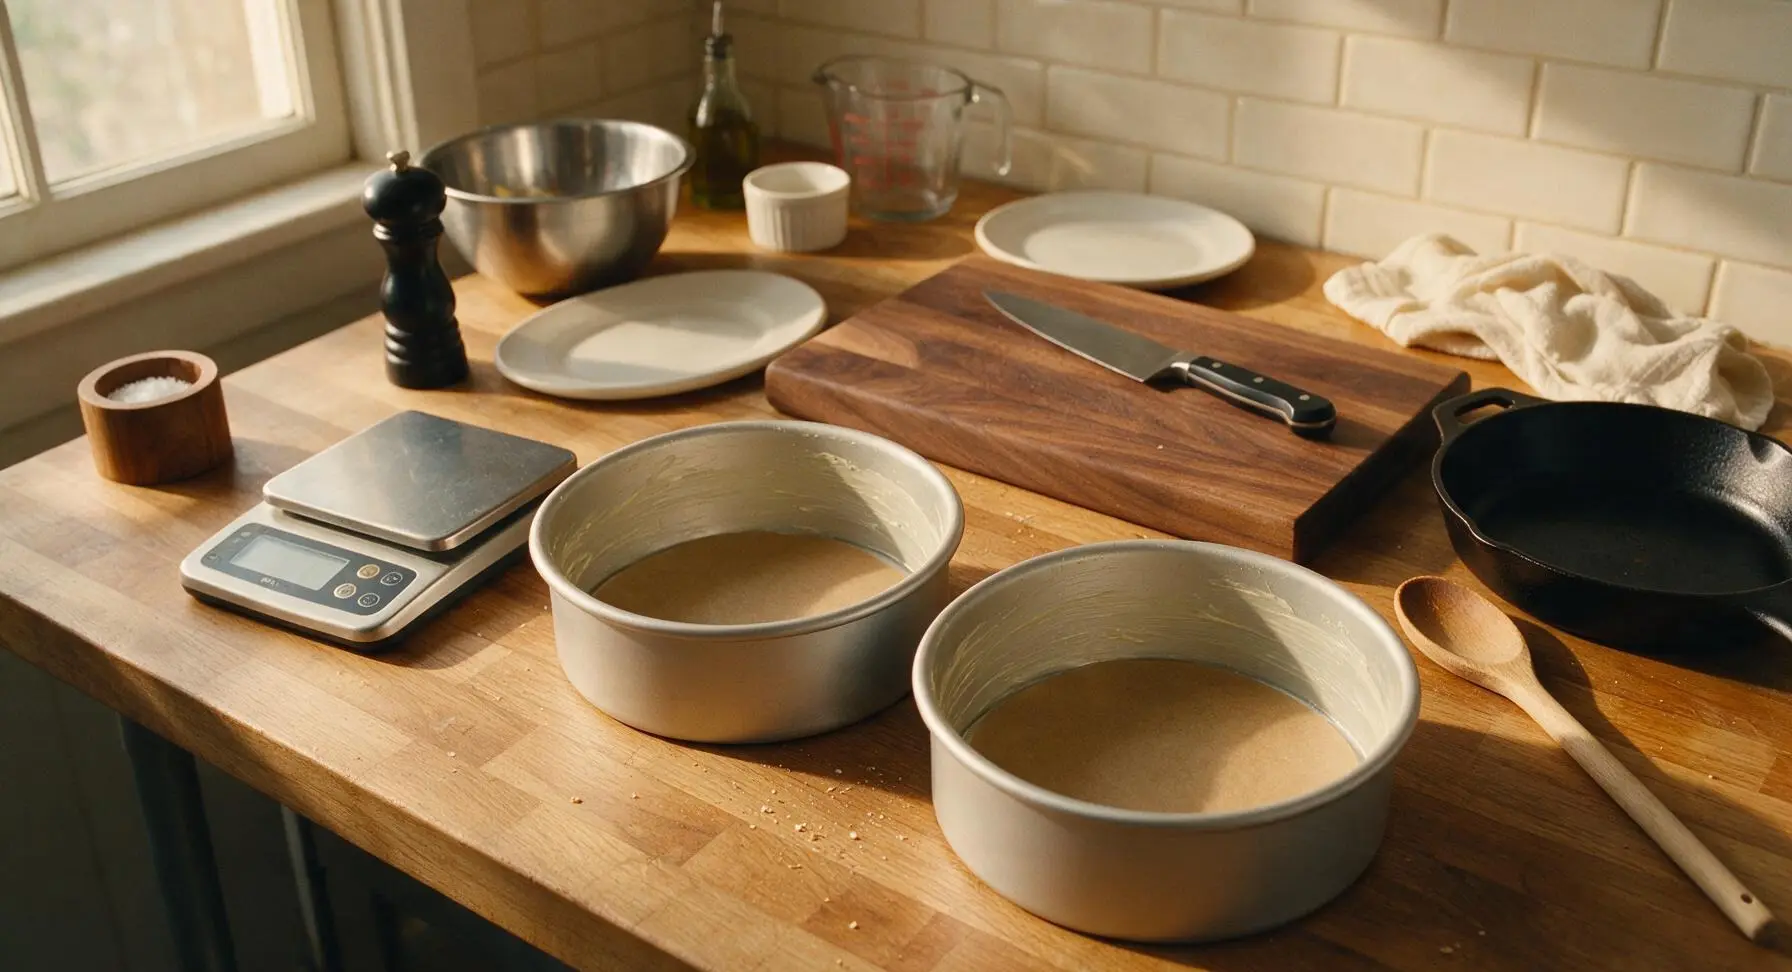
Prepare Cake Tins

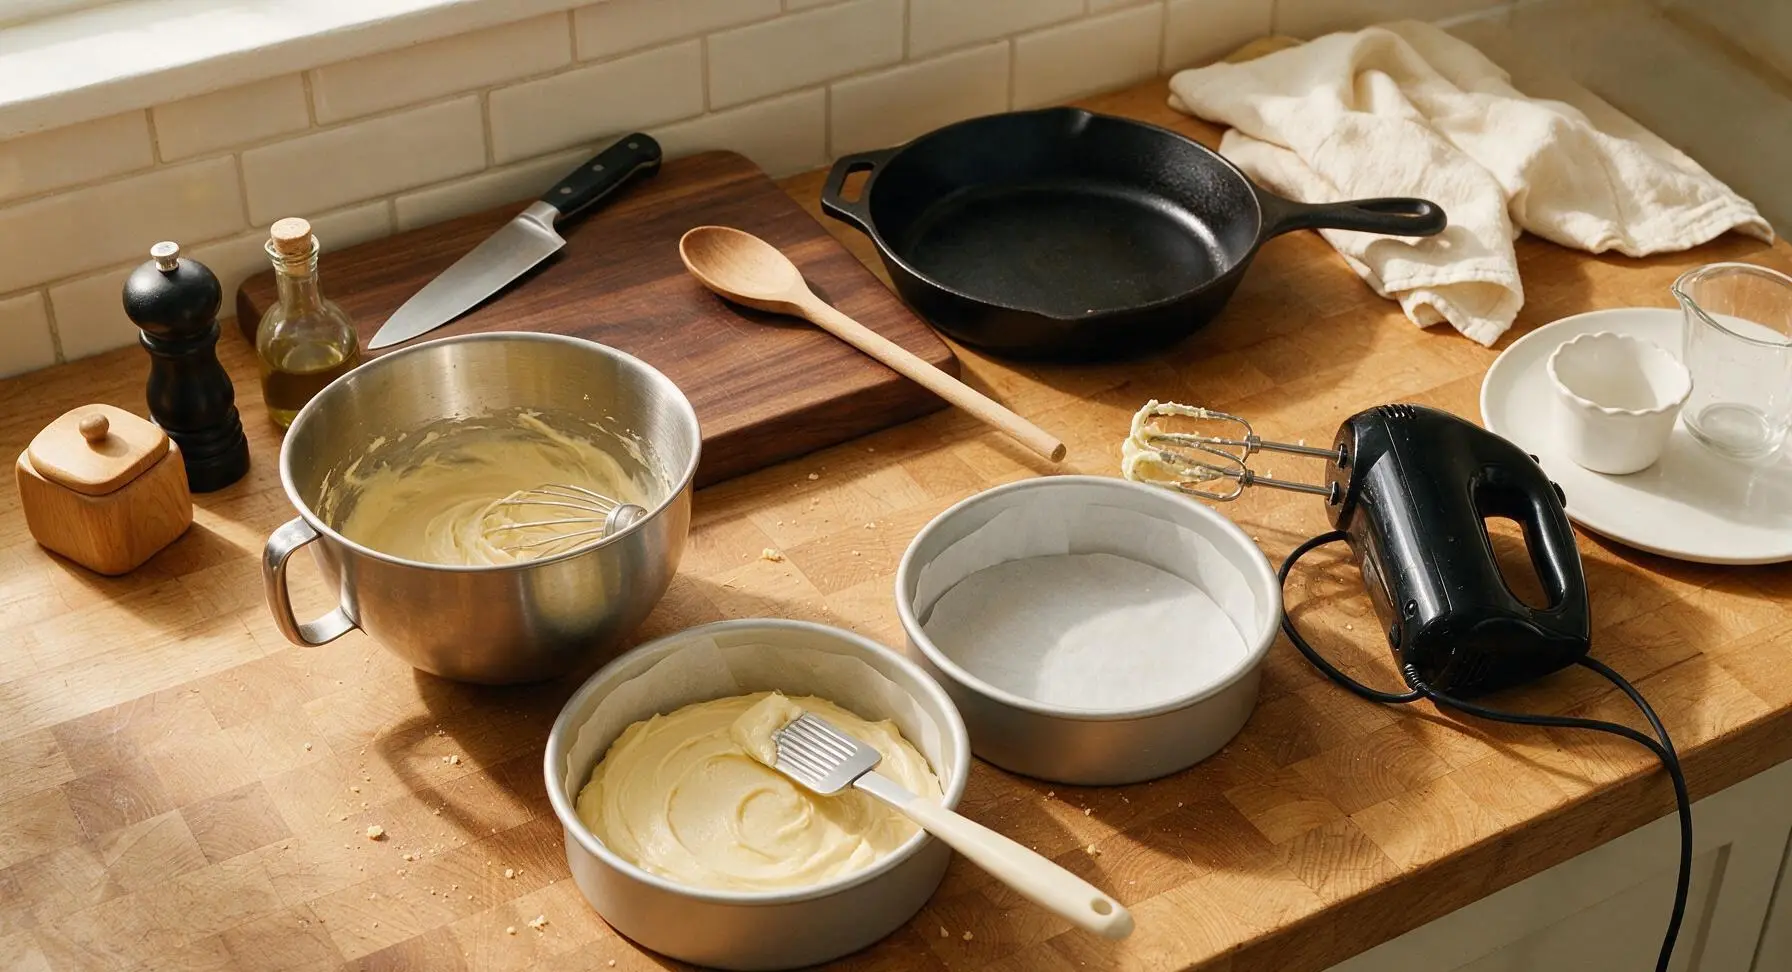
Preheat your oven to 180°C (350°F / Gas Mark 4). Line the base of both 20cm non-stick sandwich tins with a circle of unbleached parchment paper, then lightly grease the inner sides with a small scrap of butter to prevent sticking as the sponges bake.
Step 1
step1:Prepare Cake Tins
2

Mix Sponge Batter

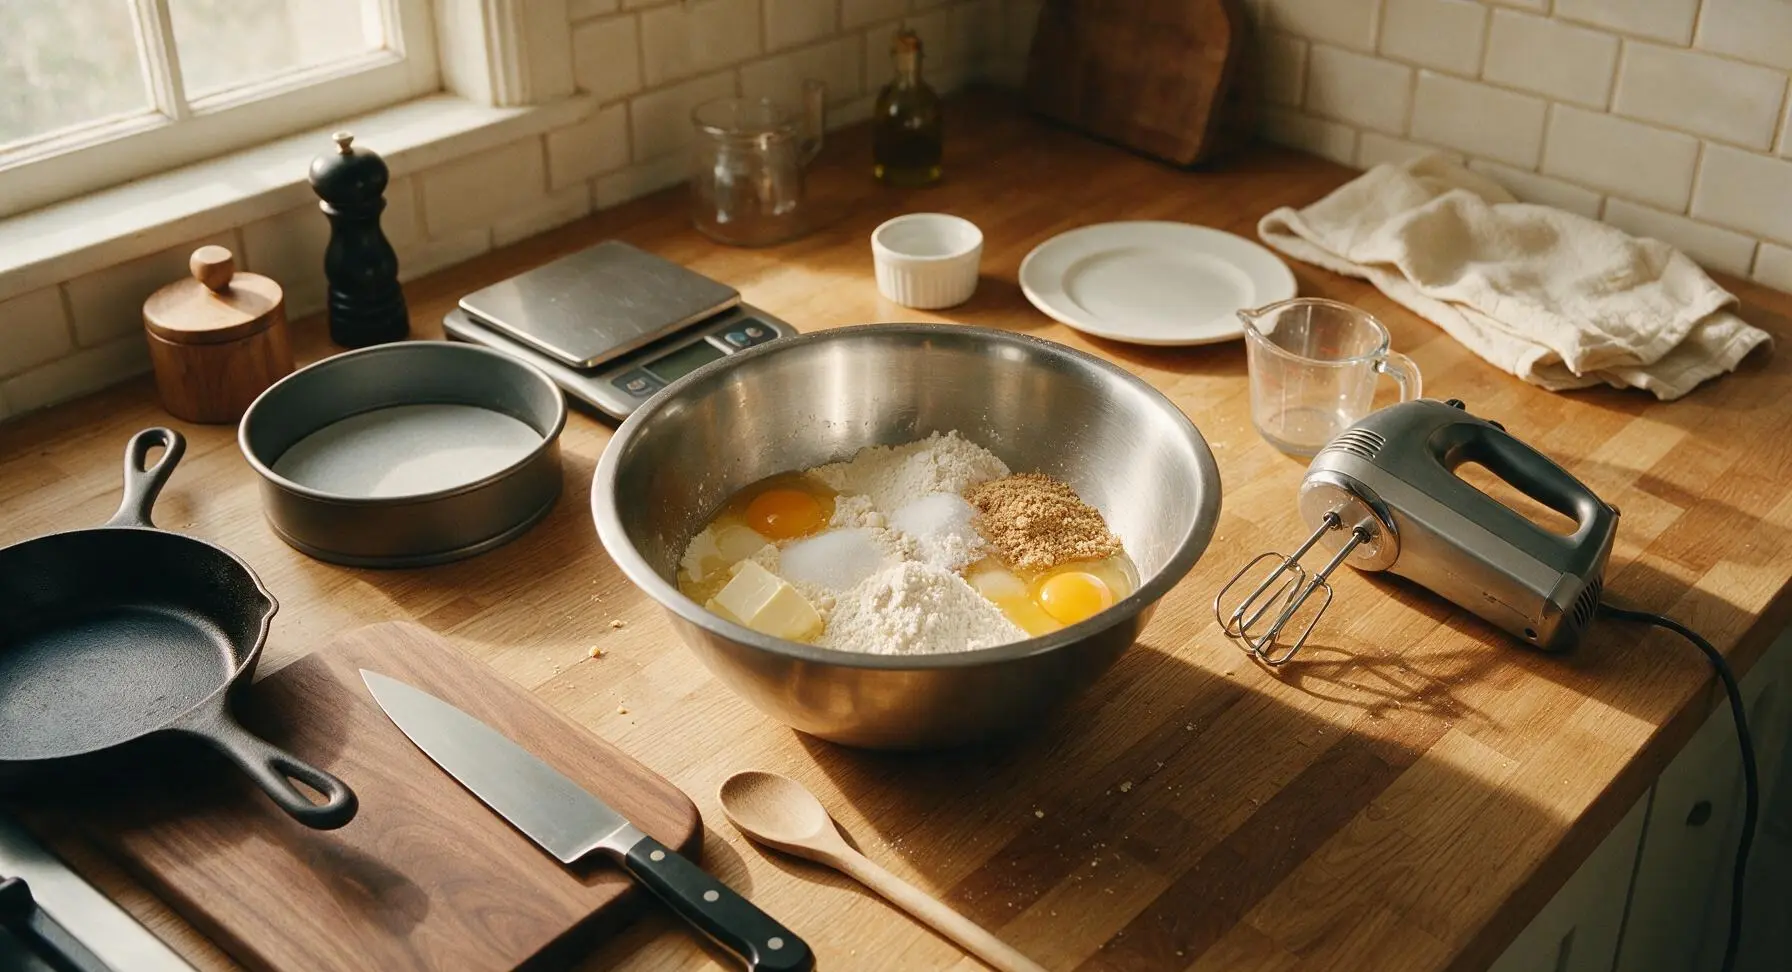
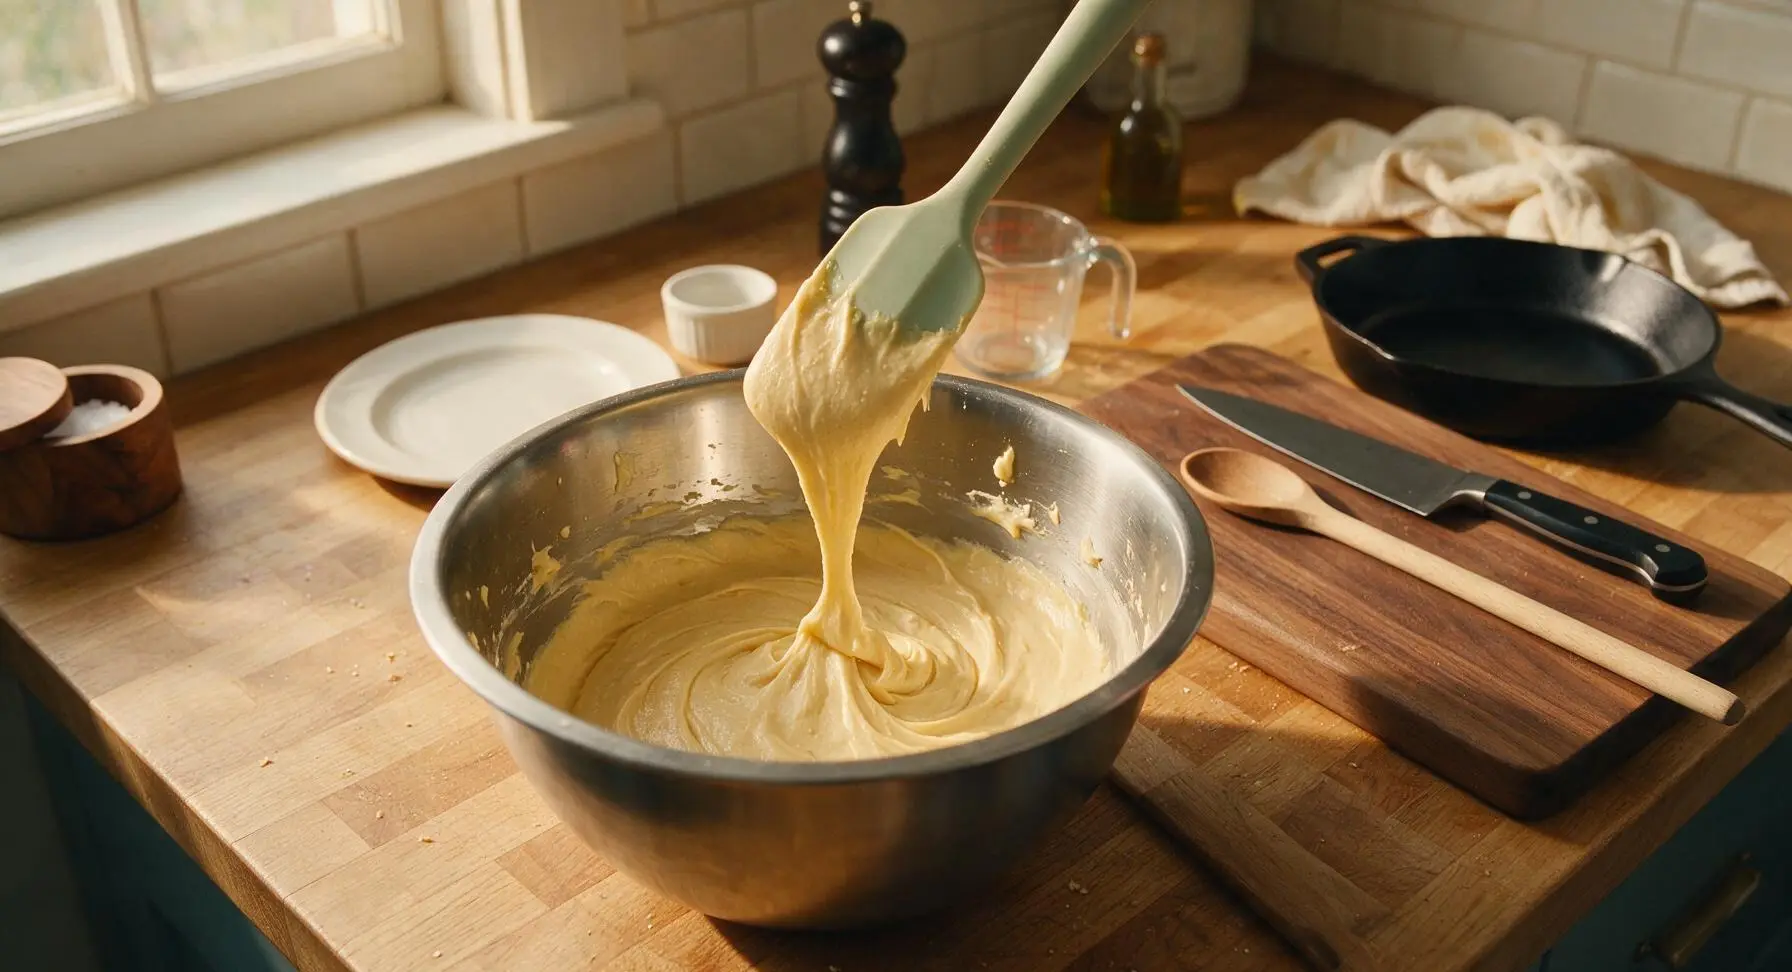
Add the softened unsalted butter, caster sugar, sifted self-raising flour, baking powder, fine sea salt, room-temperature eggs, and vanilla extract into the large stainless steel mixing bowl. Use the electric hand mixer on medium speed to beat the ingredients for exactly 60 seconds, stopping once to scrape down the bowl sides with the silicone spatula. The finished batter will be smooth, pale golden, and fall in a thick, slow ribbon when the spatula is lifted. Do not overmix, as this will develop gluten and result in a tough, dense sponge.
Step 2
step2:Mix Sponge Batter
Step 2
step2:Mix Sponge Batter
3

Divide and Bake Sponges

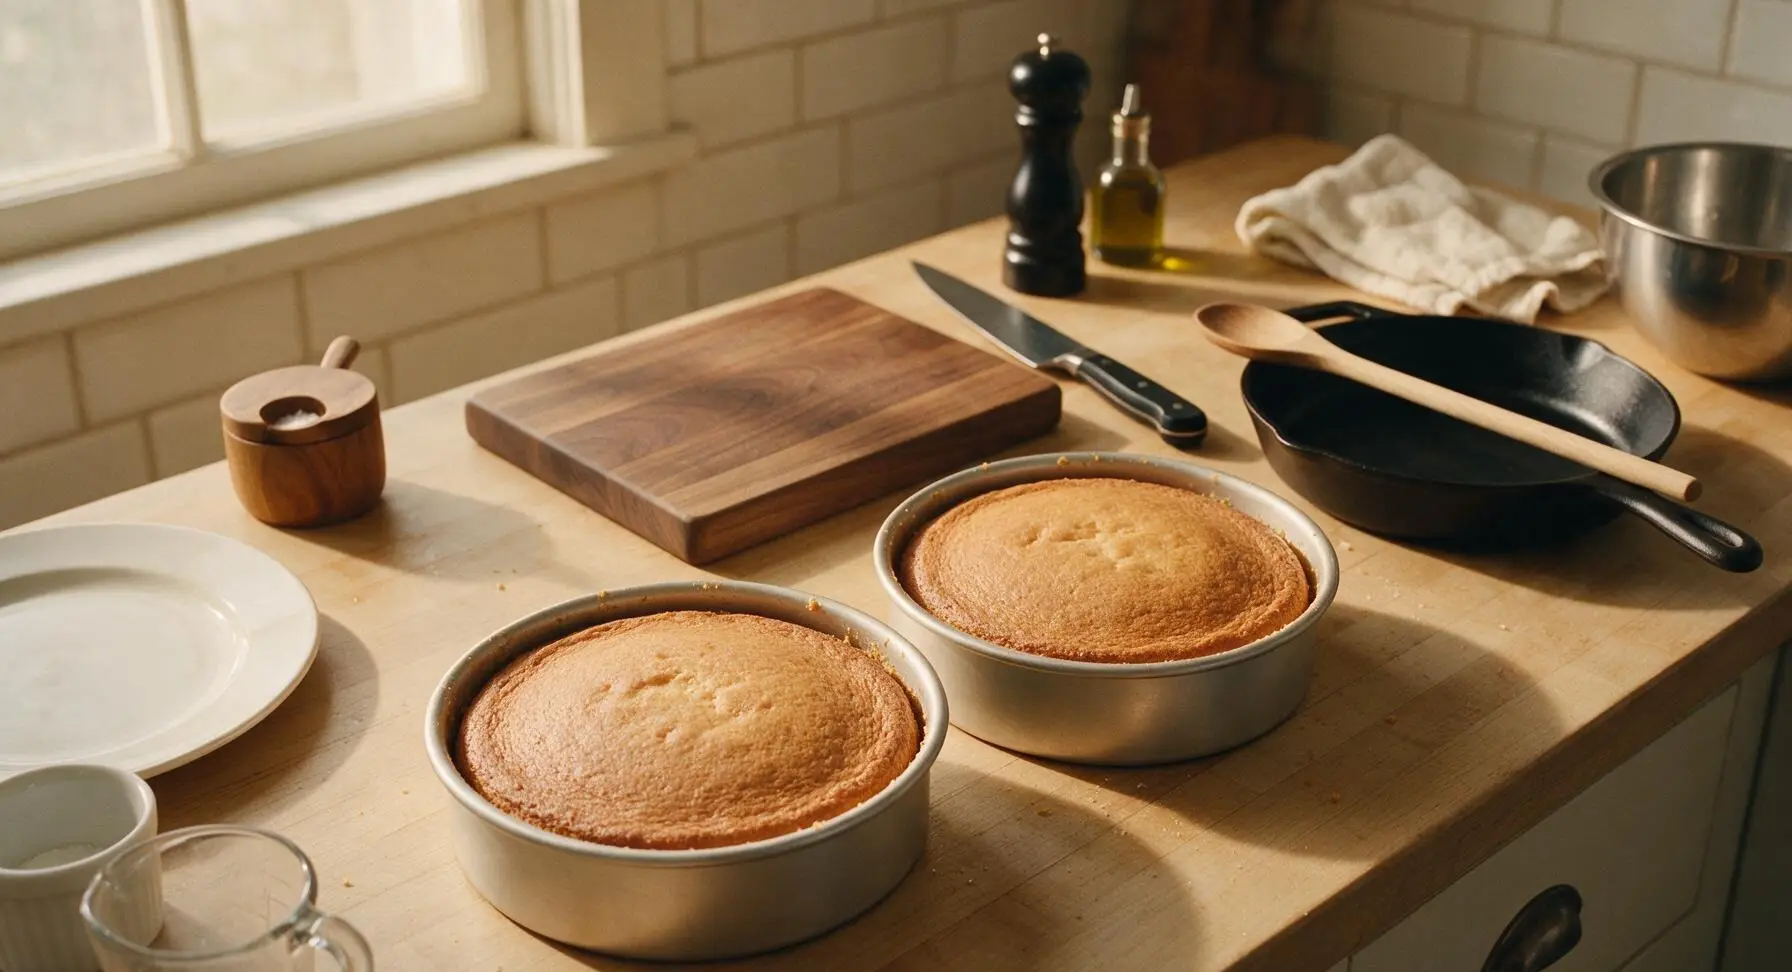
Use the silicone spatula to scrape the batter evenly between the two prepared tins, smoothing the surface of the batter level with the spatula to ensure even rising. Place both tins on the middle shelf of the preheated oven, and bake for 22-25 minutes. The sponges are fully baked when the tops are evenly golden brown, the edges pull slightly away from the tin sides, the top springs back immediately when lightly pressed, and a wooden skewer inserted into the center comes out clean with no wet batter attached.
Step 3
step3:Divide and Bake Sponges
Step 3
step3:Divide and Bake Sponges
4

Cool Sponges Completely

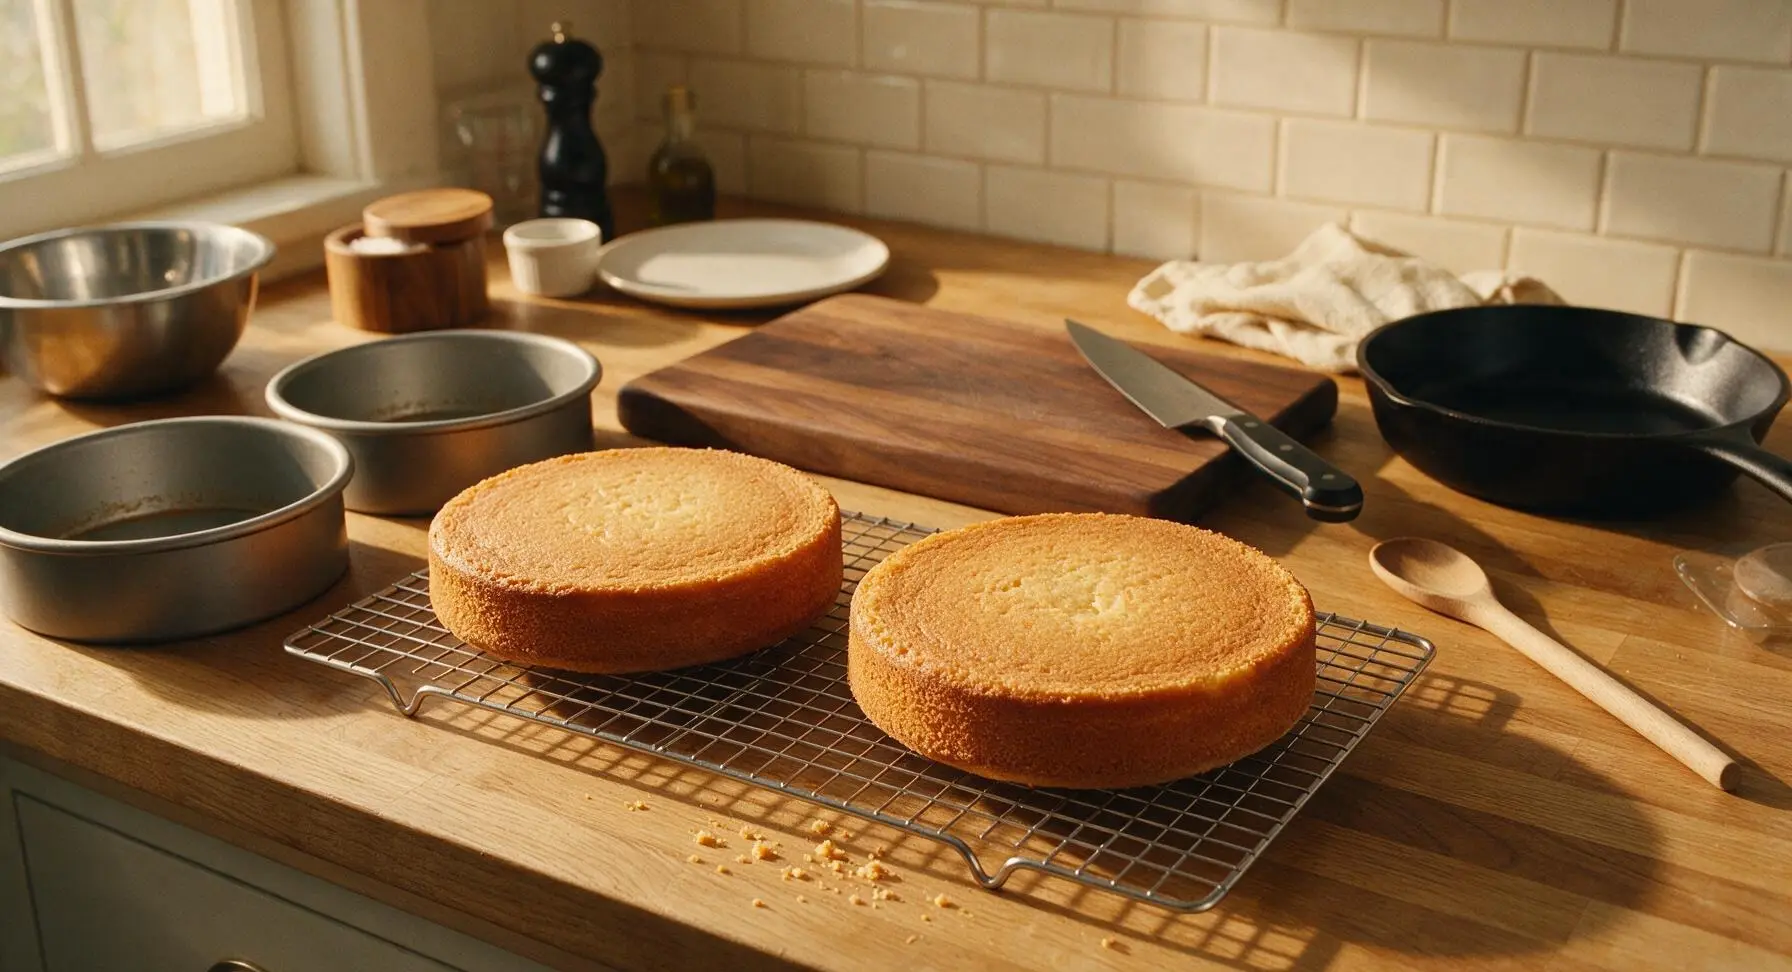
Allow the sponges to rest in their tins for 5 minutes to set, then run the tip of the offset metal spatula around the inner edge of each tin to loosen the sponge. Turn the sponges out top-side down onto the matte chrome wire cooling rack, and leave to cool completely to room temperature (approximately 30 minutes). Never add filling to warm sponges, as heat will melt the whipped cream and cause the jam to run, resulting in a soggy, unstable cake.
Step 4
step4:Cool Sponges Completely
5

Whip Fresh Cream

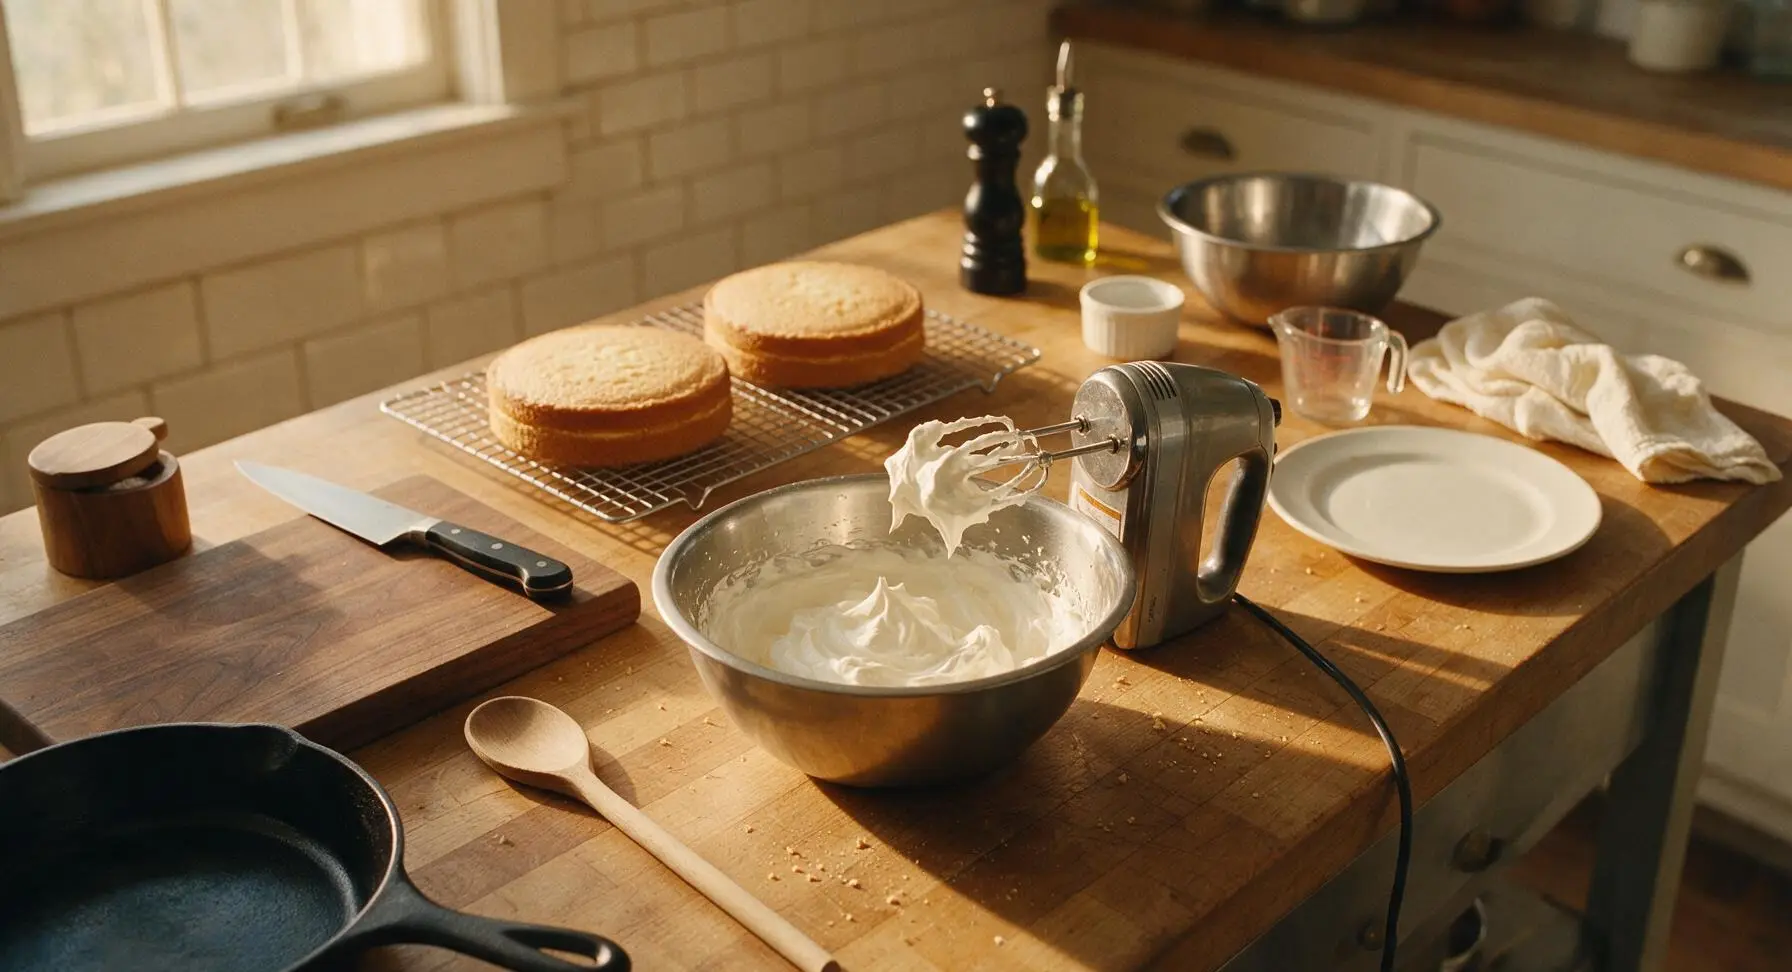
Pour the chilled double cream into the medium stainless steel mixing bowl. Use the electric hand mixer (fitted with clean, dry beaters) on medium-low speed to whip the cream until it forms soft, billowy peaks that hold their shape gently when the mixer is lifted. Stop whipping as soon as soft peaks form; overwhipping will cause the cream to turn grainy and separate into butter and whey.
Step 5
step5:Whip Fresh Cream
6

Assemble Cake Layers

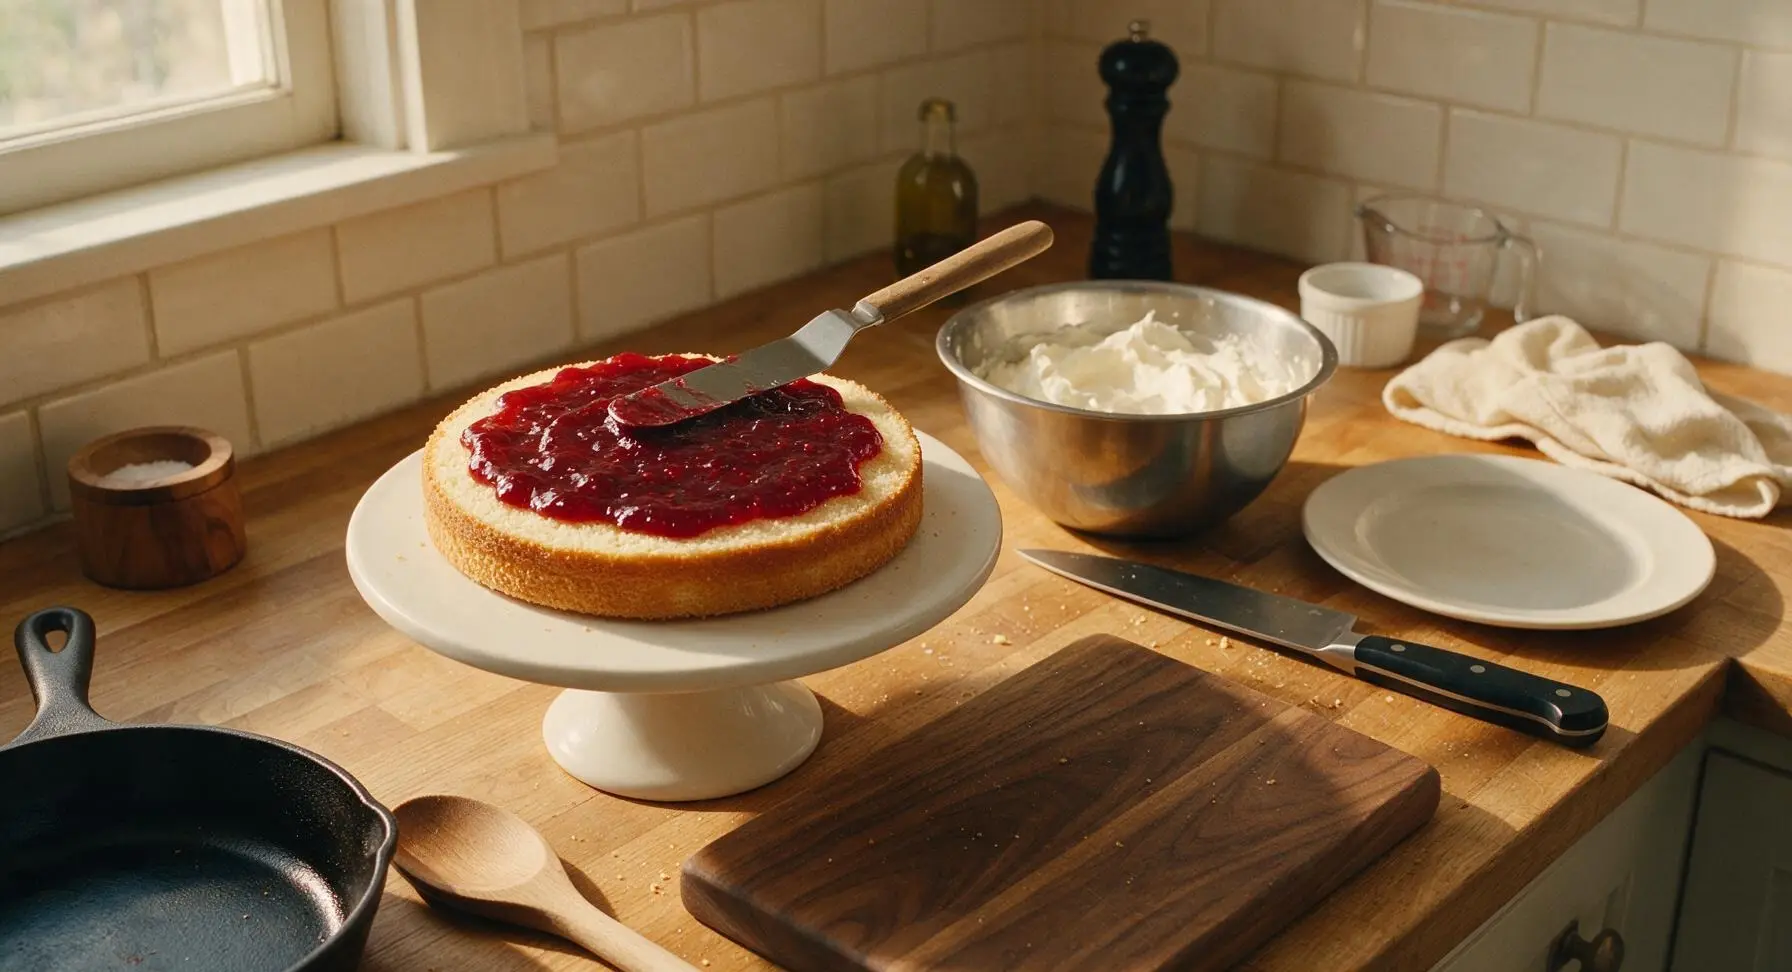
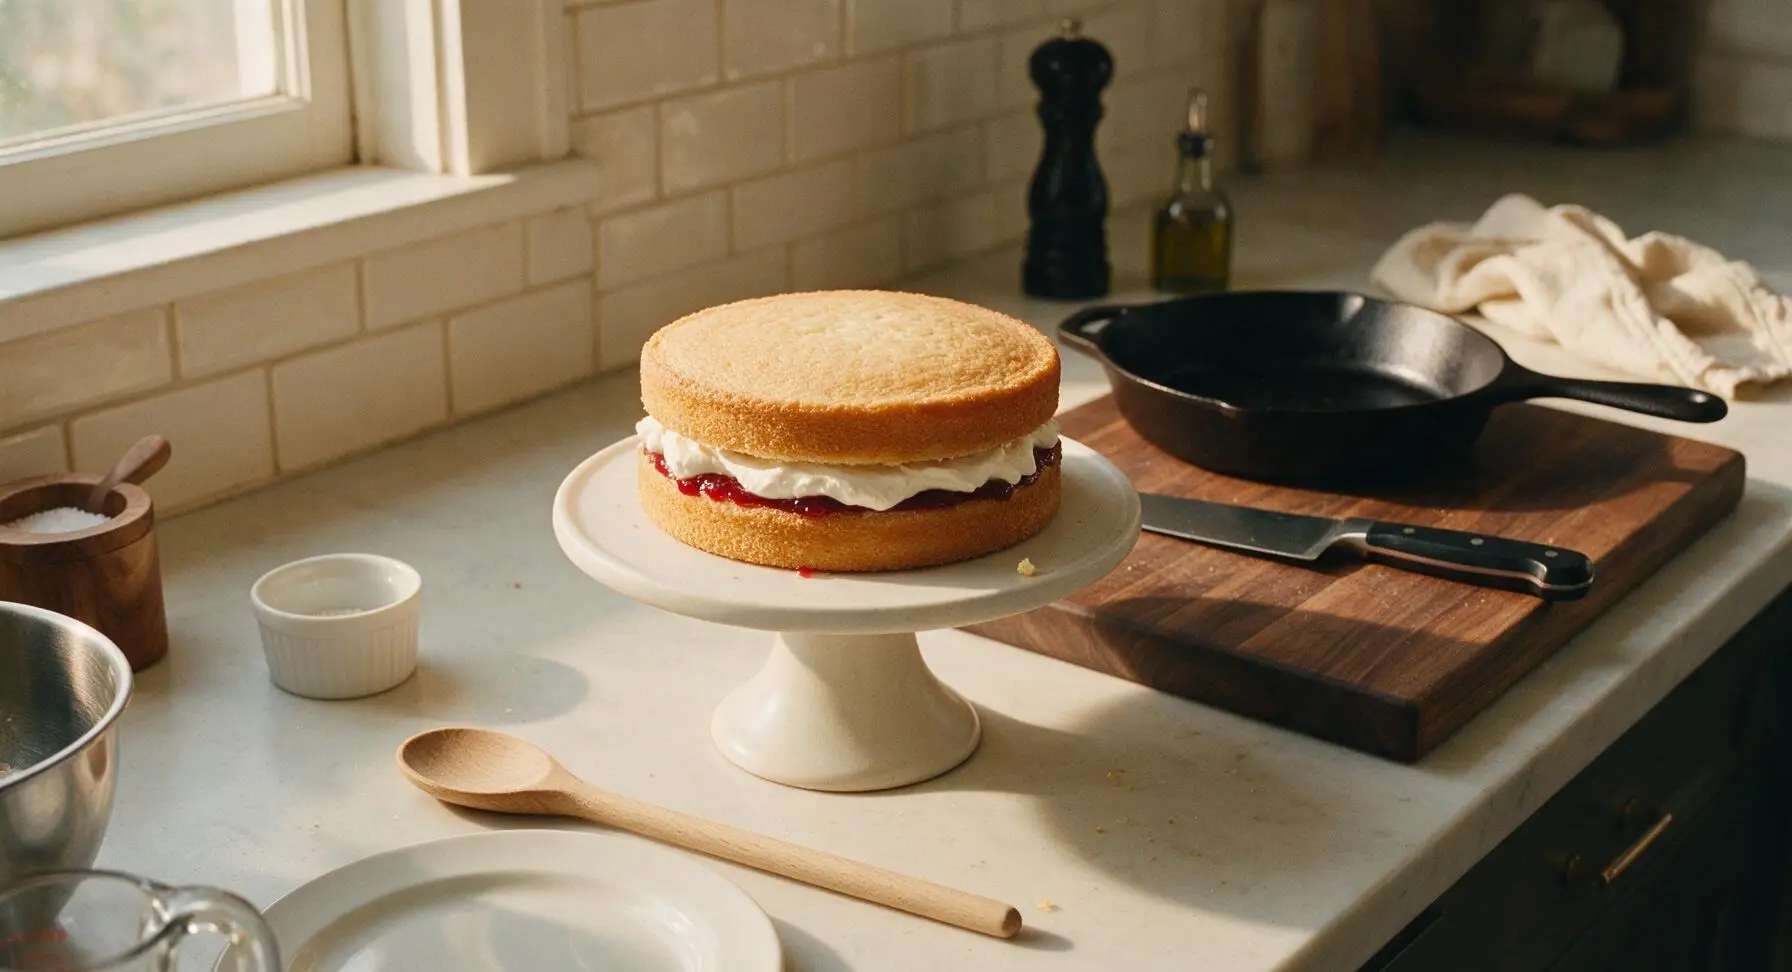
Once sponges are fully cool, place one layer top-side down centered on the matte white ceramic cake stand. Use the offset metal spatula to spread the raspberry jam evenly across the top surface of the bottom sponge, leaving a 5mm border around the edge to prevent oozing when pressed. Dollop the whipped cream on top of the jam, spreading it into a gentle even layer, then place the second sponge layer top-side up on top of the cream, pressing very lightly to secure the layers together.
Step 6
step6:Assemble Cake Layers
Step 6
step6:Assemble Cake Layers
7

Dust and Garnish

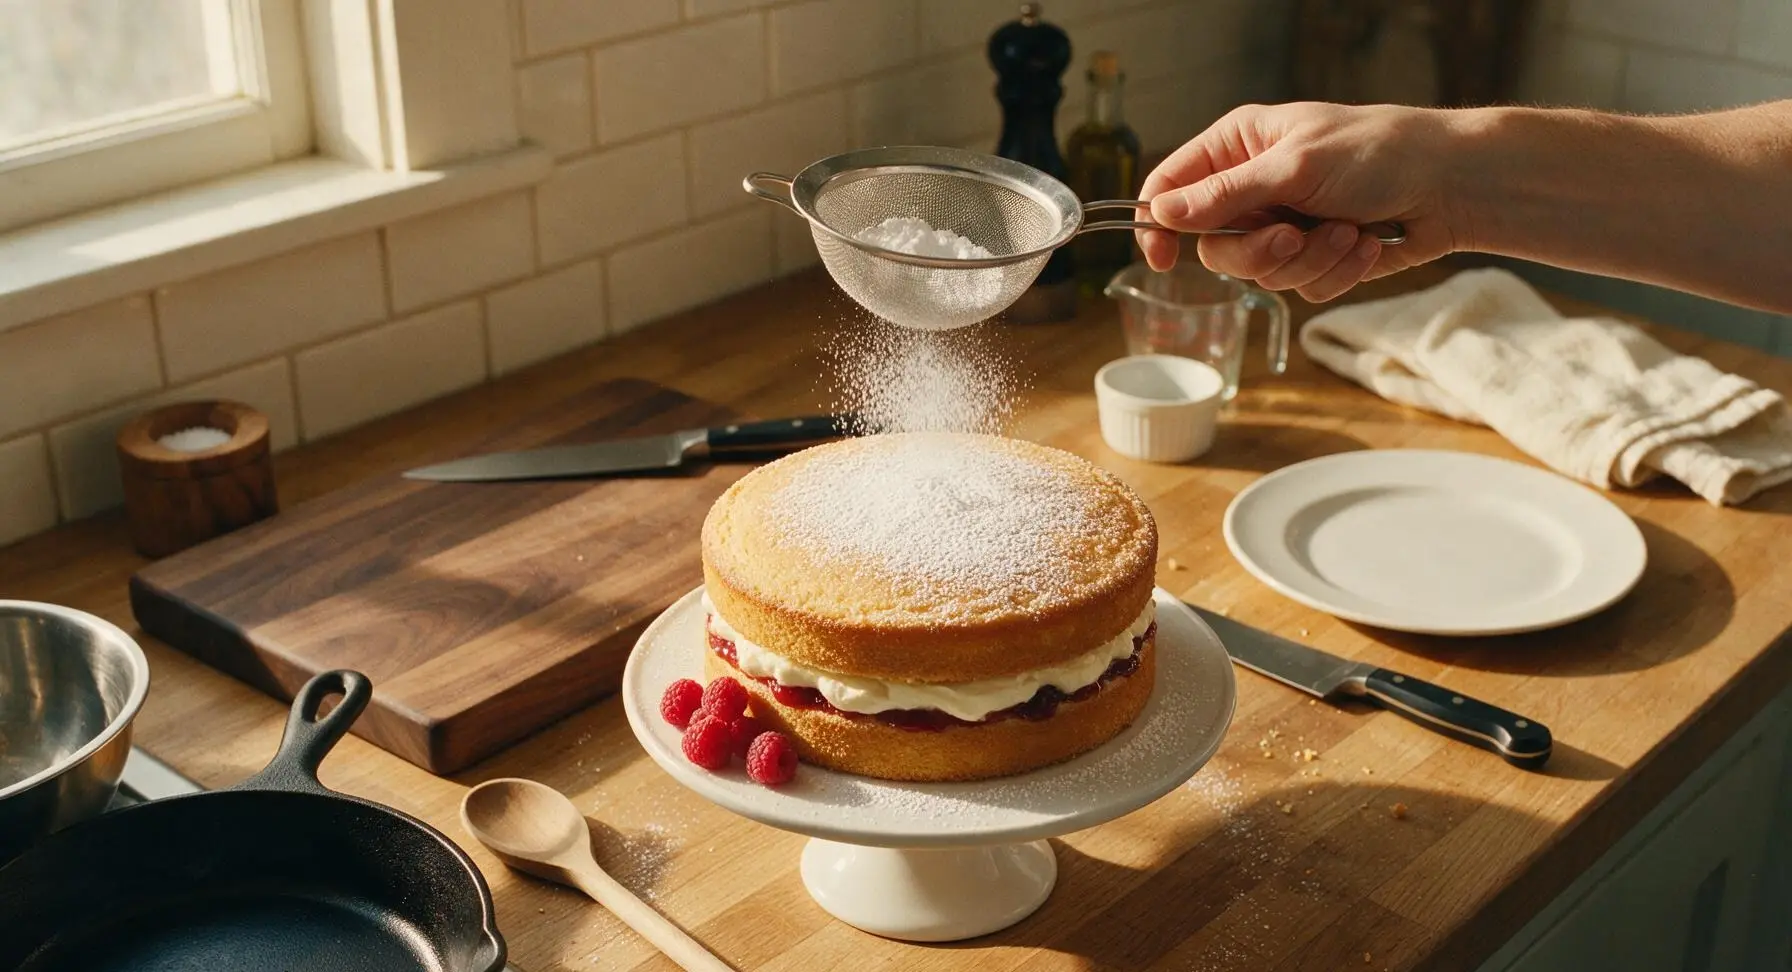
Spoon the powdered sugar into the fine-mesh sieve, hold the sieve 15cm above the top of the assembled cake, and tap the side of the sieve gently to create a light, even dusting of sugar across the cake top. Arrange a small handful of fresh raspberries on one side of the cake top for a bright, fresh garnish. For best texture, add the sugar dusting no more than 2 hours before serving, as the sugar will dissolve into the sponge over time.
Step 7
step7:Dust and Garnish

Tips

1.Use room-temperature butter and eggs for the sponge batter: cold ingredients will not emulsify smoothly when mixed, leading to a dense, heavy crumb instead of the light, fluffy, melt-in-your-mouth texture that defines a perfect Victoria Sponge.
2.Avoid opening the oven door for the first 20 minutes of baking: sudden drops in oven temperature will cause the rising, delicate sponge structure to collapse in the center, resulting in lopsided, dense layers that do not rise evenly.
3.Ensure sponges are 100% cool before adding filling: even slightly warm sponges will melt whipped cream and thin out jam, causing the filling to slide out the sides and creating a soggy, unstable cake that will not hold clean slices.


✨ You May Also Like

Desserts & Baking
🍜 Italy

Creamy, coffee-kissed classic Northern Italian no-bake dessert, with layers of rum-spiked mascarpone cream, soft ladyfingers, and a rich cocoa dusting.

⏱️ 4 hours 3Desserts & Baking ★ 4.7
Desserts & Baking
🍜 France

Flaky, shatteringly crisp, buttery French croissants with golden exteriors and soft, airy layered interiors, perfect for pairing with coffee for a special morning treat.

⏱️ 12 hours Desserts & Baking ★ 4.5
Desserts & Baking
🍜 United States

Warm, spiced baked apples topped with a fluffy golden biscuit crust, this cozy dessert pairs perfectly with vanilla ice cream for cool-weather comfort.

⏱️ 55 minuteDesserts & Baking ★ 4.6
Desserts & Baking
🍜 United States

A star-spangled classic American blueberry pie with buttery flaky crust and bright sweet-tart filling, perfect for summer patriotic gatherings.

⏱️ 1 hour 25Desserts & Baking ★ 4.7
Desserts & Baking
🍜 United States

A beloved no-bake regional Maine candy with a chewy coconut-potato center coated in rich dark chocolate, a New England holiday staple since the 1870s.

⏱️ 2 hours 3Desserts & Baking ★ 4.8
Desserts & Baking
🍜 France

Luxuriously creamy, floral frozen custard made with aromatic Tahitian vanilla beans, boasting a smooth, rich texture that melts slowly on the tongue.

⏱️ 3 hours 3Desserts & Baking ★ 4.5

Victoria Sponge:Frequently Asked Questions

1.Why does my Victoria Sponge come out dense instead of light and fluffy? ▾
Dense sponge almost always traces back to overmixing the batter once you add flour, or using butter that’s too cold to cream properly. Make sure your butter is 65°F (room temperature) so it creams light and pale with sugar, and fold flour in gently just until no dry streaks remain to keep gluten development low.
2.Can I use regular granulated sugar instead of caster sugar for this recipe? ▾
Caster sugar’s finer grain dissolves faster during creaming, which creates that signature light, even crumb. If you only have granulated sugar, blitz it in a food processor for 10-15 seconds to mimic caster sugar texture; don’t use it straight, as it can leave a gritty crumb and prevent proper rise.
3.Do I really need self-rising flour, or can I make my own? ▾
You can absolutely make a perfect substitute! For every 1 cup of all-purpose flour called for, add 1 ½ teaspoons of baking powder and ¼ teaspoon of fine salt, then whisk thoroughly to distribute evenly. This matches the leavening power of standard self-rising flour for a consistent, even rise.
4.What temperature should my ingredients be before I start mixing? ▾
Your unsalted butter, large free-range eggs, and any dairy should all sit at 65°F (cool room temperature) for 30-60 minutes before mixing. This lets them emulsify smoothly during creaming, trapping air that creates the sponge’s light, tender rise instead of a lumpy, dense batter.
5.Why do my sponge layers dome so much in the oven that they crack on top? ▾
Excess doming and cracking usually means your oven temperature is running too hot, or you added too much extra baking powder. Use an oven thermometer to confirm your temp matches the recipe setting, and level off baking powder measurements instead of packing it to get flat, even layers perfect for stacking.
6.How do I know when the sponge layers are fully baked without undercooking them? ▾
Test doneness 2-3 minutes before the recipe’s recommended bake time: gently press the top of the sponge—if it springs back immediately with no indent, and a toothpick inserted in the center comes out with 1-2 tiny moist crumbs (not wet batter), it’s done. Overbaking will make it dry, so pull it right at that stage.
7.Can I bake the sponge layers a day ahead of when I plan to serve them? ▾
Absolutely! Let the layers cool completely to room temperature first, then wrap them tightly in two layers of plastic wrap and store them in an airtight container at cool room temperature for up to 24 hours. Wait to add the jam and cream filling until right before serving to prevent sogginess.
8.What kind of raspberry jam works best for the filling? ▾
Reach for a good-quality, thick seedless (or lightly seeded) raspberry jam with a bright, tangy flavor to cut through the richness of the butter and cream. If your jam is extra runny, stir 1 teaspoon of cornstarch into it with a splash of water, heat briefly, let it cool, then spread to prevent oozing out the sides.
9.My whipped cream always goes runny after I assemble the cake—how do I fix that? ▾
For stable, billowy cream that holds its shape, use very cold heavy whipping cream, and whip it to soft, floppy peaks (stop before it turns grainy!). For extra hold on warm days, fold in 1 tablespoon of sifted powdered sugar per cup of cream, or a tiny pinch of cream of tartar before whipping.
10.Should I level my sponge layers before assembling the cake? ▾
You don’t have to, but leveling the very top domed portion of each layer with a long serrated knife will give you a flat, stable stack that doesn’t slide. Save the trimmed crumbs to sprinkle on top of ice cream or mix into trifle, so no tasty sponge goes to waste.
11.Can I add a layer of buttercream instead of whipped cream for a more stable cake? ▾
Traditional Victoria Sponge uses fresh whipped cream, but you can swap in a thin layer of vanilla buttercream if you need the cake to hold up for longer events. This will make the cake richer and sweeter than the classic light version, so plan to cut thinner slices to keep flavors balanced.
12.How long will an assembled Classic Victoria Sponge stay fresh? ▾
Once assembled with cream and jam, store the cake loosely covered in the refrigerator for up to 2 days. Let it sit at room temperature for 15-20 minutes before serving to let the butter flavor come through, since cold sponge can taste dull and firm. Don’t leave it out more than 2 hours for food safety.
13.Why do my sponge layers stick to the cake pans every time I bake them? ▾
Prevent sticking by prepping your pans properly before adding batter: grease the bottom and sides with softened unsalted butter, line the bottom with a circle of parchment paper, and dust the sides with a light coating of flour, tapping out excess. Let layers cool 10 minutes in the pan before inverting onto a wire rack.
14.Is it necessary to add extra baking powder if I’m already using self-rising flour? ▾
In most cases, no—extra baking powder will cause the batter to rise too fast in the oven, then collapse before it sets, leading to dense, sunken layers. The only exception is if your self-rising flour is older than 6 months, since leavening loses potency over time; add ¼ teaspoon per cup to compensate.
15.Can I make this recipe as cupcakes instead of a full layer cake? ▾
Definitely! Line a muffin tin with paper liners, fill each liner ⅔ full with batter, and bake at the same recipe temperature for 18-22 minutes, until a toothpick comes out clean. Once cool, core a small hole in the top, fill with a dot of jam, pipe whipped cream on top, and dust with powdered sugar for bite-sized treats.
16.What’s the best way to dust the powdered sugar on top without it making a mess? ▾
Wait until right before serving to dust, since powdered sugar will absorb moisture from the cream and fade if applied too early. Hold a fine-mesh sieve 6-8 inches above the cake, add a few tablespoons of powdered sugar, and tap the sieve gently as you move it for an even, light coating.
17.Can I use salted butter instead of unsalted butter for the sponge? ▾
You can, but adjust the salt content accordingly to avoid an overly salty cake. If using salted butter, skip any added salt in the recipe, and note that salted butter often has higher water content than unsalted, which can lead to a slightly less tender crumb—unsalted always gives you more flavor control.
18.My sponge layers sunk in the middle right after I took them out of the oven—what went wrong? ▾
Sunken centers usually trace to one of three common issues: underbaking so the center structure didn’t fully set, opening the oven door too early (before the first two-thirds of cook time) which lets cold air rush in, or overbeating eggs to create unstable air bubbles that pop as the cake cools.
19.Do I need to use free-range eggs for this recipe, or will regular large eggs work? ▾
Large free-range eggs have a richer, brighter yolk and deeper flavor that gives the sponge its signature golden, buttery hue, but standard large grocery store eggs work perfectly well if that’s what you have on hand. Just be sure they’re fully room temperature before mixing to create the smoothest, airiest batter for the best rise.

Comments (5)

2 days ago

OMG this classic Victoria sponge is SO good!!! I made it for my kid’s soccer team potluck last weekend and every single slice was gone in 10 minutes – my kids loved it so much they asked me to make another one for after school snacks this week. I was worried it’d be fussy since I’m not a super experienced baker, but the easy difficulty level was no lie – 25 minutes cook time is totally doable even on a busy weeknight. The jam and whipped cream filling hits every single time. 10/10 will make again!

yesterday

Wait did you use strawberry jam or raspberry for the filling? I’m making this for my book club potluck this weekend and can’t decide!

yesterday

So glad it was a hit with your kids and the soccer team! Traditional Victoria sponge uses raspberry jam, but strawberry works beautifully too if that’s what you have on hand – no wrong choice here!

1 week ago

Total game changer. I’ve tried so many Victoria sponge recipes that came out dry or too dense, but this one was perfectly light and fluffy. My wife said it tastes exactly like the ones we had on our London trip a few years ago. Only thing I added was a light dusting of extra powdered sugar on top, no other tweaks needed.

5 days ago

Love that you added extra powdered sugar, that’s such a nice classic touch! So happy it lived up to the authentic version you remember from your trip.

2 hours ago

Made this last minute for my dorm floor’s little tea party and it was perfect! Super easy to throw together even with my terrible tiny dorm oven, cook time was spot on at 25 minutes. Didn’t even need to run to the grocery store for fancy ingredients, I already had everything in my pantry. Will absolutely add this to my weekly meal prep rotation for quick sweet snacks.

30 minutes ago

Wait how do you store it for meal prep? I’m trying to stock my fridge with easy snacks for exam week and don’t want it to get soggy!

3 days ago

I’ve been making Victoria sponge for 40 years and I have to say, this recipe is so straightforward even my teen granddaughter was able to follow it without my help! We made it for our Sunday family dinner and everyone raved. The texture was perfect, not too sweet, just right. We paired it with fresh berries on the side and it was chef’s kiss.

yesterday

Brought this to my office potluck yesterday and people were asking me for the recipe before I even left the break room! It’s so easy, I was able to bake it the night before after work without staying up super late – 25 minute cook time is no joke. I did a mix of raspberry jam and lemon curd for the filling and it added such a nice bright zing, highly recommend that tweak if you love lemon.

2 hours ago

Oh the lemon curd addition sounds insane! Did you spread it evenly mixed with the jam or do a separate layer of each?

30 minutes ago

That lemon curd twist sounds absolutely delicious – we love when people add their own personal flair to the classic recipe! For anyone trying this, a 50/50 mix of jam and curd works perfectly, or separate layers if you prefer more distinct flavors.



