
vitamix lemon curd
intro
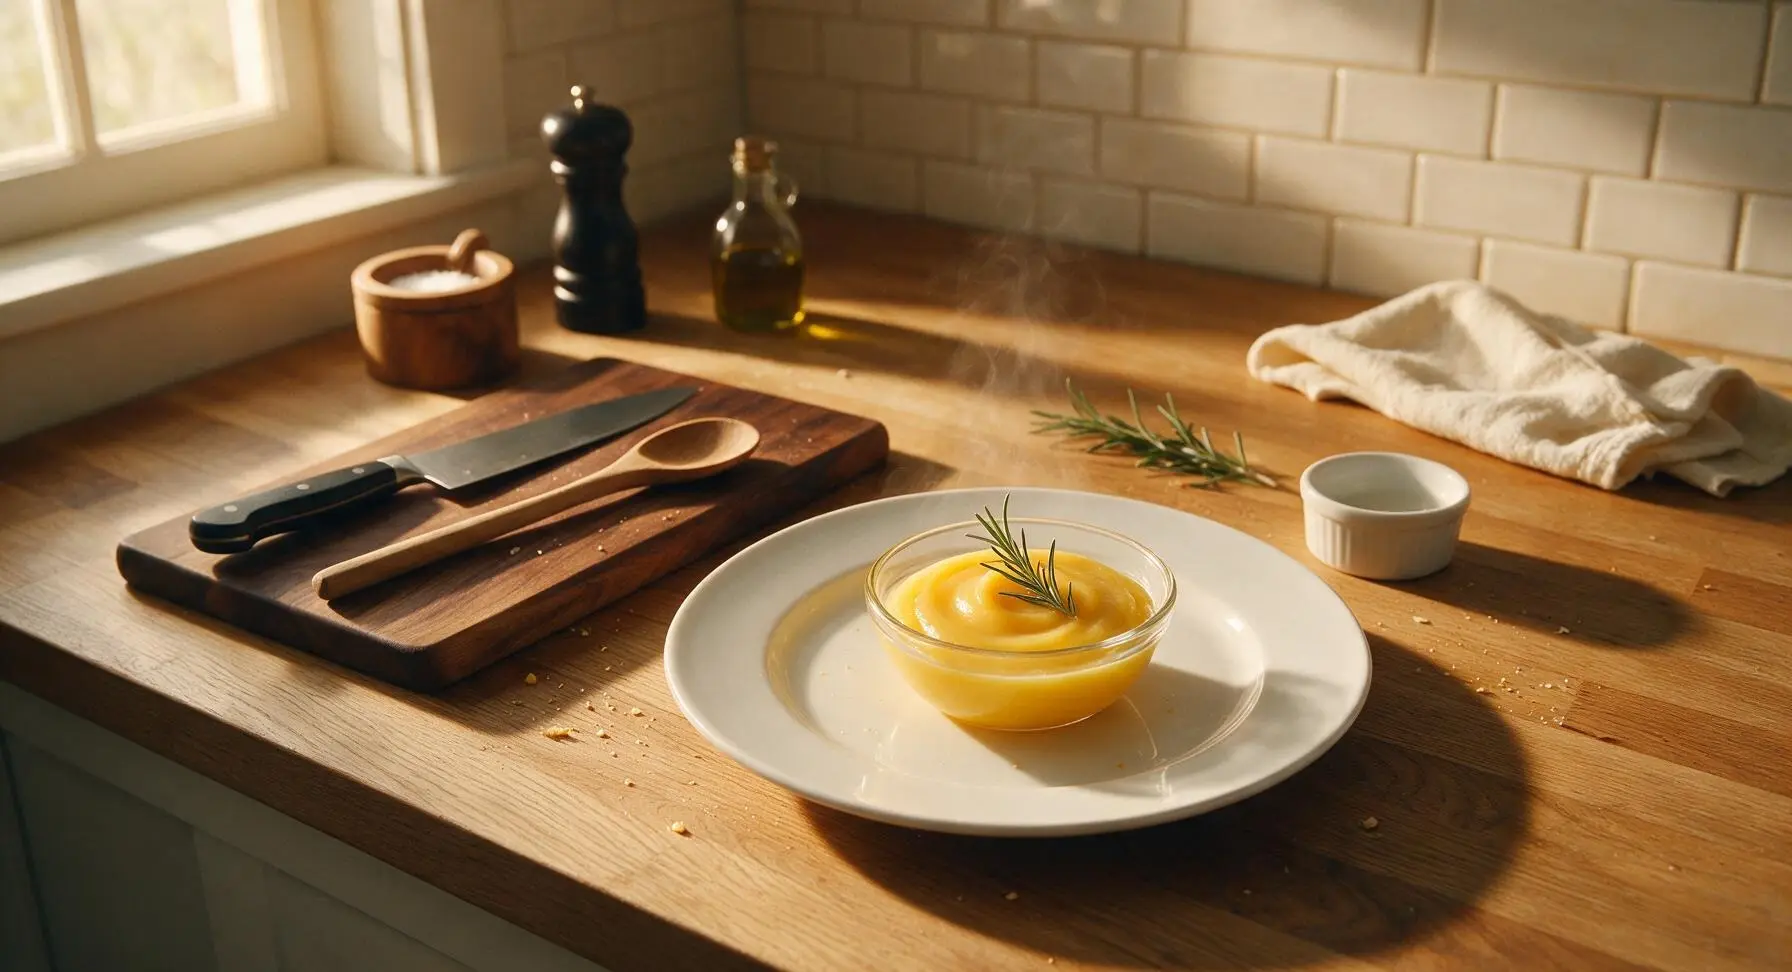
Silky, bright tangy-sweet lemon curd made effortlessly in a Vitamix, no constant stovetop stirring required. Perfect for spreading on scones, filling tarts, or swirling into yogurt.
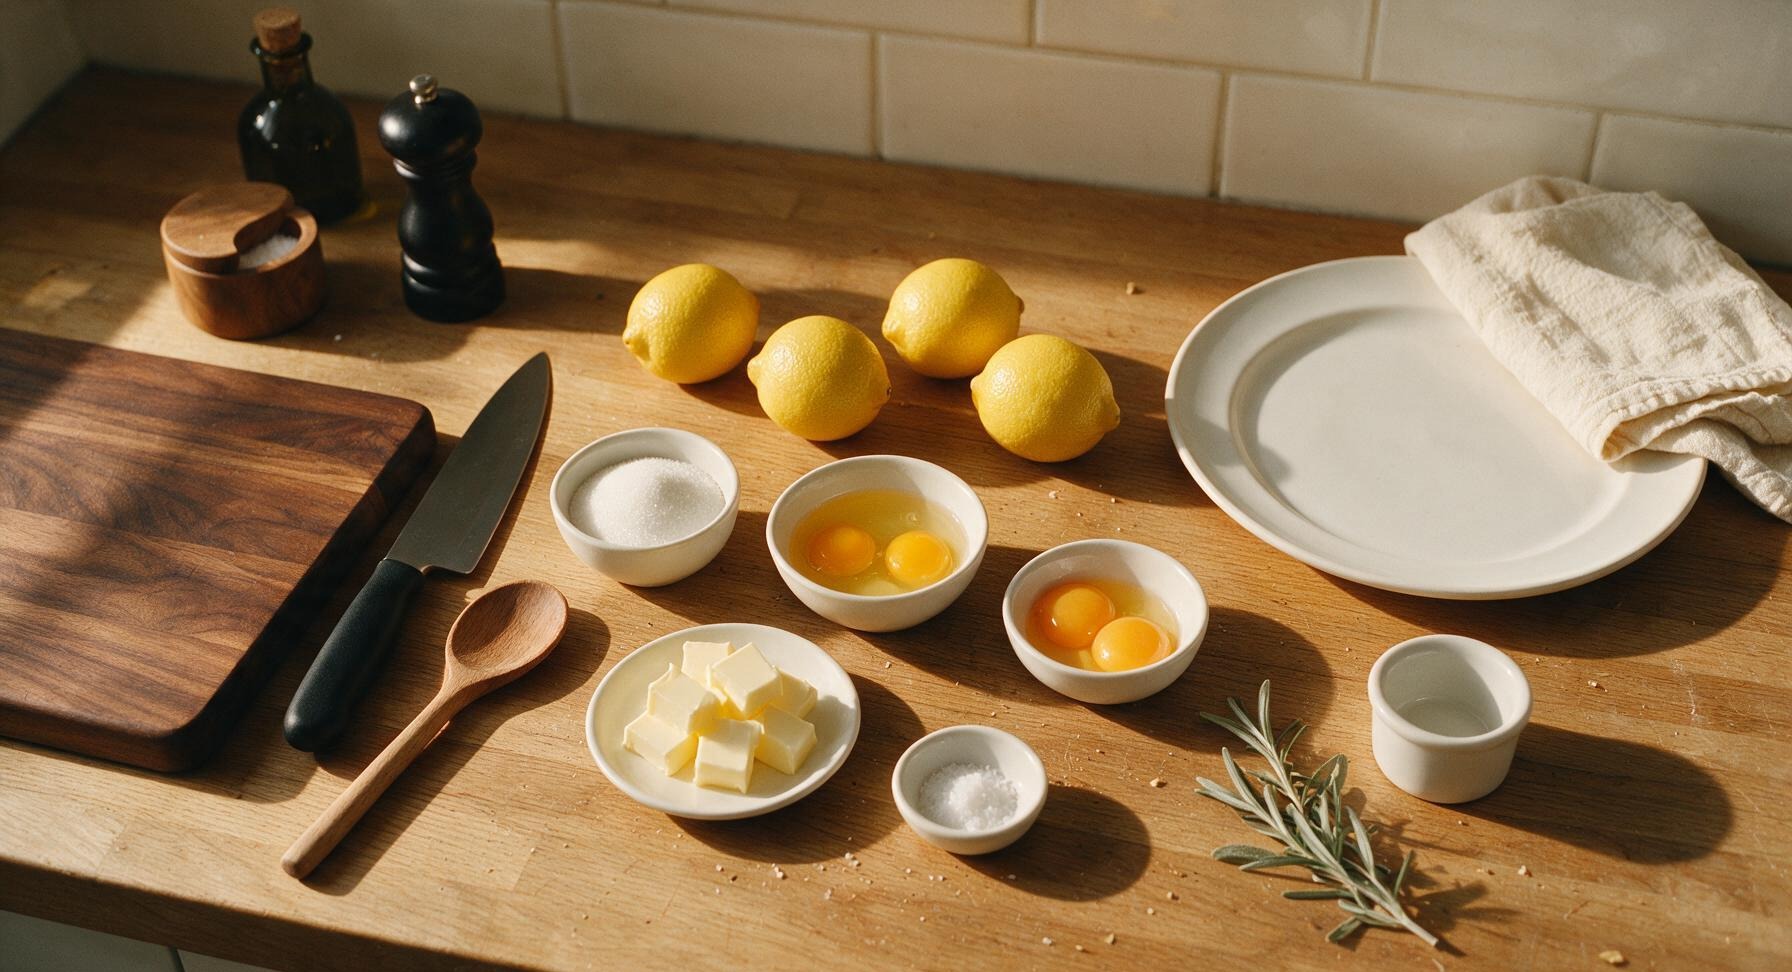
Ingredients
Steps
Zest and Juice Lemons
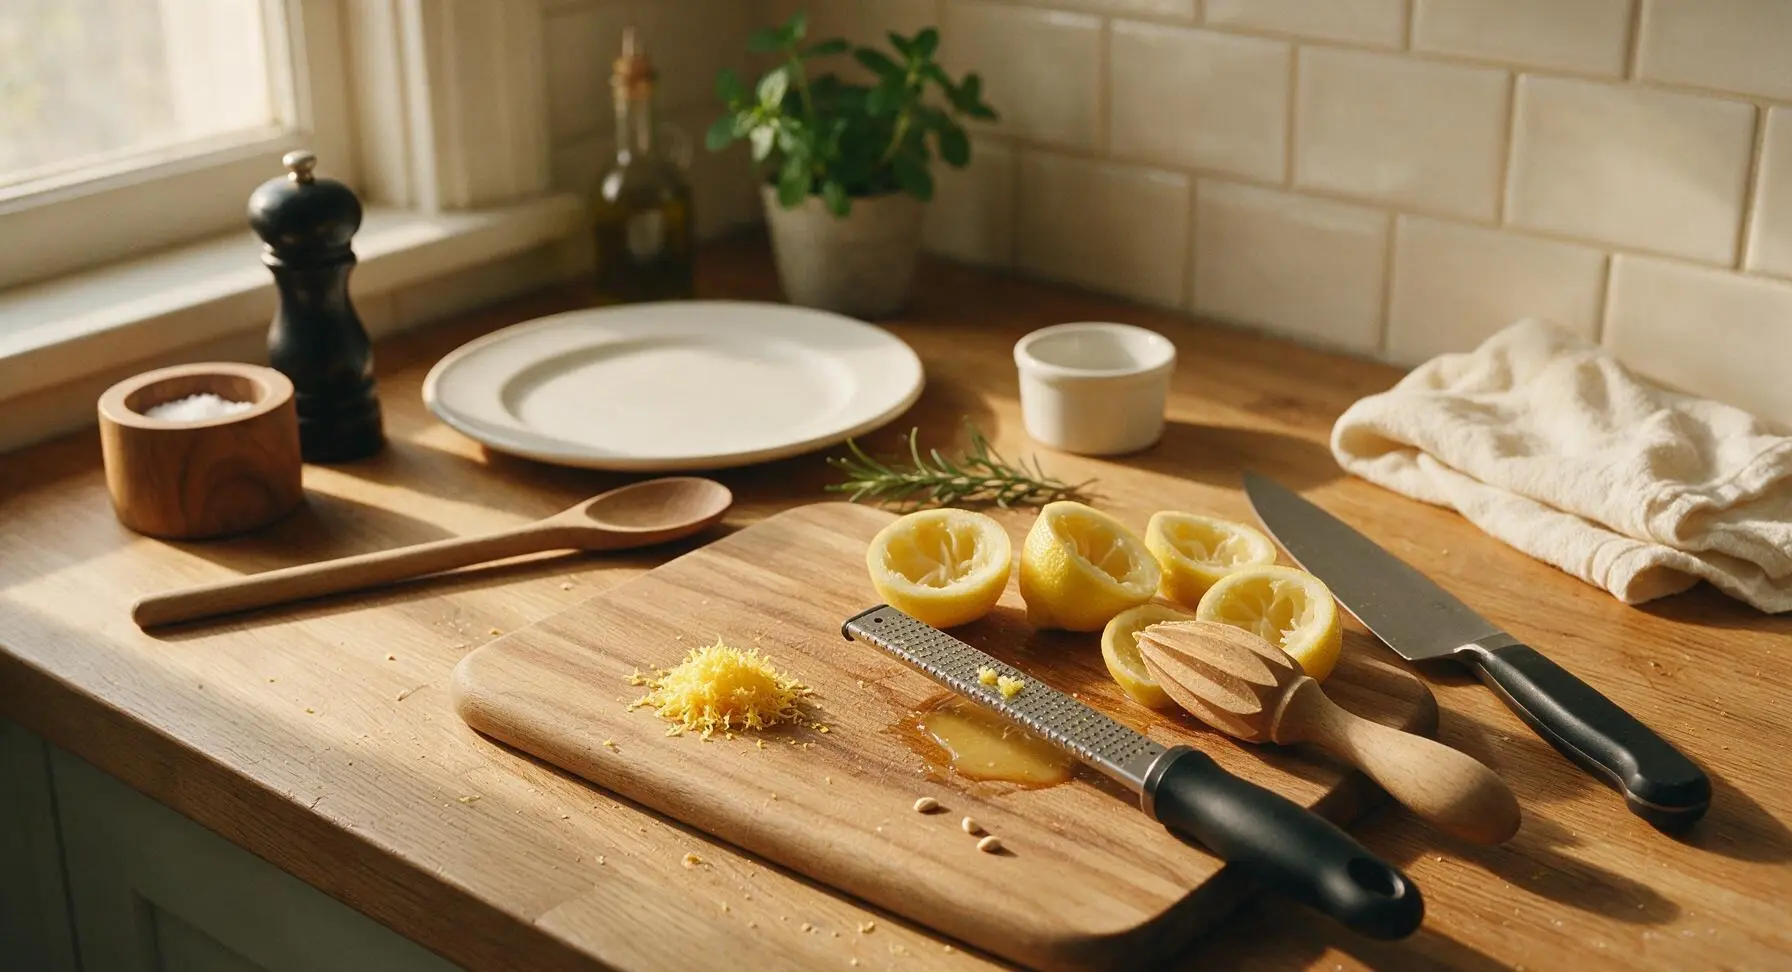
Wash and dry 4 medium lemons thoroughly. Resting the microplane zester on the acacia wood cutting board, grate only the bright yellow outer zest from each lemon, stopping as soon as you reach the bitter white pith, until you have 2 packed tablespoons of zest. Cut zested lemons in half, use the wooden citrus reamer to extract juice until you have 1 full cup of fresh juice, picking out and discarding any seeds that fall into the juice.
Load Blender Base Ingredients
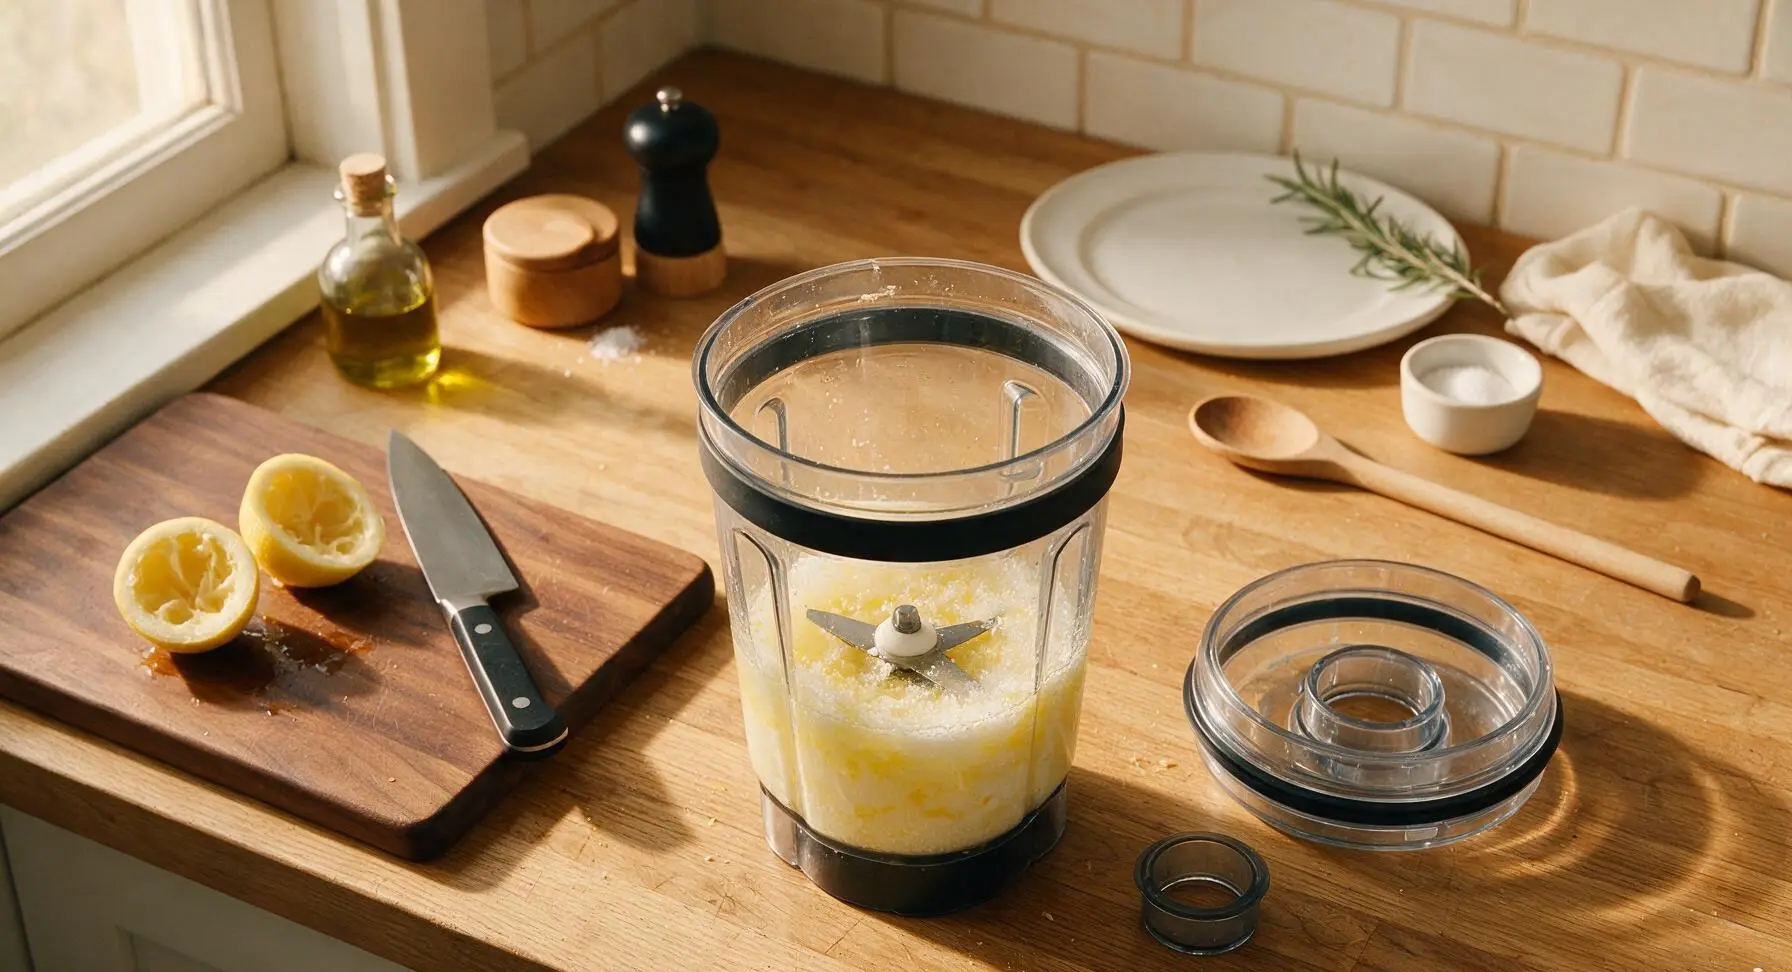
Remove the lid from the 64oz Vitamix container. Add the collected lemon zest, 1 cup fresh lemon juice, 1 cup granulated sugar, 3 whole large eggs, 2 extra egg yolks, and 1/8 tsp fine sea salt to the container. Secure the lid tightly, but remove the small center plug to allow steam to vent during cooking.
Blend Initial Mixture
Turn the Vitamix to Variable speed 1, then slowly increase the dial to speed 5, blending for 30 seconds to fully combine ingredients. Stop when the mixture is uniformly pale yellow, smooth, with no visible streaks of separate egg white.
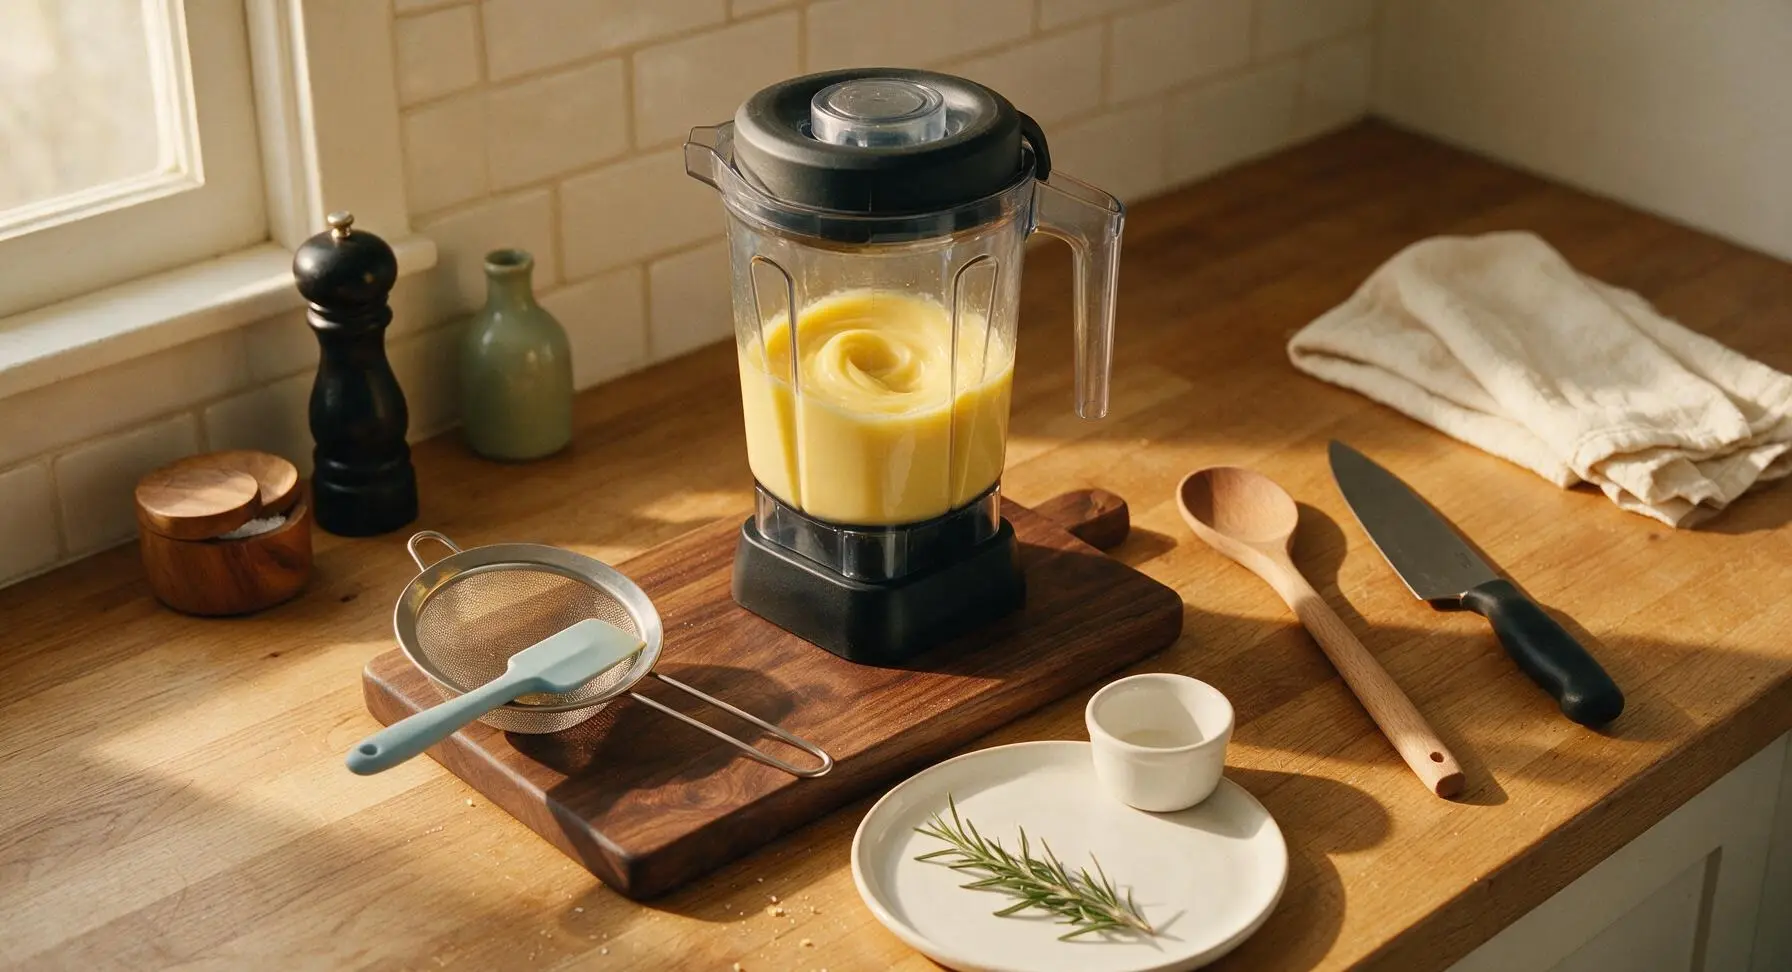
Cook Curd on High
Increase Vitamix speed to High, and set a timer for 5 minutes. Friction from the spinning blades will heat the curd to exactly 170°F (77°C), thickening it as it cooks. Watch for thin wispy steam rising from the open lid plug; never seal the plug fully, as trapped pressure can cause hot curd to splatter.
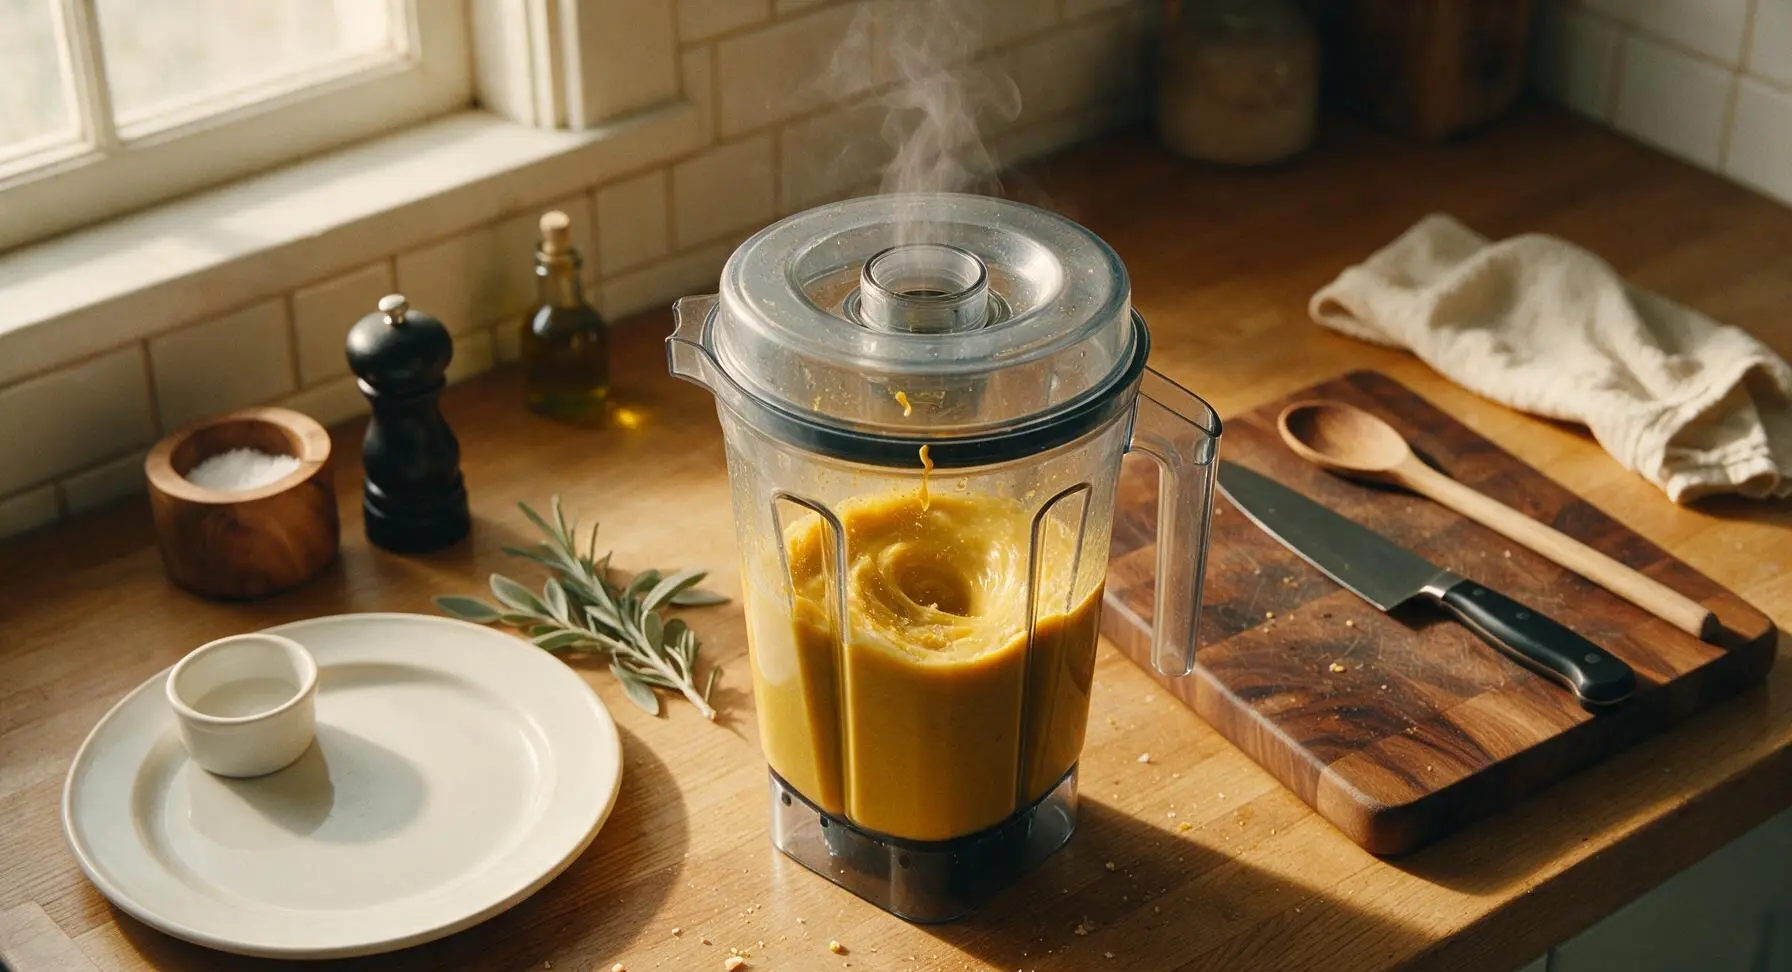
Emulsify Cold Butter
Reduce Vitamix speed to Variable 4. Drop cold 1-tablespoon butter pieces one at a time through the open lid plug, waiting 5 seconds between each addition to let butter fully melt and emulsify into the curd. Once all butter is added, increase speed back to High for 30 seconds to create a perfectly glossy, smooth curd with no lumps.
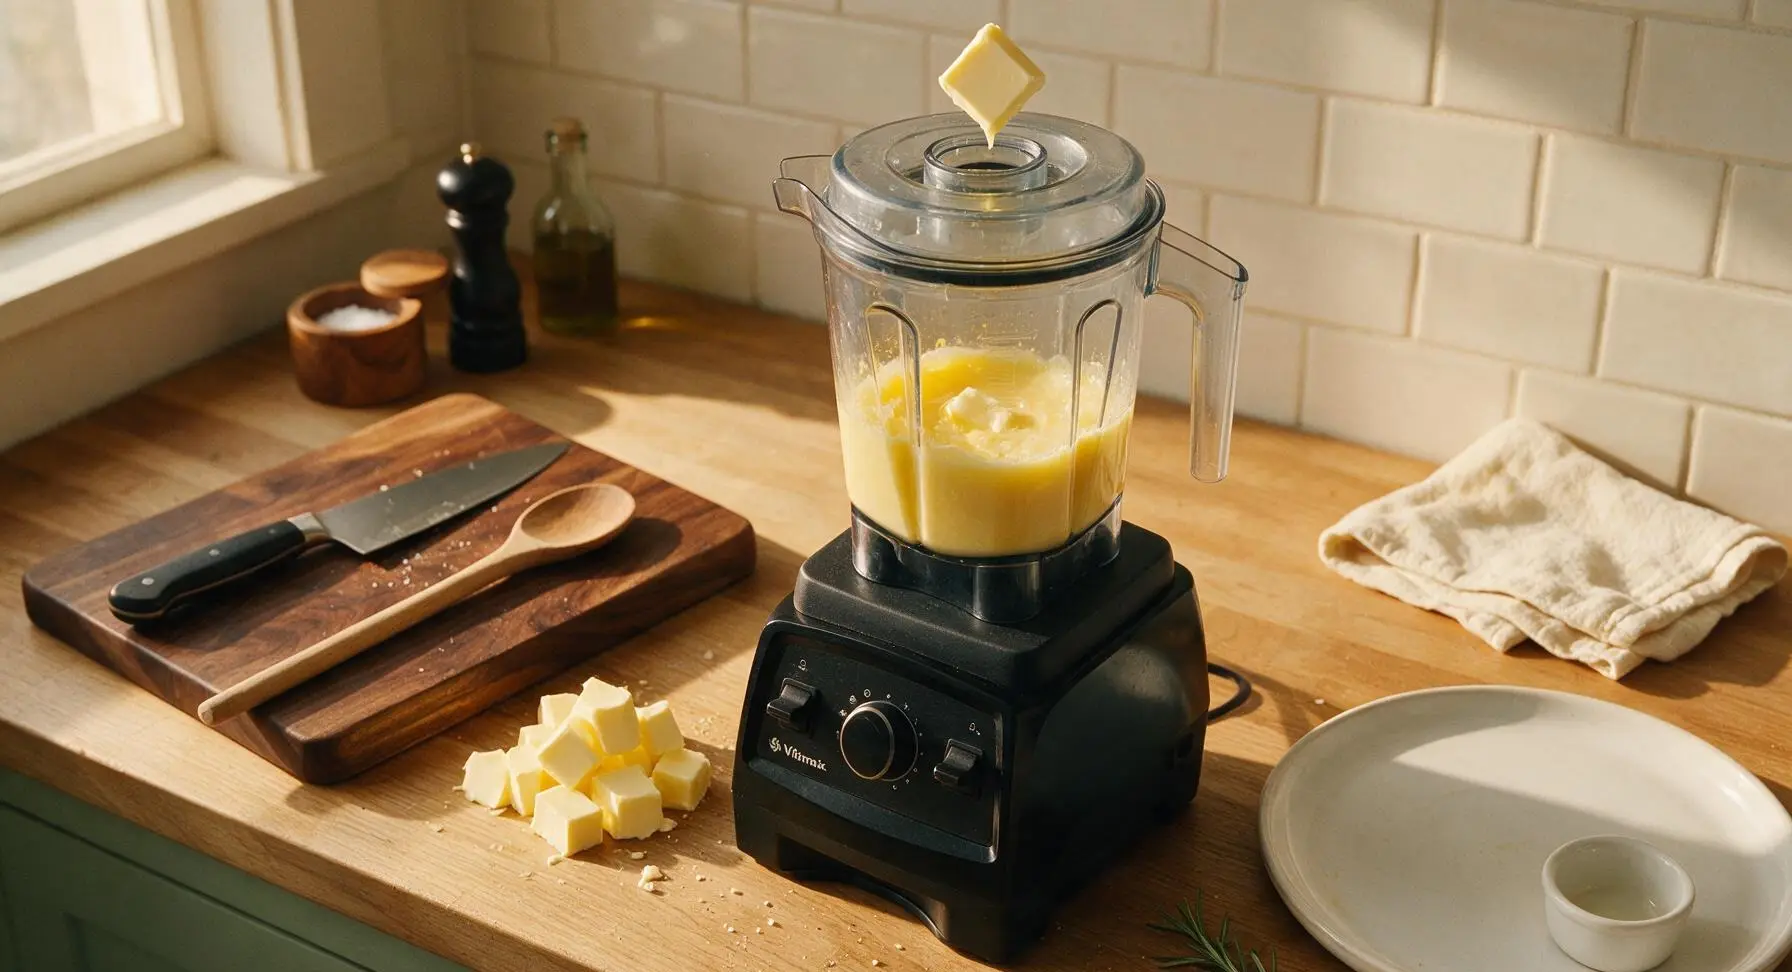
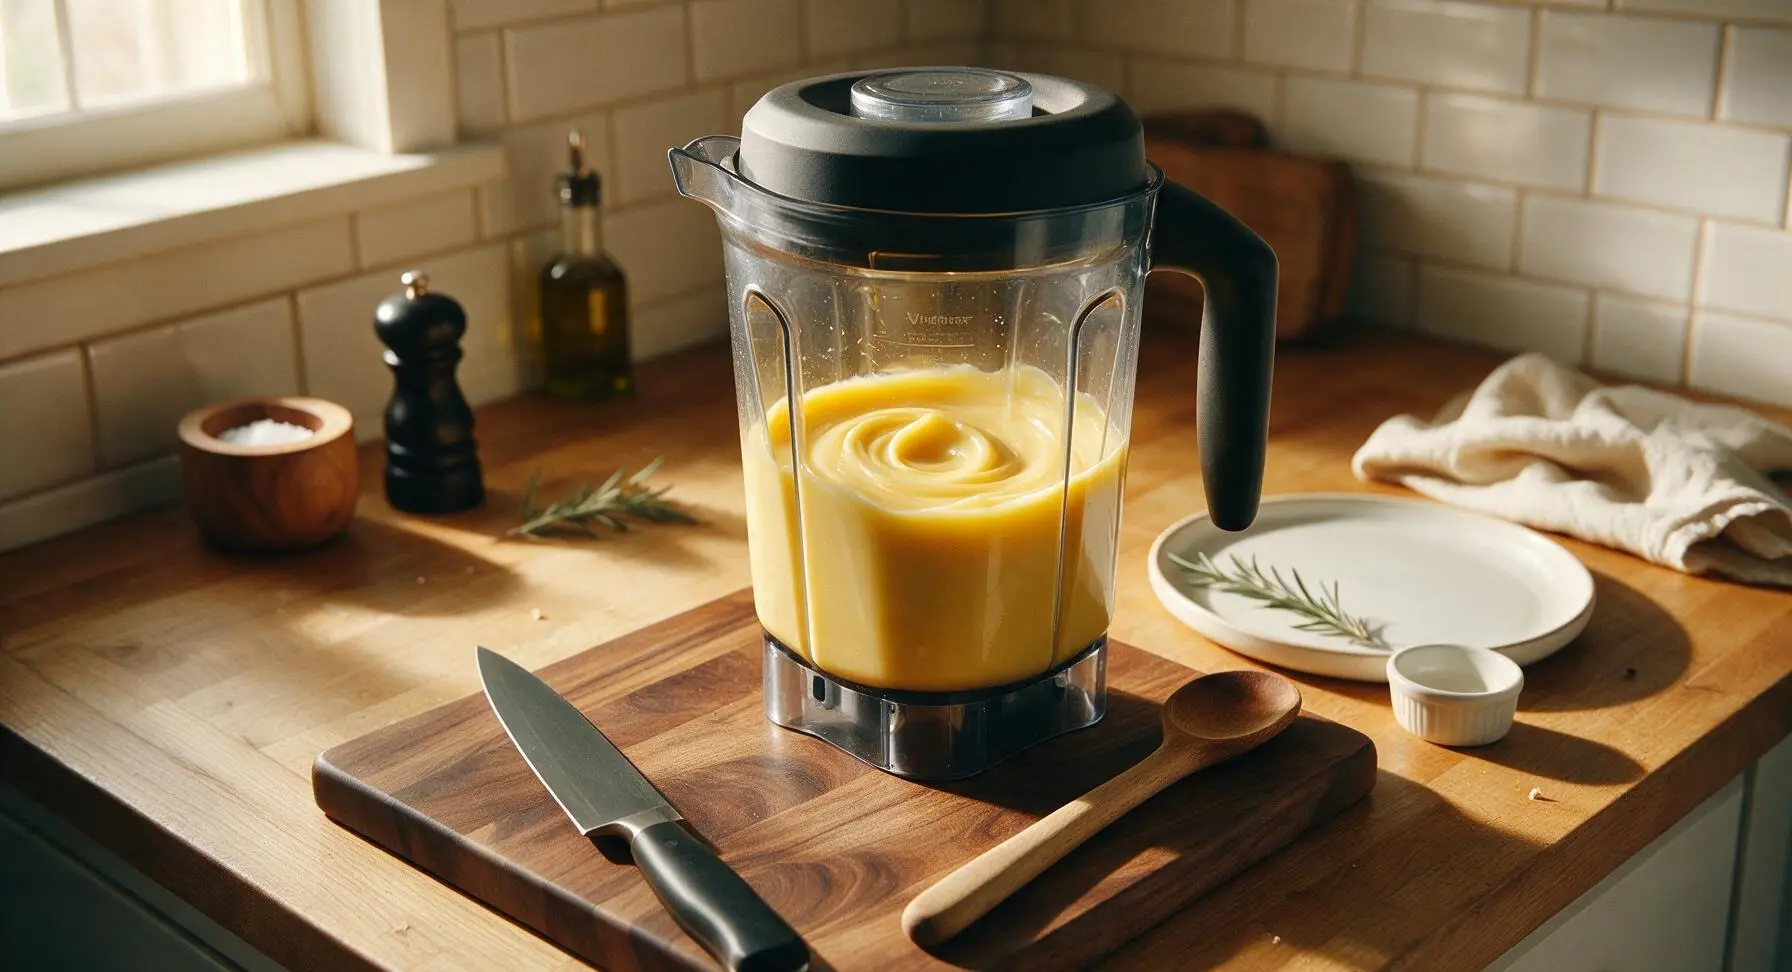
Strain Curd for Smoothness
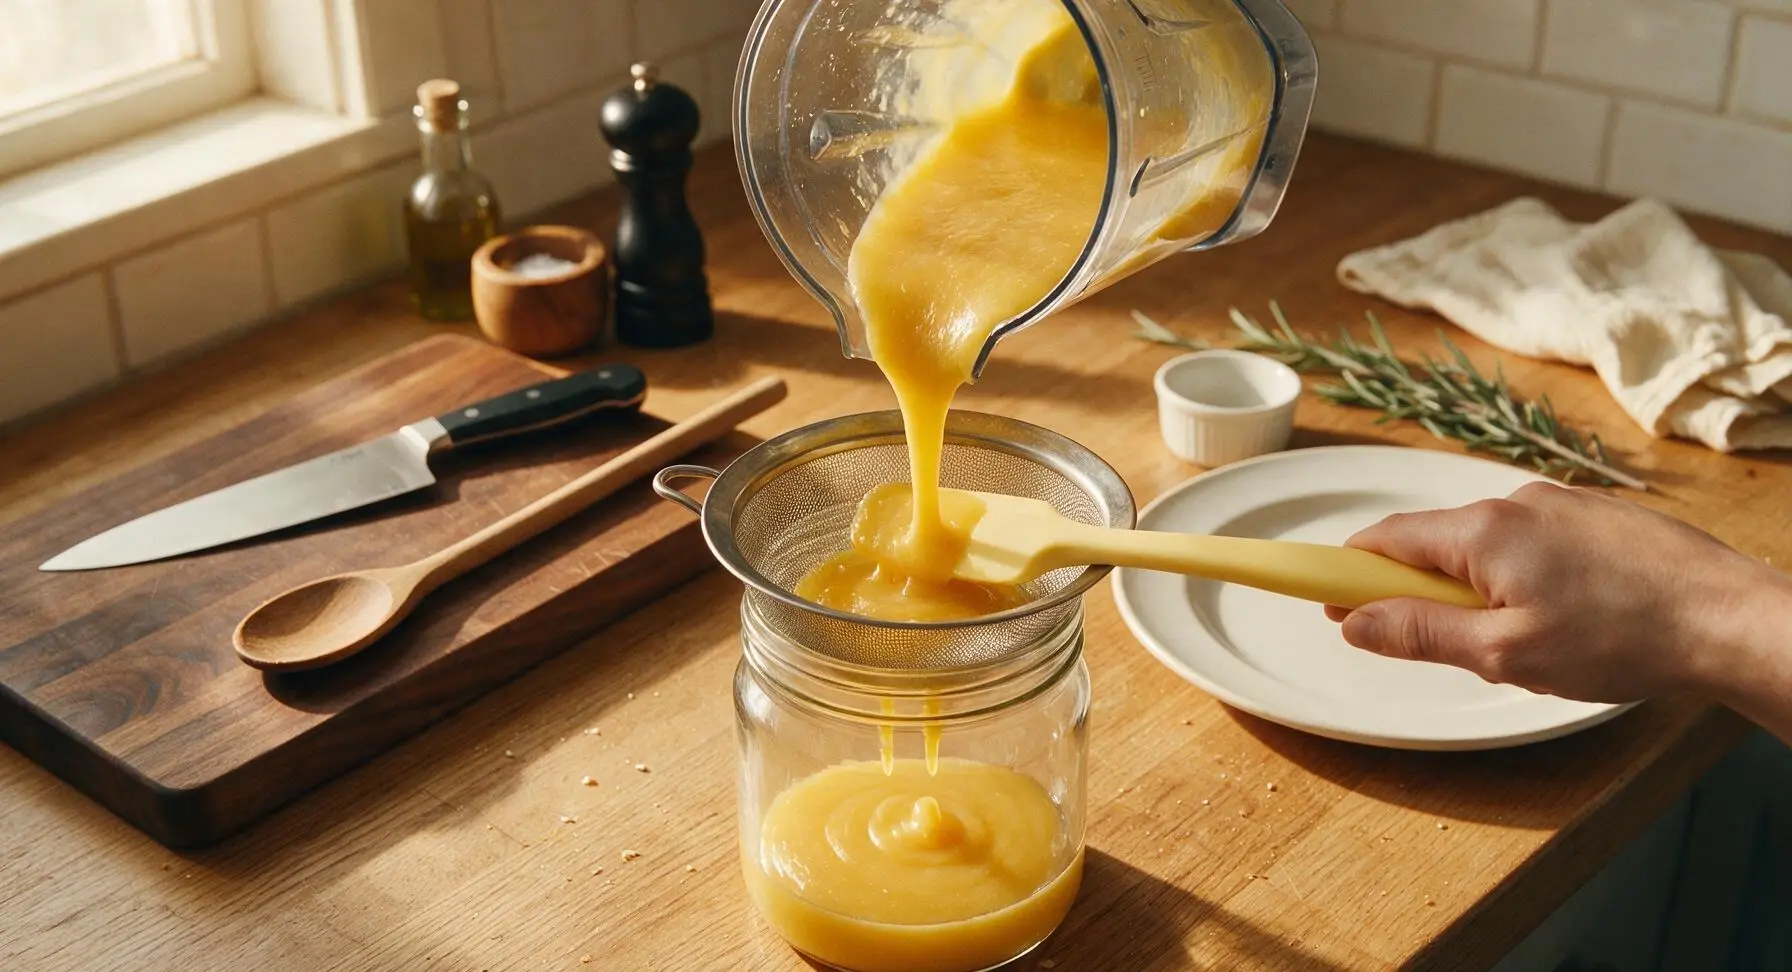
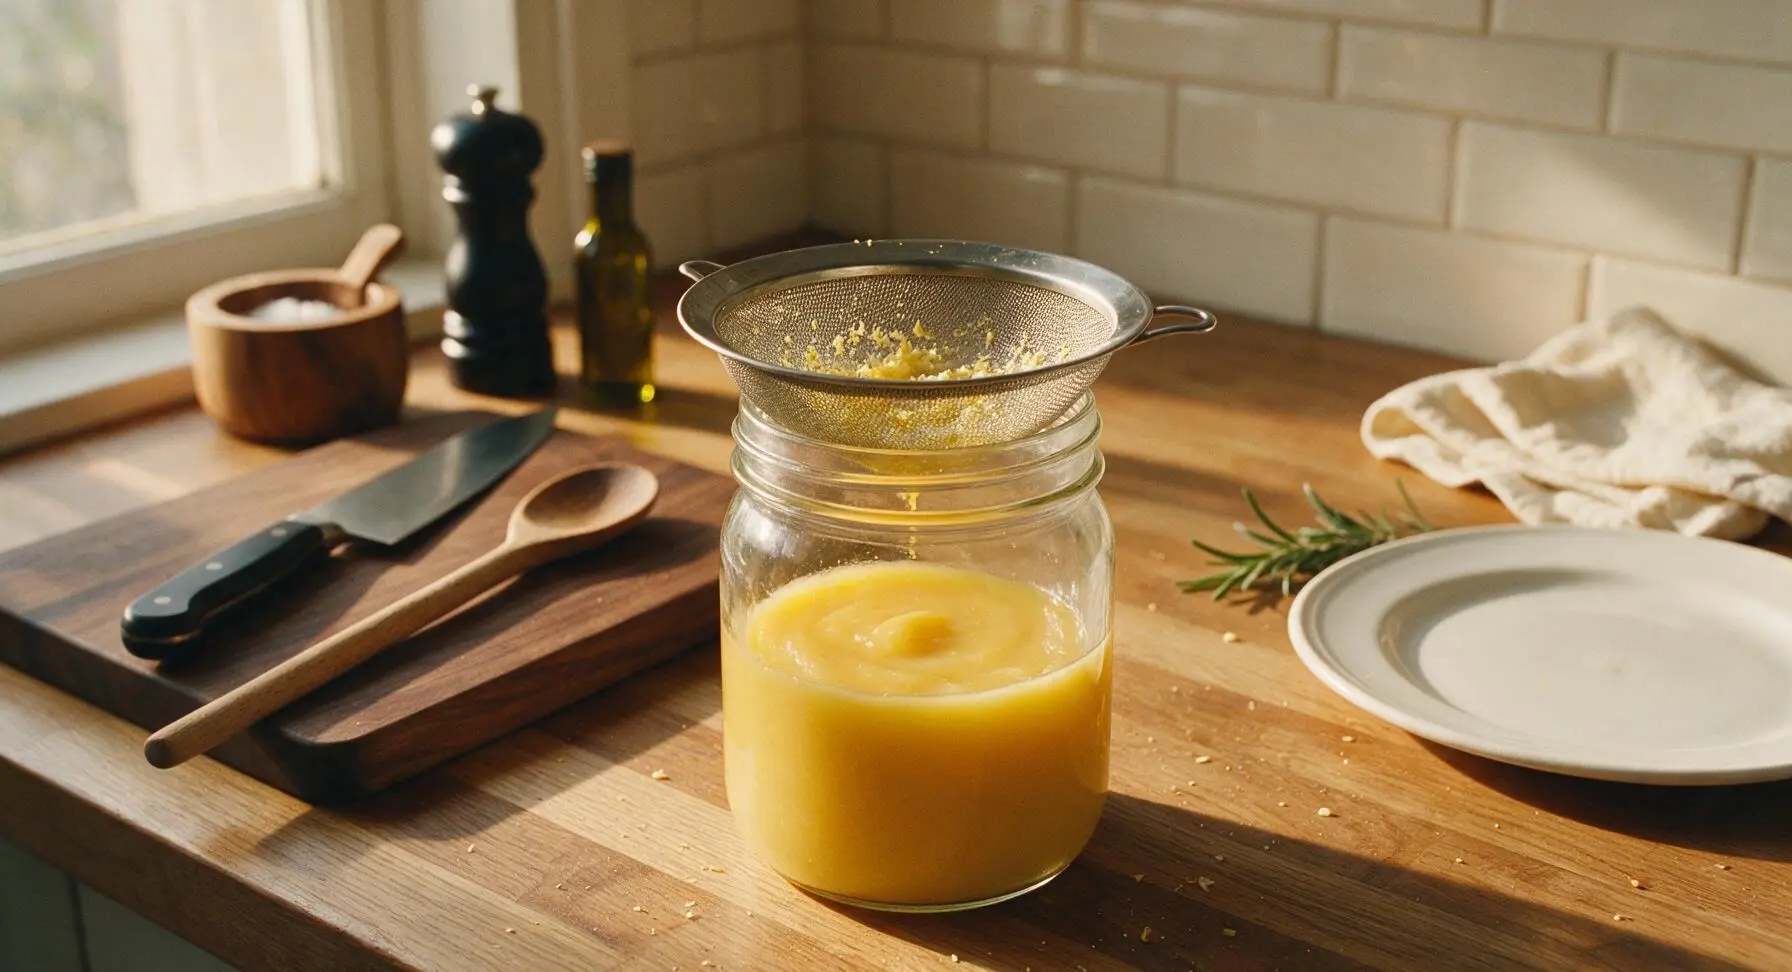
Turn off the Vitamix. Move the fine-mesh stainless steel sieve from its fixed position to rest over the opening of the clear glass storage jar in the center foreground. Pour warm curd from the blender container into the sieve, and use the pale yellow silicone spatula to gently press curd through the mesh, catching any tiny bits of cooked egg or coarse zest solids. Discard the small amount of solids left in the sieve.
Cool and Set Curd
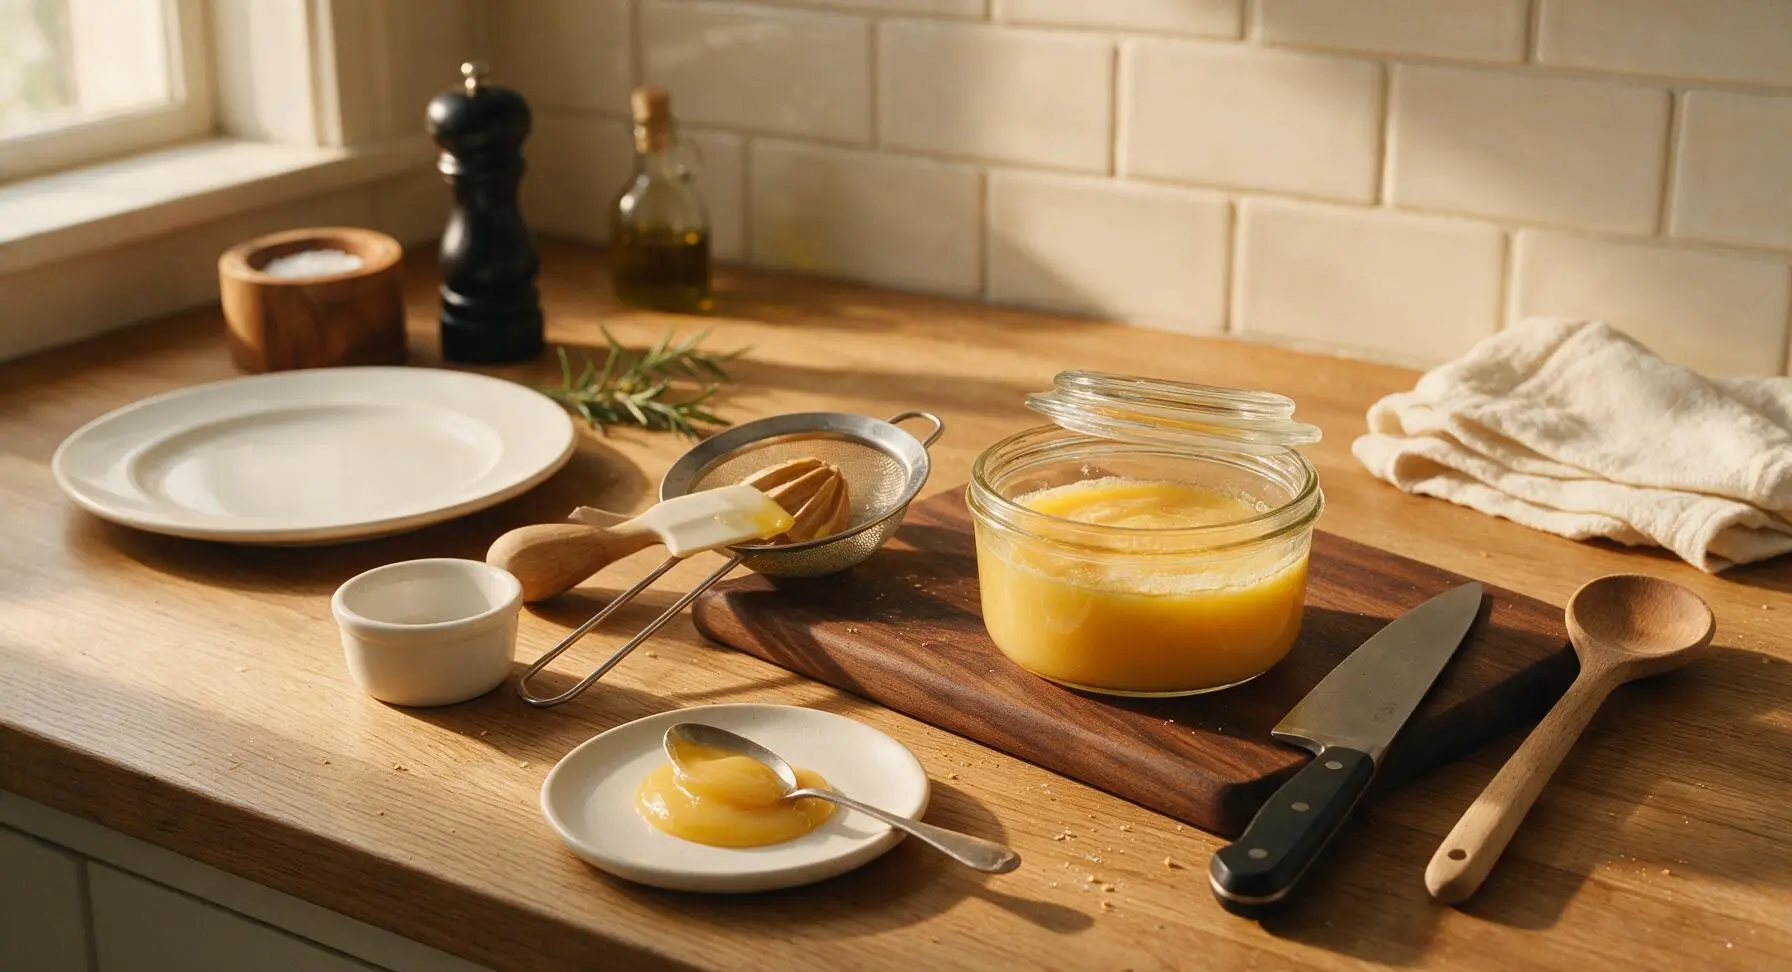
Let the strained curd rest at room temperature for 20 minutes, then place the glass lid with rubber seal on the storage jar. Refrigerate for a minimum of 2 hours; the curd will thicken to a luxuriously spreadable consistency as it chills. Store refrigerated for up to 2 weeks.
Tips
2.Keep the Vitamix lid plug ajar while blending on high: trapped steam can build dangerous pressure that causes hot curd to splatter out of the container, so the open vent allows steam to escape safely.
3.Use cold butter straight from the fridge: adding cold butter gradually creates a stable emulsion that gives the curd its silky, rich texture, rather than a greasy, separated consistency that can happen with room temperature butter.






OMG this lemon curd was a total game changer! I used to stand over the stove stirring forever scared I’d curdle the eggs, but 6 minutes in the Vitamix?! It came out so silky and bright, I slathered it on scones for our Sunday brunch and my kids literally begged for seconds. Even brought a jar to my neighbor and she asked for the recipe before I left.
SO good! I made this for our office potluck yesterday and people were hovering over the jar with shortbread cookies. It was so easy I almost felt guilty saying I “cooked” — 6 minutes total? No constant stirring? Sign me up for every Vitamix recipe from now on. I already have a batch in the fridge to top cheesecake this weekend.
This is going into my weekly meal prep rotation for real! I love having a jar of this in the fridge to stir into yogurt, top toast, or even fill little tart shells for quick weeknight desserts. It’s way less sweet than the store-bought stuff I used to grab, and I love that I can control exactly what goes into it. No weird preservatives, just bright lemon flavor. 10/10.
Super easy overall! My first time ever making lemon curd and it turned out pretty great, though I think I ran my Vitamix a touch too long on high so it got a tiny bit thinner than I expected. Still tasted amazing though, I used it to fill lemon bars and my roommates devoured the whole pan in one night. Will definitely make again, just gonna keep a closer eye on blend time next go-round!
Game changer for weekend brunch! I whipped this up while my wife was making pancakes and it was done before the first batch came off the griddle. We added a dollop to pancakes, stirred some into mimosas (don’t judge, it was insane), and even ate a couple spoonfuls straight out of the jar. Who knew lemon curd could be this low effort?
Obsessed! I’ve been looking for an easy gluten-free, dairy-free lemon curd recipe forever and this works perfectly with vegan butter swapped in. I was worried the swap would mess with the texture, but it came out just as smooth and tangy as the regular version. Served it over gluten-free shortbread for my sister’s birthday and nobody could tell it was dairy free.
I made this last weekend and it was incredible, but my mom has an older Vitamix and wants to make it — does this work with older models too? She’s got a 6-year-old E310 with no fancy pre-programmed settings, and she’s been nervous to try blender curd because she doesn’t want to overheat the motor or mess up the eggs. I told her how easy it was (no 20 minutes of stirring over the stove! Total game changer) but wanted to check before I send her the recipe.