
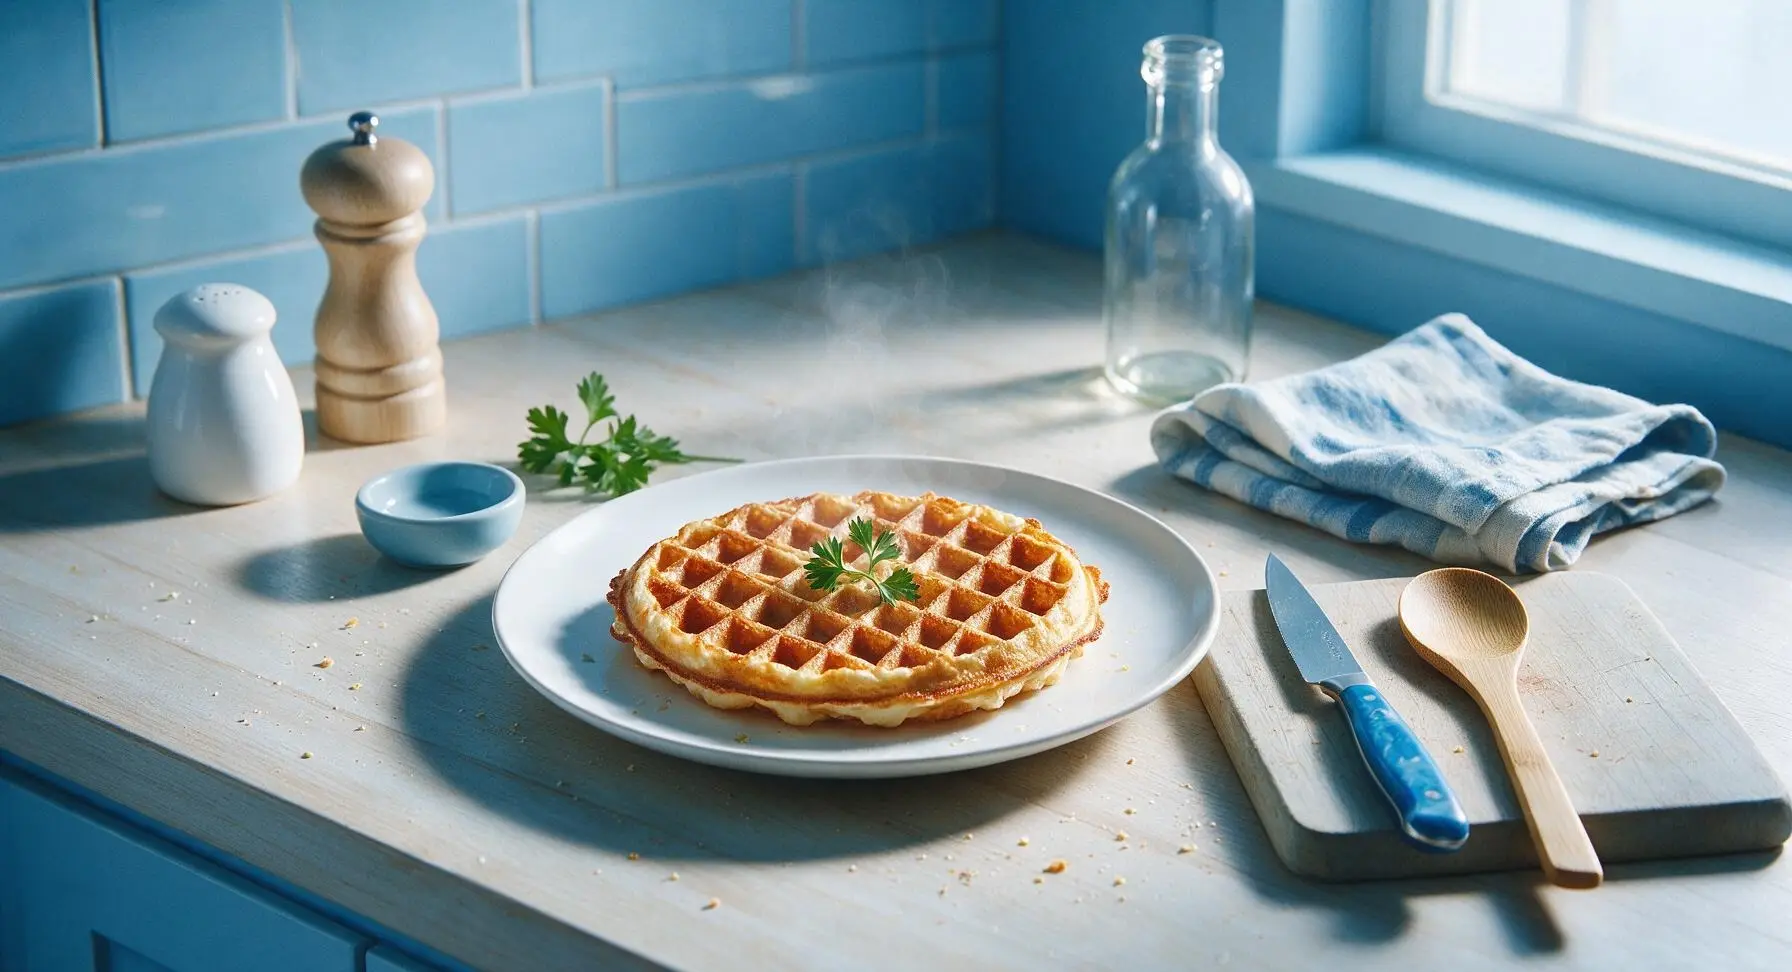
waffle for one

title 1
waffle for one
⏱️ cook time 5 minutes
🍽️ servings 1
⚡ Difficulty easy

intro

A single, perfectly crisp-edged, fluffy-centered waffle ready in 10 minutes total, ideal for a cozy, no-fuss solo breakfast or quick weeknight brinner.

Ingredients
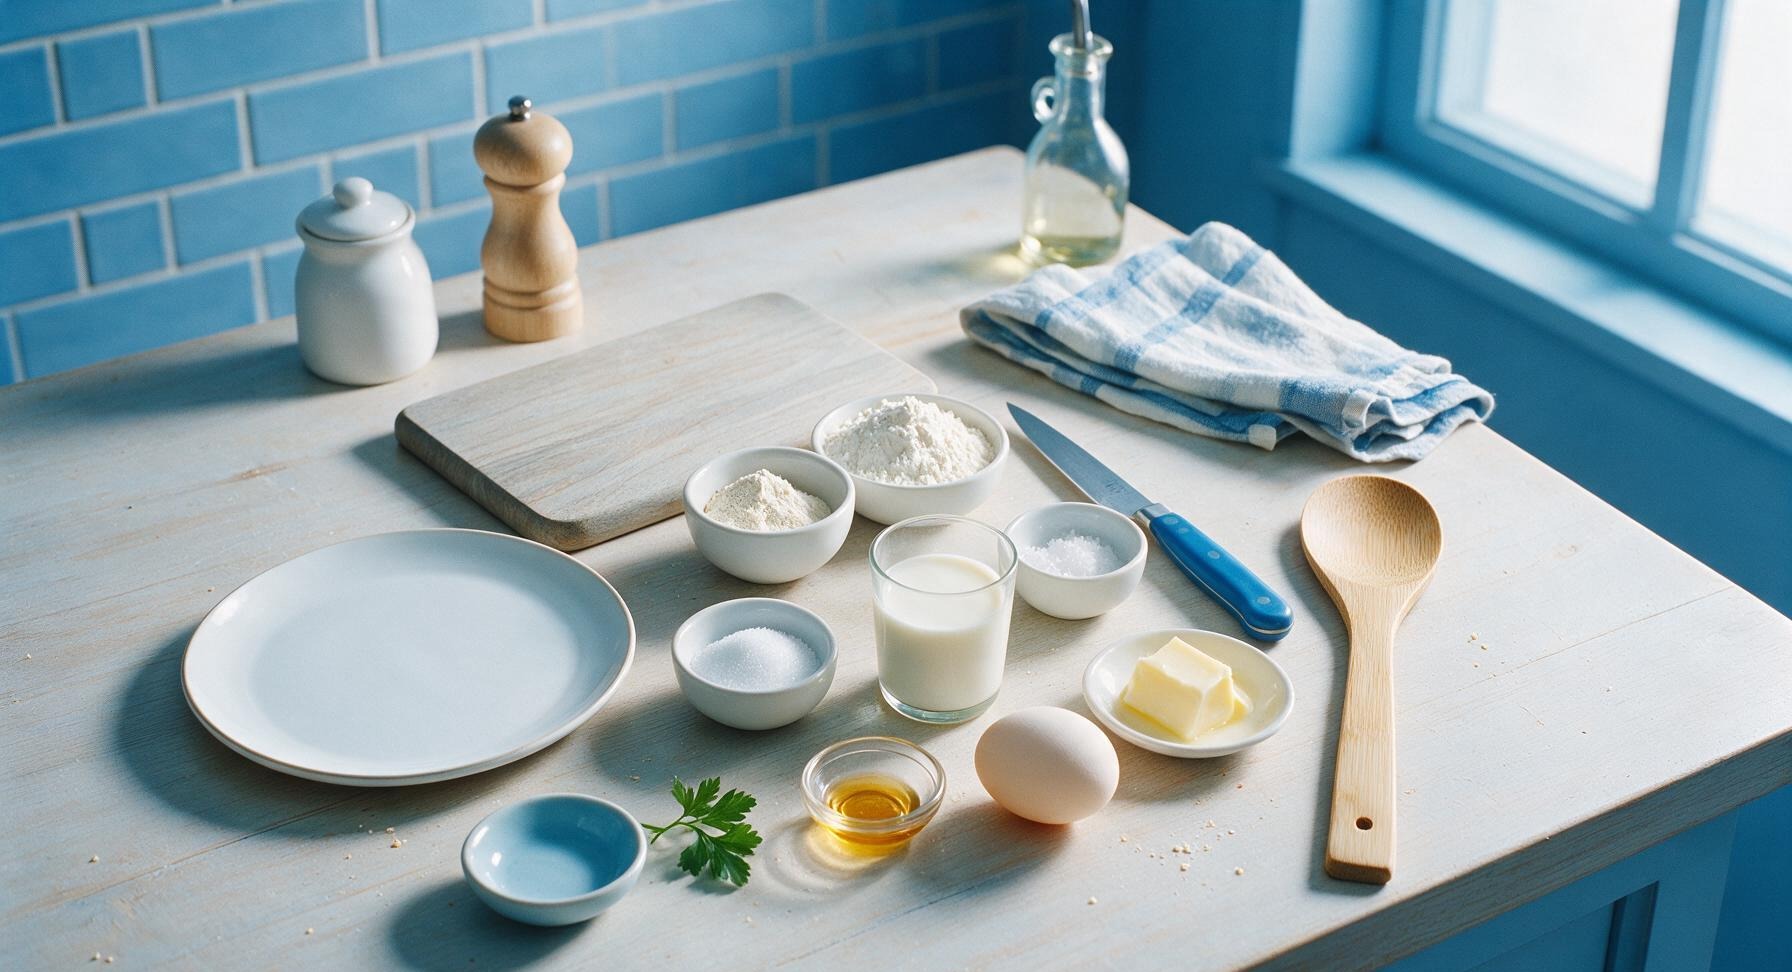
All-purpose flour 1/2 cup (60g)
Baking powder 1 teaspoon
Granulated sugar 1 tablespoon (12g)
Fine sea salt 1/8 teaspoon
Whole milk 1/3 cup (80ml)
Large egg 1 unit
Unsalted butter, melted and cooled 1 tablespoon (14g)
Pure vanilla extract 1/4 teaspoon

Steps

1

Preheat Waffle Maker

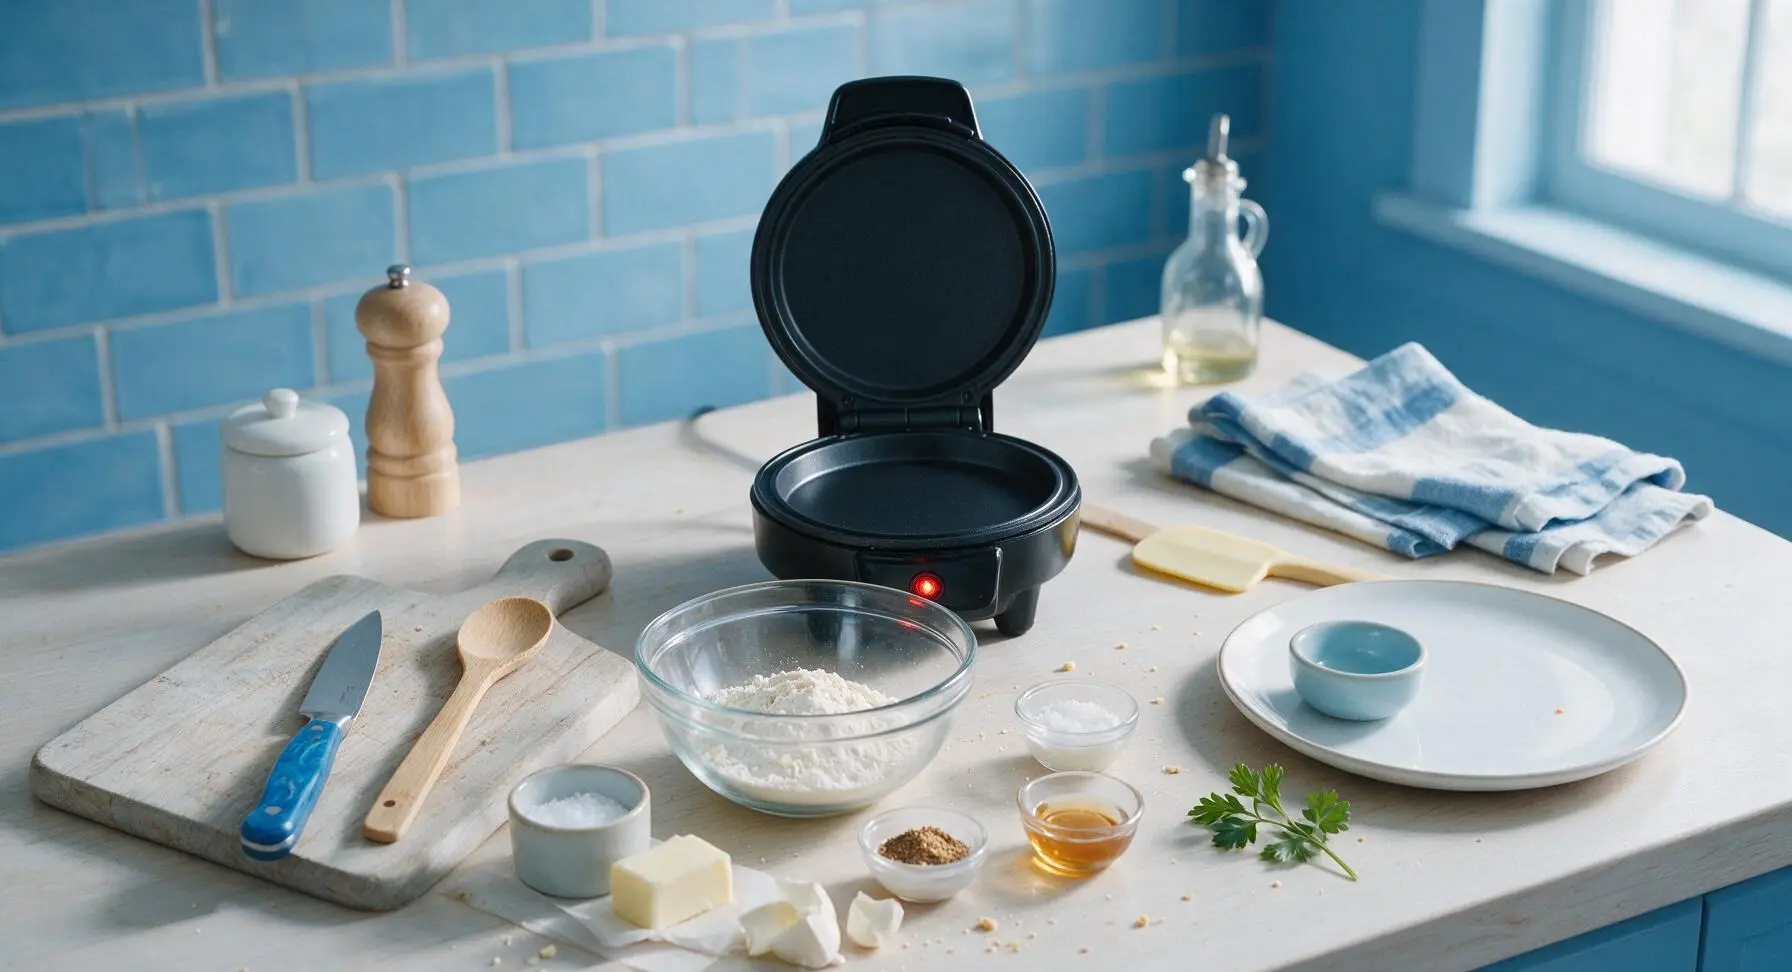
Plug in the 4-inch mini nonstick waffle maker and preheat to its medium setting (375°F/190°C) while you prepare the batter. The appliance’s ready indicator light will turn off when it reaches full cooking temperature, which takes approximately 2 minutes. A light wipe of butter on the plates is only needed for older, worn nonstick surfaces; new makers require no additional cooking spray.
Step 1
step1:Preheat Waffle Maker
2

Combine Dry Ingredients

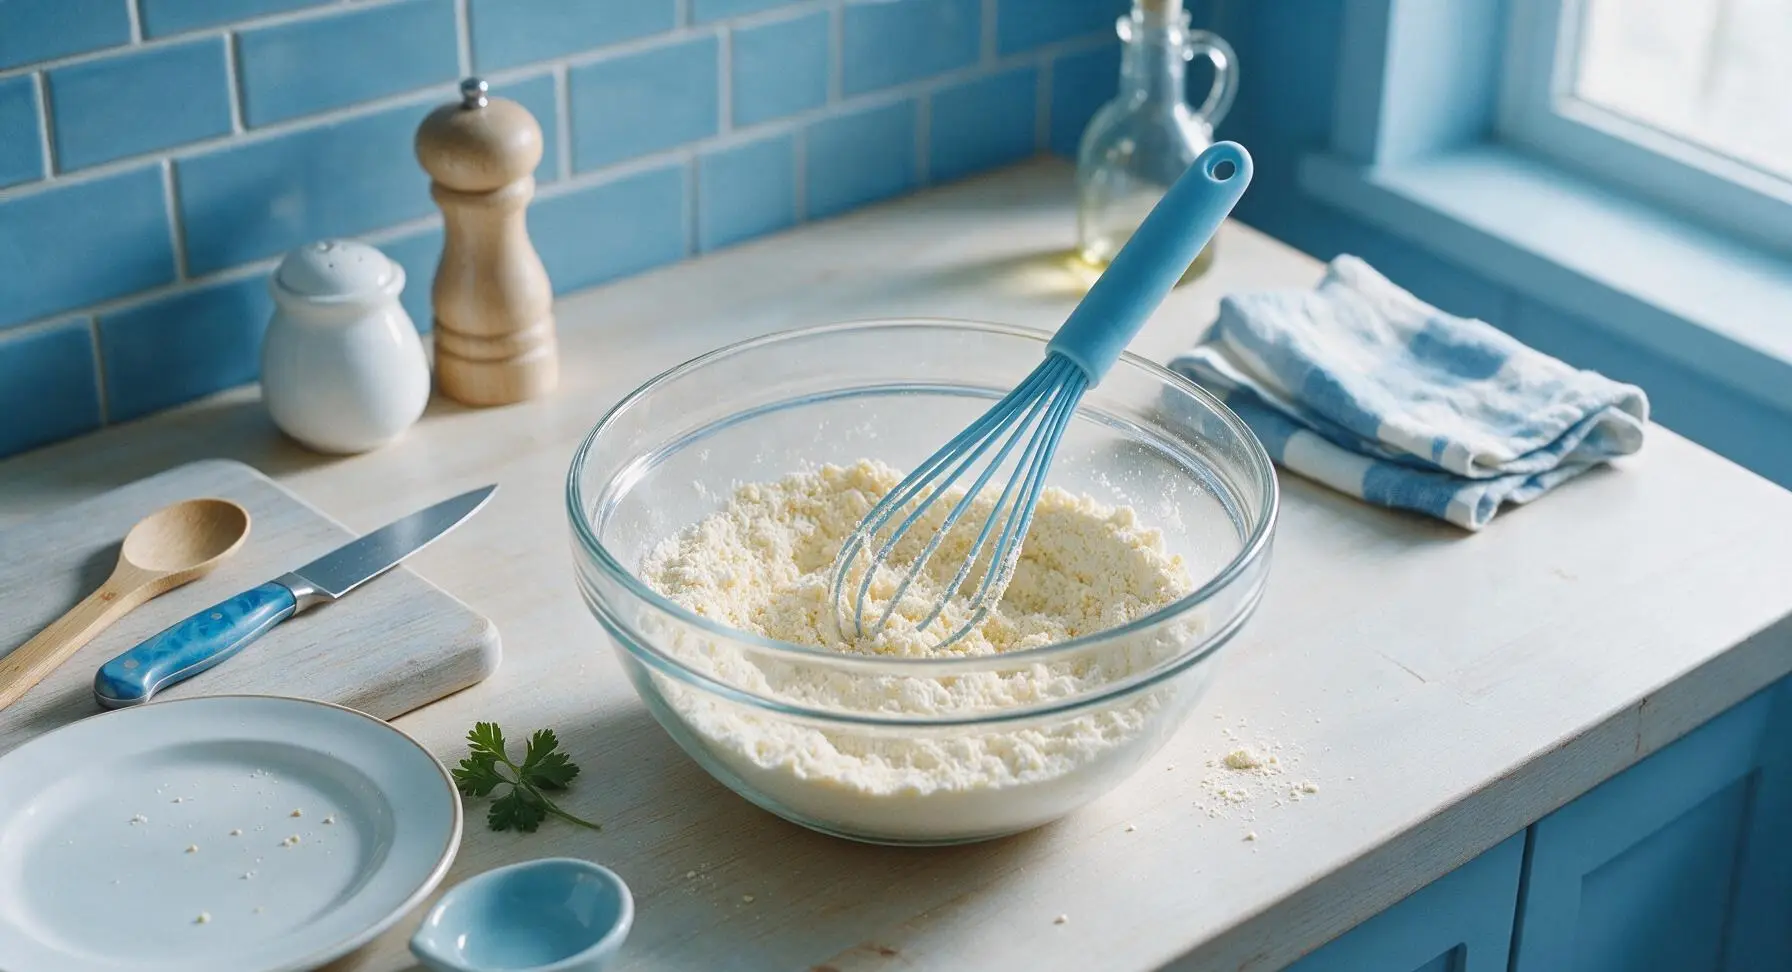
Add the 1/2 cup all-purpose flour, 1 teaspoon baking powder, 1 tablespoon granulated sugar, and 1/8 teaspoon fine sea salt to the 2-cup clear glass mixing bowl. Use the sky blue silicone whisk to stir the dry ingredients together for 30 seconds until fully blended, with no concentrated clumps of baking powder or sugar visible. Evenly mixing the leavening first prevents uneven rising or bitter spots in the finished waffle.
Step 2
step2:Combine Dry Ingredients
3

Add Wet Ingredients

Use the whisk to make a shallow 5cm wide well in the center of the mixed dry ingredients. Pour the 1/3 cup whole milk into the well, crack the large egg directly into the center, add the 1 tablespoon cooled melted butter, and 1/4 teaspoon vanilla extract. Adding wet ingredients to a central well prevents overmixing and reduces lumps without extra stirring.
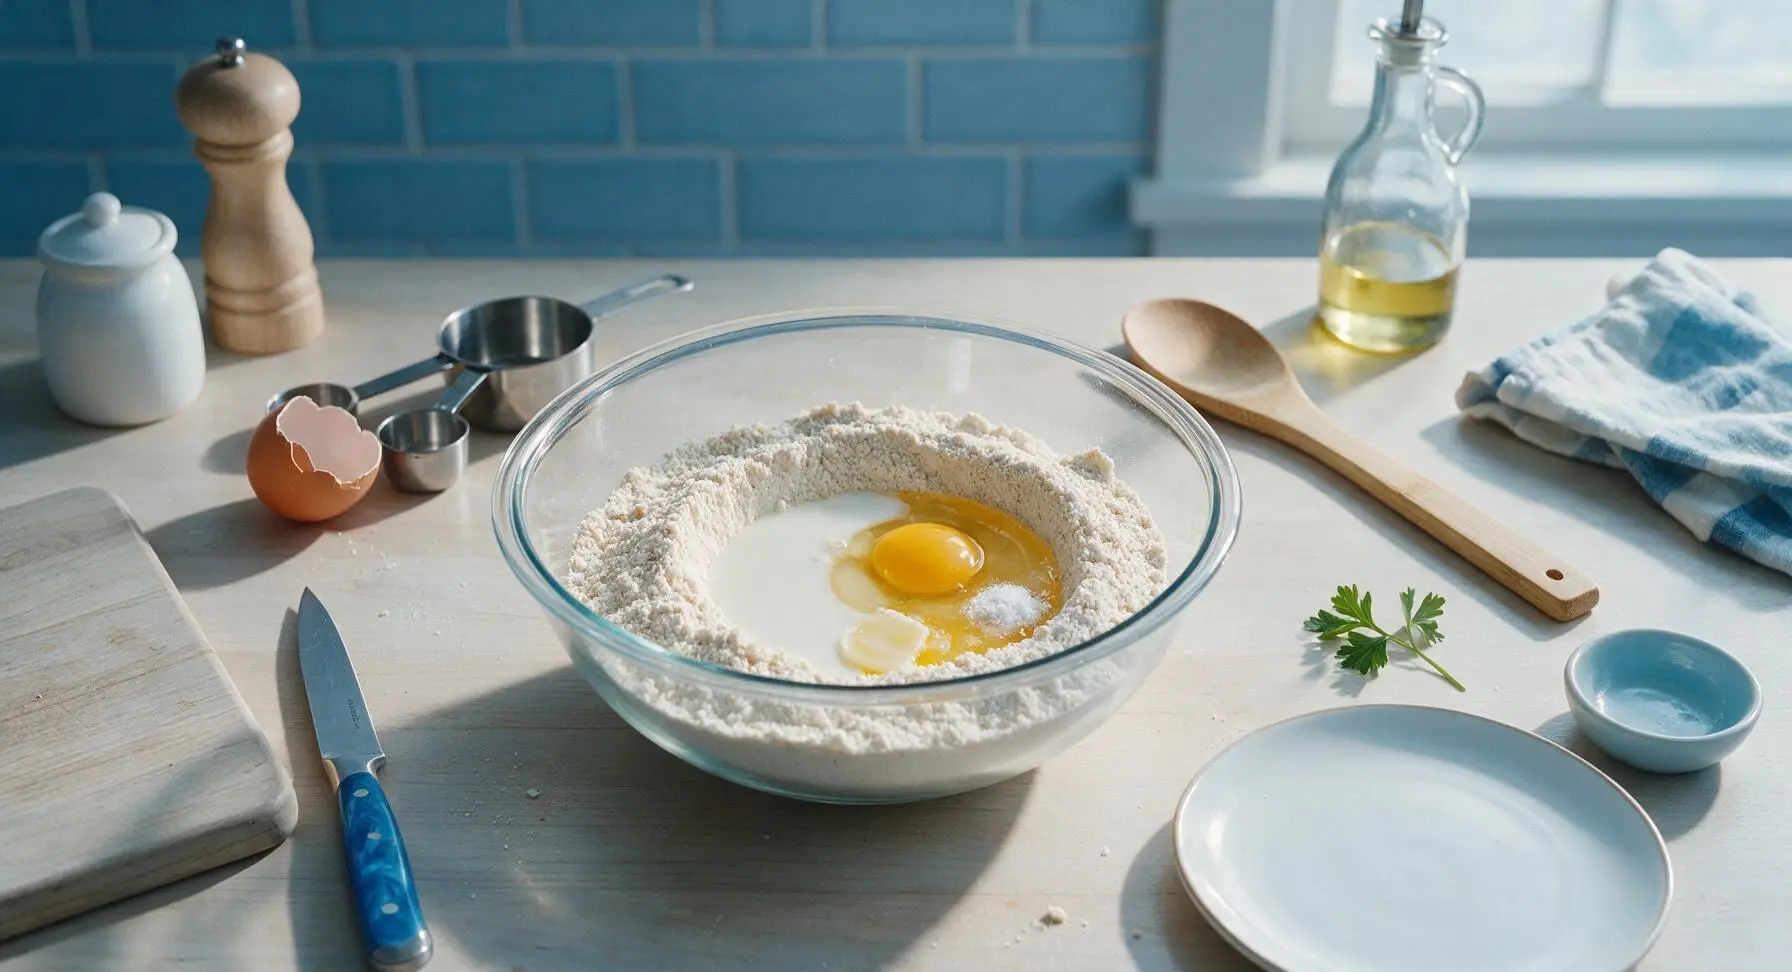
Step 3
step3:Add Wet Ingredients
4

Whisk Smooth Batter

Use the sky blue silicone whisk to gently stir the wet and dry ingredients together, mixing just until no large patches of dry flour remain. Stop mixing immediately once the batter comes together; small, pea-sized lumps are completely normal and desirable, as overmixing will develop gluten and create a tough, chewy waffle. The finished batter should be thick but slowly pourable, with a consistency similar to heavy cream, dotted with tiny air bubbles on its surface.
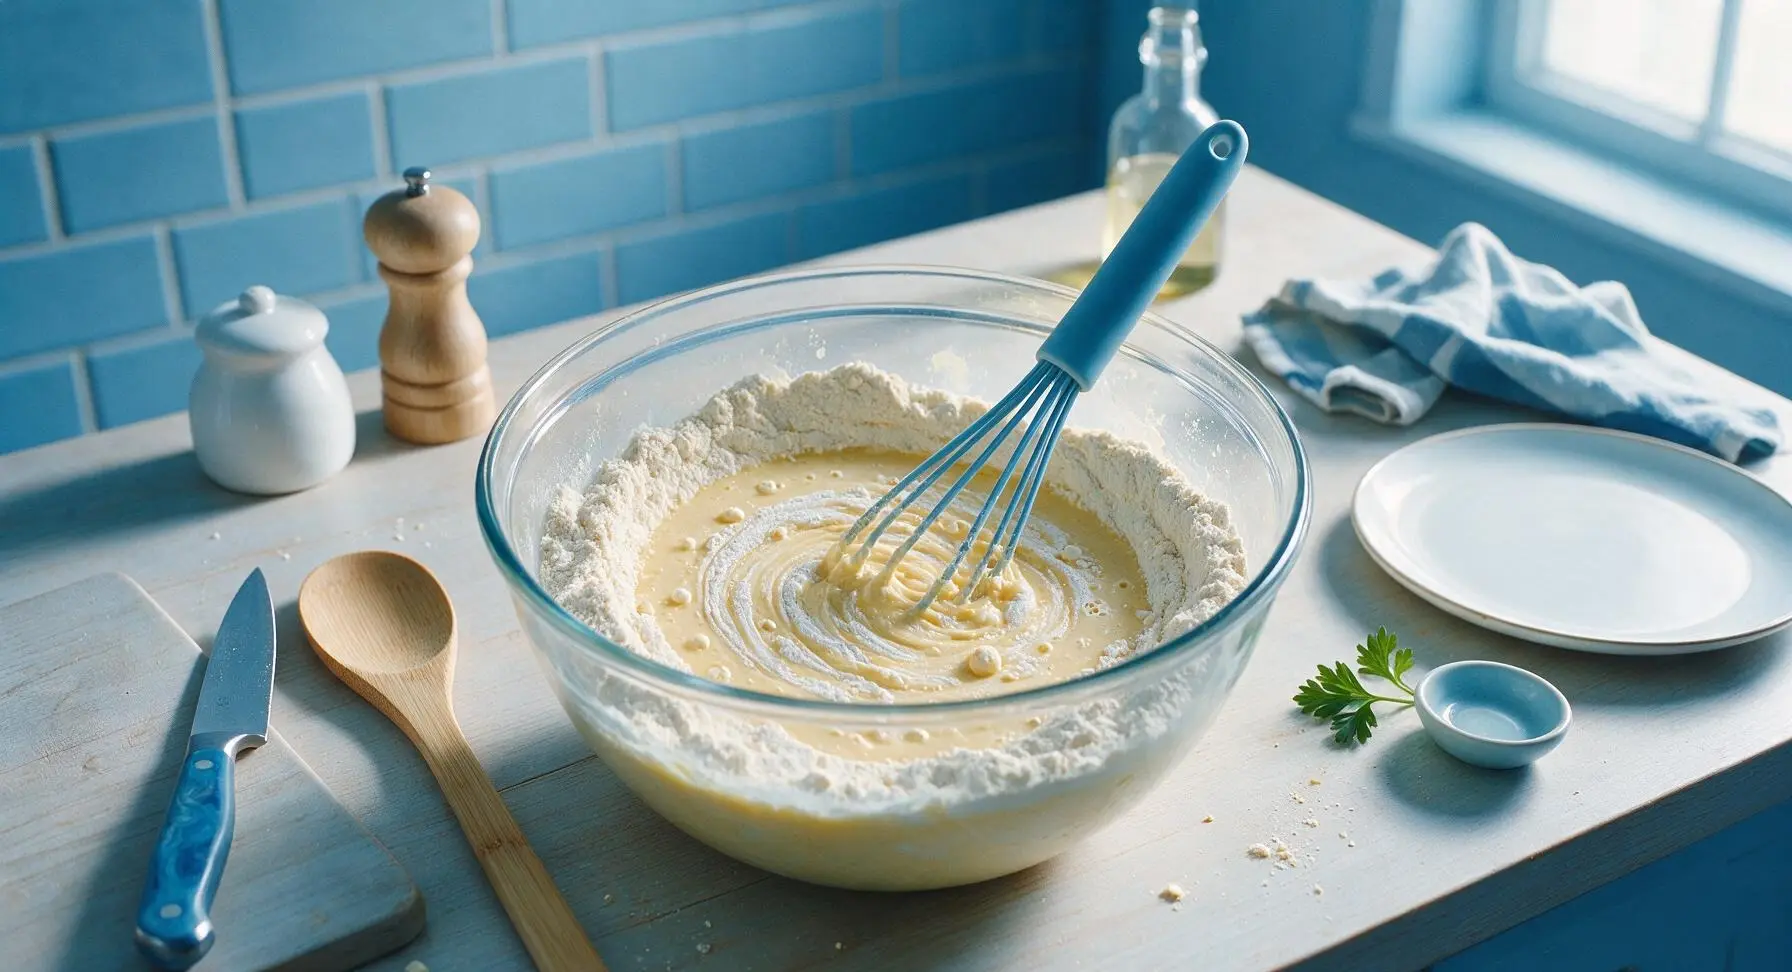
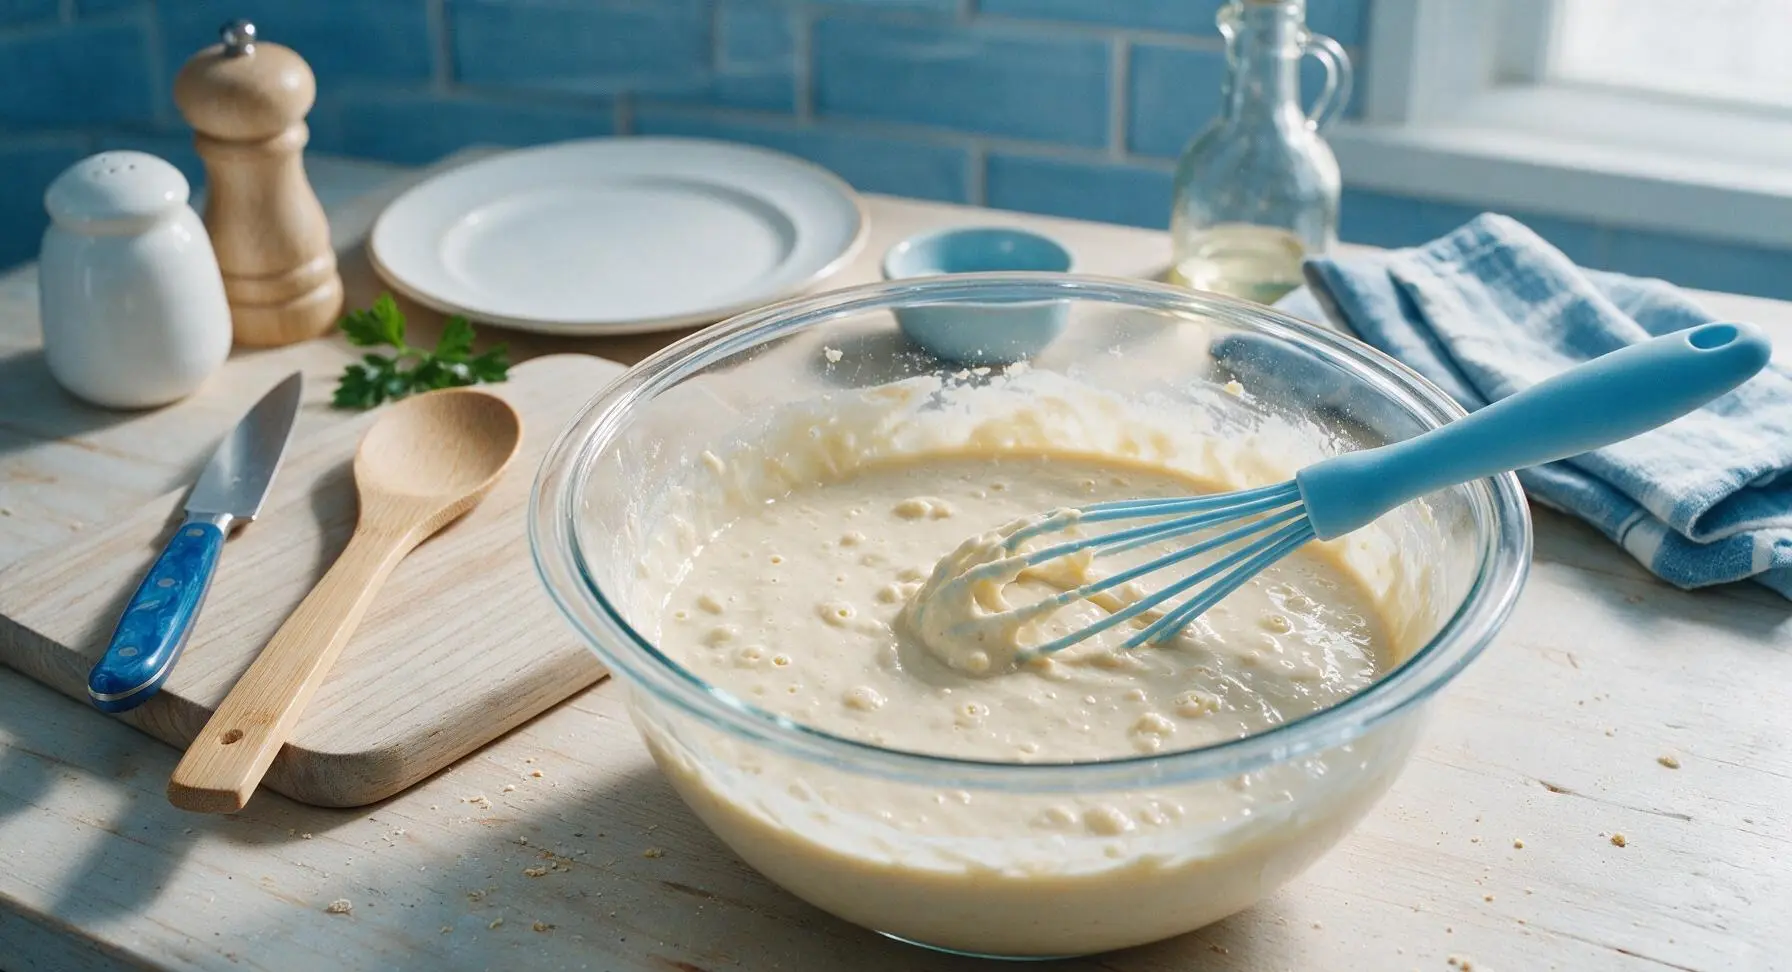
Step 4
step4:Whisk Smooth Batter
Step 4
step4:Whisk Smooth Batter
5

Pour Batter Into Maker

Once the waffle maker’s ready indicator light turns off (signaling it has reached 375°F/190°C), hold the glass mixing bowl 5cm above the center of the lower waffle plate and pour all of the batter directly onto the center of the cooking surface. Do not spread the batter with a spatula; it will spread evenly across the plate as the lid closes. Close the lid gently without pressing down hard, as firm pressure will squeeze batter out the edges and create a thin, dense waffle instead of a fluffy center.
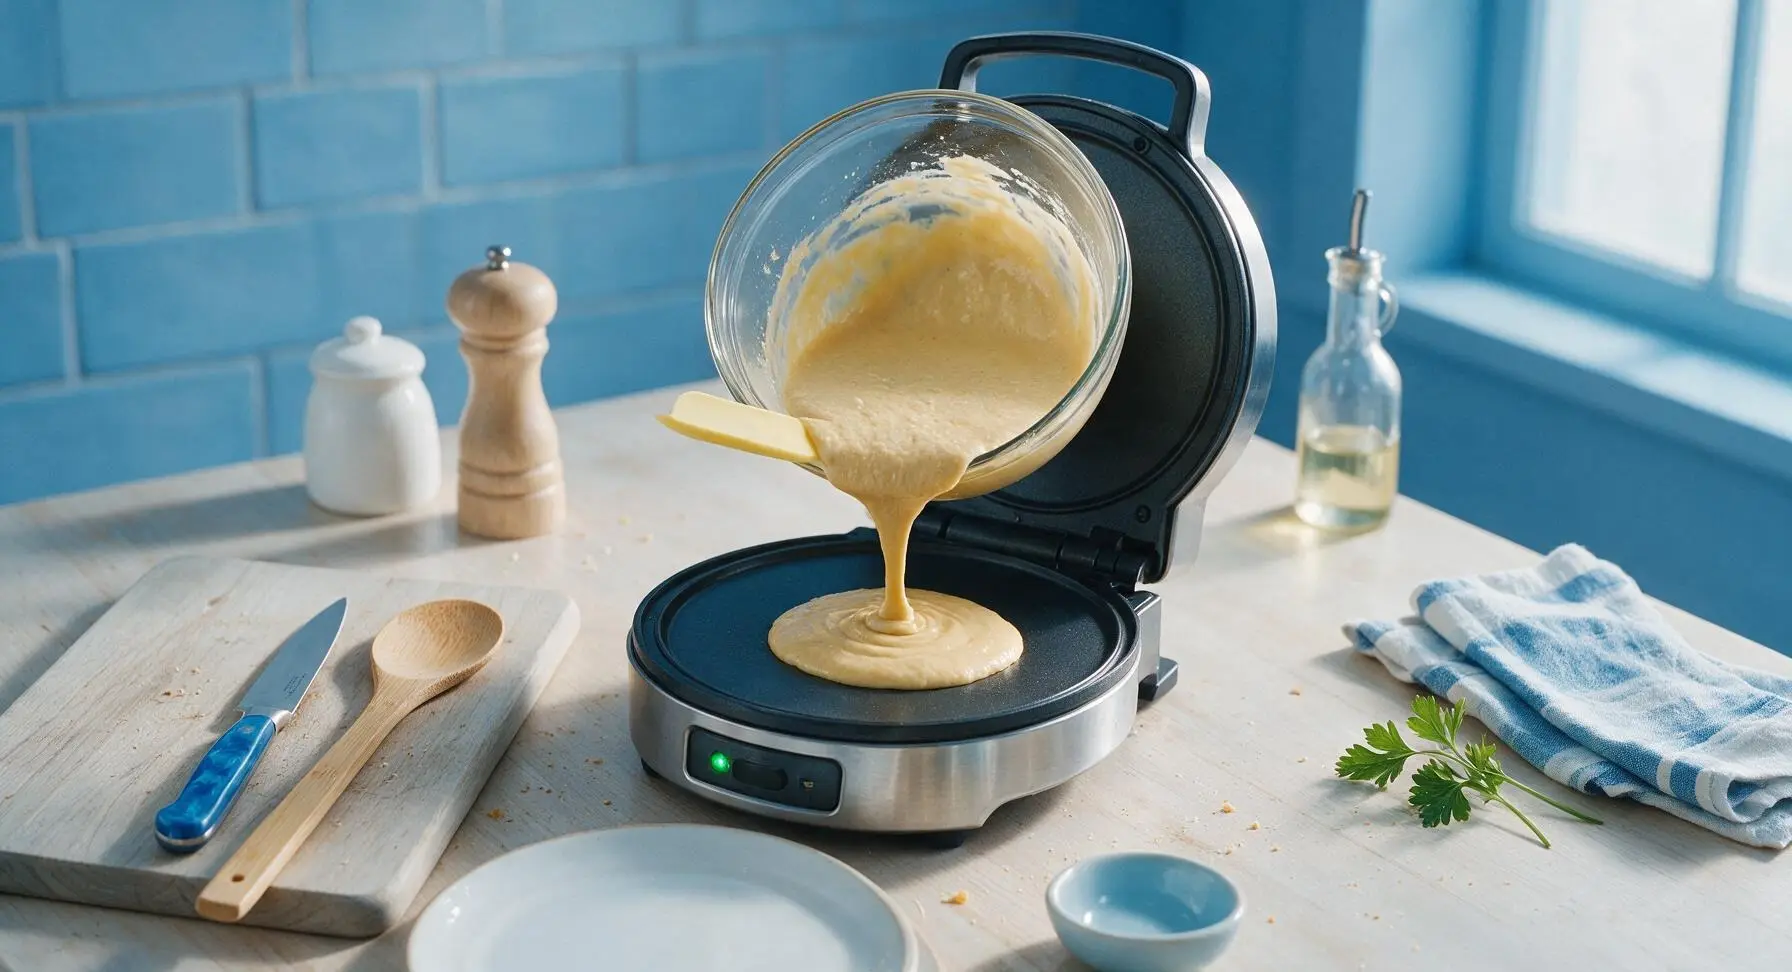
Step 5
step5:Pour Batter Into Maker
6

Cook Until Crisp

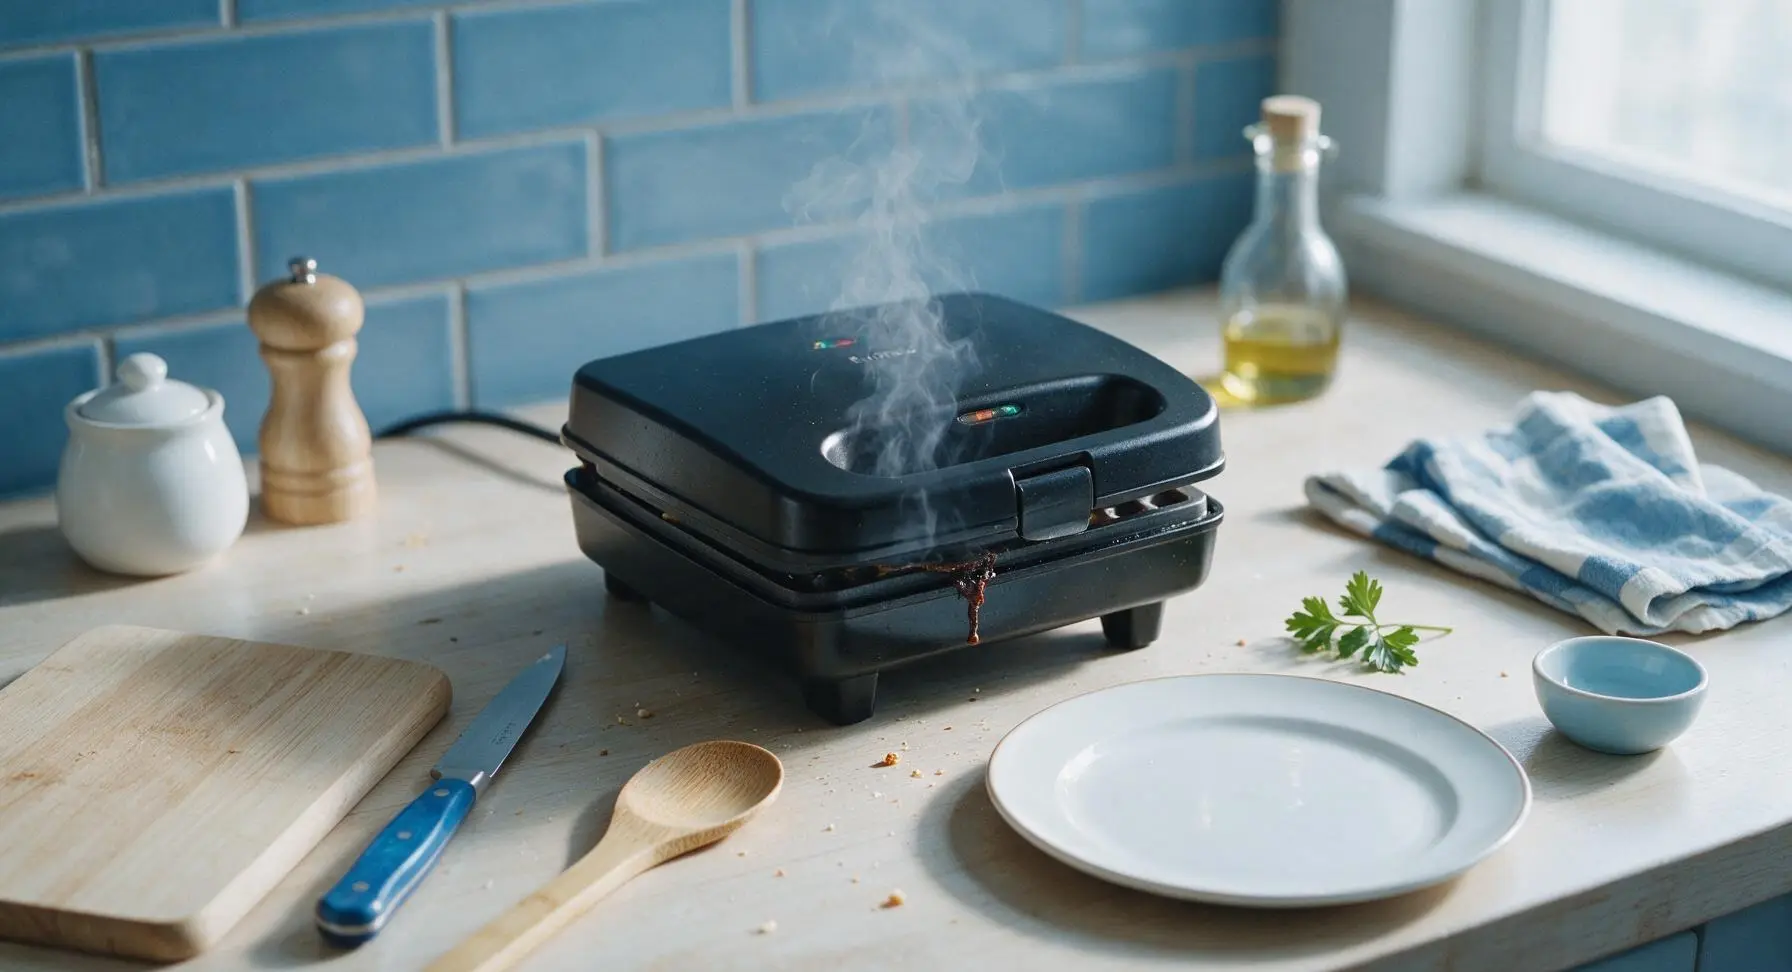
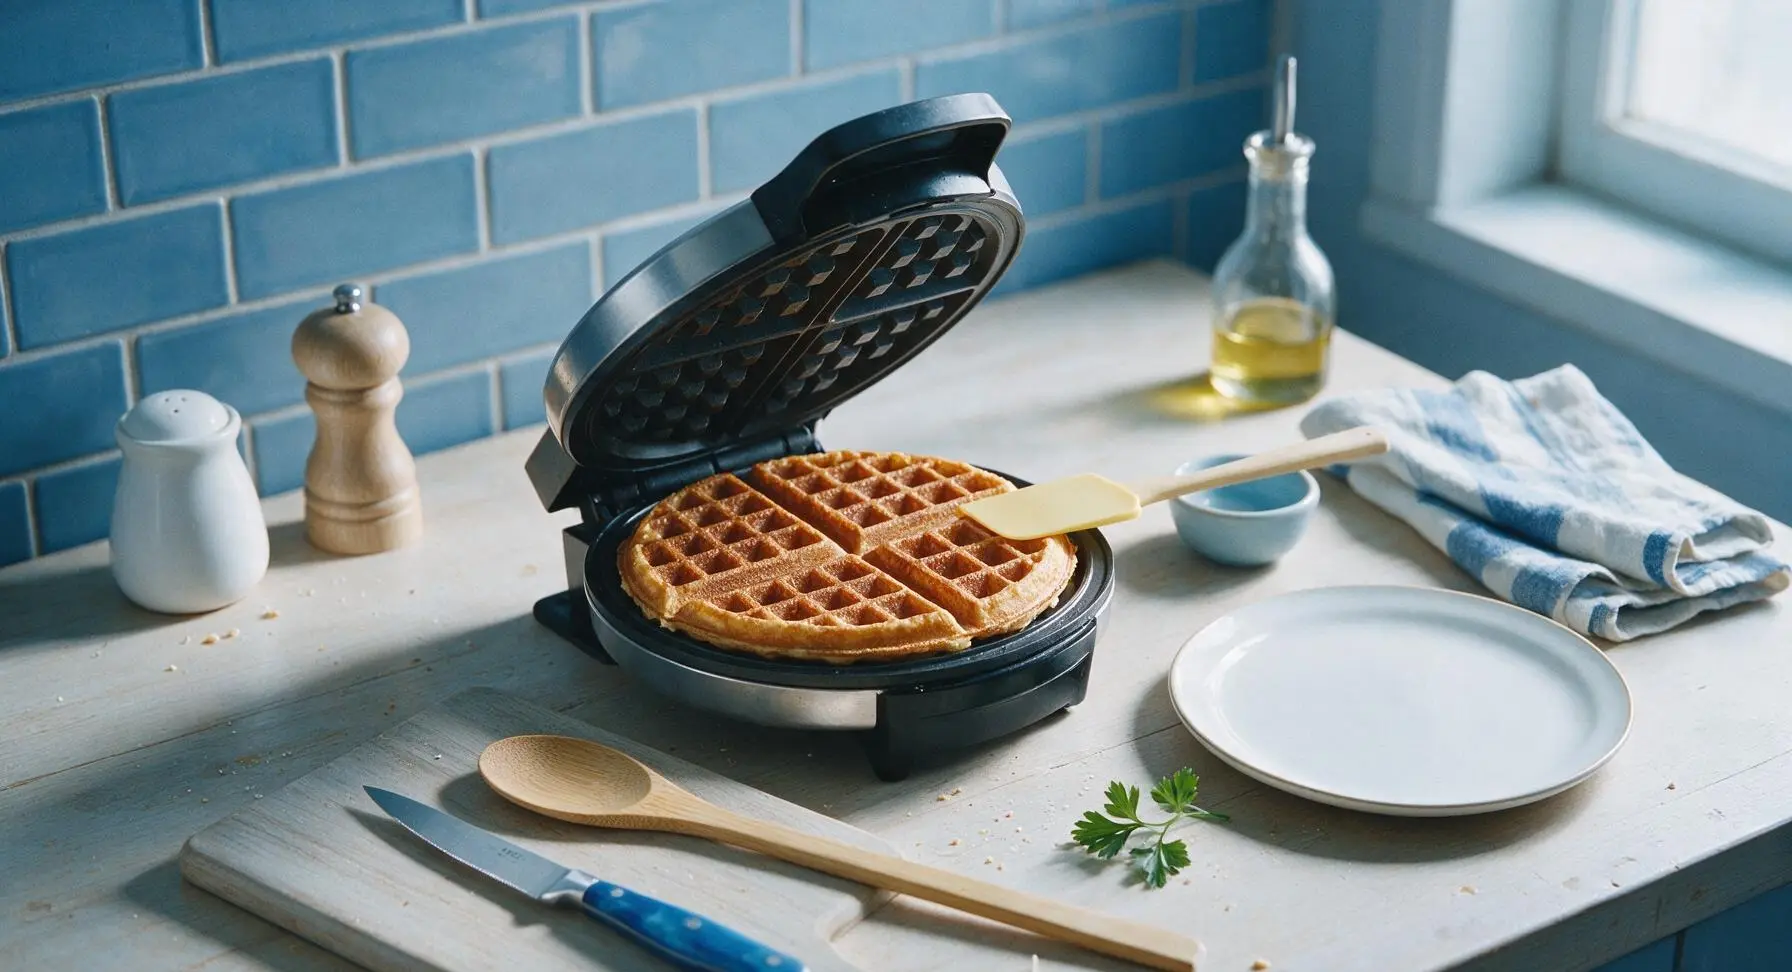
Keep the waffle maker lid closed and cook for 3 to 4 minutes, until thin wispy steam stops escaping from the edges of the appliance. Do not open the lid before the 3-minute mark, as this will tear the uncooked waffle and cause it to stick. The waffle is fully cooked when it is deep golden brown across its entire surface and lifts easily from the nonstick plates with no resistance.
Step 6
step6:Cook Until Crisp
Step 6
step6:Cook Until Crisp
7

Plate and Garnish

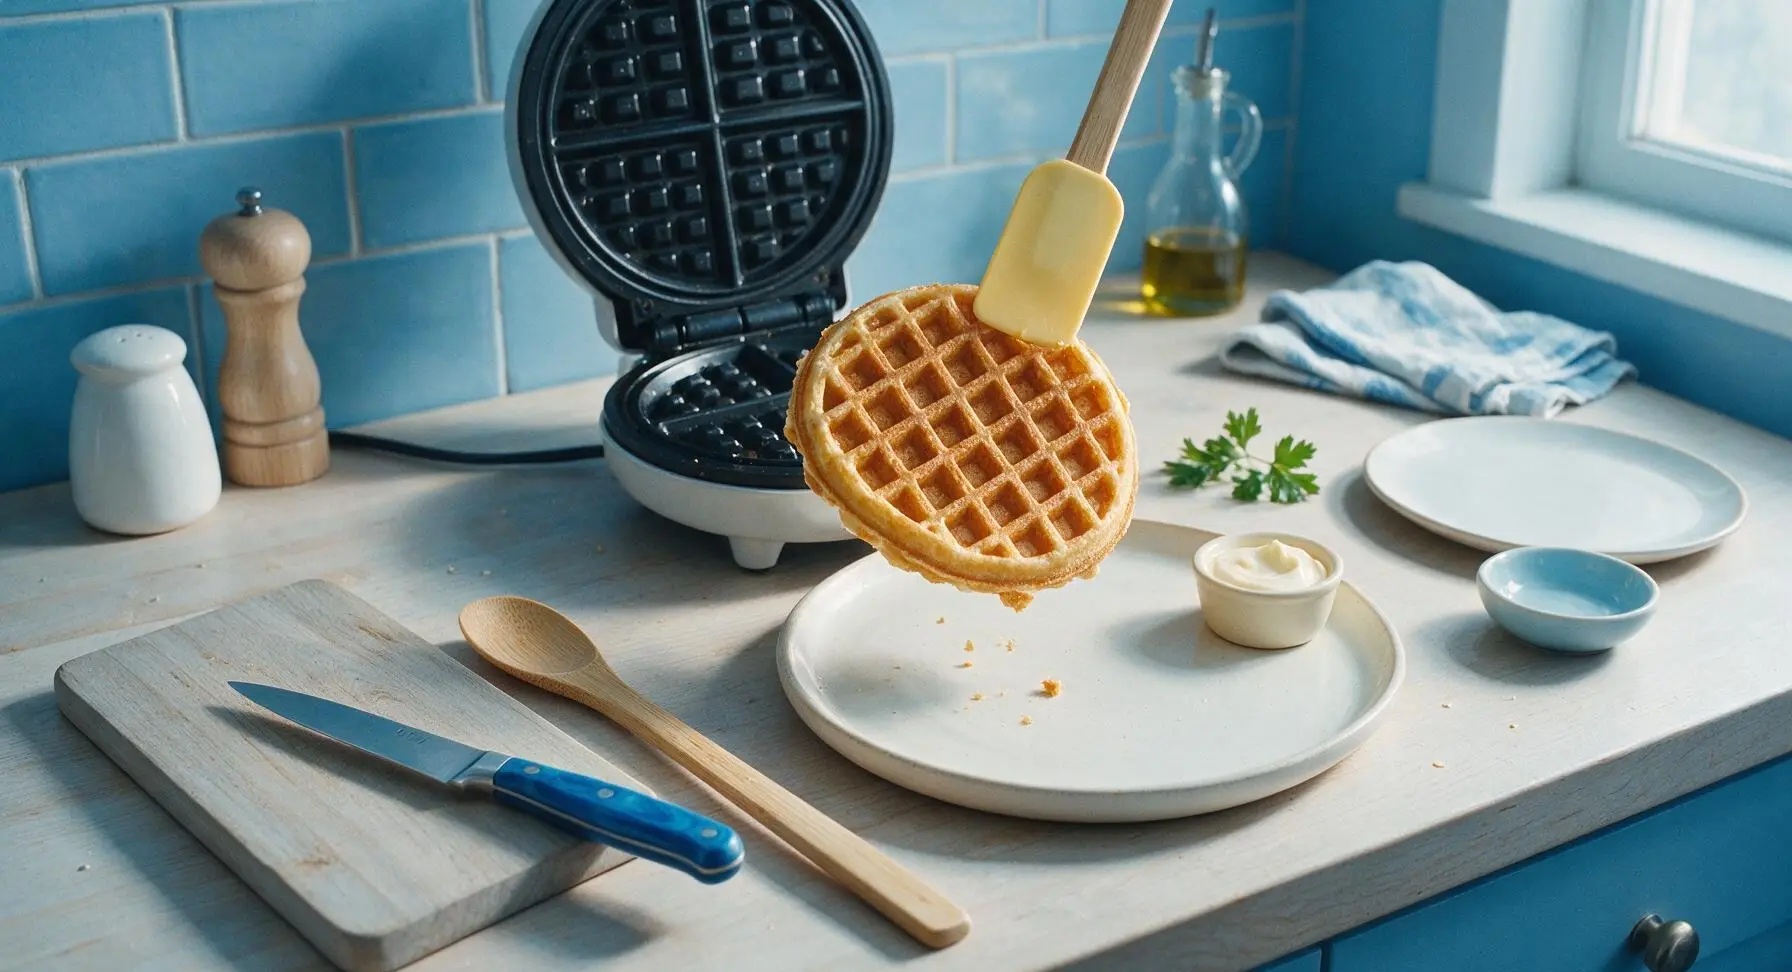
Slide the silicone spatula under the cooked waffle to lift it gently out of the maker, and transfer it directly to the center of the creamy white stoneware plate. Top with a tiny pat of butter, a light drizzle of maple syrup, and optional garnishes like fresh fruit, a dusting of cinnamon, or a dollop of Greek yogurt. Serve immediately while the waffle is hot and crisp, as it will soften quickly as it cools.
Step 7
step7:Plate and Garnish

Tips

1.Avoid overmixing the batter at all costs: Overstirring develops gluten in the all-purpose flour, which results in a tough, chewy waffle instead of a light, tender crumb. Small lumps are not a flaw—they will disappear as the waffle cooks, and help keep the texture soft.
2.Wait until steam stops escaping from the waffle maker edges before opening the lid: Peeking earlier than 3 minutes will tear the uncooked waffle, cause it to stick to the plates, and prevent a crisp outer crust from forming. The end of steam release is a foolproof visual cue that the batter has fully set.
3.Let melted butter cool for 60 seconds before adding it to the batter: Hot melted butter will partially cook the raw egg when it makes contact, creating tiny streaks of scrambled egg in your finished waffle instead of a smooth, even crumb.


✨ You May Also Like

Breakfast
🍜 United States

Crisp-edged, fluffy lard griddle cakes are a nostalgic homestyle staple, with rich savoriness from rendered lard, perfect topped with maple syrup or savory gravy.

⏱️ 25 minuteBreakfast ★ 4.8
Breakfast
🍜 United States

Flaky, buttery homemade buttermilk biscuits smothered in creamy, peppery pork sausage gravy: a beloved, hearty Southern American comfort food classic.

⏱️ 35 minuteBreakfast ★ 4.8
Breakfast
🍜 United States

Golden, custardy brioche stuffed with sweet cream cheese and fresh berries, pan-fried to crisp perfection. An indulgent, cozy breakfast perfect for slow weekend mornings.

⏱️ 30 minuteBreakfast ★ 4.7
Breakfast
🍜 United States

Flaky, buttery Southern-style biscuits stuffed with savory salty country ham, a portable, satisfying classic perfect for casual on-the-go meals.

⏱️ 25 minuteBreakfast ★ 4.8
Breakfast
🍜 United States

Iconic puffy baked pancake popularized in Seattle, with crisp golden edges and soft custardy center, served warm with classic sweet toppings.

⏱️ 35 minuteBreakfast ★ 4.6
Breakfast
🍜 United States

Fluffy, golden pancakes studded with juicy peak-summer mixed berries, drizzled with maple syrup for a bright, comforting, crowd-pleasing family breakfast.

⏱️ 25 minuteBreakfast ★ 4.7

waffle for one:Frequently Asked Questions

1.Why did my waffle turn out soggy instead of crispy when I followed the recipe? ▾
Two common missteps cause soggy waffles here. First, don’t overmix the batter—small lumps are totally fine, as overmixing develops gluten that leads to chewy, dense results. Second, make sure your waffle iron is fully preheated before pouring batter in, and don’t lift the lid early; wait until steam stops escaping, about 3–4 minutes, for shatteringly crisp edges.
2.Can I swap the whole milk for a dairy-free alternative if I don’t have any on hand? ▾
Absolutely! Unsweetened plain oat milk works best for a near-identical texture and neutral flavor, since it has a similar fat content to whole milk. Skip thin, watery options like unfortified almond milk if you can; if that’s all you have, stir in a teaspoon of melted vegan butter to add richness so your waffle doesn’t turn out dry.
3.I don’t own a waffle iron—can I make this recipe in a regular stovetop pan? ▾
You won’t get that classic waffle grid texture, but you can make a fantastic crispy, fluffy pancake-style version! Heat a well-buttered cast iron or nonstick skillet over medium heat, pour in the batter, and cook 2–3 minutes per side until golden. For extra crisp, press the top gently with a spatula as it cooks to mimic a waffle iron’s even pressure.
4.How do I scale this recipe if I want to make waffles for two or three people instead of one? ▾
This recipe scales seamlessly! Just multiply every ingredient by the exact number of servings you need, no fancy ratio tweaks required. Stick to the light mixing rule, though: don’t stir the scaled batter until smooth, leave those small lumps intact, and let it rest 2 minutes before cooking to let the baking powder activate for fluffy centers.
5.Can I mix this batter ahead of time to make my morning breakfast even faster? ▾
You can pre-mix the dry ingredients (flour, baking powder, sugar, salt) in a small sealed jar and store it in your pantry for up to a month for zero-prep mornings. I don’t recommend mixing in the milk ahead, though—baking powder loses its leavening power overnight, leaving you with a flat, dense waffle instead of a light, fluffy one.
6.What quick, no-fuss toppings pair best with this crispy homestyle waffle? ▾
The classic combo of a melted pat of salted butter and drizzle of pure maple syrup never misses, but you’ve got tons of fast, tasty options. Try a dollop of Greek yogurt and fresh berries, a sprinkle of cinnamon sugar, a spoonful of peanut butter and sliced banana, or a quick drizzle of hot honey for a fun sweet-savory kick.
7.This is a single-serve recipe—does it make a filling full-sized waffle, or just a tiny snack portion? ▾
It makes one full, standard 7-inch round waffle, the size most countertop home waffle irons produce per batch, that’s plenty filling for a solo breakfast or quick brinner. The crisp edges and fluffy, substantial center hold up well to toppings, and you can pair it with eggs or fruit if you want an extra hearty meal.

Comments (3)

2 hours ago

OMG this waffle recipe is an absolute game changer! I live alone and have been wasting so much batter on giant waffle batches that go stale before I can finish them, and this comes out perfectly crispy in literally 5 minutes? No soggy center, just that perfect buttery crunch I crave on lazy weekend mornings. I topped mine with a drizzle of real maple syrup and fresh sliced strawberries and it tasted exactly like the homestyle diner waffles I grew up eating. 10/10 will be making this every Saturday from now on, no more sad frozen waffles for me!

1 hour ago

So glad you loved it, Mia! That fresh strawberry and maple topping combo sounds absolutely dreamy. Quick pro tip: if you want an extra shatteringly crisp crust, try adding a tiny pinch of cornstarch to the dry mix next time you make it!

yesterday

Wait this is literally perfect for my tiny countertop dorm waffle maker! I was worried single-serve recipes would come out rubbery or bland but this was SO good. I didn’t have regular whole milk so I used oat milk and threw in a handful of semi-sweet chocolate chips, ate it while cramming for my stats midterm this morning and it made my whole chaotic day feel a little better. Only tiny mishap: my first one stuck a little because I totally forgot to spray the iron before pouring, oops.

12 hours ago

Oh I had the exact same sticking issue my first go-round! I found if I let the iron preheat a full extra minute before pouring the batter in, it slides right out no problem even with minimal spray. The chocolate chip add-in sounds chef’s kiss, I’m definitely trying that for my breakfast tomorrow!

8 hours ago

Love the oat milk and chocolate chip swap, Jake! So glad the recipe worked out even with your compact dorm setup. Liz is totally right about the preheat trick — a fully heated waffle iron is the biggest secret to zero sticking and that perfect crispy exterior, even without extra cooking spray sometimes!

3 days ago

I almost never make fancy little breakfasts just for myself because I’m always rushing to get my three kids packed, fed, and out the door for school on time, but I threw this together this morning right after the school bus pulled away and wow, why did I wait so long to try it? It was so fast to mix up, crispy on the outside, soft and fluffy inside, no random fancy ingredients I don’t already keep in my pantry. I even ate it standing up over the kitchen counter and it still felt like such a nice little mid-week treat. Already saved this to my quick breakfast recipe folder for busy weekdays!



