
Waffle House-Style Waffles

title 1
Waffle House-Style Waffles
⏱️ cook time 15 minutes
🍽️ servings 4
⚡ Difficulty easy

intro

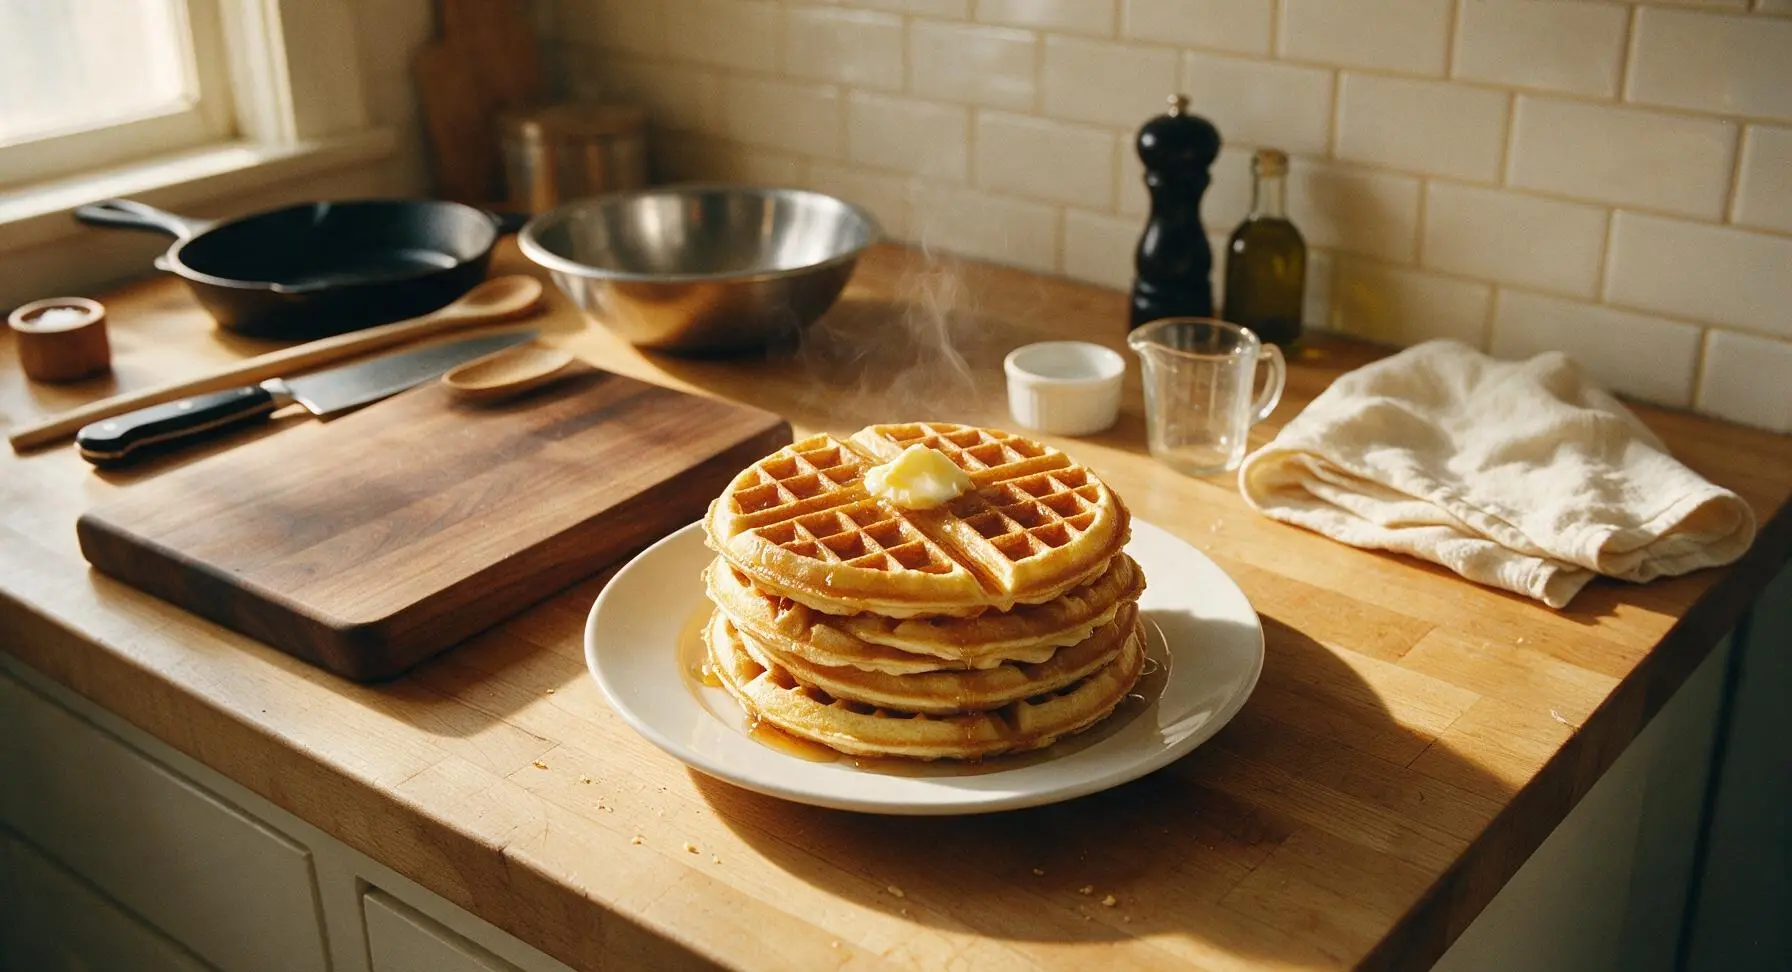
Crisp golden-edged, fluffy-centered American diner waffles with that signature sweet, buttery Waffle House flavor, perfect for stacking with syrup and butter.

Ingredients
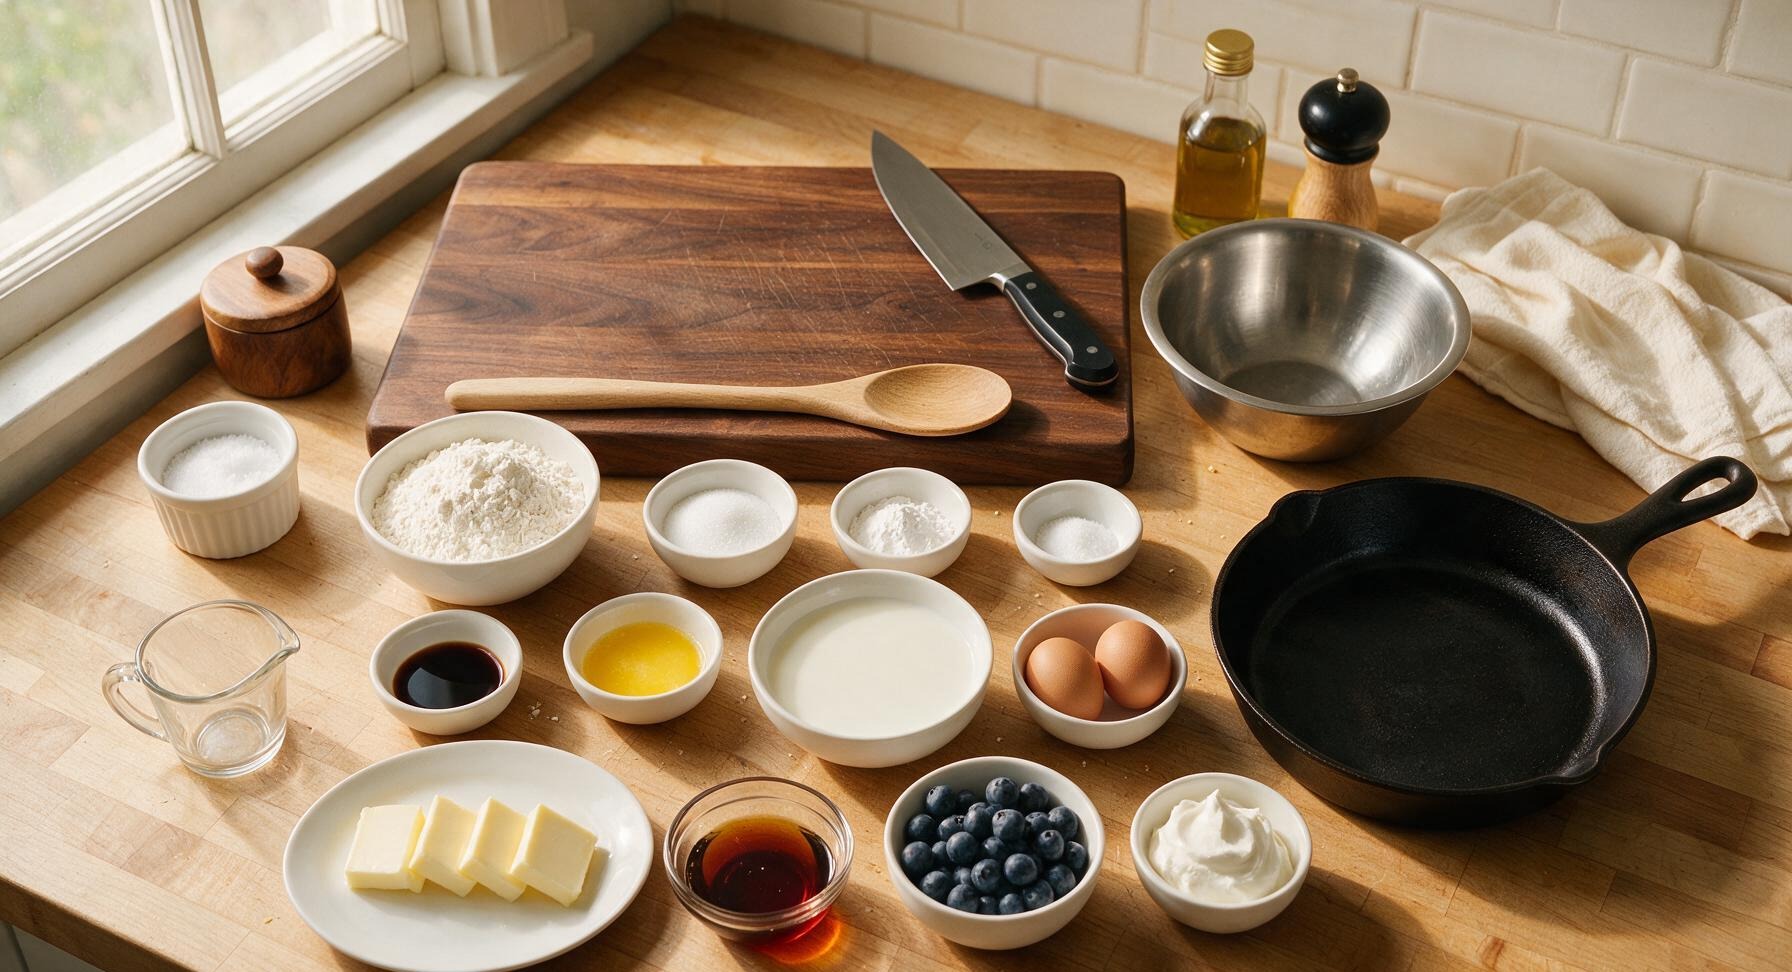
All-purpose flour 240g (2 cups)
Granulated sugar 25g (2 tbsp)
Baking powder 14g (1 tbsp)
Fine table salt 3g (1/2 tsp)
Whole milk, room temperature 360ml (1.5 cups)
Large eggs, room temperature 2 each
Unsalted butter, melted and cooled 57g (1/4 cup)
Pure vanilla extract 5ml (1 tsp)
Nonstick cooking spray as needed
Salted butter, for topping 28g (2 tbsp, sliced into pats)
Pure maple syrup, for serving 120ml (1/2 cup)
Fresh blueberries, for garnish 50g (1/3 cup)
Whipped cream, optional for serving 60ml (1/4 cup)

Steps

1

Whisk Dry Ingredients

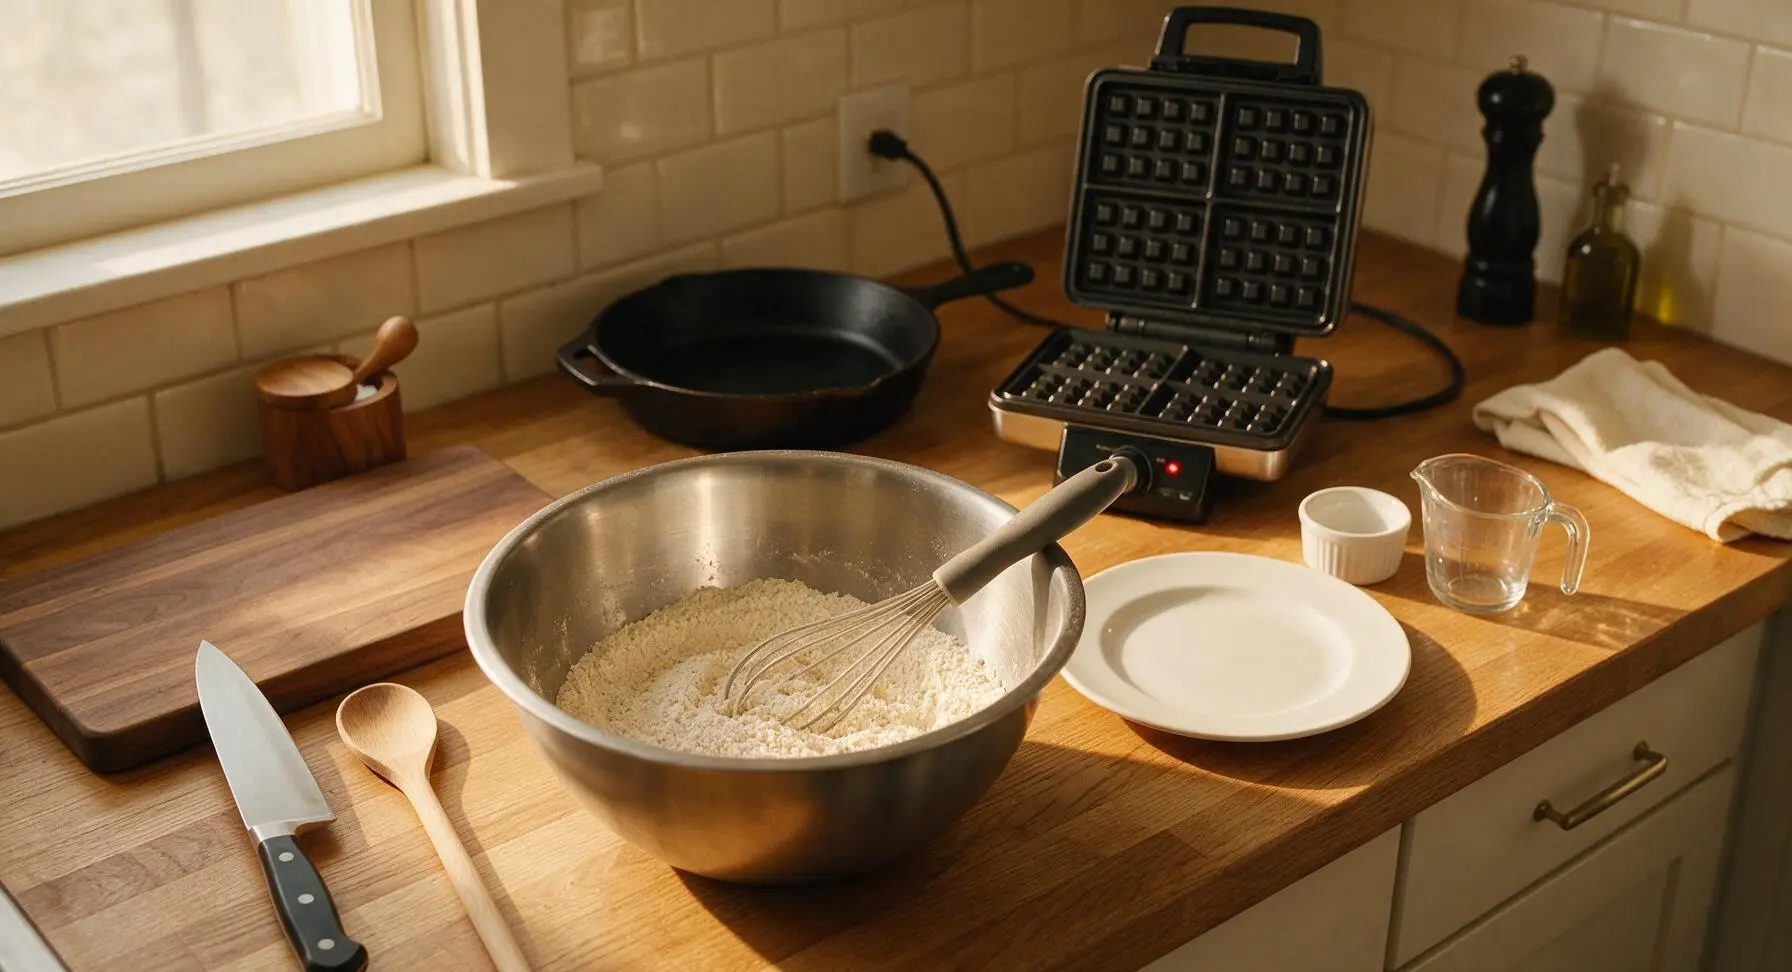
Preheat the square rotary waffle maker to 375°F (190°C, medium-high setting) while you prepare the batter. In the large brushed stainless steel mixing bowl, combine 240g (2 cups) all-purpose flour, 25g (2 tbsp) granulated sugar, 14g (1 tbsp) baking powder, and 3g (1/2 tsp) fine table salt. Use the silicone whisk to stir the dry mixture for 30 seconds, until all ingredients are evenly blended with no visible clumps of baking powder or concentrated salt pockets.
Step 1
step1:Whisk Dry Ingredients
2

Blend Wet Ingredients

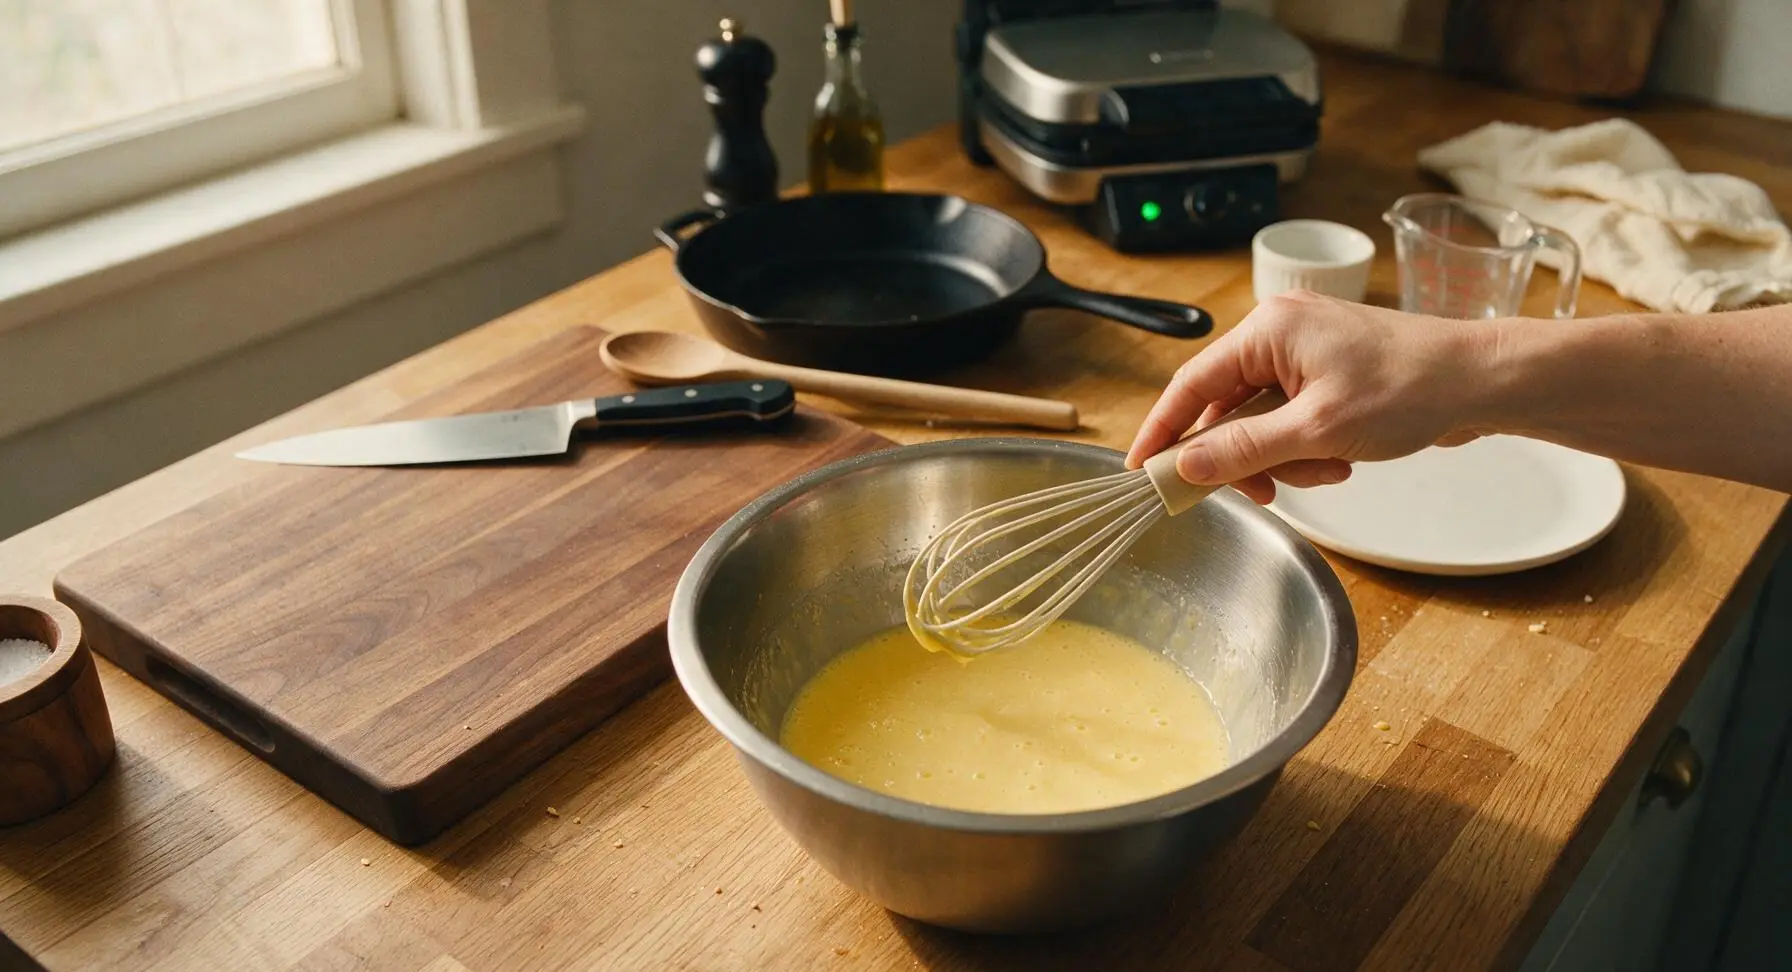
In the medium brushed stainless steel mixing bowl, crack the 2 room-temperature large eggs, whisking lightly until yolks and whites are fully combined with no visible clear streaks of egg white. Add 360ml (1.5 cups) room-temperature whole milk, 57g (1/4 cup) cooled melted unsalted butter, and 5ml (1 tsp) pure vanilla extract. Whisk for 20 seconds until the wet mixture is smooth, pale yellow, with tiny air bubbles across the surface.
Step 2
step2:Blend Wet Ingredients
3

Fold Batter Gently

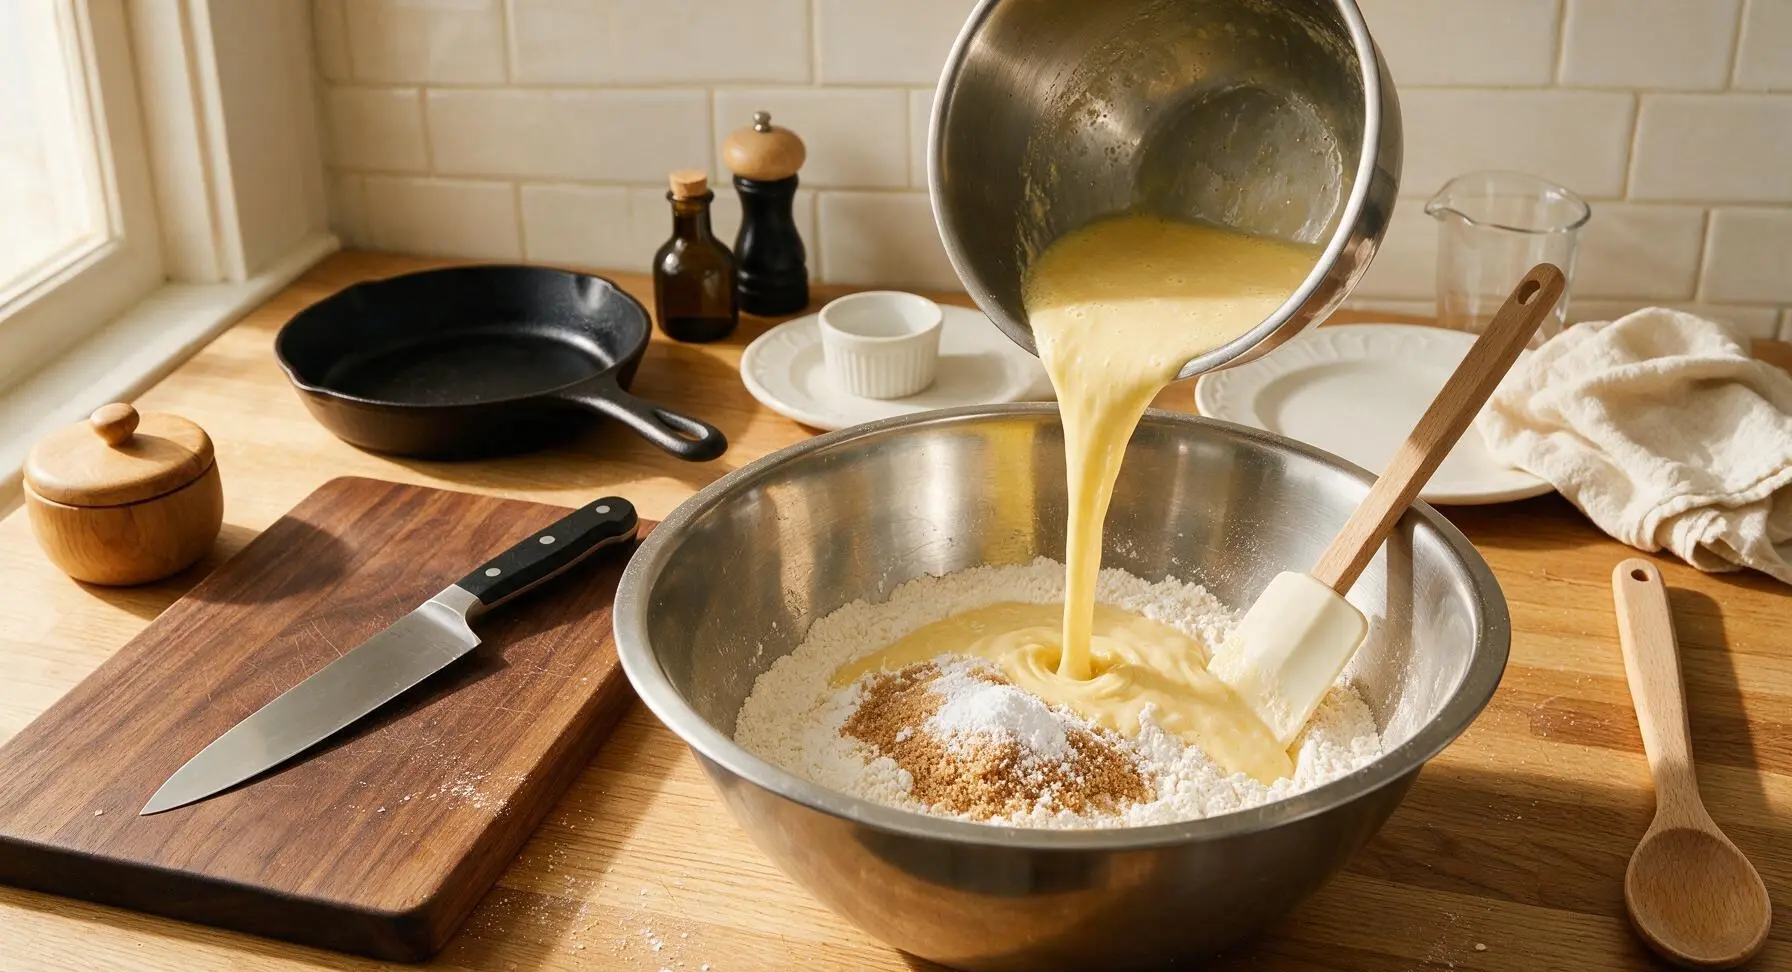
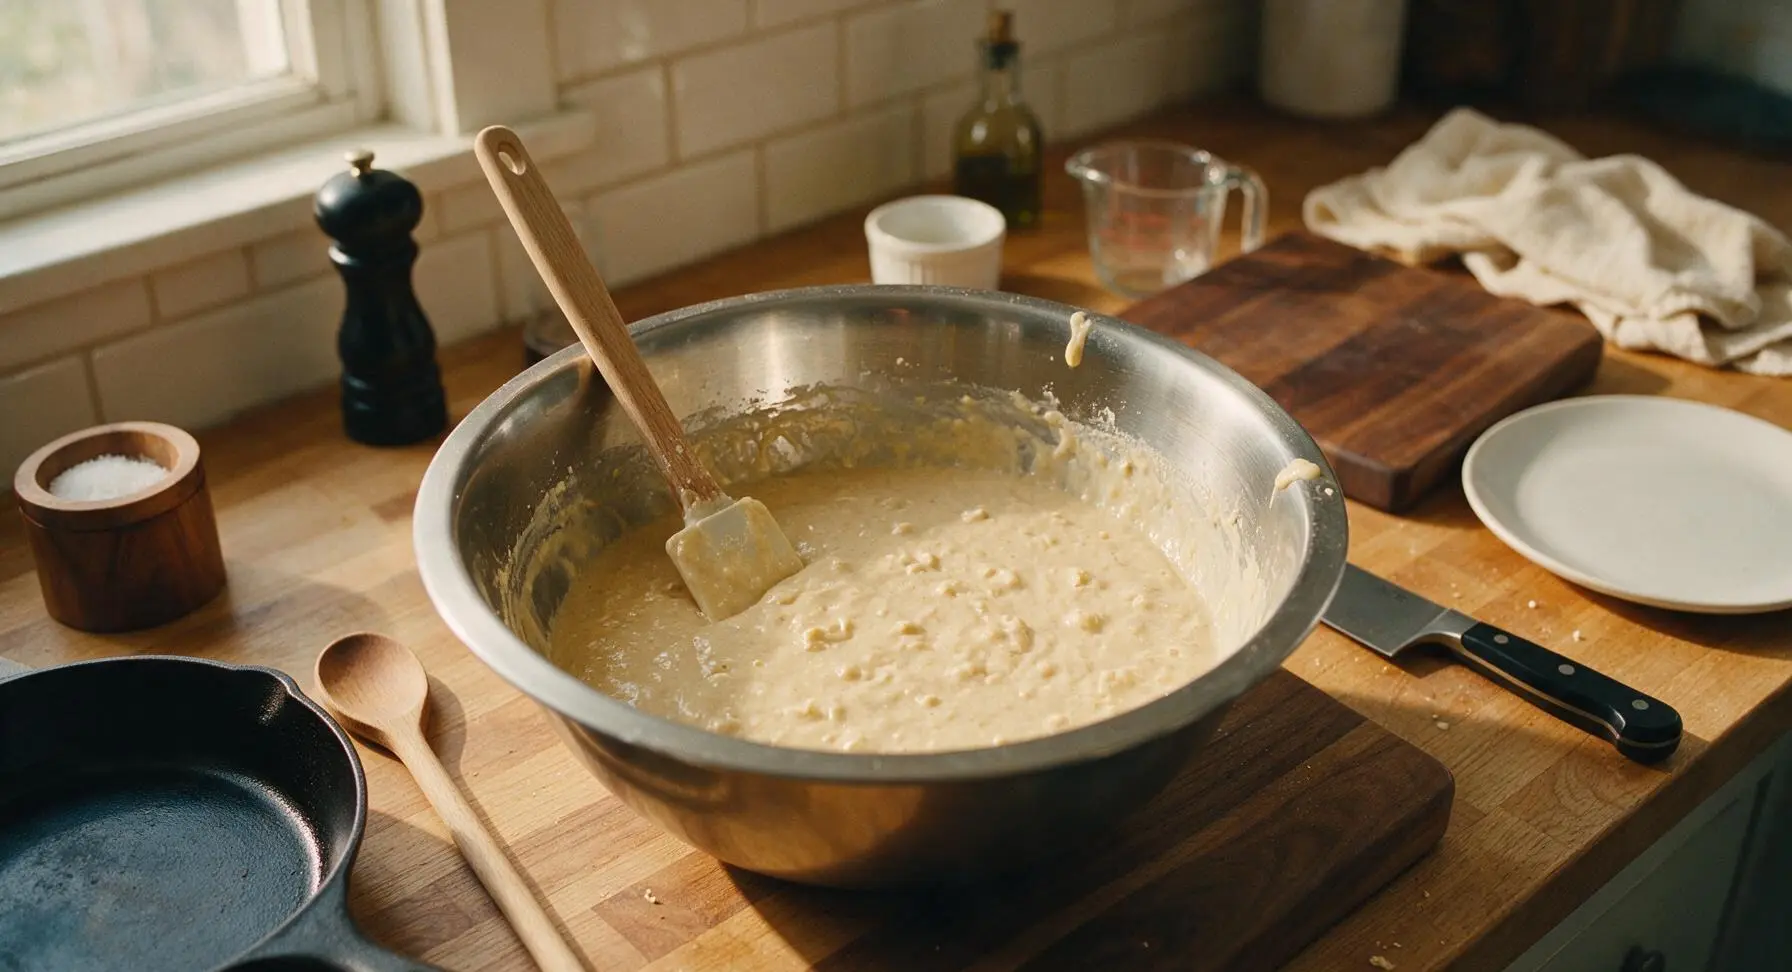
Pour the entire wet ingredient mixture into the large bowl of dry ingredients. Use the long-handled silicone spatula to gently fold the batter together, stirring only just until no large dry flour streaks remain. Stop mixing as soon as the batter comes together, even if small lumps are visible—overmixing develops gluten and will result in tough, dense waffles instead of light, fluffy ones. The finished batter will be thick but easily pourable.
Step 3
step3:Fold Batter Gently
Step 3
step3:Fold Batter Gently
4

Grease Waffle Plates

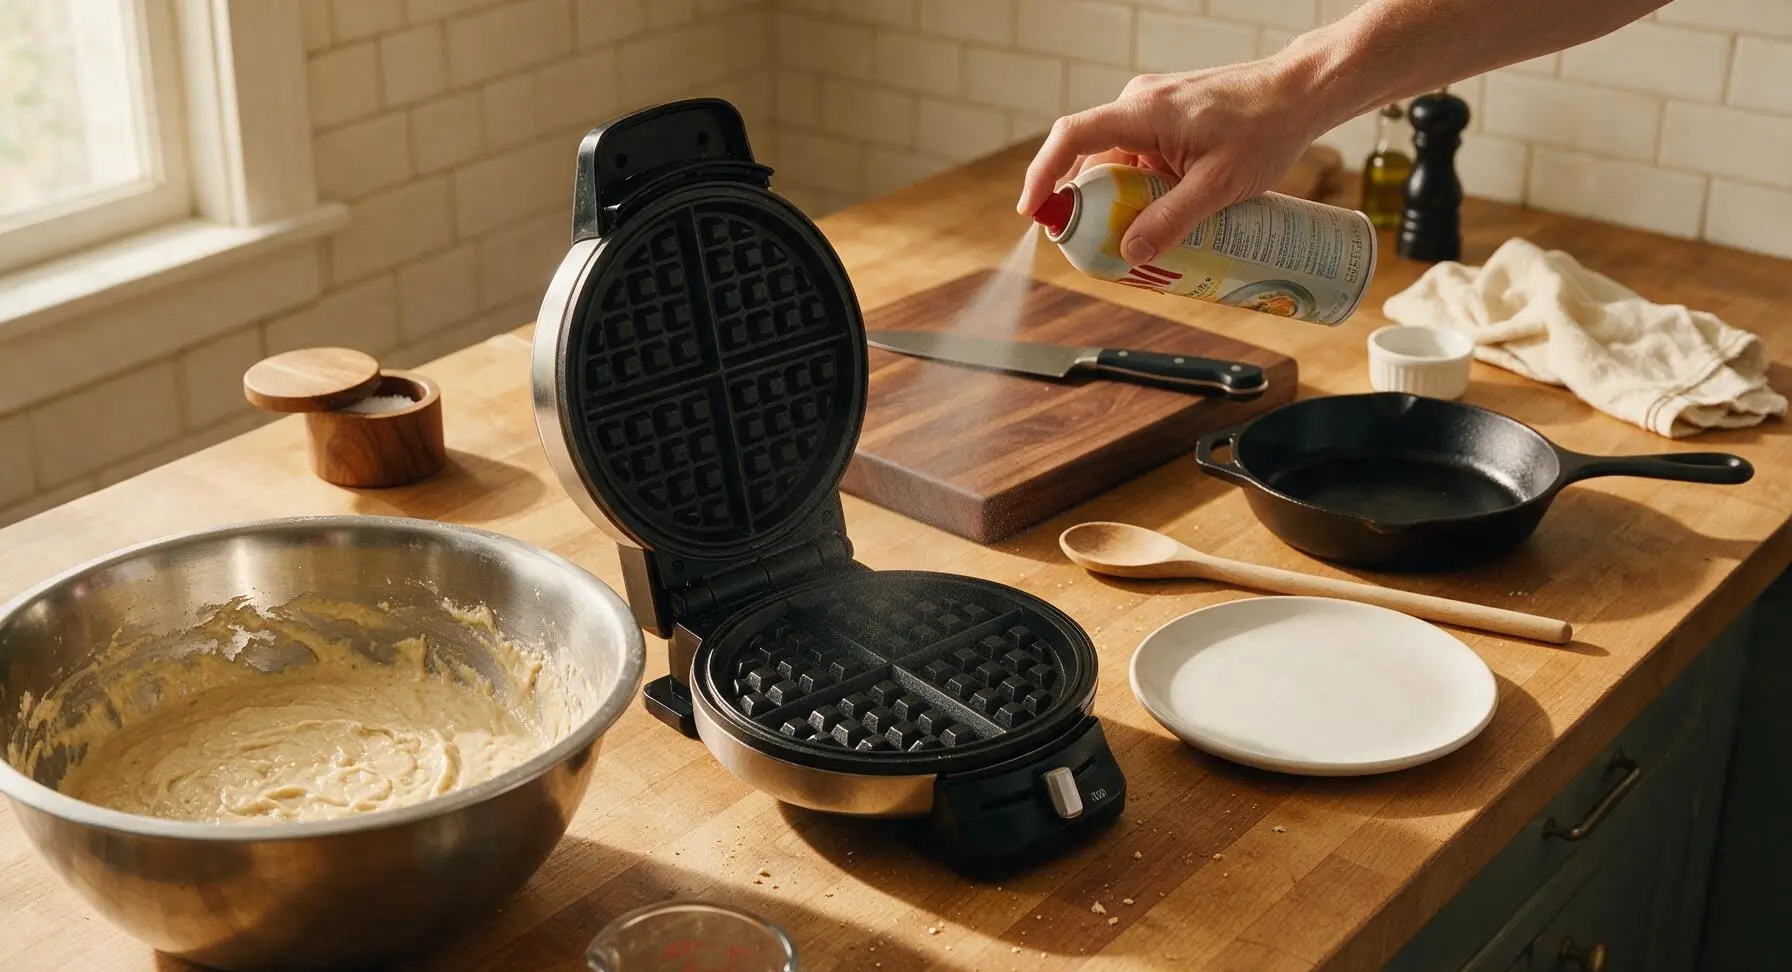
Once the waffle maker is fully preheated, open the lid and spray the top and bottom matte black nonstick plates lightly with nonstick cooking spray, holding the can 15cm (6 inches) away from the plates to avoid over-spraying. Excess spray will burn and create sticky residue on the iron, so only a light, even coating is needed.
Step 4
step4:Grease Waffle Plates
5

Cook Waffles Until Golden

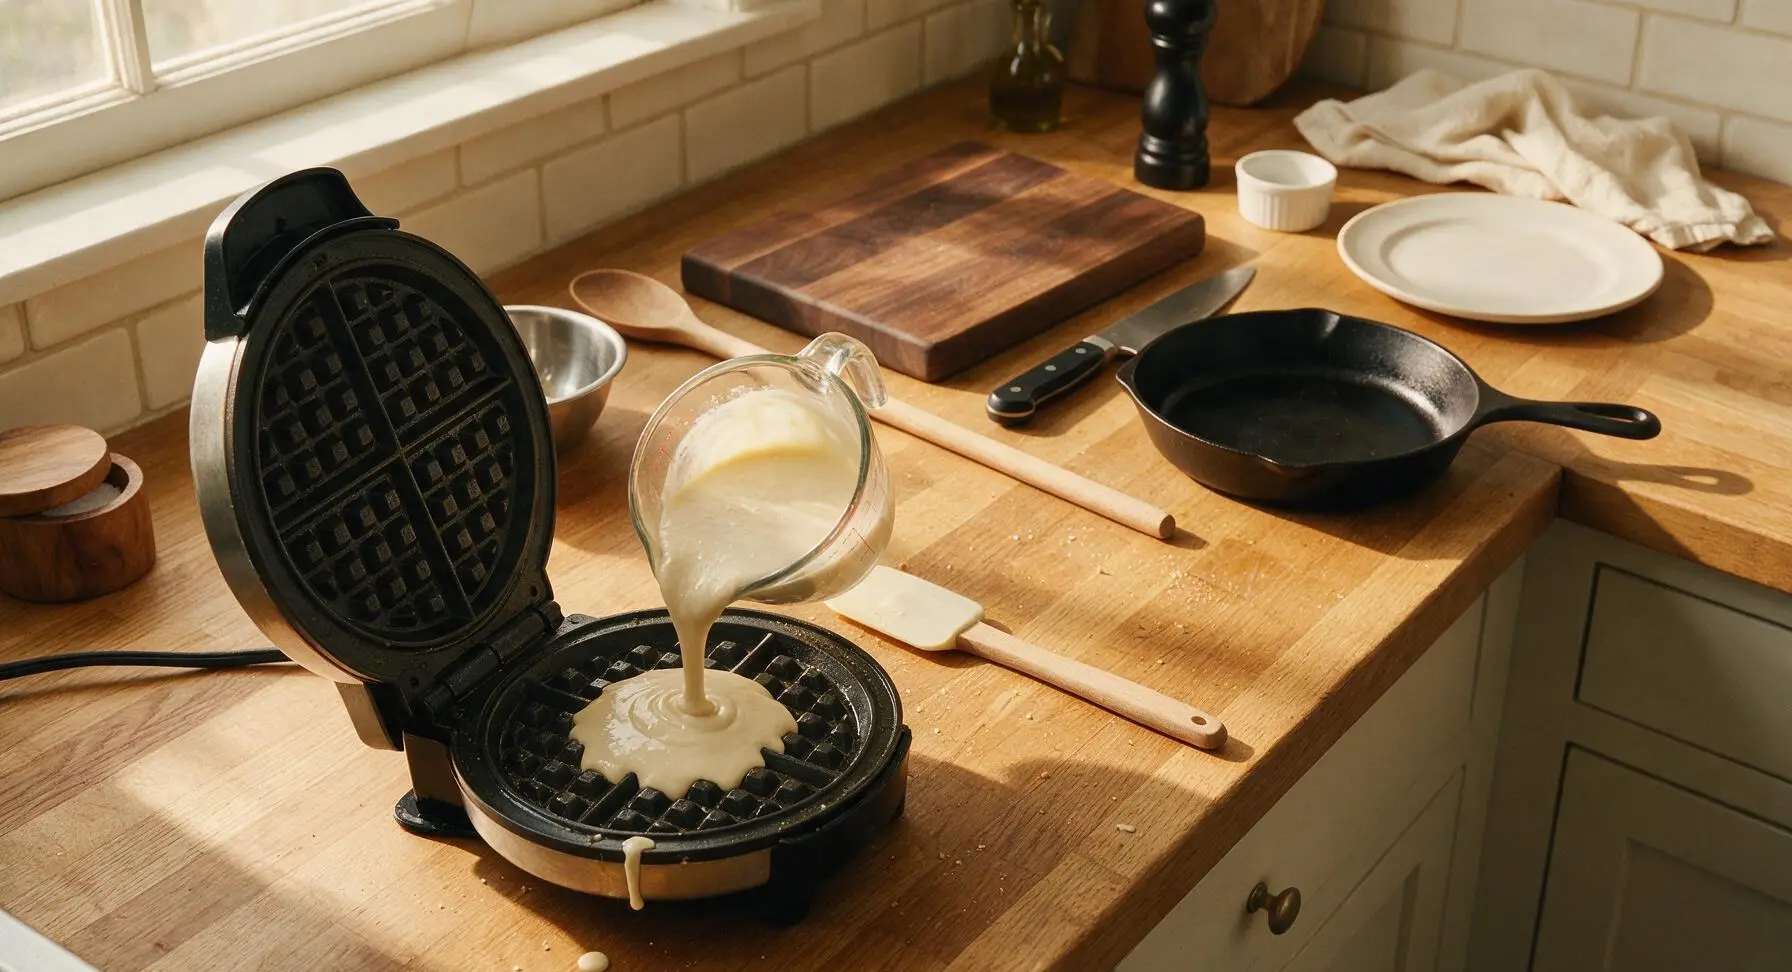
Use the clear glass measuring cup to pour 180ml (3/4 cup) of batter directly into the center of the lower waffle plate, spreading it very gently with the silicone spatula if needed to cover 80% of the plate surface (the batter will spread outward as it cooks). Close the waffle iron lid and cook for 3.5 to 4 minutes, until the waffle is deep golden brown, crisp at the edges, and no visible steam escapes from the sides of the iron.
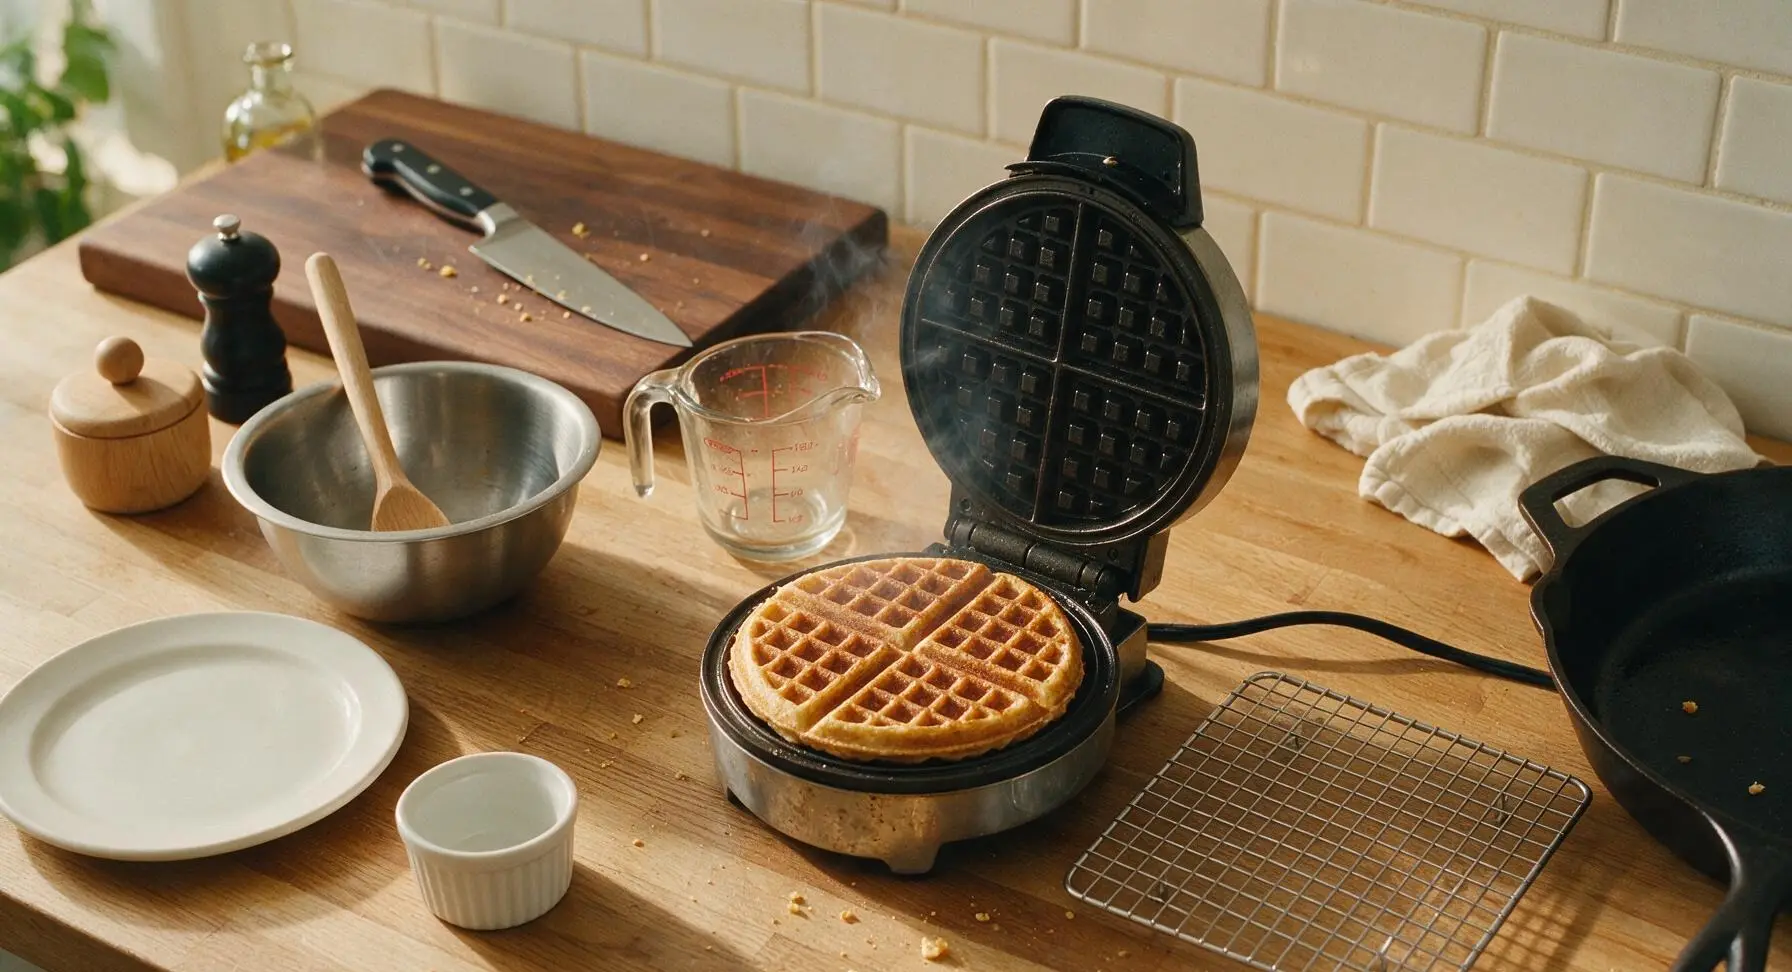
Step 5
step5:Cook Waffles Until Golden
Step 5
step5:Cook Waffles Until Golden
6

Rest Waffles on Rack

Use the silicone spatula to carefully lift the cooked waffle from the iron, transferring it directly to the chrome wire cooling rack set over the aluminum baking sheet. Let the waffle rest for 1 minute before serving—this allows trapped steam to escape, keeping the exterior crisp instead of turning soggy if plated immediately. Repeat the greasing, pouring, cooking, and resting process with the remaining batter to make 4 total waffles.
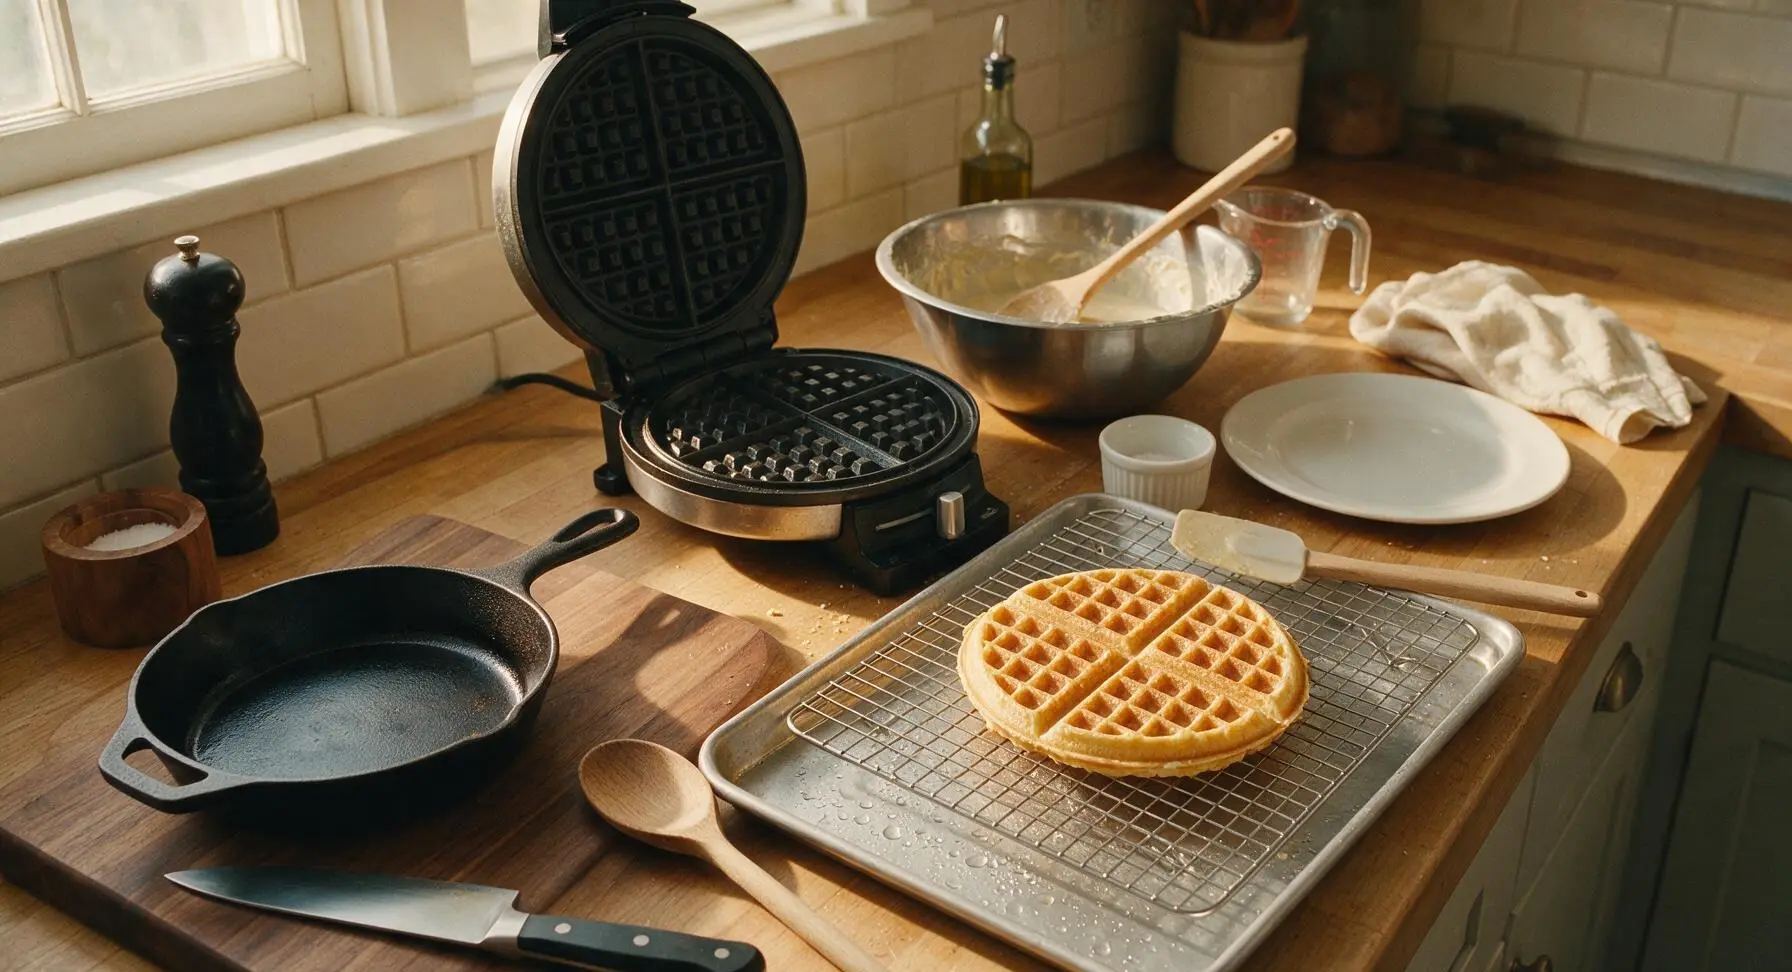
Step 6
step6:Rest Waffles on Rack
7

Plate and Add Toppings

Transfer one rested waffle to a matte cream ceramic dinner plate. Top with a 1-tablespoon pat of salted butter, a light 30ml (2 tbsp) drizzle of maple syrup, a small dollop of whipped cream if using, and a few fresh blueberries for garnish. Serve immediately while the waffle is hot and crisp.
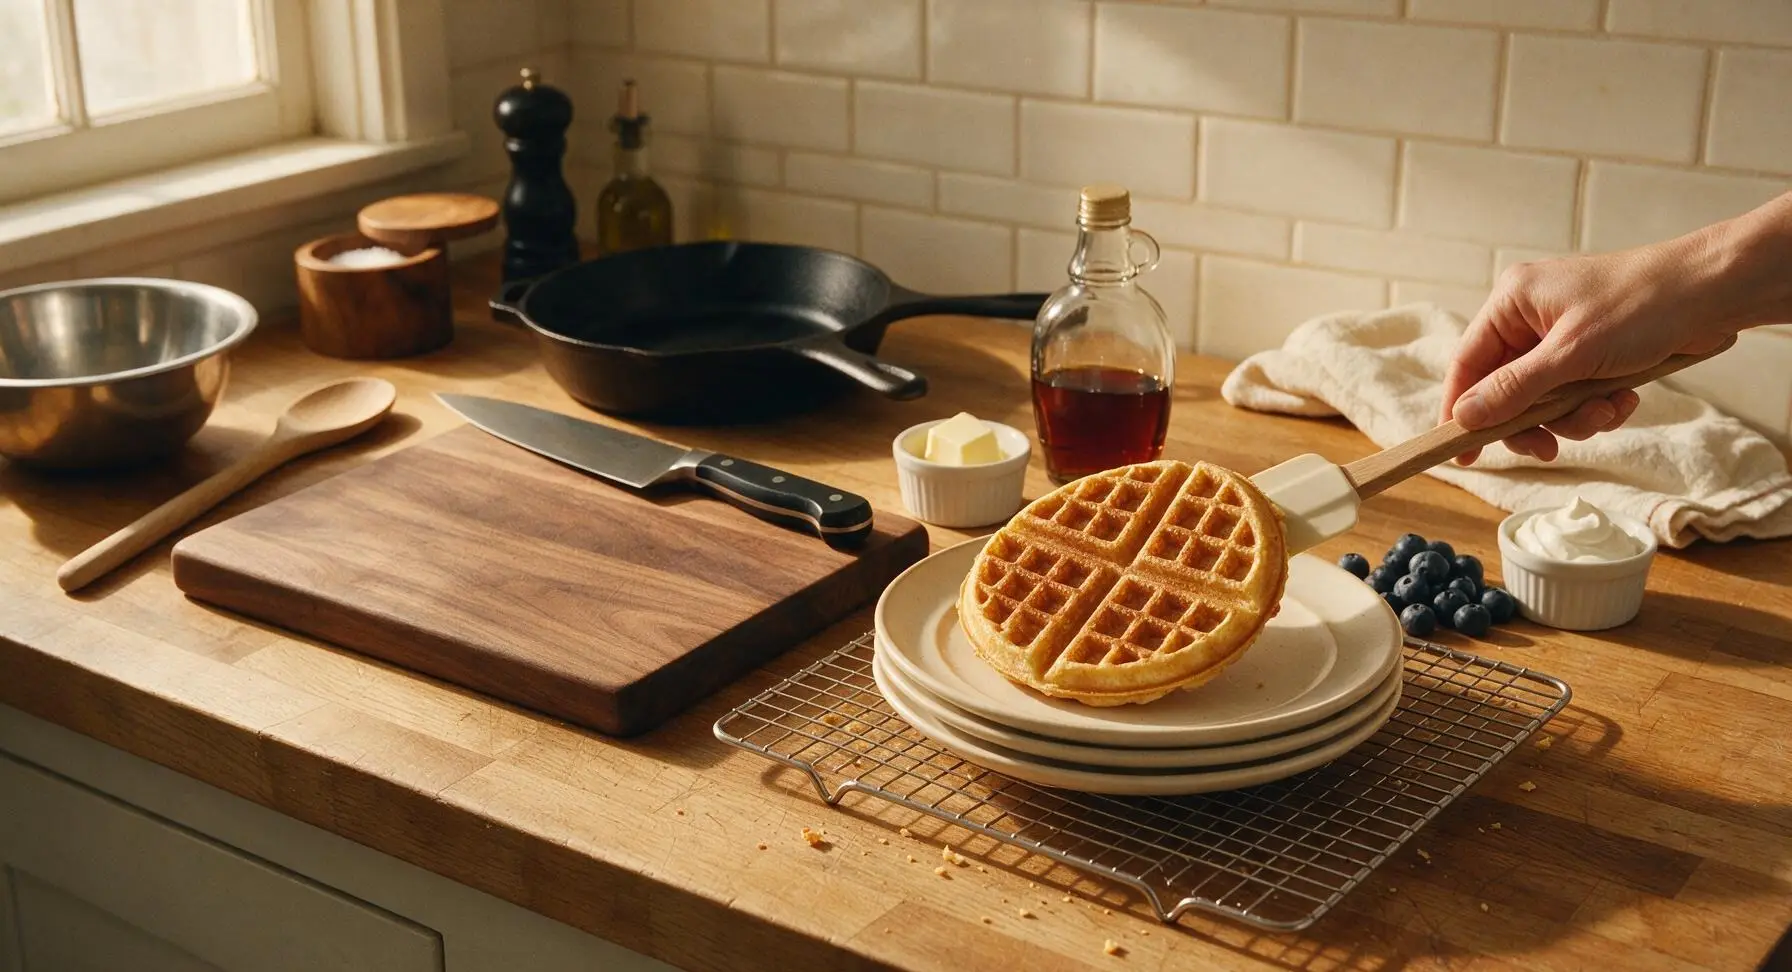
Step 7
step7:Plate and Add Toppings

Tips

1.Use room temperature eggs and milk: Cold ingredients cause melted butter to solidify into small clumps in the batter, leading to unevenly textured waffles instead of a smooth, consistent tender crumb.
2.Don’t skip the 1-minute rest on the wire rack: Plating waffles directly from the iron traps steam between the waffle and plate, turning the crisp exterior soft and soggy in under a minute.
3.Resist the urge to peek at the waffle before 3 minutes of cooking: Opening the lid too early can tear the half-cooked waffle and release built-up heat, leading to undercooked, pale, limp waffles instead of crisp golden ones.


✨ You May Also Like

Breakfast
🍜 United States

Crisp-edged, fluffy lard griddle cakes are a nostalgic homestyle staple, with rich savoriness from rendered lard, perfect topped with maple syrup or savory gravy.

⏱️ 25 minuteBreakfast ★ 4.8
Breakfast
🍜 United States

Flaky, buttery homemade buttermilk biscuits smothered in creamy, peppery pork sausage gravy: a beloved, hearty Southern American comfort food classic.

⏱️ 35 minuteBreakfast ★ 4.8
Breakfast
🍜 United States

Golden, custardy brioche stuffed with sweet cream cheese and fresh berries, pan-fried to crisp perfection. An indulgent, cozy breakfast perfect for slow weekend mornings.

⏱️ 30 minuteBreakfast ★ 4.7
Breakfast
🍜 United States

Flaky, buttery Southern-style biscuits stuffed with savory salty country ham, a portable, satisfying classic perfect for casual on-the-go meals.

⏱️ 25 minuteBreakfast ★ 4.8
Breakfast
🍜 United States

Iconic puffy baked pancake popularized in Seattle, with crisp golden edges and soft custardy center, served warm with classic sweet toppings.

⏱️ 35 minuteBreakfast ★ 4.6
Breakfast
🍜 United States

Fluffy, golden pancakes studded with juicy peak-summer mixed berries, drizzled with maple syrup for a bright, comforting, crowd-pleasing family breakfast.

⏱️ 25 minuteBreakfast ★ 4.7

Waffle House-Style Waffles:Frequently Asked Questions

1.What makes these waffles taste like actual Waffle House waffles instead of regular homemade waffles? ▾
It all comes down to the precise ratio of ingredients: the balanced amount of granulated sugar adds that signature subtle sweetness, the correct dose of baking powder creates a light, fluffy center, and whole milk delivers rich, buttery notes. Cooking on a fully preheated waffle iron locks in that classic crisp-golden edge, soft-center texture diner fans love, perfect for topping with butter and warm syrup.
2.Why do you specify room temperature whole milk instead of cold milk for the batter? ▾
Cold milk can cause uneven activation of the baking powder, leading to dense, flat waffles instead of light, fluffy ones. Room temperature whole milk mixes smoothly into the dry ingredients without creating tough gluten from over-stirring, and its full fat content builds that rich, tender crumb that matches the classic Waffle House texture.
3.How do I avoid soggy waffles and get that iconic crisp golden edge? ▾
First, fully preheat your waffle iron for 3 to 5 minutes until the ready indicator turns on, and don’t overfill the cooking grids. Resist opening the iron early to check on waffles, and set finished waffles on a wire rack for 1 minute instead of stacking them on a plate, which traps steam and turns crisp edges soggy.
4.Can I swap the whole milk for low-fat dairy or plant-based milk? ▾
You can in a pinch, but it will change the final flavor and texture. Whole milk’s fat content is key to that rich, buttery, tender crumb Waffle House waffles are known for. 2% milk will produce decent results, but skim milk or unsweetened plant milks will make drier, less flavorful waffles that don’t match the classic diner profile.
5.Why does the recipe call for fine table salt instead of kosher salt? ▾
Fine table salt dissolves completely and evenly in the thin waffle batter, delivering a subtle, balanced salty note that cuts through the sugar without any unwanted gritty texture. Larger-grained kosher salt doesn’t dissolve as reliably in quick-mixed batter, leading to random overly salty bites and inconsistent flavor across each waffle.
6.How lumpy should the waffle batter be, and what happens if I overmix it? ▾
Your batter should have small, visible lumps—stop stirring as soon as you no longer see dry streaks of flour. Overmixing develops gluten in the all-purpose flour, which turns otherwise light, fluffy waffles tough and chewy. Don’t stress about small lumps; they will cook out completely and won’t affect the final texture.
7.Can I mix the batter ahead of time for fast breakfasts on busy mornings? ▾
You can store tightly covered batter in the fridge for up to 12 hours, but the baking powder will lose some leavening power over time, leading to flatter, less fluffy waffles. For the best results, pre-mix and store the dry ingredients separately, then stir in the room temperature milk right before you’re ready to cook.
8.What’s the best way to reheat leftover waffles without making them rubbery or soggy? ▾
Skip the microwave, which turns waffles chewy and soggy by trapping steam. Instead, reheat leftovers directly on the rack of a 350°F oven for 5 to 7 minutes, or pop them back in a preheated waffle iron for 1 to 2 minutes, until they’re heated through and edges crisp back up to that fresh-made diner texture.

Comments (7)

2 weeks ago

Swapped the regular flour for a 1:1 gluten free baking mix and these still came out light and fluffy! I was worried the texture would be dense like most GF waffle recipes, but this was perfect. Dusted a little powdered sugar on top and ate them with crispy bacon, chef’s kiss.

1 week ago

Game changer for busy school mornings! I prepped the dry mix in mason jars on Sunday so all I have to do is add the wet ingredients and pour in the waffle maker. My kids devoured these, even asked for seconds before I finished making my own plate. SO good, better than the frozen waffles we used to buy.

5 days ago

Love the dry mix meal prep hack! That’s such a smart way to cut down on morning chaos - so happy your boys are fans!

5 days ago

Brought these to my neighborhood block party potluck last weekend and people were asking for the recipe before I even set the platter down! I served them with a little whipped cream and a bowl of fresh strawberries on the side, total hit. 10/10 will be making these again for our next family brunch.

3 days ago

How many waffles does one batch make? I’m hosting 12 people for Easter brunch and trying to figure out how much to double or triple the recipe!

2 days ago

One batch makes about 6 standard 7-inch waffles, so I’d recommend doubling the recipe for 12 guests to make sure everyone gets seconds! So stoked these were a potluck hit.

3 days ago

Pretty solid recipe, super easy even for someone who burns toast half the time. I added a handful of chocolate chips to half the batch for my girlfriend and she said it was better than our local diner’s waffles. Only note is my waffle maker runs hot so I had to knock 30 seconds off the cook time, but otherwise perfect.

2 days ago

OMG these taste EXACTLY like the Waffle House waffles I get on road trips! I was skeptical because so many copycat recipes miss that fluffy, slightly sweet texture, but this nailed it. Cook time was actually only 12 minutes for me too, super quick for a Saturday morning with my roommates.

yesterday

Wait did you use regular all-purpose flour or the cake flour some recipes swear by? I wanna make these for our tailgate next weekend!

2 hours ago

So glad you loved them! To answer the question too - regular all-purpose flour works perfectly here, no need for special cake flour to get that classic fluffy texture. Let me know how the tailgate batch turns out!

yesterday

Made these at 1am after getting home from a concert and they hit SO hard. I haven’t had Waffle House since I moved up north for work and this took me right back to late night post-game meals in college. No fancy ingredients needed, which is perfect because my pantry was basically bare.

30 minutes ago

Dude same! I’ve been craving Waffle House for months since there’s none within 45 minutes of my campus, can’t wait to try these in my tiny dorm waffle maker this weekend.

5 minutes ago

Just got my first waffle maker for my birthday and this was the first recipe I tested! It was so easy to follow, no complicated steps, and the waffles came out golden and crispy on the outside, soft on the inside just like the recipe said. I was convinced I’d mess it up somehow, lol.

just now

Happy birthday! So stoked your first waffle maker test was a success - nothing beats nailing a recipe on the first try, especially when you’re working with new gear. Enjoy all the waffles ahead!



