

waffle ingredients

title 1
waffle ingredients
⏱️ cook time 15 minutes
🍽️ servings 4
⚡ Difficulty easy

intro

Crisp golden on the outside, light and fluffy inside, these classic homestyle waffles are quick to make, endlessly customizable, and perfect for cozy weeknight meals or lazy weekends.

Ingredients
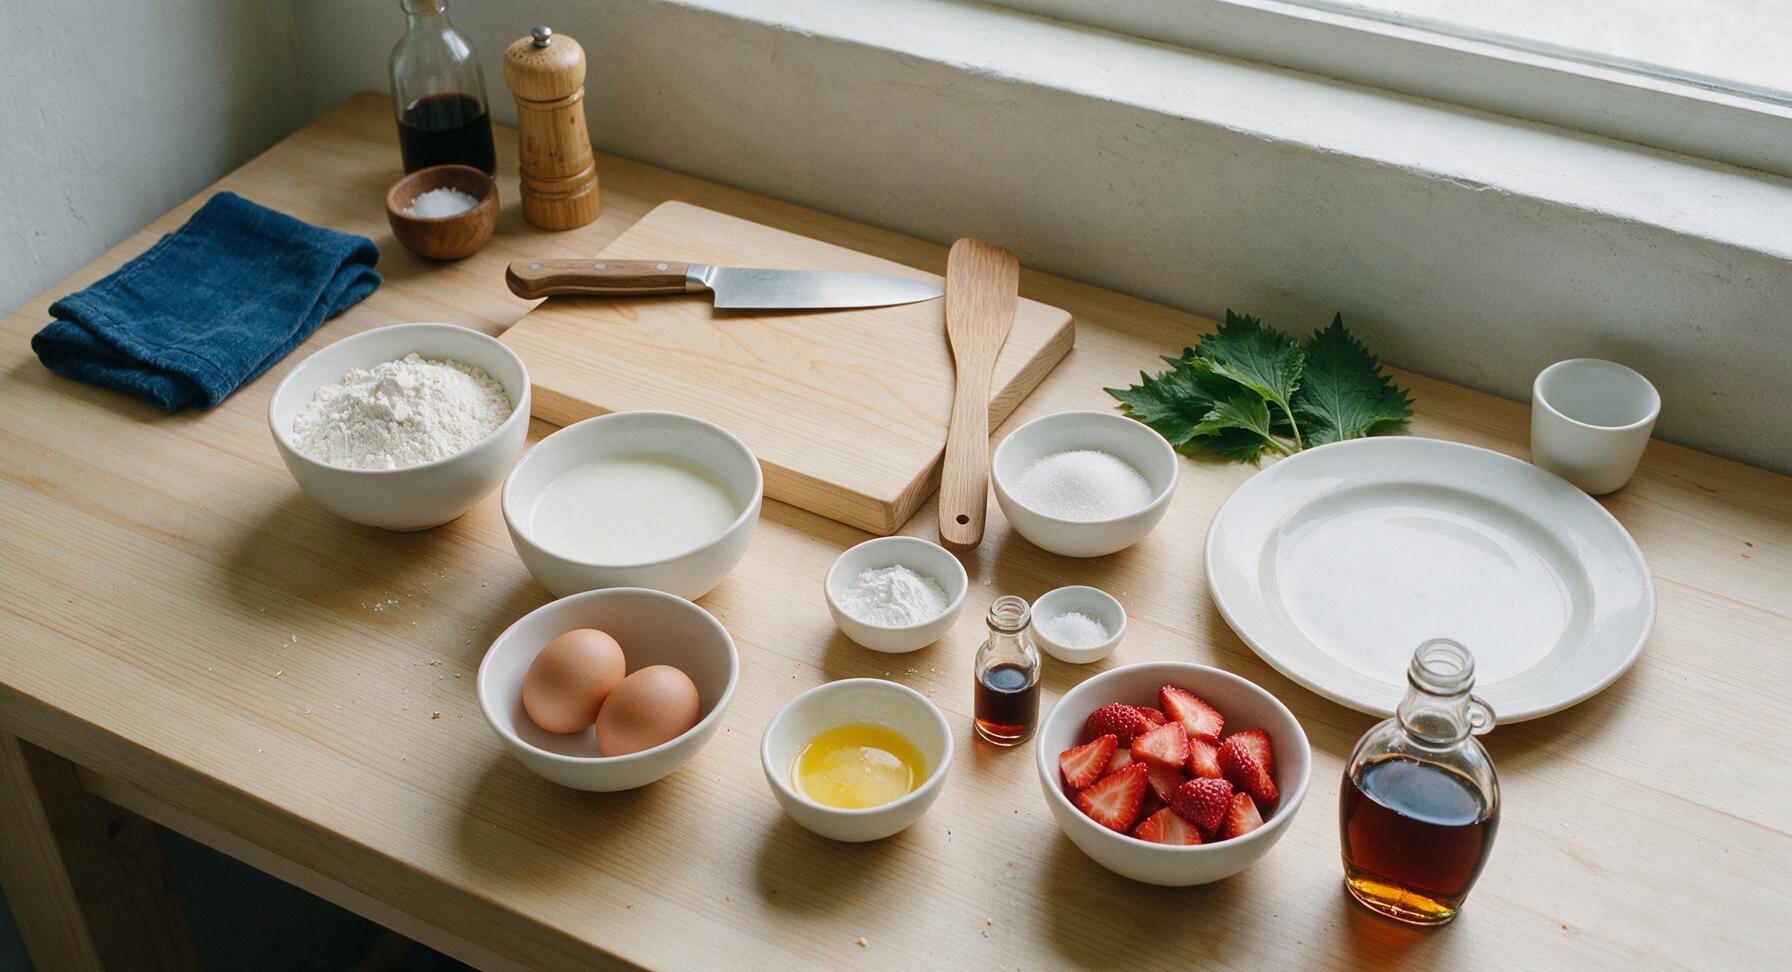
All-purpose flour 2 cups (240g)
Whole milk 1 3/4 cups (420ml)
Large eggs 2
Unsalted butter 1/3 cup (75g, melted and cooled)
Granulated sugar 2 tablespoons (25g)
Baking powder 2 teaspoons (8g)
Fine sea salt 1/2 teaspoon (3g)
Pure vanilla extract 1 teaspoon (5ml)
Fresh strawberries 1 cup (150g, sliced for garnish)
Pure maple syrup 1/2 cup (120ml, for serving)

Steps

1

Preheat Waffle Iron

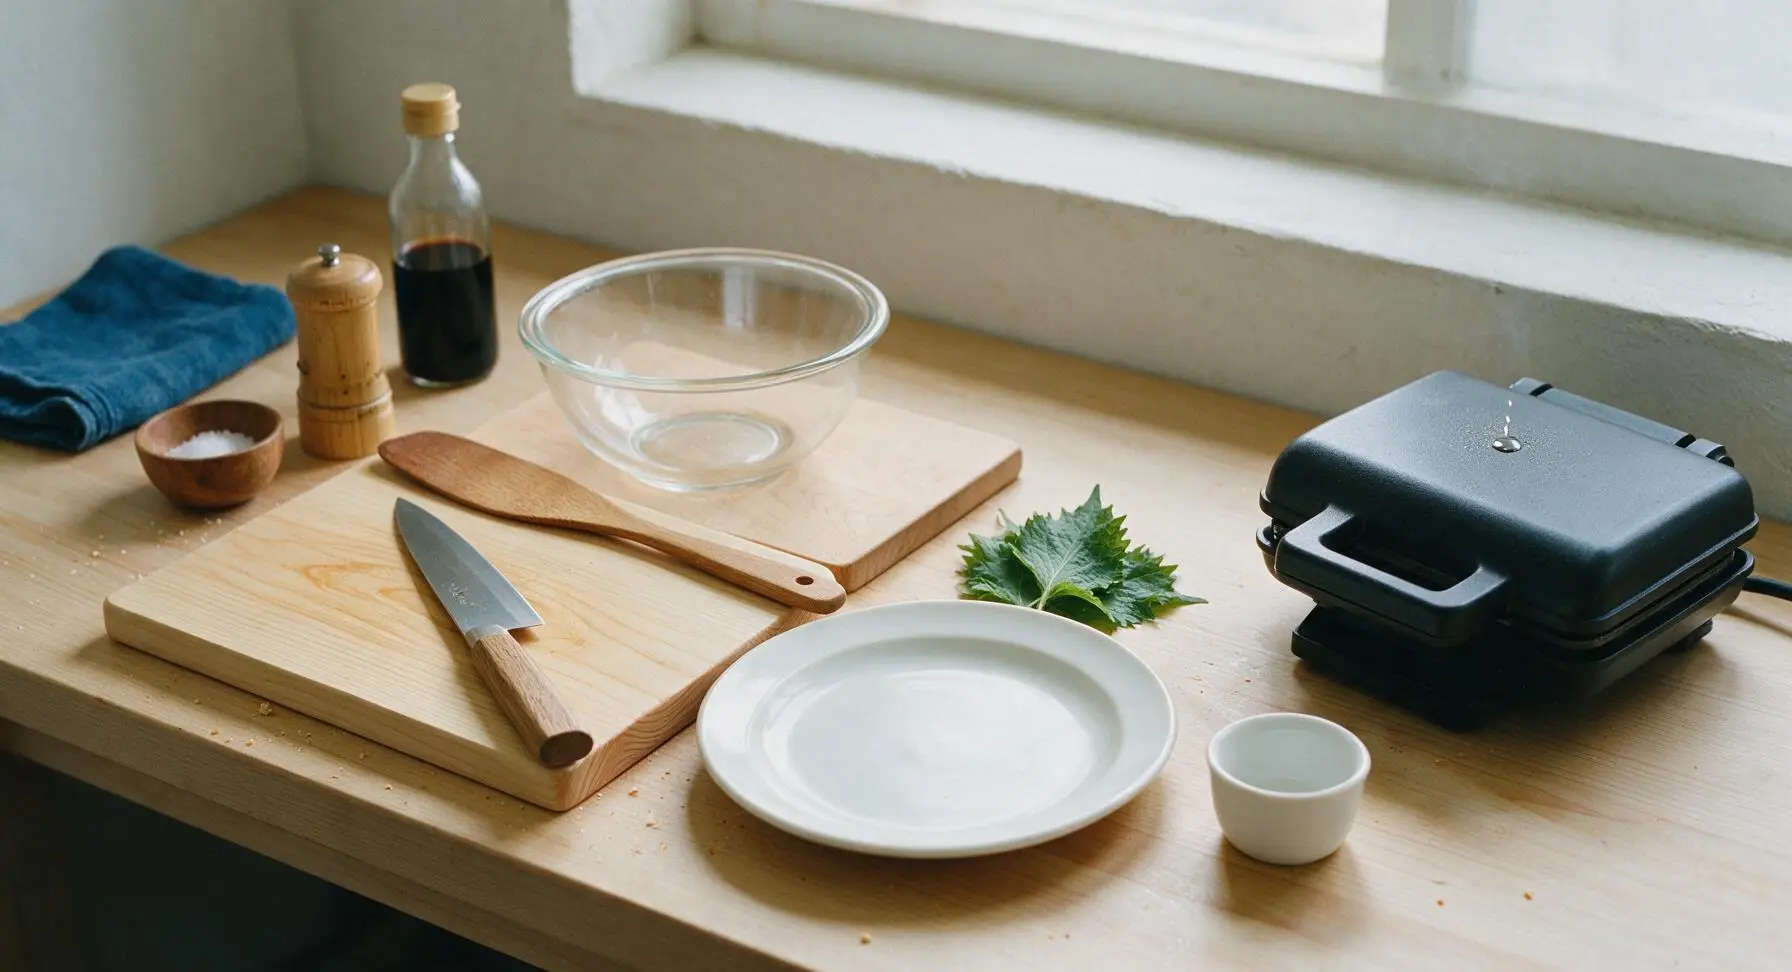
Plug in the matte black waffle iron and set it to medium-high heat (375°F/190°C). Close the lid and allow it to preheat for 5 minutes, until the surface is hot enough that a drop of water sizzles and evaporates within 2 seconds when flicked onto the plates. Do not grease the plates yet.
Step 1
step1:Preheat Waffle Iron
2

Mix Dry Ingredients

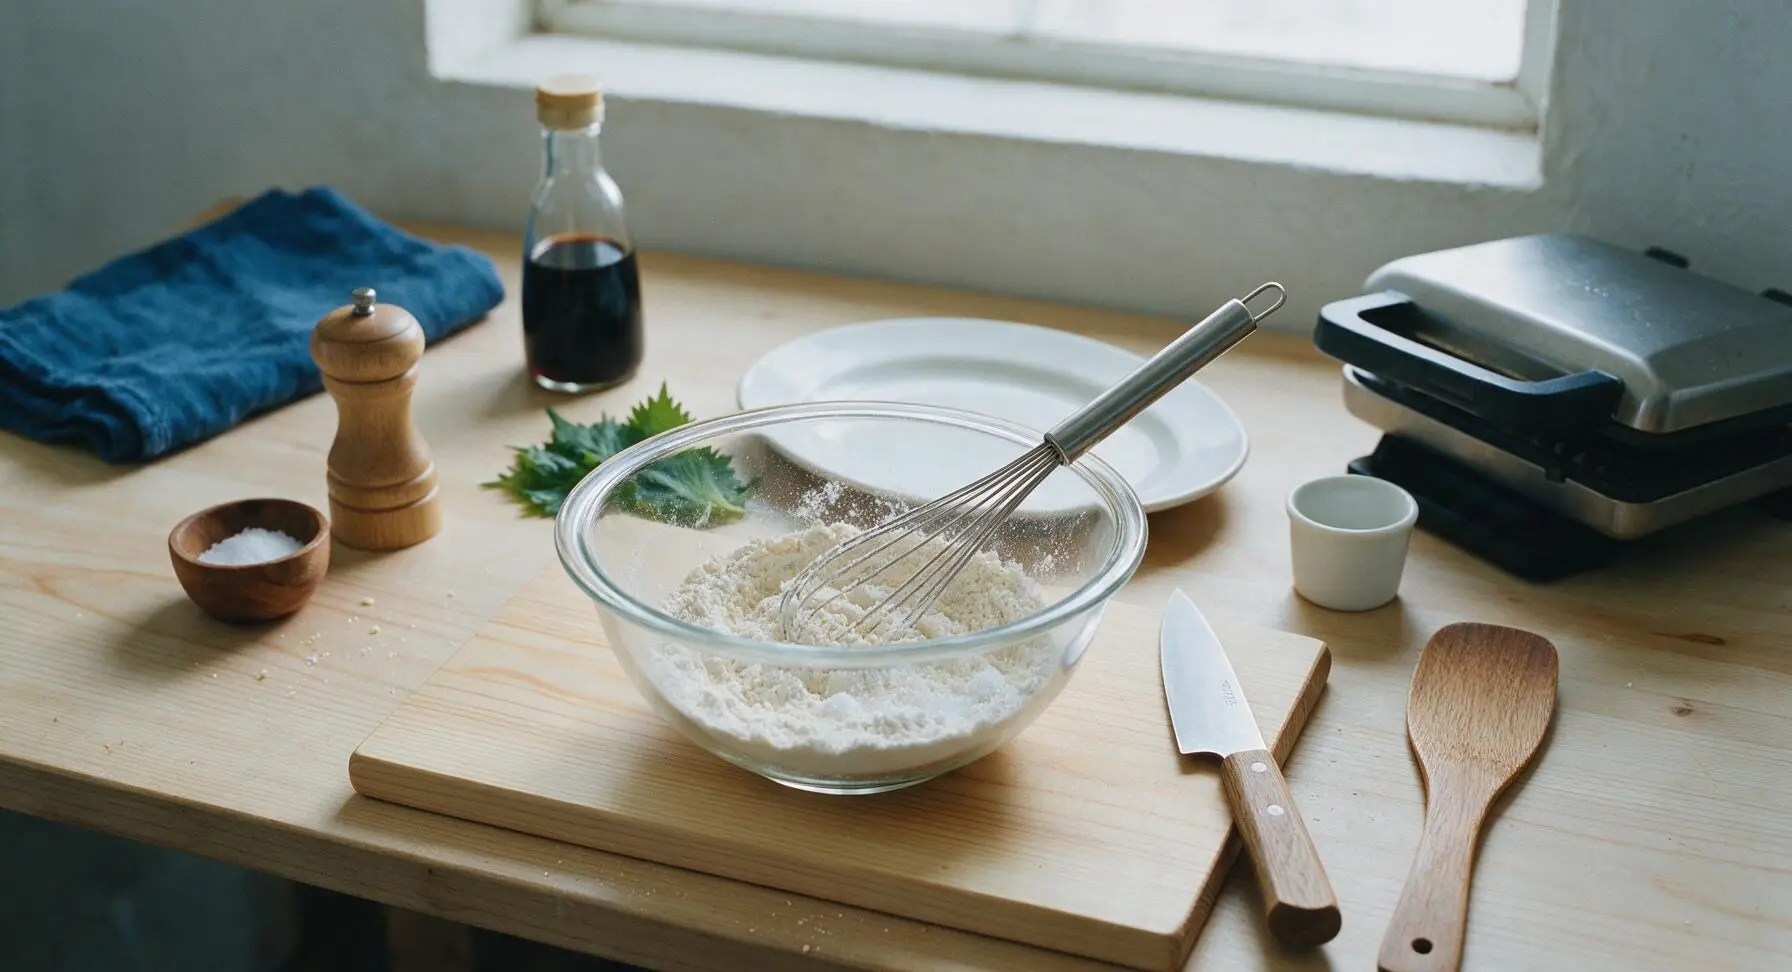
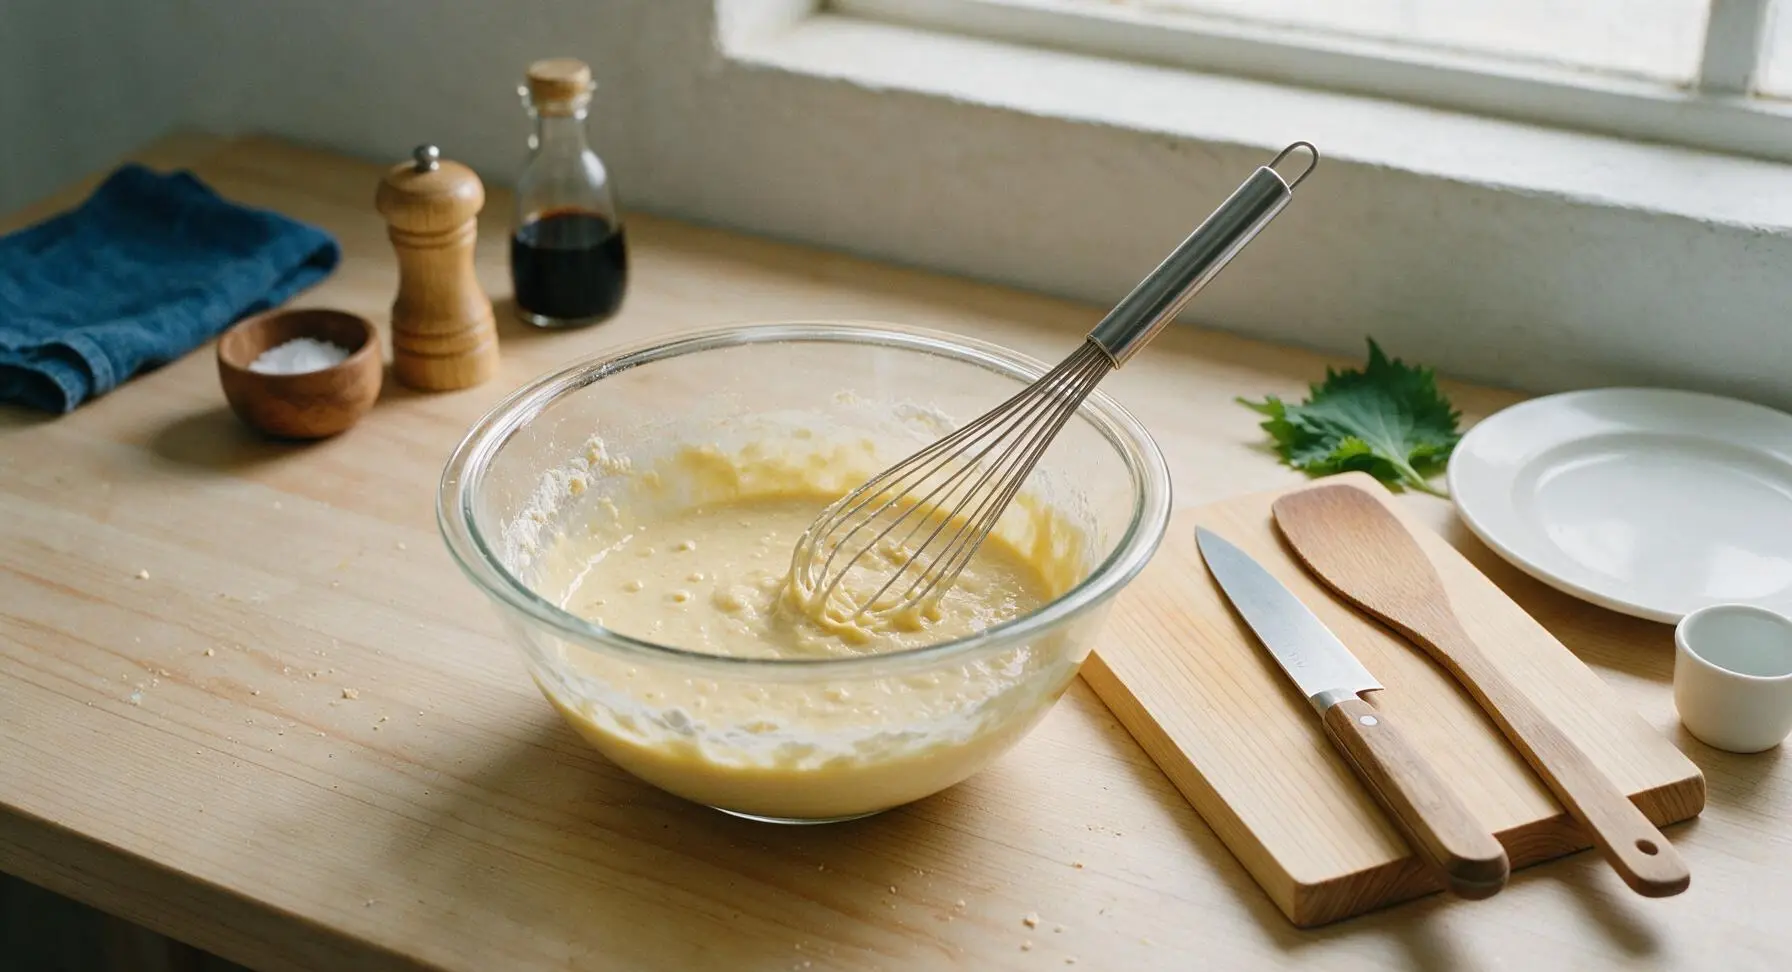
Add the 2 cups all-purpose flour, 2 tablespoons granulated sugar, 2 teaspoons baking powder, and 1/2 teaspoon fine sea salt to the clear glass mixing bowl on the maple cutting board. Use the stainless steel wire whisk to stir the ingredients together for 30 seconds, until fully combined and no clumps of baking powder remain.
Step 2
step2:Mix Dry Ingredients
3

Combine Wet Ingredients

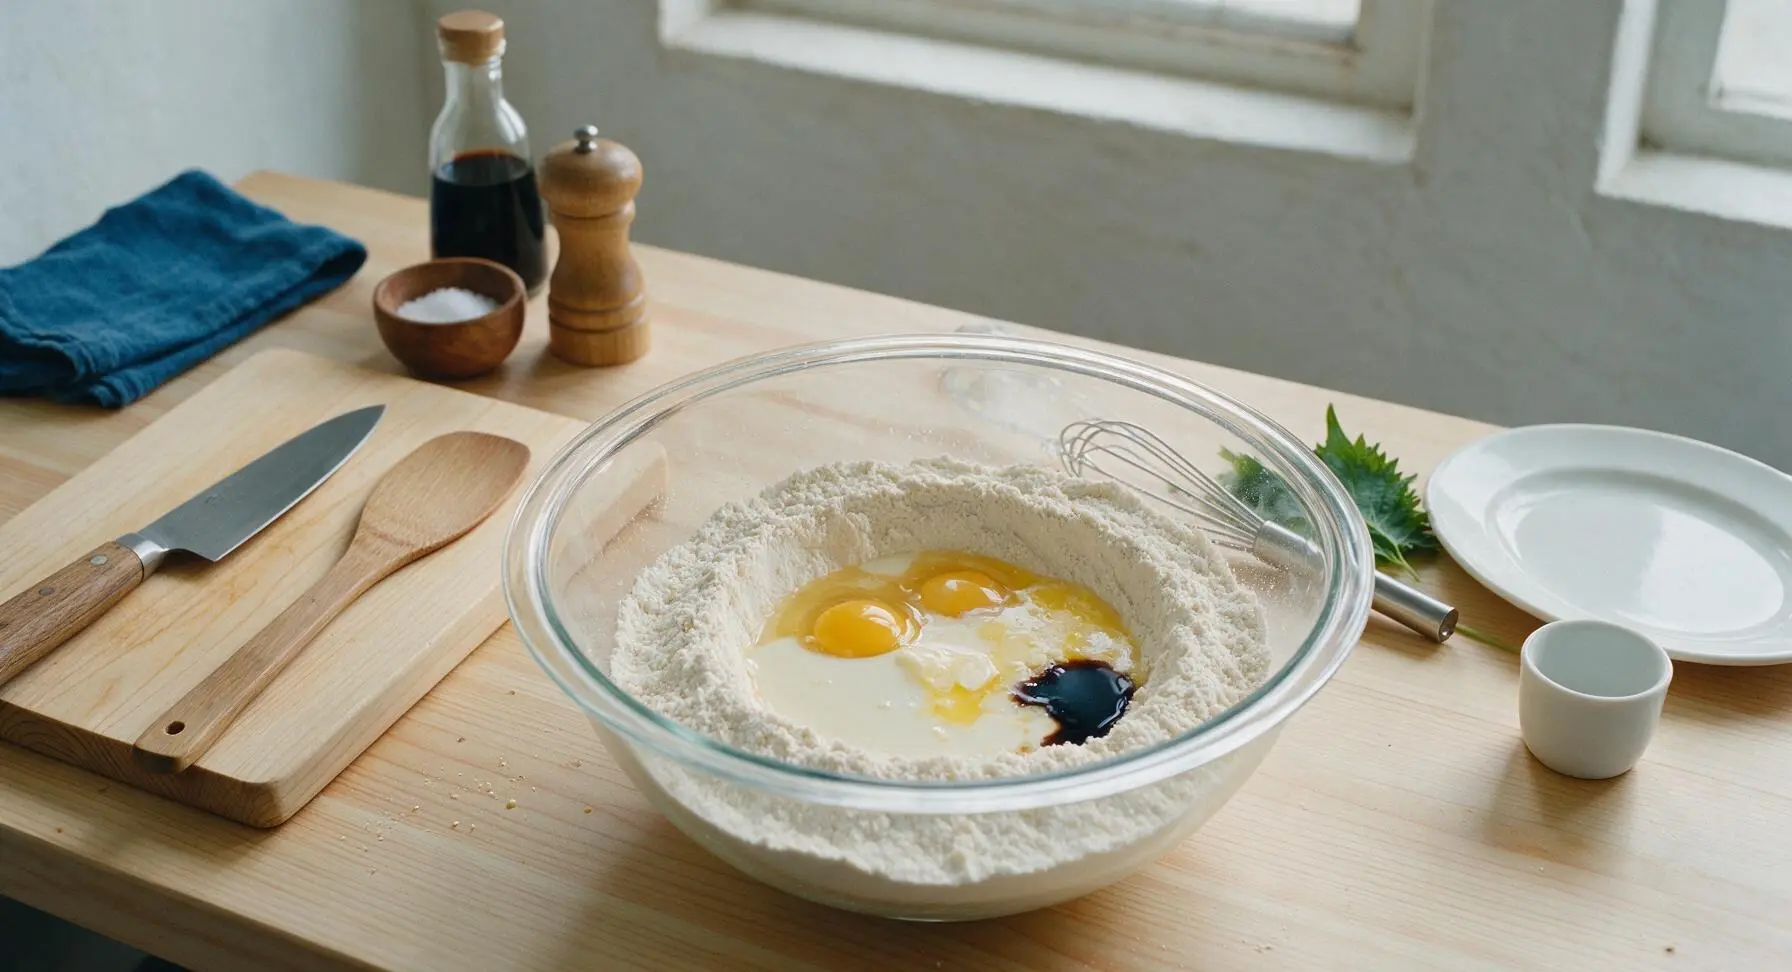
Make a 4-inch wide well in the center of the dry flour mixture in the glass mixing bowl. Crack the 2 large eggs into the well, then pour in the 1 3/4 cups whole milk, slightly cooled melted unsalted butter, and 1 teaspoon pure vanilla extract. Do not stir yet.
Step 3
step3:Combine Wet Ingredients
4

Mix Waffle Batter

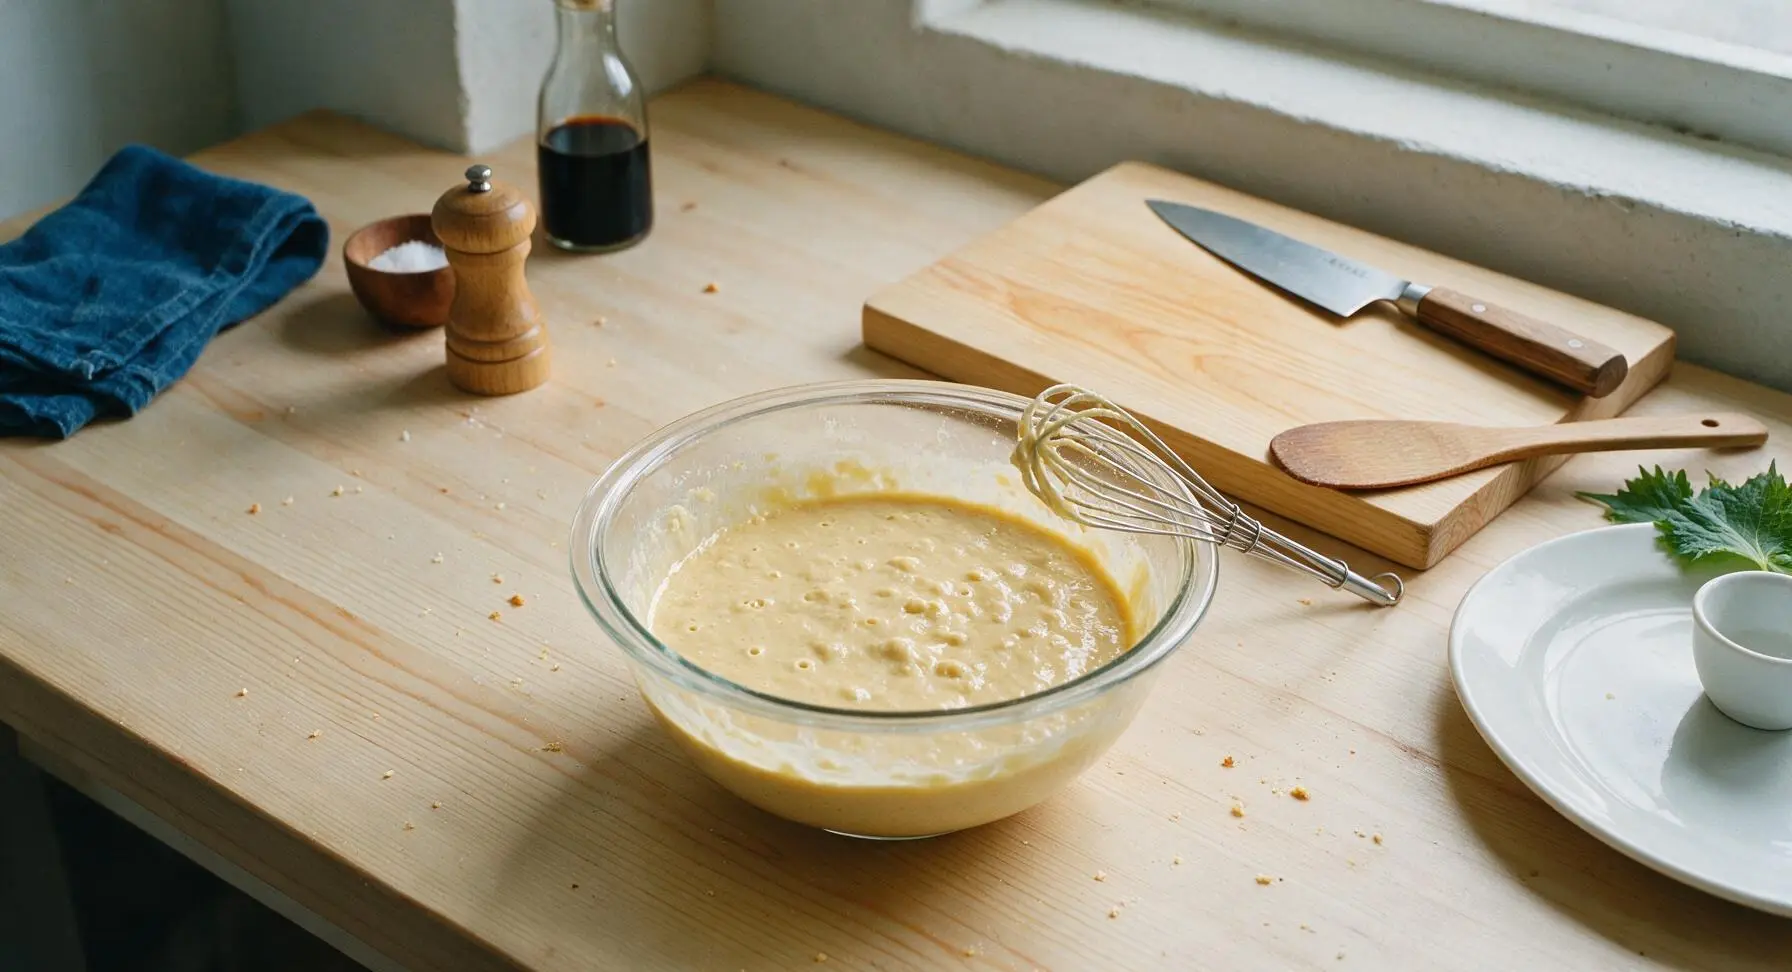
Use the stainless steel wire whisk to gently stir the wet ingredients into the dry flour, mixing only just until no large dry flour clumps remain. Stop stirring as soon as the batter comes together; the batter will be slightly lumpy, which is ideal—overmixing will develop gluten and make tough, dense waffles. Let the batter rest for 3 minutes to allow the baking powder to activate; you will see small bubbles forming on the surface.
Step 4
step4:Mix Waffle Batter
Step 4
step4:Mix Waffle Batter
5

Grease Waffle Plates

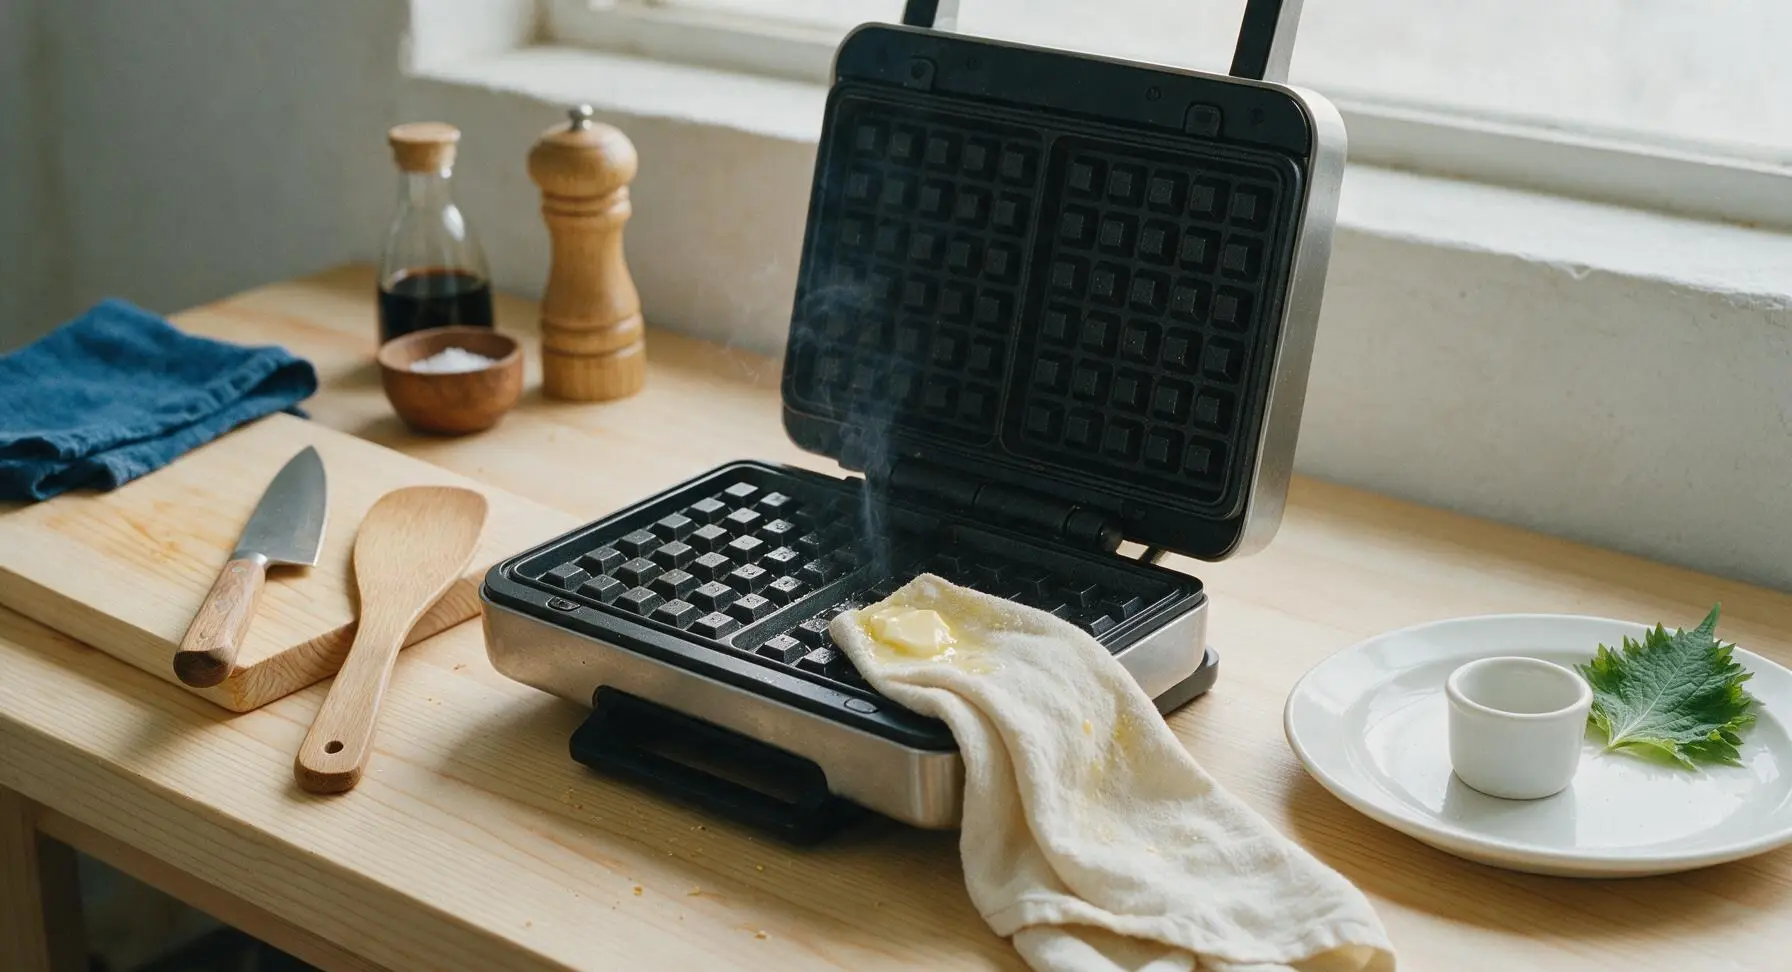
Once the waffle iron is fully preheated, use a folded corner of the cream linen towel to dab a thin layer of remaining melted butter onto the top and bottom cooking plates, wiping off any excess to prevent greasy waffles. Be careful of hot steam rising from the plates as you work.
Step 5
step5:Grease Waffle Plates
6

Pour Batter Onto Iron

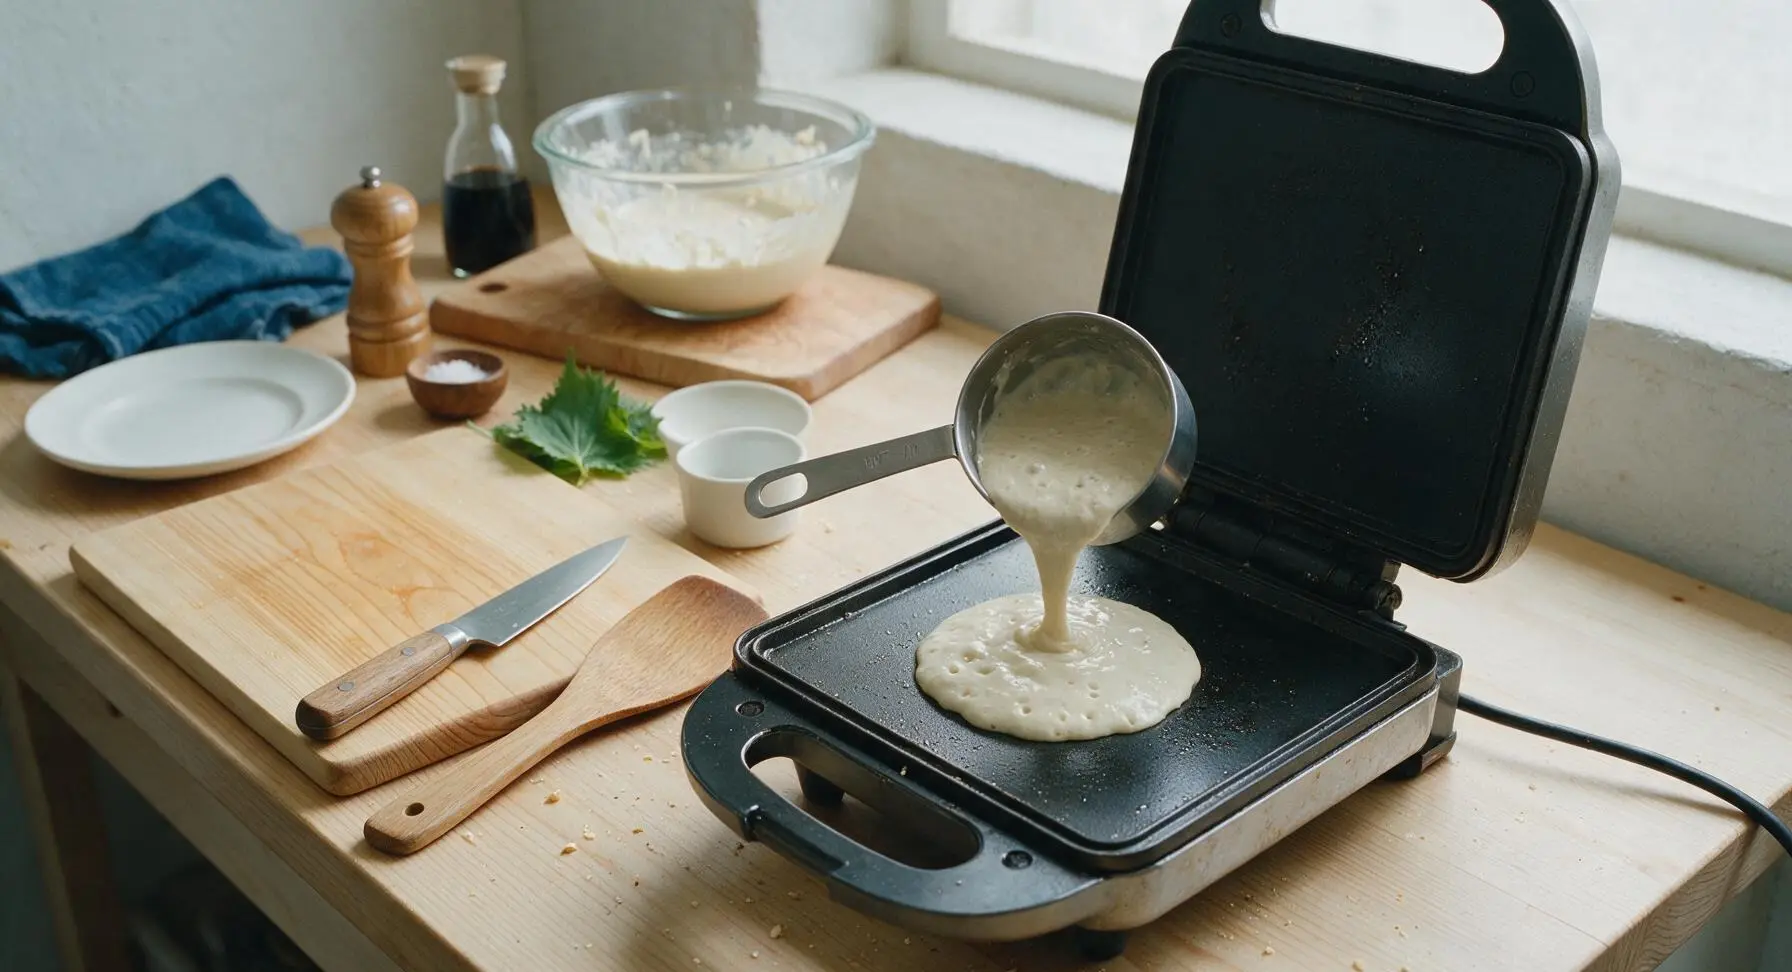
Use the 1/2 cup stainless steel measuring cup to scoop the rested batter, pouring it evenly onto the center of the bottom waffle plate. Use the back of the measuring cup to gently spread the batter to within 1/2 inch of the plate edges, as it will spread and rise as it cooks. Close the waffle iron lid immediately.
Step 6
step6:Pour Batter Onto Iron
7

Cook Waffles Golden

Close the waffle iron lid and cook the waffle for 3 to 4 minutes, without opening the lid during the first 2 minutes of cooking. The waffle is done when steam stops escaping from the edges of the iron, and the waffle is deep golden brown, crisp on the outside, and pulls away easily from the plates when you lift the lid. Repeat with remaining batter, greasing the plates lightly between batches if needed.
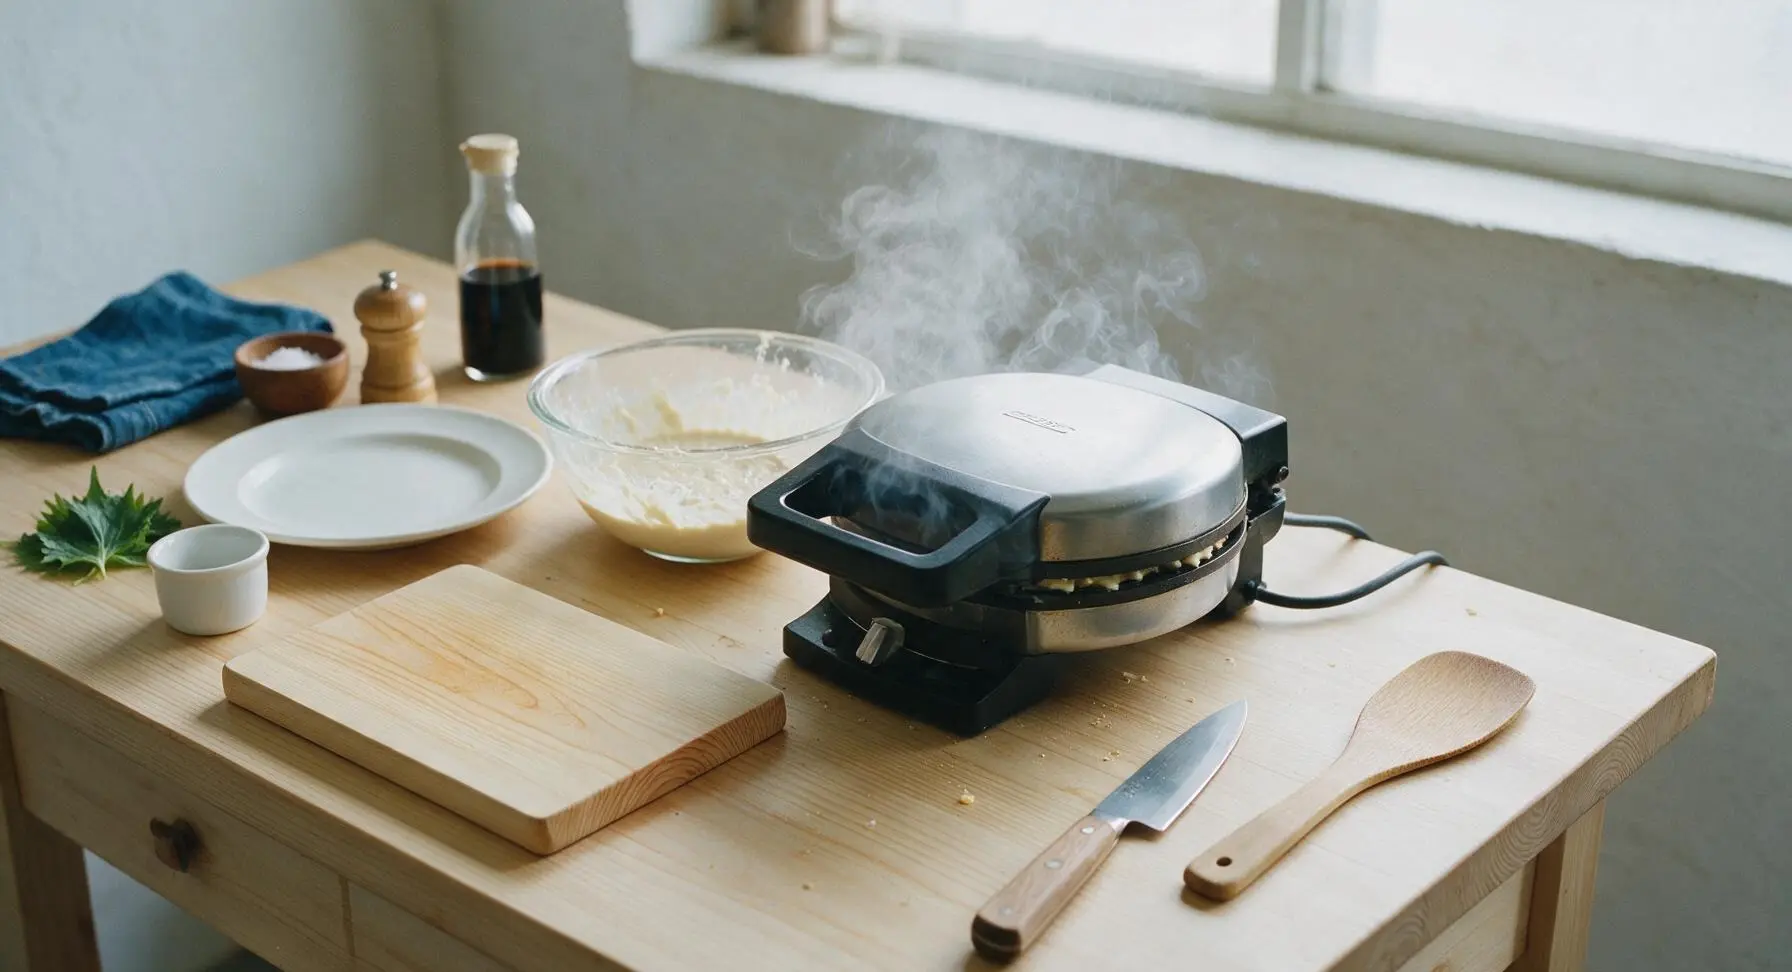
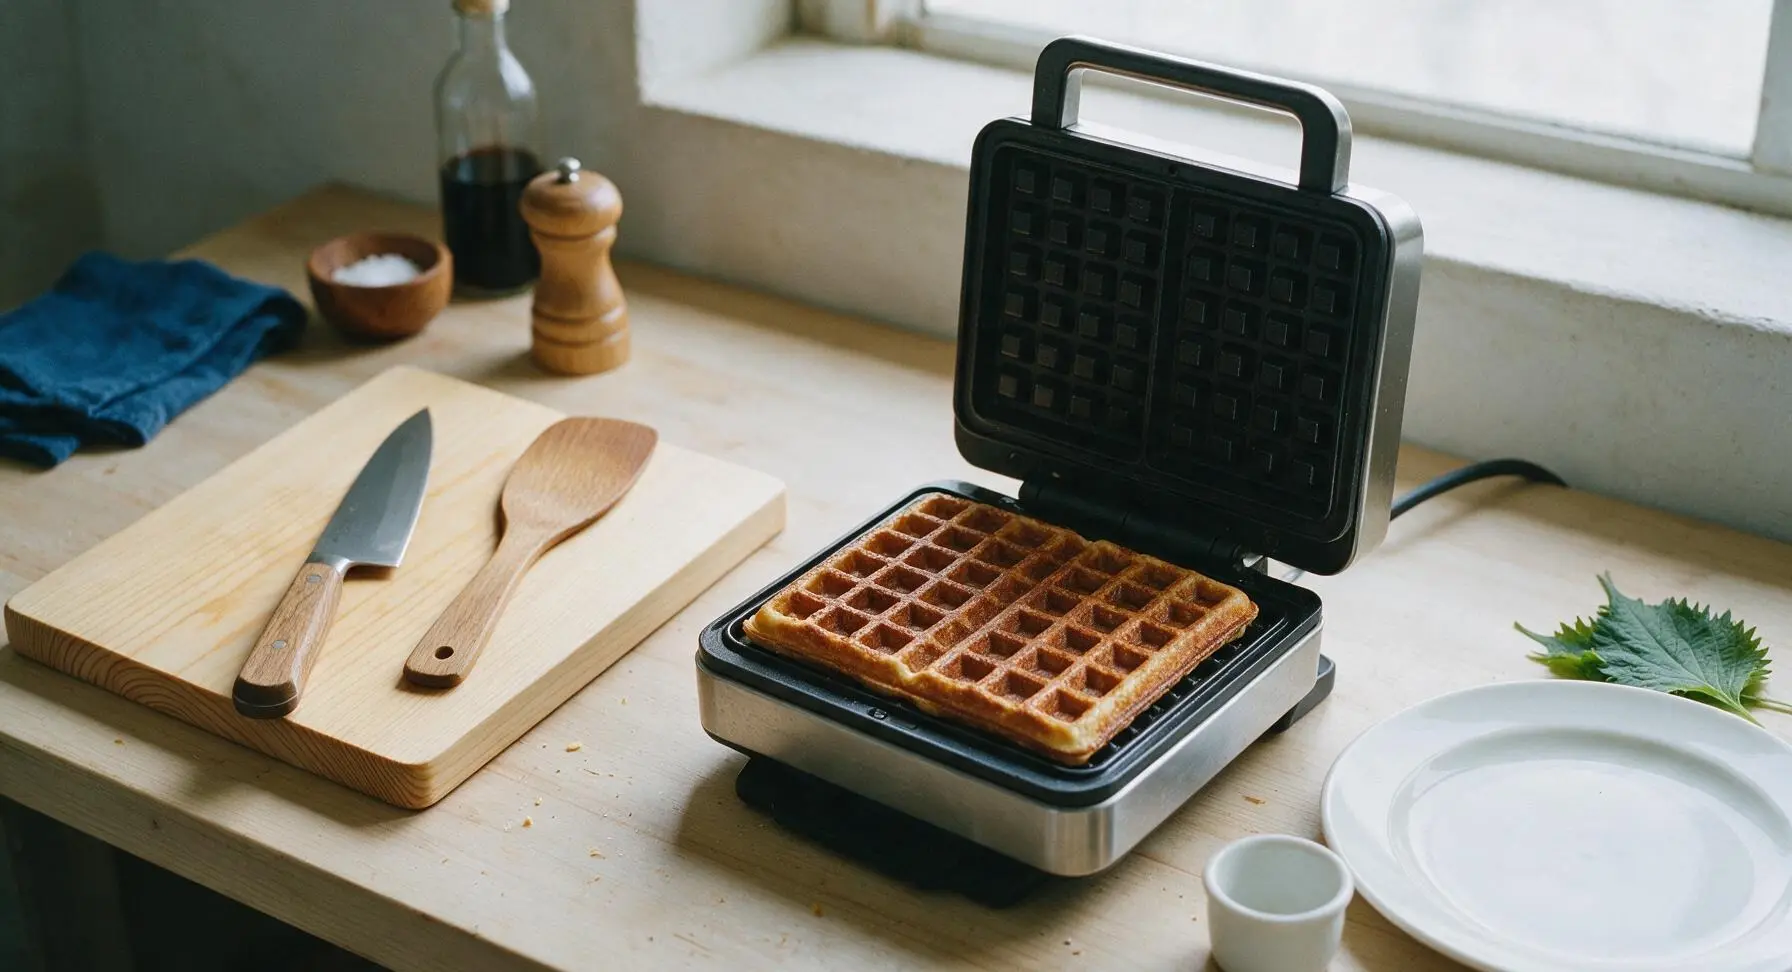
Step 7
step7:Cook Waffles Golden
Step 7
step7:Cook Waffles Golden
8

Plate and Garnish Waffles

Use the light gray silicone spatula to lift the cooked waffle from the iron, transferring it to the matte cream ceramic dinner plate. Stack cooked waffles as you work, then drizzle with pure maple syrup, top with sliced fresh strawberries and a sprig of mint, and serve immediately while hot.
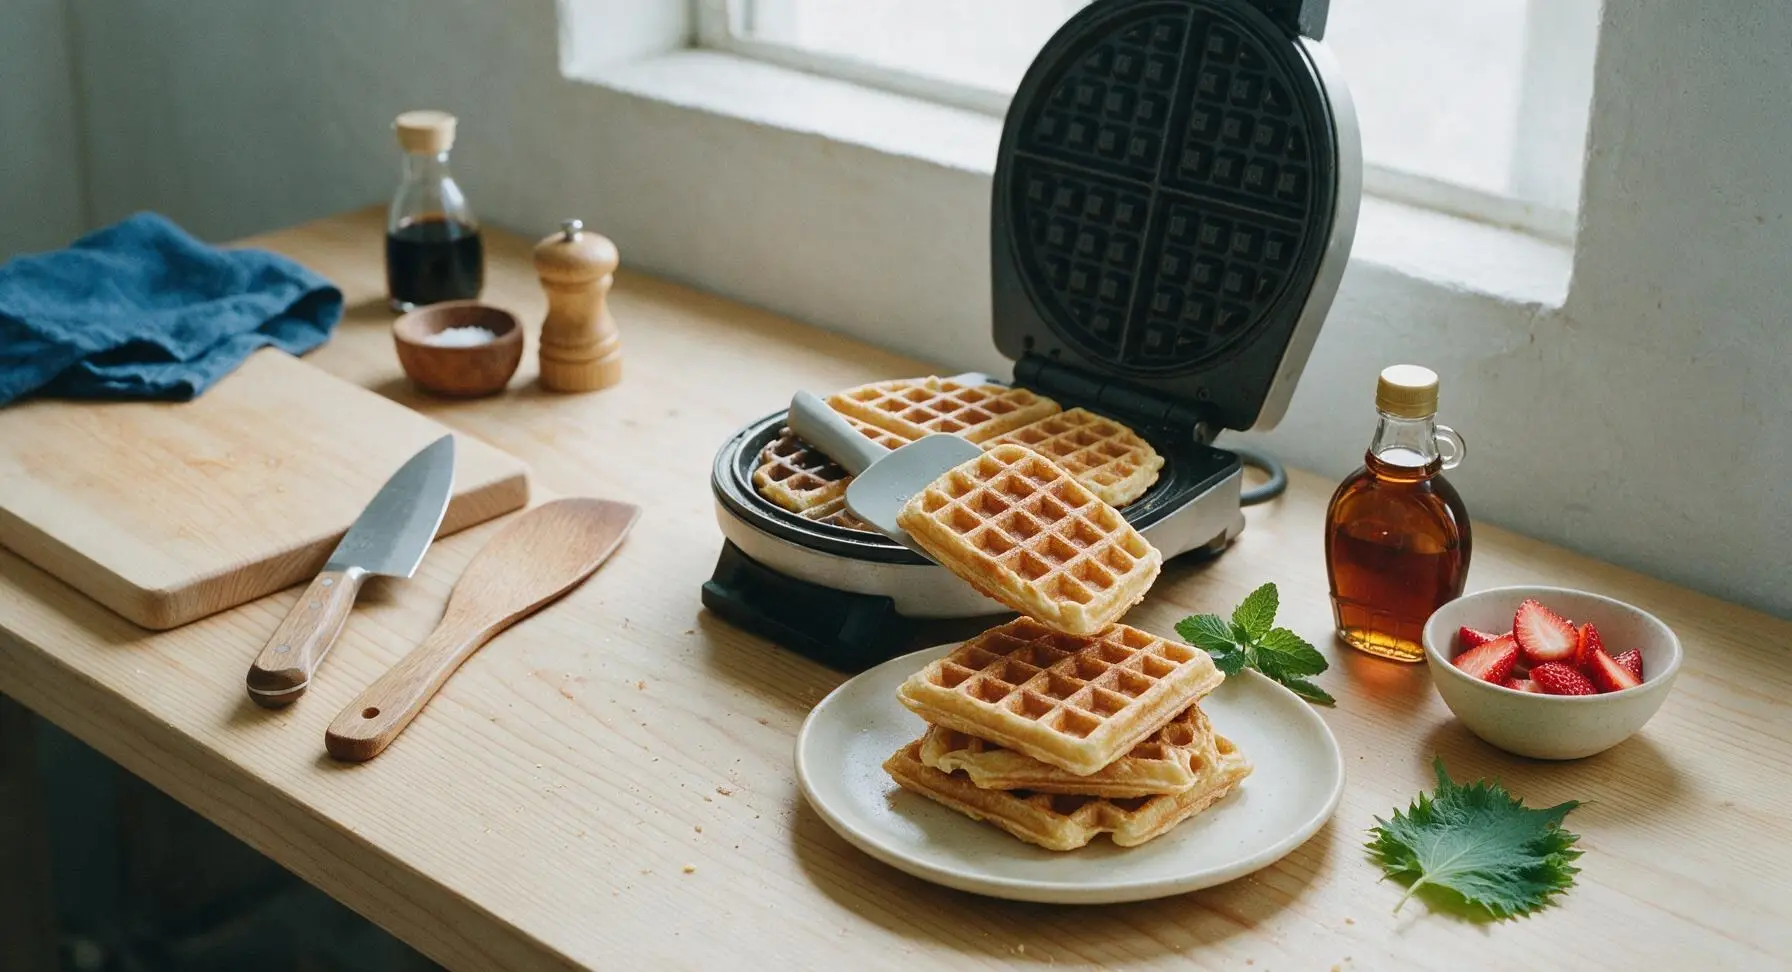
Step 8
step8:Plate and Garnish Waffles

Tips

1.Let the batter rest for 3 full minutes before cooking: this gives the baking powder time to activate and the flour granules time to absorb liquid, resulting in lighter, taller, fluffier waffles instead of flat, dense ones.
2.Resist the urge to open the waffle iron during the first 2 minutes of cooking: opening the lid too early can cause the partially set waffle to split, tear, or stick to the plates, ruining its crisp, uniform shape.
3.Keep cooked waffles crisp by holding them on a wire rack set over a baking sheet in a 200°F (95°C) oven while you cook remaining batches: stacking waffles directly on a plate traps steam, which softens the crisp outer crust and makes waffles soggy.


✨ You May Also Like

Breakfast
🍜 United States

Crisp-edged, fluffy lard griddle cakes are a nostalgic homestyle staple, with rich savoriness from rendered lard, perfect topped with maple syrup or savory gravy.

⏱️ 25 minuteBreakfast ★ 4.8
Breakfast
🍜 United States

Flaky, buttery homemade buttermilk biscuits smothered in creamy, peppery pork sausage gravy: a beloved, hearty Southern American comfort food classic.

⏱️ 35 minuteBreakfast ★ 4.8
Breakfast
🍜 United States

Golden, custardy brioche stuffed with sweet cream cheese and fresh berries, pan-fried to crisp perfection. An indulgent, cozy breakfast perfect for slow weekend mornings.

⏱️ 30 minuteBreakfast ★ 4.7
Breakfast
🍜 United States

Flaky, buttery Southern-style biscuits stuffed with savory salty country ham, a portable, satisfying classic perfect for casual on-the-go meals.

⏱️ 25 minuteBreakfast ★ 4.8
Breakfast
🍜 United States

Iconic puffy baked pancake popularized in Seattle, with crisp golden edges and soft custardy center, served warm with classic sweet toppings.

⏱️ 35 minuteBreakfast ★ 4.6
Breakfast
🍜 United States

Fluffy, golden pancakes studded with juicy peak-summer mixed berries, drizzled with maple syrup for a bright, comforting, crowd-pleasing family breakfast.

⏱️ 25 minuteBreakfast ★ 4.7

waffle ingredients:Frequently Asked Questions

1.Why don’t my waffles get that signature crisp golden outer crust? ▾
The two biggest culprits for soft, pale crusts are an under-preheated waffle iron and trapped steam from stacking hot waffles. Let your iron heat fully until a drop of water sizzles on contact, and set cooked waffles on a wire rack instead of piling them to keep crusts crisp and golden.
2.Can I substitute low-fat or skim milk for the whole milk in this recipe? ▾
You can, but whole milk’s higher fat content creates a richer flavor and more stable crisp crust. If you use skim or 1% milk, add 1 extra tablespoon of melted unsalted butter per cup of milk to replace the missing fat, or your waffles will turn out drier and less crisp than intended.
3.How do I keep cooked waffles warm and crisp while I finish making the whole batch? ▾
Never stack hot waffles directly on a plate—trapped steam turns crisp crusts soft in seconds. Set cooked waffles on a wire rack set over a baking sheet in a 200°F oven as you work. This keeps air circulating around every waffle so they stay crisp and warm until you’re ready to serve.
4.What happens if I overmix the waffle batter? ▾
Overmixing develops the gluten in the all-purpose flour, which leads to tough, chewy waffles instead of light, tender ones. Mix only until dry ingredients are just moistened—small lumps are totally fine, and even a few streaks of flour are better than overstirring to get that perfect soft interior.
5.Can I make this waffle batter ahead of time to cut down on morning prep? ▾
You can pre-mix and store the dry ingredients (flour, sugar, baking powder, salt) in an airtight container at room temperature for up to 3 months for ultra-quick prep. Once you combine wet ingredients (milk, eggs, melted butter) with the dry mix, leavening activates, so mixed batter loses its rise after 2 hours in the fridge, leading to flat, dense waffles.
6.How should I grease my waffle iron to prevent waffles from sticking? ▾
Melted unsalted butter works best for greasing—use a pastry brush to coat both iron grids lightly right before you pour the first batch of batter. For most non-stick irons, you won’t need to re-grease between every batch, but add a thin extra coat if you notice waffles starting to tear when you lift the lid.
7.Why are my waffles still sticking even when I grease the iron properly? ▾
This almost always happens if you open the iron too early! Wait until the steam stops billowing out from the edges of the iron (usually 3–5 minutes per batch, depending on your model) before checking for doneness. Prying waffles out before the crust fully sets causes tearing and sticking, even on well-greased surfaces.
8.Can I use salted butter instead of unsalted butter in this recipe? ▾
You absolutely can, just cut any added fine salt in the recipe by ¼ teaspoon per stick of salted butter you use to avoid overly salty waffles. Unsalted butter lets you control the exact sodium level for balanced homestyle flavor, but salted butter works perfectly in a pinch if that’s what you have on hand.
9.Can I reduce the granulated sugar to make less sweet waffles for savory toppings? ▾
The base recipe uses just enough granulated sugar to encourage golden, caramelized crisp edges, not make waffles taste like dessert. If you plan to top waffles with fried chicken, gravy, or other savory fixings, you can cut the sugar in half, but don’t omit it entirely or your crust will be pale and soft.
10.Can I freeze leftover cooked waffles for quick weekday meals? ▾
Absolutely! Let cooked waffles cool completely to room temperature on a wire rack, then stack them between sheets of parchment paper and store in a sealed freezer bag for up to 3 months. Reheat straight from frozen in a toaster or 350°F oven for 5 minutes to bring back that perfect crisp texture, no thawing needed.
11.Why do my waffles have dense, gummy spots in the center instead of a light fluffy interior? ▾
Gummy centers usually come from pouring batter into an under-heated iron, overfilling the waffle grids, or pulling waffles out too early. Use ⅓ to ½ cup of batter per standard waffle well, wait until steam stops escaping from the iron edges, and you’ll get evenly light, fully cooked interiors every time.
12.Do I need to separate the large eggs to get that light, fluffy waffle interior? ▾
You don’t have to for great homestyle results, but separating yolks and folding in stiffly whipped egg whites will give you an extra-tall, cloud-like interior without weighing down the batter. If you’re short on time, beat whole large eggs until frothy before mixing them in—your waffles will still be delicious, just slightly denser.
13.What classic, easy toppings pair best with these homestyle waffles? ▾
You can’t go wrong with the timeless combo of a pat of melted butter, warm pure maple syrup, and a light dusting of powdered sugar for a traditional serving. For fun, simple twists, try fresh berries, freshly whipped cream, crispy bacon bits, or a drizzle of creamy peanut butter.
14.I have a deep-grid Belgian waffle iron—do I need to adjust the recipe? ▾
You don’t need to change the batter recipe at all for thick Belgian waffle irons. Just use a little extra batter per well (about ¾ cup, instead of ½ cup for standard irons) and add 1–2 minutes of extra cook time, waiting until steam stops escaping to ensure the thick center cooks fully without gummy spots.

Comments (3)

3 days ago

OMG these waffles are SO good! I made them for Sunday brunch last weekend and my kids practically fought over the last one. They came out perfectly crispy on the outside, fluffy inside, no soggy mess even after we loaded them up with syrup and fruit, just like the diners back home make. I did add a tiny dash of extra vanilla, game changer. 10/10 will be making these every weekend from now on!

2 days ago

Wait the extra vanilla tip is genius! I’ve been making these for a month and felt like they were missing a little something, can’t wait to try that this weekend. My whole extended family raved about these when I brought them to our last potluck, even my super picky cousin went back for seconds!

1 day ago

So glad your family loves them, Mia! That extra vanilla dash is such a great hack – we also love a pinch of cinnamon in the mix for extra coziness in the fall. Thanks for leaving such a sweet review!

1 week ago

Super easy recipe even for someone who burns toast half the time, lol! I was nervous to use my new waffle iron for the first time but these came out perfect on the first try, only took 15 minutes total like the recipe said. No fancy ingredients required either, which is a huge win for my tiny apartment kitchen. Great for quick weekday breakfasts too, I froze the leftovers and pop them in the toaster on busy mornings.

5 days ago

Love that you’re meal prepping these, Luna! Freezing the leftovers and toasting them later is one of our favorite tricks too – they stay just as crispy as fresh if you let them cool completely first then store them in an airtight freezer bag. So happy your first waffle iron attempt was a win!

2 hours ago

Took these to a neighborhood block party last weekend and everyone was asking for the recipe! I topped mine with fresh strawberries and whipped cream, a couple people said they were better than the fancy $20 brunch spot downtown. Only heads up: my first batch was a little soggy because I popped the waffle iron open too early – wait until the steam stops pouring out before you check them, trust me!



