
waffle maker pan
intro
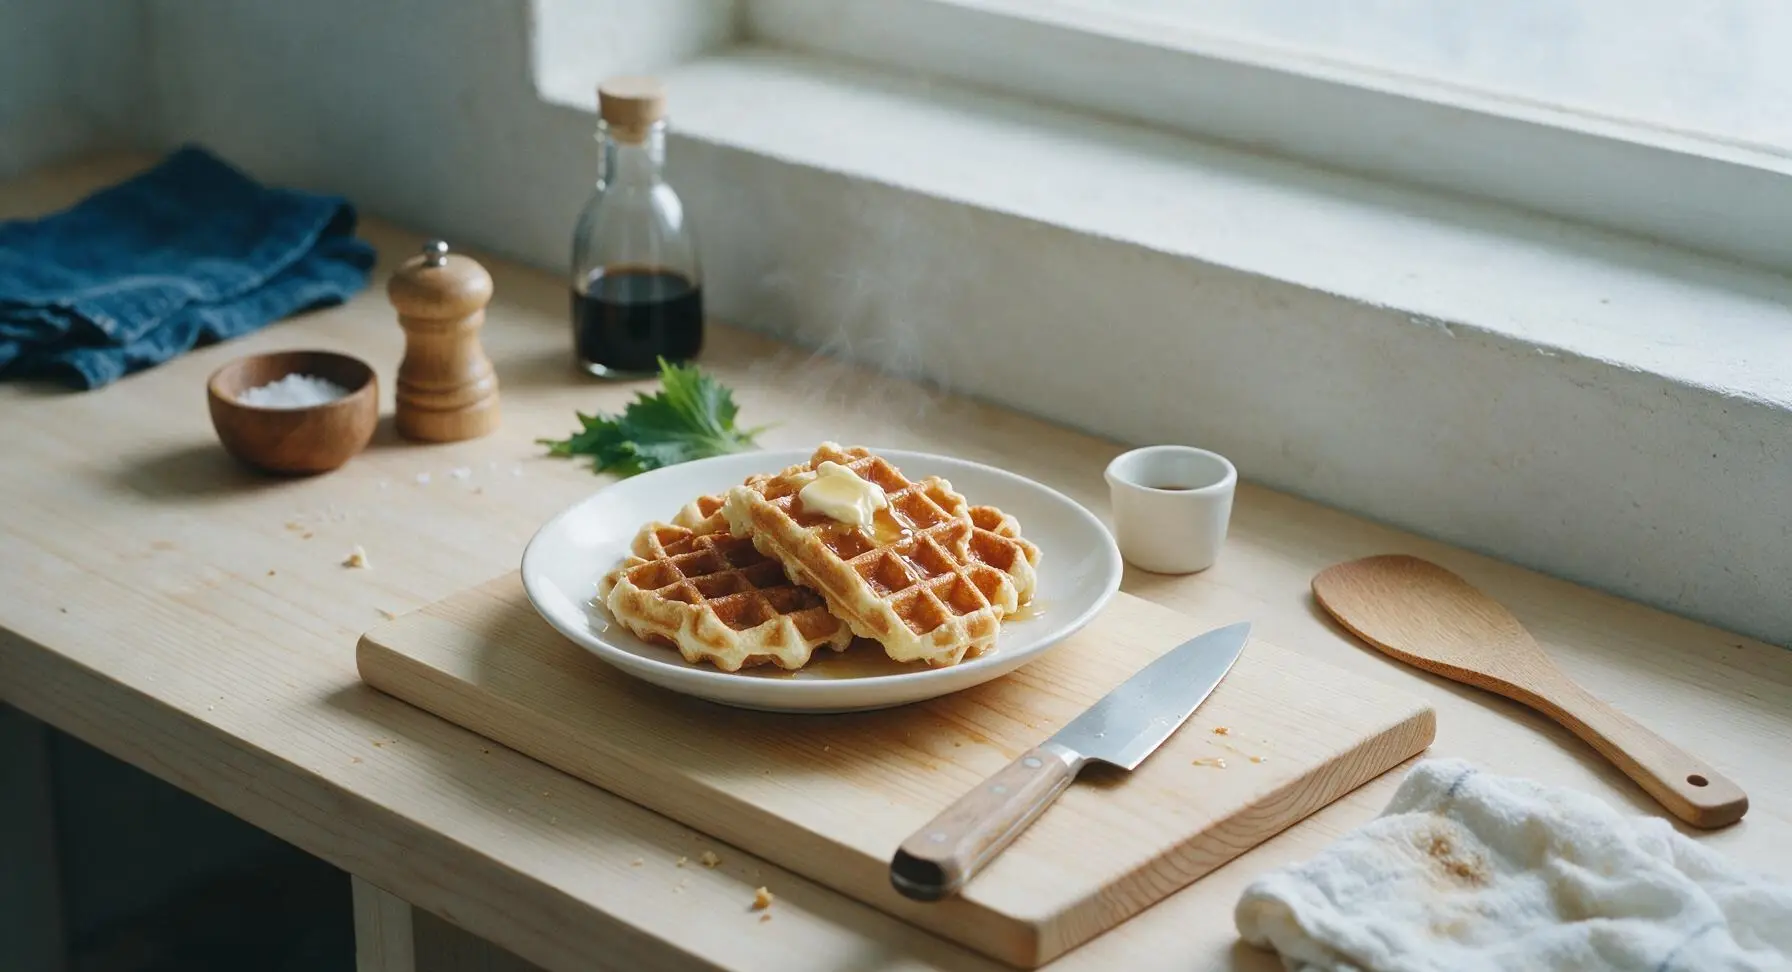
Golden, crisp-edged buttermilk waffles made in a stovetop cast iron waffle pan, with fluffy tender centers, ready in 25 minutes for cozy, quick meals topped with butter and maple syrup.
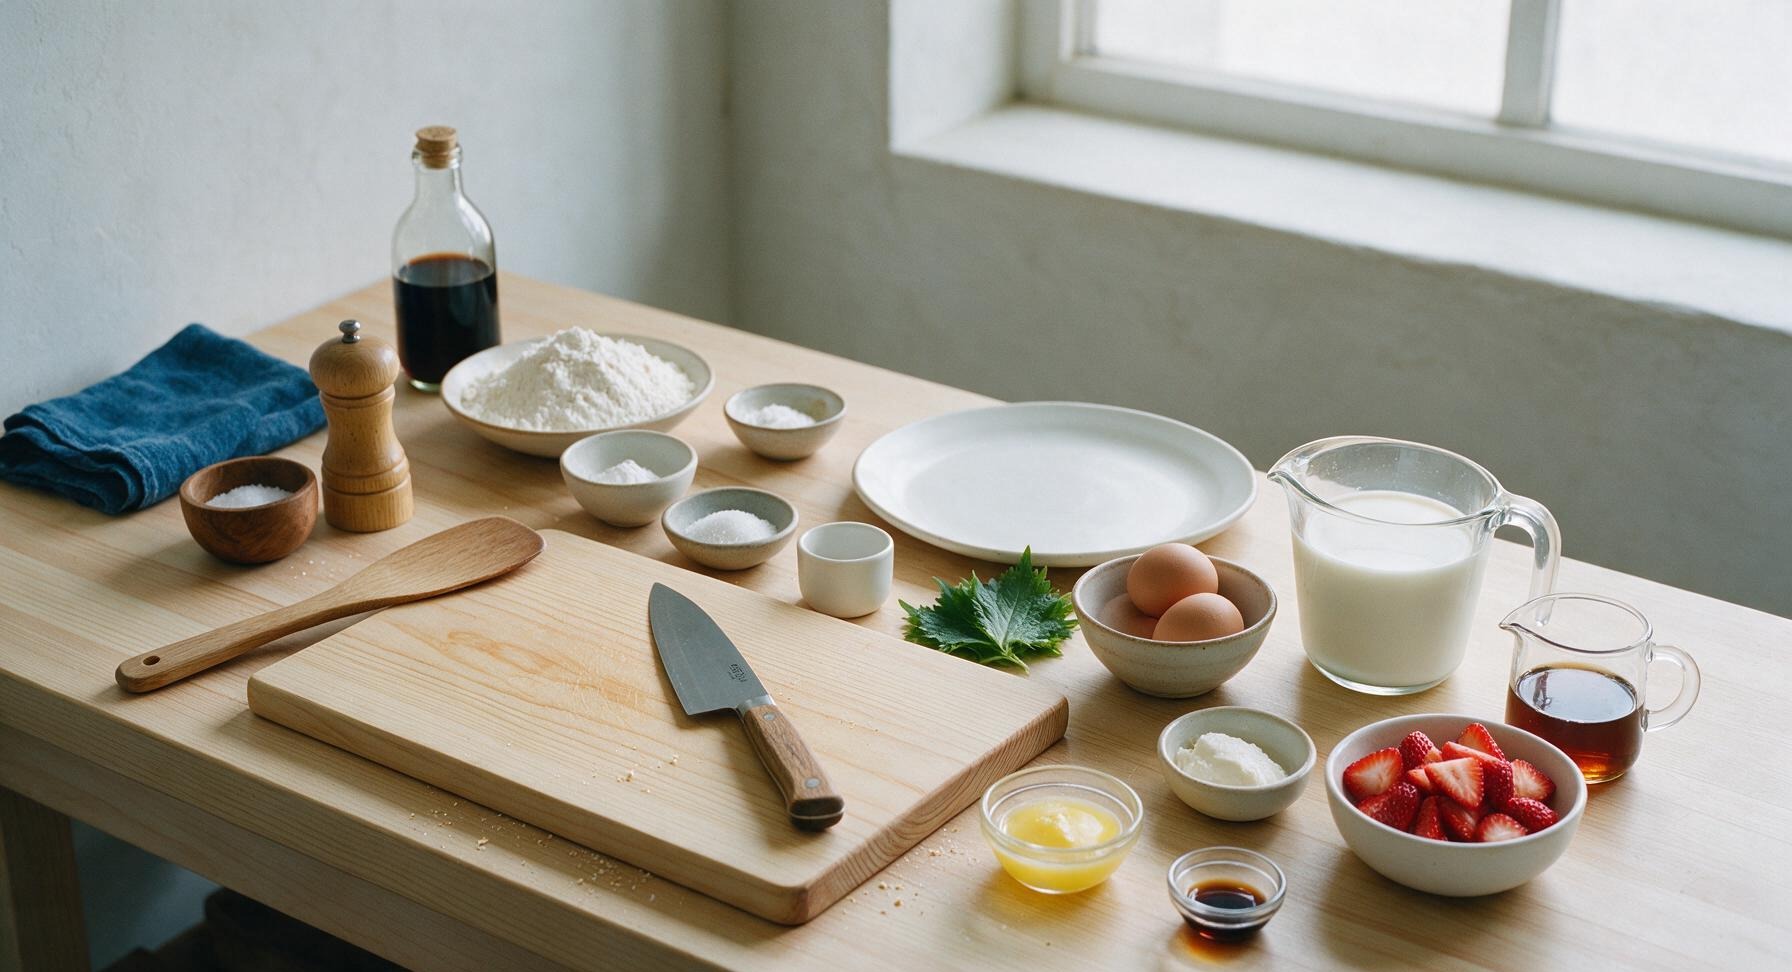
Ingredients
Steps
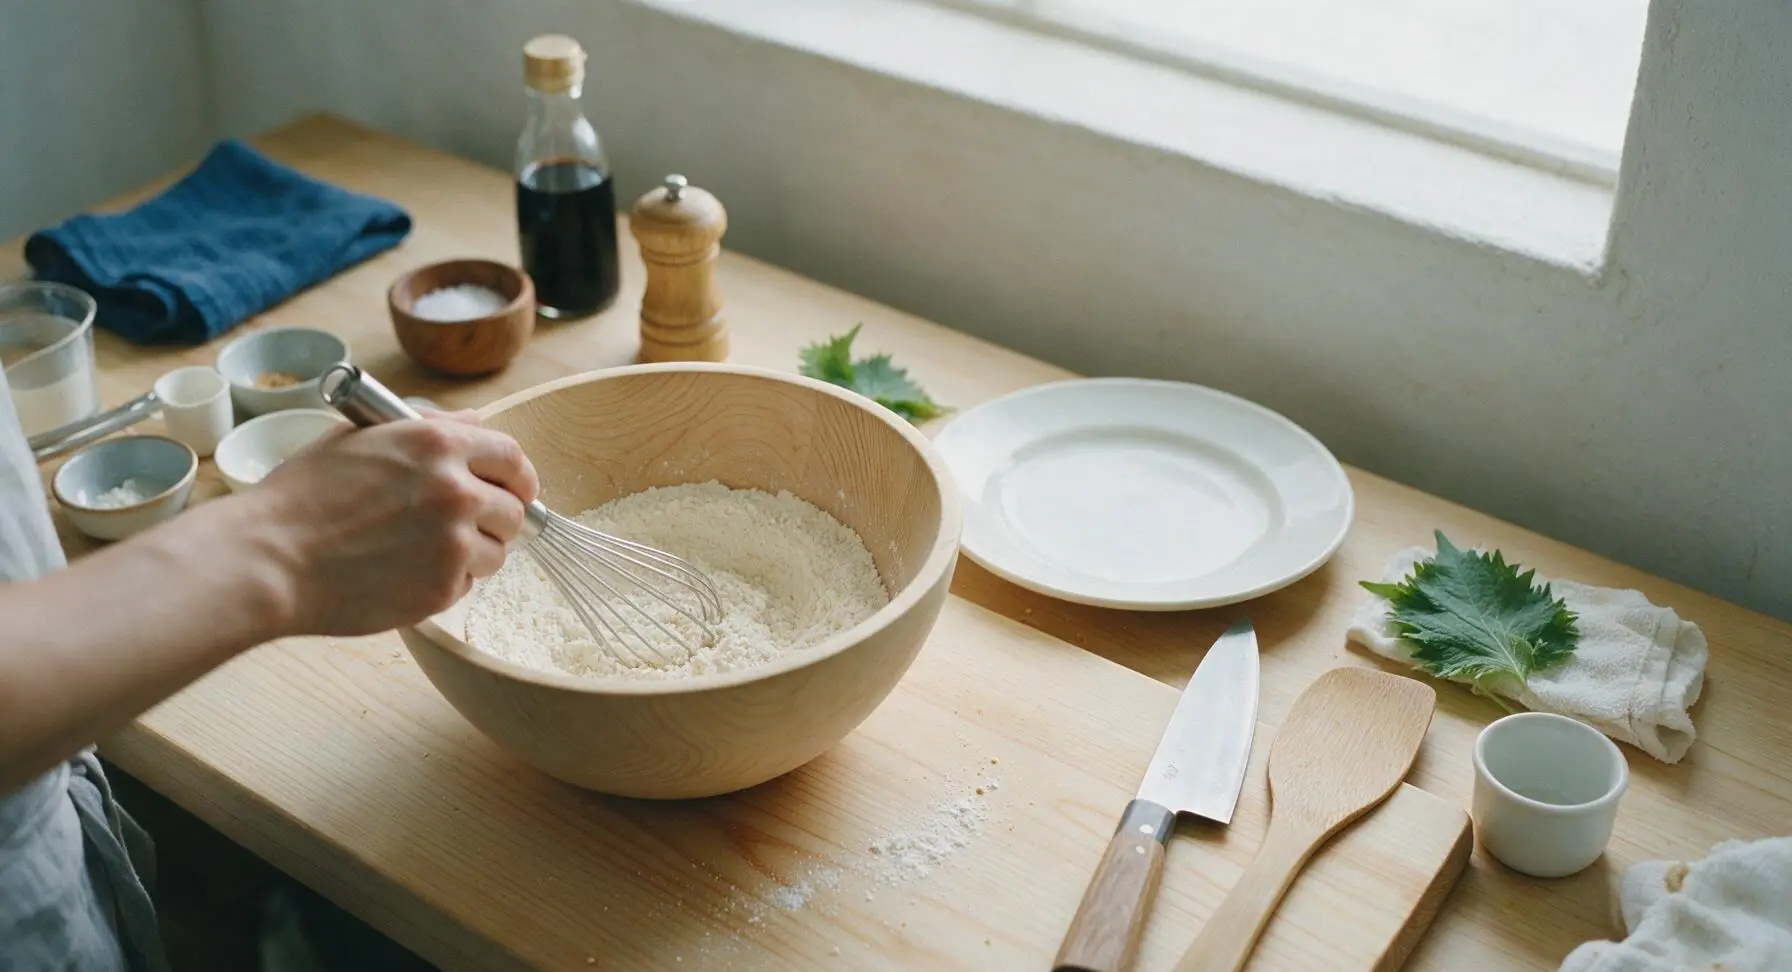
Whisk Dry Ingredients
Add 2 cups all-purpose flour, 2 teaspoons baking powder, 1/2 teaspoon baking soda, 1/2 teaspoon fine sea salt, and 2 tablespoons granulated sugar to the light ash wood mixing bowl. Use the stainless steel wire whisk to stir for 30 seconds until all dry ingredients are fully combined, with no clumps of leavening visible. The finished dry mixture should be a uniform pale off-white color.
Mix Wet Ingredients
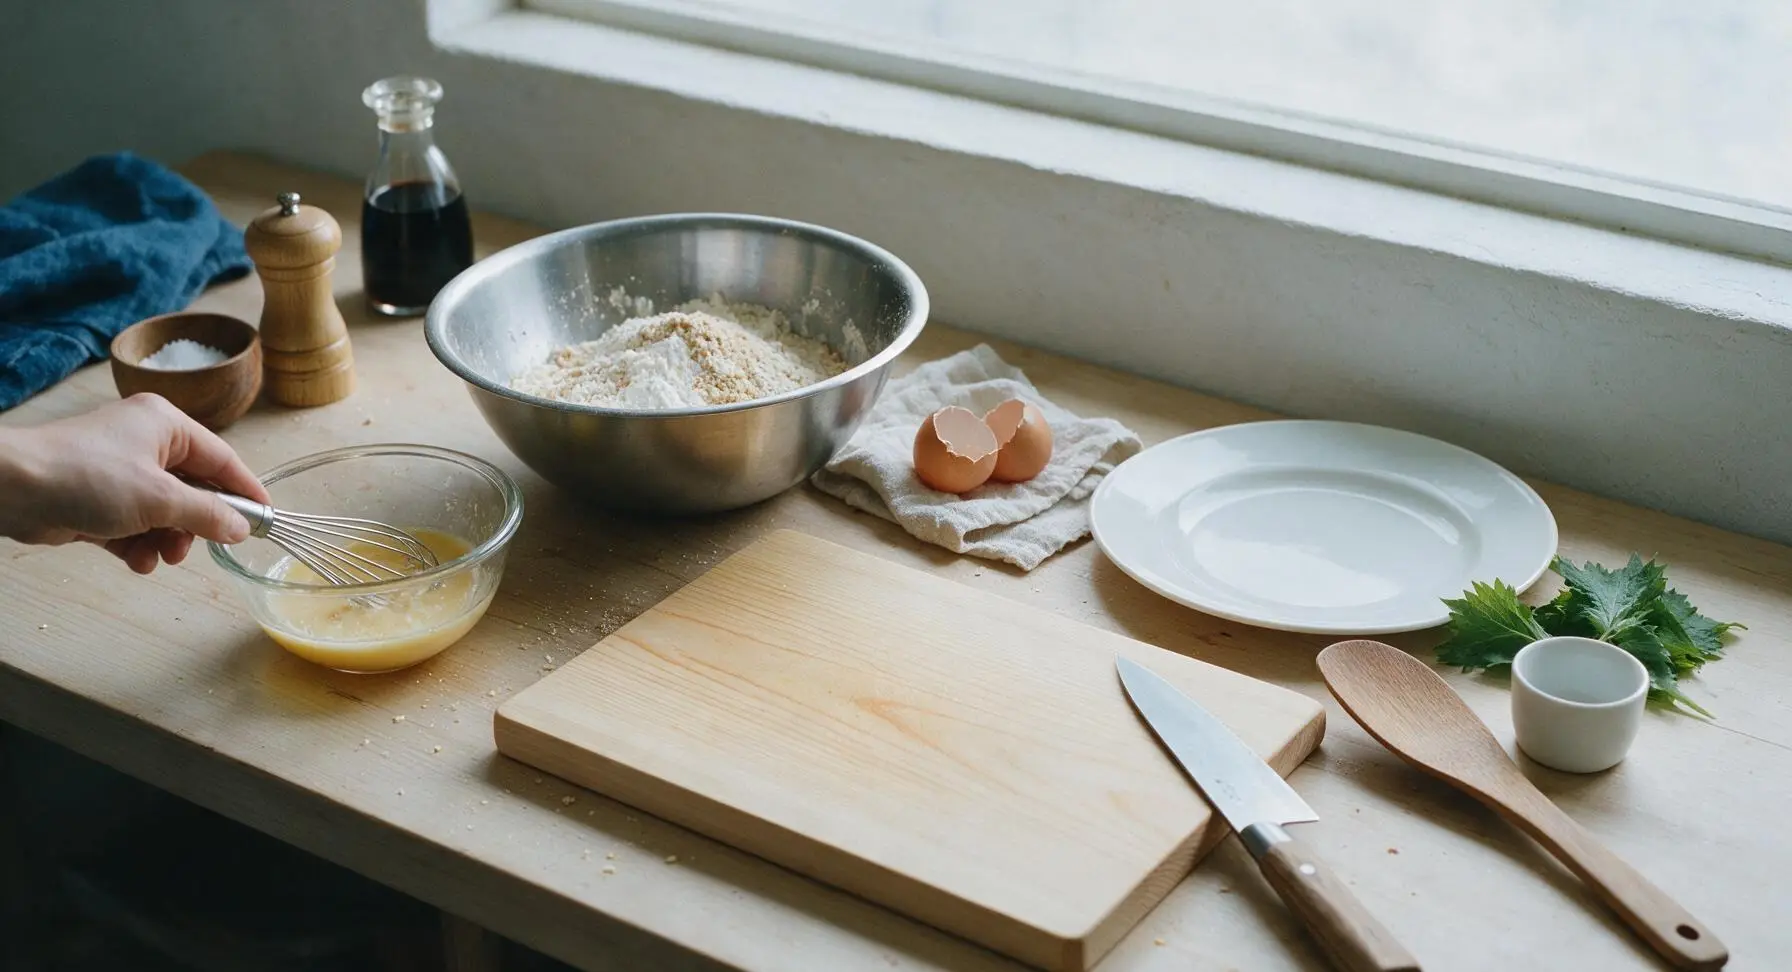
Crack the 2 large eggs into a small temporary clear glass bowl, whisk lightly until yolks and whites are fully blended. Pour in 1 3/4 cups cold whole buttermilk, 1/3 cup cooled melted unsalted butter, and 1 teaspoon pure vanilla extract. Whisk for 20 seconds until the mixture is smooth, with no streaks of unblended egg visible.
Fold Waffle Batter
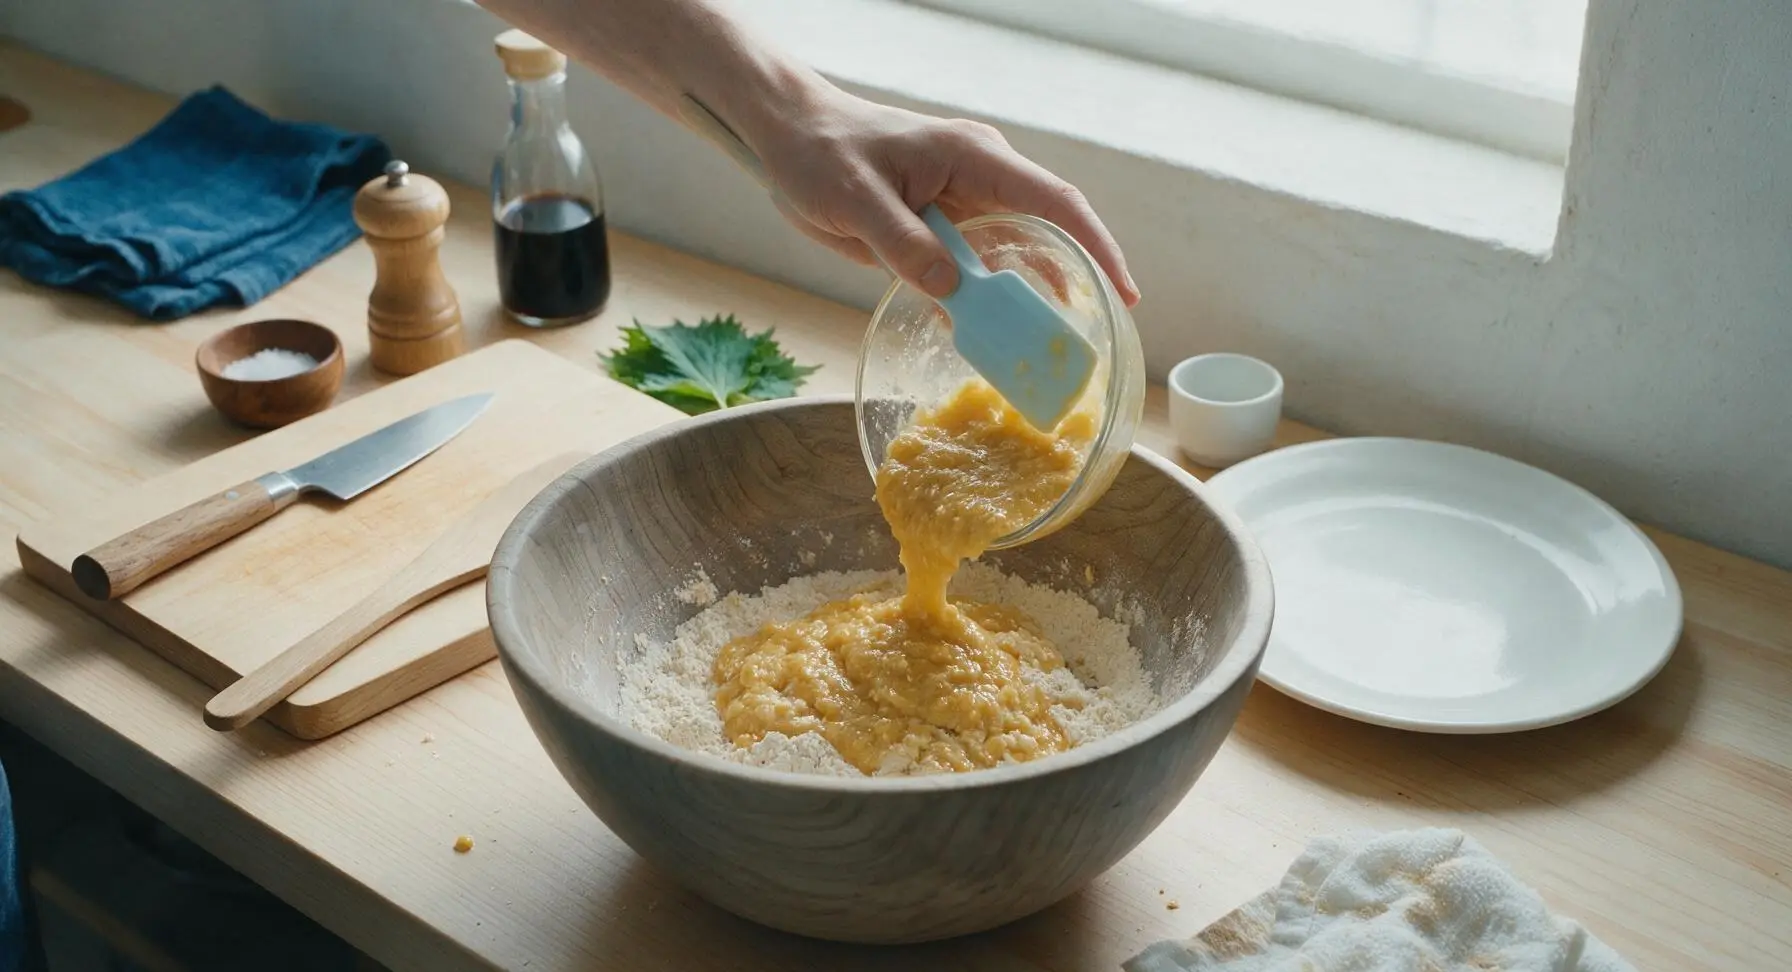
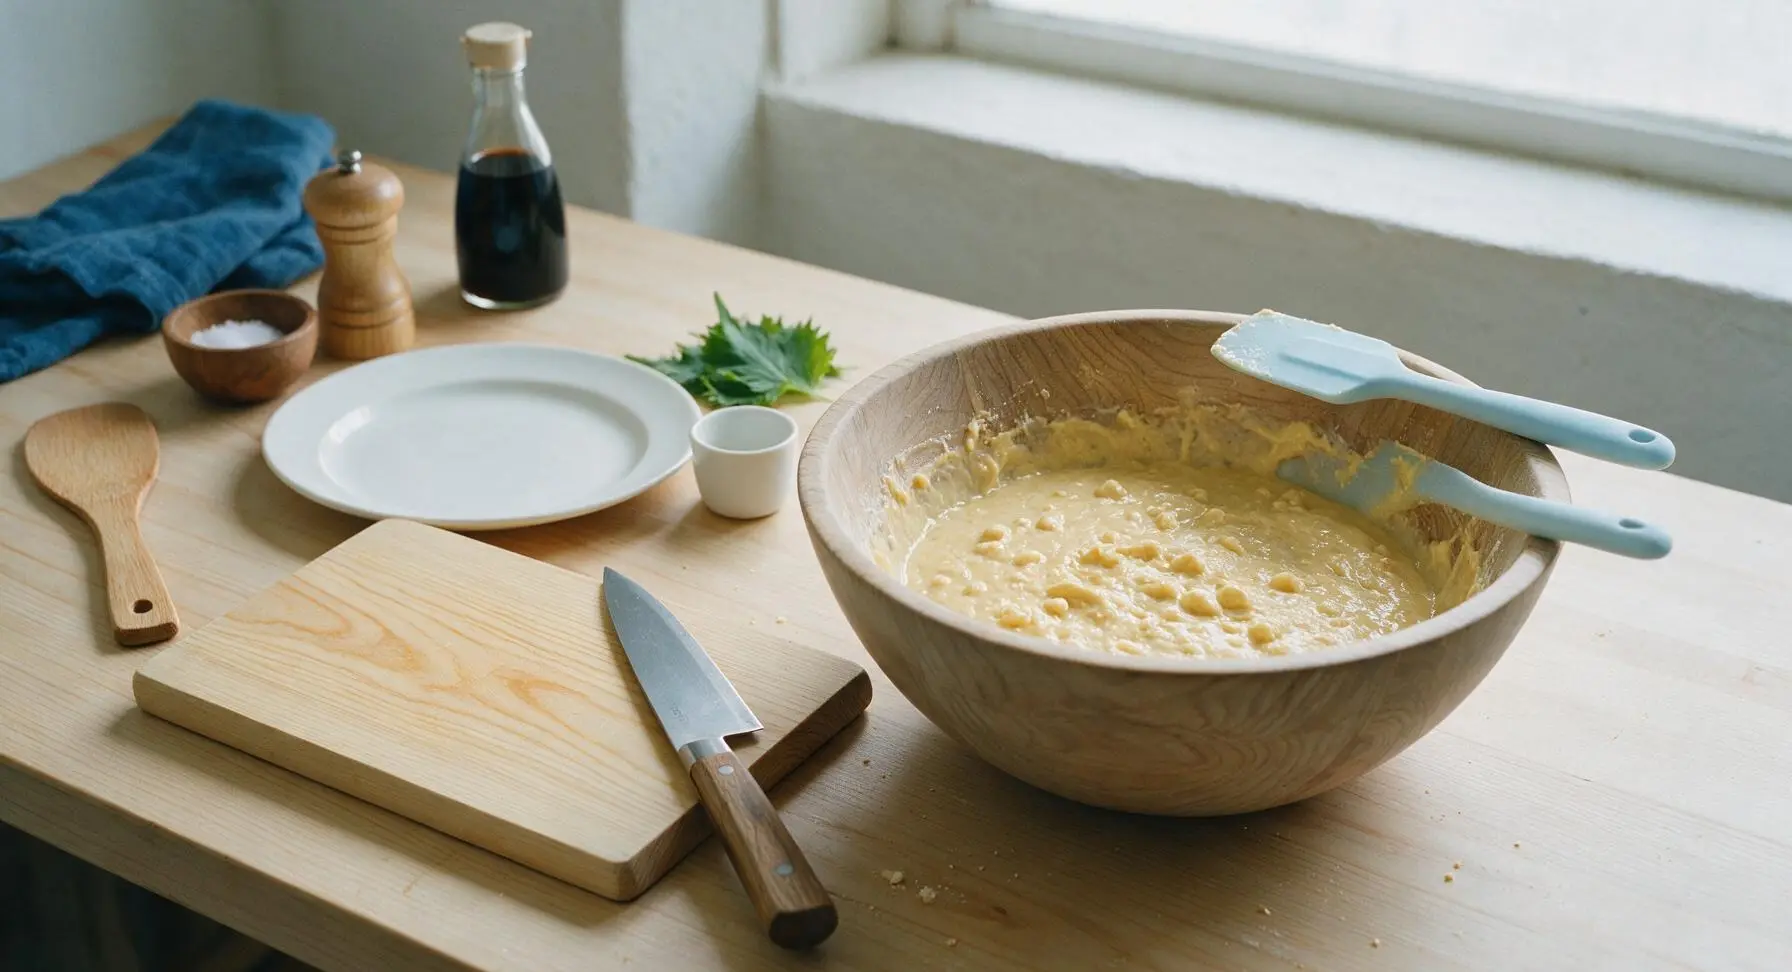
Pour the entire wet ingredient mixture into the dry ingredients in the large ash wood mixing bowl. Use the pale sky-blue silicone spatula to gently fold the ingredients together, stirring only just until no large pockets of dry flour remain. The finished batter will be thick and slightly lumpy—do not overmix, as this develops gluten and creates tough waffles. Stop stirring after 10-12 gentle folds, as soon as no loose dry flour is visible.
Preheat Waffle Pan
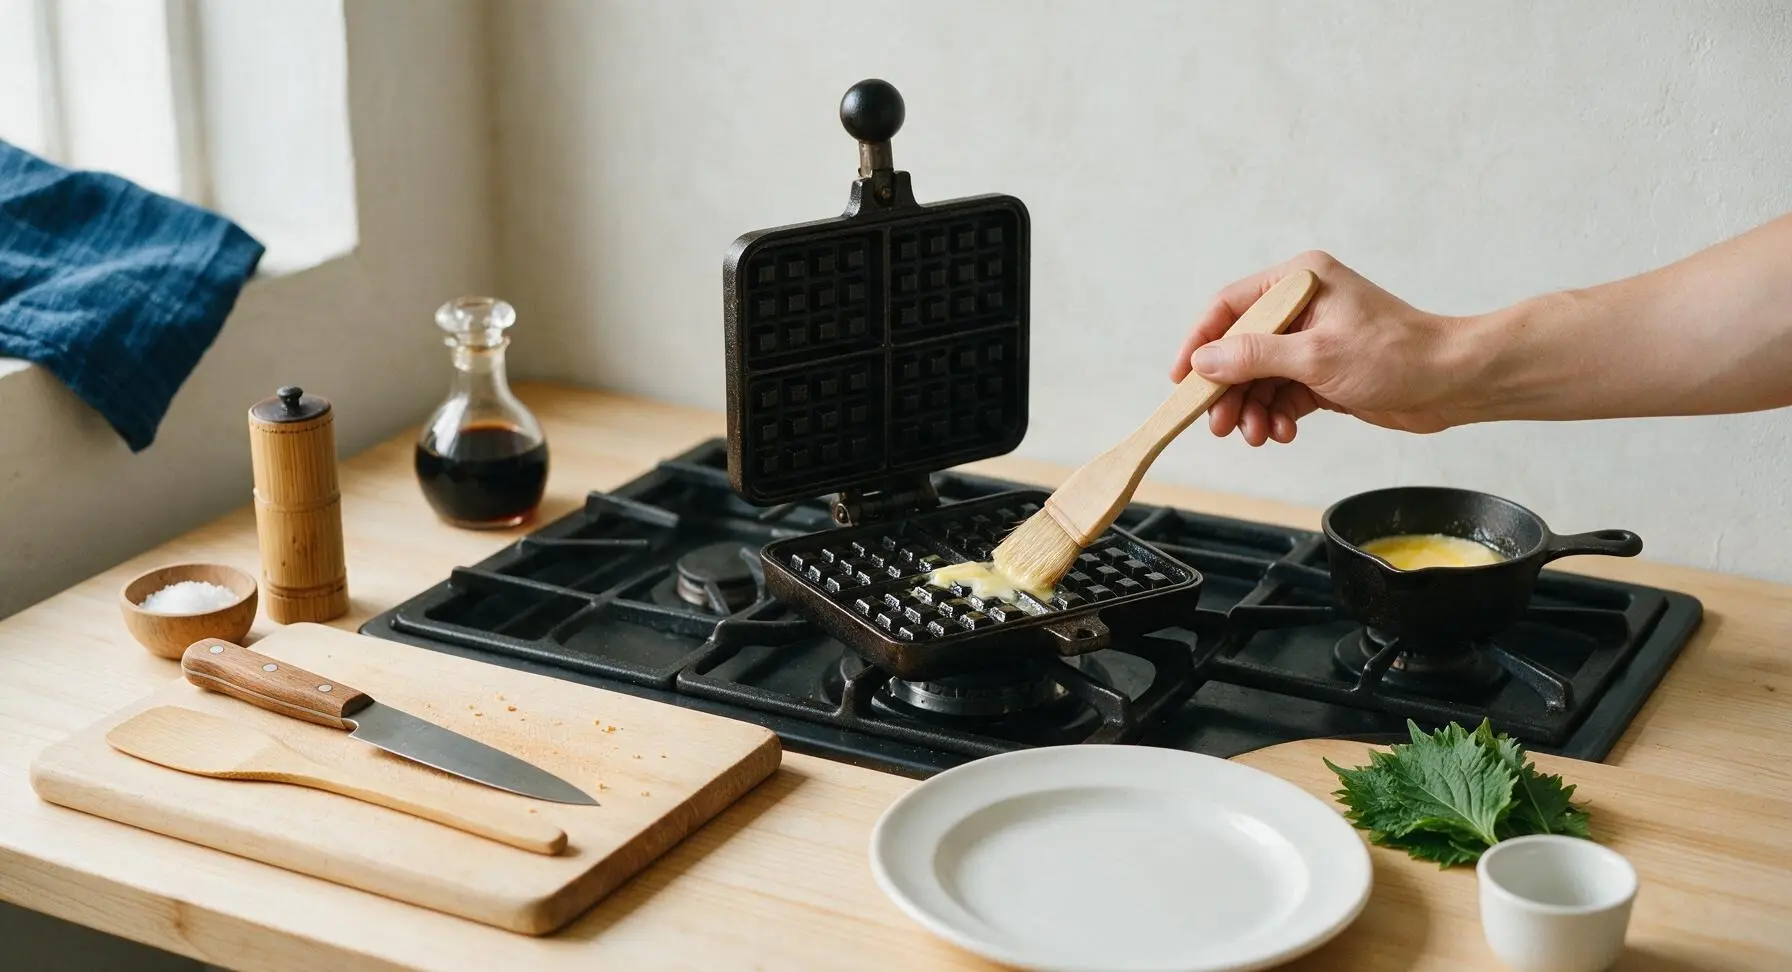
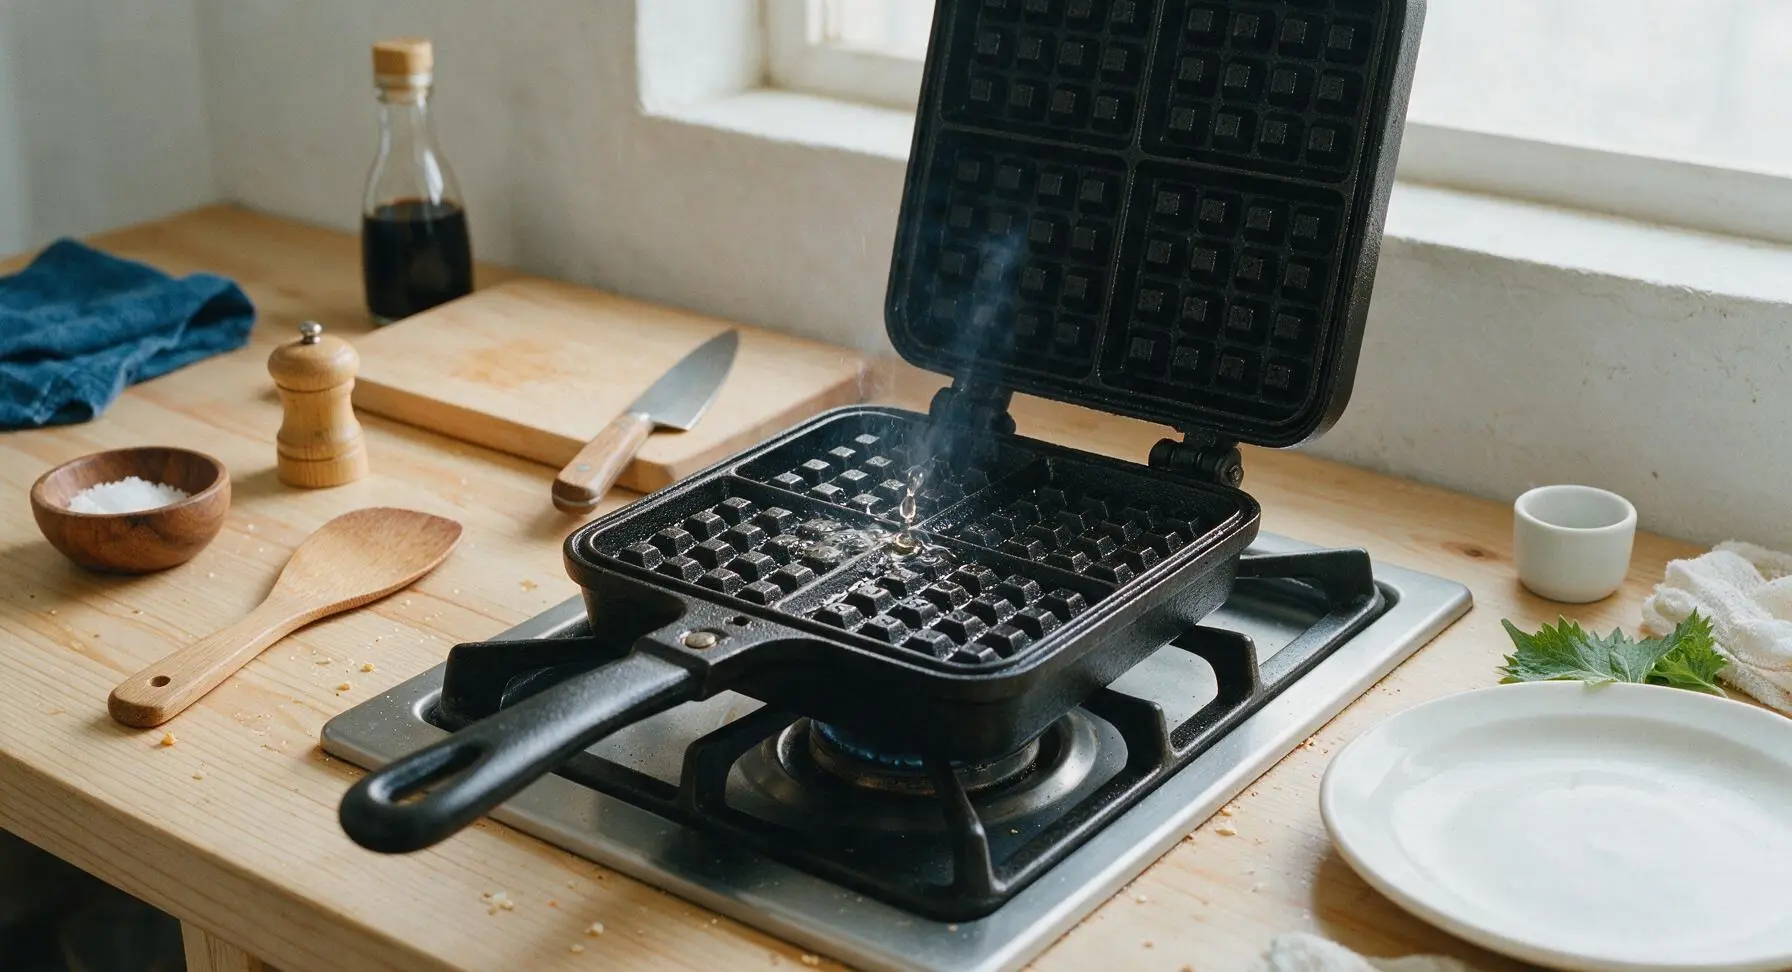
Retrieve the pre-seasoned cast iron stovetop waffle maker pan and place it on the center stovetop burner, turning heat to medium-low. Preheat for 3 minutes total, flipping the hinged pan once halfway through to heat both grid sides evenly. Test pan temperature by sprinkling a single drop of water: it should dance and sizzle immediately across the grid surface, evaporating in 2-3 seconds. Lightly brush both top and bottom grid surfaces with melted butter from the cast iron butter warmer, using the pastry brush stored in the fixed terracotta crock.
Pour Batter Into Pan
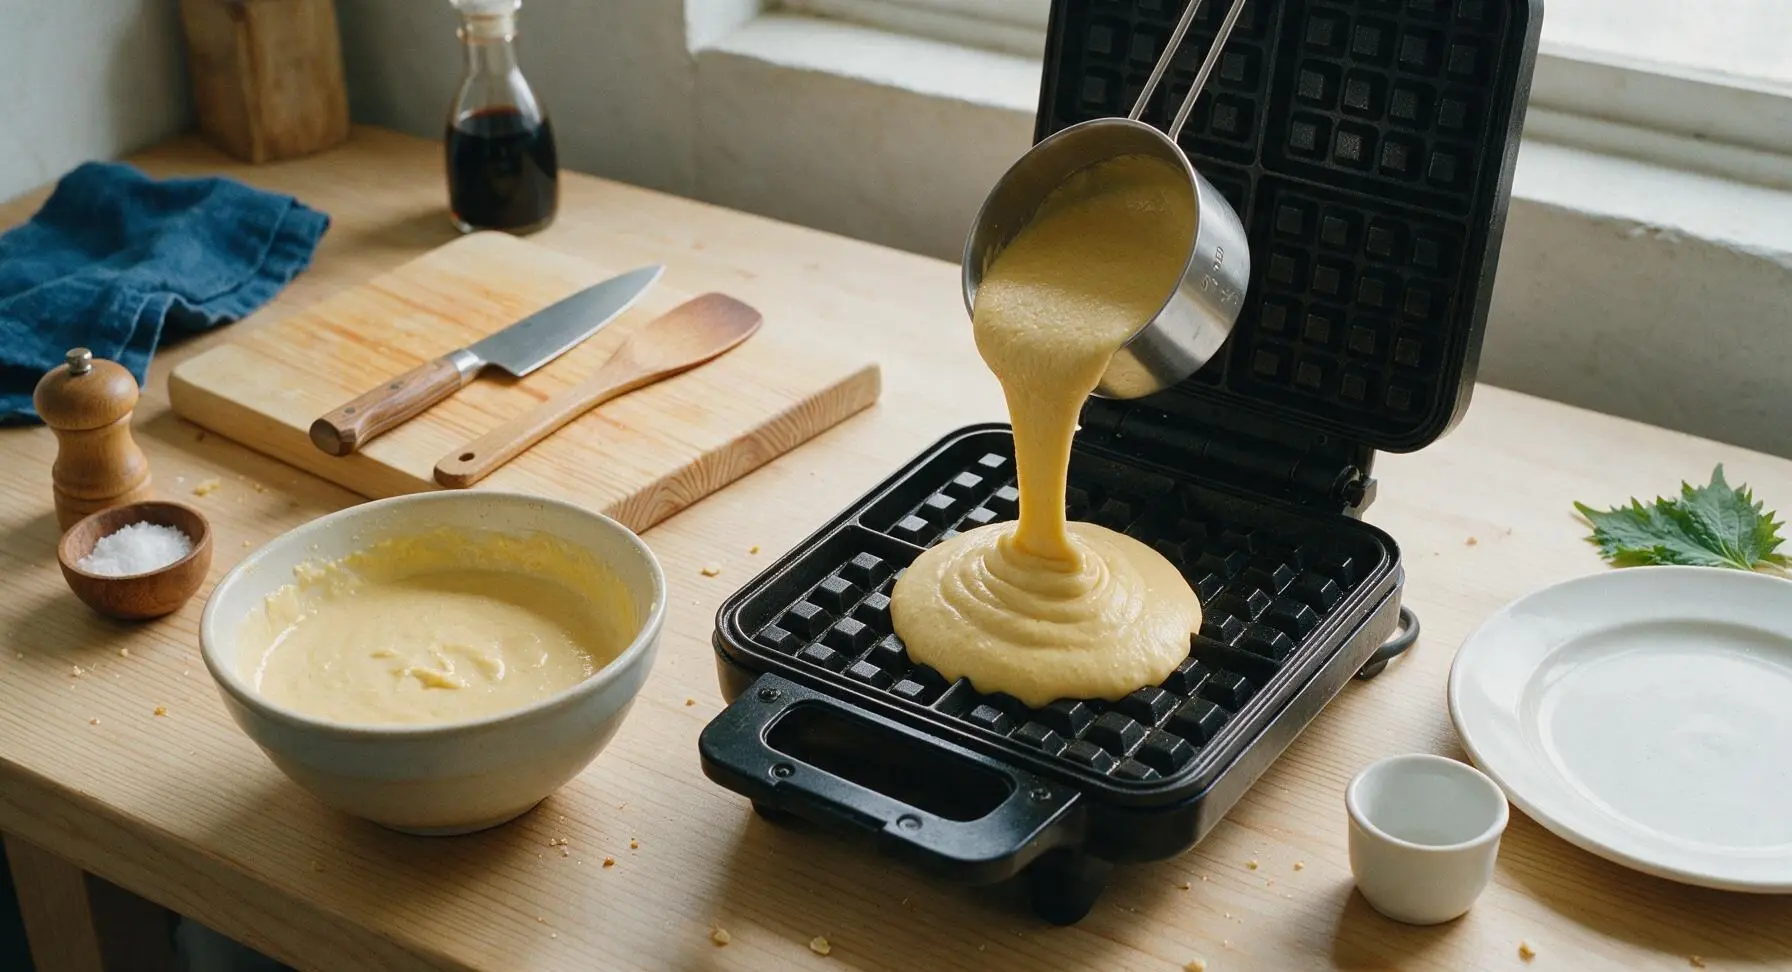
Scoop 1/2 cup of the thick waffle batter with the stainless steel 1/2 cup measuring cup, pouring it directly into the center of the preheated, buttered bottom waffle grid. Do not spread the batter—it will spread evenly on its own when the lid is closed. Close the hinged waffle pan lid, secure the handle latch, and cook for 2 minutes on the first side over medium-low heat. Small puffs of steam will escape from the pan edges as the batter sets.
Flip Pan to Cook
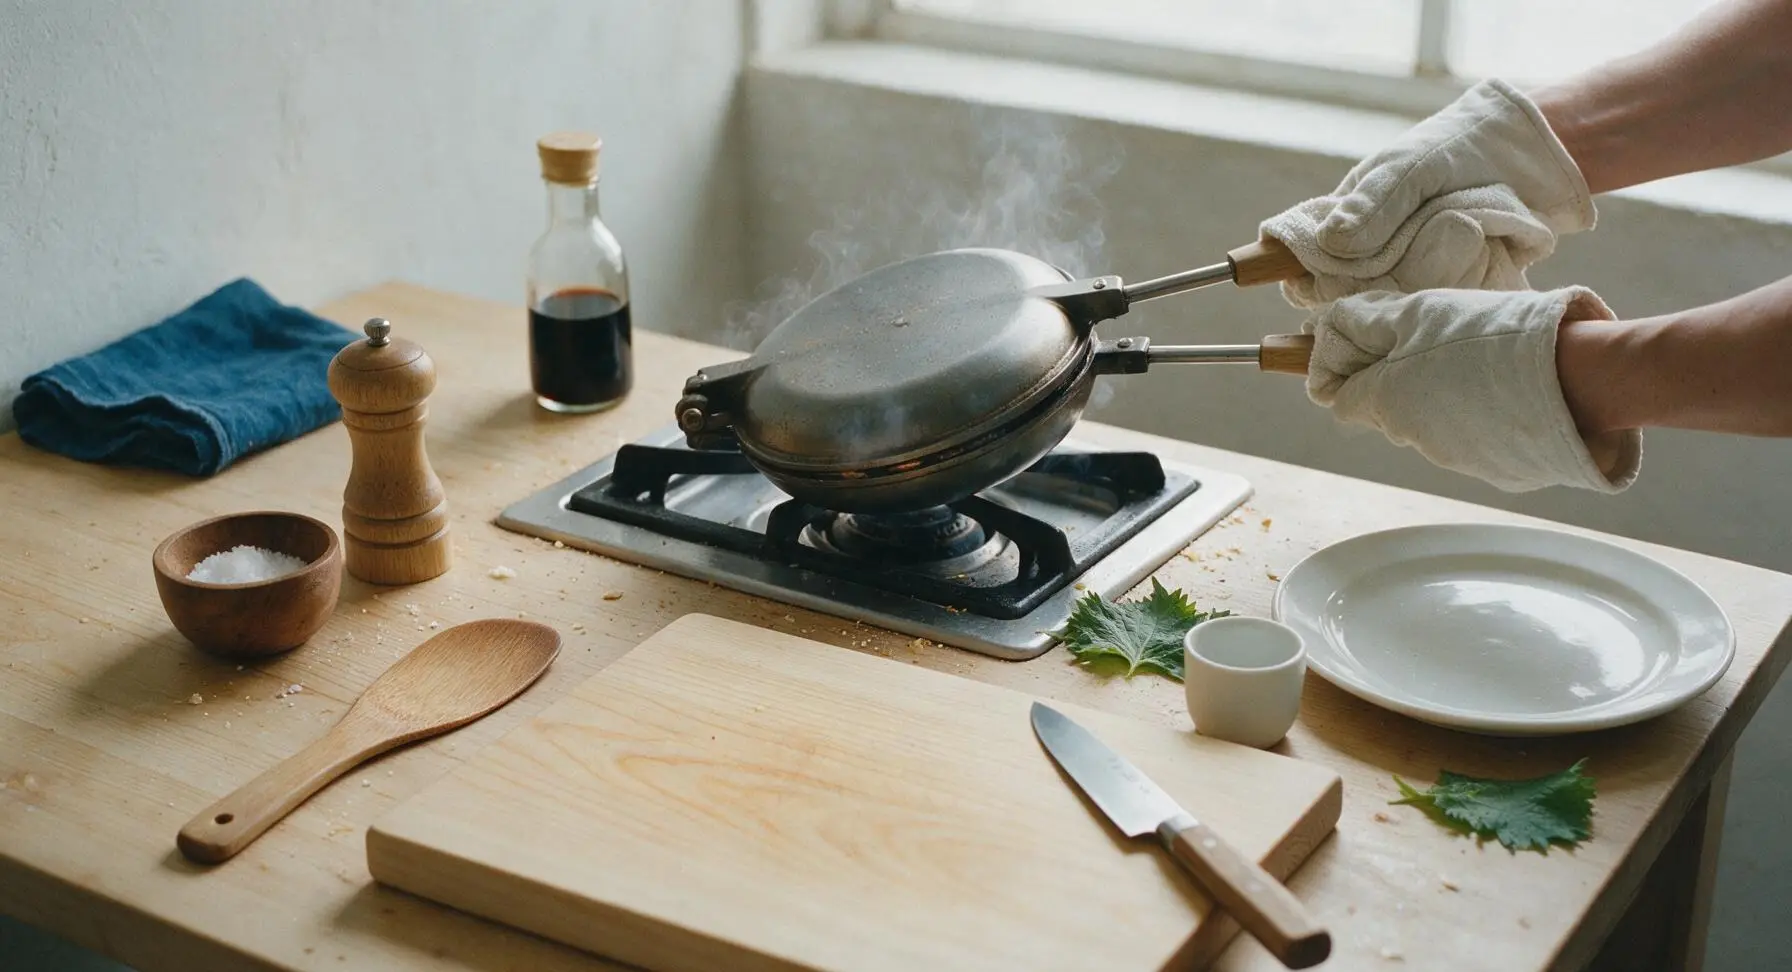
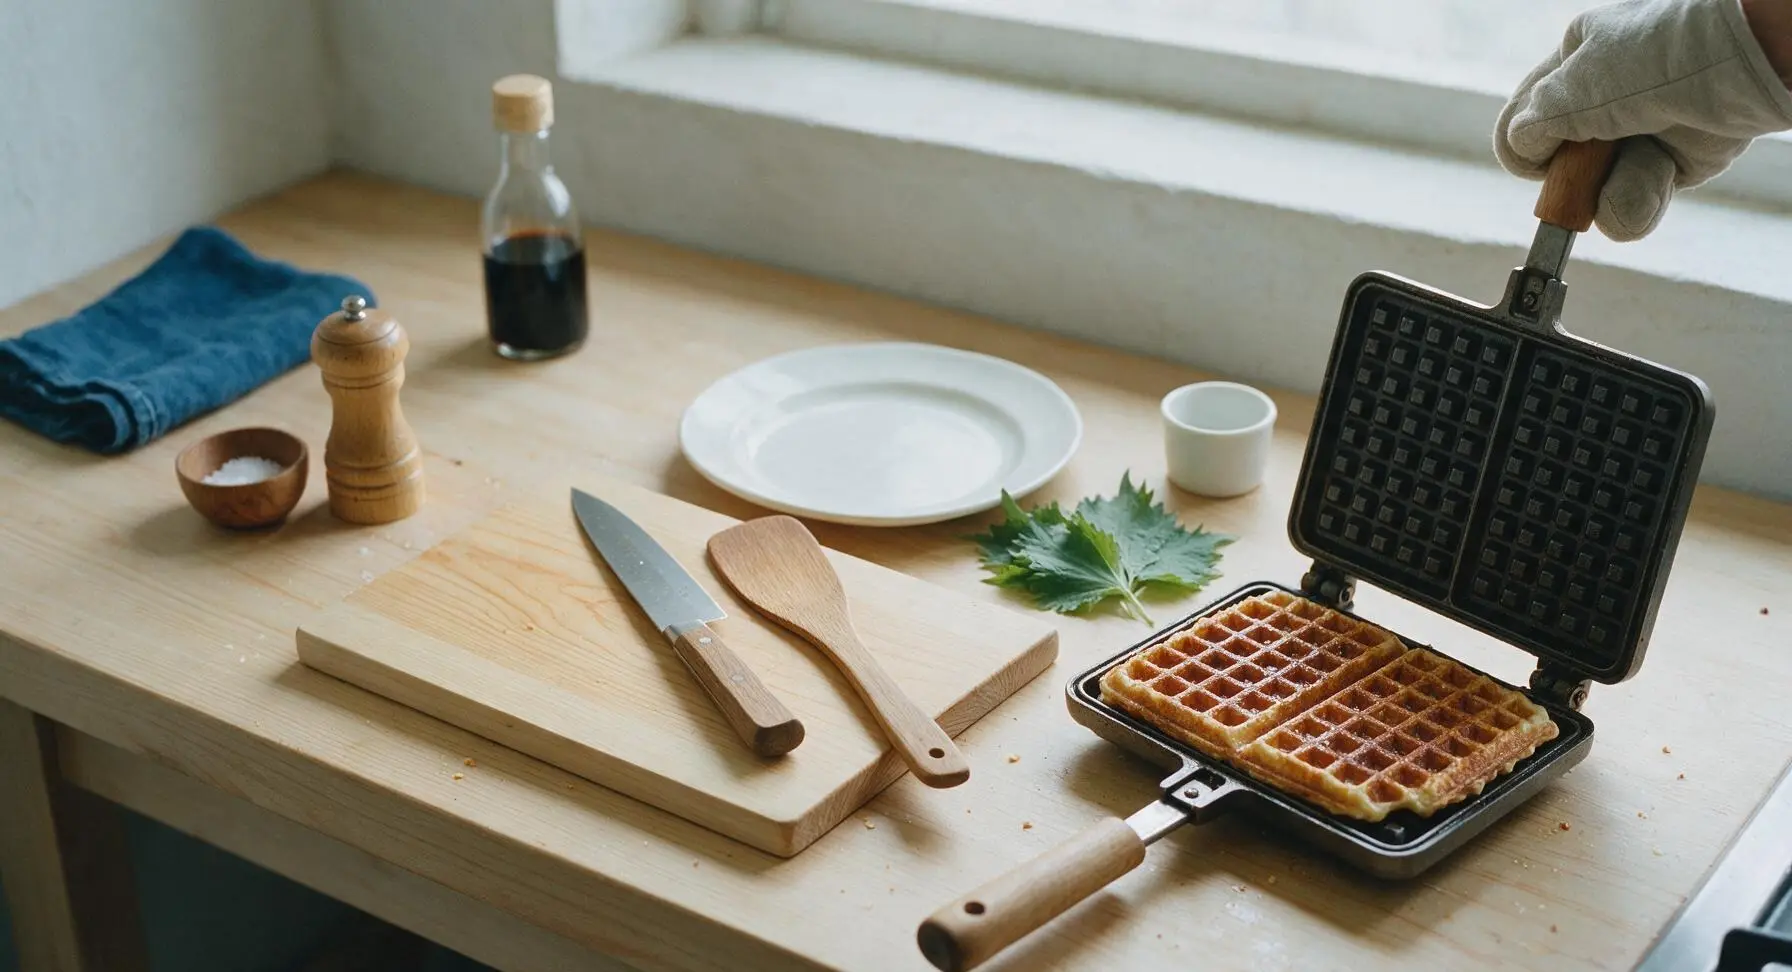
Wearing neutral cotton oven mitts to grip the wood pan handles, carefully flip the entire closed waffle pan over in one smooth motion. Cook for an additional 2 minutes on the second side. Resist the urge to open the lid early—peeking before cooking is complete will cause the waffle to split and stick to the grid. The waffle is done when no more steam escapes from the pan edges, and the waffle surface is deep golden brown when you gently lift the lid.
Stack and Serve Waffles
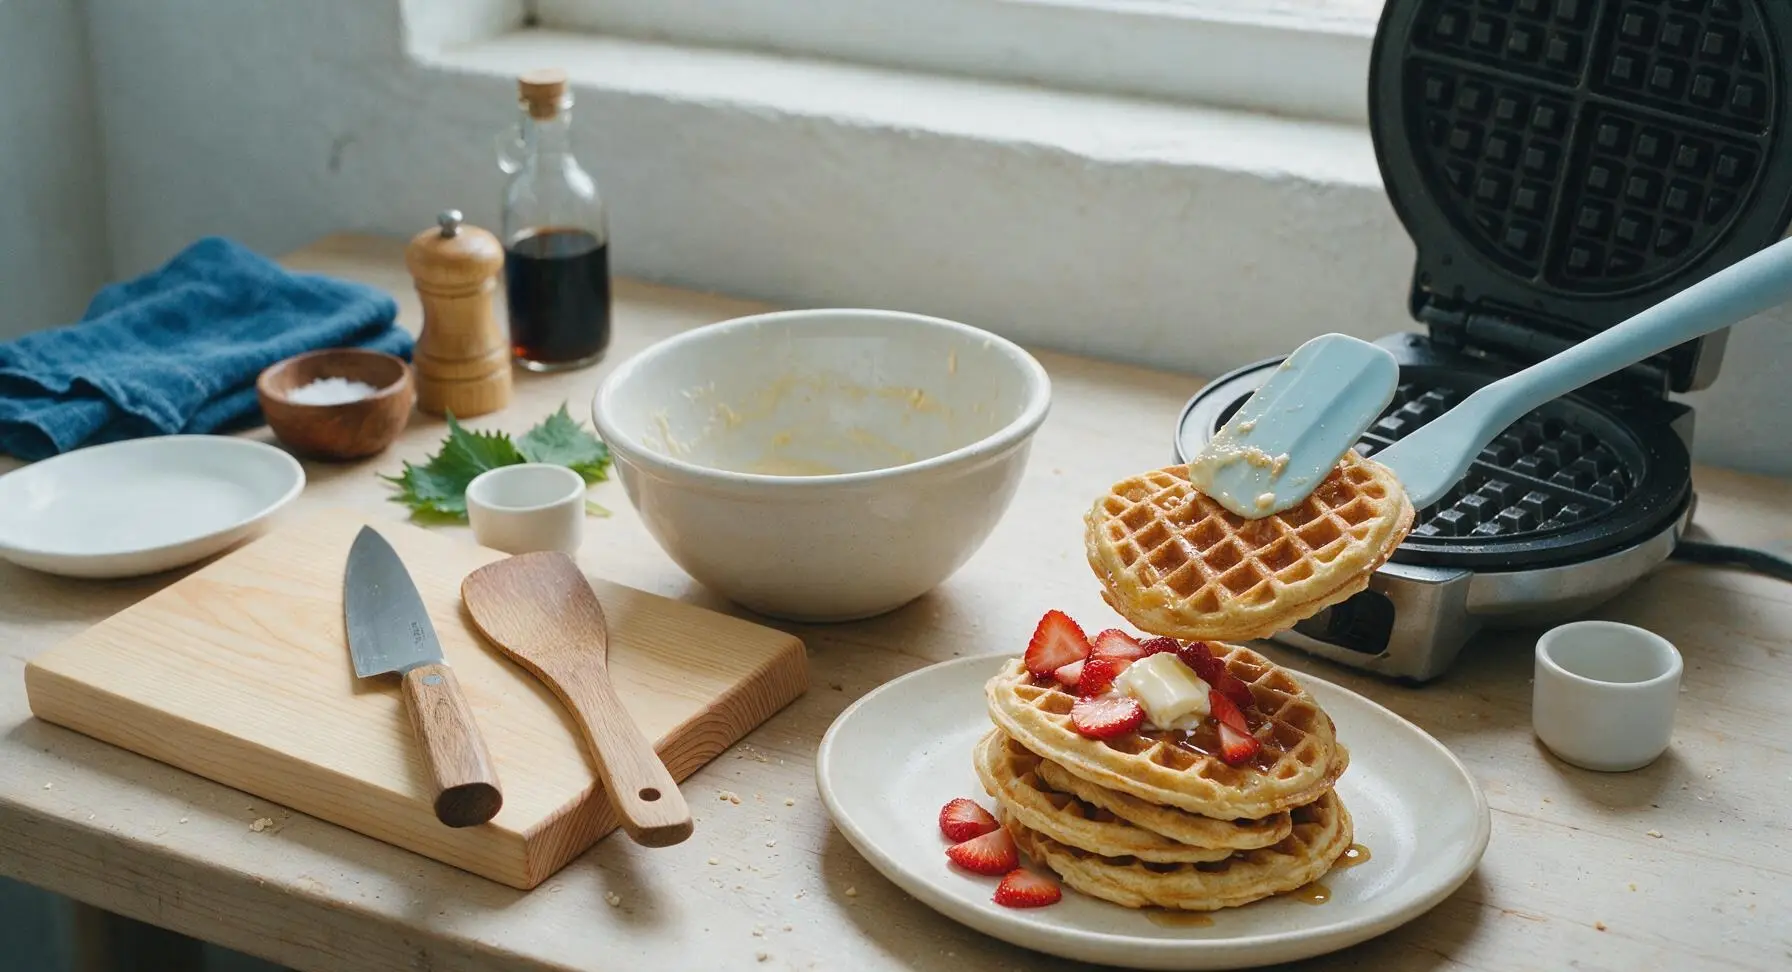
Use the pale blue silicone spatula to gently lift the cooked waffle from the pan, transferring it to the fixed matte cream ceramic dinner plate. Repeat the buttering, pouring, cooking, and flipping process for the remaining 3 batches of batter, stacking finished waffles loosely on the plate. Top with a pat of salted butter, a drizzle of maple syrup, and sliced fresh strawberries before serving.
Tips
2.Always preheat your cast iron waffle pan fully before adding batter: a too-cool pan will cause waffles to stick, tear, and turn pale and soft instead of developing a deep golden, caramelized crispy crust.
3.Avoid stacking waffles tightly directly on top of each other while keeping them warm: set them on a wire rack over a baking sheet in a 200°F (95°C) oven to let air circulate, as trapped steam from stacked waffles will soften crispy edges within 2-3 minutes.






OMG these are SO good! I don’t have an electric waffle maker so I almost wrote off weekend waffle brunches forever, but this stovetop pan method works perfectly. My kids begged for seconds before they even finished their first plate. Served with scrambled eggs and fresh strawberries, total hit for our lazy Saturday.
Quick question — can I make the batter the night before for meal prep? Mornings are chaos around here with school drop off and I’d love to cut down on steps if possible!
Game changer!!! I’ve been messing up stovetop waffles for months — they always came out soggy in the middle or burnt on the outside. Following the exact heat level and cook time listed here gave me perfectly crispy, golden waffles on the first try. Brought them to a friend’s potluck last weekend and everyone asked for the recipe!
Made these before an early morning trail hike last weekend and they kept me full for hours! The crisp holds up really well even when I pack them in a Tupperware to eat on the go. Drizzled a little maple syrup and peanut butter on top, chef’s kiss.
Full transparency, I burn literally every breakfast food I make so I went into this super nervous. It’s labeled easy and it actually is easy??? The 15 minute cook time is no joke, I had hot waffles on the table faster than my husband could brew coffee.
Has anyone tried this with a 1:1 gluten free flour blend? I have celiac and would love to make this for my Sunday brunch if it works!
Wait, do I need to grease the stovetop waffle pan between every waffle? I tried making waffles once on my pan and they kept sticking so bad I had to scrub it for 20 minutes after.
Made these for our monthly neighborhood brunch meetup and they were the first dish to get emptied out! The buttermilk gives that perfect tang that pairs so well with both sweet toppings (whipped cream, berry compote) and savory (fried chicken, hot honey). 10/10 will be making again.
I added a scoop of vanilla protein powder to the batter to make these a little more filling for my post-gym breakfast and it worked so well! Didn’t mess up the crisp factor at all, which I was worried about.
Y’all, this tastes exactly like the buttermilk waffles my grandma used to make on her old cast iron stovetop waffle iron. The crisp on the outside, fluffy inside, that perfect tang — I almost cried when I took the first bite. So nostalgic.
How long do these stay crispy after cooking? I’d love to make a batch on Monday to eat for quick breakfasts throughout the work week, but soggy waffles are a hard no for me.
I topped mine with cinnamon apples and a drizzle of salted caramel and it was unreal. The waffle itself isn’t overly sweet so it pairs perfectly with all kinds of fun toppings, no sad bland frozen waffle vibe here. 10/10, way easier than I thought it would be.
This recipe was made for people like me who have zero storage for giant countertop appliances! I live in a 500 sq ft studio so an electric waffle maker is just not in the cards, and this stovetop pan version works just as well for a fraction of the storage space.
Help! I tried making these this morning and my waffles came out super thin, no fluff at all. Did I do something wrong? I followed the ingredient list exactly as written.