
waffle recipe for mini waffle maker

title 1
waffle recipe for mini waffle maker
⏱️ cook time 18 minutes
🍽️ servings 4
⚡ Difficulty easy

intro

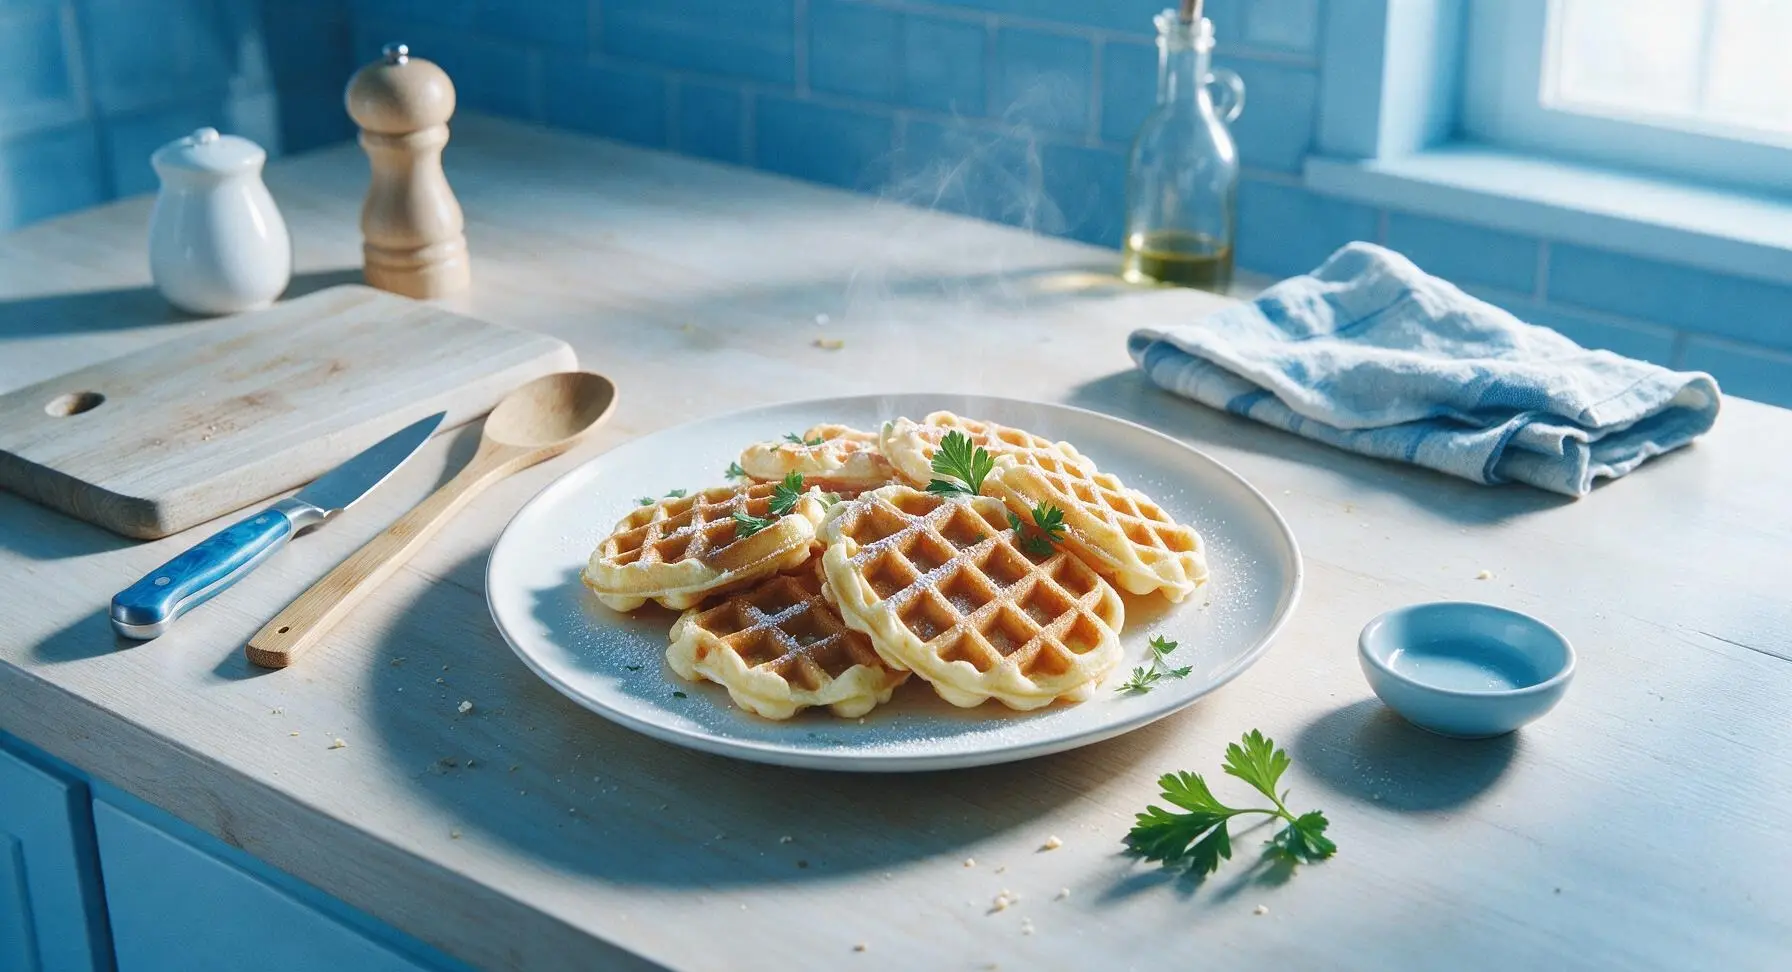
Crisp-edged, fluffy-centered mini waffles cook in 2 minutes flat in a countertop mini waffle maker. Customize with favorite toppings for a fast, cozy meal any time of day.

Ingredients
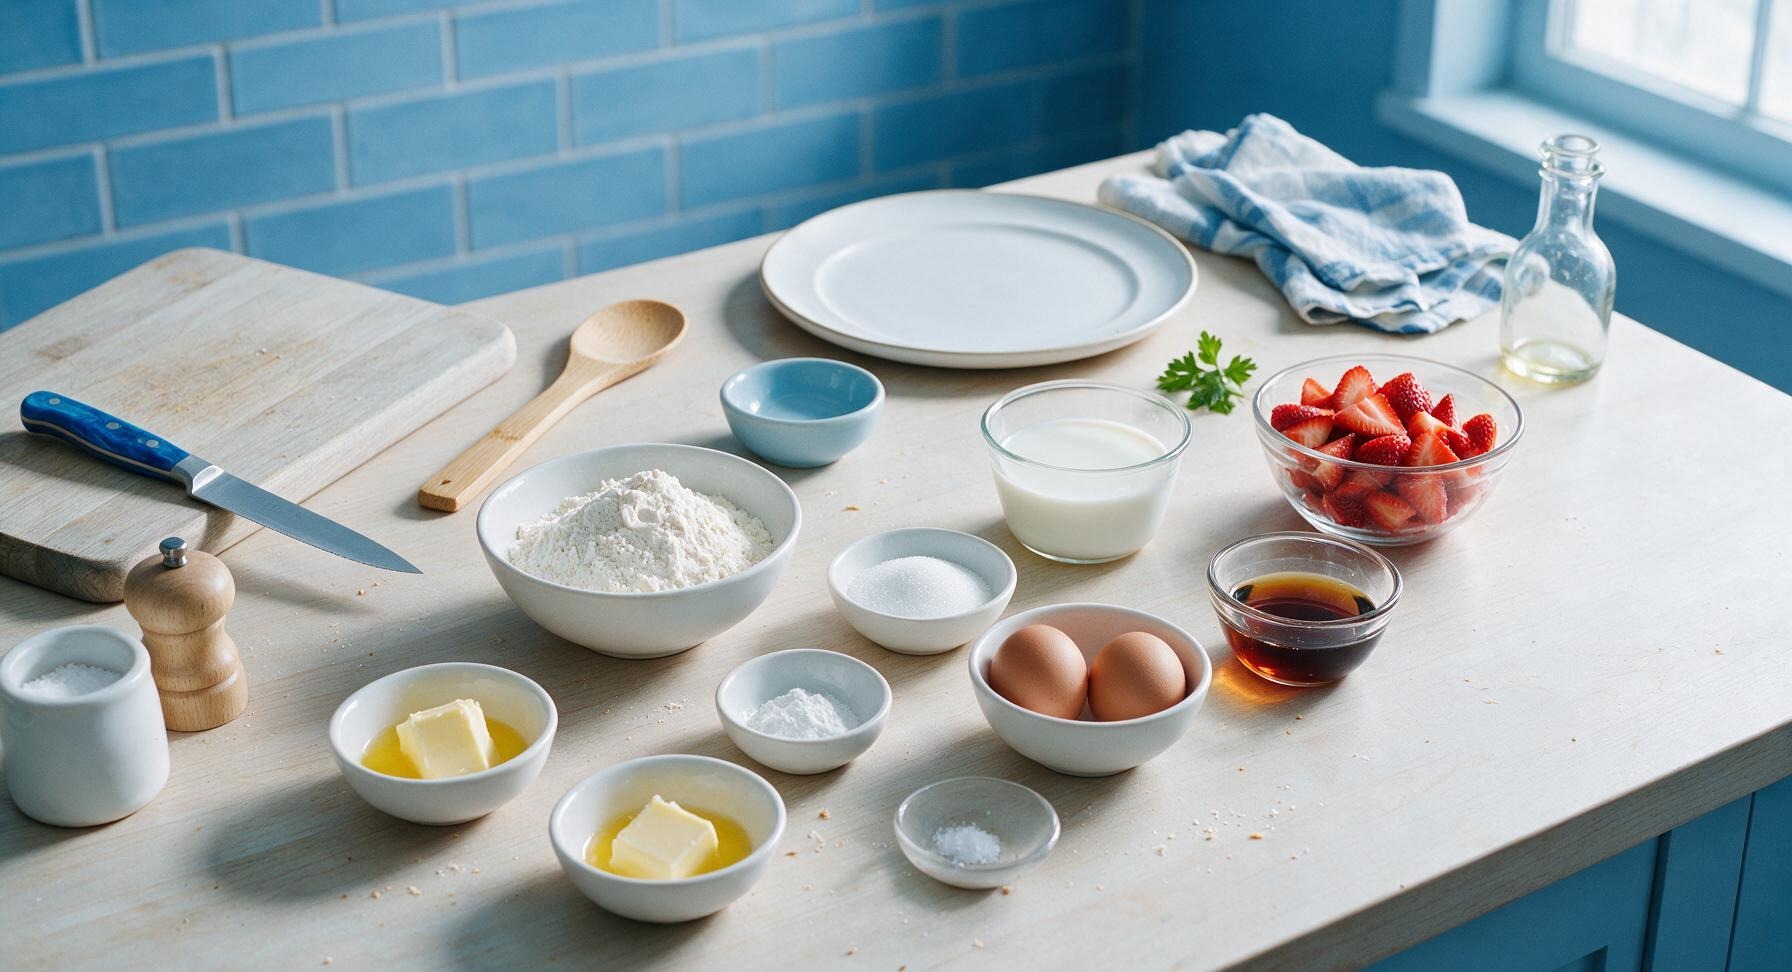
All-purpose flour 1 ½ cups (180g)
Large eggs 2
Whole milk ¾ cup (180ml)
Unsalted butter (melted, divided) 3 tbsp + 1 tsp (47g)
Granulated sugar 2 tbsp (25g)
Baking powder 2 tsp
Fine sea salt ¼ tsp
Fresh strawberries (sliced, for serving) 1 cup (150g)
Pure maple syrup (for serving) ¼ cup (80ml)

Steps

1

Preheat Waffle Maker

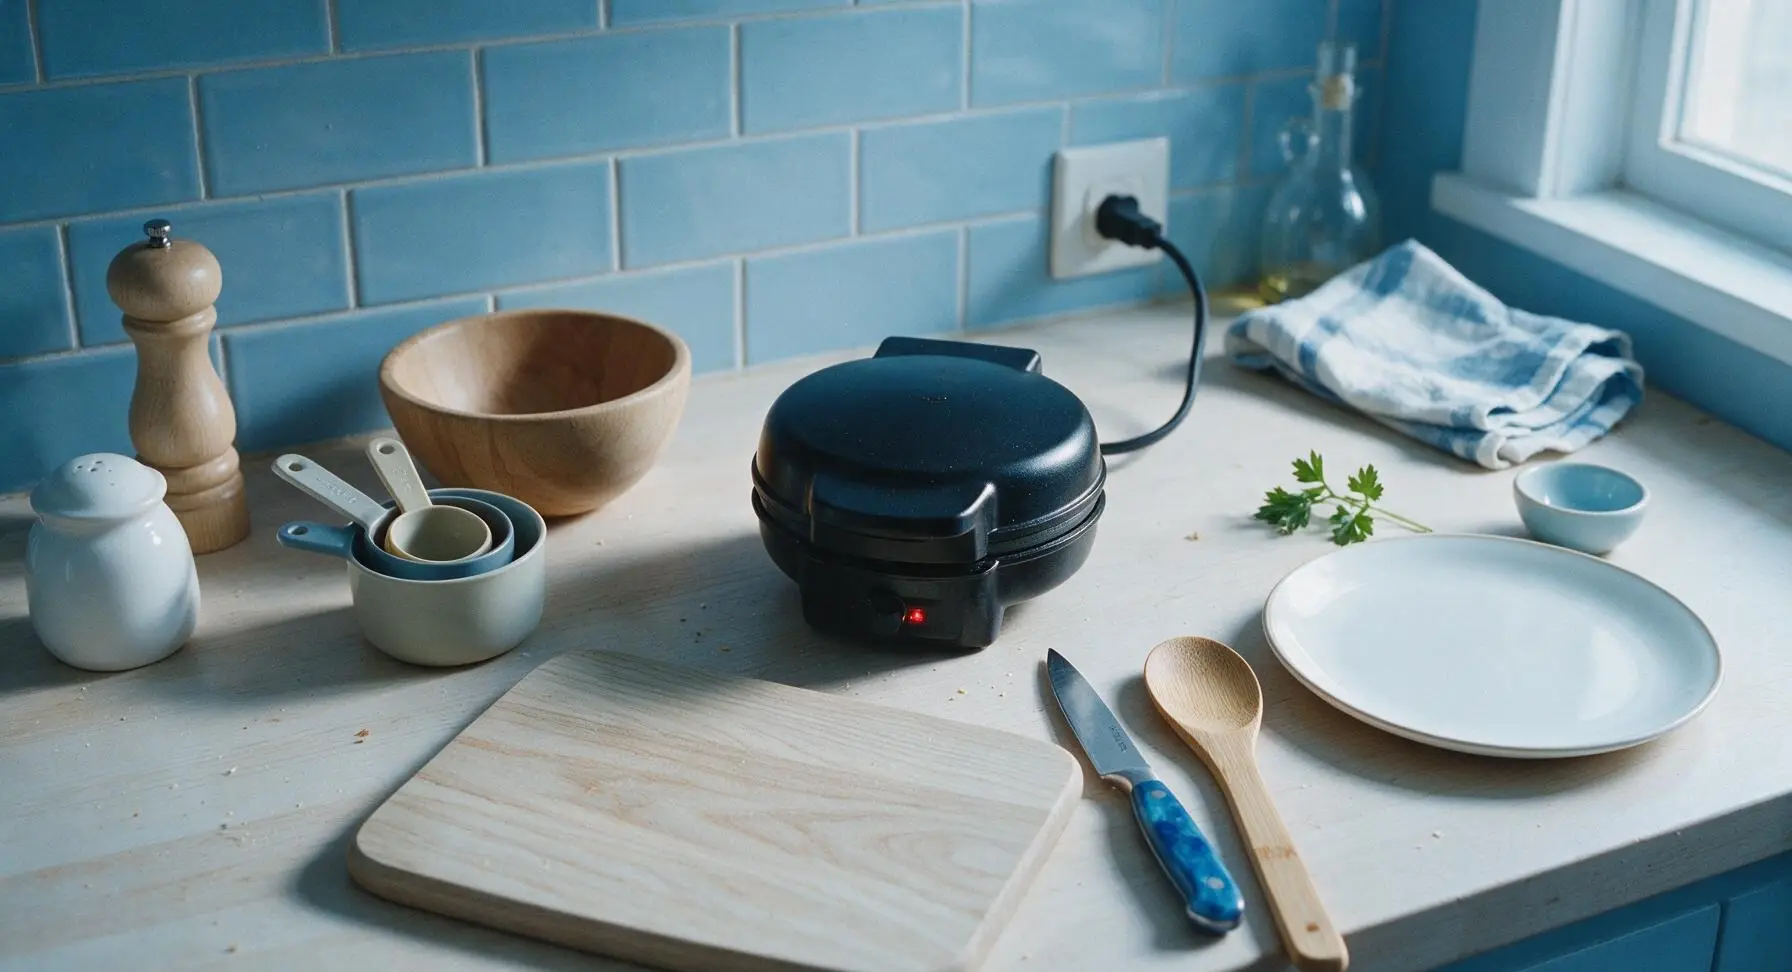
Place the matte black mini waffle maker on the center of the counter, plug it into the back right outlet, and close the lid to preheat for 4 minutes, until the built-in indicator light shows the unit has reached 375°F (190°C). Do not grease the cooking plates before the unit is fully preheated, as cold oil will burn and leave a bitter residue on waffles.
Step 1
step1:Preheat Waffle Maker
2

Whisk Dry Ingredients

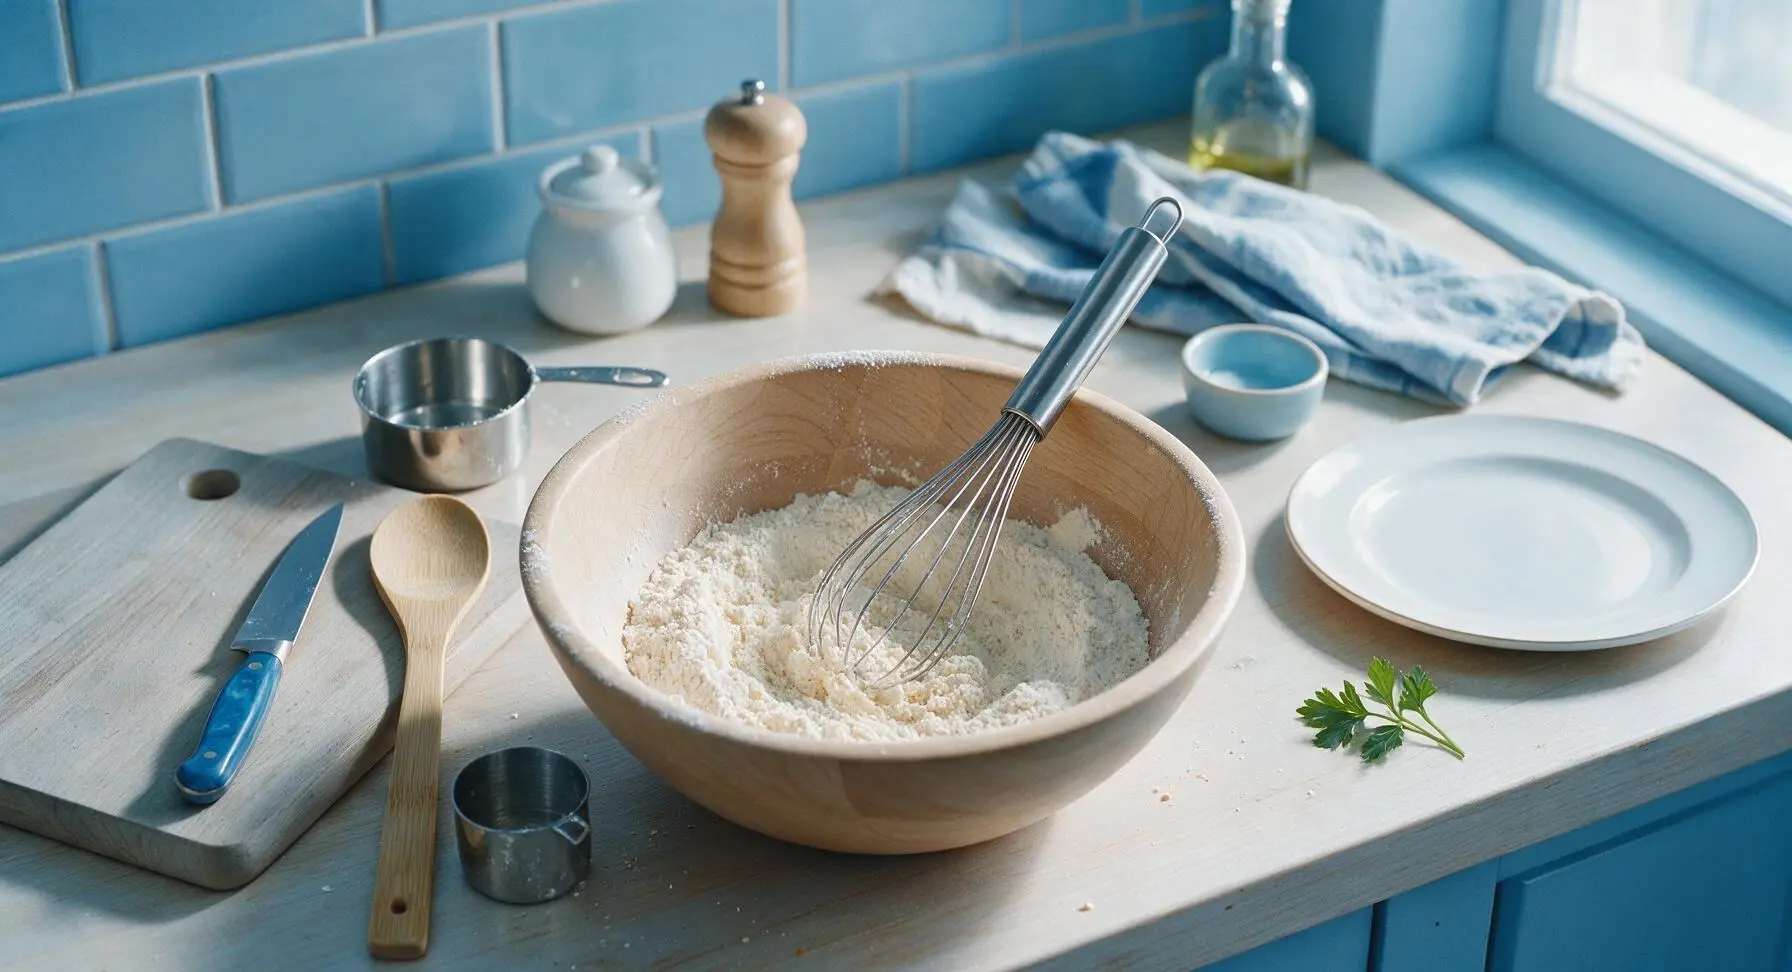
In the light beechwood mixing bowl, combine the measured all-purpose flour, granulated sugar, baking powder, and fine sea salt. Use the polished stainless steel wire whisk to stir the dry mixture for 30 seconds, until all ingredients are evenly blended with no concentrated clumps of baking powder visible.
Step 2
step2:Whisk Dry Ingredients
3

Combine Wet Ingredients

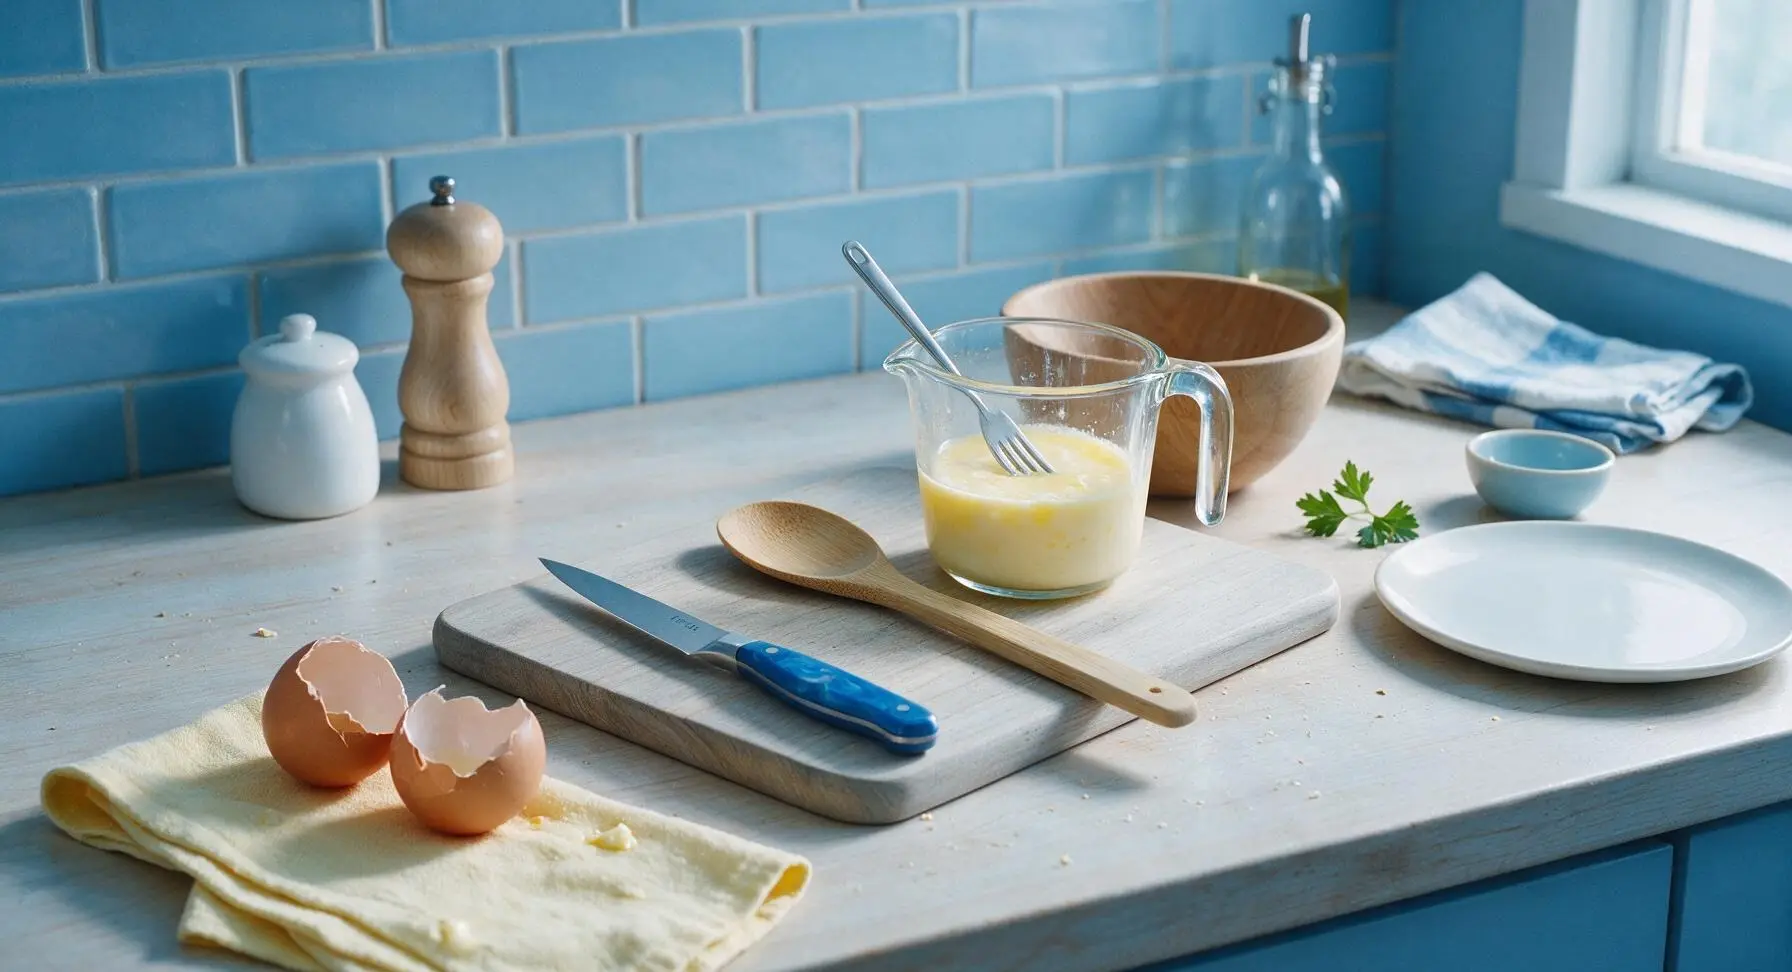
In the clear tempered glass 2-cup measuring cup, crack the two large eggs, add the whole milk and 3 tablespoons of slightly cooled melted butter, and whisk with a stainless steel fork from the measuring set for 20 seconds until fully combined, with no visible streaks of unblended egg white remaining. Reserve the remaining 1 teaspoon of melted butter for greasing the waffle plates.
Step 3
step3:Combine Wet Ingredients
4

Mix Waffle Batter

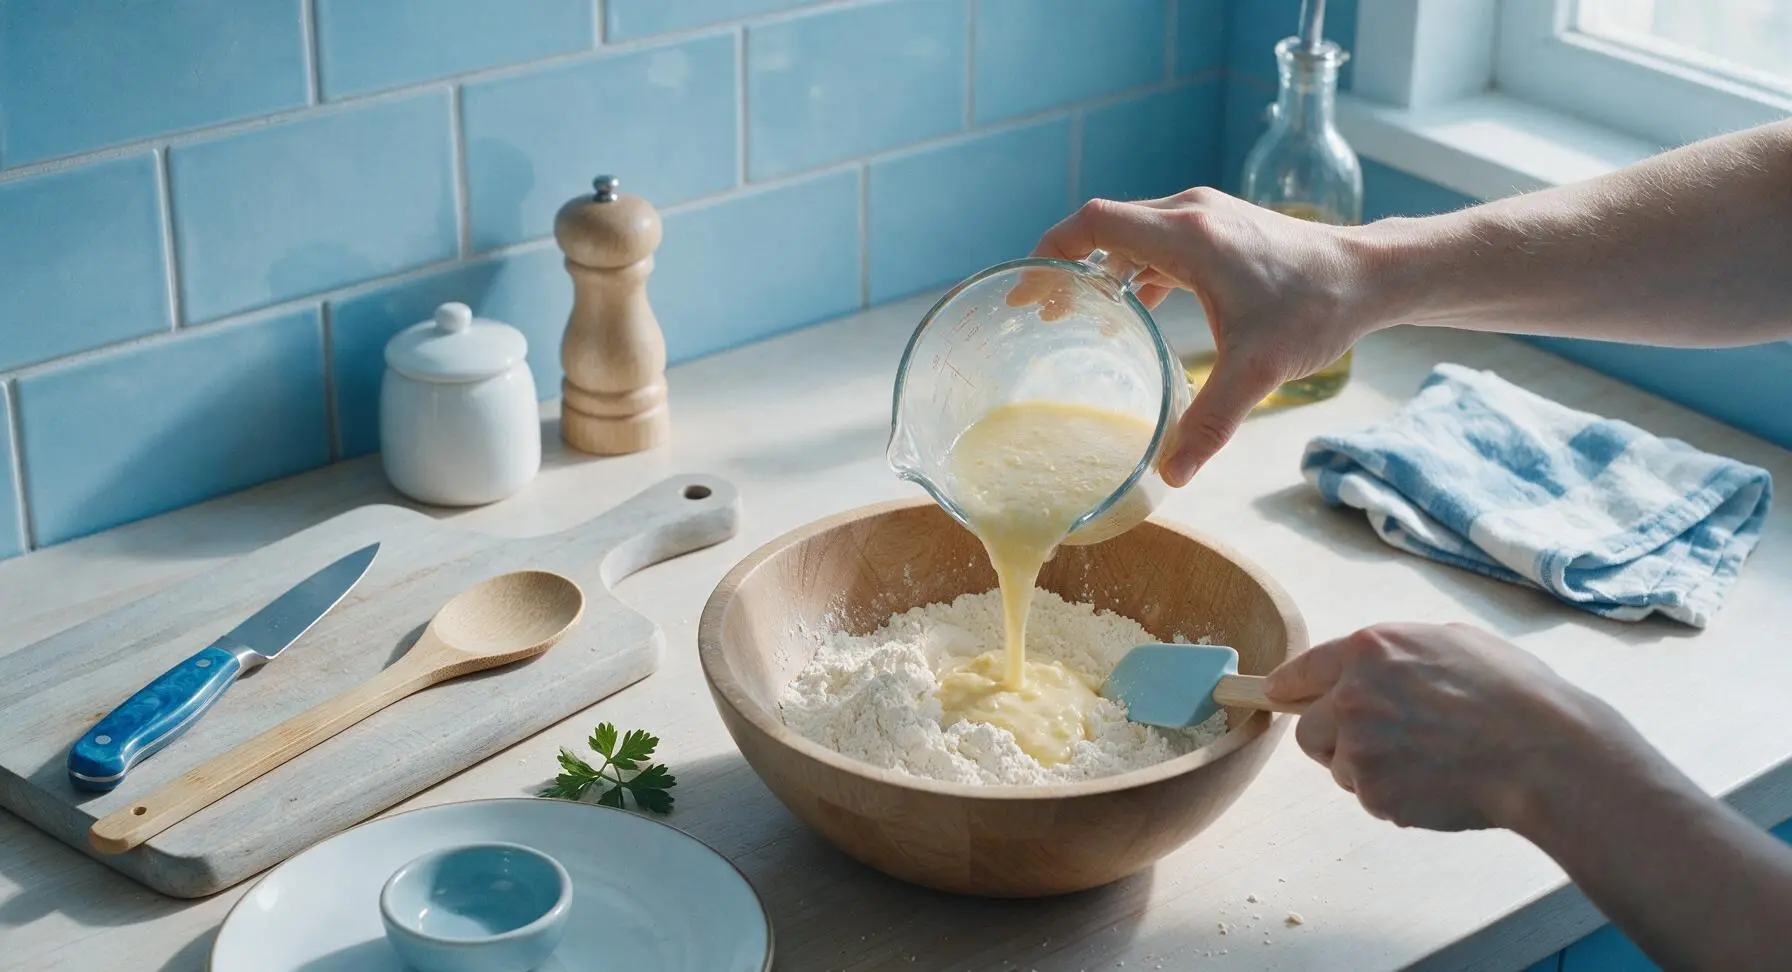
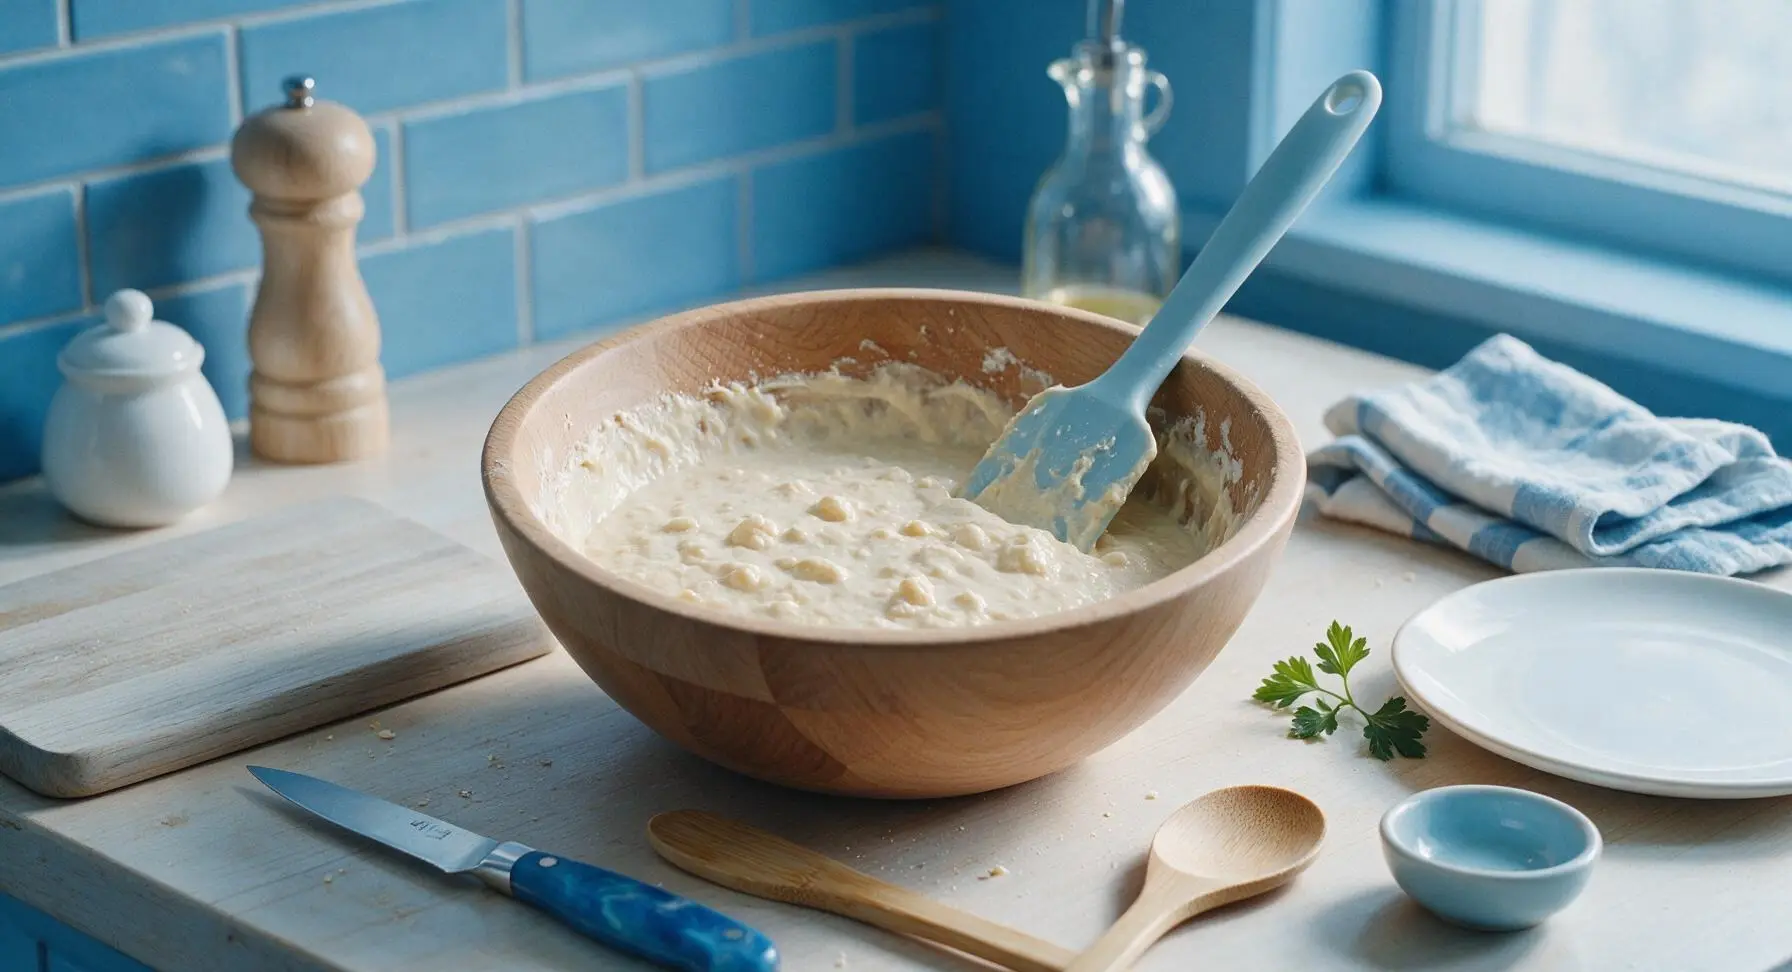
Pour the entire wet ingredient mixture into the bowl of dry ingredients. Use the light blue silicone spatula to gently fold the ingredients together just until no large dry flour streaks remain; the batter will be thick and slightly lumpy, which is the ideal texture. Do not overmix, as this will develop gluten and create tough, dense waffles. Let the batter rest for 2 minutes while you prepare the waffle plates.
Step 4
step4:Mix Waffle Batter
Step 4
step4:Mix Waffle Batter
5

Grease Waffle Plates

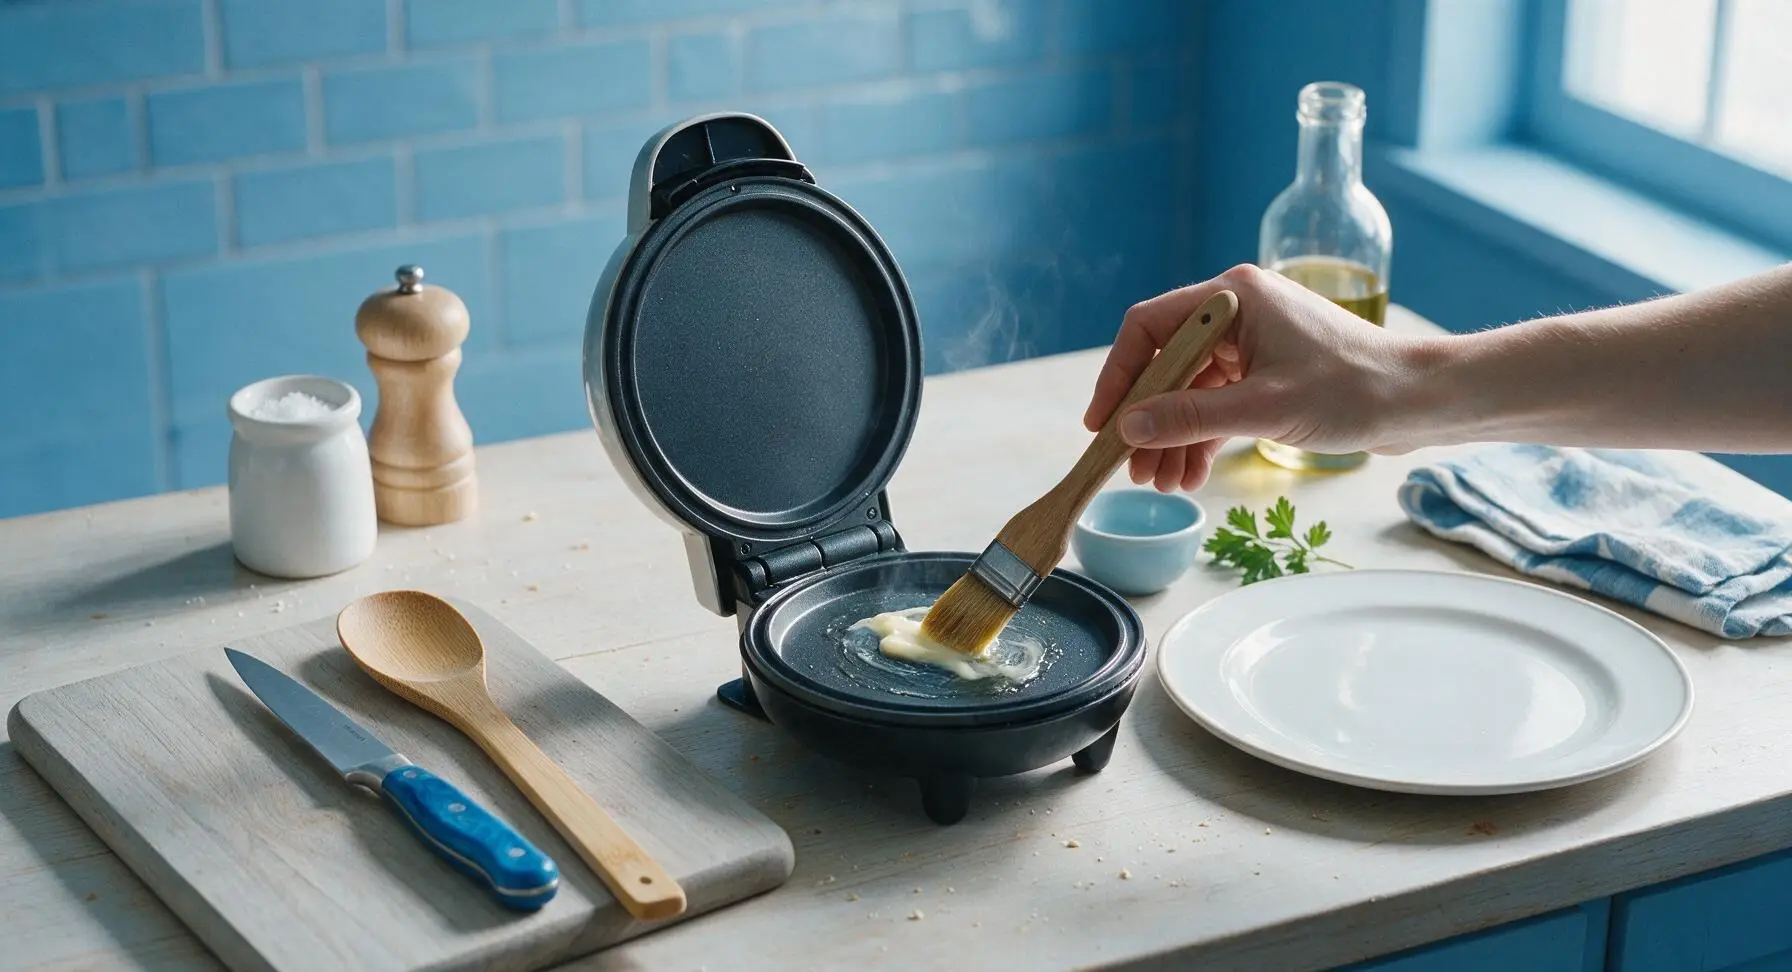
Once the waffle maker is fully preheated, open the lid and lightly coat both top and bottom non-stick plates with the reserved 1 teaspoon of melted butter, using one of the pastry brushes from the back-left cream ceramic crock. Wipe away any excess oil with a corner of the linen towel to prevent smoking during cooking.
Step 5
step5:Grease Waffle Plates
6

Cook Mini Waffles

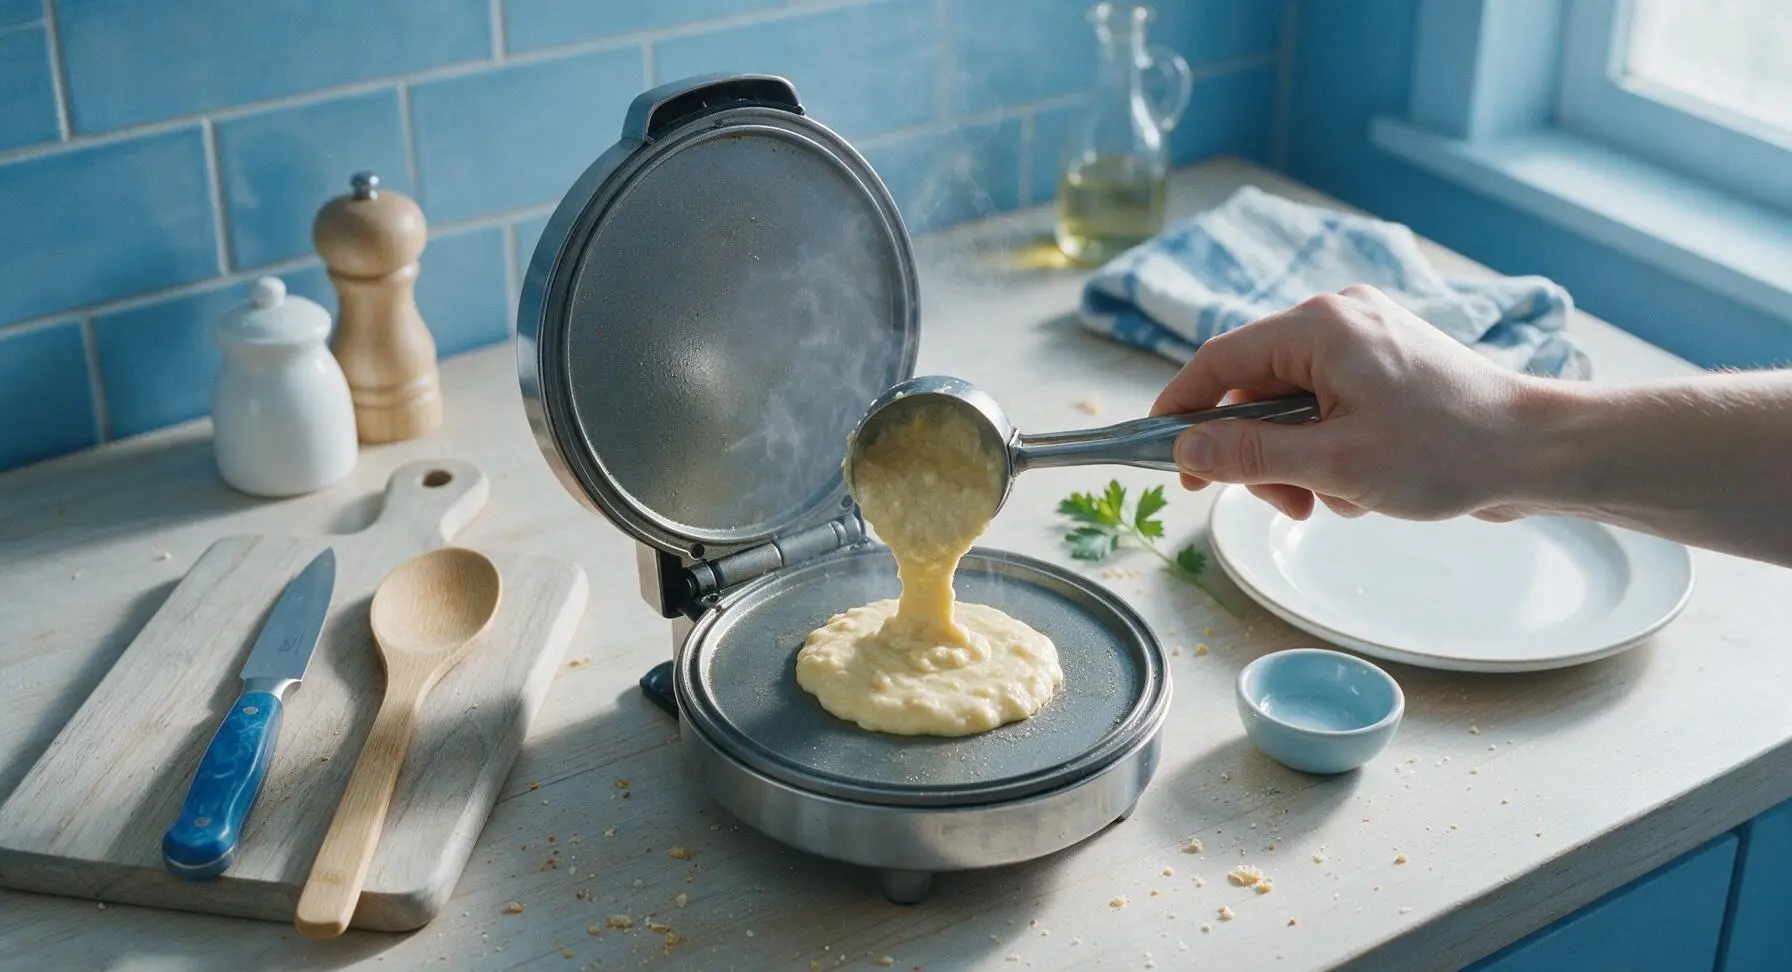
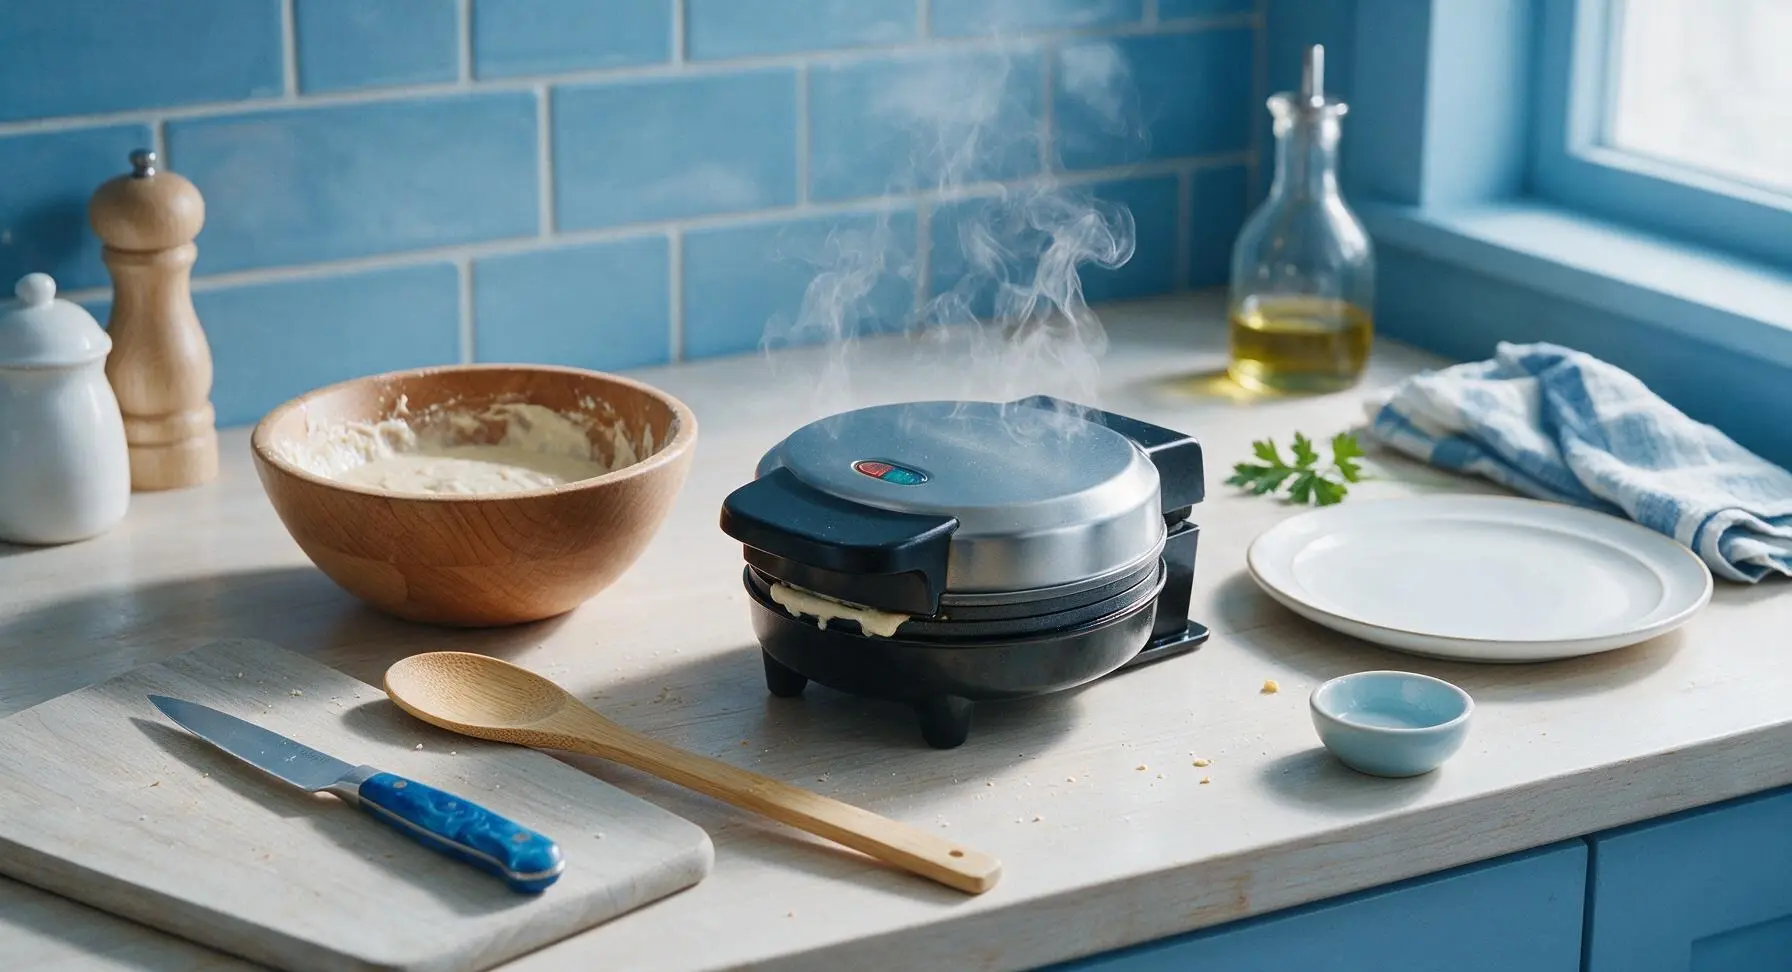
Scoop 3 tablespoons of batter per waffle directly onto the center of the preheated, greased waffle plate using the stainless steel scoop from the measuring set. Close the lid (do not press down firmly, as this will squeeze batter out the edges) and cook for 2 to 2 ½ minutes, until steam stops escaping from the waffle maker edges and the waffle is deep golden brown. Do not open the lid before the 2-minute mark, as this will cause the waffle to split and stick.
Step 6
step6:Cook Mini Waffles
Step 6
step6:Cook Mini Waffles
7

Rest Waffles On Rack

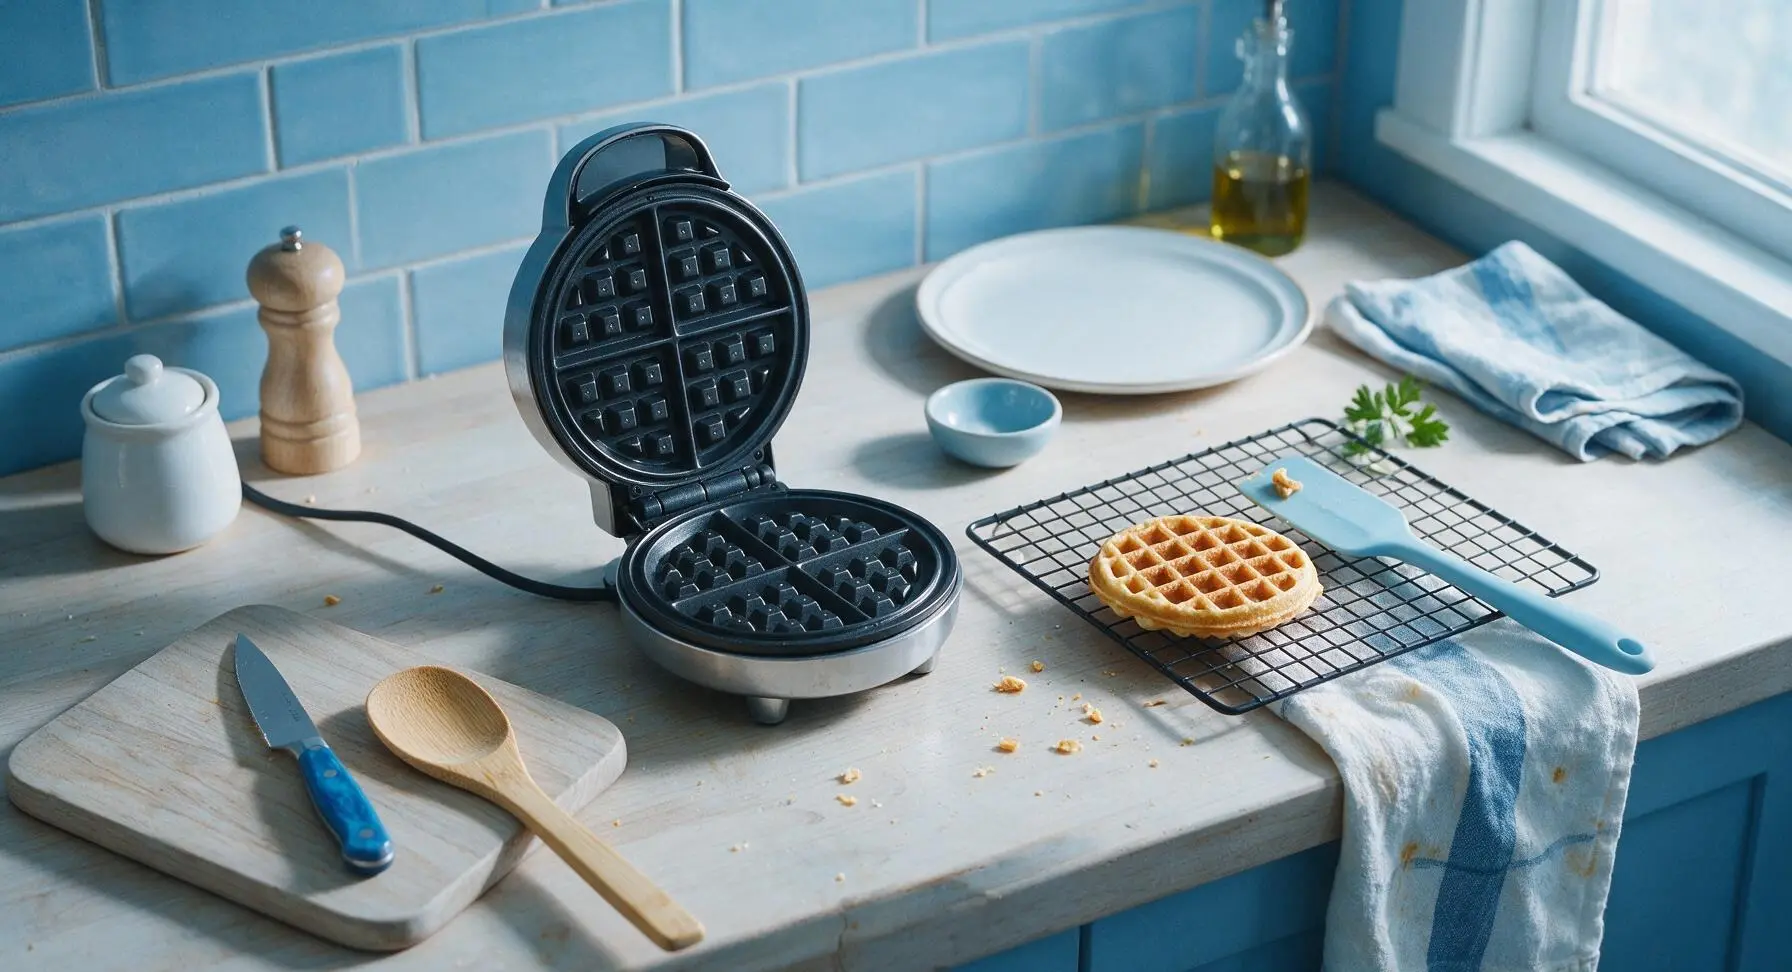
Once cooked, use the light blue silicone spatula to gently lift the finished waffle from the plate and transfer it to the matte black wire cooling rack, positioned to the right of the waffle maker. Repeat the scooping and cooking process with remaining batter, greasing the plates lightly only if waffles begin to stick. Resting waffles on the rack allows air circulation to keep exteriors crisp.
Step 7
step7:Rest Waffles On Rack
8

Plate And Garnish Waffles

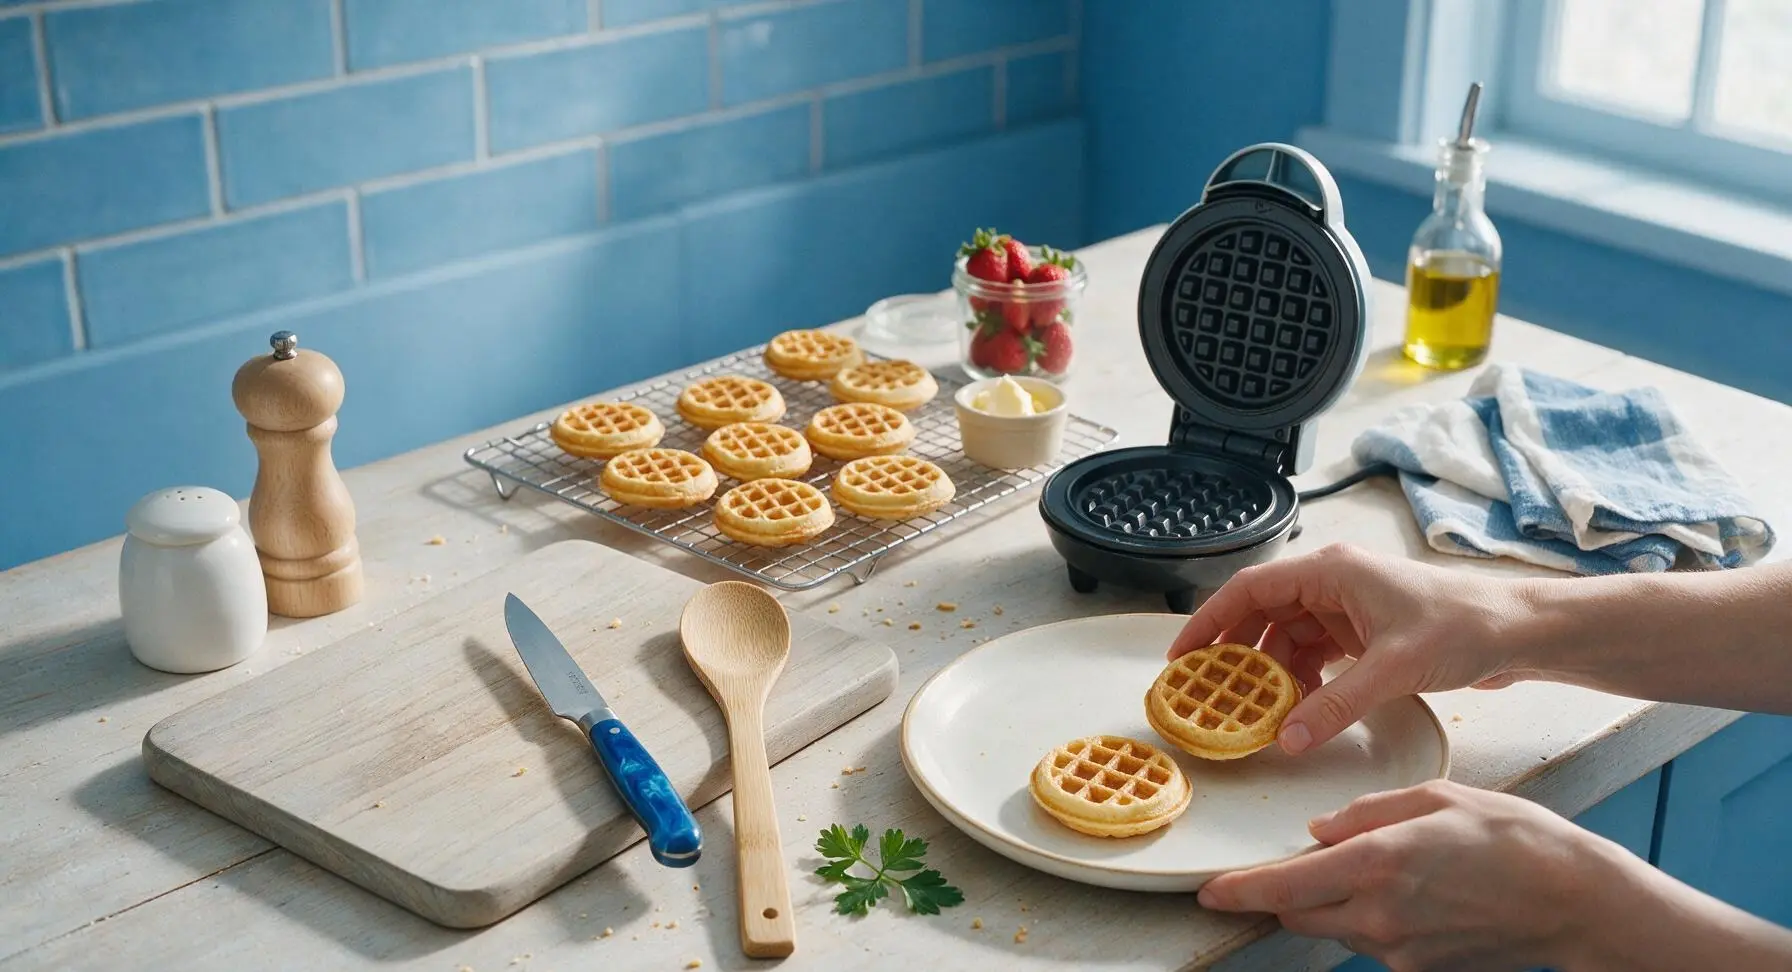
Once all 12 waffles are cooked, stack 3 waffles per serving on the cream white stoneware dinner plate. Top with a small pat of salted butter, a light drizzle of maple syrup, and fresh sliced strawberries. Serve immediately while waffles are warm and crisp.
Step 8
step8:Plate And Garnish Waffles

Tips

1.Avoid overmixing the batter: small lumps are completely normal and desirable. Overmixing develops gluten in the flour, which results in tough, chewy waffles instead of light, fluffy interiors with crisp edges.
2.Wait a full 2 minutes before opening the waffle maker lid. Peeking early causes the partially set waffle to split and stick to the non-stick plates, ruining the signature crisp grid texture.
3.Rest cooked waffles on the wire cooling rack instead of stacking them directly on a plate. Trapped steam from hot waffles will turn the crisp exterior soft and soggy in under a minute; the open wire grid allows air flow to keep waffles crisp until serving.


✨ You May Also Like

Breakfast
🍜 United States

Crisp-edged, fluffy lard griddle cakes are a nostalgic homestyle staple, with rich savoriness from rendered lard, perfect topped with maple syrup or savory gravy.

⏱️ 25 minuteBreakfast ★ 4.8
Breakfast
🍜 United States

Flaky, buttery homemade buttermilk biscuits smothered in creamy, peppery pork sausage gravy: a beloved, hearty Southern American comfort food classic.

⏱️ 35 minuteBreakfast ★ 4.8
Breakfast
🍜 United States

Golden, custardy brioche stuffed with sweet cream cheese and fresh berries, pan-fried to crisp perfection. An indulgent, cozy breakfast perfect for slow weekend mornings.

⏱️ 30 minuteBreakfast ★ 4.7
Breakfast
🍜 United States

Flaky, buttery Southern-style biscuits stuffed with savory salty country ham, a portable, satisfying classic perfect for casual on-the-go meals.

⏱️ 25 minuteBreakfast ★ 4.8
Breakfast
🍜 United States

Iconic puffy baked pancake popularized in Seattle, with crisp golden edges and soft custardy center, served warm with classic sweet toppings.

⏱️ 35 minuteBreakfast ★ 4.6
Breakfast
🍜 United States

Fluffy, golden pancakes studded with juicy peak-summer mixed berries, drizzled with maple syrup for a bright, comforting, crowd-pleasing family breakfast.

⏱️ 25 minuteBreakfast ★ 4.7

waffle recipe for mini waffle maker:Frequently Asked Questions

1.Why do my mini waffles turn out soggy instead of crisp around the edges? ▾
Great question! First, confirm your mini waffle maker is fully preheated before adding batter—if it’s not hot enough, batter steams instead of sears. Don’t overfill wells (1 heaping tablespoon per waffle is ideal), and resist peeking for the full 2-minute cook time. A light brush of reserved melted butter on grids between batches also boosts crispness.
2.Can I make this batter ahead of time for quick weekday breakfasts? ▾
Absolutely! Mix dry and wet ingredients separately, then combine them the night before and store covered batter in the fridge for up to 24 hours. Give it a gentle stir before using—add a tiny splash of milk if it thickens too much. Cold batter may need 15-30 extra seconds of cook time to get that signature crisp edge.
3.How much batter should I pour per mini waffle to avoid messy overflow? ▾
Stick to 1 heaping tablespoon of batter per waffle well, poured right in the center. It’s tempting to add more for a fuller waffle, but batter puffs dramatically as it cooks, and excess will ooze out the sides to burn on the maker’s housing. If overflow happens, wait for it to cool fully before wiping it away easily.
4.Can I substitute whole milk for a dairy-free alternative in this recipe? ▾
Yes, you can swap whole milk for unsweetened oat, soy, or almond milk with minimal texture difference. For the closest match to the original crisp, fluffy result, use barista-blend oat milk, as its higher fat content mimics whole milk best. Swap melted unsalted butter for melted vegan butter for a fully dairy-free batch, too.
5.Why are my waffles sticking to the mini waffle maker even when I use butter? ▾
Sticking almost always traces back to two issues: insufficient preheating, or peeling the waffle too early. Make sure your maker is fully heated (most models have a ready indicator light), and brush grids lightly with reserved melted butter before the first batch. Wait the full 2 minutes before lifting—if it tugs, give it 15 more seconds for a clean release.
6.How do I keep cooked waffles crisp while I make a full batch? ▾
Skip the paper-towel-lined plate, which traps steam and makes waffles soggy. Instead, arrange cooked waffles in a single layer on a wire rack set over a baking sheet, and hold them in a 200°F oven while you cook the rest. This lets air circulate around each waffle, keeping edges crisp and centers fluffy for up to 20 minutes.
7.Can I freeze these mini waffles for easy meal prep? ▾
Definitely! Let cooked waffles cool completely to room temperature first, then arrange them in a single layer on a baking sheet to flash freeze for 1 hour. Transfer frozen waffles to a labeled zip-top freezer bag, squeezing out excess air, and they’ll keep for up to 3 months. Reheat straight from frozen in a toaster for that fresh-cooked crispness.
8.What’s the easiest way to adjust this recipe to make chocolate chip mini waffles? ▾
It’s super simple! Toss ¼ cup of mini semi-sweet chocolate chips in a pinch of the all-purpose flour before folding them into the finished batter—coating chips in flour keeps them from sinking and burning on the waffle grids. Stick to the standard 2-minute cook time for evenly melty chocolate in every bite.
9.My waffles are coming out dense instead of fluffy in the center—what am I doing wrong? ▾
Dense waffles almost always come from overmixing the batter. When combining wet and dry ingredients, stir only until you no longer see streaks of dry flour; a few small lumps are totally fine and will cook out. Overmixing develops gluten in the flour, which leads to tough, dense waffles instead of that light, soft center.

Comments (12)

2 days ago

OMG these are SO good! I got a mini waffle maker for Christmas and have been struggling to find a recipe that gets actually crisp instead of soggy 2 minutes after cooking. Followed this exactly and they stayed crisp even when I stacked a few on my kid’s plate. Total game changer for weekend breakfasts!

yesterday

Wait did you use regular all-purpose flour or the self-rising kind? I’ve had sogginess issues too and I don’t want to mess this up!

yesterday

So glad you love them! For anyone wondering, we tested this with regular all-purpose flour – if you use self-rising, just cut the added baking powder by half to keep the texture light and crisp!

3 days ago

My kids devoured these! I made a double batch for our post-soccer practice snack yesterday and even the other moms on the team asked for the recipe. I added a tiny dash of cinnamon to the batter and it was chef’s kiss. Will absolutely be adding this to our weekly meal prep rotation!

2 days ago

That cinnamon addition sounds amazing, thanks for sharing! So happy these worked for your team snack – mini waffles are such a perfect portable pick for busy weeknights too!

5 minutes ago

Super easy to throw together, cook time was totally accurate. I will say I sprayed my waffle iron a little too much on the first batch and they were a touch greasy, so go light on the nonstick spray! Still turned out delicious once I fixed that.

1 week ago

Wait has anyone tried making these savory? I’m thinking of adding a little shredded cheddar and chives to the batter to go with fried chicken for our potluck this weekend. Would that mess with the crisp factor?

5 days ago

I did that last week for brunch! Just pat the shredded cheese dry a little with a paper towel before mixing it in so you don’t add extra moisture, they stayed perfectly crisp!

3 days ago

Seconding the dry cheese tip! I brought a batch of the cheddar chive ones to a work potluck last month and they were gone in 10 minutes. So good with a little hot honey drizzle too!

30 minutes ago

As someone who burns 90% of the things I try to cook, this recipe was foolproof! 18 minutes total start to finish? I was eating warm waffles before my microwave popcorn even finished popping. 10/10

5 minutes ago

Wait no way, I’m in a dorm too and I was worried the batter would be too much of a hassle to mix in my tiny kitchen. Do you think it works with those cheap $10 grocery store waffle makers?

just now

Great question! We tested this recipe on a bunch of different mini waffle makers, including the budget grocery store models, and it worked perfectly every time. Just make sure you preheat it fully before pouring batter in!

2 hours ago

I swapped the all-purpose flour for a 1:1 gluten free baking flour and these still turned out perfectly crisp! I was so worried they’d be gummy like every other GF waffle recipe I’ve tried. Will be making these every Sunday from now on.

30 minutes ago

Thank you so much for sharing this! I’ve been nervous to test this recipe with my GF flour because so many waffles turn out gummy, this makes me so excited to try it this weekend!

yesterday

These are good but mine came out a little paler than the photo even when I cooked them the full recommended time per waffle. Did I do something wrong?

yesterday

I had that issue too! Turns out my waffle maker runs a little cool, I just added 30 seconds per waffle and they got that perfect golden crisp.

yesterday

Great tip from Harry! Waffle maker temperatures can vary a lot between models – if yours aren’t browning as much as you’d like, add 20-30 seconds of cook time, just keep an eye on them so they don’t burn!

2 weeks ago

Game. Changer. I made a big batch on Sunday, froze them, and popped them in the toaster all week for quick breakfasts before school. They crisp right back up perfectly, no soggy microwave mess at all!

1 week ago

So happy the freeze and reheat method works for you! We love storing these in a freezer bag with parchment paper between each waffle so they don’t stick together for easy weekday mornings.

1 week ago

These are the perfect size to dip in my morning latte! I’ve been making them every morning this week, they’re so quick I don’t even have to wake up earlier to make breakfast. SO good.

3 days ago

Wait dumb question – do I need to separate the eggs and beat the whites for this? A lot of crisp waffle recipes say to do that and I’m lazy, lmao.

2 days ago

Nope! No egg separating required here, I made them last night and just mixed everything in one bowl and they came out perfect. It’s the easiest waffle recipe I’ve ever used, promise.

5 days ago

I made these for my friend’s bridal brunch last weekend and set out a whole topping bar – Nutella, fresh berries, whipped cream, sprinkles, even fried chicken for the savory folks. Everyone raved about how crisp the waffles were even after sitting out for an hour!

3 days ago

A topping bar sounds like the absolute best way to serve these! We love that they hold up so well for gatherings, no sad soggy waffles mid-brunch. Thanks for sharing how you served them!

just now

I live in a 300 sq ft studio so the mini waffle maker is my only kitchen appliance that feels fun, and this recipe is perfect for it! No giant batches of batter to store, no mess, just the right amount of waffles for one person. Obsessed.



