
waffle recipe without waffle maker
intro
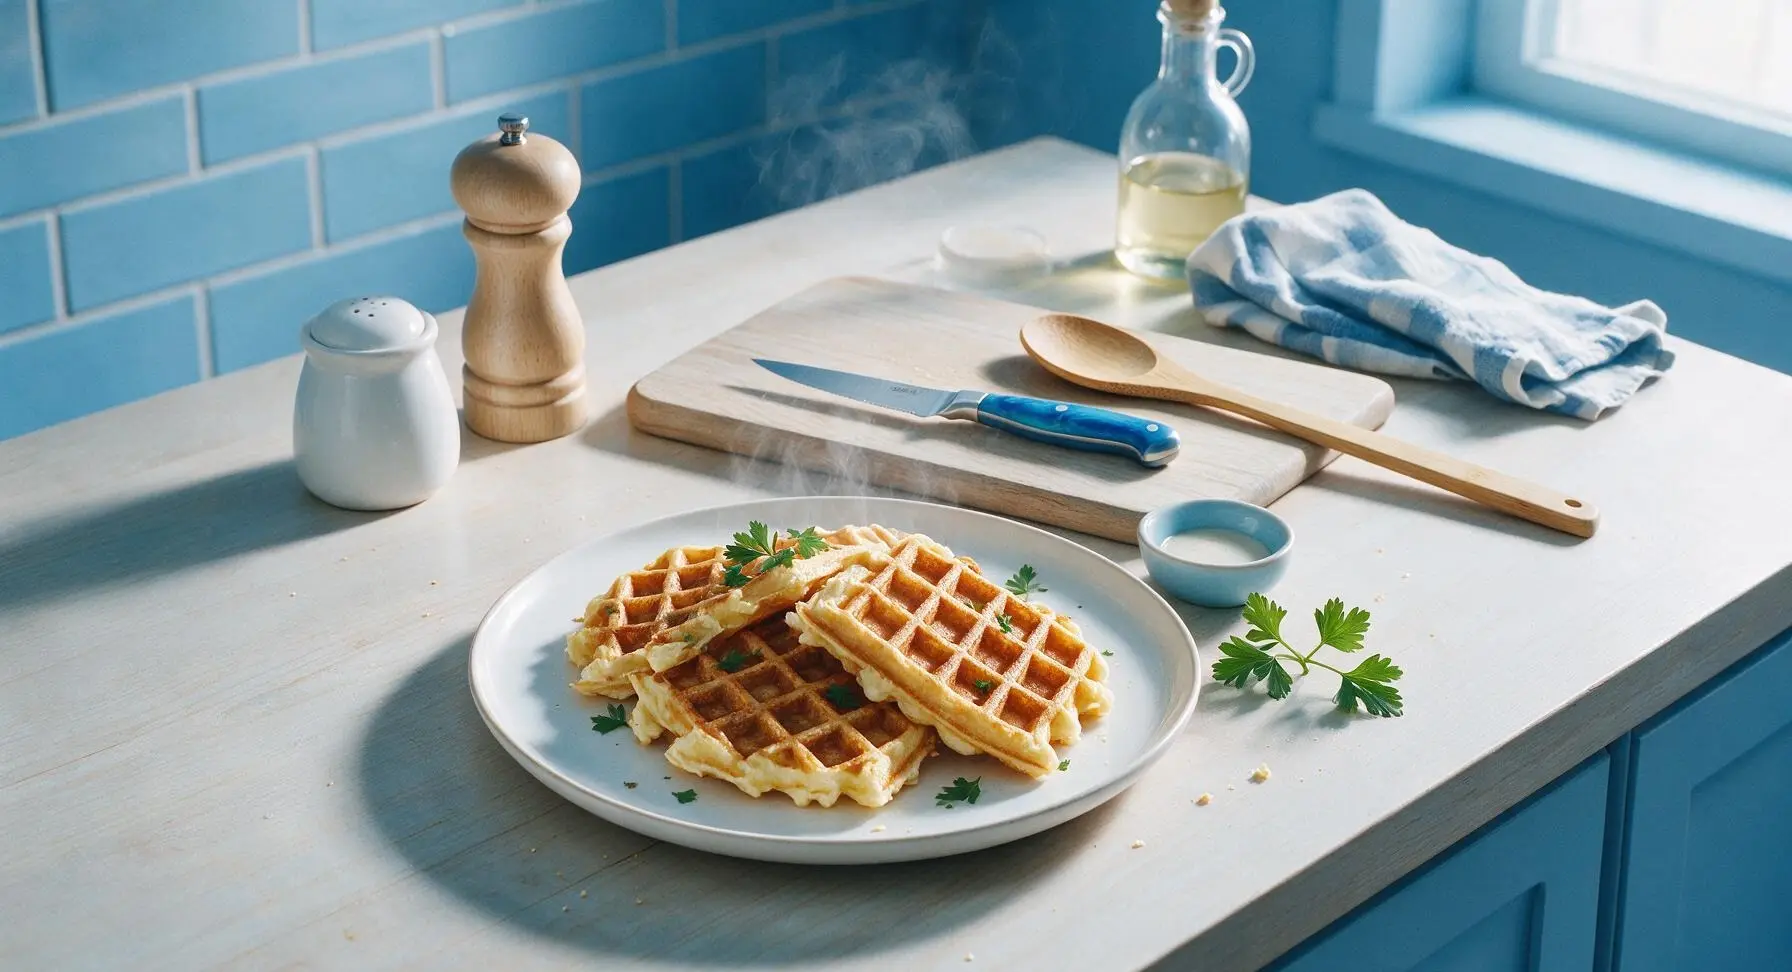
Crisp golden waffles with fluffy tender interiors, made without a specialty waffle maker using a common stovetop grill pan. Perfect for quick, cozy weekday meals or lazy weekend breakfasts.
Ingredients
Steps
Mix Dry Ingredients
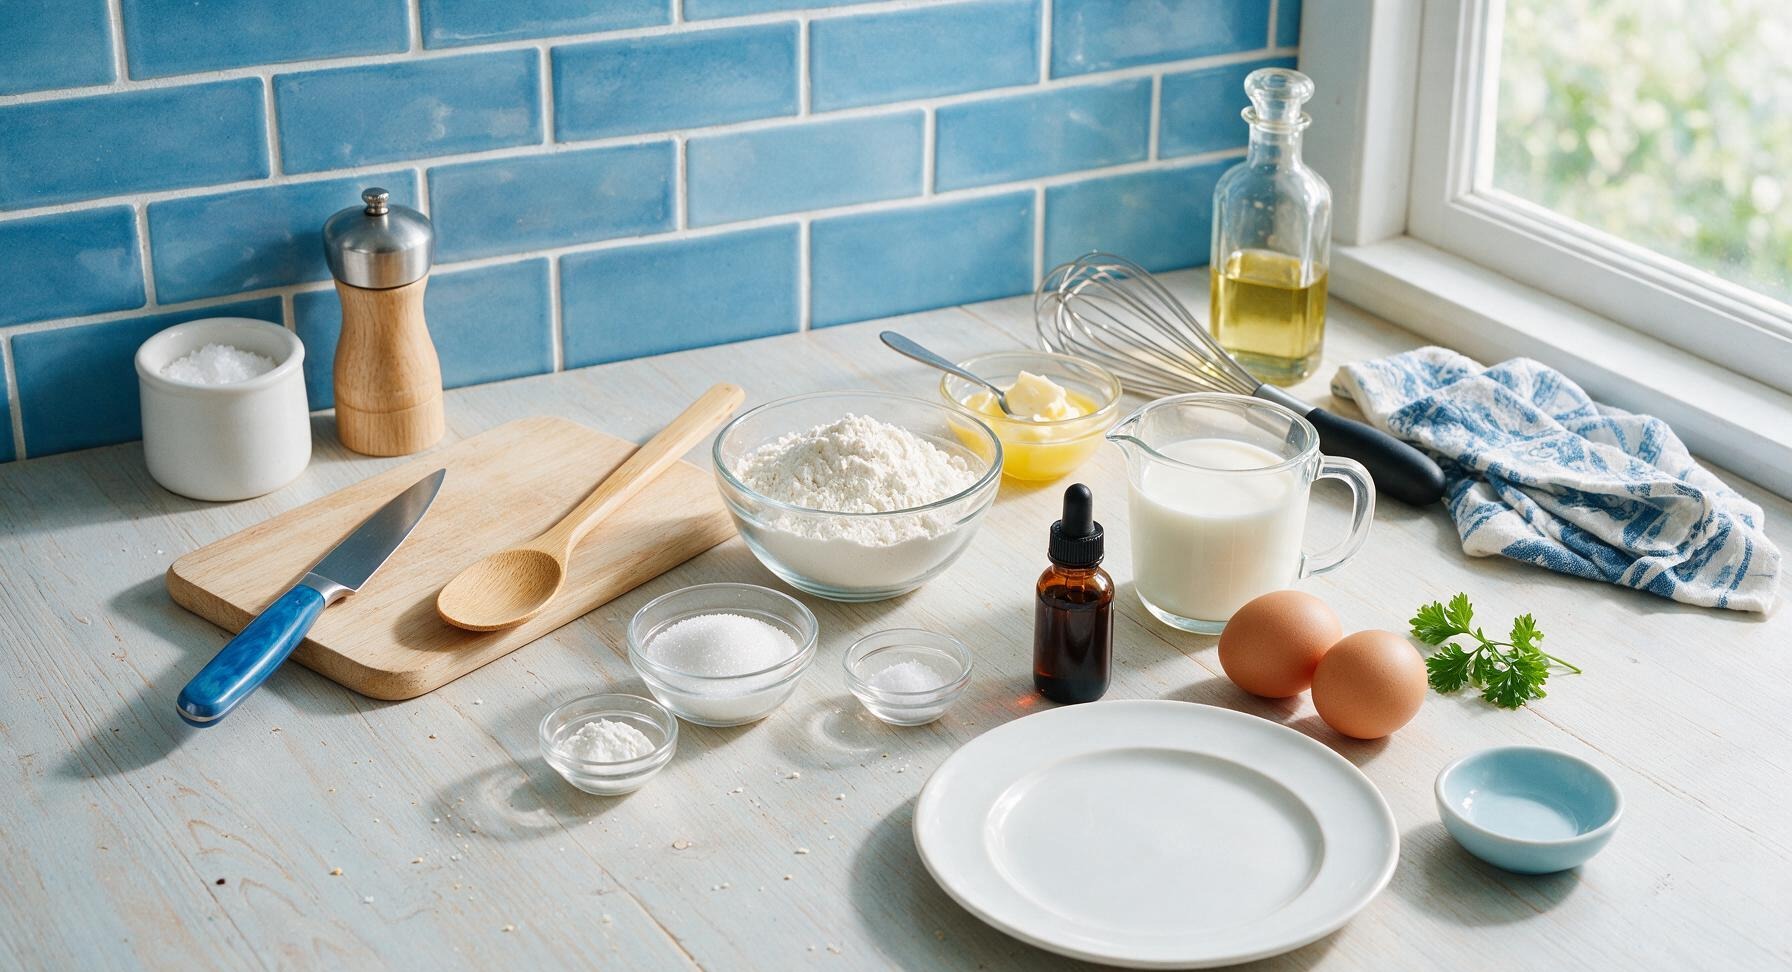
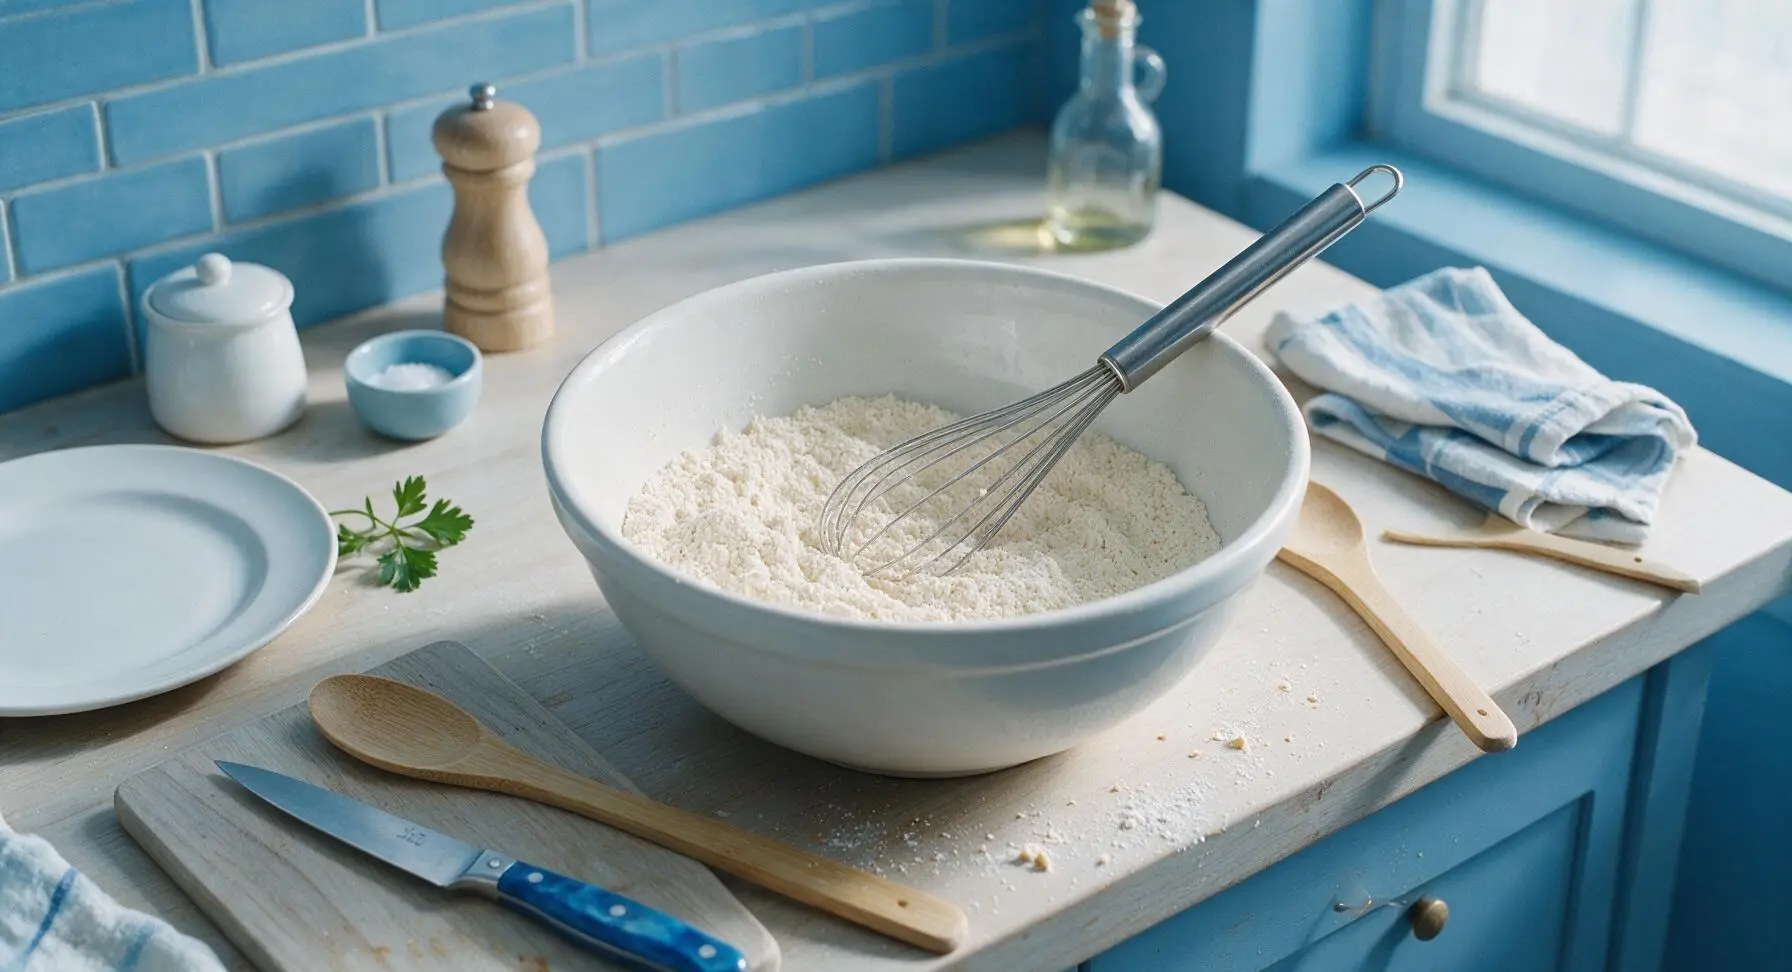
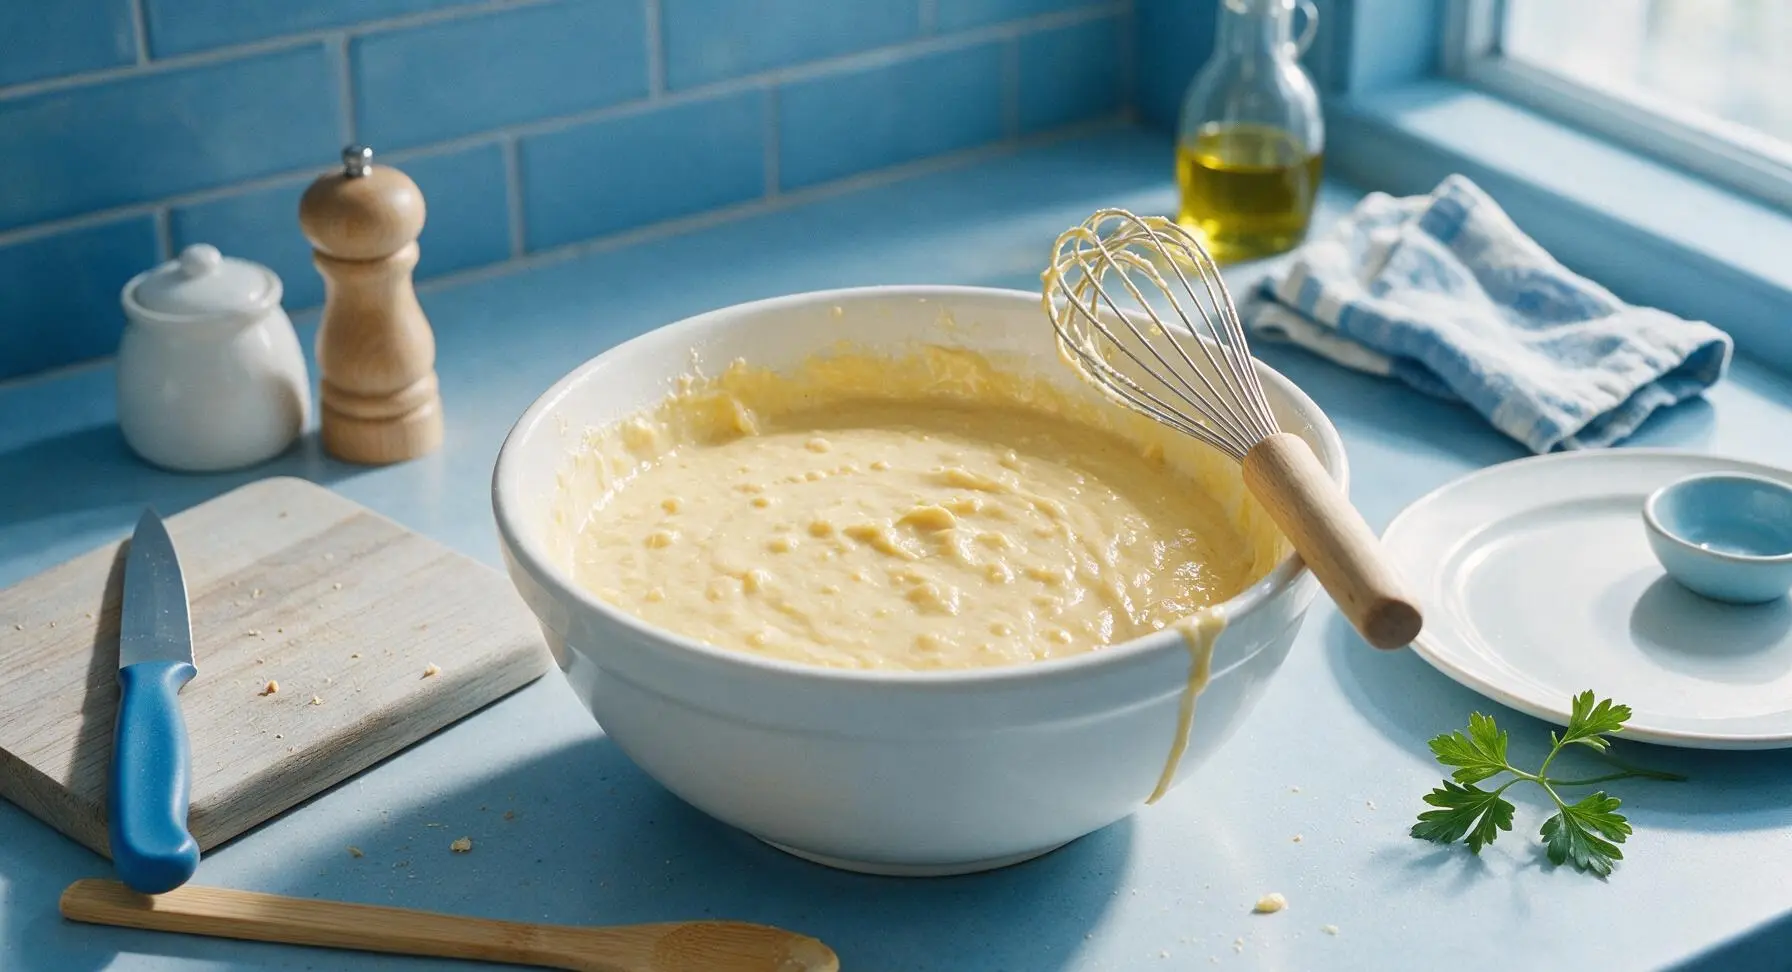
Set the matte white ceramic mixing bowl in the center of the work area. Add the all-purpose flour, granulated sugar, baking powder, and fine sea salt to the bowl. Use the stainless steel whisk to stir the dry ingredients together for 30 seconds until fully combined, with no visible clumps of baking powder. The finished mixture should be a uniform pale off-white color.
Whisk Smooth Batter
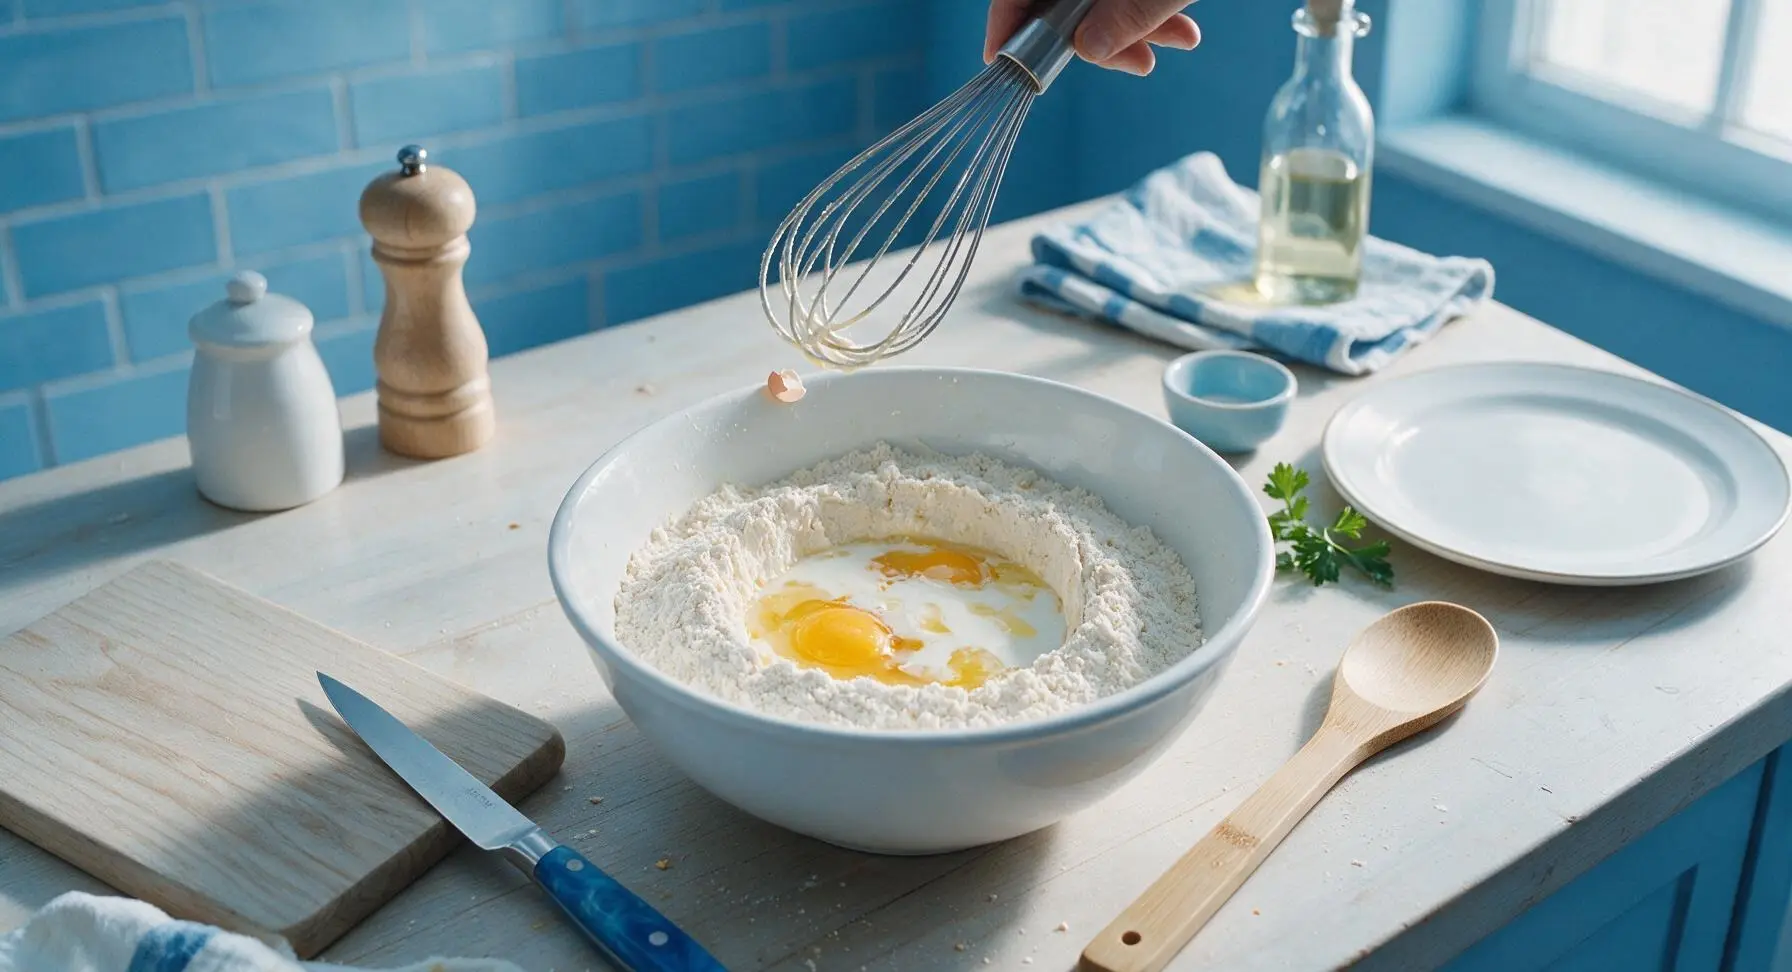
Create a shallow well in the center of the dry ingredient mixture. Crack the two large eggs into the well, then pour in the whole milk, cooled melted unsalted butter, and vanilla extract. Whisk slowly from the center outward, gradually incorporating dry ingredients into the wet mixture, until the batter comes together. Stop mixing as soon as no large dry flour streaks remain—small pea-sized lumps are normal and desirable, as overmixing will create tough, dense waffles.
Preheat Grill Pan
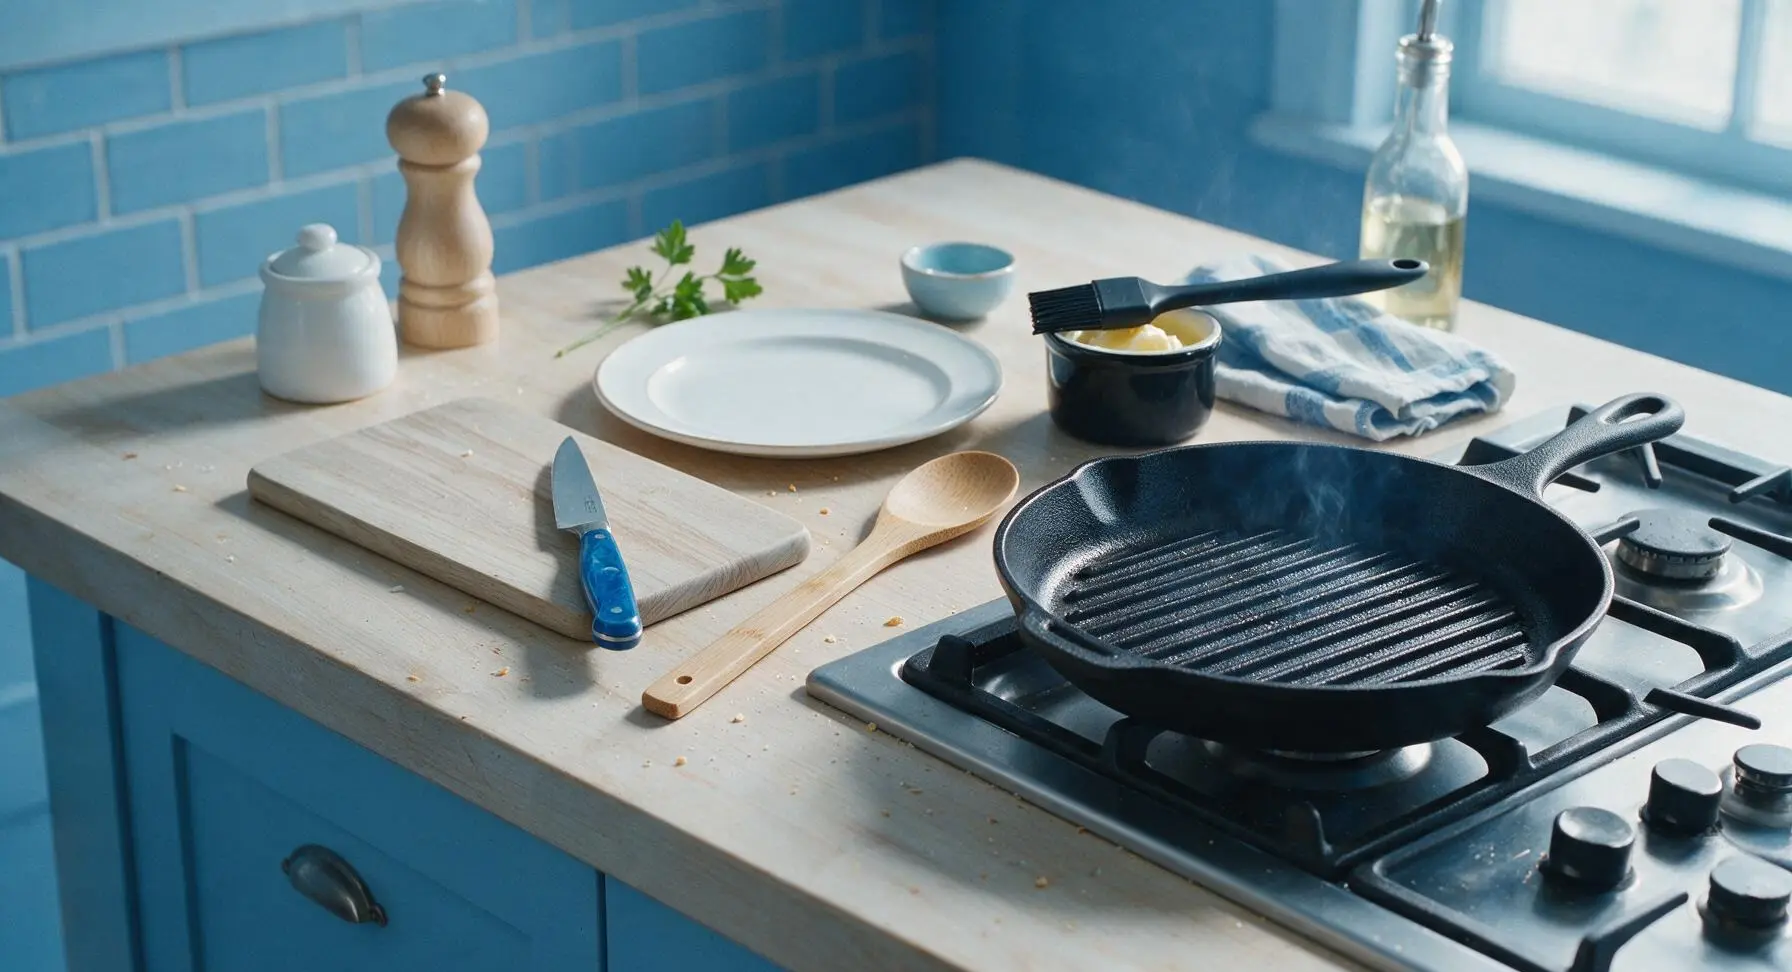
Place the 10-inch cast iron grill pan on the built-in gas stovetop set to medium heat (350°F / 175°C). Let it preheat for 5 full minutes until the ridges are evenly hot. Test heat by sprinkling a single drop of water onto the pan: it should sizzle and dance across the surface immediately before evaporating. Use the silicone basting brush to coat the raised grill ridges with a thin layer of extra melted butter to prevent sticking.
Portion Batter Evenly
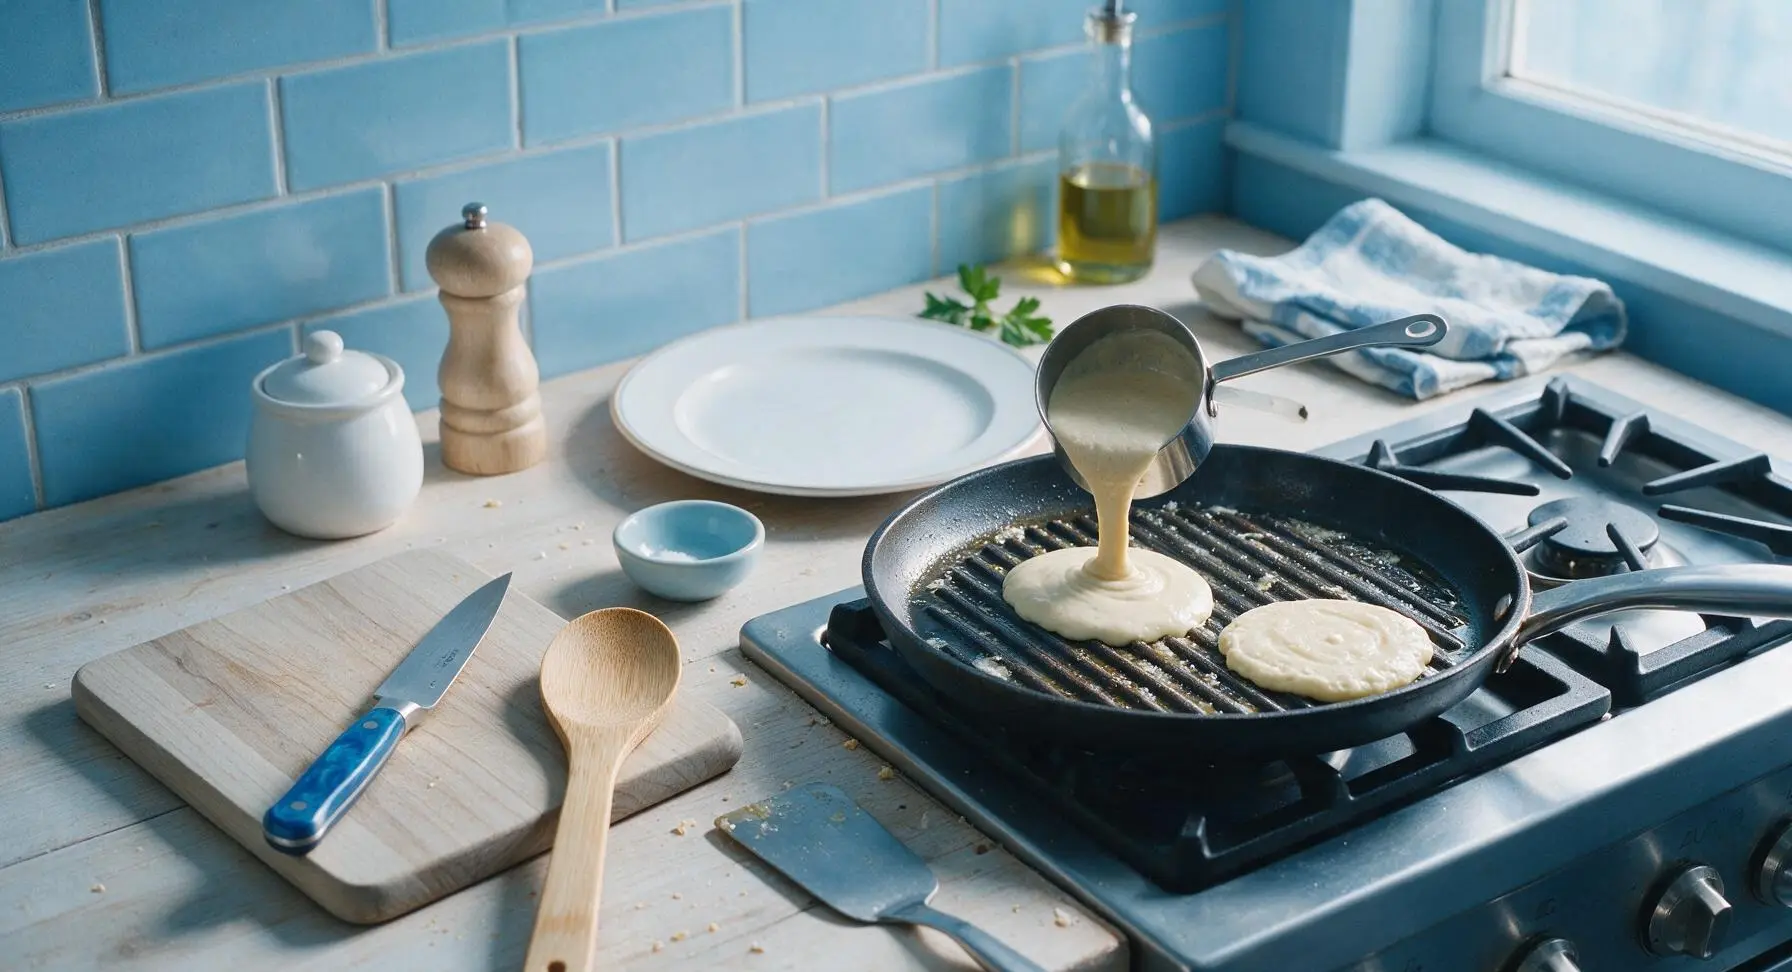
Use the 1/4 cup stainless steel measuring cup to scoop batter, pouring 1/4 cup portions onto the preheated, buttered grill pan. Leave 2 inches of open space between each portion, as the batter will spread slightly as it cooks. Do not press down on the batter after pouring—this squeezes out air and creates dense, flat waffles. The 10-inch pan will fit 2 waffles per batch.
Cook First Side
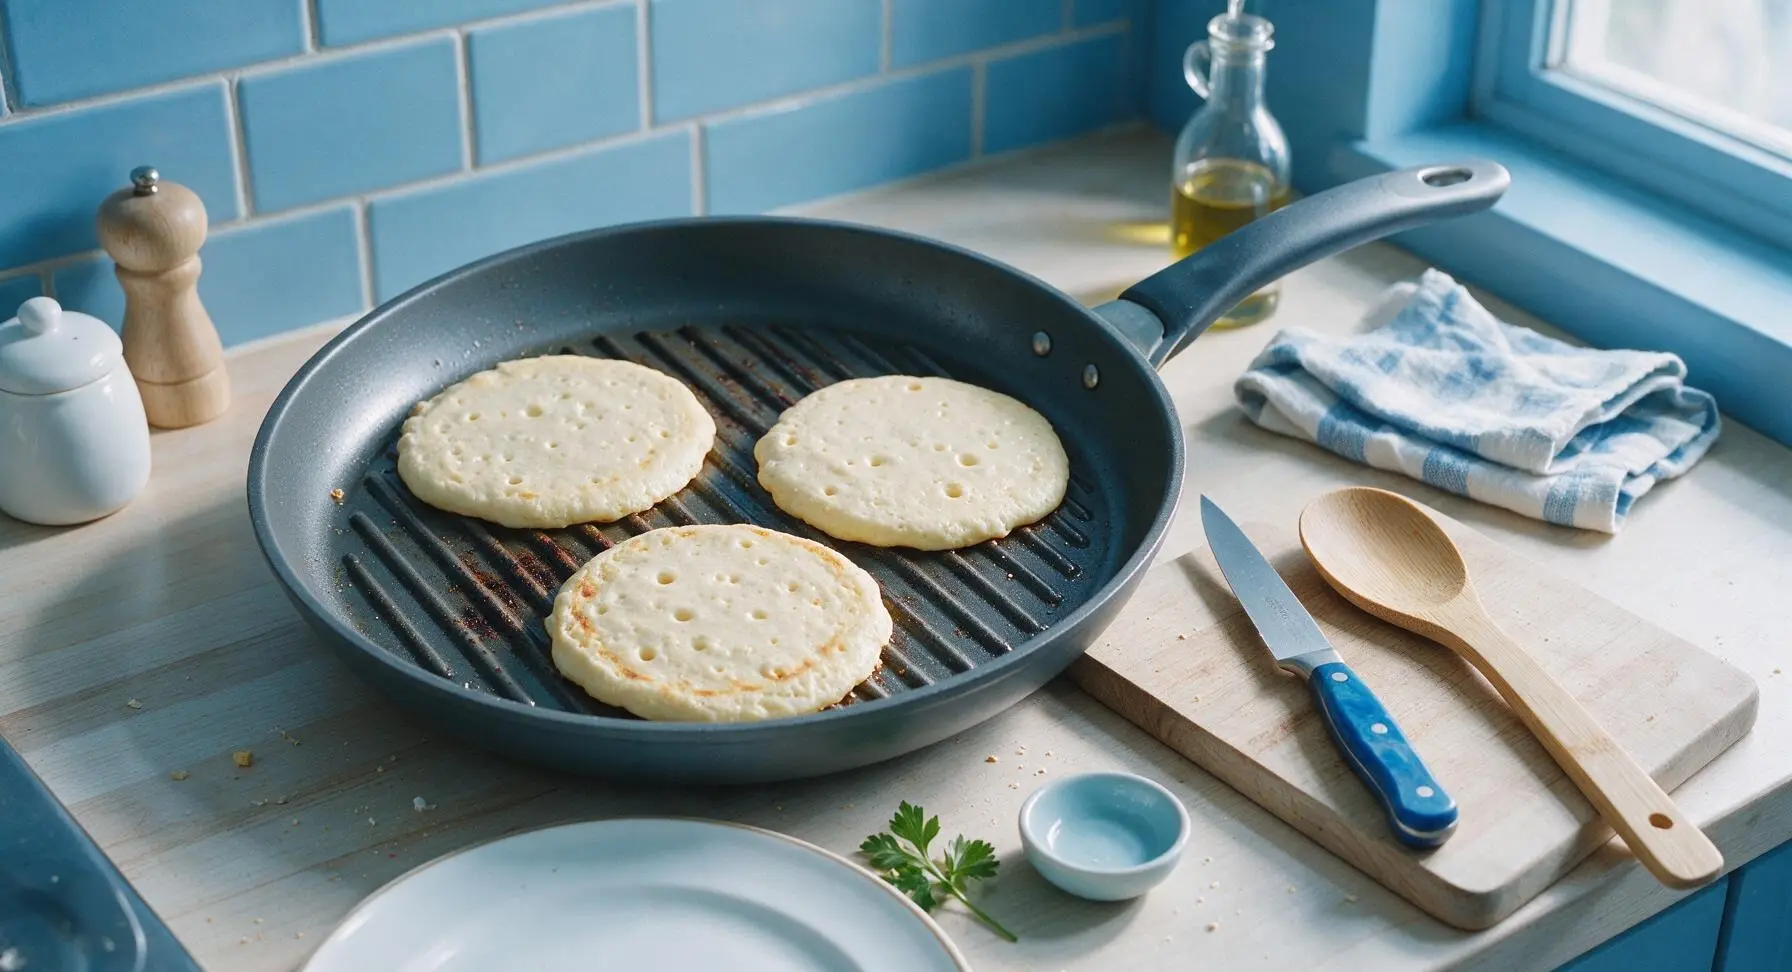
Let the waffles cook undisturbed on the first side for 3 to 4 minutes. Watch for clear visual cues: tiny bubbles will form and pop across the entire batter surface, the edges will turn opaque and light golden, and no wet, shiny batter will remain on top. If ridges start to smoke before bubbles form, reduce heat slightly to medium-low to avoid burning.
Flip Waffles Gently
Slide the thin metal turner spatula fully under the center of each waffle to support its full weight, then flip quickly and smoothly in one motion to cook the second side. Do not scrape or drag waffles across the pan ridges, as this will smudge the grill mark pattern and tear the tender cooked surface.
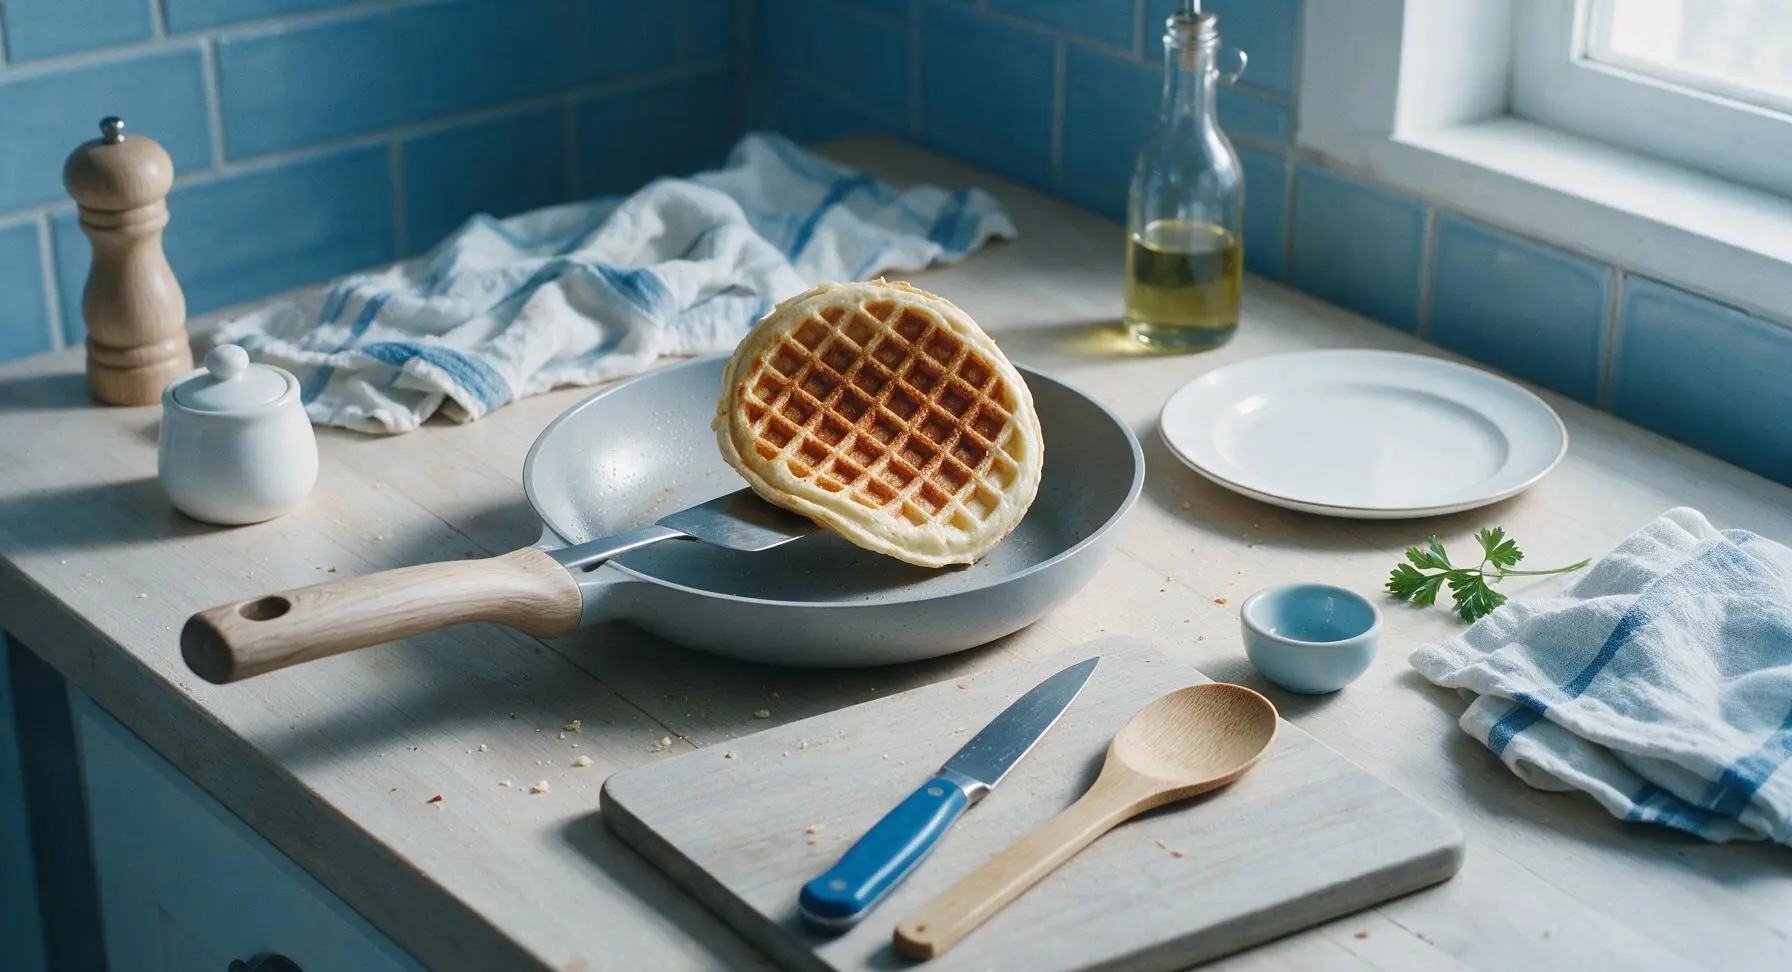
Cook Until Crisp
Let flipped waffles cook for another 2 to 3 minutes on the second side, until the surface is deep golden brown, grill marks are dark and crisp, and the waffle feels firm when gently pressed with the spatula edge. Transfer cooked waffles to the edge of the matte cream dinner plate to rest in a single layer, re-buttering pan ridges lightly between batches with the silicone brush. Repeat until all batter is used, making 8 small waffles total.
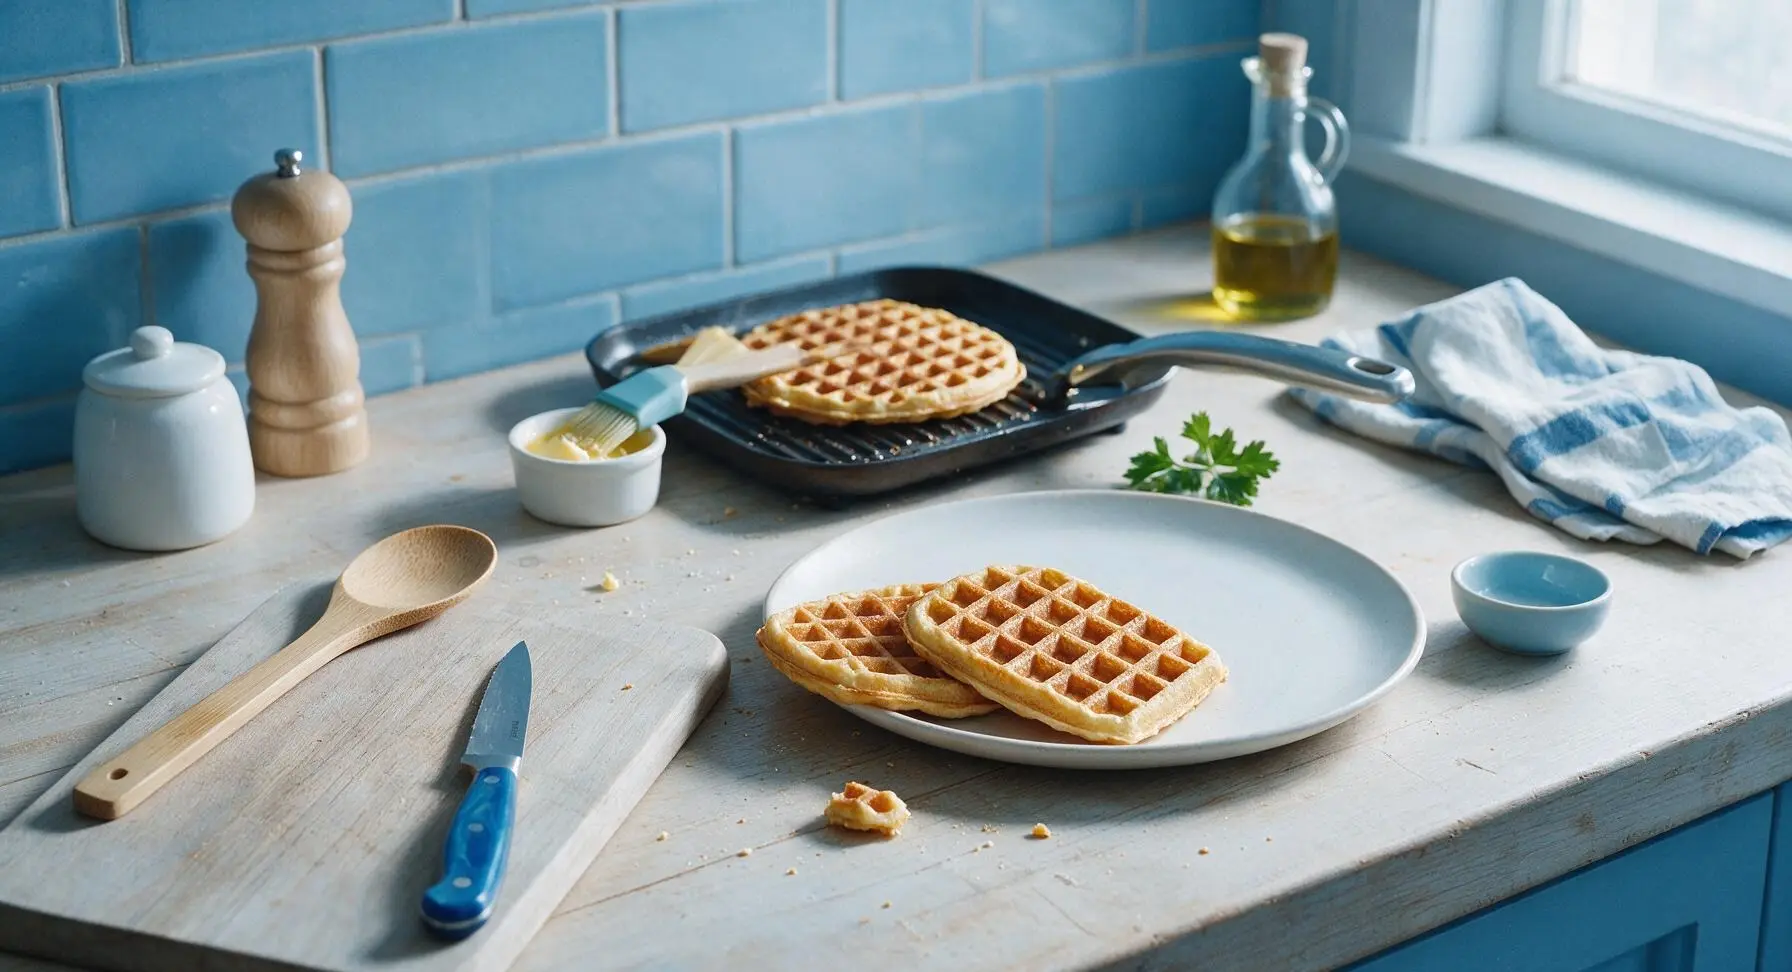
Plate and Garnish
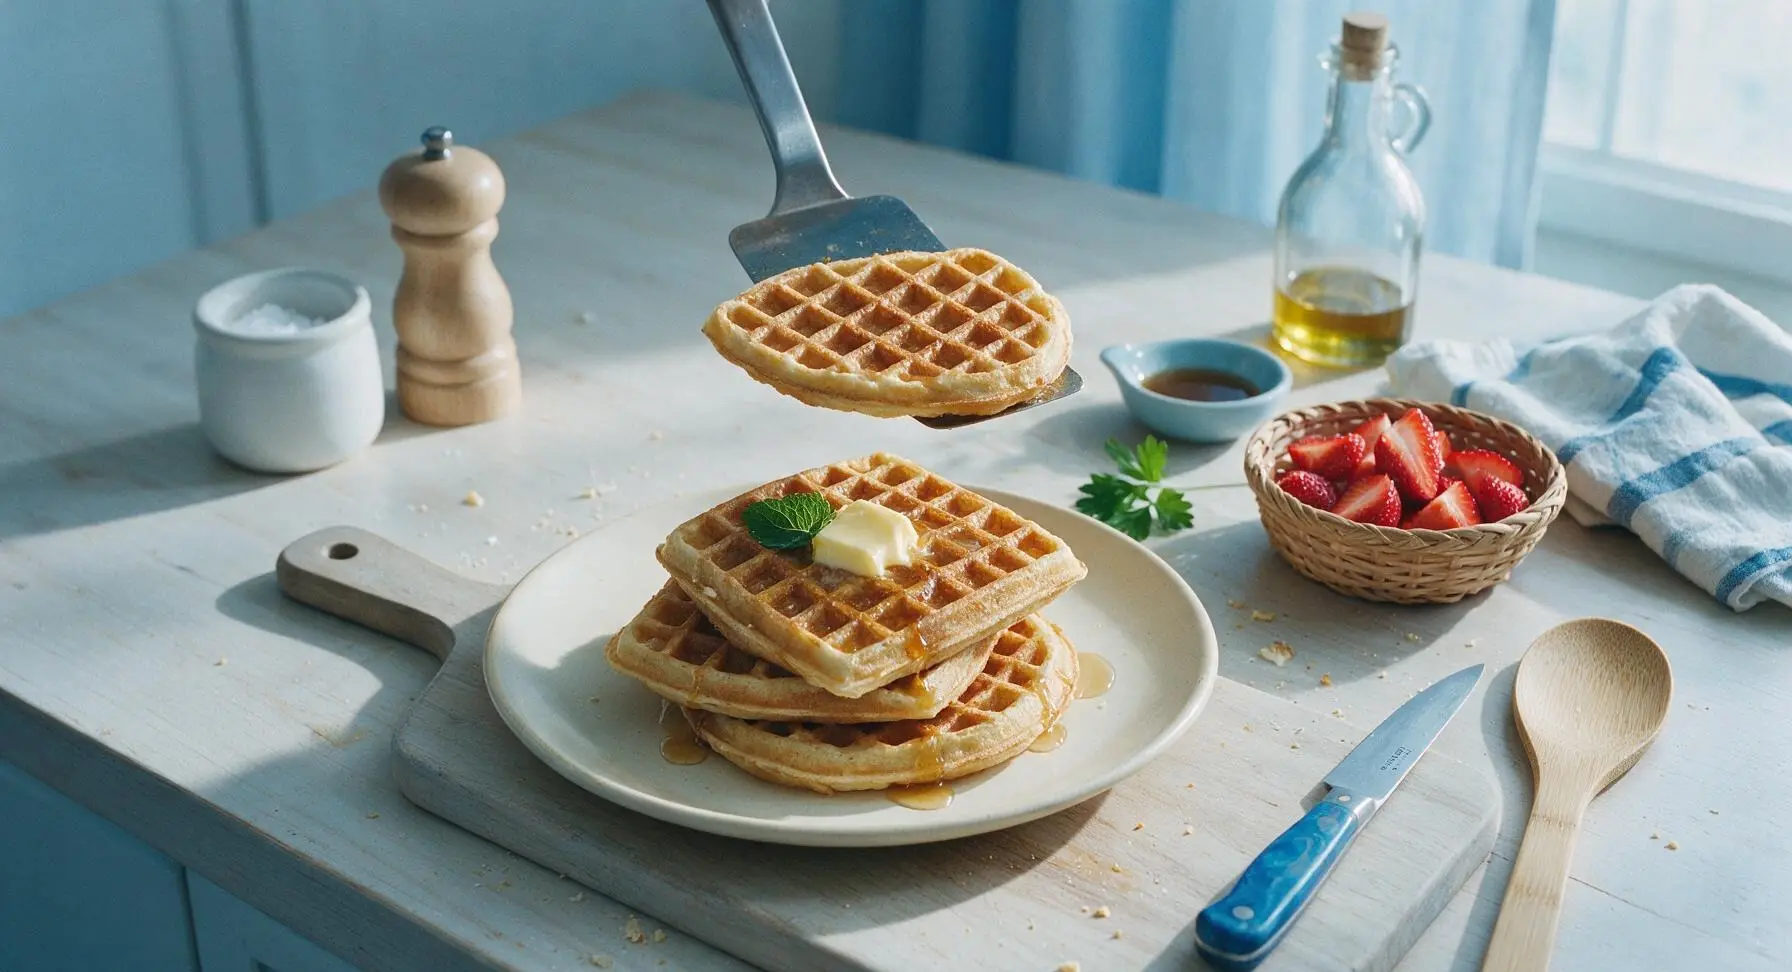
Arrange 2 waffles per serving on the matte cream dinner plate, stacked slightly offset to showcase the crisp, defined grill ridges. Top with a small pat of salted butter, a light drizzle of maple syrup, sliced fresh strawberries from the wicker basket, and a single mint leaf for garnish. Serve immediately, as waffles lose crispness after 5 minutes of resting.
Tips
2.Never press down on cooking waffles with the spatula: this squeezes out the trapped air that creates a fluffy interior, presses batter into pan gaps causing sticking, and flattens the crisp ridge texture that mimics traditional waffle maker results.
3.Rest cooked waffles in a single layer instead of stacking them tightly while finishing batches: stacking traps steam between waffles, which softens the crisp grilled ridges and leads to soggy texture before serving.






Wait, hold up, you can make waffles WITHOUT a waffle maker? I was skeptical but tried these this morning for my family’s Sunday breakfast, and HOLY COW they are SO good. I used a cast iron skillet with those raised grill lines, pressed the batter down a little with a spatula halfway through cook time, and they had all the little nooks for syrup and butter. Game. Changer. I’m bringing these to our next neighborhood potluck for sure!
Dude, as a broke college kid with zero fancy kitchen gadgets, this recipe saved my Sunday brunch. I only had a regular non-stick pan, no grill lines or anything, and it still slapped. Drizzled some Nutella and banana slices on top, my roommates thought I ordered takeout. 18 minute cook time is no cap, super fast even when I’m half asleep.
Added this to my weekly meal prep rotation! I make a big batch on Sunday, pop them in the toaster during the week for quick breakfasts before work, and they hold up perfectly. Way cheaper than buying frozen waffles, and I know exactly what’s going in them. Only note: I added a little extra cinnamon to the batter and it’s chef’s kiss.
Tried these on our last car camping trip since we didn’t want to pack the bulky waffle maker, cooked ‘em on our camp stove grill grate and they were insane. Crispy, fluffy, held up to loads of maple syrup and fresh berries we picked on the trail. My partner said these are better than the ones we make at home with the actual waffle iron. Wild.
Was worried this wouldn’t work with my 1:1 gluten free flour blend, but it turned out amazing! I was craving waffles so bad but didn’t want to buy a whole new appliance just for occasional cravings, so this was exactly what I needed. The texture was spot on, no weird gritty GF aftertaste at all. Only reason it’s not 5 stars is I burned the first batch because I had my pan too high, oops! My bad, not the recipe’s fault. Will be making this again for sure.
Wait, I have a silly question — I made these last night for my kid’s birthday breakfast, and they were awesome, but what actually makes these waffles instead of just regular pancakes when you cook ‘em in a pan? Don’t come for me, I’m a total beginner cook lol, just curious!
Made these for a work potluck last week, set up a little waffle bar with fruit, whipped cream, chocolate chips, and syrup, and people were raving the whole time. Multiple coworkers asked for the recipe, they couldn’t believe I didn’t use a waffle maker. So easy to make a big batch too, way less fussy than hauling out my big waffle iron and waiting for each batch to cook one at a time.
Bro, this recipe is so easy even I couldn’t mess it up. I’m the guy who burns toast 90% of the time, but these came out perfect first try. Ate three of them straight out the pan with way too much whipped cream, zero regrets. Cook time was right on 18 minutes too, no waiting around for a waffle maker to preheat forever.
Tested this with a flax egg and oat milk to make it vegan, and it worked SO well! I was nervous the texture would be off, but they were crispy on the edges, light and fluffy in the middle, and my non-vegan roommate ate two before I even told him they were vegan. Win win! Will be making these every weekend from now on.
Made these with my 7 year old last night for dinner (breakfast for dinner night, obviously) and he had a blast helping mix the batter. He kept saying ‘we’re making fake waffles!’ until he took the first bite, then he goes ‘wait these are REAL waffles!’ 10/10 for the dad win, easy enough for a kid to help with, minimal mess.
I added a scoop of vanilla protein powder to the batter and it worked perfectly! Got a nice little protein boost without making the waffles dense or weird tasting. Topped with Greek yogurt and berries, it’s the perfect post-workout breakfast that doesn’t feel like diet food. Love that I don’t need a fancy gadget to make it.
Hosted brunch last weekend and realized 20 minutes before guests arrived that my waffle maker was dead. Panicked, found this recipe, and it saved the whole day! No one even noticed I didn’t use the waffle maker, they were all commenting on how crispy and good the waffles were. Absolute lifesaver, I’m keeping this recipe pinned forever.
Just moved into my first apartment and I’m slowly building up my kitchen supplies, so I don’t have a waffle maker yet. Tried this recipe today and I’m obsessed. The only issue I had was that my first batch stuck to the pan a little, but I added a tiny bit more butter to the pan for the next batches and it was fine. So good, I don’t even know if I need to buy a waffle maker now tbh.
Turned these into dessert waffles! Cooked ‘em up, topped with vanilla ice cream, caramel sauce, and a little sea salt, and it was better than any dessert I’ve gotten at a diner lately. The crispy edges hold up to the melted ice cream so much better than pancakes do, I’ll never go back. 10/10, easy enough for a weeknight treat.
With three kids running around in the morning, I don’t have time to mess with finicky recipes or bulky appliances. These waffles come together so fast, I can have a whole batch done before the kids finish getting dressed for school. They love adding their own toppings (sprinkles, obviously) and I love that cleanup is just one pan instead of taking apart a whole waffle maker to scrub. Perfect for busy school mornings.
Recipe was easy enough, but mine came out a little softer than I expected, not as crispy as restaurant waffles. I used a regular non-stick pan without grill lines, so maybe that’s why? Flavor was good though, my family ate them all, I just prefer a crispier waffle. Might try again with a grill pan next time.