
White Chicken Enchilada Casserole

title 1
White Chicken Enchilada Casserole
⏱️ cook time 35 minutes
🍽️ servings 6
⚡ Difficulty easy

intro

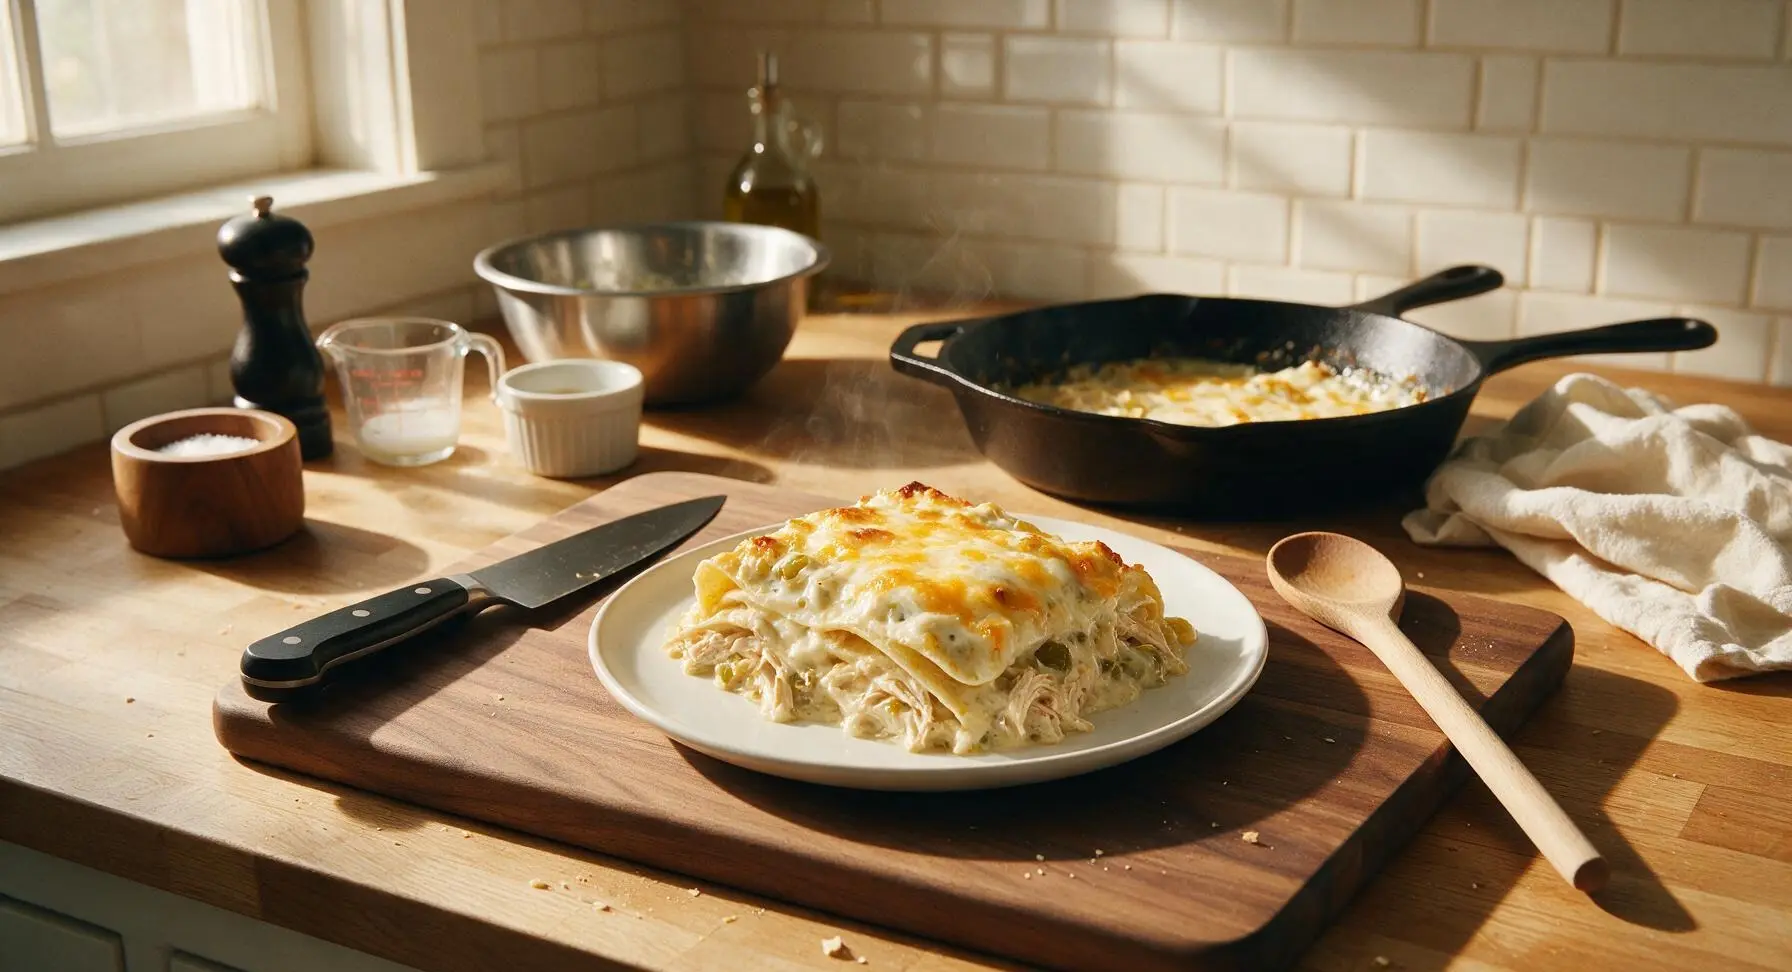
Creamy, cheesy layered Tex-Mex bake with tender shredded chicken, soft corn tortillas, and a rich sour cream green chile sauce, baked to bubbly golden perfection.

Ingredients
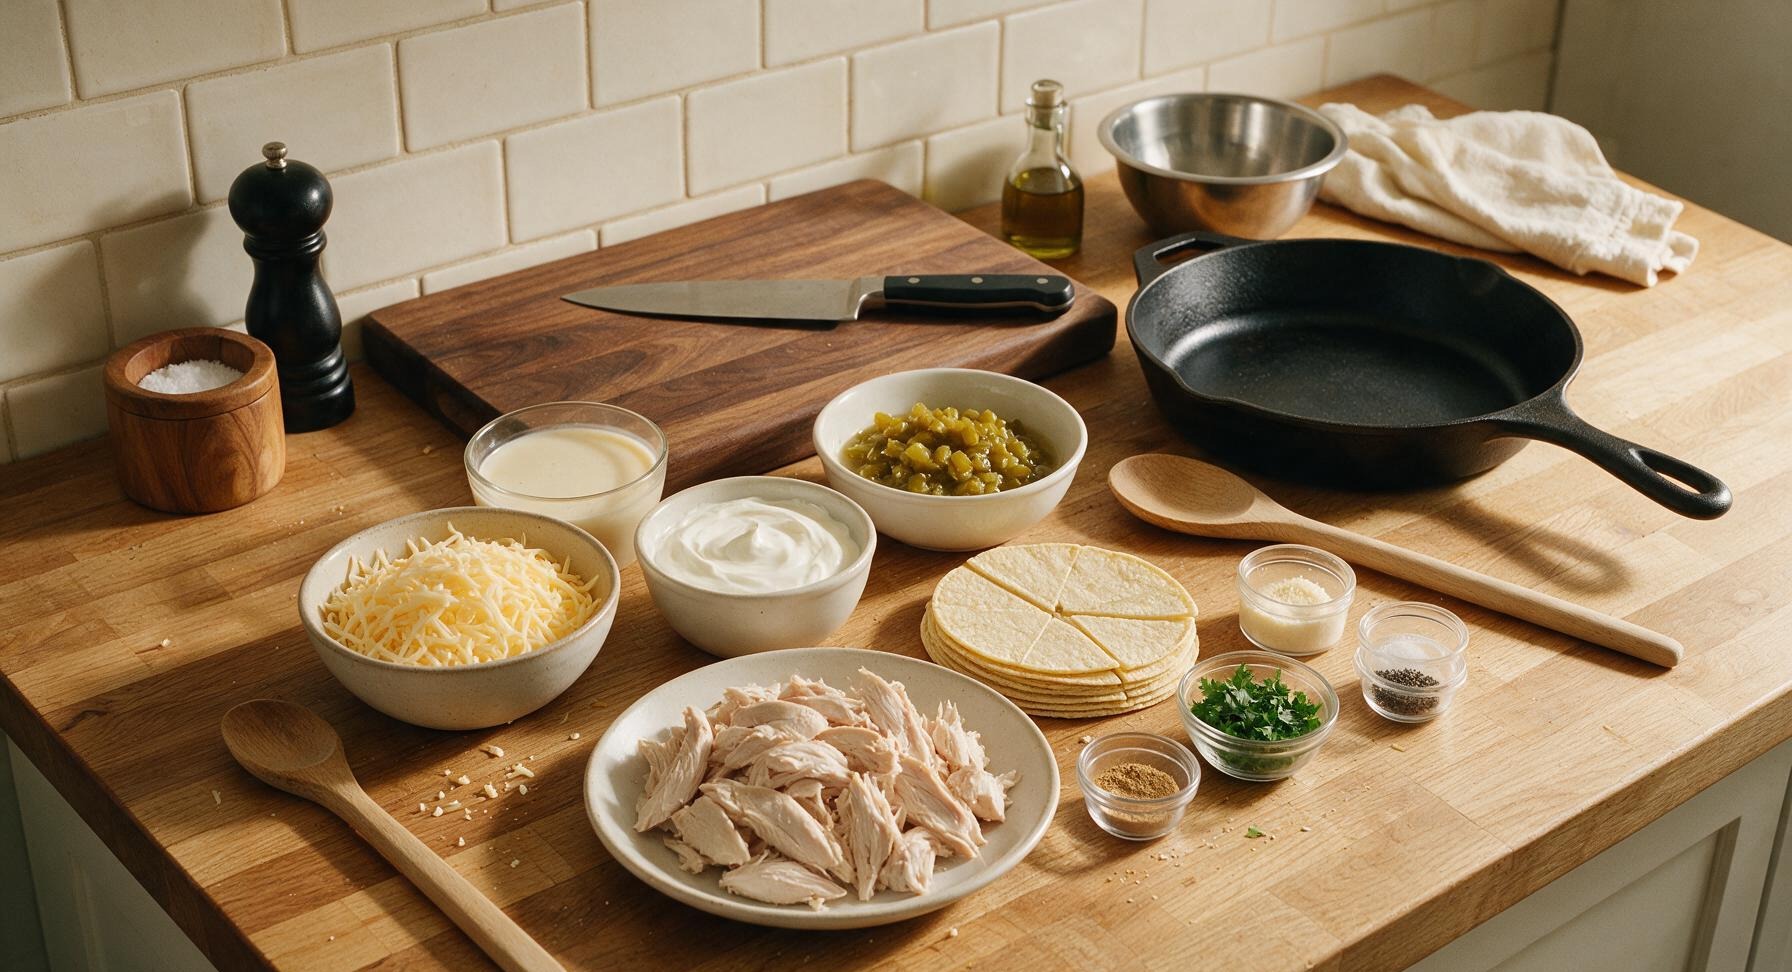
Boneless skinless chicken breasts, cooked and shredded 500g (about 2 large breasts)
Small corn tortillas (15cm diameter) 12 each, cut into quarters
Shredded Monterey Jack cheese 340g (3 cups), divided
Full-fat sour cream 450g (2 cups)
Mild diced green chiles, undrained 226g (two 113g cans)
Low-sodium chicken broth 240ml (1 cup)
Condensed cream of chicken soup 298g (1 standard can)
Ground cumin 1 tsp
Garlic powder 1 tsp
Kosher salt 1/2 tsp
Freshly ground black pepper 1/4 tsp
Fresh cilantro, chopped (for garnish) 15g (1/4 cup)

Steps

1

Preheat Oven, Prep Dish

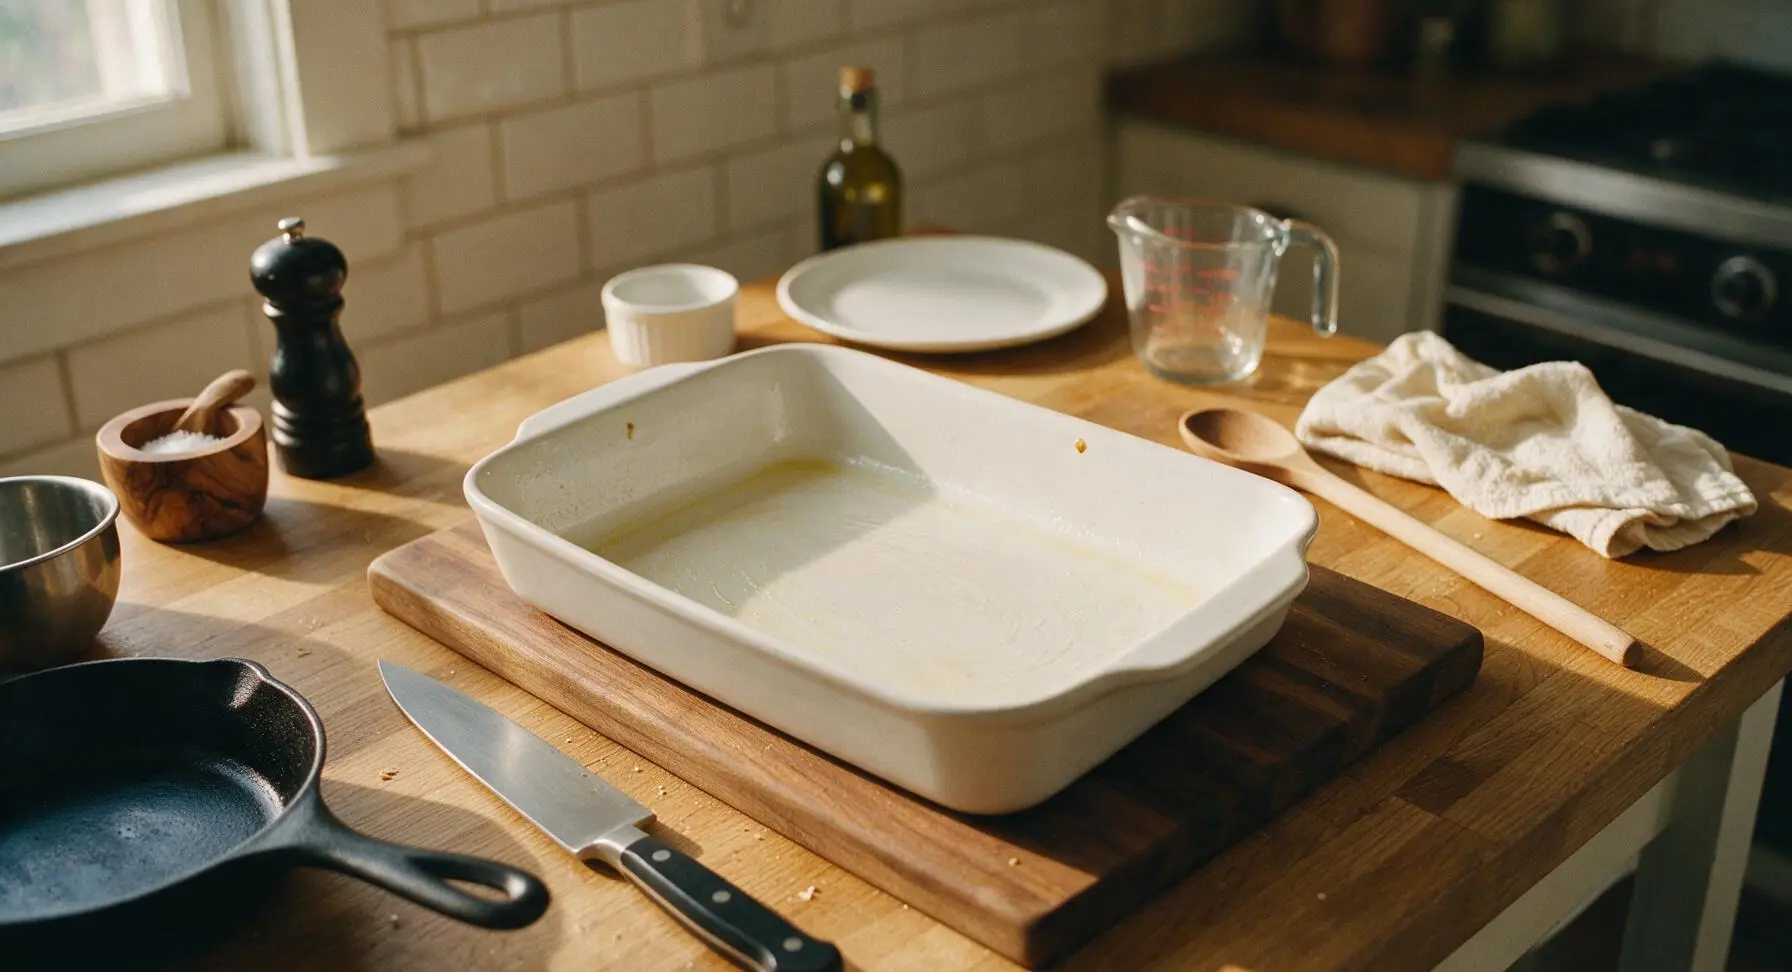
Preheat your oven to 180C (350F). Lightly grease the interior of the 9x13 inch matte white ceramic baking dish with a thin swipe of sour cream or neutral non-stick spray, ensuring the bottom and 2cm up the sides are fully coated to prevent sticking during baking. Set the prepared dish on the maple cutting board area of the counter, within easy reach of your mixing bowl.
Step 1
step1:Preheat Oven, Prep Dish
2

Mix Creamy White Sauce

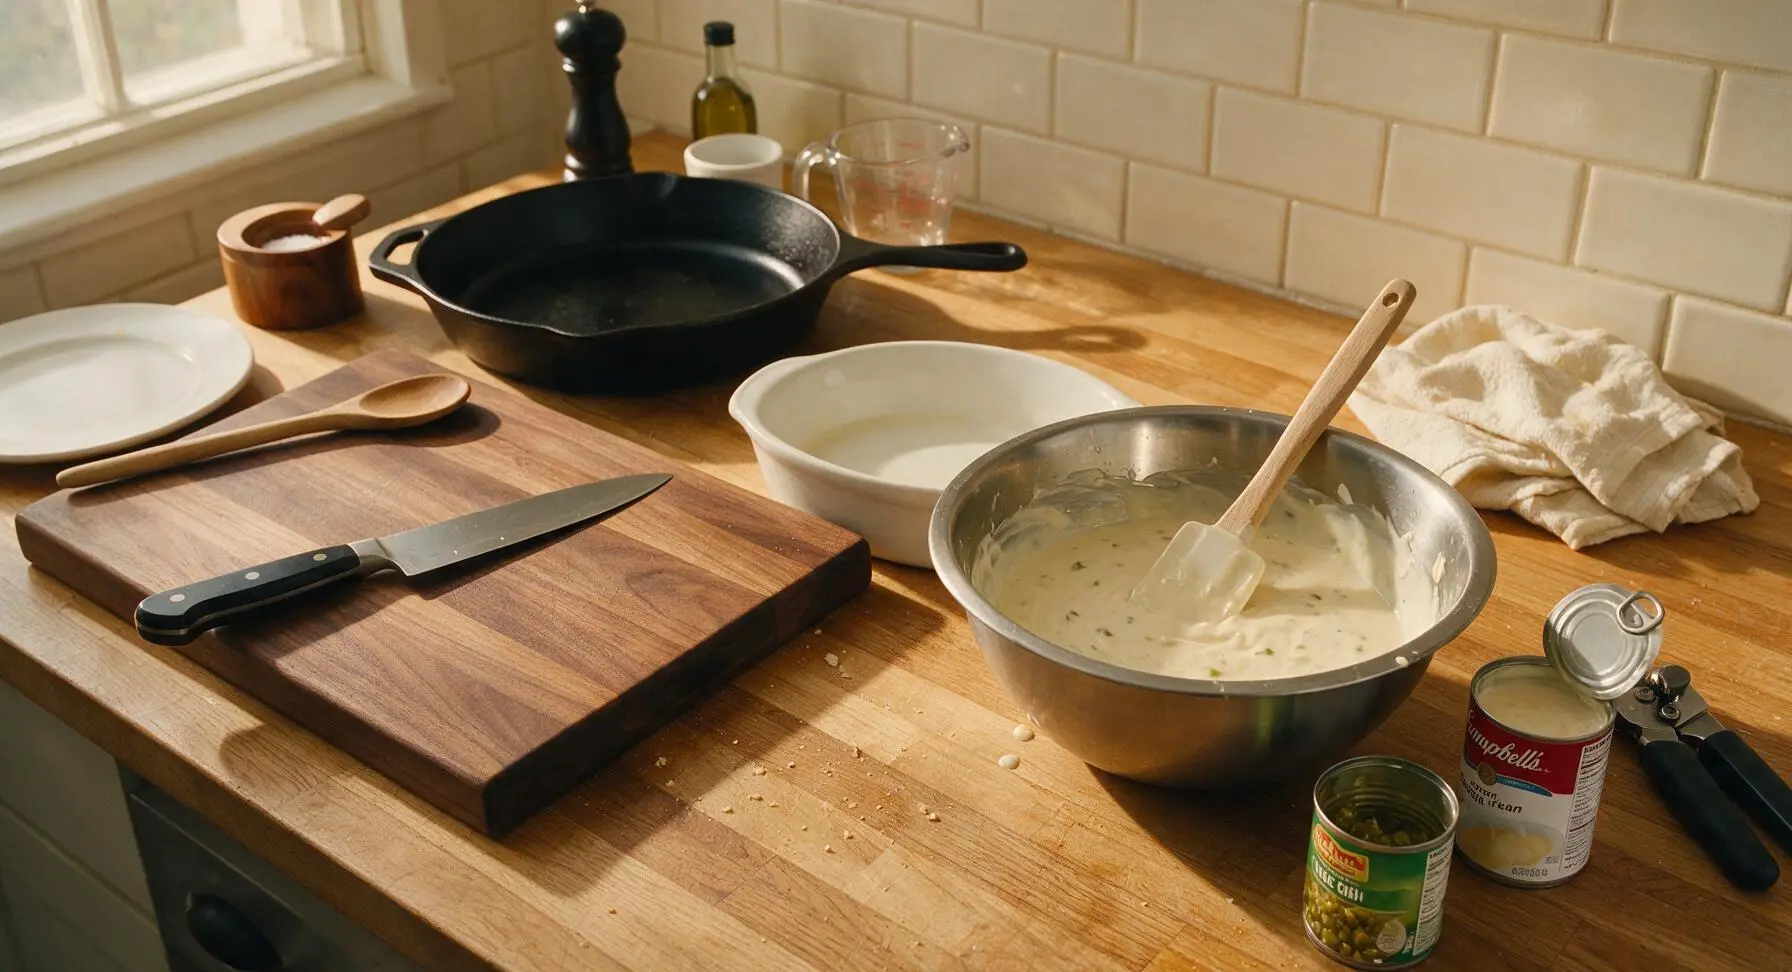
Open the cans of diced green chiles and condensed cream of chicken soup using the matte black can opener. In the medium brushed stainless steel mixing bowl, combine the full 2 cups sour cream, condensed cream of chicken soup, 1 cup chicken broth (measured in the clear glass measuring cup), undrained diced green chiles, 1 tsp ground cumin, 1 tsp garlic powder, 1/2 tsp kosher salt, and 1/4 tsp black pepper. Use the off-white silicone spatula to stir the mixture until completely smooth, with no visible lumps of soup or streaks of unincorporated sour cream remaining. The finished sauce will be a pale creamy off-white, with tiny flecks of green chile distributed evenly throughout.
Step 2
step2:Mix Creamy White Sauce
3

Layer First Tortilla Base

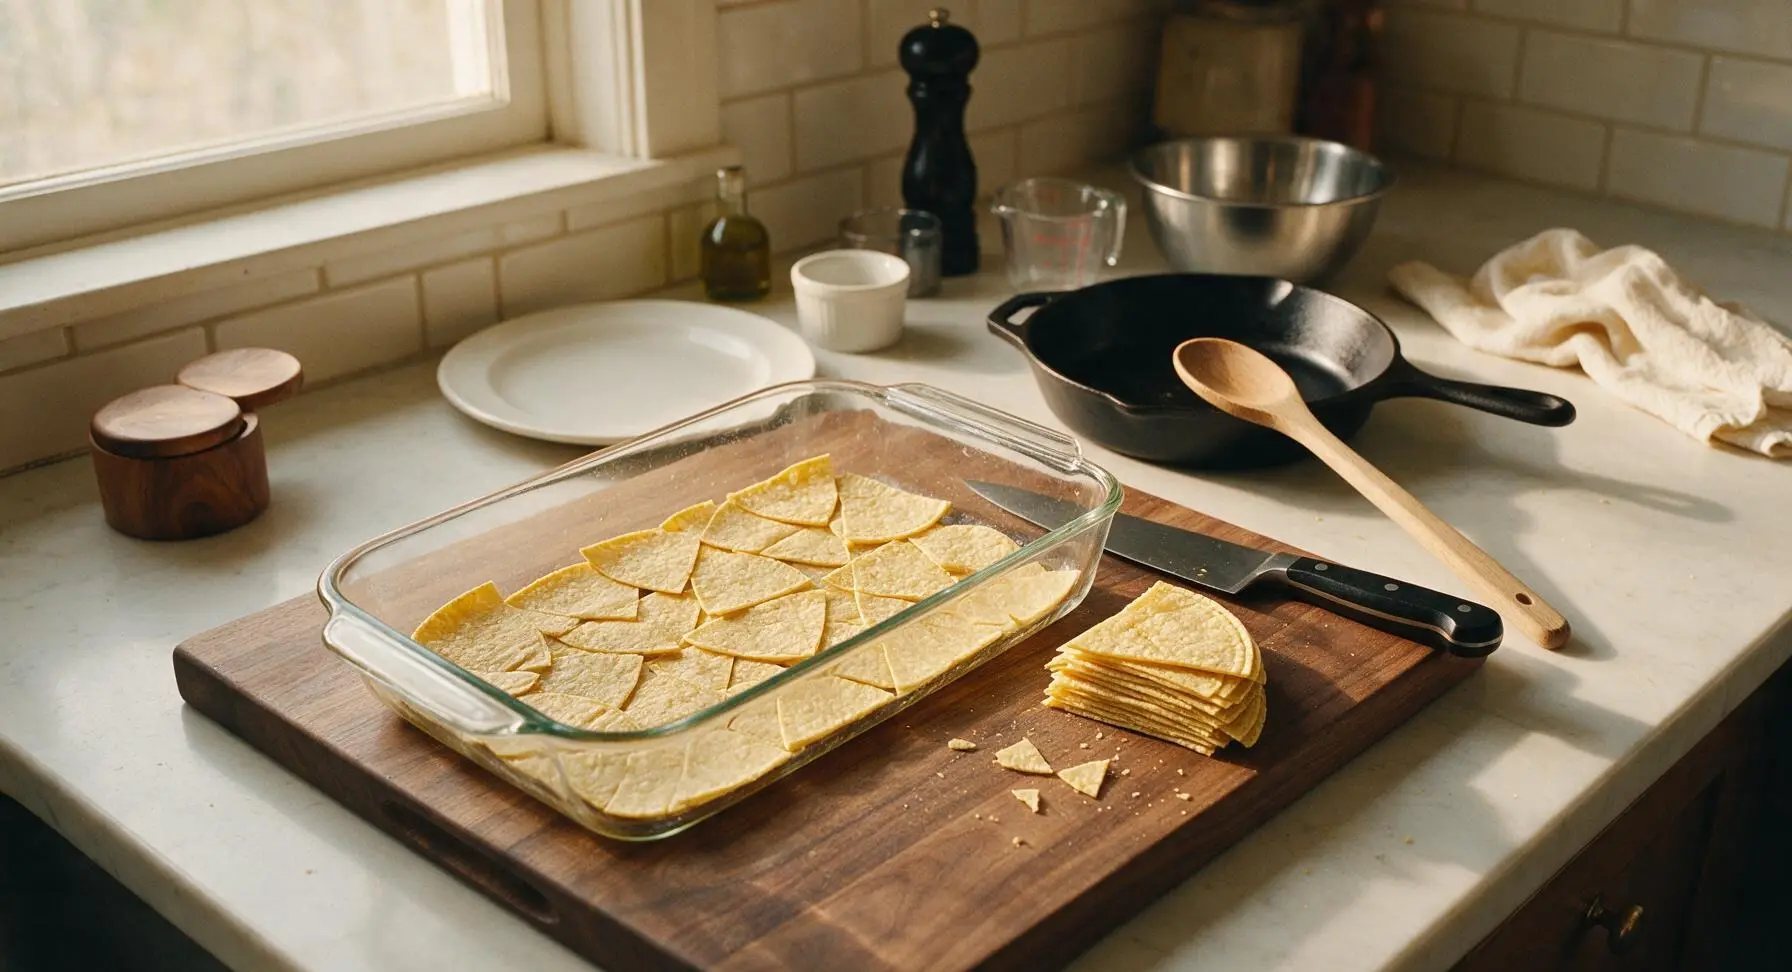
Cut the 12 corn tortillas into quarters using the chef knife on the maple cutting board. Arrange 1/3 of the quartered tortilla pieces in an even, overlapping layer across the bottom of the prepared baking dish, covering the entire greased surface with no gaps larger than a 1cm coin. You will use approximately 4 tortillas (16 quarters) for this first layer, pressing pieces gently to fit the sharp corners of the dish.
Step 3
step3:Layer First Tortilla Base
4

Add Chicken, Cheese, Sauce

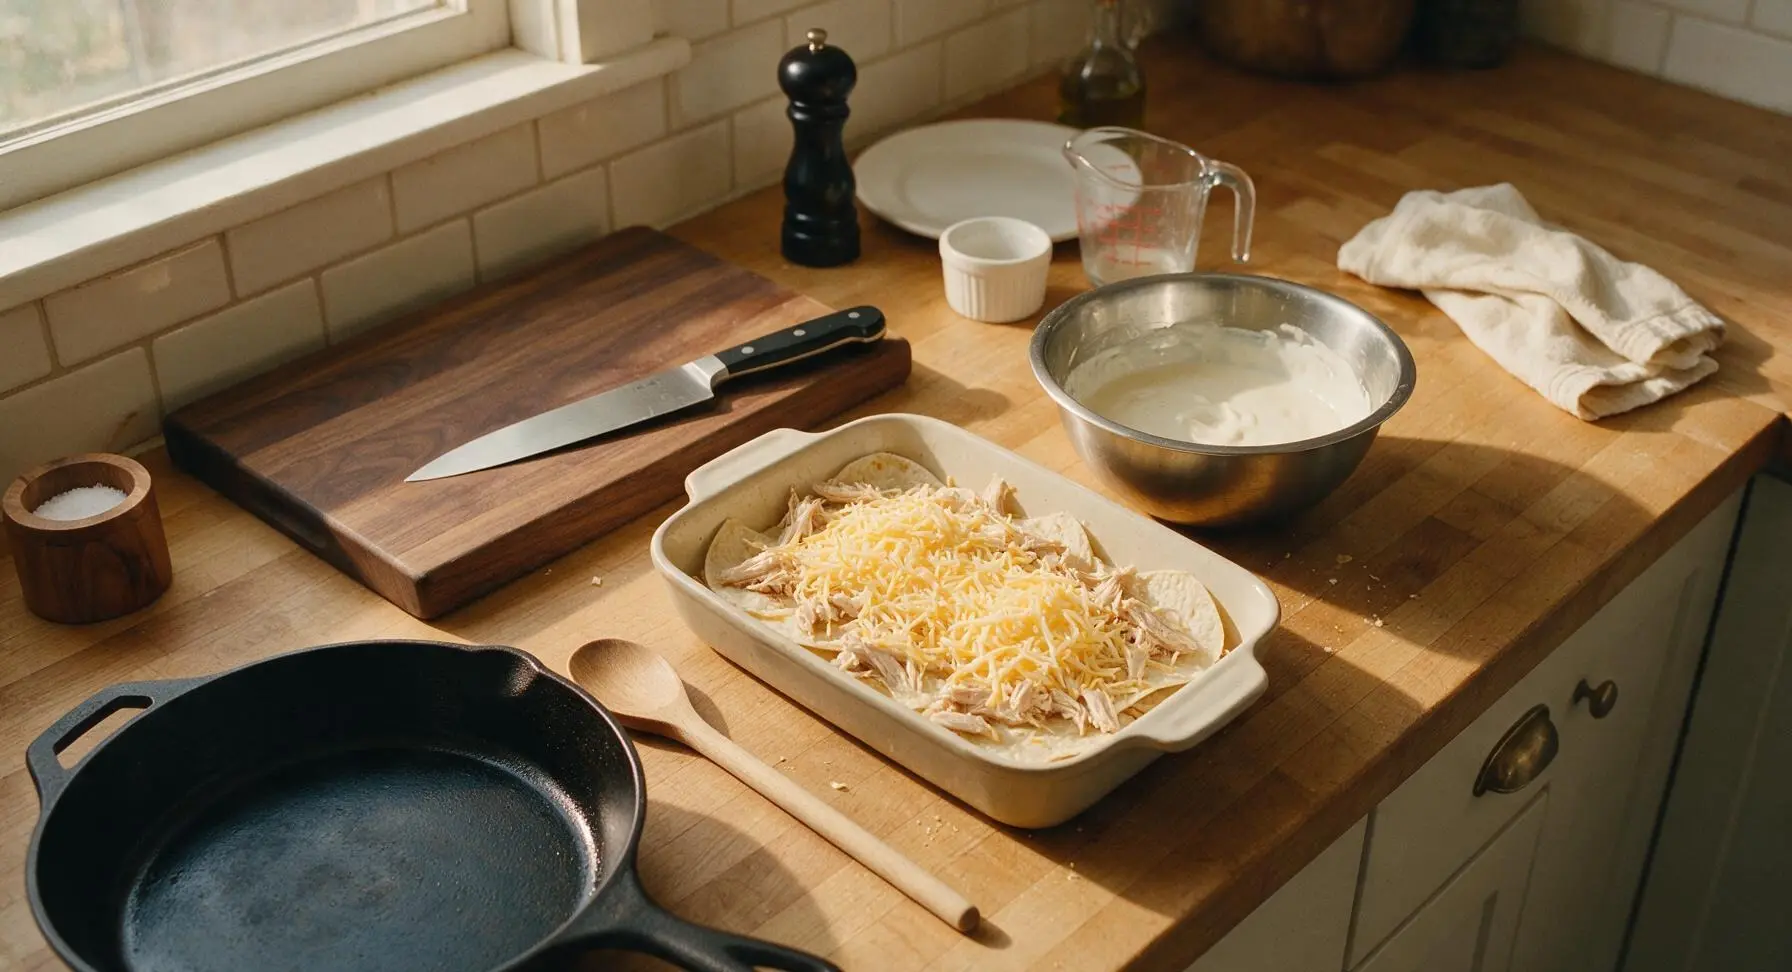
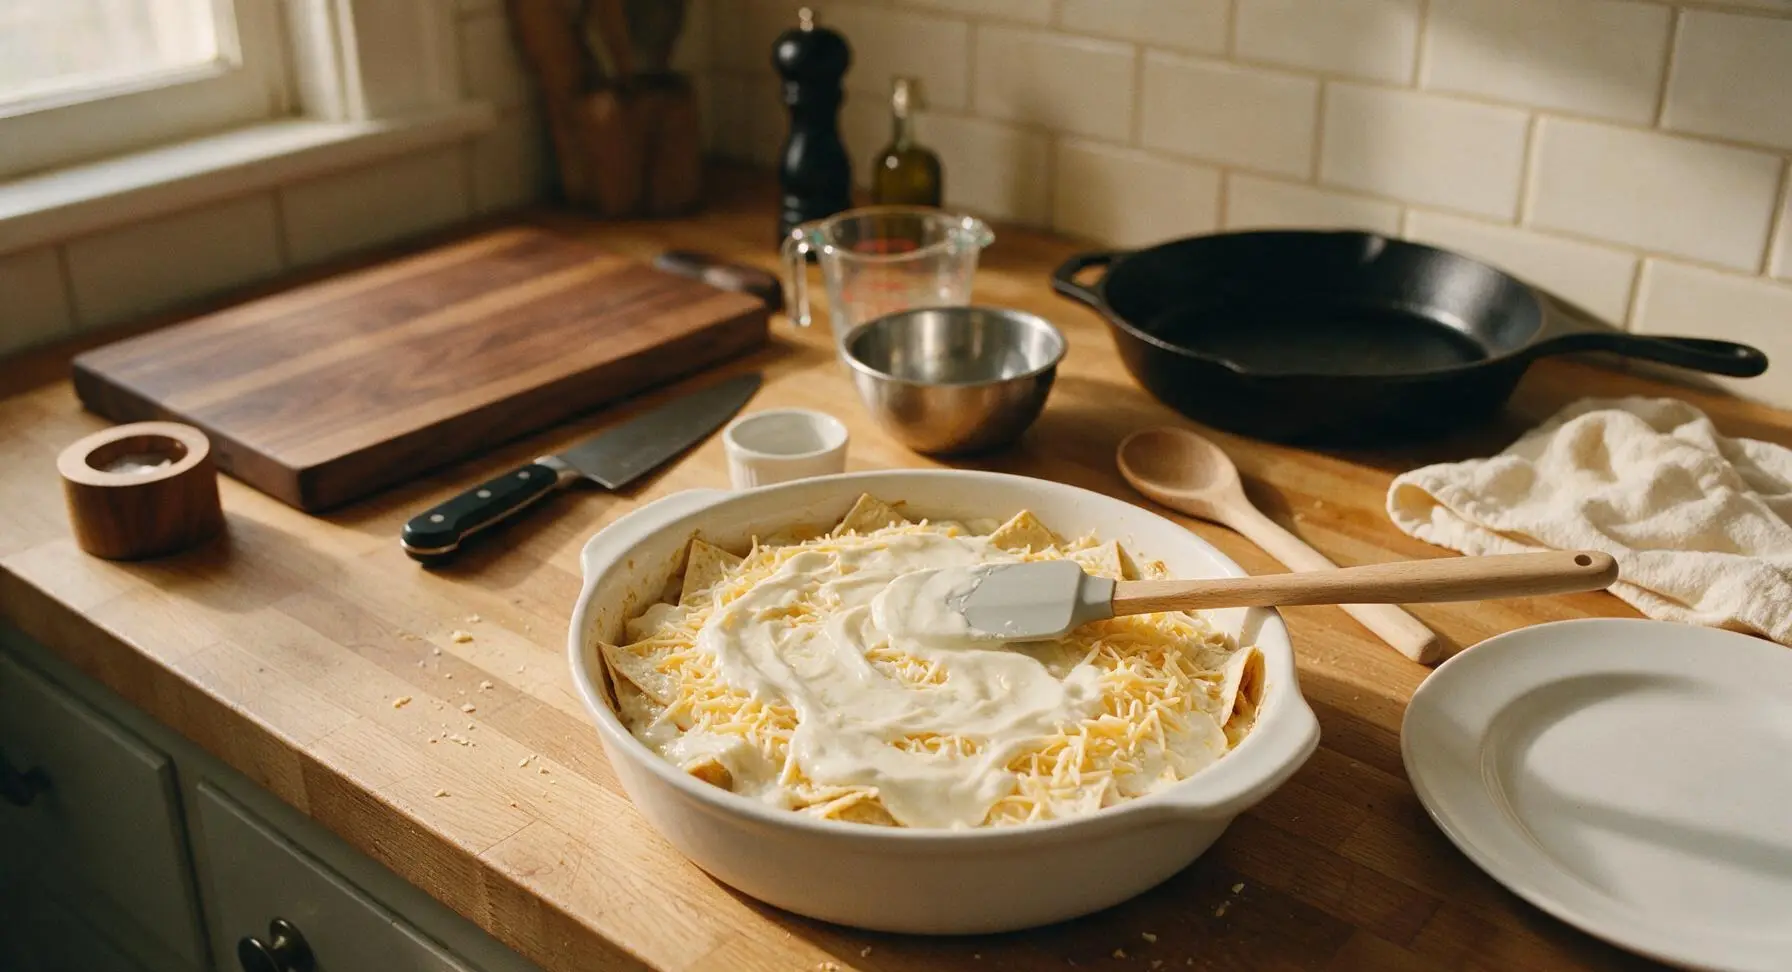
Sprinkle 1/2 of the shredded chicken (250g) evenly over the first tortilla layer, followed by 1 cup of the shredded Monterey Jack cheese. Pour 1/3 of the creamy white sauce evenly over the cheese layer, using the silicone spatula to spread it gently so all areas are coated, taking care not to shift the tortilla or chicken layers underneath.
Step 4
step4:Add Chicken, Cheese, Sauce
Step 4
step4:Add Chicken, Cheese, Sauce
5

Repeat Layered Build

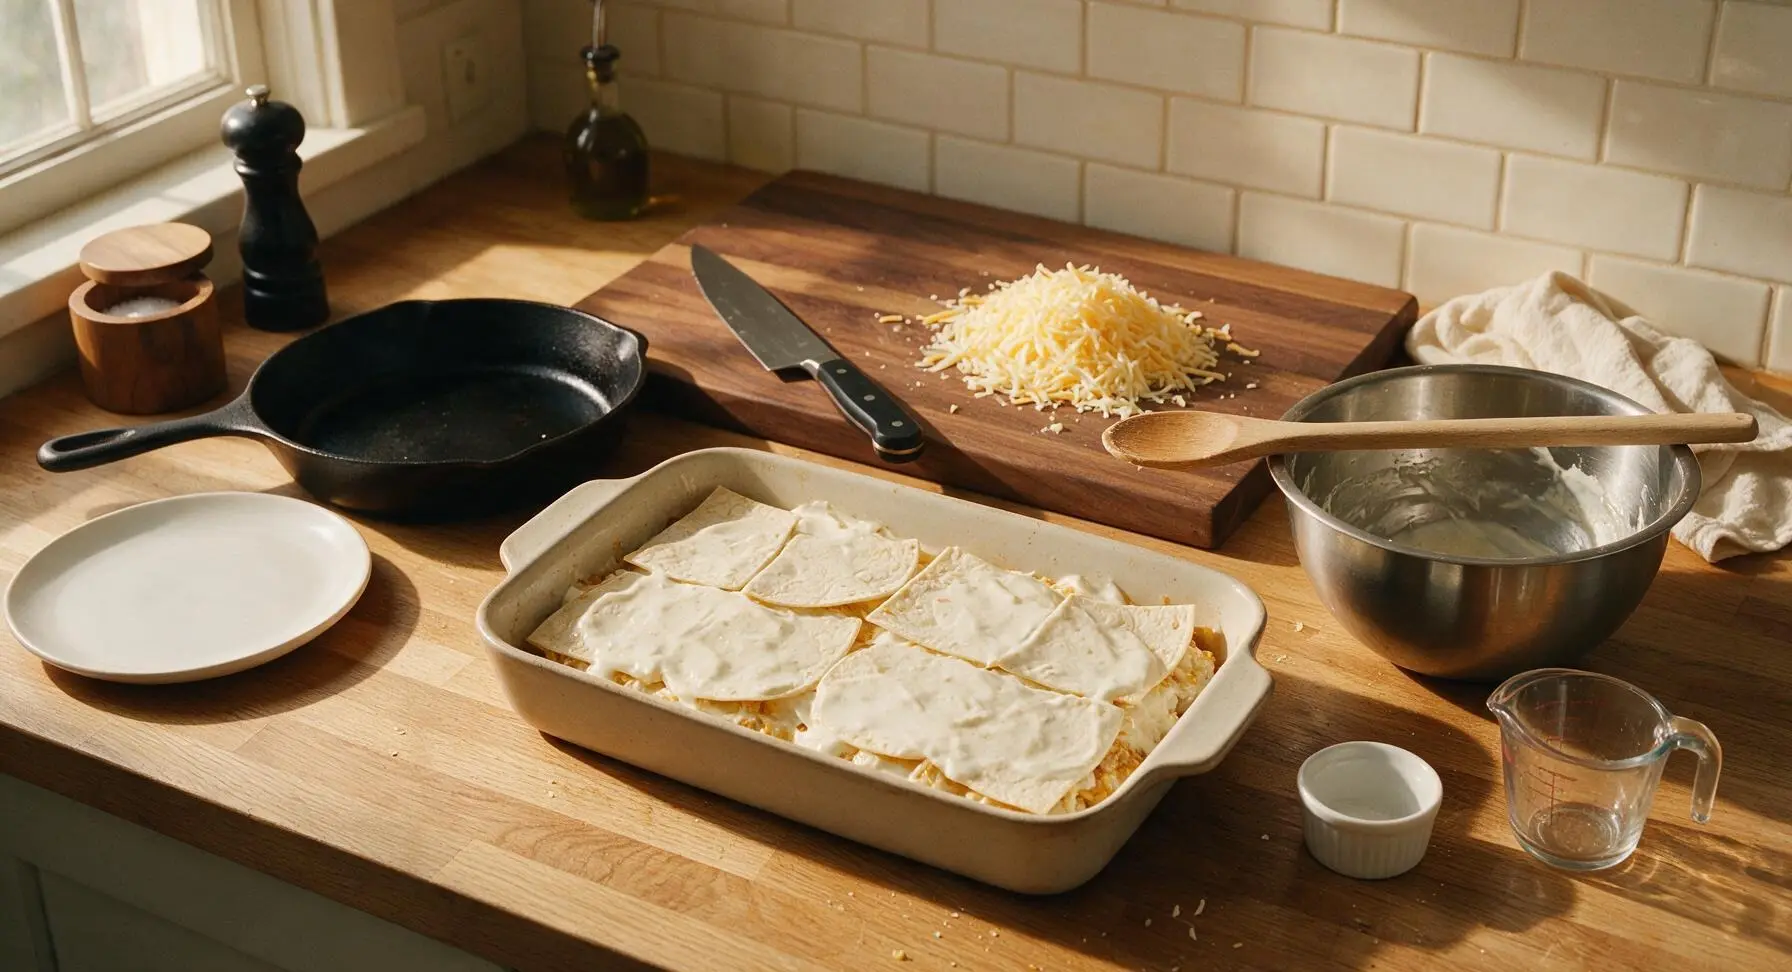
Repeat the layering sequence a second time: add another 1/3 of the tortilla quarters in an even layer, followed by the remaining 250g of shredded chicken, 1 cup of Monterey Jack cheese, and another 1/3 of the white sauce, spread evenly. Top the second set of layers with the final 1/3 of tortilla quarters, then pour the last 1/3 of the white sauce over the top, spreading it to fully cover every tortilla piece so no dry tortilla is exposed (exposed tortillas will turn hard and crispy during baking).
Step 5
step5:Repeat Layered Build
6

Top With Final Cheese

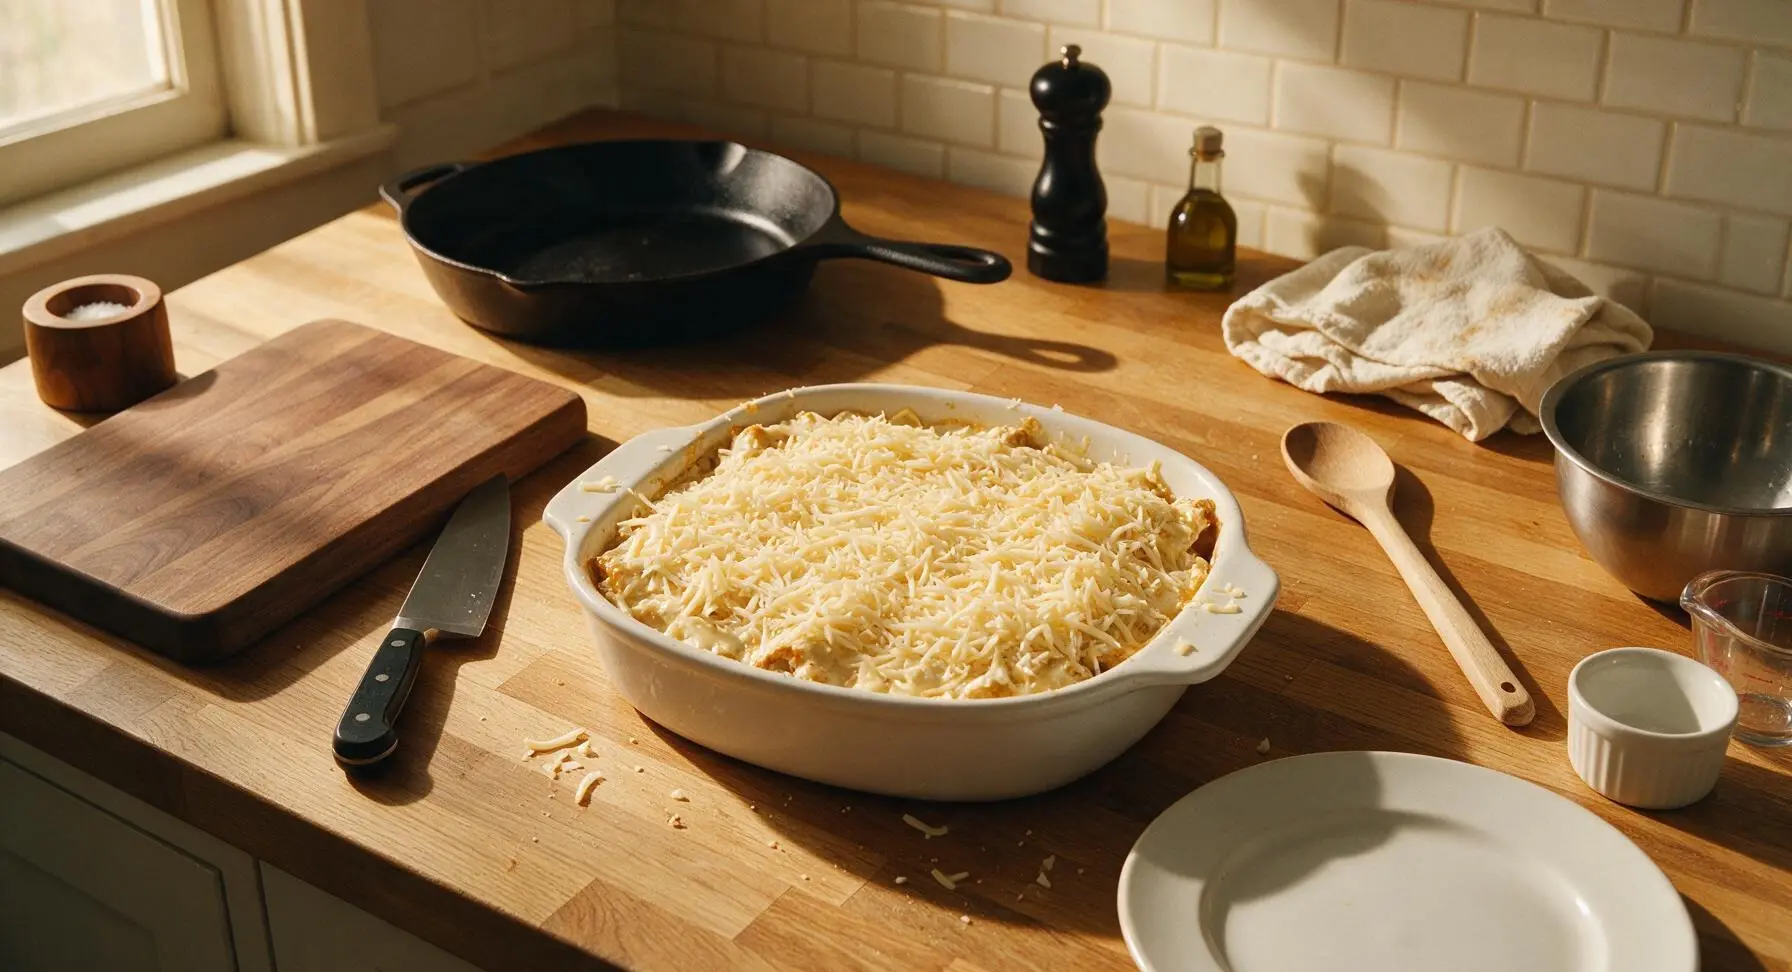
Sprinkle the remaining 1 cup of shredded Monterey Jack cheese evenly over the top sauced layer, creating a uniform cheese covering that extends all the way to the edges of the baking dish. Do not press the cheese into the sauce; leave it loose for even melting and golden browning during baking.
Step 6
step6:Top With Final Cheese
7

Bake Until Golden Bubbly

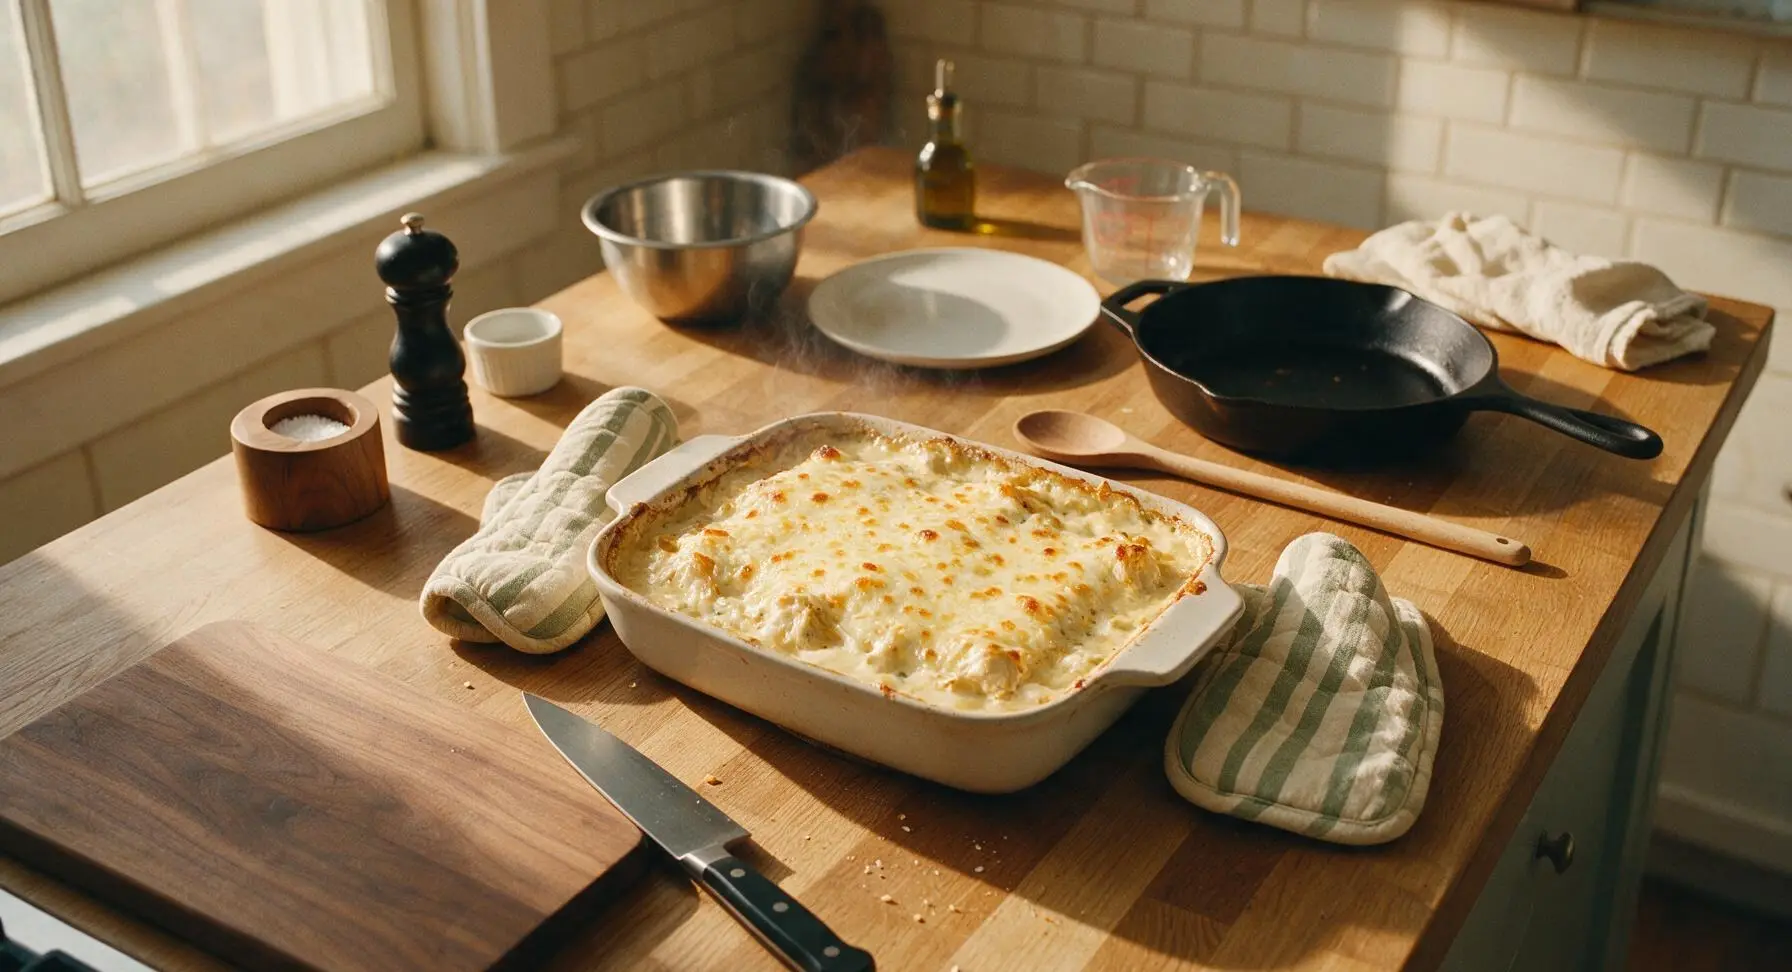
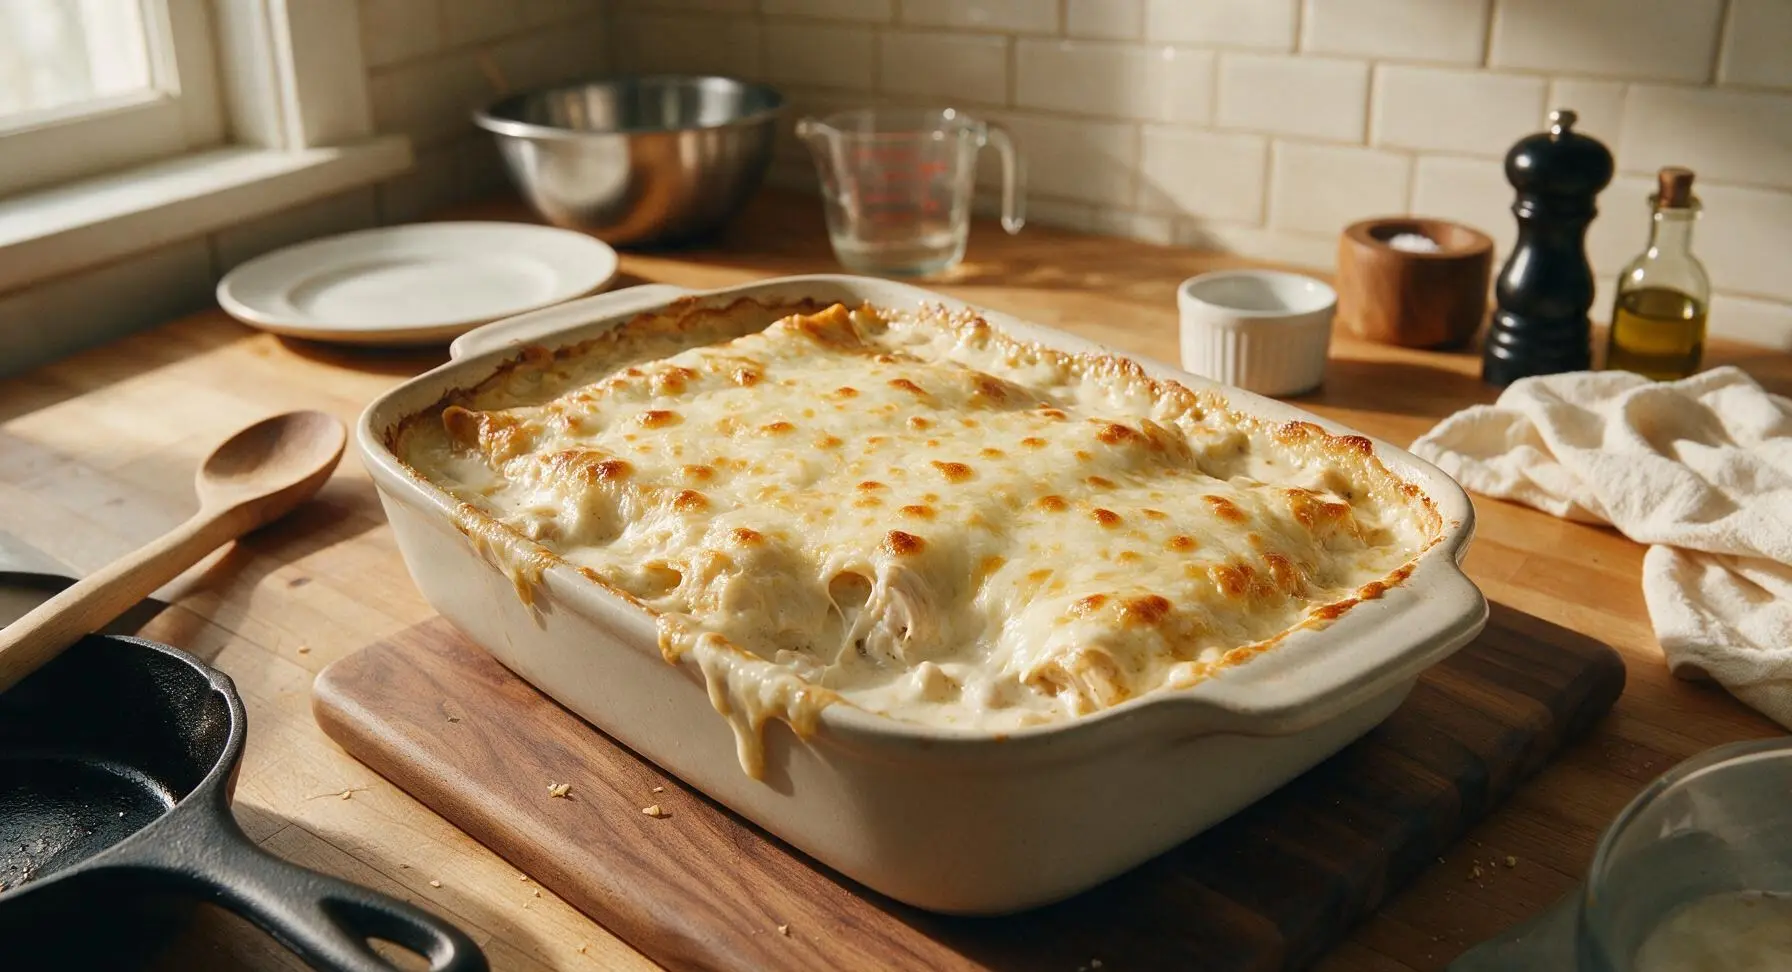
Carefully place the assembled casserole on the middle rack of the preheated 180C (350F) oven. Bake for 30-35 minutes, until the cheese on top is fully melted and dotted with golden brown spots, and the creamy sauce is bubbling vigorously around the edges of the dish. The internal temperature at the center should reach 74C (165F) for food safety.
Step 7
step7:Bake Until Golden Bubbly
Step 7
step7:Bake Until Golden Bubbly
8

Rest Before Serving

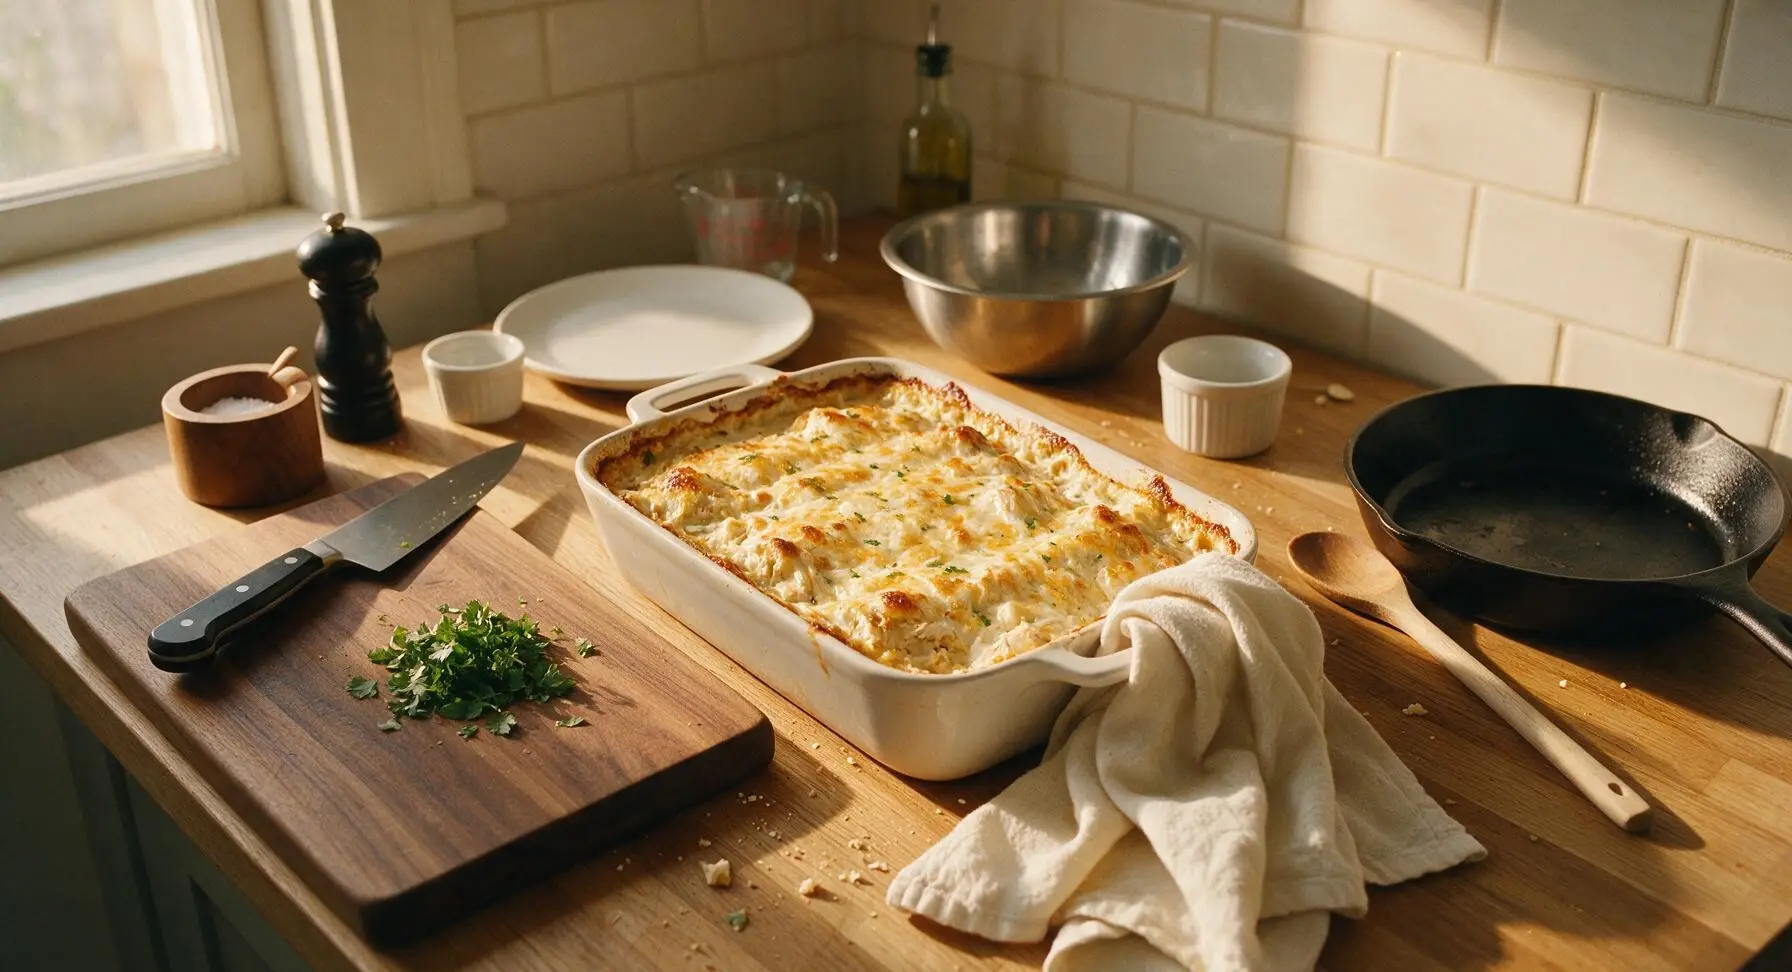
Allow the casserole to rest at room temperature for 10 minutes after removing it from the oven. This resting period lets the layers set, so slices hold their shape instead of oozing apart when cut. While resting, chop the 1/4 cup fresh cilantro for garnish using the chef knife on the maple cutting board. Slice into 6 equal squares and serve warm, garnished with chopped cilantro.
Step 8
step8:Rest Before Serving

Tips

1.Use store-bought rotisserie chicken for shredding to cut prep time by 10 minutes; its lightly seasoned, juicy meat adds more depth of flavor than plain poached chicken breasts with zero extra effort.
2.Assemble the casserole up to 24 hours in advance, cover tightly with plastic wrap, and refrigerate until ready to bake; add 5 minutes to the total bake time if cooking straight from the fridge for an easy low-stress meal.
3.Never skip the 10-minute resting period after baking; this allows the creamy sauce to firm up and set, so slices hold clean, sharp edges instead of sliding apart into a runny mess when served.


✨ You May Also Like

Main Course
🍜 United Kingdom

A showstopping classic of tender seared beef, savory mushroom duxelles, and crisp prosciutto wrapped in flaky golden puff pastry, baked to juicy perfection.

⏱️ 2 hours 1Main Course ★ 4.7
Main Course
🍜 India

Tender charred marinated chicken simmered in a rich, spiced creamy tomato sauce, this iconic Anglo-Indian curry pairs perfectly with basmati rice or warm naan.

⏱️ 50 minuteMain Course ★ 4.6
Main Course
🍜 Thailand

Classic tangy, sweet, and savory Thai stir-fried rice noodles with shrimp, tofu, and crunchy garnishes, balancing all five core Thai flavor profiles.

⏱️ 30 minuteMain Course ★ 4.5
Main Course
🍜 United Kingdom

Crispy golden beer-battered cod and fluffy double-fried chips, served with tangy tartar sauce and malt vinegar: the timeless, beloved British pub comfort classic.

⏱️ 45 minuteMain Course ★ 4.7
Main Course
🍜 Mexico

Smoky, chile-marinated pork tacos with caramelized pineapple, fresh cilantro, and lime: a beloved classic Mexican street food perfect for casual summer gatherings.

⏱️ 1 hour 45Main Course ★ 4.8
Main Course
🍜 United States

Crunchy Fritos corn chips layered with savory beef chili and melted cheddar, topped with cool, zesty fixings for a beloved, cozy Tex-Mex comfort food.

⏱️ 35 minuteMain Course ★ 4.8

White Chicken Enchilada Casserole:Frequently Asked Questions

1.Can I use store-bought rotisserie chicken instead of cooking chicken breasts from scratch? ▾
Absolutely! Rotisserie chicken is a fantastic time-saver for this recipe—you’ll need about 3 cups of shredded meat, picked free of skin and bones. It adds a subtle roasted depth that pairs beautifully with the creamy sauce, just avoid chicken seasoned with strong clashing flavors like barbecue or heavy lemon pepper to keep the classic Tex-Mex profile.
2.My corn tortillas always crack when I layer casseroles—how do I prevent that? ▾
Corn tortillas crack when they’re dry and stiff, so a quick warm-up before layering fixes this fast. Either toast them for 10 seconds per side in a dry skillet, wrap them in a damp paper towel and microwave for 30 seconds, or brush lightly with neutral oil. This softens them so they lay flat without splitting or turning chewy as the casserole bakes.
3.Can I assemble this casserole ahead of time to bake later for a weeknight meal? ▾
You sure can! Assemble the full casserole, cover tightly with plastic wrap then foil, and store it in the fridge for up to 2 days before baking. When you’re ready to cook, remove the plastic wrap, re-cover with foil, and add 10-12 minutes to the standard bake time to account for the cold dish, until it’s bubbly all the way through.
4.What can I substitute for Monterey Jack cheese if I don’t have any on hand? ▾
Monterey Jack is ideal for its mild flavor and super melty texture, but you can swap it for shredded pepper Jack if you want extra heat, or a 50/50 mix of mild cheddar and mozzarella in a pinch. Skip pre-shredded cheese with added anti-caking agents, as those can make your sauce grainy instead of smooth and creamy.
5.Why do you recommend full-fat sour cream instead of low-fat or fat-free versions? ▾
Full-fat sour cream holds up perfectly to baking without curdling or separating, which gives the sauce that luxe, velvety texture this casserole is known for. Low-fat and fat-free versions have extra stabilizers and higher water content that can make the sauce runny, watery, or grainy when baked—stick to full-fat for the best results.
6.Can I add extra veggies or beans to make this casserole more filling? ▾
Of course! Roasted corn, sautéed bell peppers, well-drained black beans, or thinly sliced sautéed zucchini all make fantastic, flavorful additions. Just make sure any mix-ins you add are cooked first and fully drained of excess moisture (note: the recipe’s green chiles are meant to stay undrained!) so you don’t end up with a soggy, water-logged casserole.
7.How do I tell when the casserole is fully done and ready to pull from the oven? ▾
You’ll know it’s ready when the edges bubble vigorously around the sides of the baking dish, the cheese on top is fully melted and dotted with light golden brown spots, and the center hits 165°F on an instant-read thermometer. This usually takes 25-30 minutes at 375°F for a freshly assembled casserole.
8.Can I freeze this casserole to save for quick future meals? ▾
Definitely! You can freeze it either unbaked or fully baked for up to 3 months. If freezing unbaked, wrap it tightly in two layers of heavy-duty foil to prevent freezer burn. Thaw fully in the fridge overnight before baking, or add 25-30 minutes to the bake time if cooking from frozen, until the center is piping hot.
9.The recipe calls for mild green chiles—can I use spicier versions if I like heat? ▾
Absolutely! That’s an easy, customizable swap to dial up heat to your preference. Hot diced green chiles add a bright, zesty kick without overwhelming the creamy sauce, or you can stir in diced pickled jalapeños or a pinch of cayenne if you want even more heat, adjusting amounts to match your spice tolerance.
10.Why does my sour cream sauce turn out lumpy instead of smooth? ▾
Lumpy, curdled sauce usually happens when you add cold sour cream directly to a hot mixture too quickly over high heat. To avoid this, let your sour cream come to room temperature for 15 minutes before mixing, and stir it into the warm green chile mixture off the heat until fully combined and silky smooth before you start layering.
11.What size baking dish works best for this layered casserole? ▾
A standard 9x13 inch (3-quart) glass or ceramic baking dish is ideal for this recipe, as it gives you enough room to build 3 even layers of tortillas, chicken, sauce, and cheese without the casserole bubbling over the edges as it bakes. If you use a slightly smaller dish, set it on a rimmed baking sheet to catch any drips.
12.What toppings pair best with this rich, creamy casserole? ▾
Top each serving with bright, fresh add-ons to cut through the rich creaminess: diced ripe avocado, a small dollop of extra sour cream, chopped fresh cilantro, a squeeze of fresh lime juice, pickled red onions, or a spoonful of mild salsa. Skip adding wet, fresh toppings before baking—add them right before serving to keep the texture perfect.

Comments (11)

2 days ago

OMG this was such a hit for our Sunday family dinner! I swapped the sour cream for Greek yogurt to cut a little fat and none of the boys even noticed. So creamy, perfectly seasoned, and done way faster than my regular enchilada recipe. Total weeknight win, will be adding this to our monthly rotation for sure!

3 days ago

Made this for my potluck at work yesterday and people were begging for the recipe! The only thing I did different was add a small can of diced green chiles for a little extra kick, and it was chef's kiss. So easy to throw together even on a busy morning before work.

2 days ago

Love the green chile addition! That sounds like such a tasty twist, so glad it was a potluck hit :)

1 week ago

Game changer for my weekly meal prep! I made a big pan on Sunday and portioned it out for lunches all week, it reheats like an absolute dream. No soggy tortillas, the flavor gets even better after a day or two in the fridge. 10/10.

5 days ago

Wait how do you reheat it without the cheese getting all rubbery? I’ve messed up casserole meal prep so many times because of that!

3 days ago

Great question! I recommend reheating portions in the microwave at 50% power for 2-3 minutes, or popping them in the oven at 325 for 10 minutes if you have time—keeps the cheese creamy and no rubbery texture!

2 hours ago

As someone who can barely boil pasta without burning it, this was so easy to make! 35 minutes total, no fancy ingredients, and my roommates all thought I ordered takeout from our favorite Mexican spot. Will 100% be making this again when I’m sick of ramen.

30 minutes ago

Super excited to try this! Does anyone know if corn tortillas work instead of flour? I have to eat gluten free and already have all the other ingredients in my fridge.

5 minutes ago

I used corn tortillas last week when I made it! Just warm them up for 10 seconds in the microwave first so they don’t crack when you layer them, turned out amazing.

yesterday

My kids loved it! I was worried the white sauce would be too bland for them so I added a little taco seasoning to the chicken and a sprinkle of cotija on top, and they went back for seconds (and thirds for my oldest teen boy, ha). Perfect comfort food for a rainy Georgia evening.

2 hours ago

Oh the cotija addition sounds incredible! I’m definitely stealing that trick next time I make this, I love that salty, crumbly kick.

30 minutes ago

Cotija is such a good call! It adds the perfect salty contrast to the creamy sauce, I’m so glad your whole family enjoyed it.

2 weeks ago

SO good. I’m usually the person who refuses to eat leftovers because they never taste as good as the first night, but I found myself sneaking a bite of this straight from the fridge at 10pm last night. No shame.

1 week ago

No shame at all—this is one of those casseroles that’s even better cold straight from the pan, trust me, I’ve done it too!

5 days ago

Made this for my husband for our first at-home date night after we got back from our honeymoon, and he said it’s better than the enchiladas we had at our resort in Cancun. Huge win for me! I did add a handful of corn to the layers for a little extra sweetness, which was chef’s kiss.

3 days ago

Aww that’s such a sweet date night meal! The corn addition sounds perfect, that little pop of sweetness pairs so well with the creamy sauce and savory chicken.

2 days ago

I did the corn thing too last time I made it! I also tossed in some black beans for extra protein, it was so hearty and delicious.

just now

Really good base recipe! I added a diced jalapeño and a dash of cayenne to the sauce to give it more heat, and it was exactly what I wanted. Super easy to customize to your own taste, will be making this again for game night next weekend.

1 week ago

This is such an affordable recipe! I used leftover rotisserie chicken from the grocery store and a block of cheese I shredded myself, and the whole pan cost less than $10 to make. Feeds 6 people too, can’t beat that value.

5 days ago

The rotisserie chicken hack is genius! I never thought to use that, it cuts down on cook time so much too. Thanks for the tip!

2 hours ago

Wait, quick question—do I have to cover it with foil while it bakes? I’ve made enchilada casseroles before where the top got burnt to a crisp because I forgot to cover it, and I don’t want to mess this one up because it sounds so good!

30 minutes ago

Great question! I recommend covering it with foil for the first 25 minutes of bake time, then taking the foil off for the last 10 minutes to let the cheese on top get golden and bubbly. That way nothing burns!

5 minutes ago

Seconding this! I did that exact timing last night and the top was perfectly melty, no burnt edges at all. You’re gonna love this recipe, it’s so forgiving!



