
Wood Logs
intro
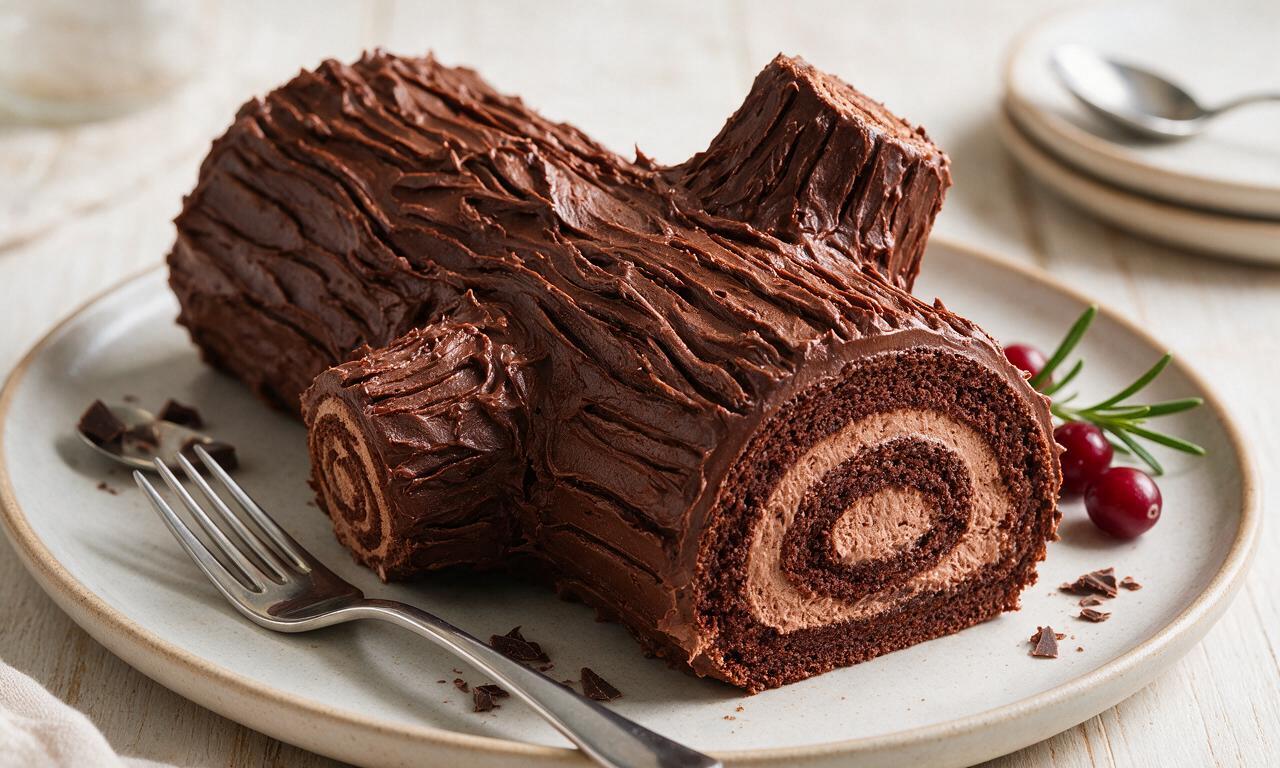
Rich chocolate rolled sponge filled with fluffy chocolate cream, decorated to resemble a rustic forest wood log, a beloved classic Christmas dessert.
Ingredients
Steps
Bake chocolate sponge base
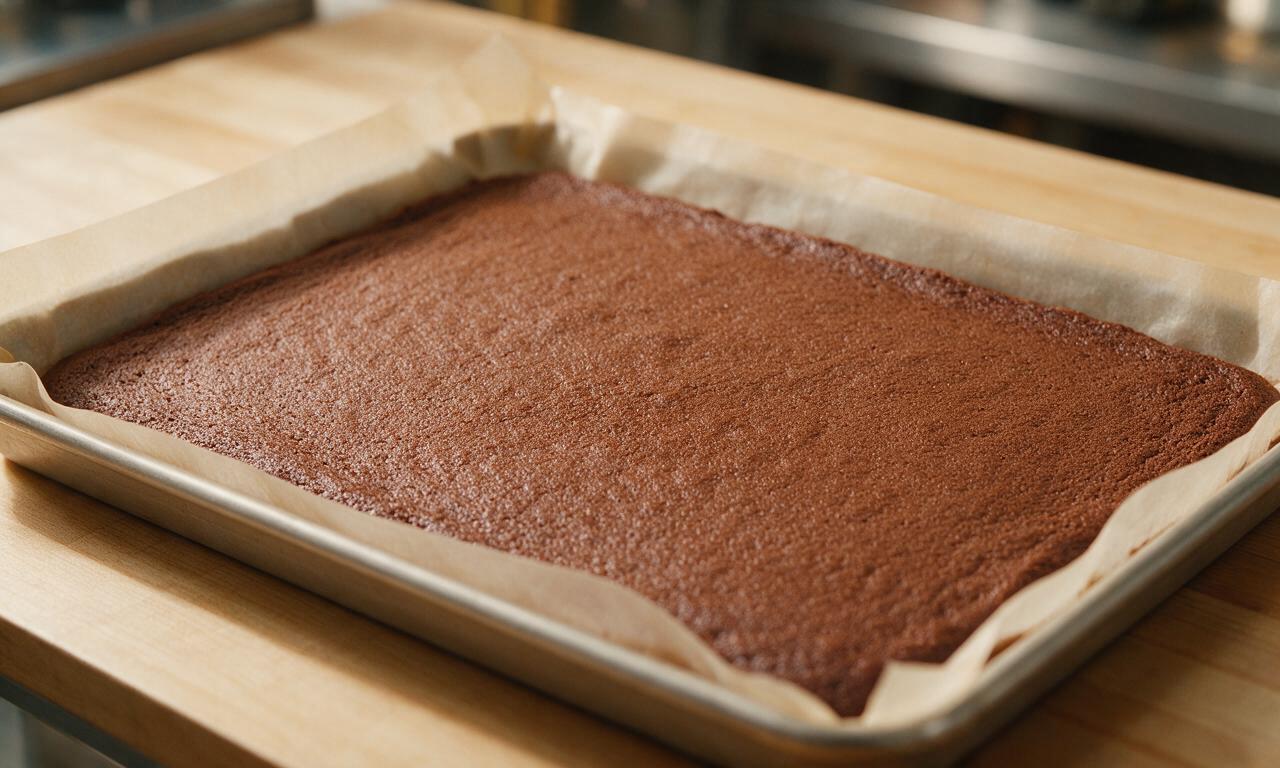
Preheat oven to 180°C (350°F), then line a 23x33cm (9x13 inch) rimmed baking sheet with parchment paper. Whisk room-temperature eggs and granulated sugar in a heatproof bowl set over gently simmering water for 3 minutes until the mixture reaches 40°C (104°F), then beat with an electric mixer on high speed for 5 minutes until pale, tripled in volume, and leaves a thick 2-second ribbon when the whisk is lifted. Sift in flour, cocoa powder, and salt, fold gently with a silicone spatula in 3 separate additions, then fold in cooled melted butter and 1/2 teaspoon of vanilla. Pour batter evenly into the prepared pan, smooth the top with a spatula, and bake for 12 minutes on the middle oven rack until the top springs back when lightly touched.
Roll and cool sponge
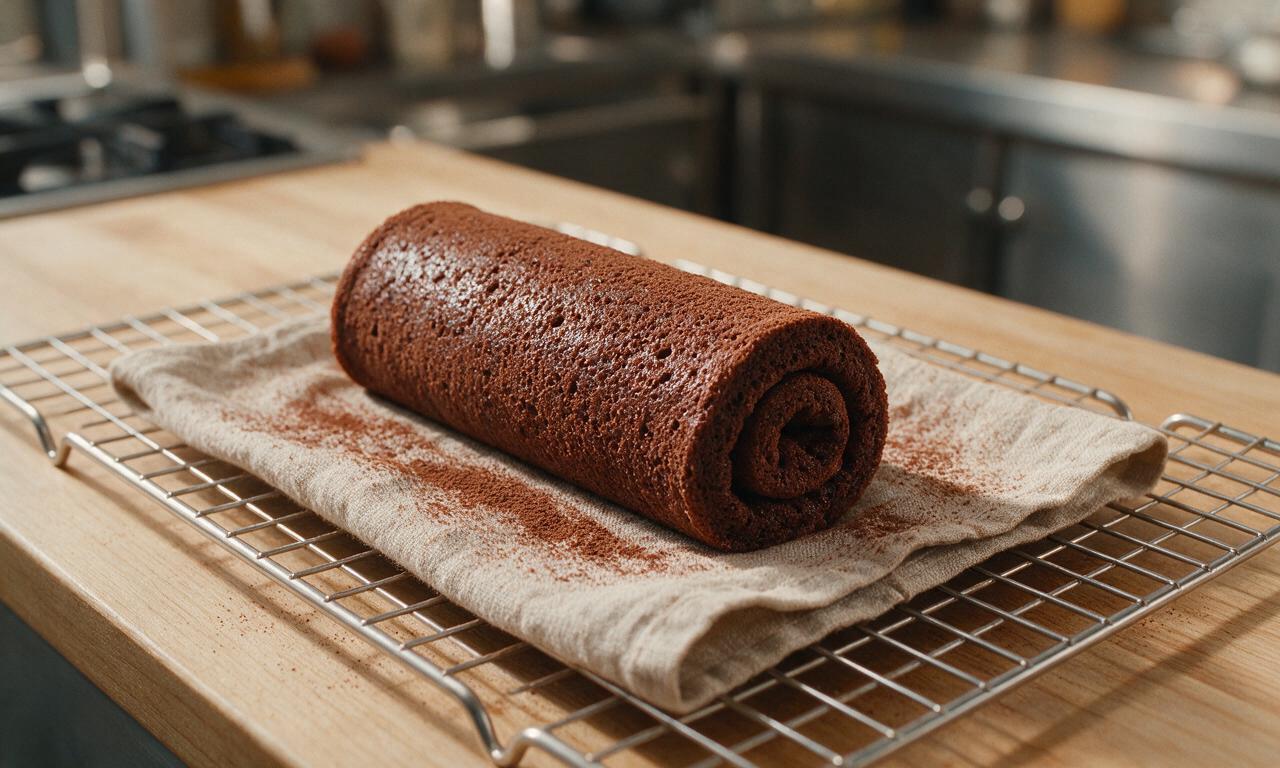
Immediately after removing the sponge from the oven, loosen the edges with a small offset spatula. Dust a clean linen kitchen towel lightly with the extra cocoa powder, flip the warm sponge out onto the towel, and carefully peel off the parchment paper backing. Starting from the short end closest to you, tightly roll the sponge together with the towel into a log shape, then set it seam-side down on a wire rack to cool completely to room temperature (about 30 minutes) — this pre-rolling step prevents cracking when adding filling later.
Make chocolate cream filling
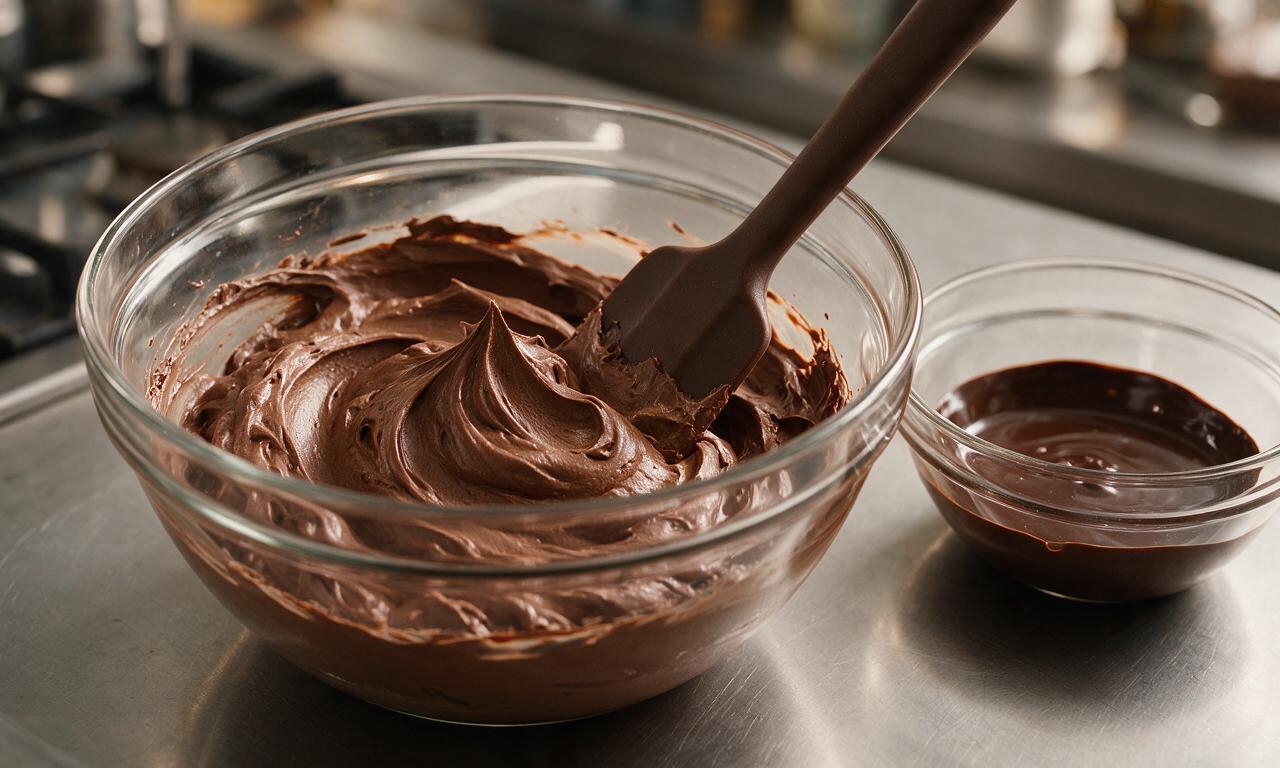
While the sponge cools, prepare the filling: beat chilled heavy cream, powdered sugar, and remaining 1/2 teaspoon of vanilla extract with an electric mixer on medium speed for 2 minutes until soft, stable peaks form. Pour in cooled melted dark chocolate (ensure it is no hotter than 27°C/80°F to avoid melting the cream), then beat on low speed for 30 seconds until fully combined into a thick, spreadable chocolate cream consistency. Set aside 1/3 of the filling in a small bowl to use for the outer log coating.
Fill and re-roll log
Once the sponge is fully cooled, gently unroll it carefully — small, shallow surface cracks are normal and will be hidden by the outer coating. Spread the remaining 2/3 of the chocolate filling evenly across the entire surface of the sponge, leaving a 1cm (1/2 inch) plain border along the far short edge to prevent filling from oozing out when rolling. Tightly re-roll the sponge (without the kitchen towel this time) starting from the same short end used for pre-rolling, applying gentle even pressure to create a firm log shape. Place the rolled log seam-side down on a long white serving platter.
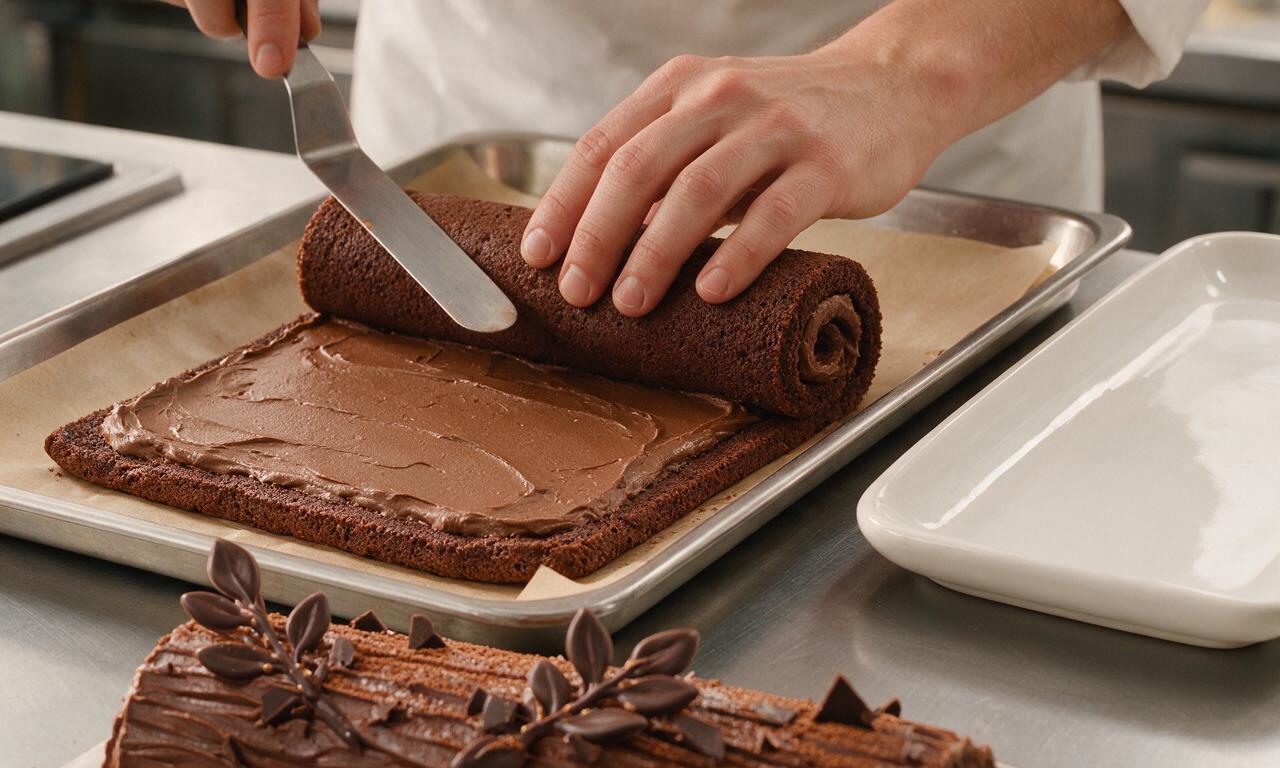
Coat and texture log
Take the reserved 1/3 of the chocolate filling, and spread it thickly and evenly over the entire outer surface of the rolled log, including the two cut ends. Use the tines of a regular dinner fork to drag wavy, uneven lines lengthwise along the coated log to mimic the rough, ridged bark texture of a real wood log. Do not over-smooth the coating — a rustic, uneven appearance looks far more authentic than a perfectly smooth finish.
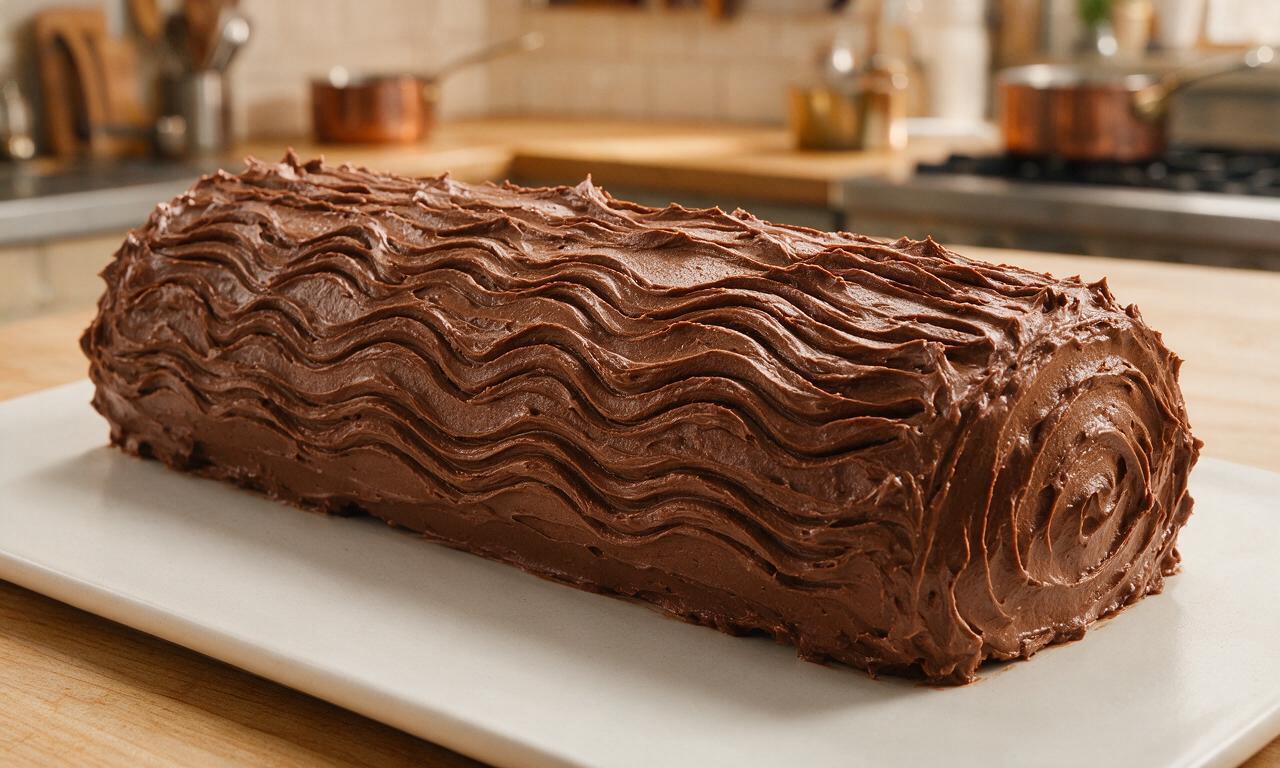
Decorate and chill log
Press mixed chocolate shavings gently into the coated bark surface for extra texture and depth, then dust the top of the log lightly with extra powdered sugar to resemble a light dusting of fresh snow. Chill the log in the refrigerator for at least 20 minutes to set the filling and coating before serving. If desired, add a small sprig of food-safe holly or a few sugared cranberries to the log ends for a festive garnish.
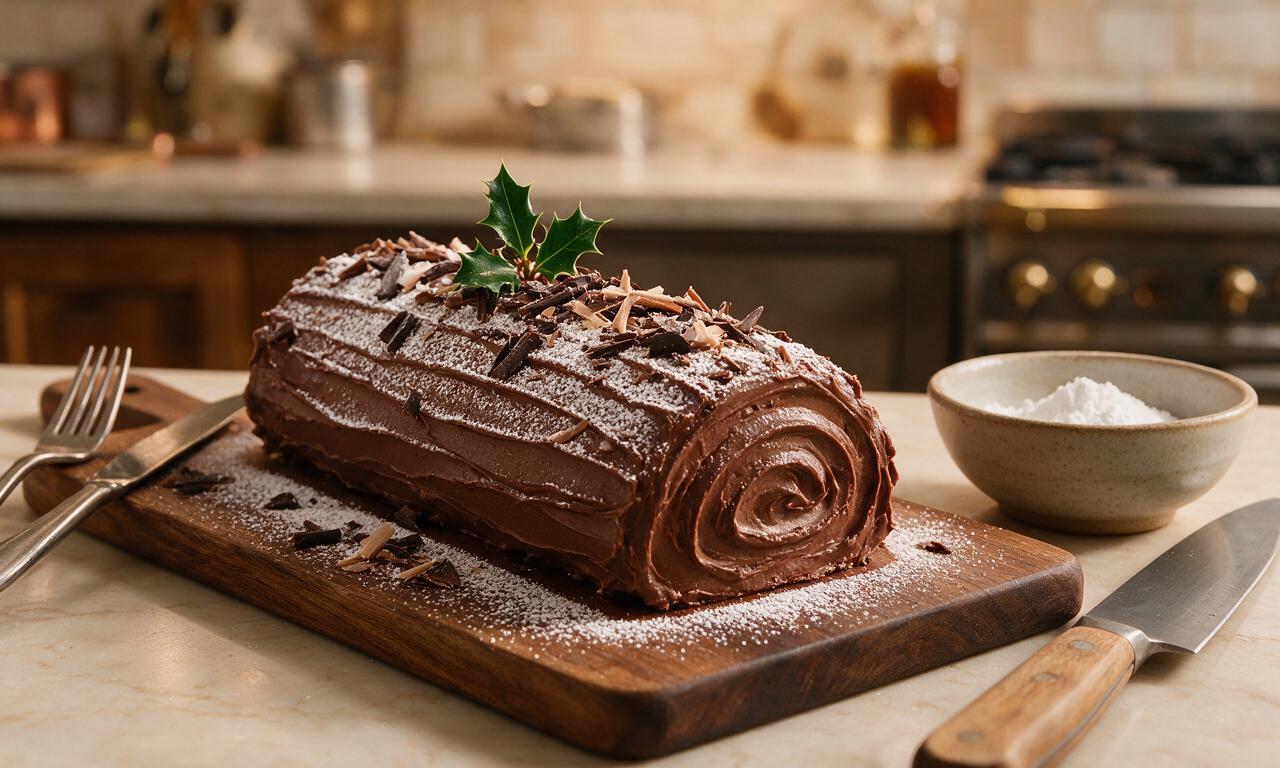
Tips
2.Ensure melted chocolate for the filling is cooled to room temperature (no hotter than 27°C/80°F) before mixing with whipped cream, or residual heat will melt the cream into a runny, unusable consistency.
3.For an extra festive, grown-up twist, add 1 tablespoon of dark rum or cooled brewed espresso to the filling for deeper, more complex chocolate flavor.






OMG these Festive Chocolate Wood Logs were the absolute star of our annual neighborhood holiday potluck last weekend! I was low-key stressed about the medium difficulty rating since I’m not a fancy baker by any stretch, but the steps were so straightforward even with my 7-year-old “helping” (read: dumping sprinkles everywhere) the whole time. That rich chocolate filling with the crunchy pecan coating? SO good, three people tracked me down to ask for the recipe before we even finished dessert. My only tiny hack was adding an extra 10 minutes of chill time because our kitchen was boiling from the oven running all day, and they set perfectly. 10/10 will be making these every Christmas from now on!
Made these last night for our weekly Sunday family dinner dessert and my kids absolutely lost their minds over them! I was worried the 90 minute total time would be a pain to fit in after running the kids to basketball practice all afternoon, but I realized most of that is just cooling and setting time—so I was able to toss the salad and finish up the main dish while the logs chilled in the fridge. Total game changer for low-fuss holiday treats that don’t require you to camp out by the oven the whole time. Total happy accident: I grabbed salted butter instead of unsalted for the truffle filling, and it gave the whole thing that amazing salted chocolate vibe that everyone raved about. These are definitely going into our regular holiday treat rotation!
These were so much fun to put together! I brought a batch to my friend’s ugly sweater party over the weekend and everyone was obsessed with how realistic they looked—dragging a fork across the melted chocolate coating to make the wood grain texture is such a simple trick but it makes the logs look like they came straight from a fancy local bakery. I swapped the chopped hazelnuts for crushed candy canes on half the batch for a minty festive twist, and both versions were gone within 15 minutes of me setting the plate down. Quick heads up for first-timers: don’t rush the setting step! I tried to cut corners and pull a test batch out after 20 minutes and they were way too soft and smudged all over the place, just stick to the recommended chill time and you’ll be all set. Can’t wait to make these for my family’s Christmas Eve dinner next week!