
wrap burrito in foil

title 1
wrap burrito in foil
⏱️ cook time 10 minutes
🍽️ servings 4
⚡ Difficulty easy

intro

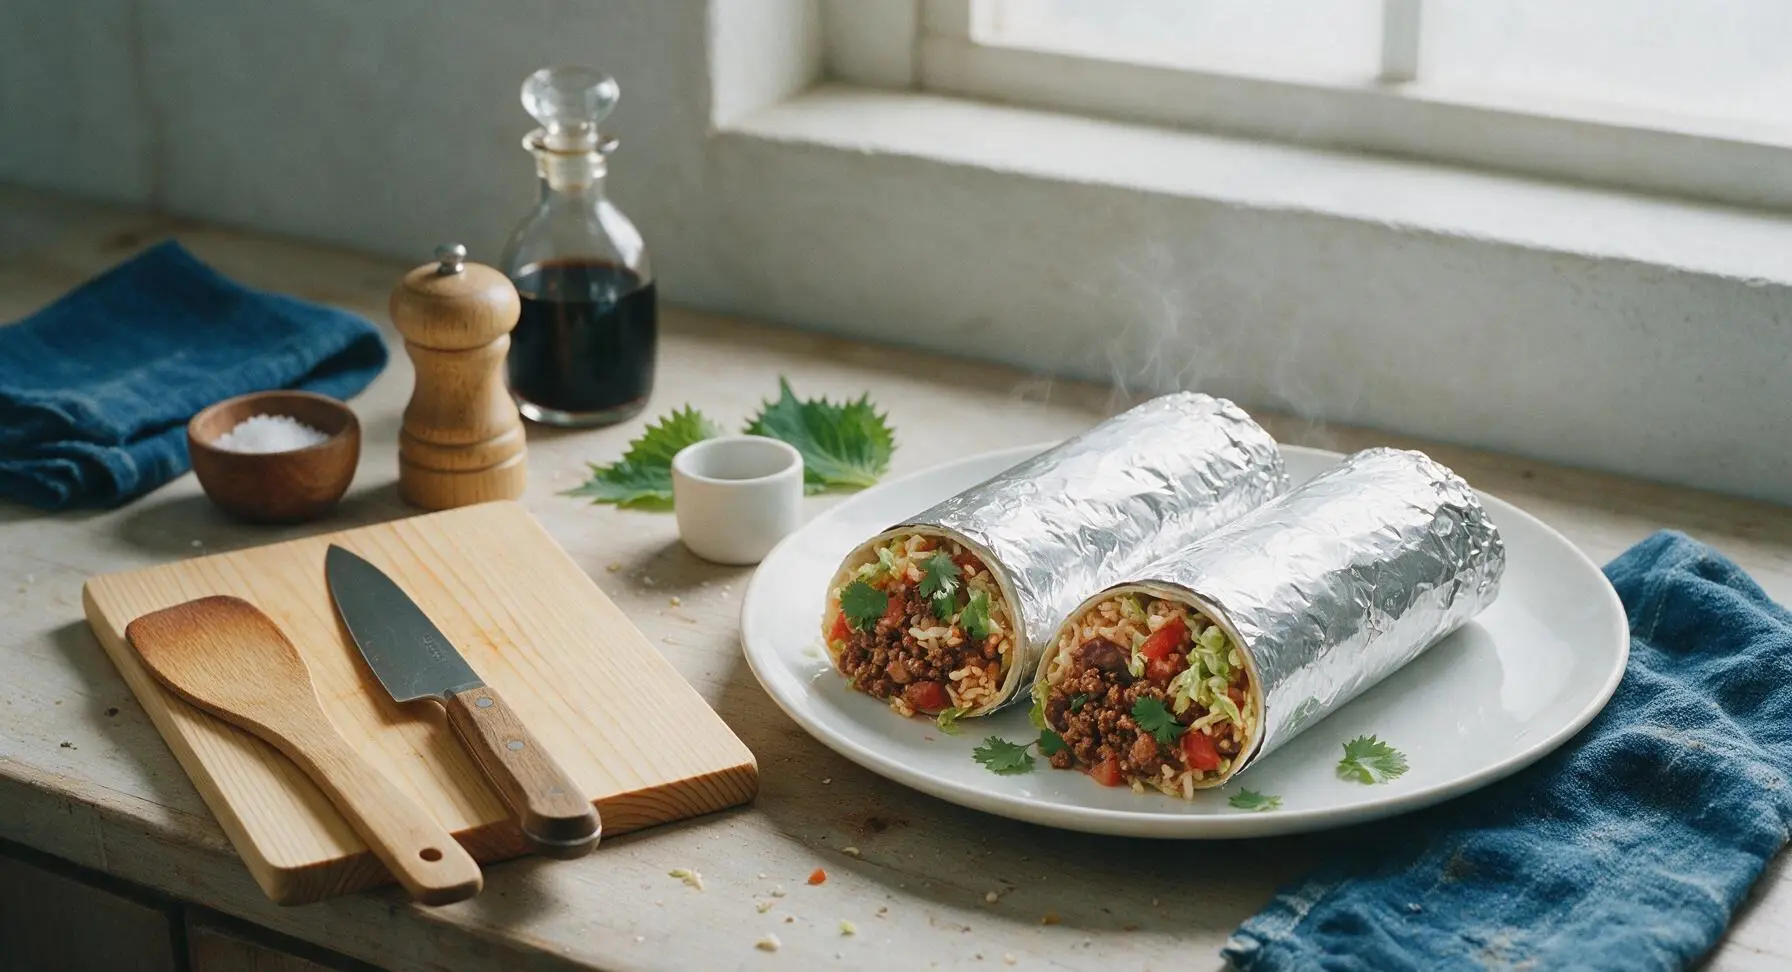
Tightly foil-wrapped Tex-Mex burritos stay warm, mess-free, and packed with bold flavor—perfect for summer picnics, on-the-go meals, or quick make-ahead weeknight dinners.

Ingredients
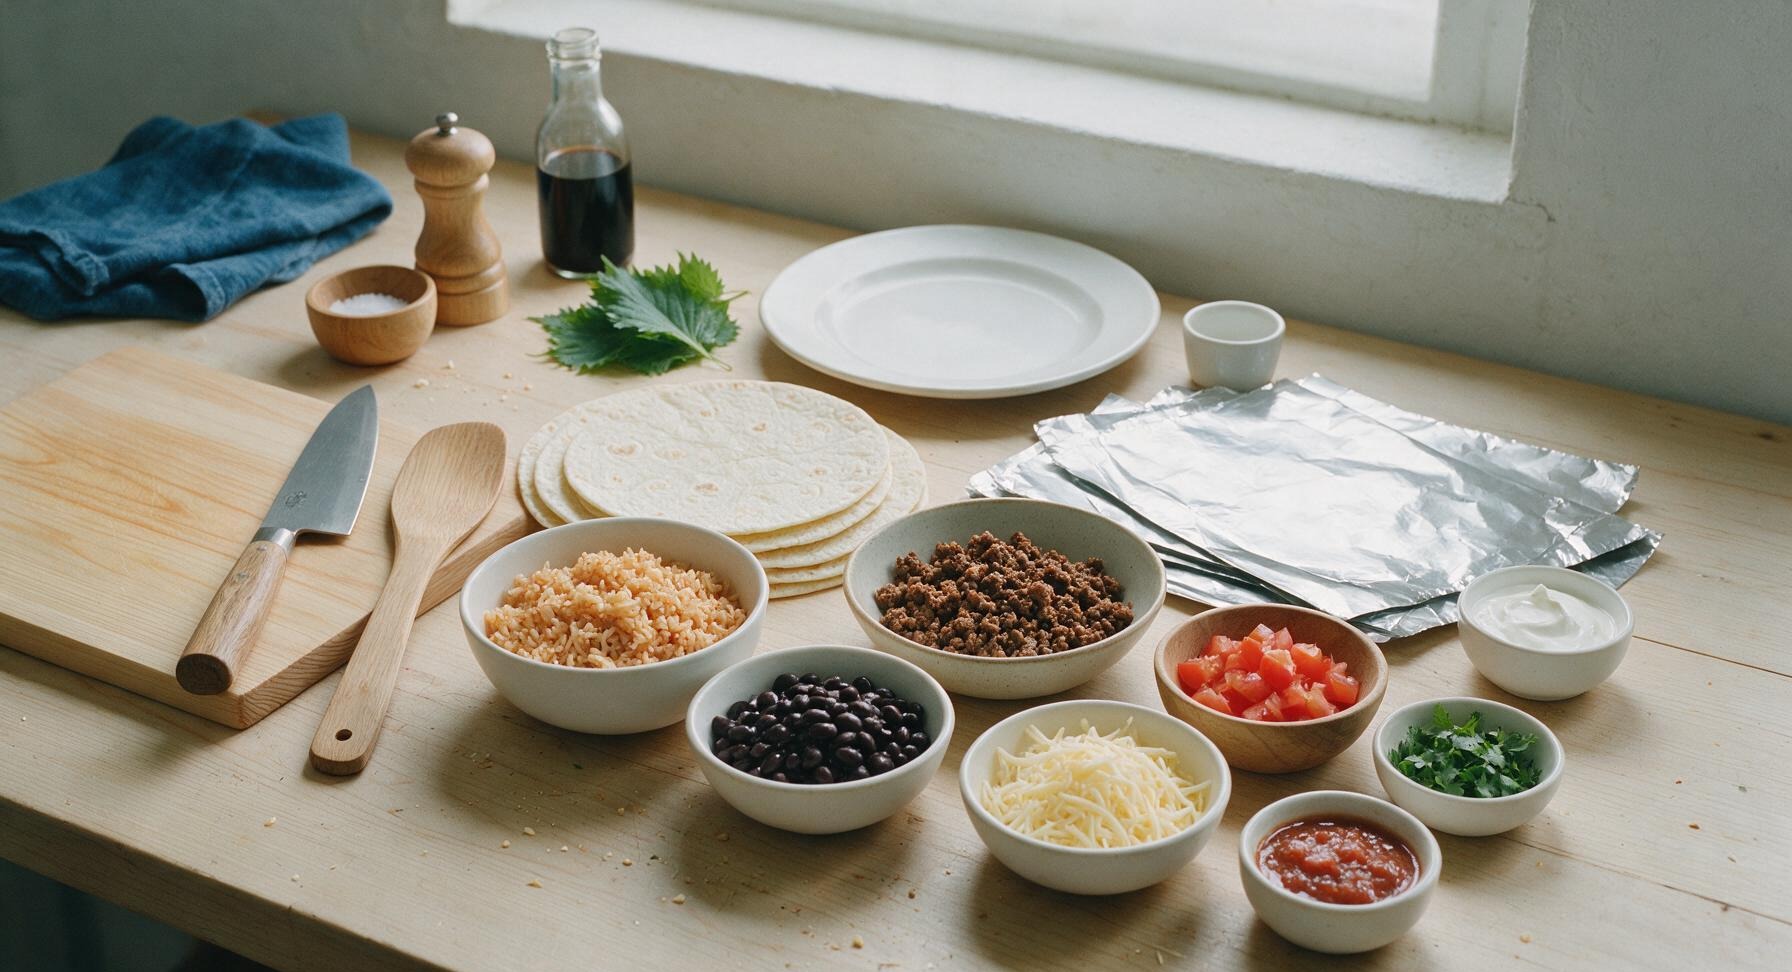
Large 12-inch flour tortillas 4 each
Cooked seasoned Spanish rice 2 cups
Taco-seasoned cooked ground beef (90/10) 1.5 cups
Rinsed canned black beans 1 cup
Shredded Monterey Jack cheese 1 cup
Heavy-duty aluminum foil (12x18 inch sheets) 4 each
Seeded diced Roma tomatoes 1/2 cup
Chopped fresh cilantro 1/4 cup
Full-fat sour cream 1/2 cup
Mild red salsa 1/3 cup

Steps

1

Prep Foil Sheets

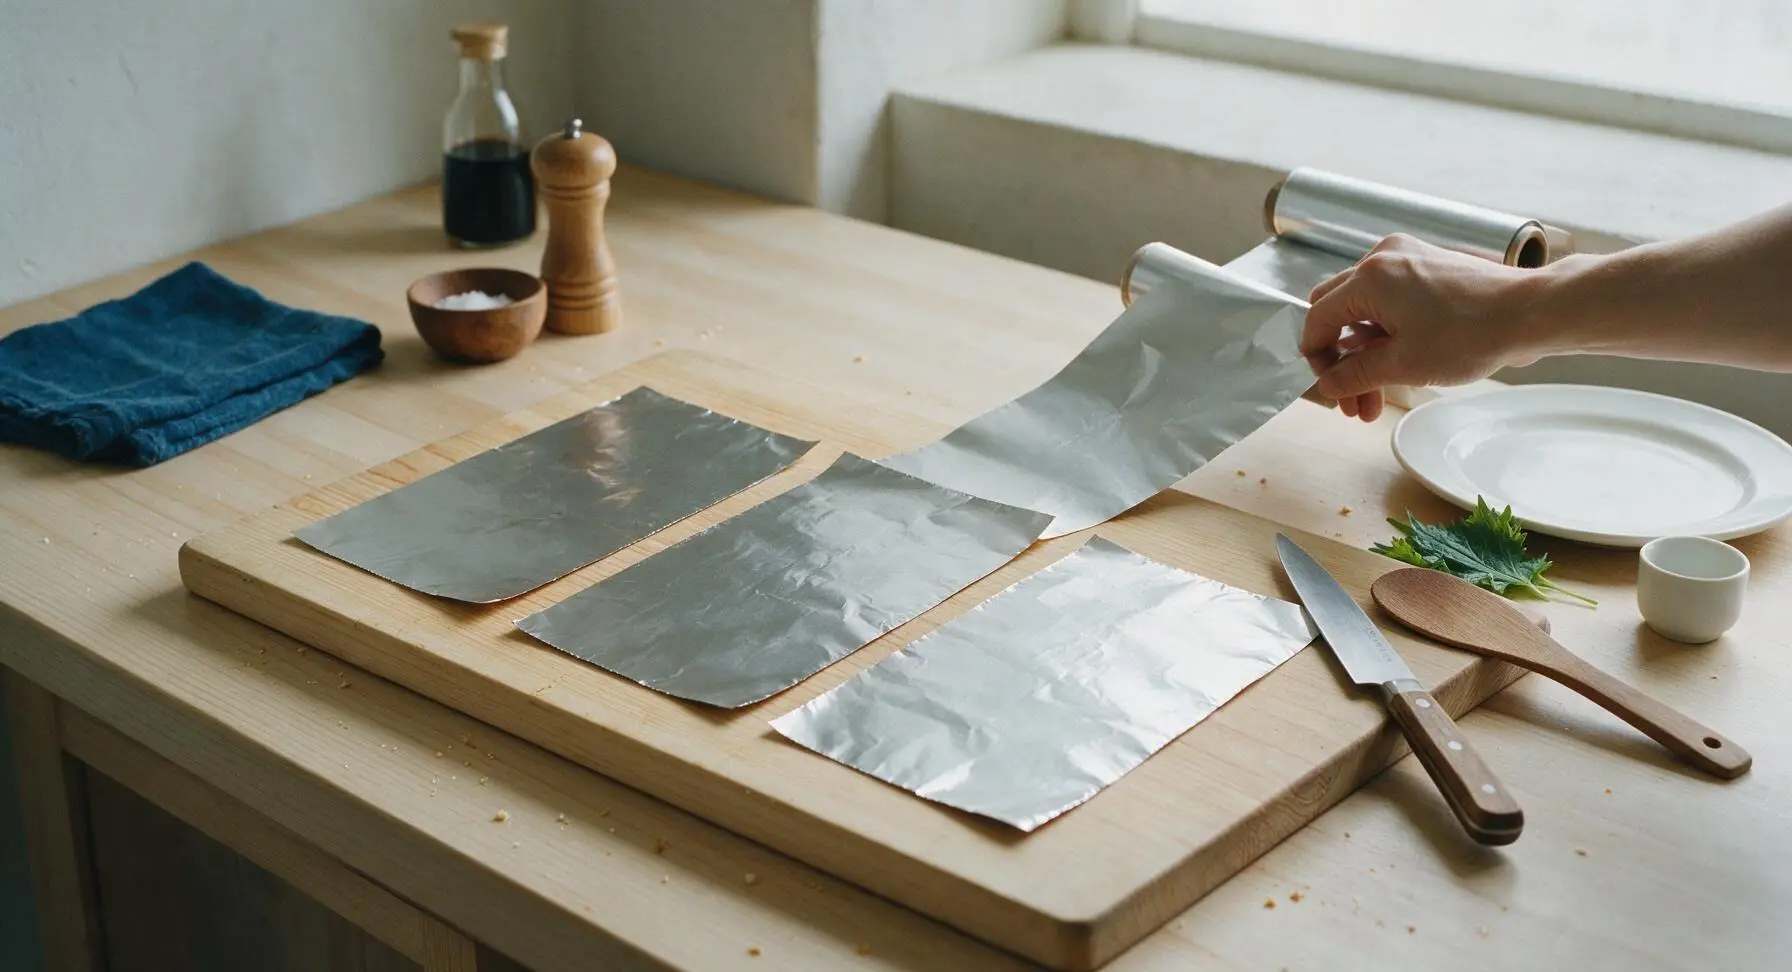
Tear four 12x18 inch sheets of heavy-duty aluminum foil from the fixed foil roll, laying each flat in a single layer on the honey bamboo cutting board with the dull side of the foil facing up. Smooth out major wrinkles with the palm of your hand, leaving a 2-inch gap between sheets so they do not overlap. Prepping sheets first creates a ready work surface so you can move quickly from filling to wrapping without tortillas cooling down.
Step 1
step1:Prep Foil Sheets
2

Warm Flour Tortillas

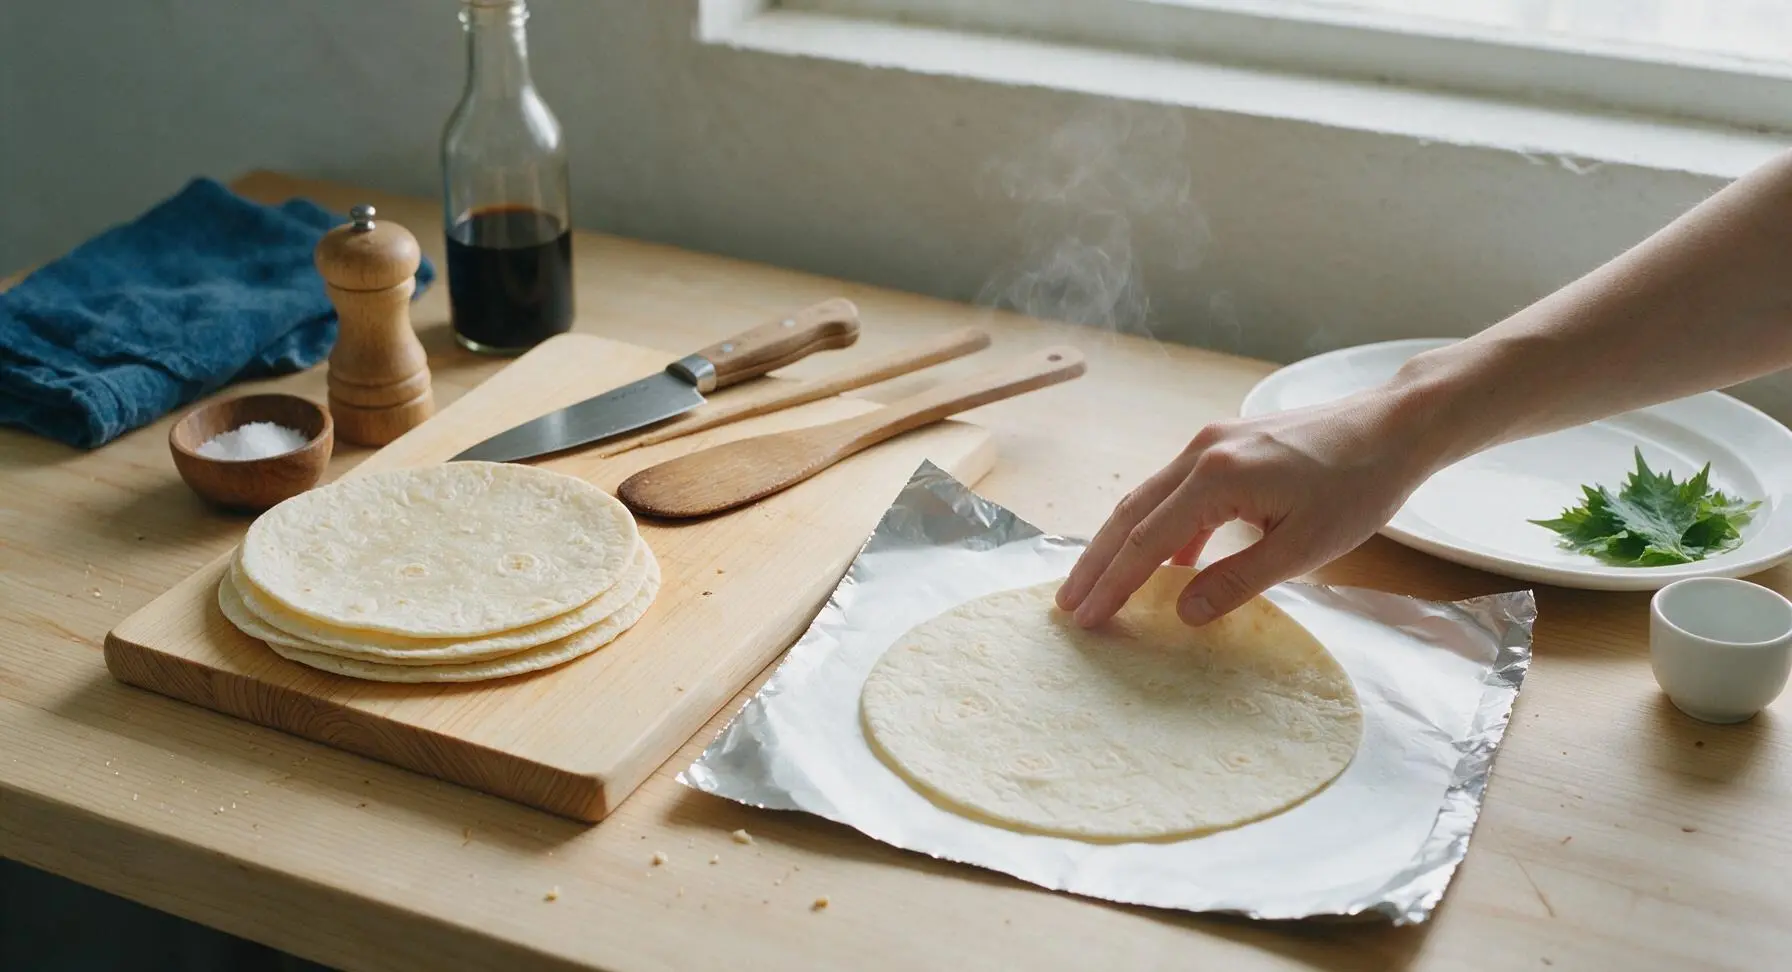
Warm each flour tortilla for 10 seconds per side in a dry skillet over medium heat, or 15 seconds in the microwave wrapped in a damp paper towel, until soft and pliable. A properly warmed tortilla will stretch slightly without cracking when pulled gently at the edges; cold tortillas split easily during folding and cause filling leaks. Lay one warmed tortilla centered on each flat foil sheet.
Step 2
step2:Warm Flour Tortillas
3

Layer Burrito Fillings

Down the center third of each tortilla, leaving a 2-inch empty border at the top and bottom ends, layer 1/2 cup Spanish rice, 1/3 cup seasoned ground beef, 1/4 cup black beans, 1/4 cup shredded Monterey Jack cheese, 2 tablespoons diced tomato, 1 tablespoon cilantro, 2 tablespoons sour cream, and 1 tablespoon salsa. Do not overfill: overstuffed burritos tear and leak even with tight foil wrapping, and become impossible to eat neatly.
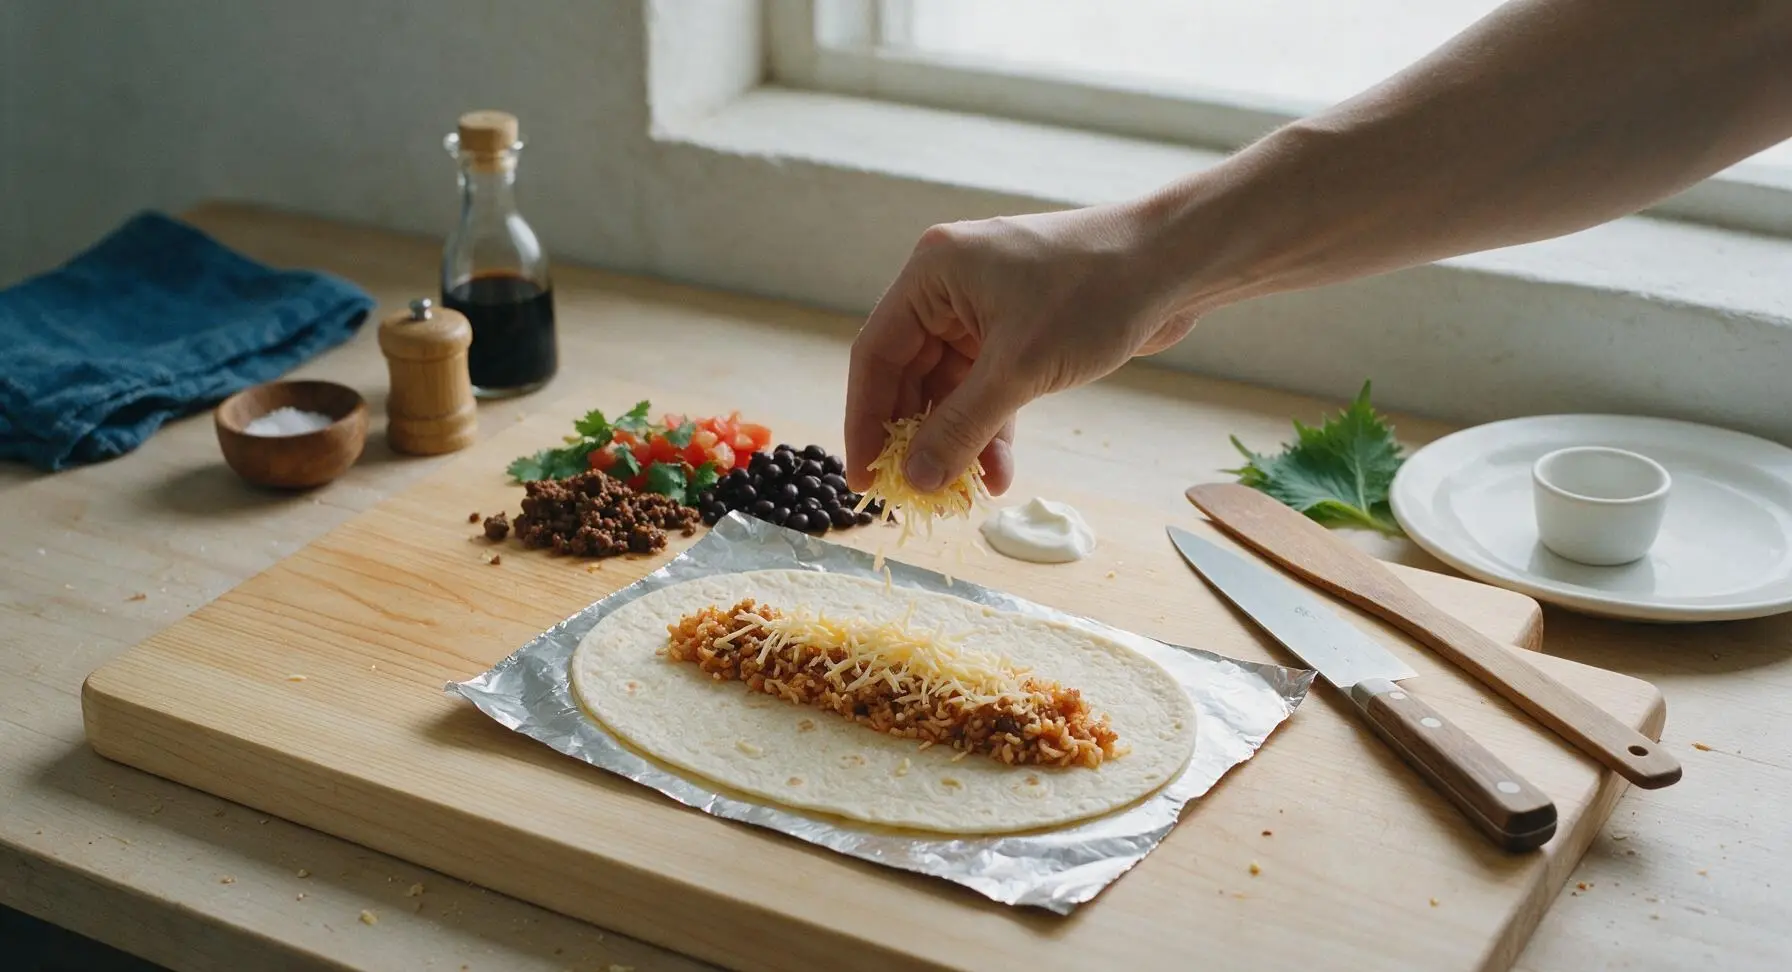
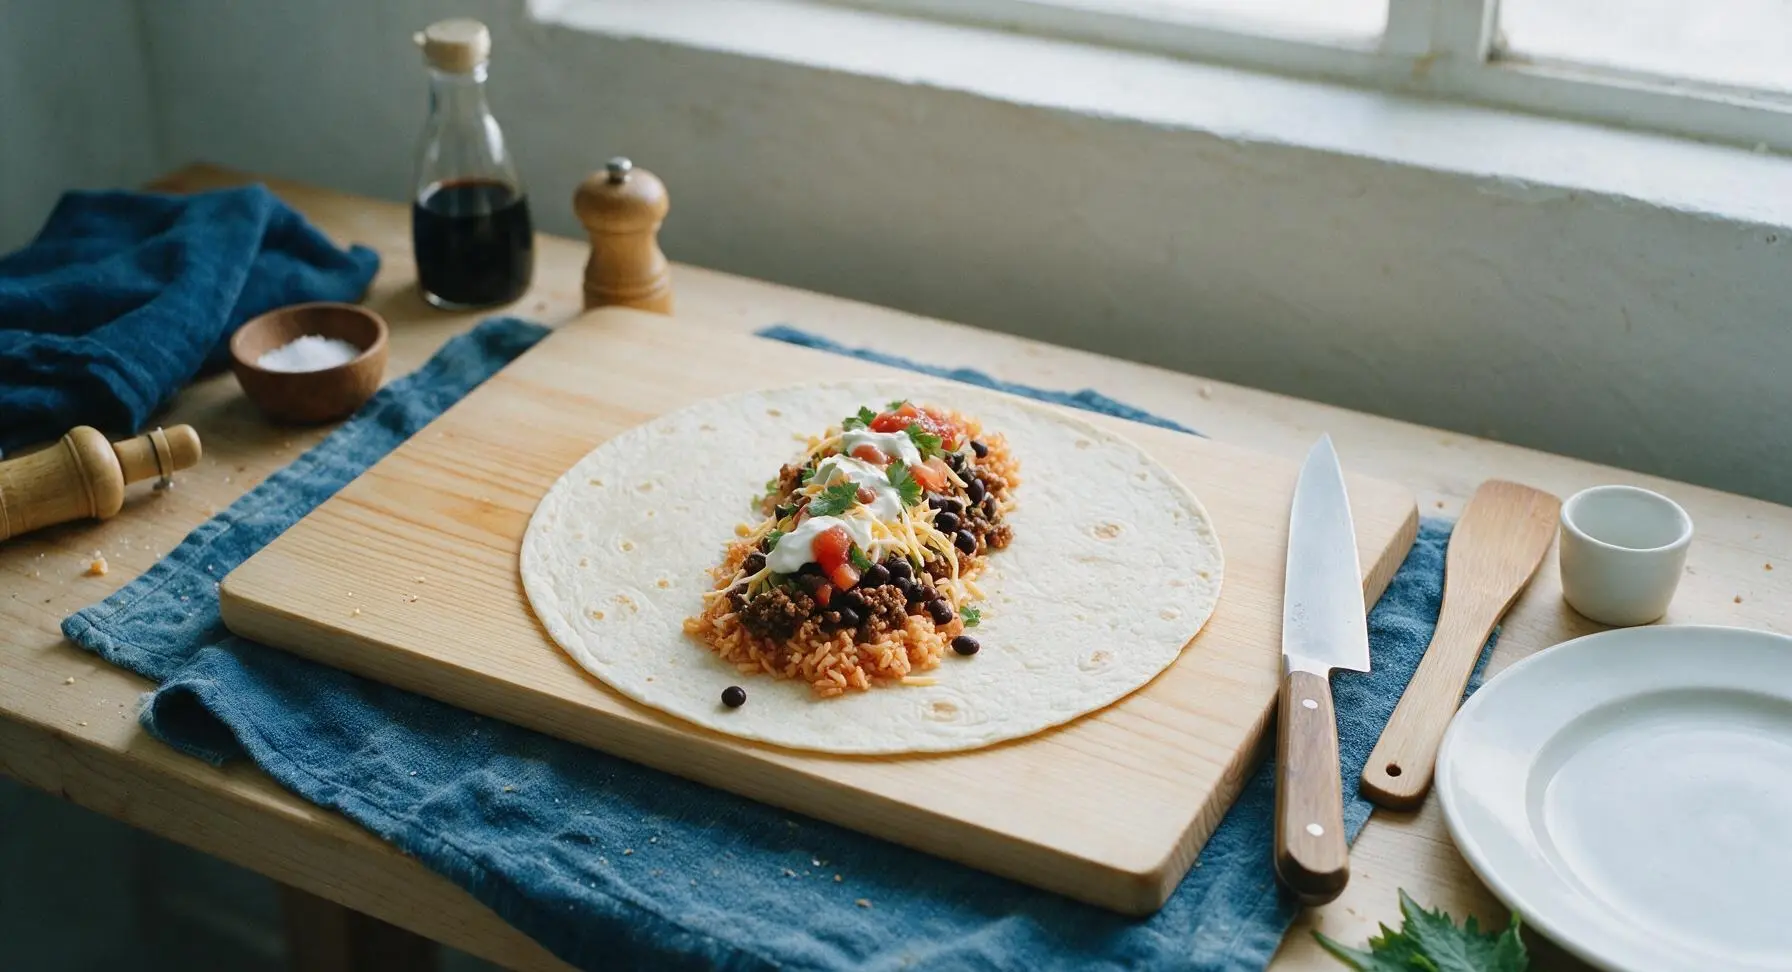
Step 3
step3:Layer Burrito Fillings
Step 3
step3:Layer Burrito Fillings
4

Fold Tortilla Ends

Fold the 2-inch top and bottom empty borders of the tortilla inwards over the fillings, pressing gently to hold them in place. Do not tuck the ends too tightly, as this will push fillings out the open sides; the folds should just cover the edge of the filling mound to block leaks from the burrito ends.
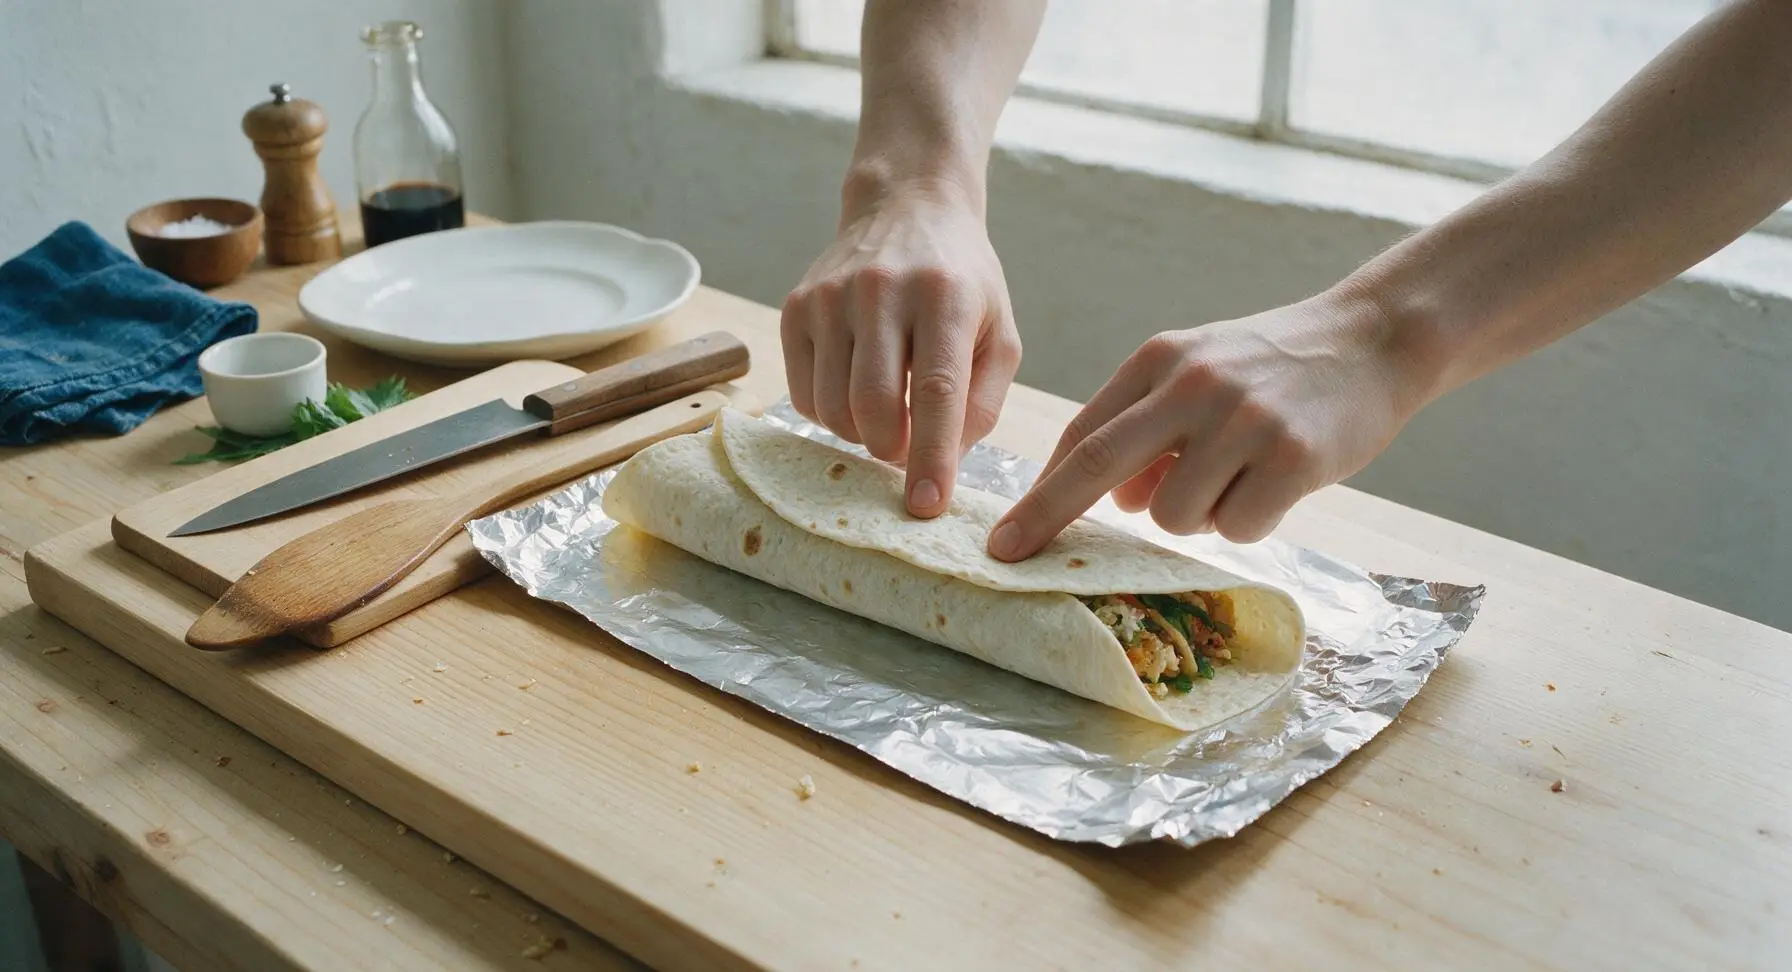
Step 4
step4:Fold Tortilla Ends
5

Roll Tight Cylinder

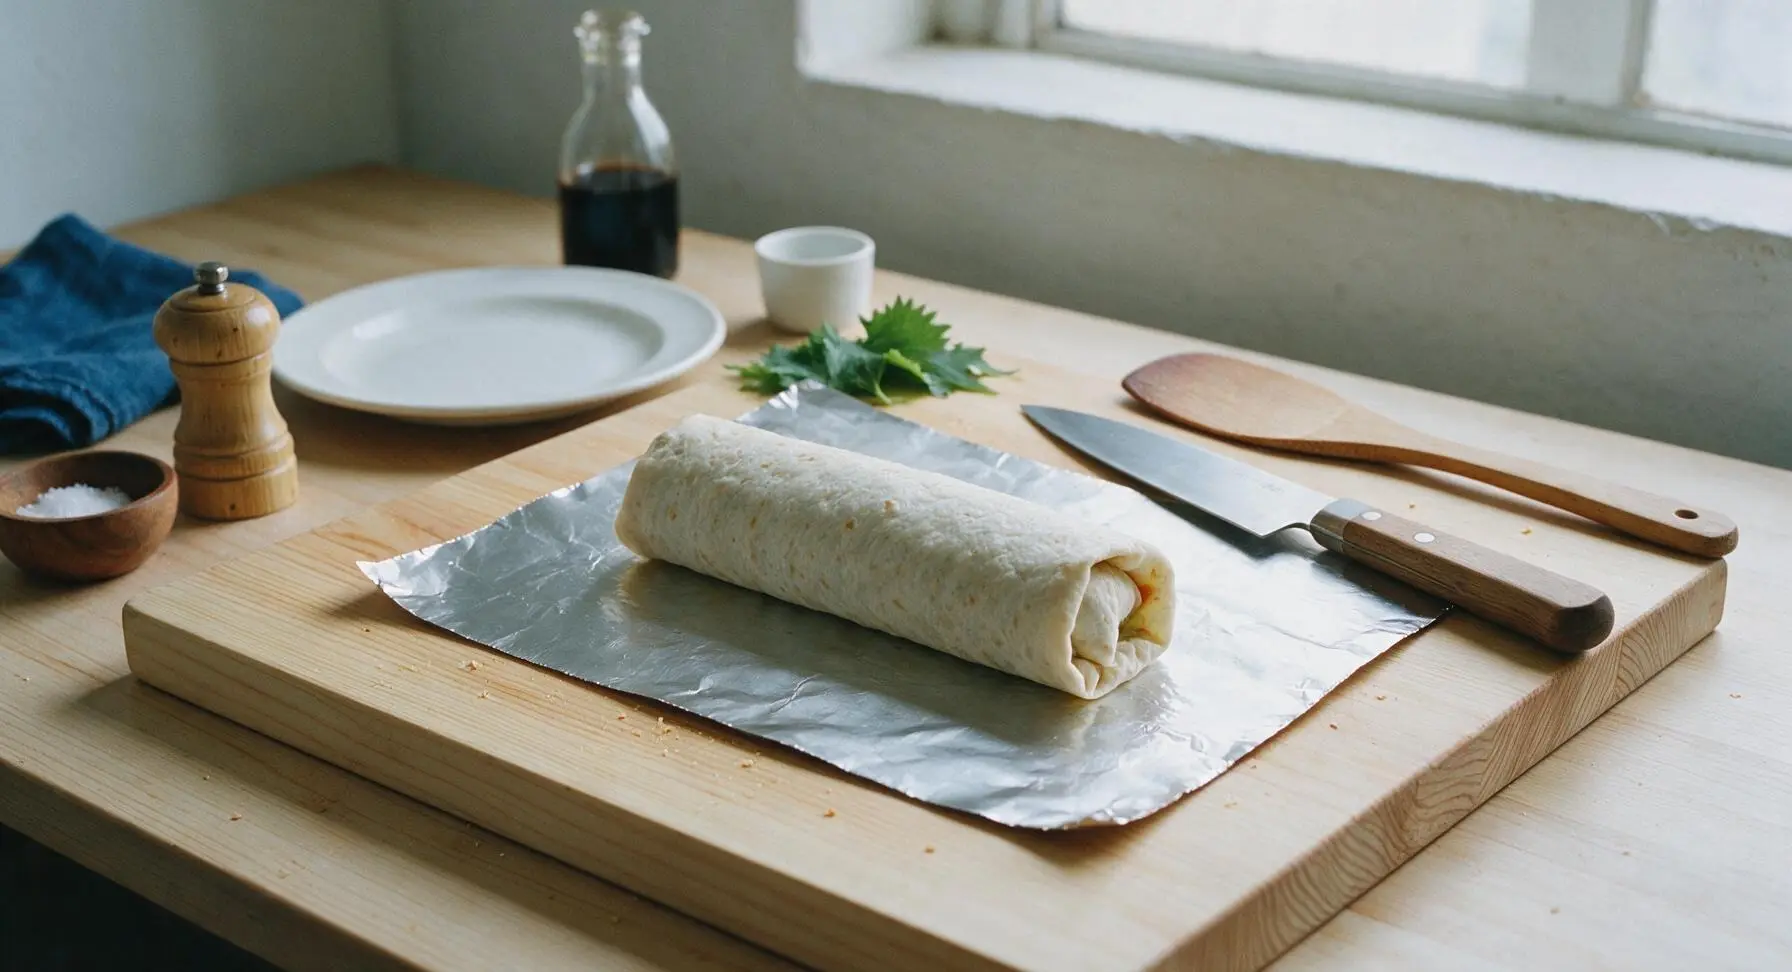
Starting with the long side of the tortilla closest to you, fold the edge tightly over the top of the filling mound, tucking it gently under the fillings to create a tight seal. Continue rolling the tortilla away from you in one smooth, firm motion until you reach the opposite edge, creating a neat, evenly thick cylinder. A loose roll allows fillings to shift and fall out when the burrito is picked up.
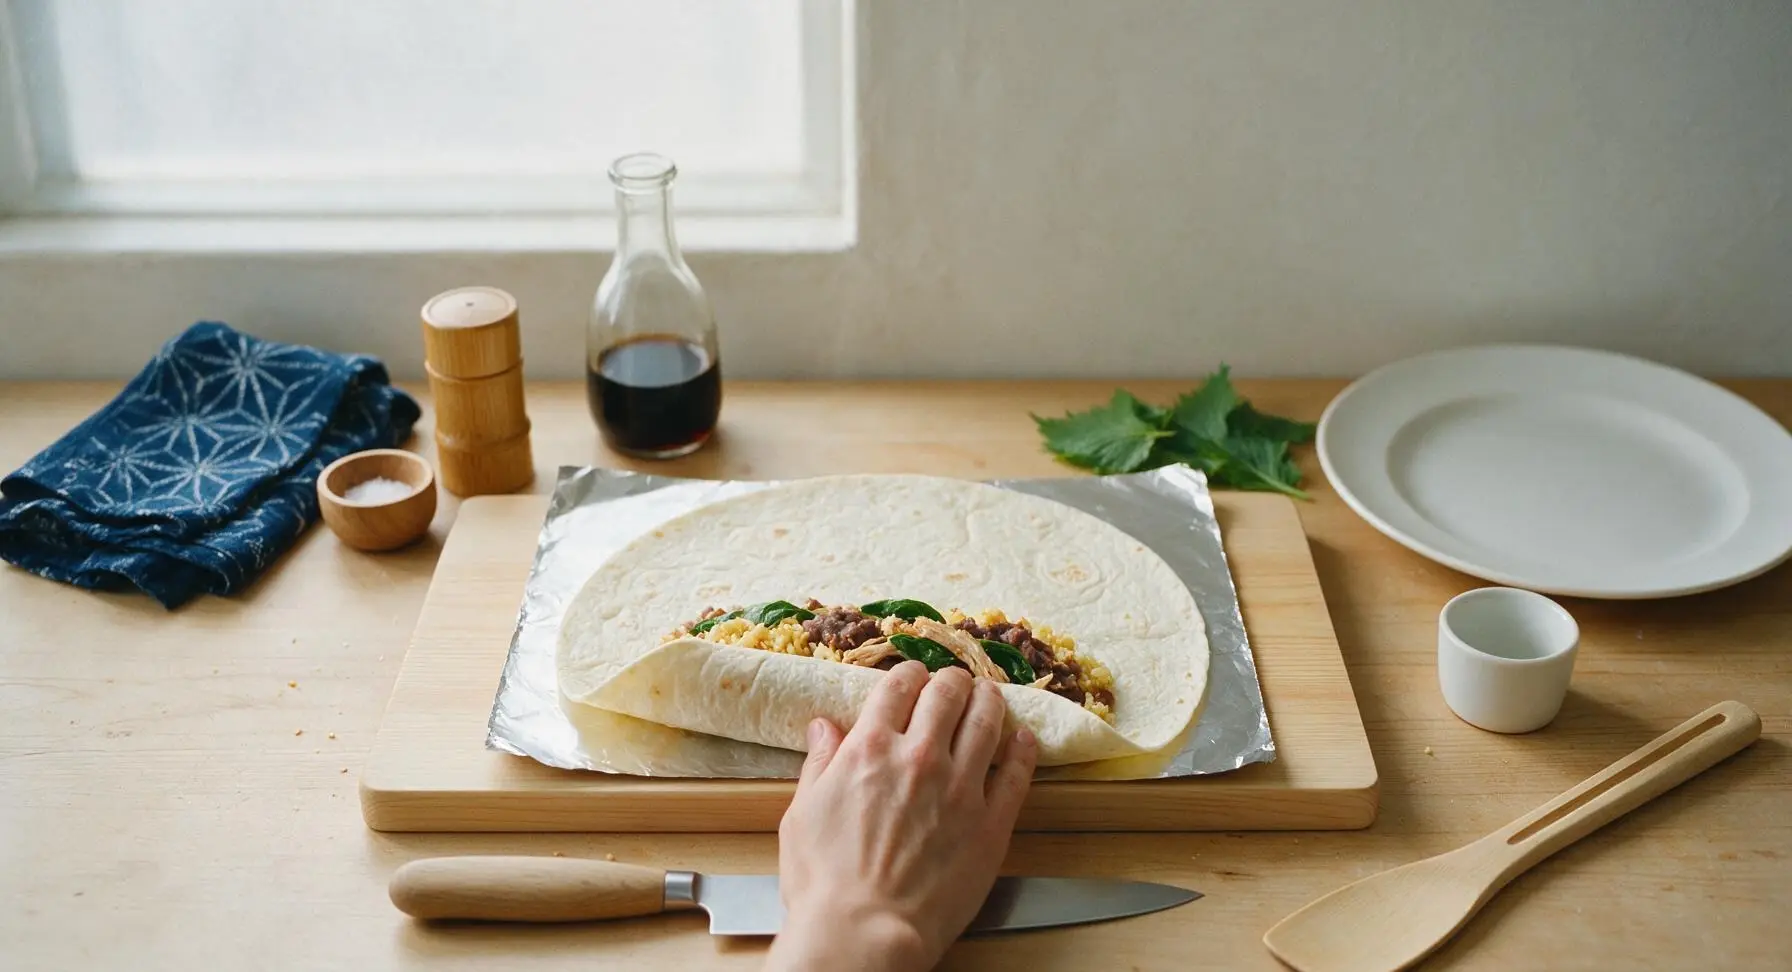
Step 5
step5:Roll Tight Cylinder
Step 5
step5:Roll Tight Cylinder
6

Wrap Tight in Foil

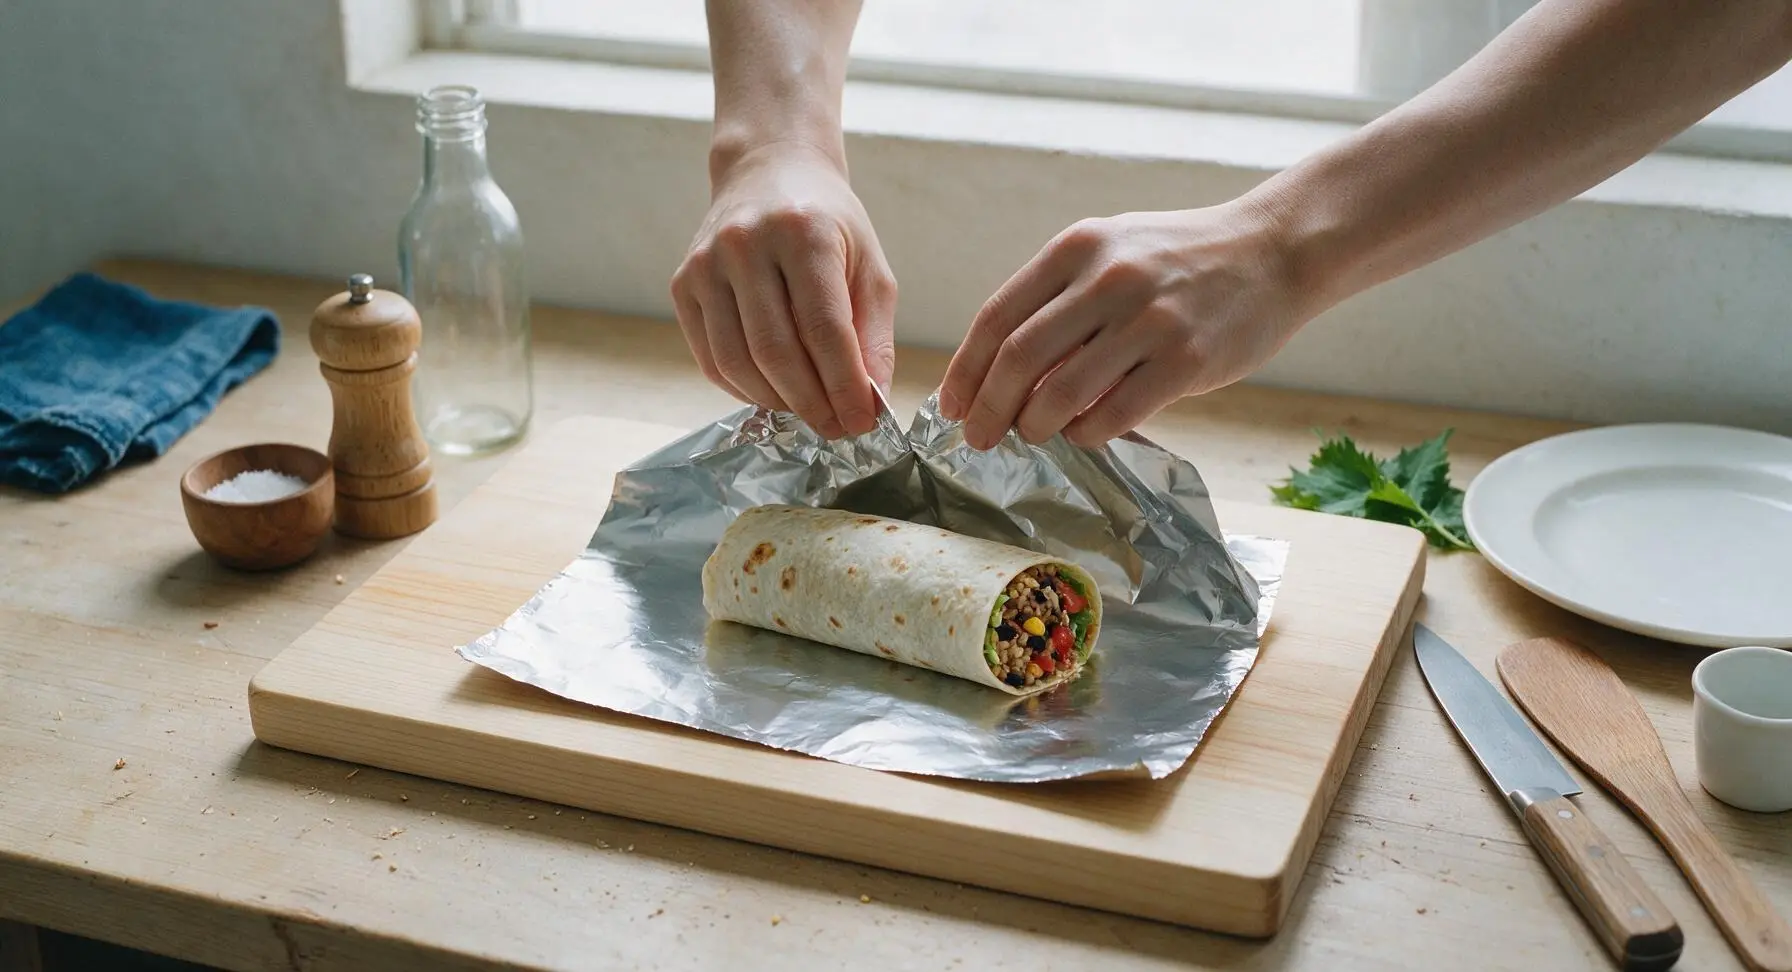
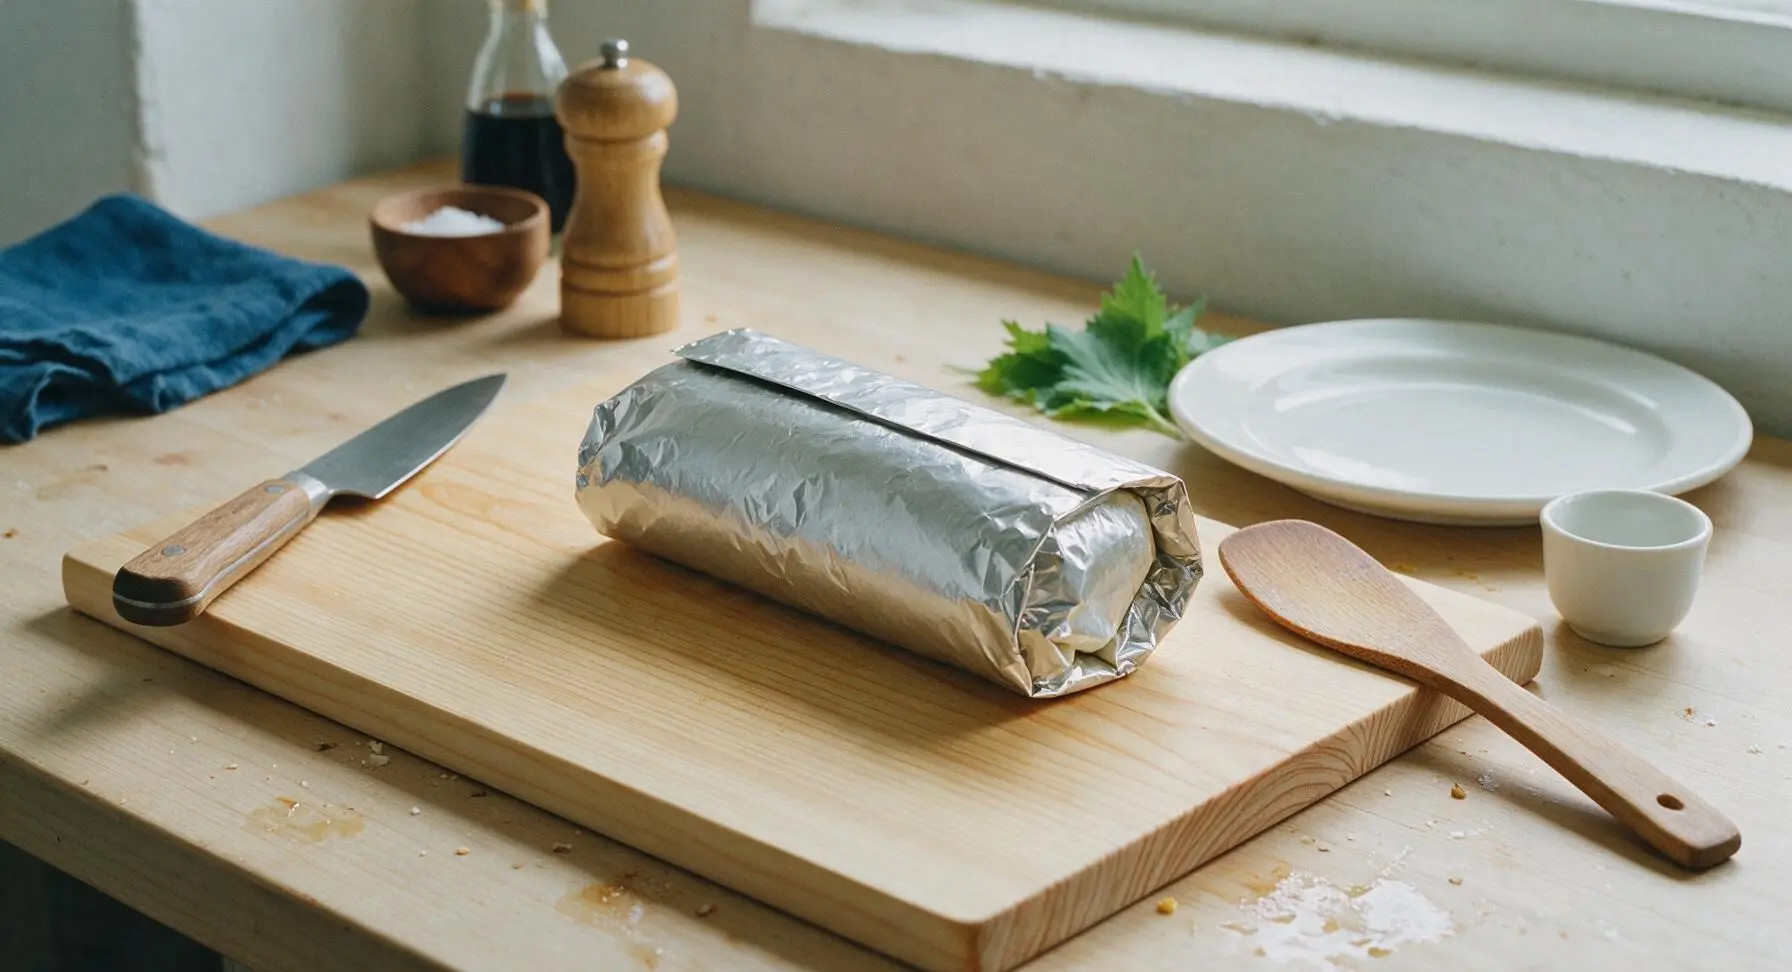
With the burrito seam-side down centered on the foil sheet, bring the two long edges of the foil up to meet above the burrito, folding them over each other in 1/2 inch increments until the foil is pressed snug against the top of the burrito. Next, tuck the open foil ends inwards against the burrito sides, then fold each end over twice to create a tight, sealed packet. The foil should hold the burrito firmly without squishing fillings out the ends.
Step 6
step6:Wrap Tight in Foil
Step 6
step6:Wrap Tight in Foil
7

Rest to Set

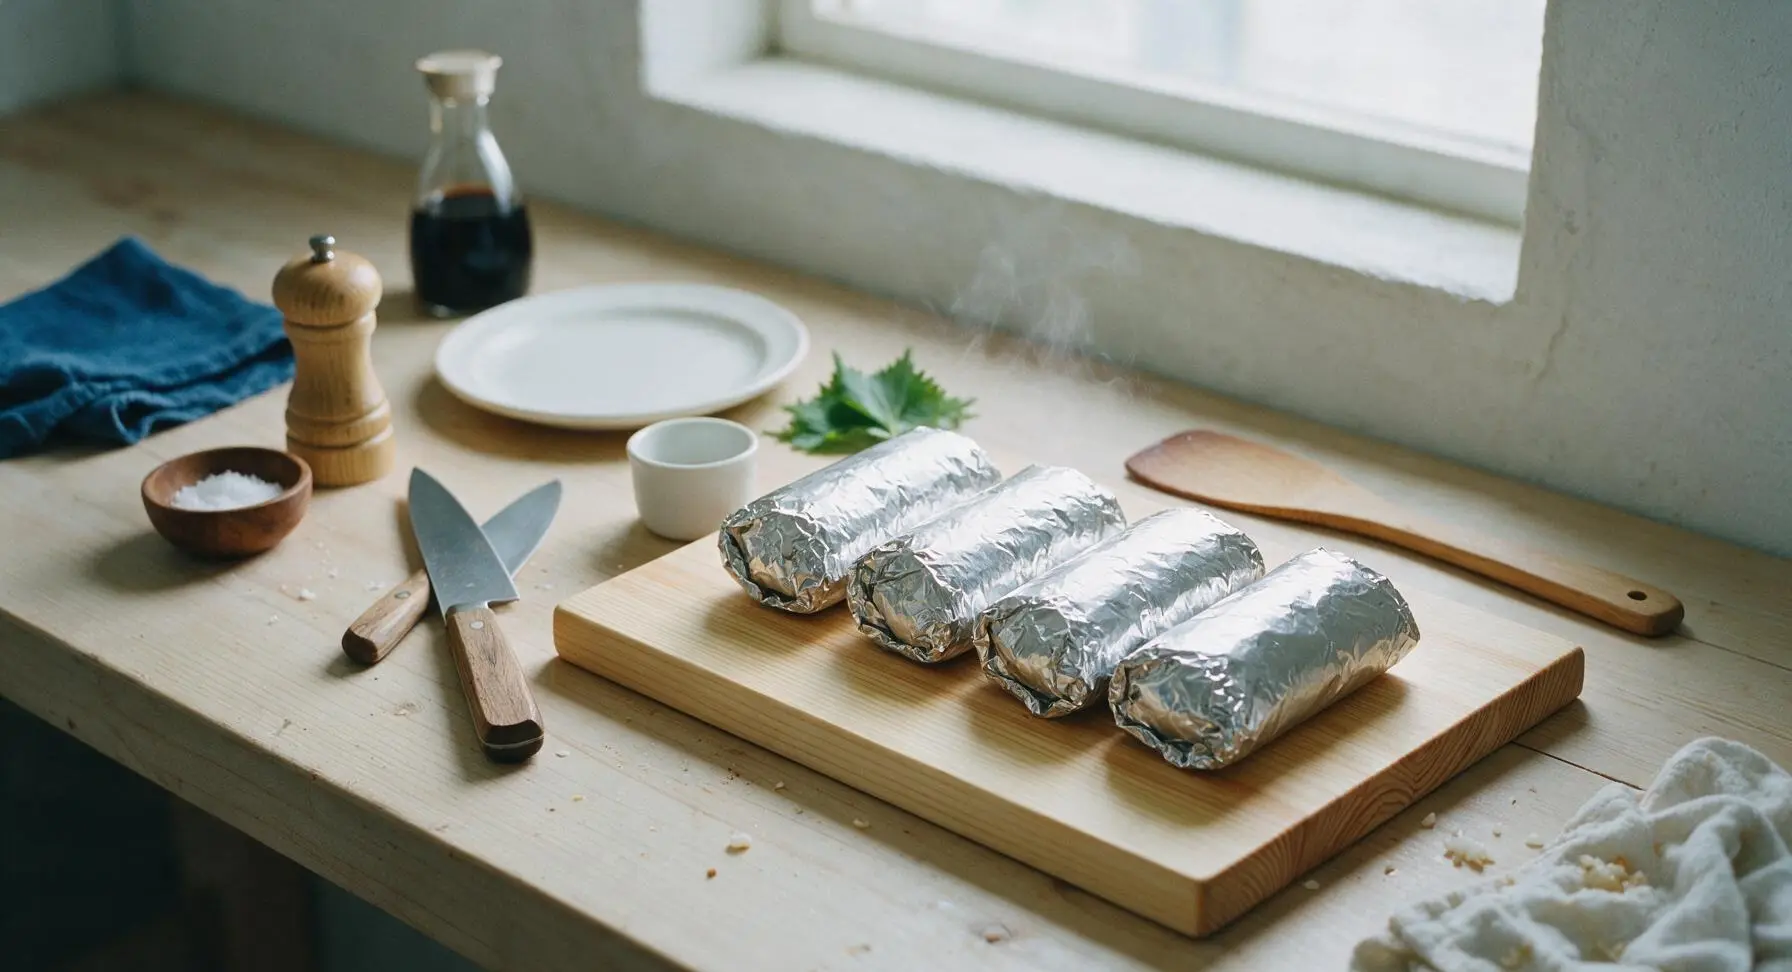
Set all wrapped burritos seam-side down on the cutting board, and let them rest for 5 minutes at room temperature. This allows residual heat from the tortillas and fillings to melt the cheese slightly, and helps the tortilla seal itself to fillings so it does not unroll when opened. For extra melty cheese and crisp tortilla edges, place foil-wrapped burritos in a 350°F (175°C) oven for 10 minutes before serving.
Step 7
step7:Rest to Set

Tips

1.Use heavy-duty aluminum foil instead of thin standard foil: thin foil tears easily during transport, and does not trap heat as effectively to keep burritos warm for picnics or on-the-go meals.
2.Avoid overfilling burritos: leave at least 1/3 of the tortilla surface empty after adding fillings to give enough room for tight folds without squeezing fillings out the sides when rolling or wrapping.
3.Let wrapped burritos rest for the full 5 minutes before serving: trapped steam softens the tortilla to prevent cracking, and slightly melted cheese binds fillings together for less mess when taking the first bite.


✨ You May Also Like

Main Course
🍜 United Kingdom

A showstopping classic of tender seared beef, savory mushroom duxelles, and crisp prosciutto wrapped in flaky golden puff pastry, baked to juicy perfection.

⏱️ 2 hours 1Main Course ★ 4.7
Main Course
🍜 India

Tender charred marinated chicken simmered in a rich, spiced creamy tomato sauce, this iconic Anglo-Indian curry pairs perfectly with basmati rice or warm naan.

⏱️ 50 minuteMain Course ★ 4.6
Main Course
🍜 Thailand

Classic tangy, sweet, and savory Thai stir-fried rice noodles with shrimp, tofu, and crunchy garnishes, balancing all five core Thai flavor profiles.

⏱️ 30 minuteMain Course ★ 4.5
Main Course
🍜 United Kingdom

Crispy golden beer-battered cod and fluffy double-fried chips, served with tangy tartar sauce and malt vinegar: the timeless, beloved British pub comfort classic.

⏱️ 45 minuteMain Course ★ 4.7
Main Course
🍜 Mexico

Smoky, chile-marinated pork tacos with caramelized pineapple, fresh cilantro, and lime: a beloved classic Mexican street food perfect for casual summer gatherings.

⏱️ 1 hour 45Main Course ★ 4.8
Main Course
🍜 United States

Crunchy Fritos corn chips layered with savory beef chili and melted cheddar, topped with cool, zesty fixings for a beloved, cozy Tex-Mex comfort food.

⏱️ 35 minuteMain Course ★ 4.8

wrap burrito in foil:Frequently Asked Questions

1.Why do these burritos need to be tightly wrapped in foil instead of served immediately on a plate? ▾
Tight foil wrapping locks in heat to keep burritos warm for 2–3 hours for picnics or meal prep, melts the Monterey Jack evenly against warm fillings as they rest, and stops messy filling spills while eating. Let each wrapped burrito rest 10 minutes after assembly to let flavors meld; you won’t get soggy tortillas as long as you avoid overstuffing.
2.Can I make these burritos ahead and freeze them for quick weeknight dinners? ▾
Absolutely! Assemble burritos with fully cooled fillings (warm fillings turn tortillas soggy in storage), wrap each tightly in a double layer of foil, and freeze for up to 3 months. When ready to eat, bake the foil-wrapped burrito straight from frozen at 375°F for 35–40 minutes, until heated all the way through for a no-fuss meal.
3.My burritos always split open and spill fillings when I wrap them—what am I doing wrong? ▾
This issue almost always traces back to overstuffing! Stick to a heaping ½ cup total of fillings per 12-inch tortilla, layered down the center with a 1-inch border on all sides. Fold the short ends in first, then roll tightly from the long edge before wrapping in foil to hold the shape for zero spillage.
4.Can I swap the 90/10 ground beef for a different protein to fit my dietary preferences? ▾
Definitely! 90/10 ground beef is ideal because it’s low enough in fat to avoid greasy, soggy tortillas, but you can swap it for seasoned ground turkey, shredded grilled chicken, plant-based crumbles, or roasted sweet potato for a vegetarian take. Just make sure any swapped protein is well-drained to cut down on excess moisture.
5.How long will these foil-wrapped burritos stay warm for a picnic or tailgate? ▾
If you wrap them tightly in heavy-duty foil right after assembly while fillings are still hot, and tuck them into an insulated cooler or picnic bag, they’ll stay food-safe and pleasantly warm for 2–3 hours. Skip cold toppings like sour cream or pico de gallo inside the burrito for long holds—pack those on the side instead.
6.Do I need to bake the burritos after wrapping them in foil, or are they ready to eat right away? ▾
Since all fillings (Spanish rice, taco beef, black beans) are fully cooked before assembly, you can eat them immediately after wrapping for quick meals. For a more cohesive, restaurant-style texture, pop the foil-wrapped burritos in a 350°F oven for 10 minutes to fully melt the cheese and lightly toast the tortilla.

Comments (13)

3 days ago

OMG why did I never think to wrap burritos in foil for baking before?? These came together in 10 minutes flat on a super busy weeknight, and my husband and both my kids devoured theirs, said they’re better than the takeout spot we usually order from. Will be adding these to our regular rotation!

2 days ago

Love to hear that! The foil lock does all the work to melt the cheese evenly and lock in flavor without any mess, which is perfect for those chaotic weeknights 😊

5 days ago

Tested these out for our weekend camping trip this past Saturday, wrapped them in foil ahead of time and threw them on the campfire grate for 10 minutes. Absolute hit with the whole crew, even my super picky teen ate two! Zero cleanup too, which is a win for camping.

3 days ago

That campfire hack is genius! I’ve been looking for easy camp meals that don’t require a ton of gear, do you think these hold up if you prep the fillings the night before?

2 days ago

Great question! These are perfect for prepping ahead – just wrap the uncooked, filled burritos tightly in foil and keep them chilled in a cooler or fridge for up to 3 days before cooking. No assembly required when you’re ready to eat!

1 week ago

Made a big batch of these for my weekly meal prep on Sunday, and they reheat perfectly in the oven still wrapped in foil! No soggy tortillas, all the filling stays juicy, and I’ve got lunch for the whole work week. 10/10 for ease too, I’m not a great cook and I pulled these off no problem, total game changer for my work week lunches.

5 days ago

How long do you reheat them for when you take them to work? I’ve had bad luck with reheated burritos being either frozen in the middle or rock hard on the edges!

2 weeks ago

I added a pickled jalapeño and a dash of hot sauce to the filling before wrapping, and wow, that extra kick took these to the next level. Super easy to customize to your taste level too, my partner hates spicy so I left his plain and he loved his just as much.

1 week ago

Brought these to our neighborhood block party potluck last weekend, made 18 of them wrapped in foil and kept them in a cooler on the warm setting, and they were gone in 15 minutes. Multiple people asked me for the recipe, I felt like such a star! 😂

5 days ago

Wait I was at that potluck! Those were the burritos I went back for a second of, no way small world lol. I’ll have to make these for my kid’s soccer snack next.

3 days ago

That’s what we love to hear! These are made for potlucks because they stay warm in the foil for up to 2 hours after cooking, so you don’t have to stress about keeping them heated while you’re out.

2 days ago

Bro, I live in a tiny dorm with just a toaster oven and I was able to make these no problem. 10 minute cook time, cheap ingredients, no messy dishes because of the foil? Absolute lifesaver when I’m sick of dining hall food.

yesterday

So stoked these work for dorm cooking! Just make sure your toaster oven is set to 400°F and you’ll get that perfectly melted, crispy-edged burrito every time, no full kitchen required.

yesterday

First time ever making Tex-Mex food at home and I was so nervous I’d mess it up, but this recipe was so straightforward! The burritos held together, the rice and beef filling was seasoned perfectly, even my roommate who’s from San Antonio said they tasted legit.

yesterday

I was so tired after work last night I almost ordered Uber Eats, but I remembered I had all the ingredients for these and threw them together. My 7 year old yelled ‘BEST DINNER EVER’ from across the table, I almost cried. Worth every minute.

2 hours ago

I feel this so hard! Those last minute weeknight wins are the best, especially when the kids actually eat without complaining. Gonna add these to next week’s meal plan stat.

30 minutes ago

We’ve all been there! There’s nothing better than a quick, low-mess meal that gets the kid approval stamp – that’s exactly why we created this recipe for those extra busy nights.

2 hours ago

I swapped the ground beef for black beans and roasted corn to make these vegetarian, and they turned out incredible! The foil wrap method worked just as well with the veggie filling, no sogginess at all.

30 minutes ago

Great swap! The recipe is super flexible for all dietary preferences – we’ve tested it with plant-based crumbles, grilled chicken, and even roasted sweet potato as fillings and it works perfectly every time.

3 days ago

Made these for our casual Sunday dinner with my parents, and my dad who ‘hates Mexican food’ (his words, not mine) ate two and asked for the recipe to make at his hunting camp next month. Who knew?!

yesterday

Made these for the football watch party at my place yesterday, set up a little build-your-own station with different fillings then let everyone wrap their own in foil and pop them in the oven. Cleanup was minimal, everyone got exactly what they wanted, and we didn’t miss a single play. Total game day win!

2 hours ago

That build your own idea is genius! Did you put out any extra dips on the side like queso or guac to go with them?

30 minutes ago

Oh for sure! Had queso, guac, salsa, and sour cream out for dipping, it worked perfectly. People were piling their burritos with whatever toppings they wanted before wrapping, it was so easy.

just now

I was worried these would be bland because the ingredient list is so simple, but the spice blend is spot on. I didn’t have to add any extra salt or taco seasoning, it was perfectly flavored right out of the foil. My only tiny complaint is that the bottom of the tortilla got a little softer than I like, but that’s probably because I left them in the foil a few minutes too long after baking. Still so impressed with how easy this was for how good it tastes.

5 minutes ago

I made a test batch of these last night and they were SO good! Has anyone tried freezing them after wrapping? I’m stocking my freezer with quick meals for after my baby arrives next month and these seem like they would freeze great, but I don’t want to waste ingredients if they get weird.

just now

Great question! These freeze beautifully for up to 3 months – just wrap them tightly in a layer of plastic wrap over the foil to prevent freezer burn, and when you’re ready to eat, bake straight from frozen at 400°F for 25 minutes, no thawing needed. Perfect for new parent meals!



