
yogurt custard
intro
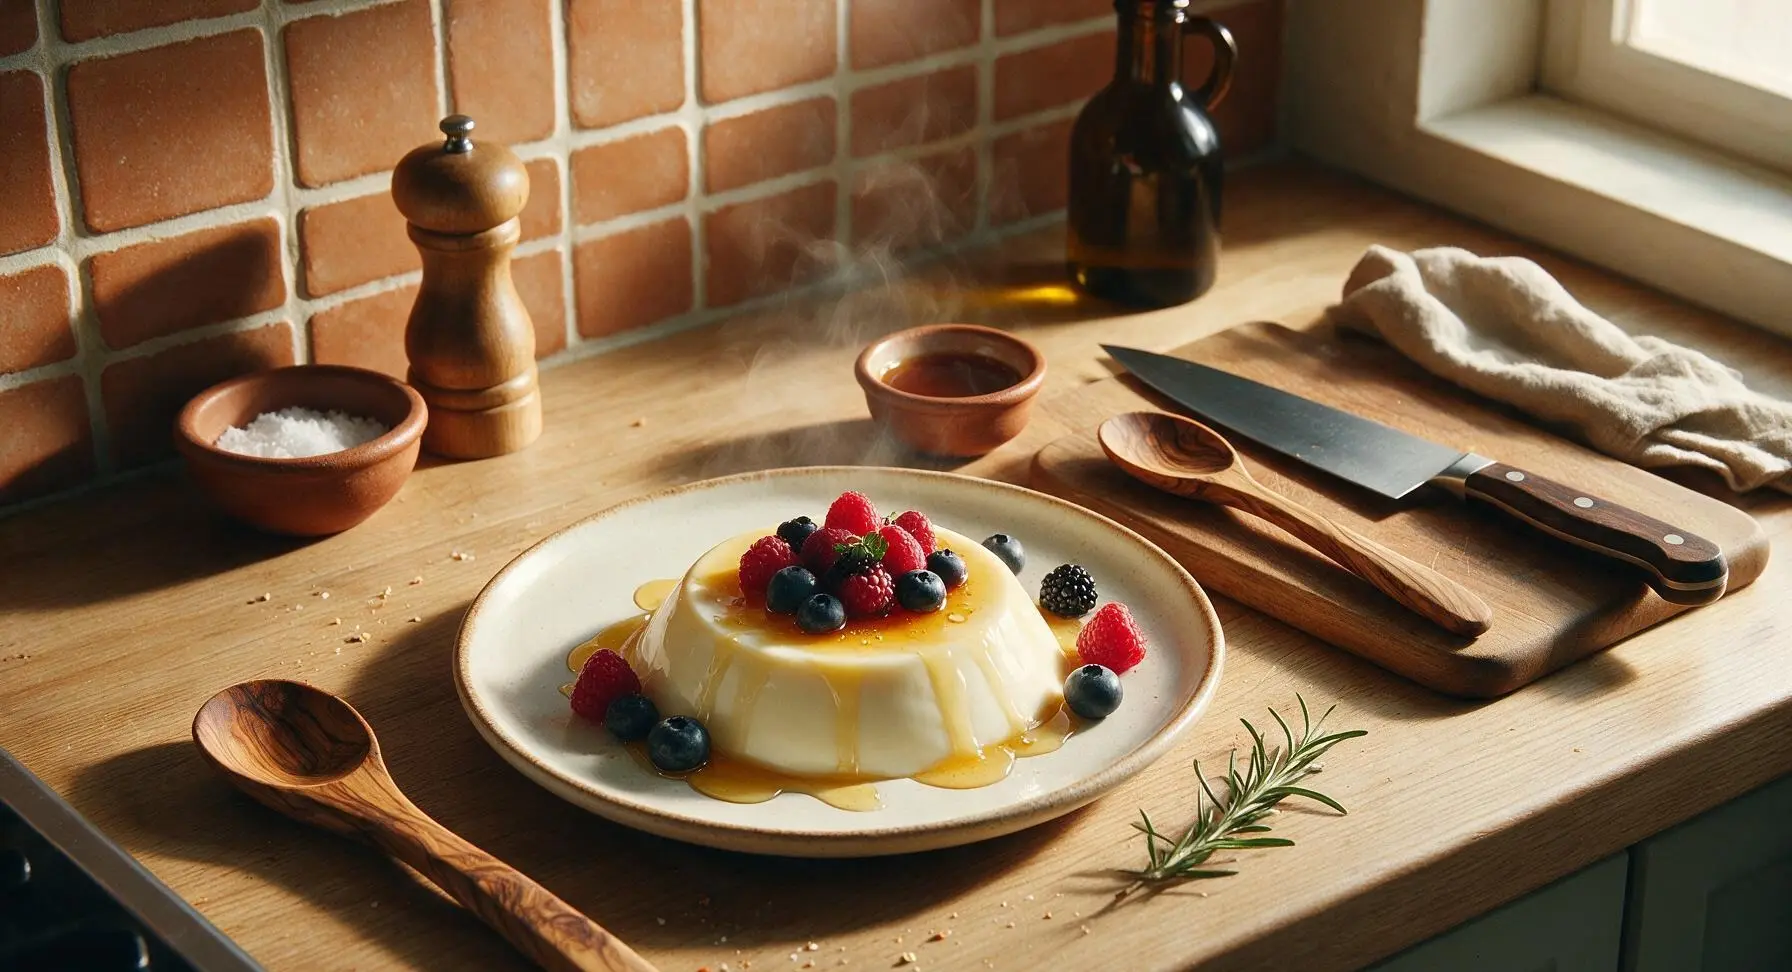
Silky, gently tangy baked yogurt custard, set to a perfect soft wobble, drizzled with wildflower honey and topped with fresh summer berries. Light enough for seconds, rich enough to feel like a special treat.
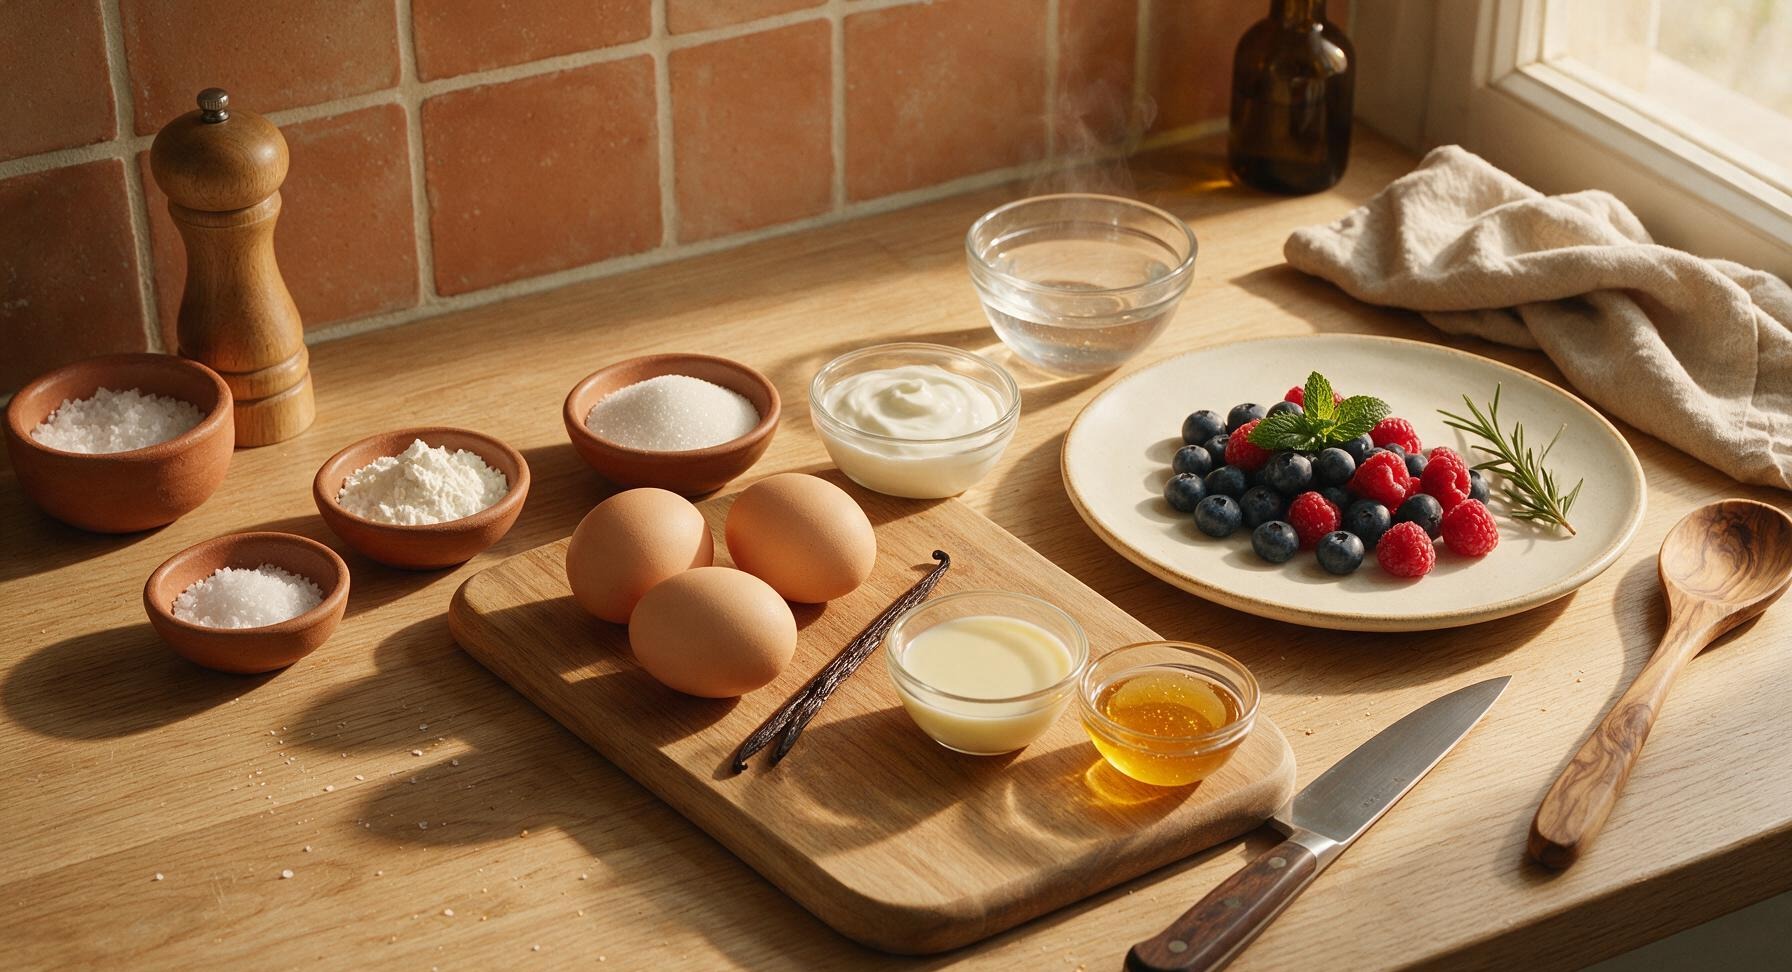
Ingredients
Steps
Prep Oven and Bakeware
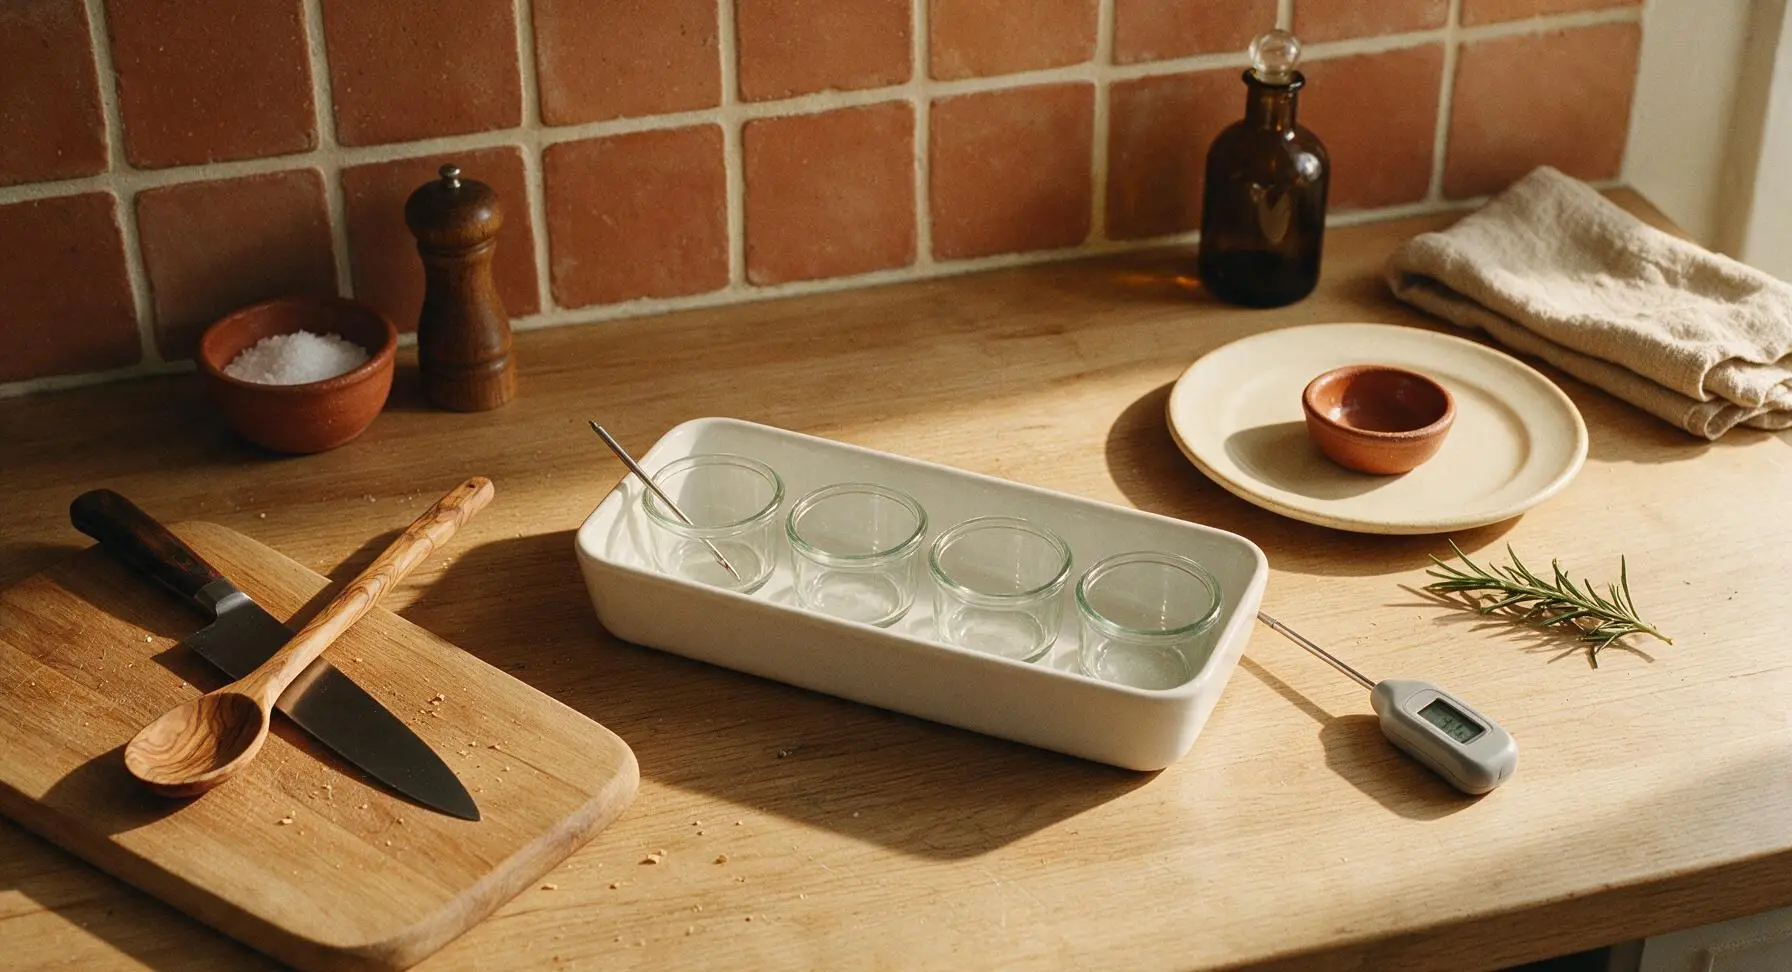
Adjust your oven rack to the middle position and preheat to 160°C (320°F, conventional setting, no convection fan to avoid custard cracking). Retrieve the 9x13 inch matte white ceramic baking dish from its storage position, and arrange the 4 clear glass ramekins evenly spaced inside the dish. Set the assembled dish on the center of the counter; no greasing of ramekins is needed. The digital instant-read thermometer sits beside the dish to confirm oven temperature.
Whisk Egg Sugar Base
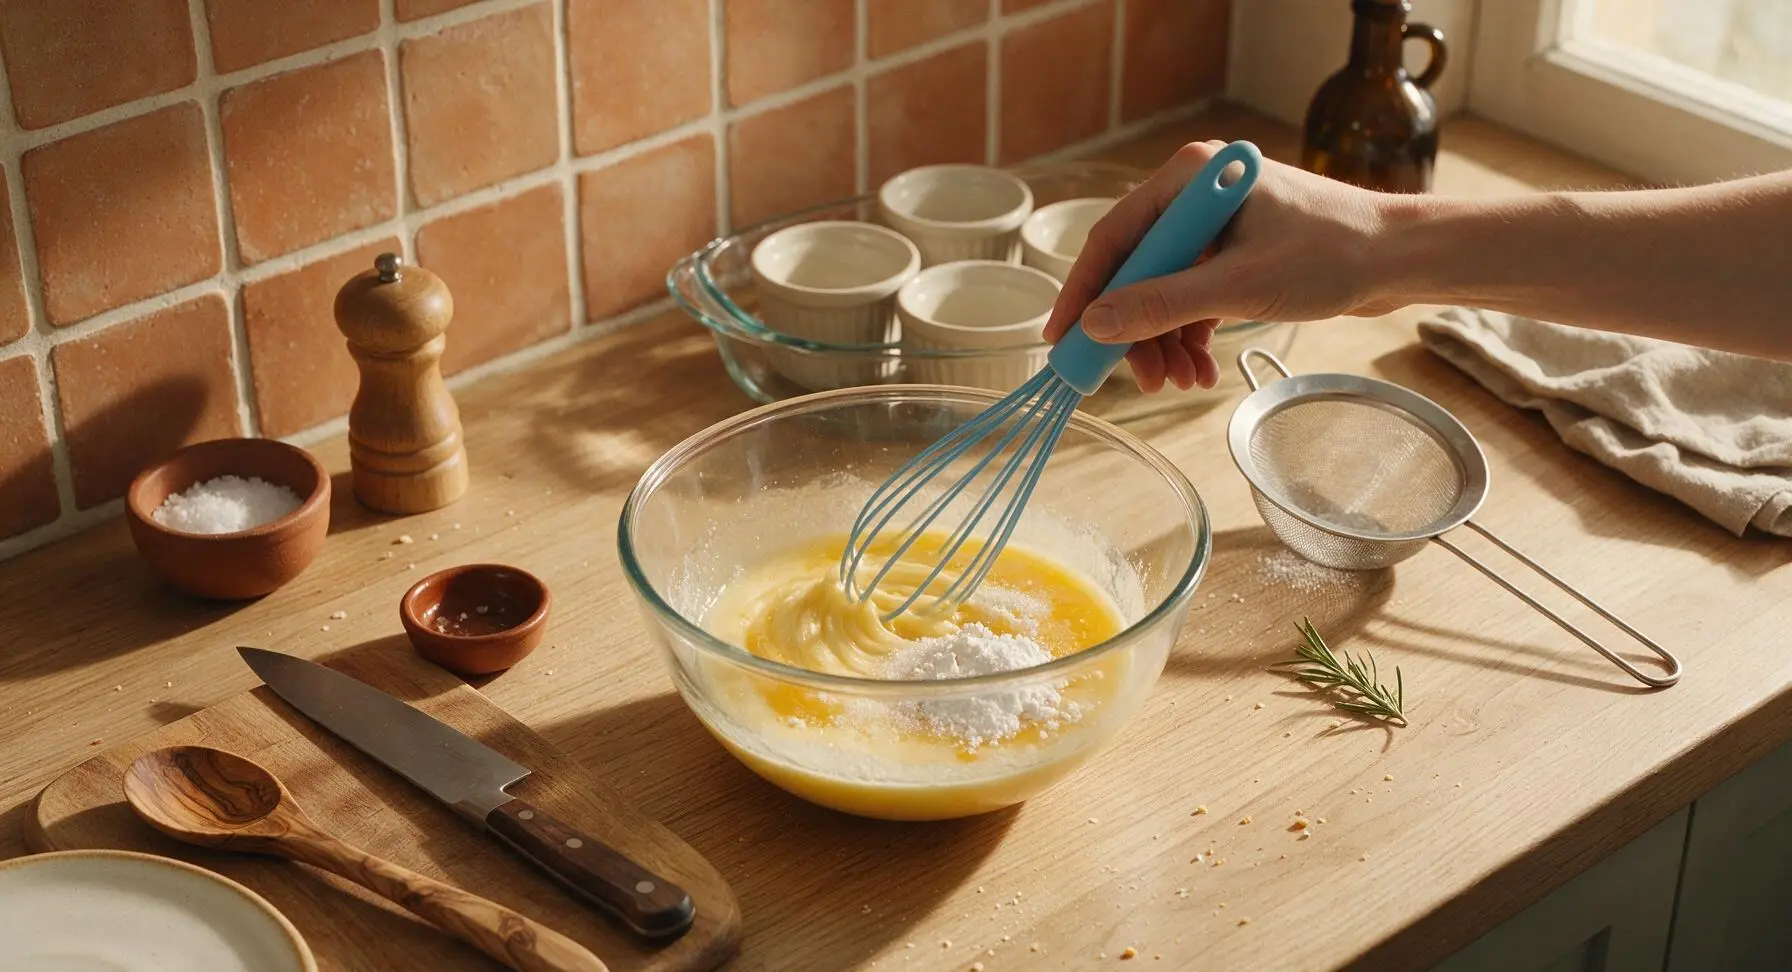
Crack 3 large eggs into the clear glass mixing bowl. Add 40g granulated sugar, 1/4 tsp fine sea salt, and 1 tbsp (8g) cornstarch. Use the sky-blue silicone whisk to stir slowly in smooth circular motions until the mixture is completely smooth, with no visible cornstarch lumps, about 1 minute. Avoid fast, vigorous whisking that traps air bubbles, as these cause holes and cracks in the finished custard.
Add Yogurt and Vanilla
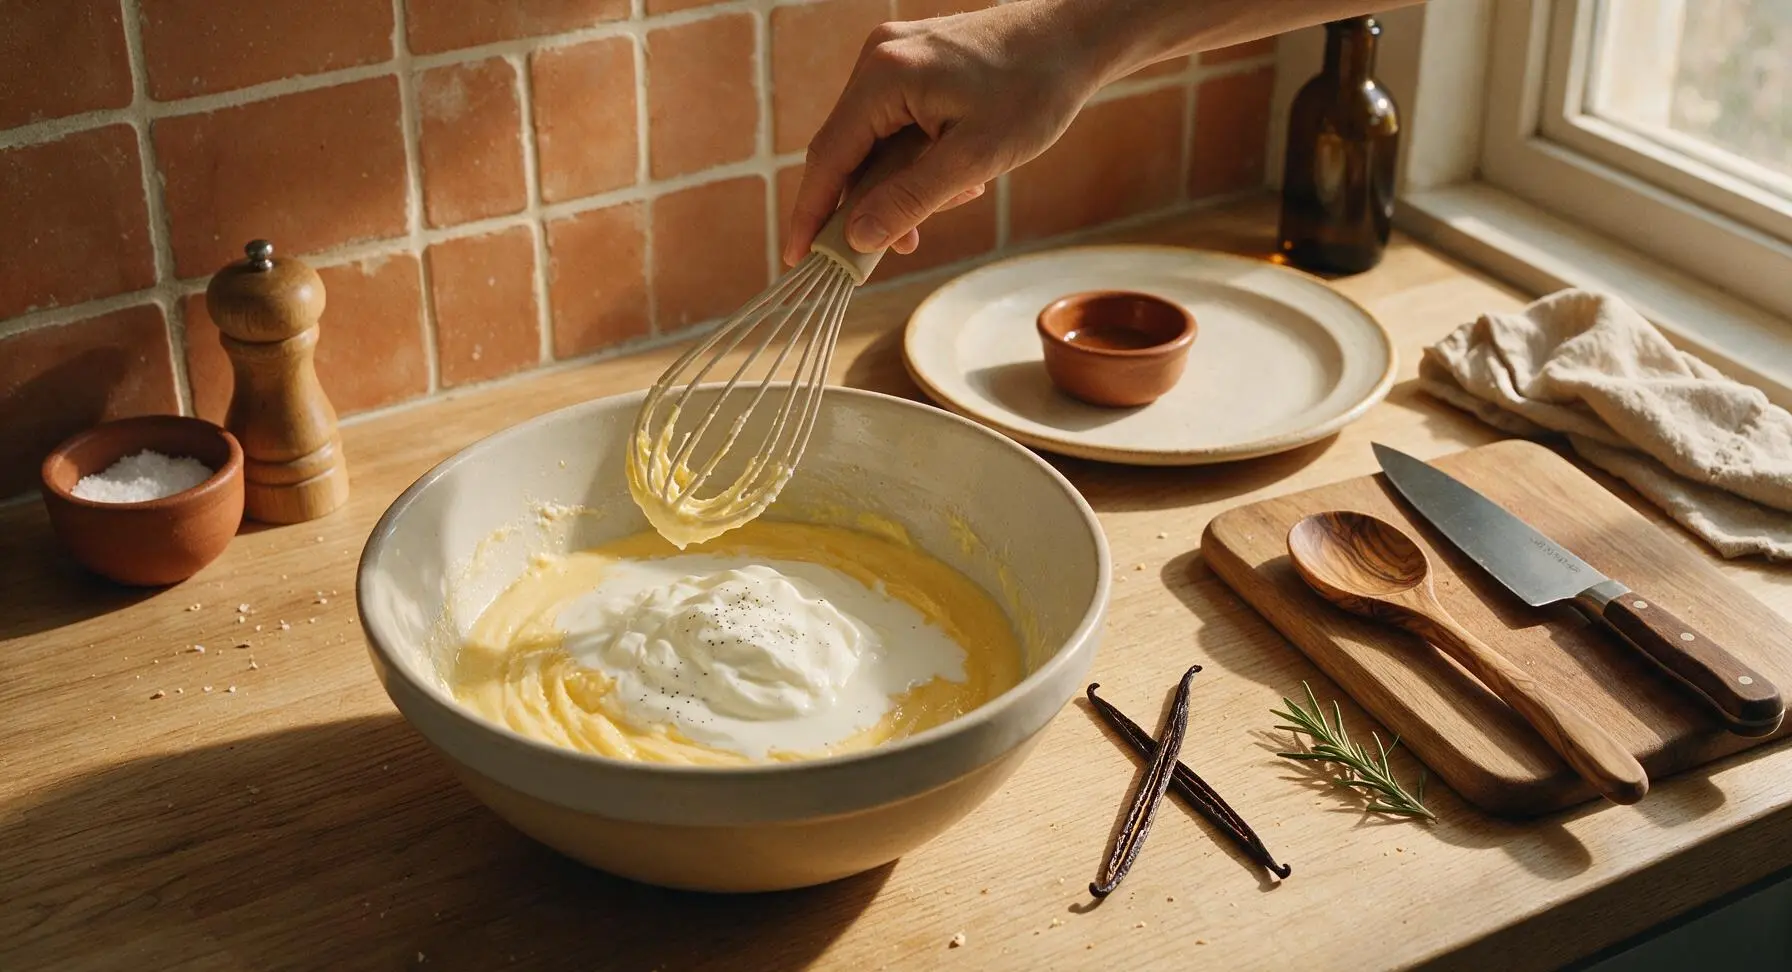
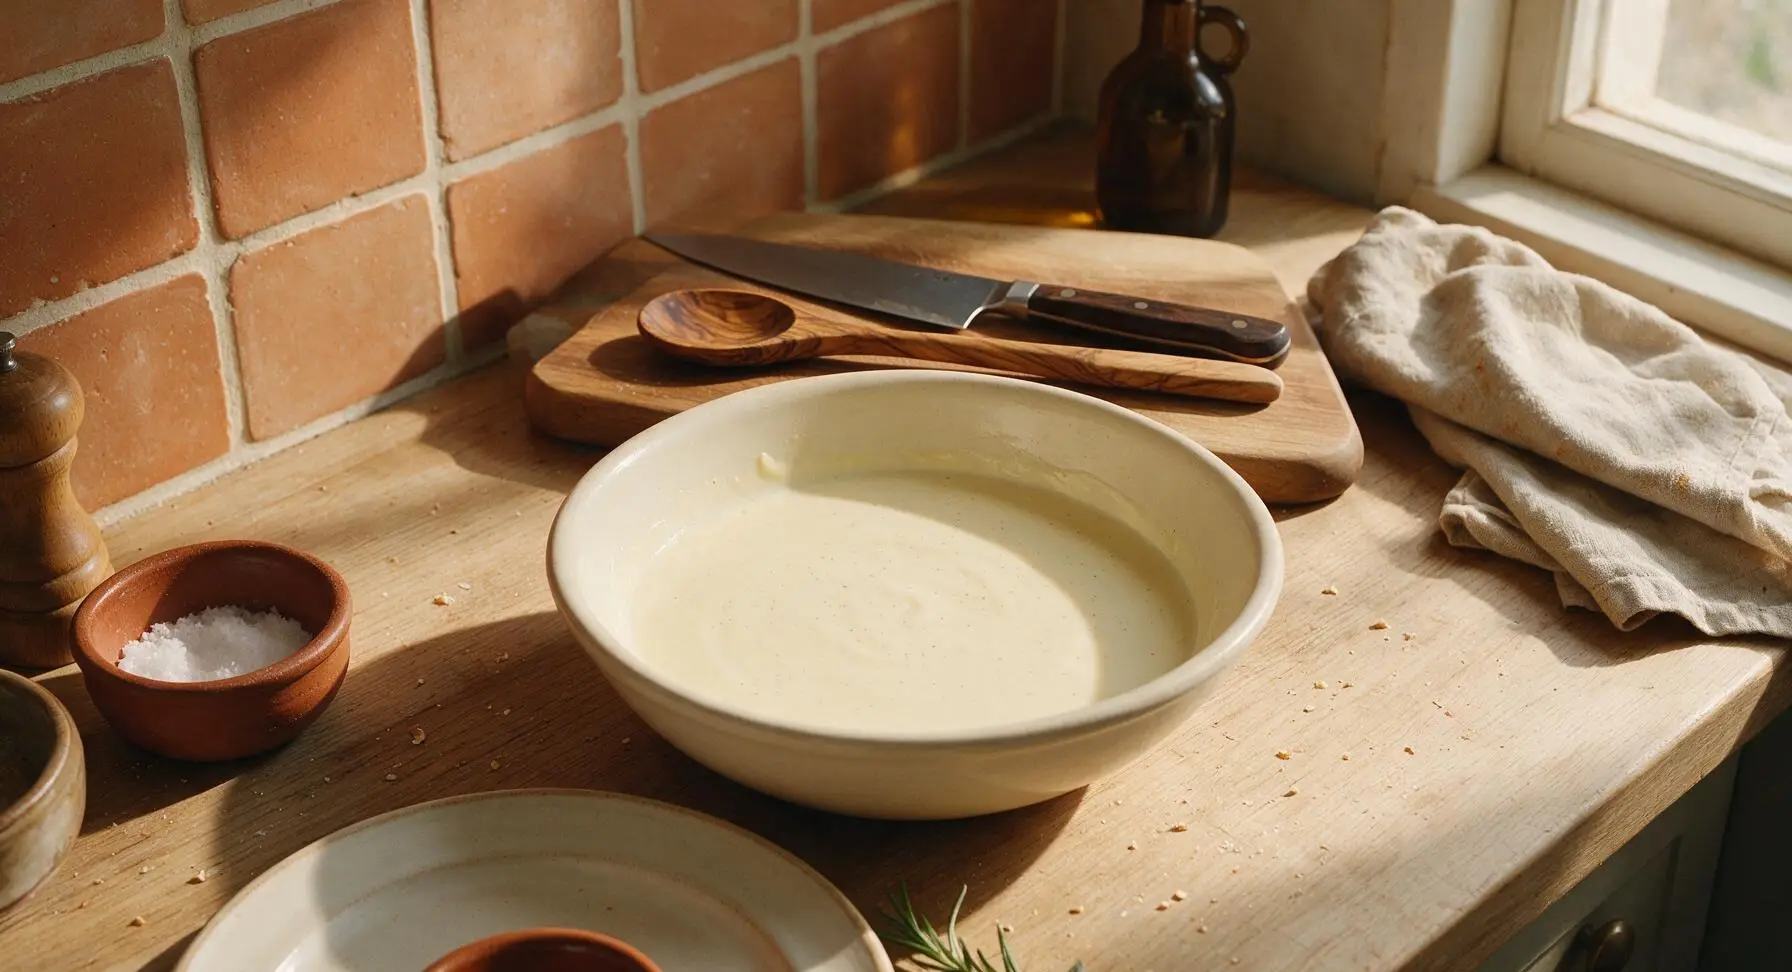
Use the paring knife to split the whole vanilla bean lengthwise, scrape all tiny black seeds into the egg mixture, and set the pod aside to save for homemade vanilla sugar. Add 500g full-fat plain Greek yogurt and 120ml whole milk to the bowl. Whisk gently at a slow, steady pace until the mixture is a uniform pale ivory color, with no white yogurt streaks remaining, about 2 minutes.
Strain Custard Base
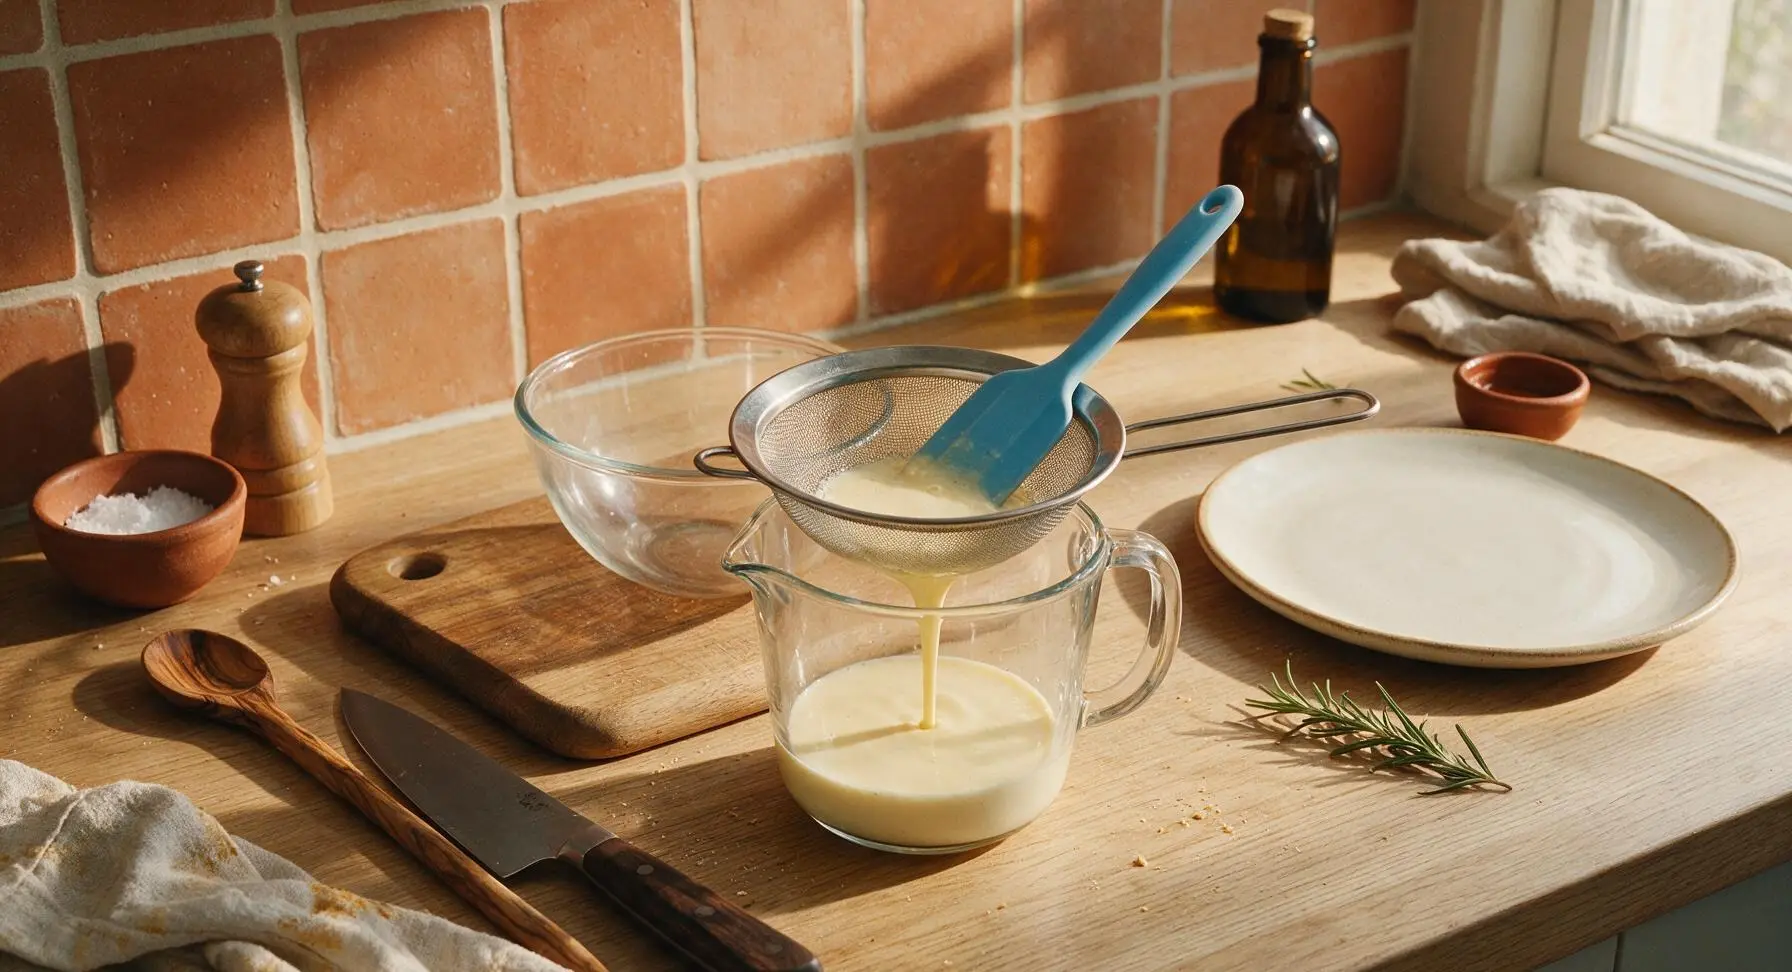
Set the fine-mesh stainless steel sieve over the clear glass measuring jug. Pour the custard base slowly through the sieve, using the sky-blue silicone spatula to gently press the liquid through, discarding any small lumps or egg string bits caught in the mesh. This step removes imperfections for an ultra-silky finished texture.
Pour and Prep Water Bath
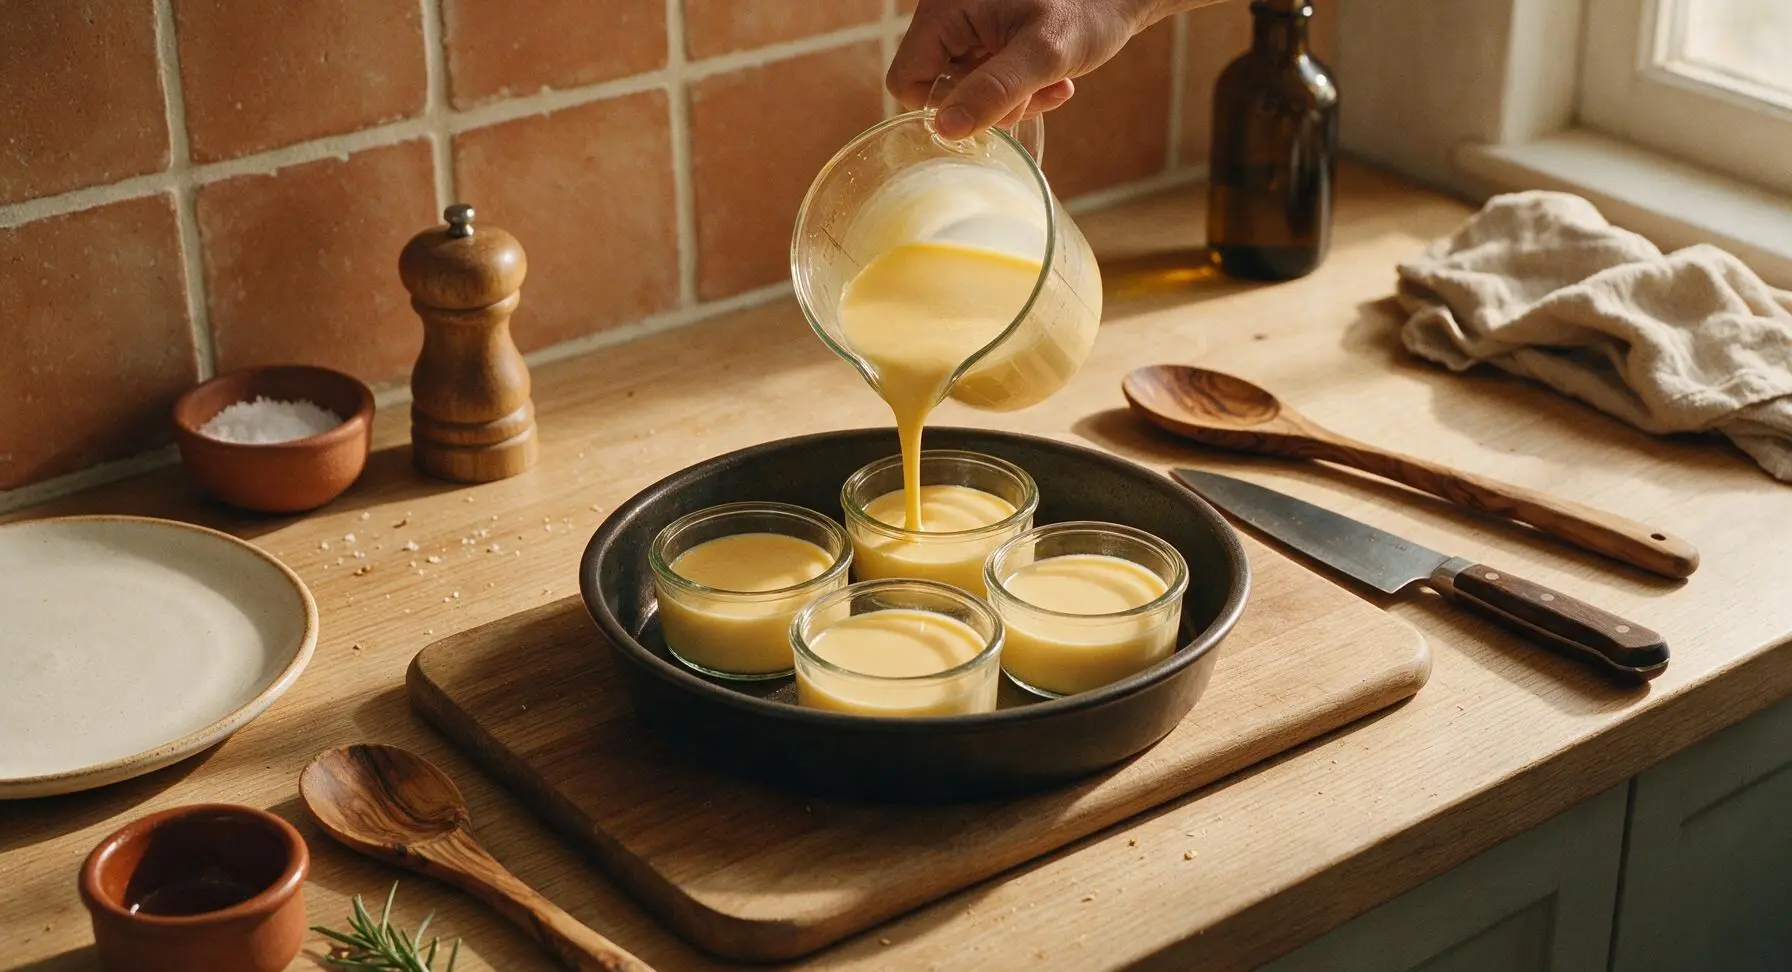
Divide the strained custard base evenly between the 4 ramekins in the baking dish, filling each to 3mm below the rim. Carefully pour hot (just boiled, cooled for 2 minutes, ~90°C/194°F) tap water into the baking dish until the water reaches halfway up the sides of the ramekins. Take care not to splash water into the custard, as this creates soggy, uneven spots.
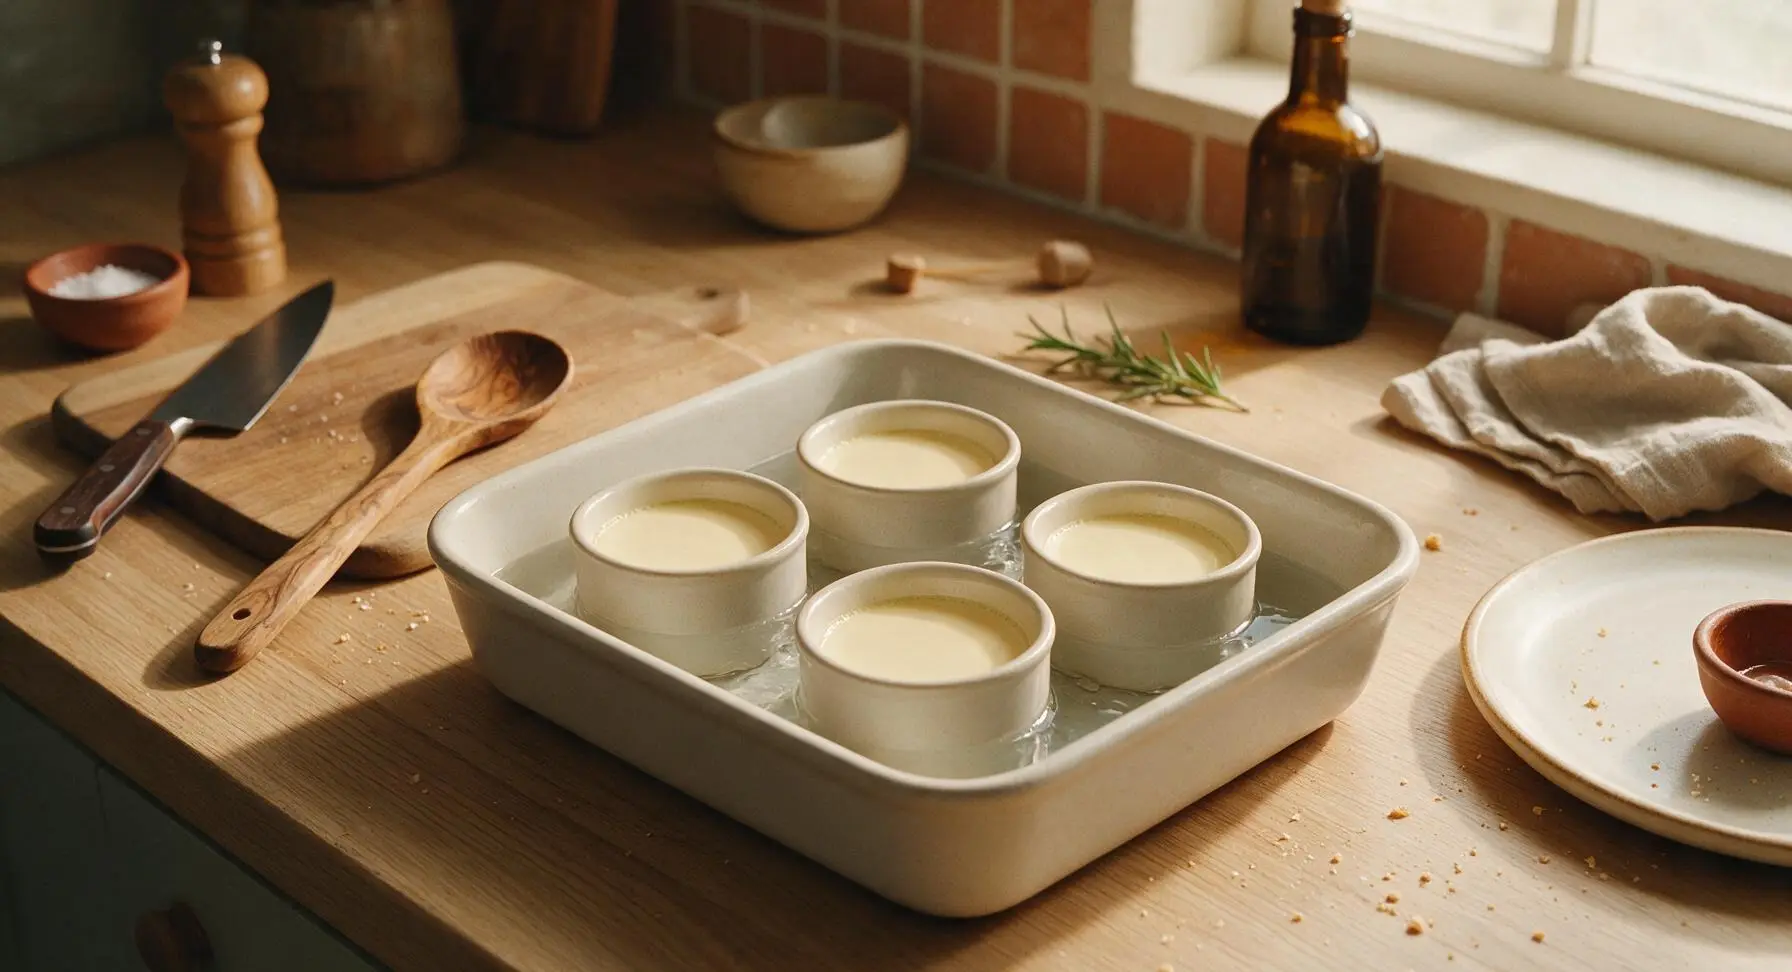
Bake Low and Slow
Carefully transfer the baking dish to the preheated middle oven rack. Bake for 25 minutes, until the edges of the custard are fully set but the 2cm center of each ramekin has a soft, Jell-O-like wobble when the dish is gently jiggled. Do not overbake, as this causes curdling and a rubbery texture.
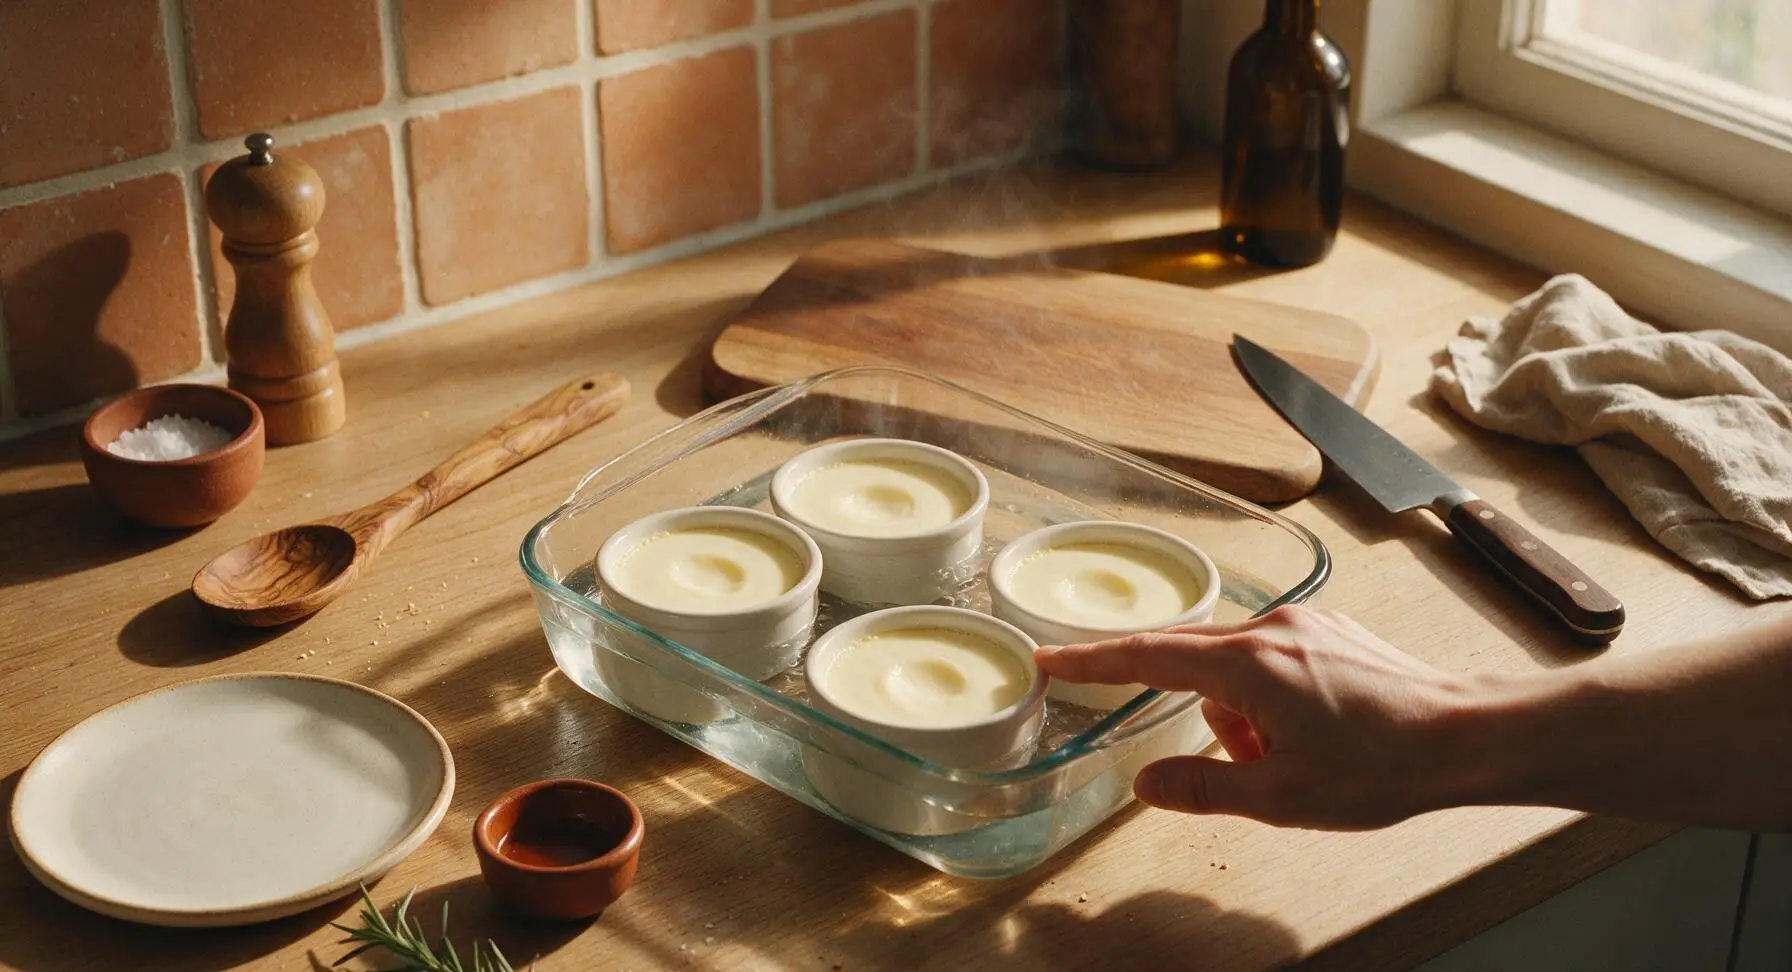
Chill to Fully Set
Use the folded oatmeal cotton kitchen towel to carefully lift each hot ramekin out of the water bath, and set them on the chrome wire cooling rack to come to room temperature for 20 minutes. Cover each ramekin with a small square of plastic wrap, then transfer to the refrigerator to chill for at least 2 hours (or up to 3 days) until completely firm.
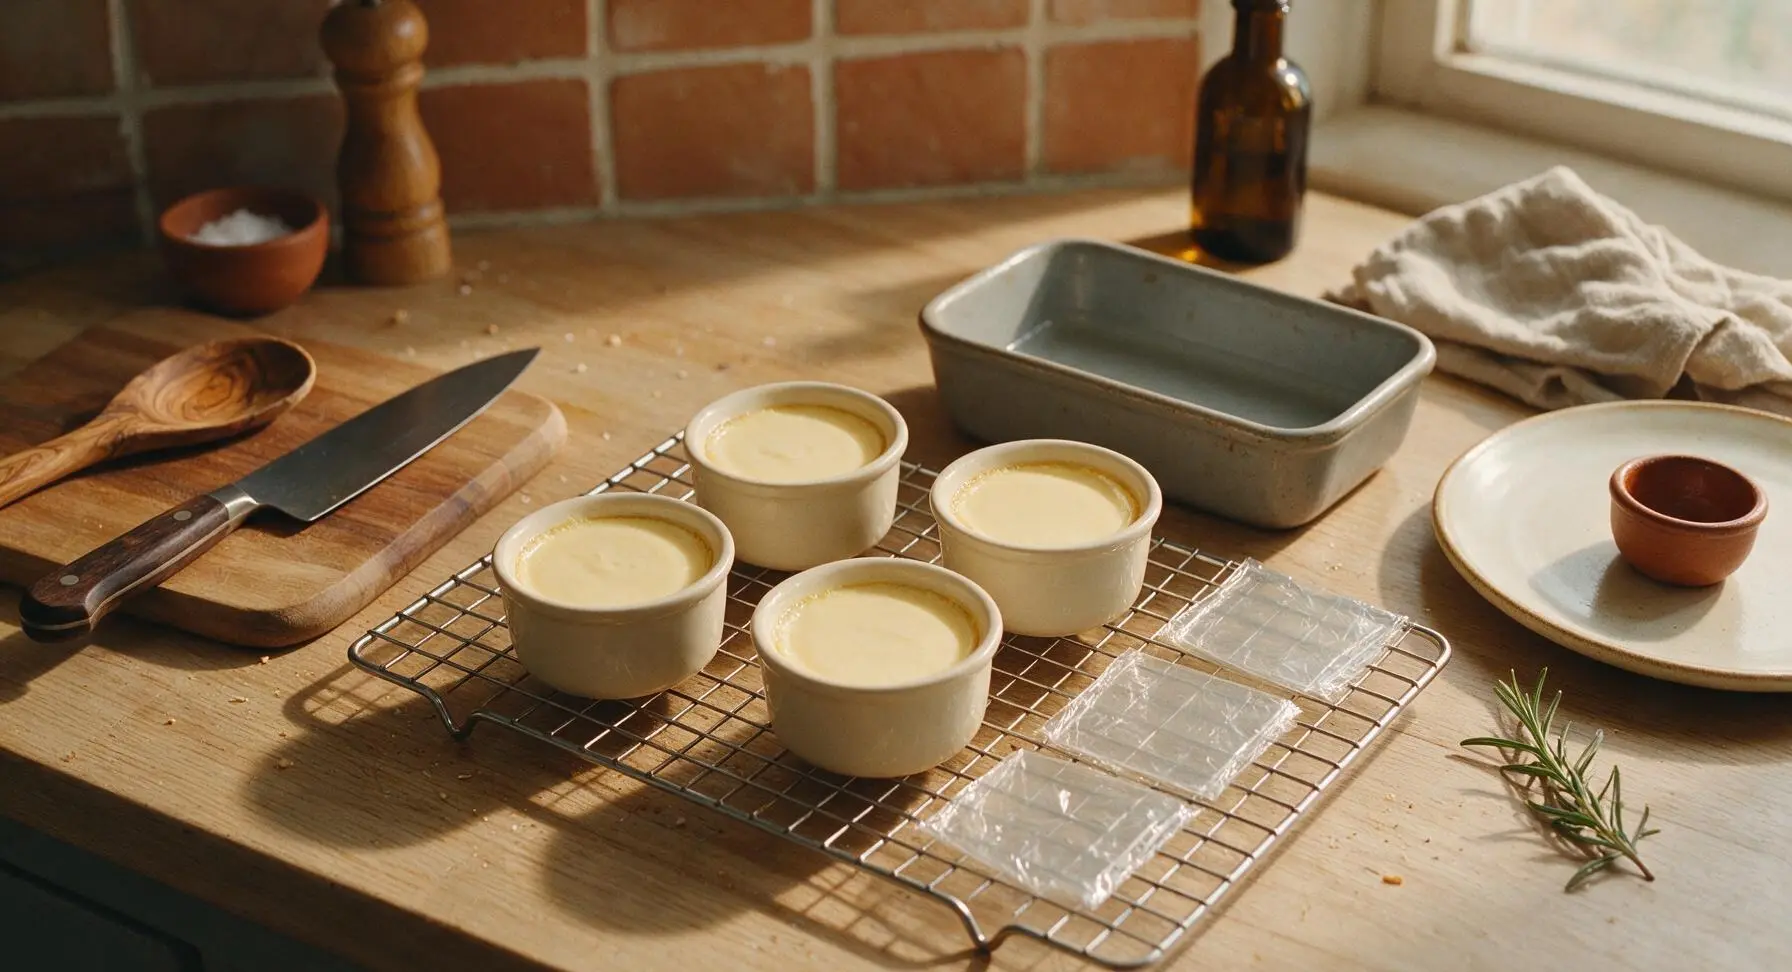
Unmold Chilled Custards
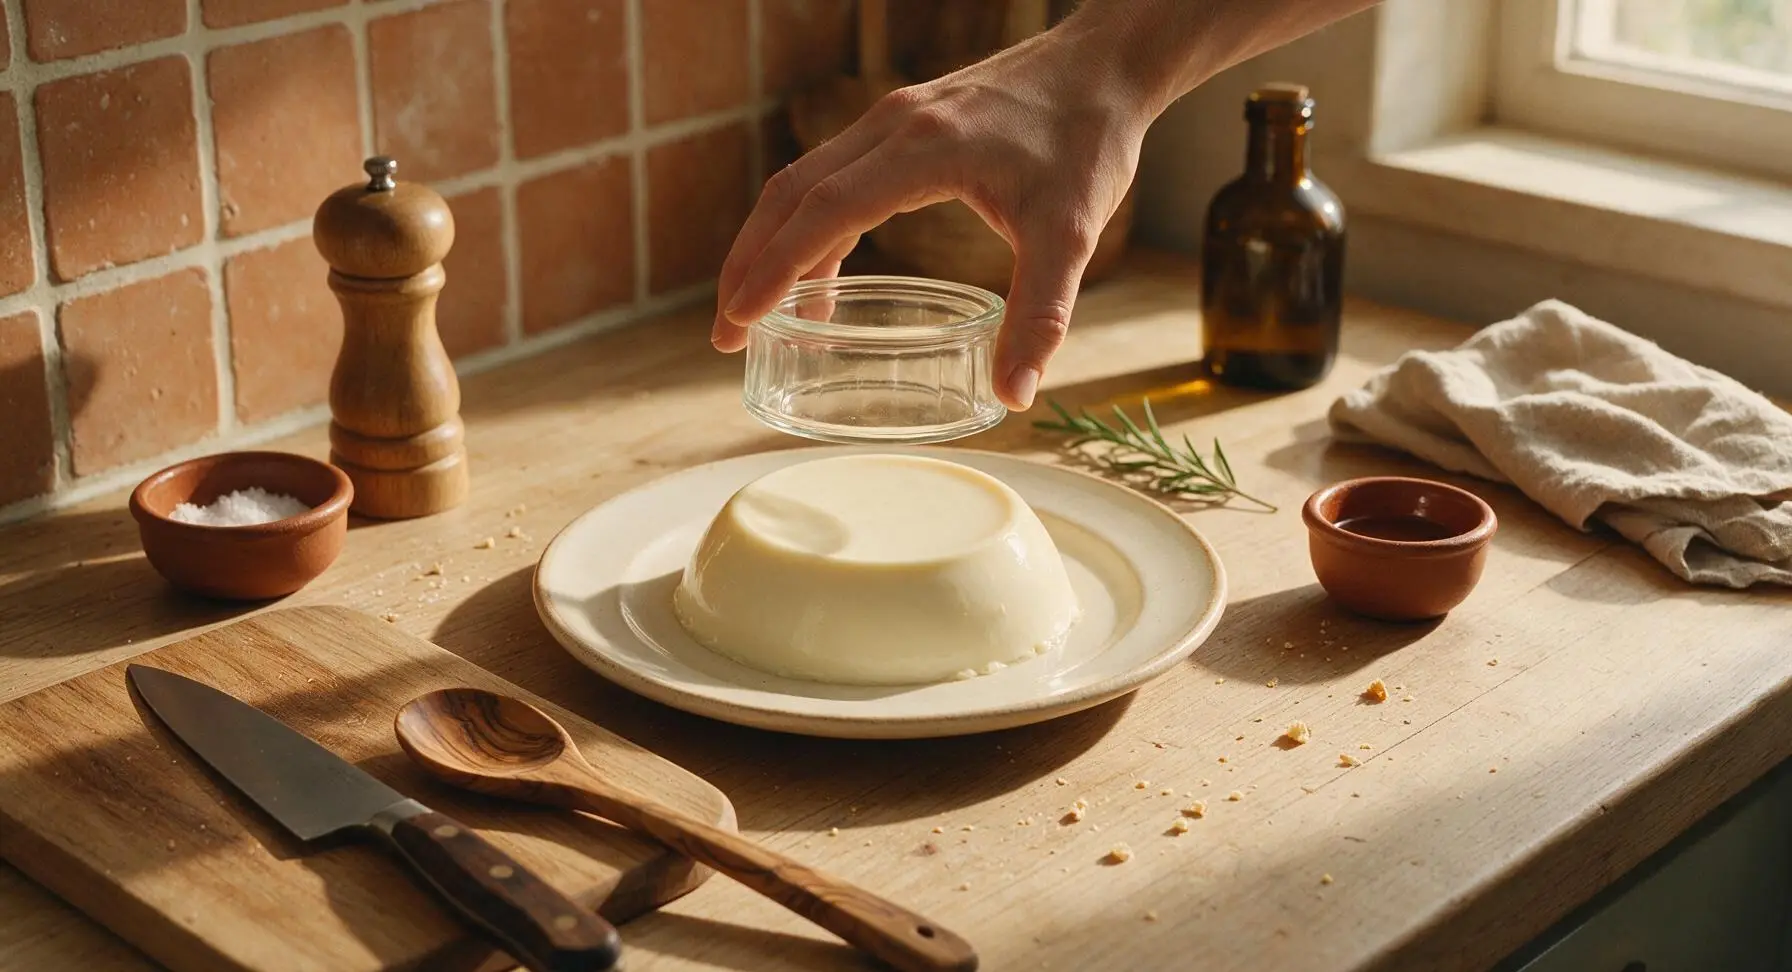
When ready to serve, run the tip of the paring knife around the inner edge of each chilled ramekin to loosen the custard. Place a matte cream white dessert plate upside down over the top of a ramekin, hold the plate and ramekin firmly together, and flip quickly in one smooth motion. Tap the bottom of the ramekin gently, then lift the ramekin straight up to release the smooth custard onto the plate.
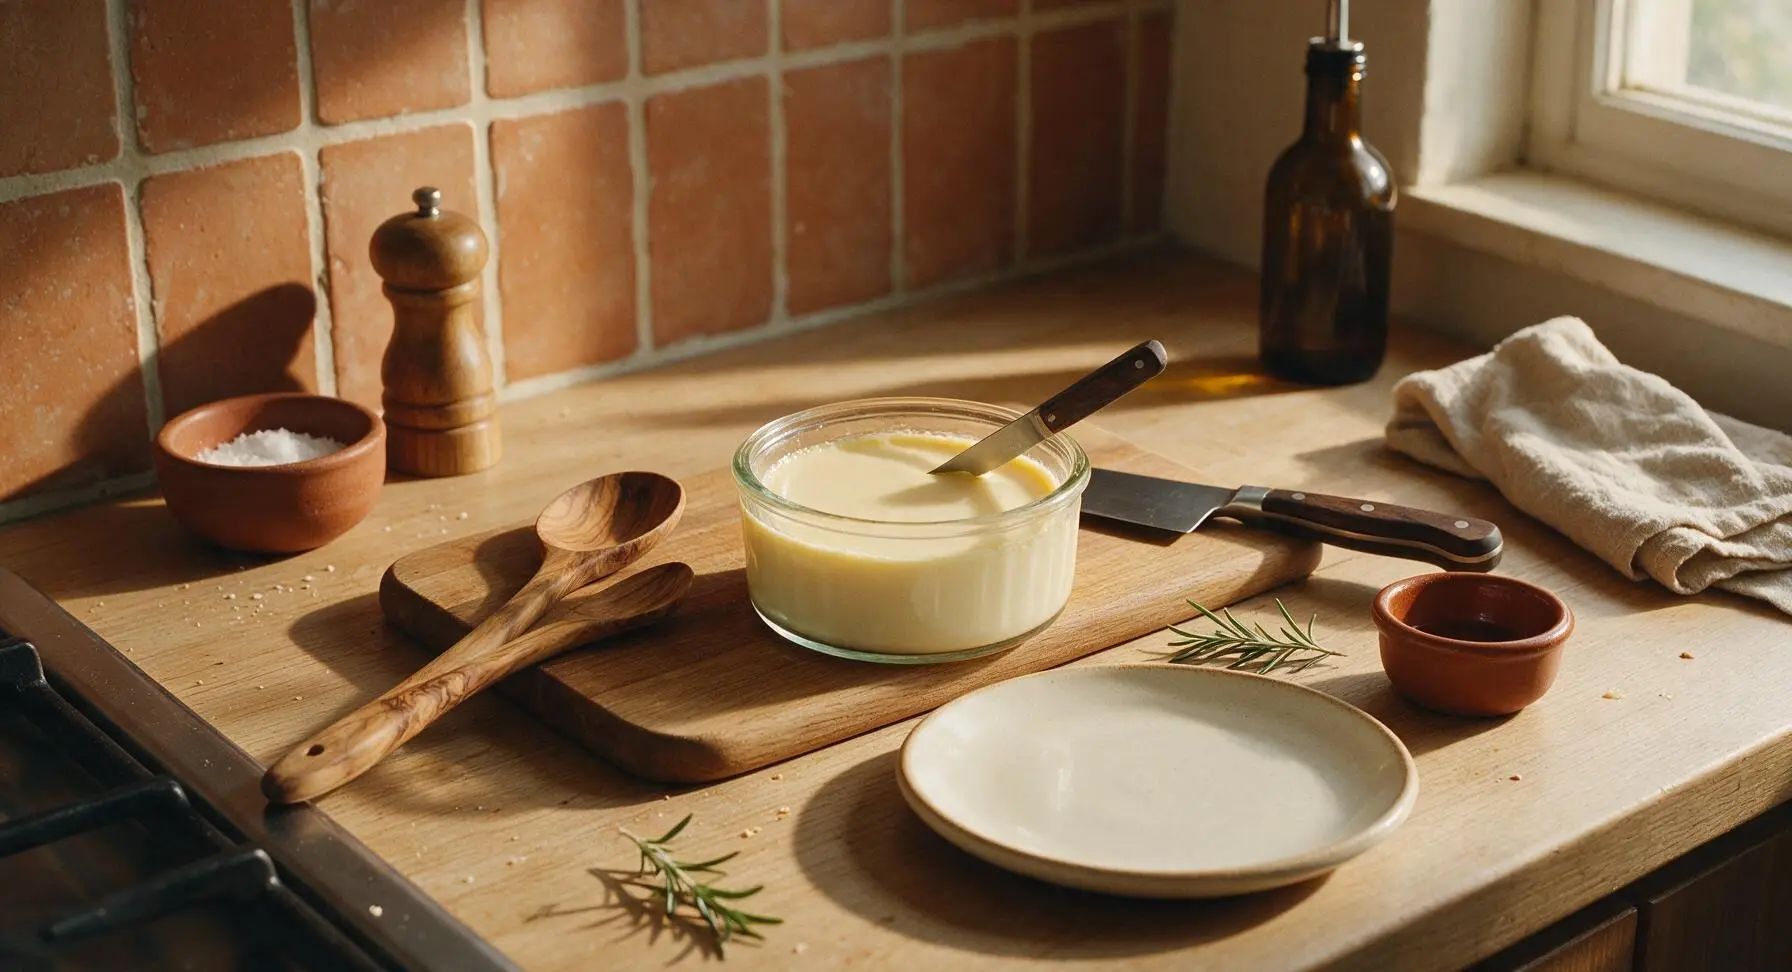
Garnish and Serve
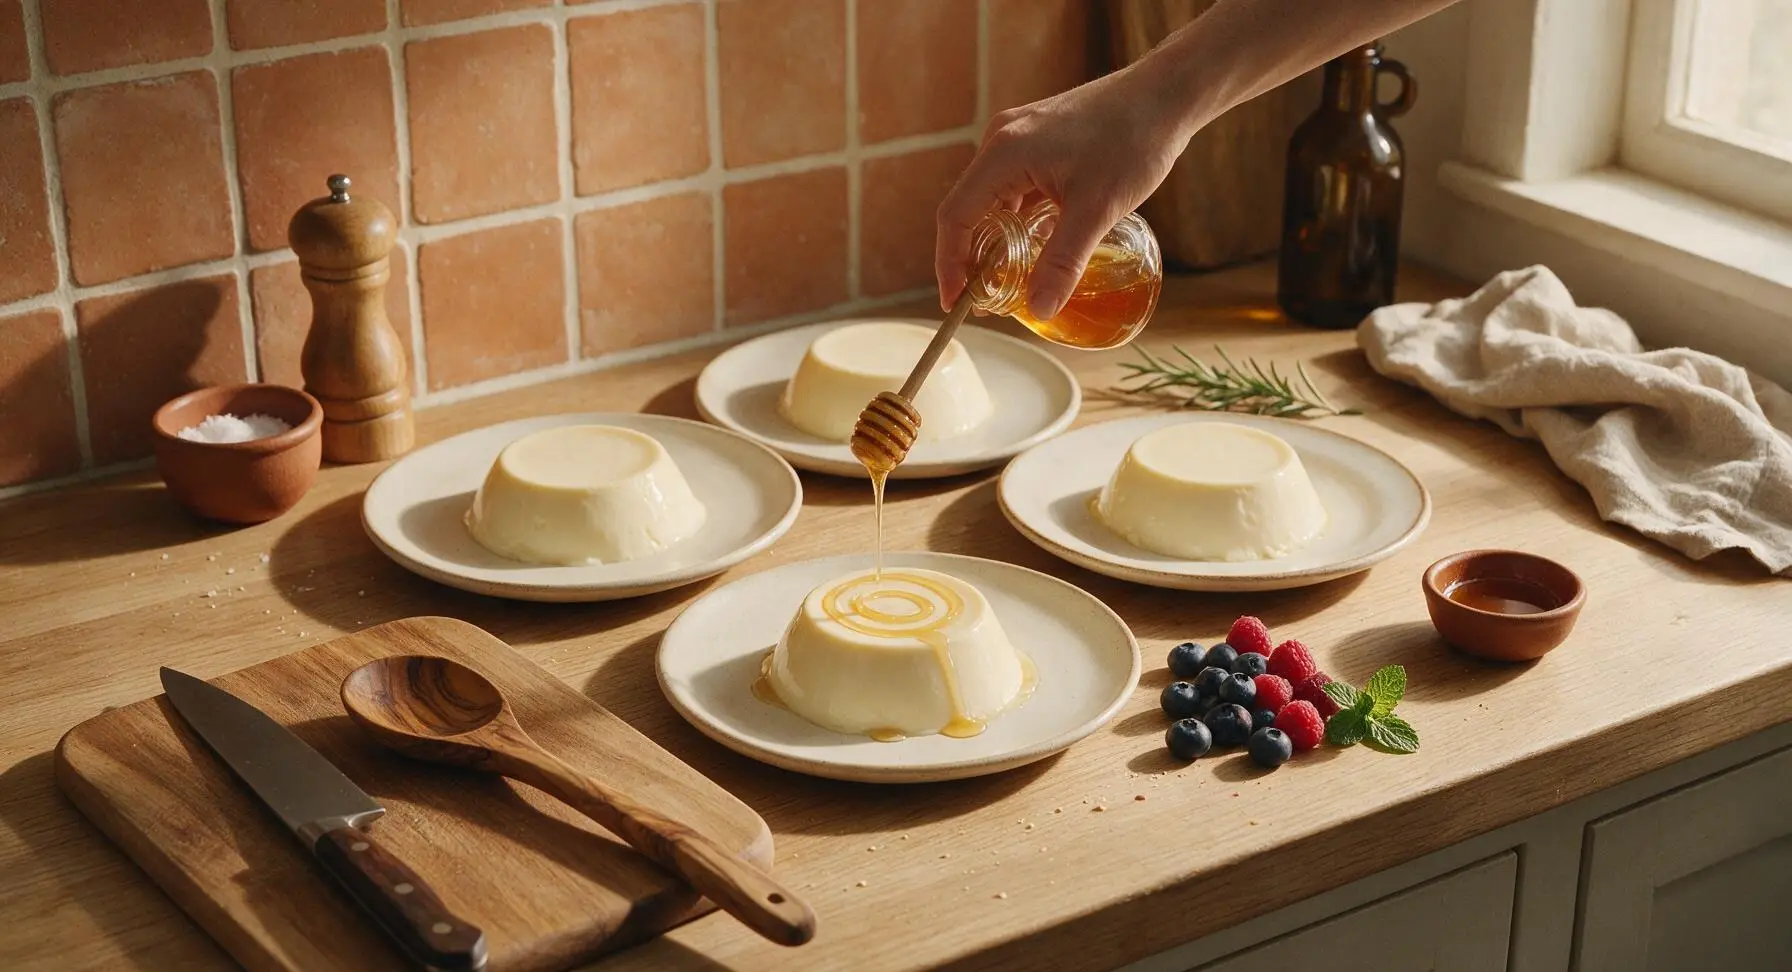
Drizzle 1/2 tbsp of wildflower honey over the top of each custard in a loose spiral pattern. Top each serving with 25g of mixed fresh blueberries and raspberries, and 2-3 small mint leaves plucked from the terracotta pot, for a bright, fresh flavor contrast. Serve immediately while chilled.
Tips
2.Do not skip the water bath (bain-marie): Baking custard in a water bath creates gentle, even humid heat that never exceeds 100°C (212°F), preventing curdling, surface cracking, and a tough rubbery texture.
3.Resist the urge to unmold the custard early: The custard needs a full 2 hours of chilling to fully set its structure; warm, partially set custard will break apart and stick to the ramekin when flipped.






OMG this silky baked yogurt custard is a total game changer! I threw it together last minute for my kids’ after-school snack and both of them begged for seconds before they even finished their first serving. It’s so easy I didn’t even have to pull out my stand mixer — total win for busy weeknights. I topped mine with a handful of fresh blueberries and a drizzle of wildflower honey, absolute chef’s kiss.
Brought this to our neighborhood block party potluck this past weekend and people were hounding me for the recipe before I even set the dish down on the table! It’s light, not cloyingly sweet, and that silky texture is unreal for how little effort it takes. Cook time was spot-on 25 minutes in my old finicky oven too, no temperature adjustments needed at all. Will 100% be adding this to my regular summer dessert rotation.
SO good! I’ve been hunting for easy high-protein desserts to meal prep for the work week and this checks every single box. I was worried it would taste super tart or have that weird chalky yogurt aftertaste, but it’s so smooth and creamy it feels like I’m eating a fancy restaurant dessert I paid $12 for. 10/10, already prepping ingredients to make a second batch tomorrow with a dash of cinnamon and some stewed peaches on top.