
4-Grain / 10-Grain Bagel

title 1
4-Grain / 10-Grain Bagel
⏱️ cook time 25 minutes
🍽️ servings 8
⚡ Difficulty medium

intro

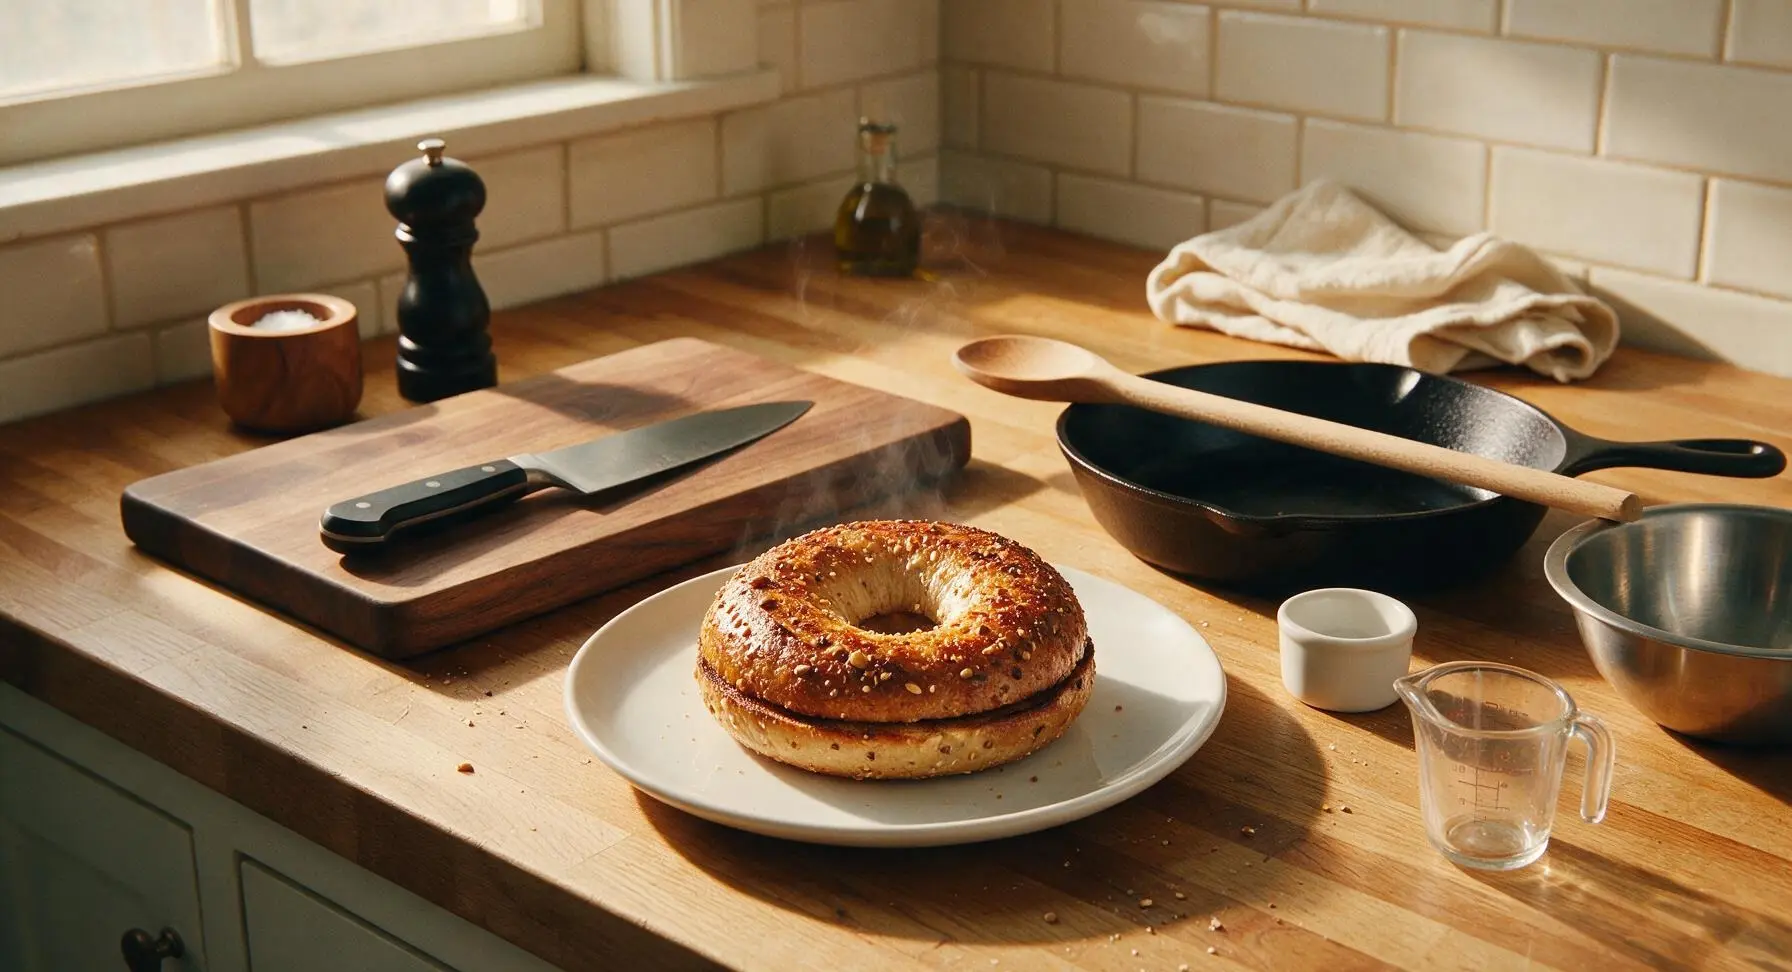
Chewy, nutty multi-grain bagels with a crisp, glossy crust, adaptable to 4-grain or 10-grain blends. Perfect toasted and topped for a hearty, portable bite.

Ingredients
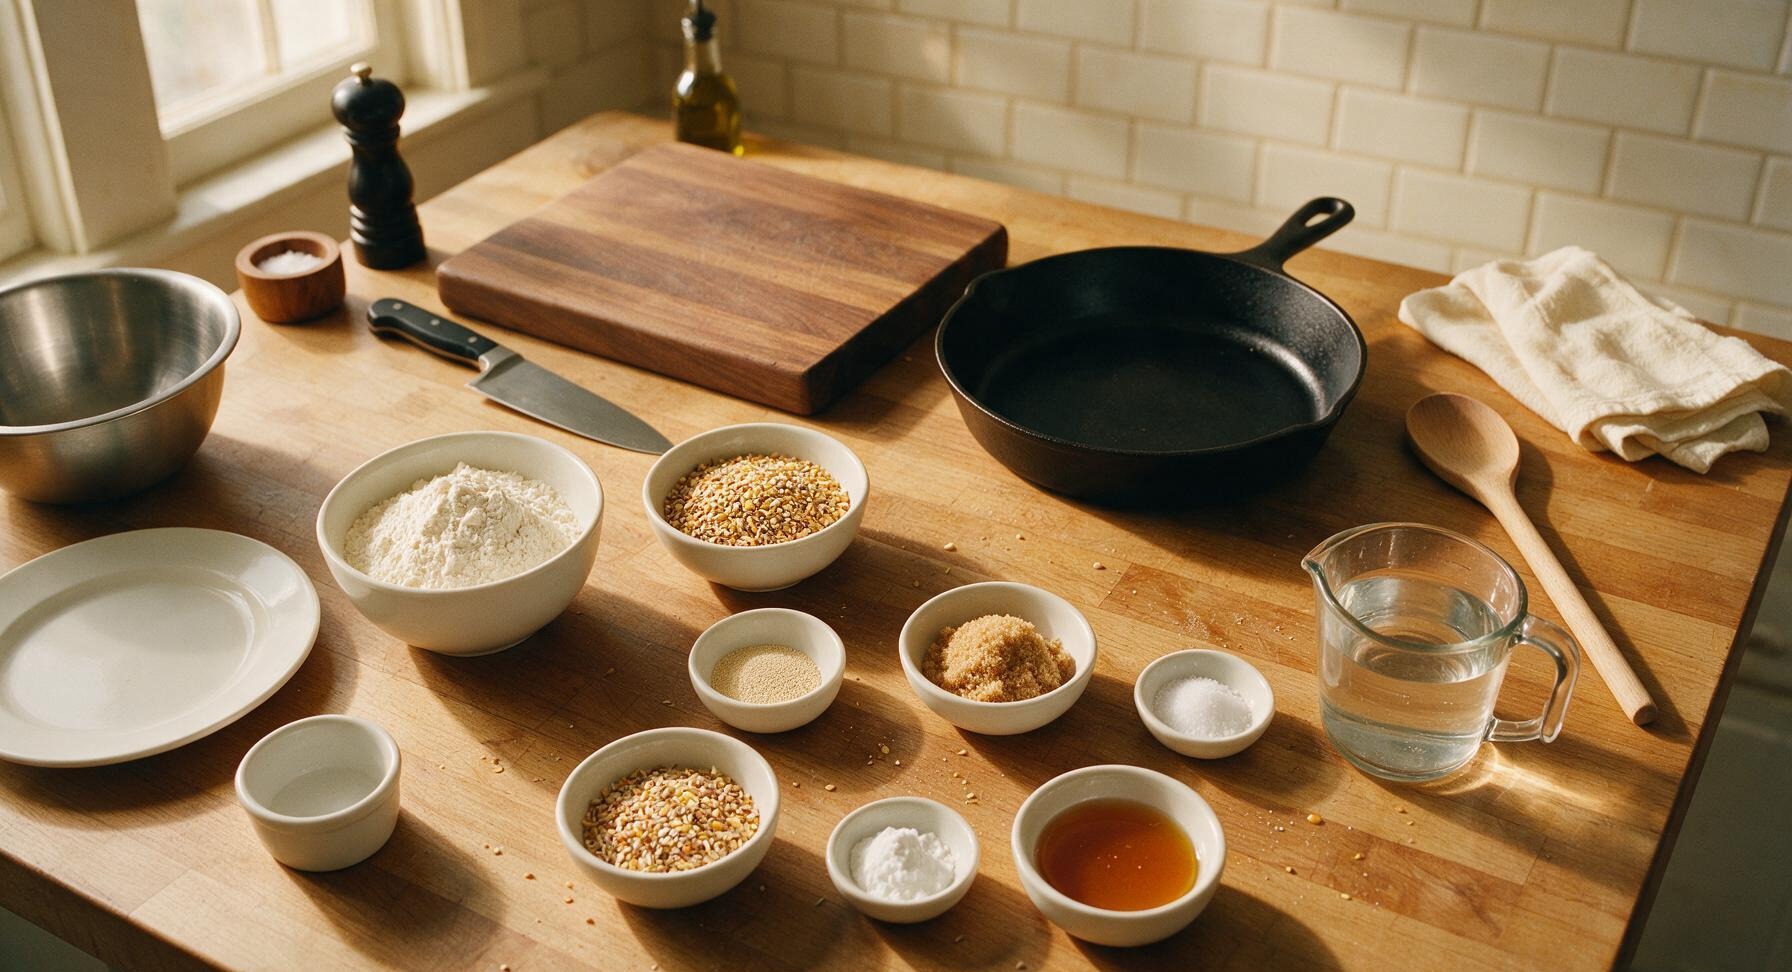
Bread flour 350g
Uncooked 4-grain/10-grain hot cereal mix 150g
Instant dry yeast 7g (2 1/4 tsp)
Light brown sugar 2 tbsp
Fine sea salt 2 tsp
Warm water 300ml (110°F/43°C)
Mixed grain topping (same cereal blend) 3 tbsp
Baking soda (for boiling water) 1 tbsp
Honey (for boiling water) 1 tbsp

Steps

1

Mix Dough Base

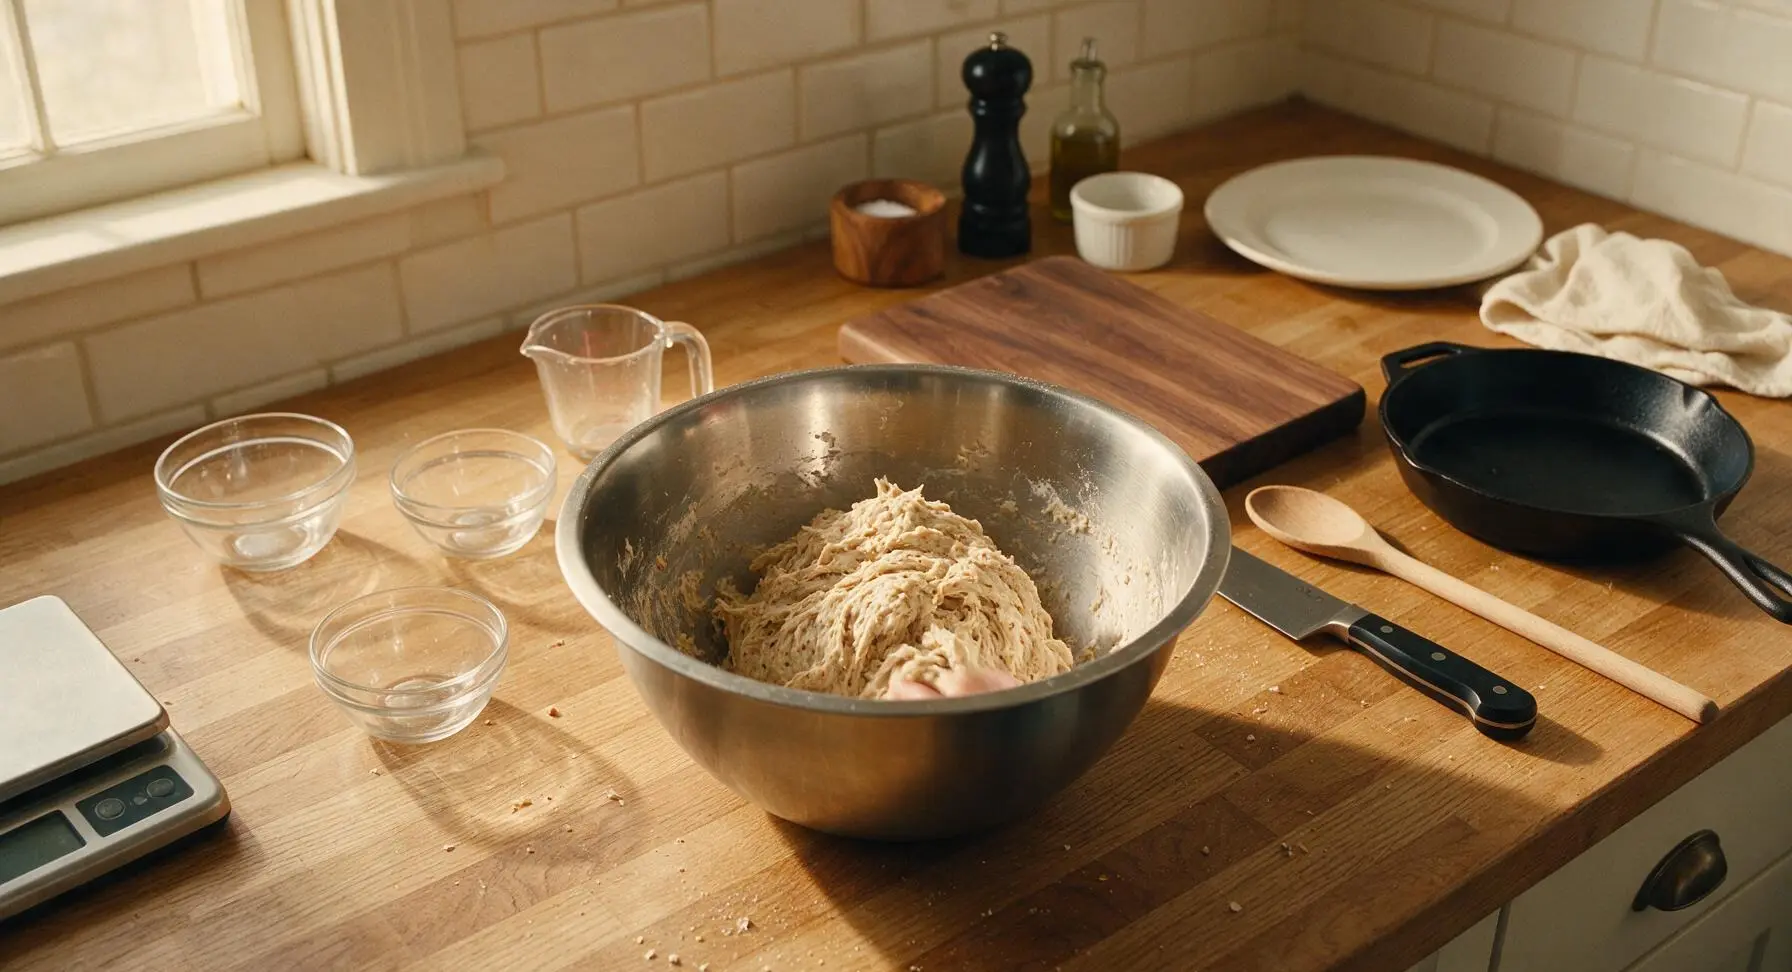
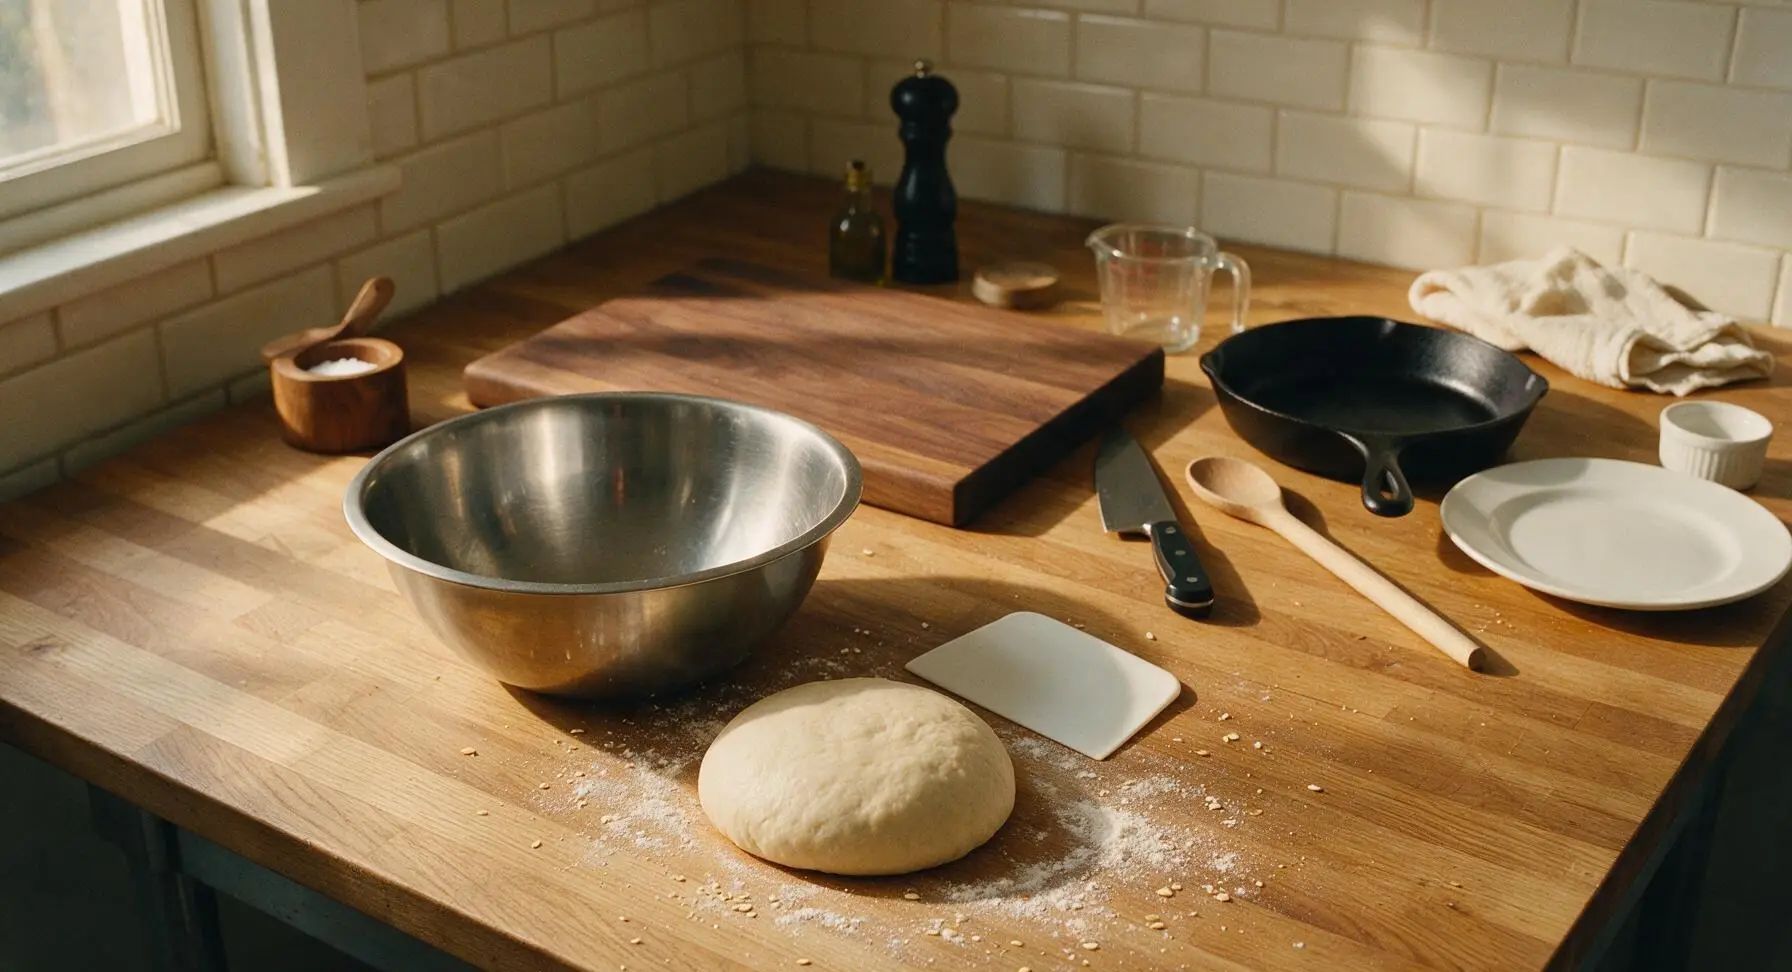
In the large brushed stainless steel mixing bowl, combine 350g bread flour, 150g 4-grain or 10-grain cereal mix, 7g instant yeast, 2 tbsp light brown sugar, and 2 tsp fine sea salt. Gradually pour in 300ml warm (110°F/43°C) water, stirring by hand until a shaggy, stiff dough forms. Turn dough out onto the clean quartz counter (no extra flour is needed, as the stiff dough will not stick) and knead for 8-10 minutes, until the dough is smooth, elastic, and springs back slowly when poked. Proper bagel dough will feel noticeably firmer than standard sandwich bread dough.
Step 1
step1:Mix Dough Base
Step 1
step1:Mix Dough Base
2

Let Dough Rise

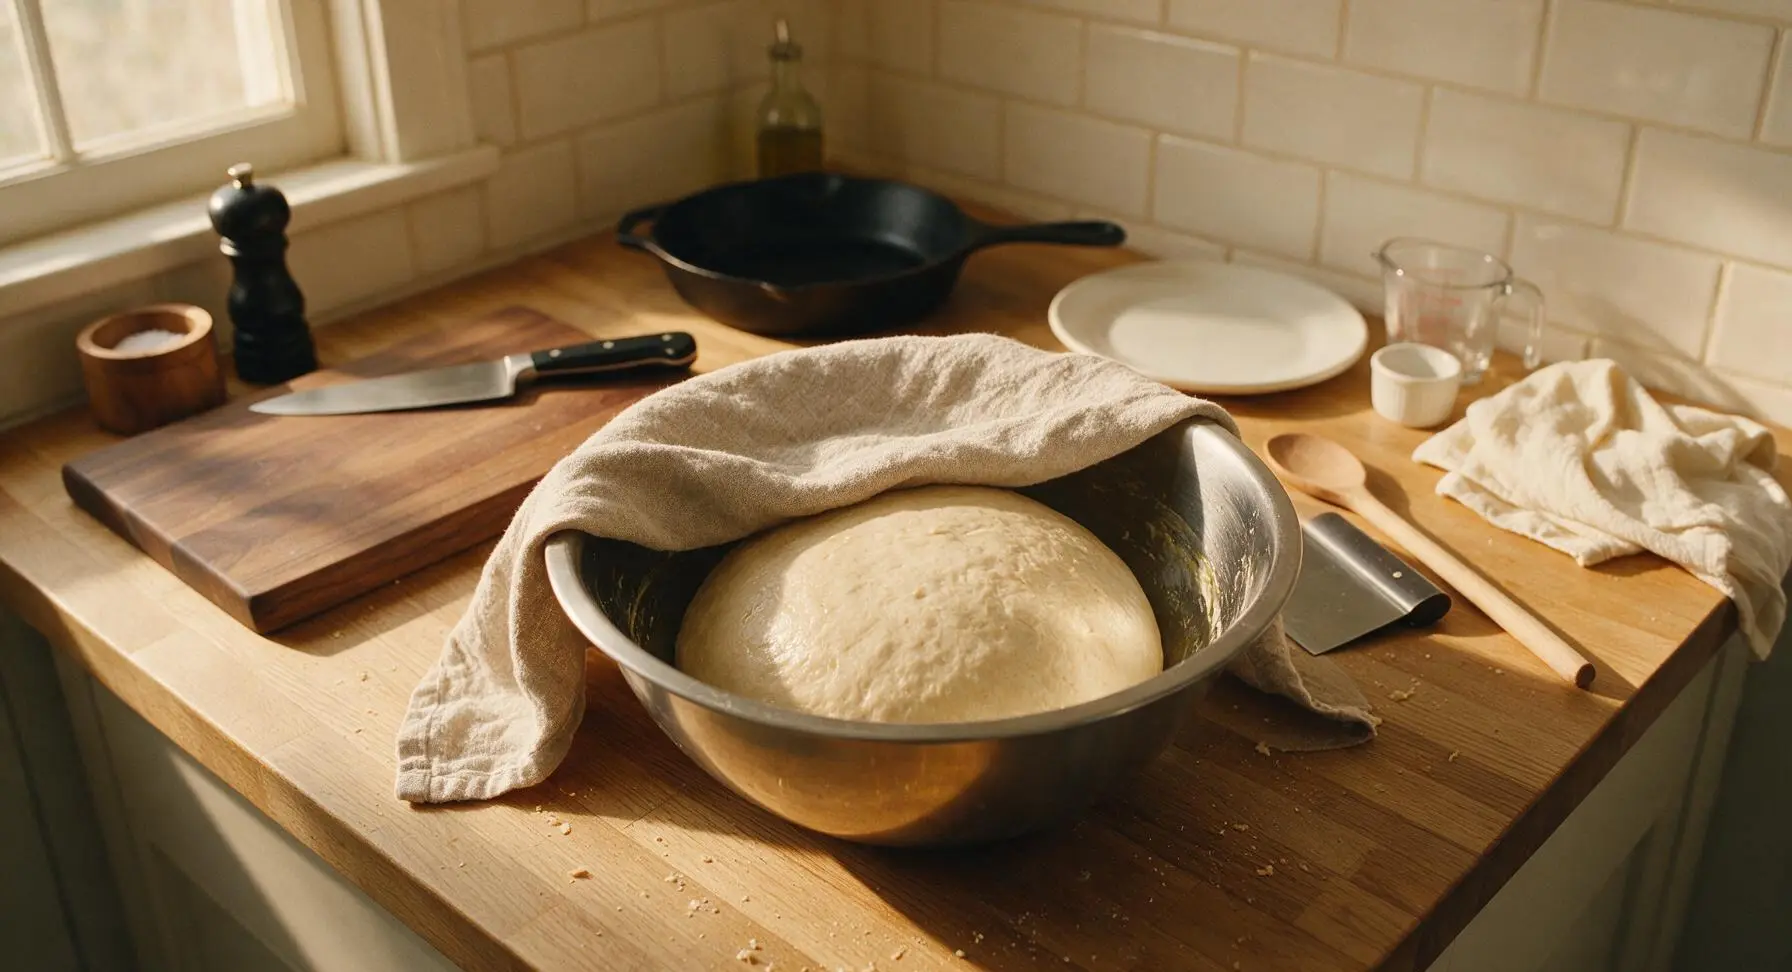
Wipe the large stainless steel mixing bowl with a thin coat of neutral oil, place the kneaded dough ball back into the bowl, and cover tightly with the oatmeal linen towel (pulled temporarily from its top-right corner position). Let the dough rise in a warm, draft-free spot for 1 hour, until it doubles in size and leaves a slow-recovering indent when pressed with a floured finger.
Step 2
step2:Let Dough Rise
3

Divide and Shape Bagels

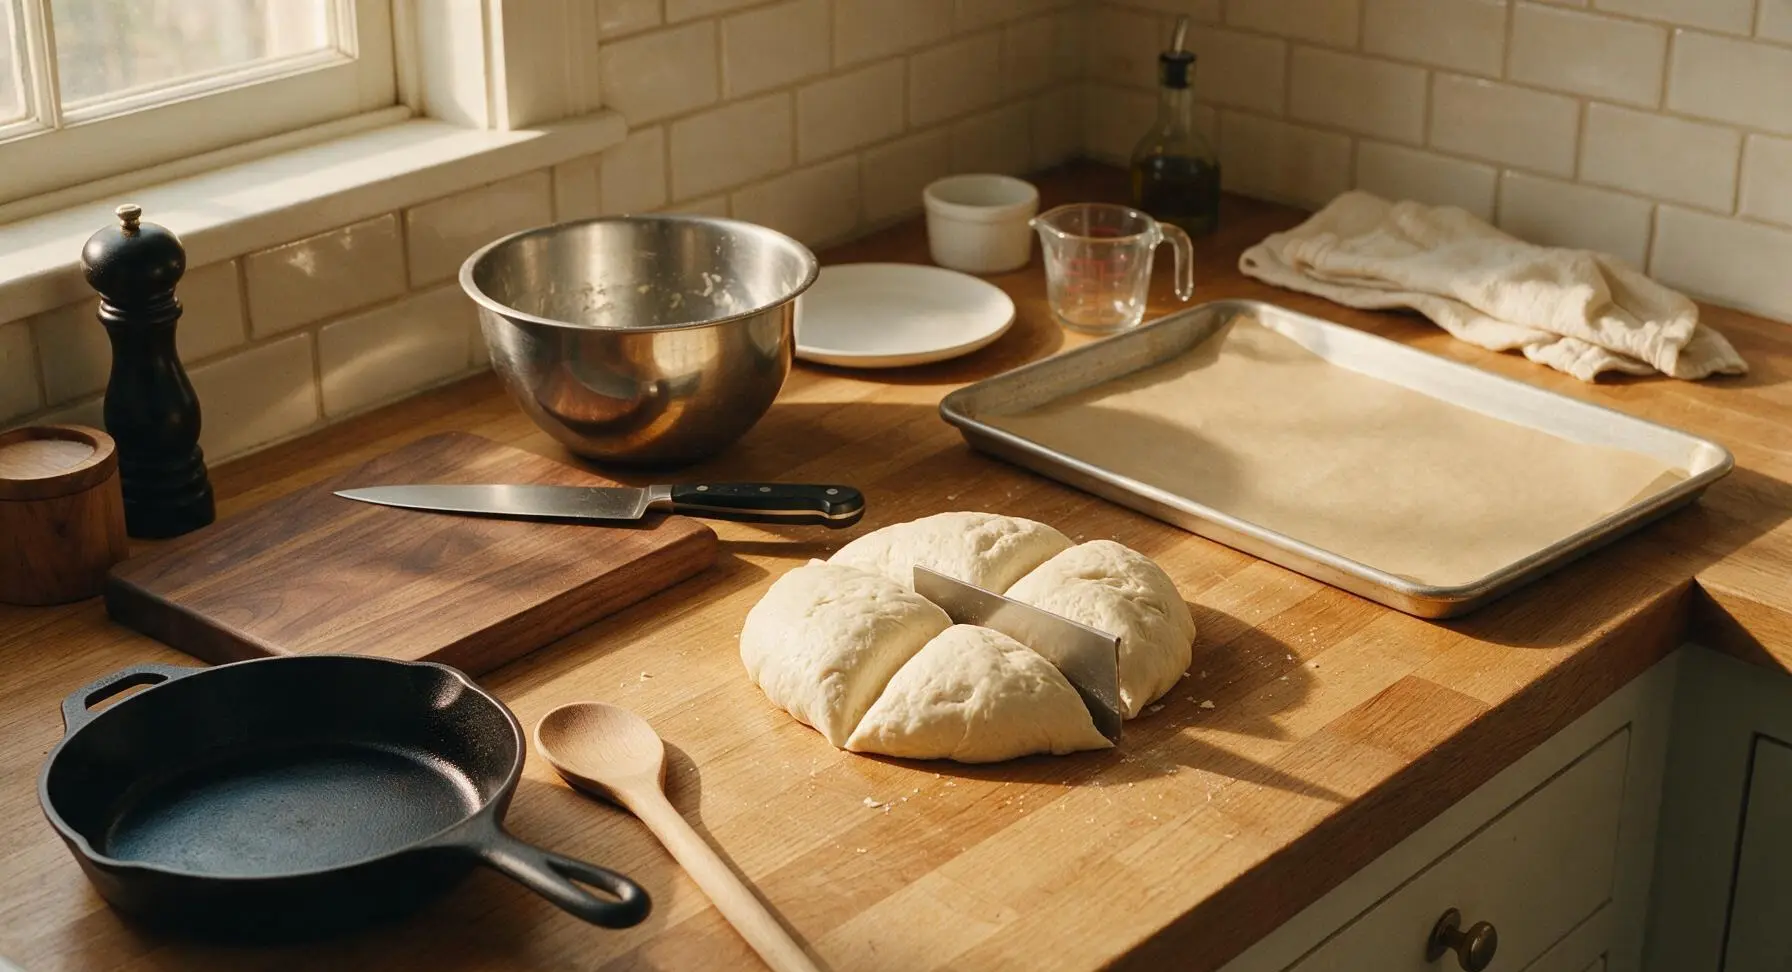
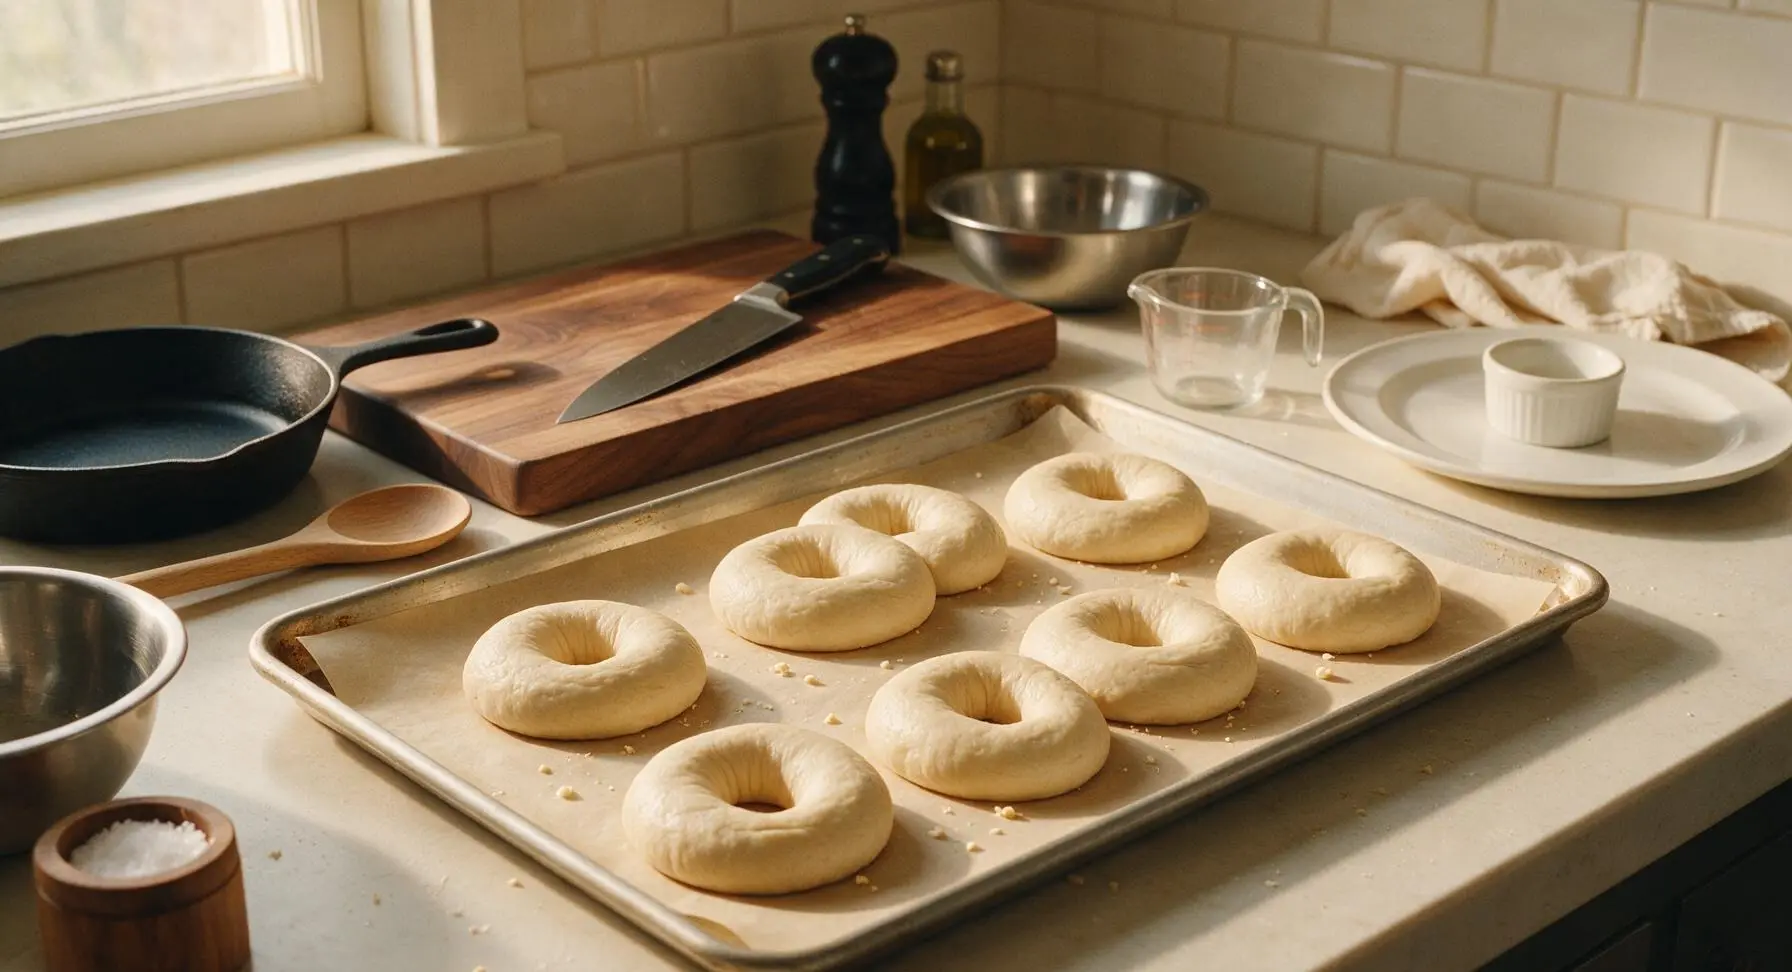
Once doubled, turn the risen dough out onto the clean counter and use the white plastic dough scraper to divide it into 8 equal 90g pieces. Roll each piece into a tight, smooth ball, then poke a hole through the center of each ball with a floured thumb, stretching the hole to 5cm wide (the hole will shrink slightly during proofing and boiling). Place shaped bagels 5cm apart on the parchment-lined aluminum baking sheet.
Step 3
step3:Divide and Shape Bagels
Step 3
step3:Divide and Shape Bagels
4

Proof Shaped Bagels

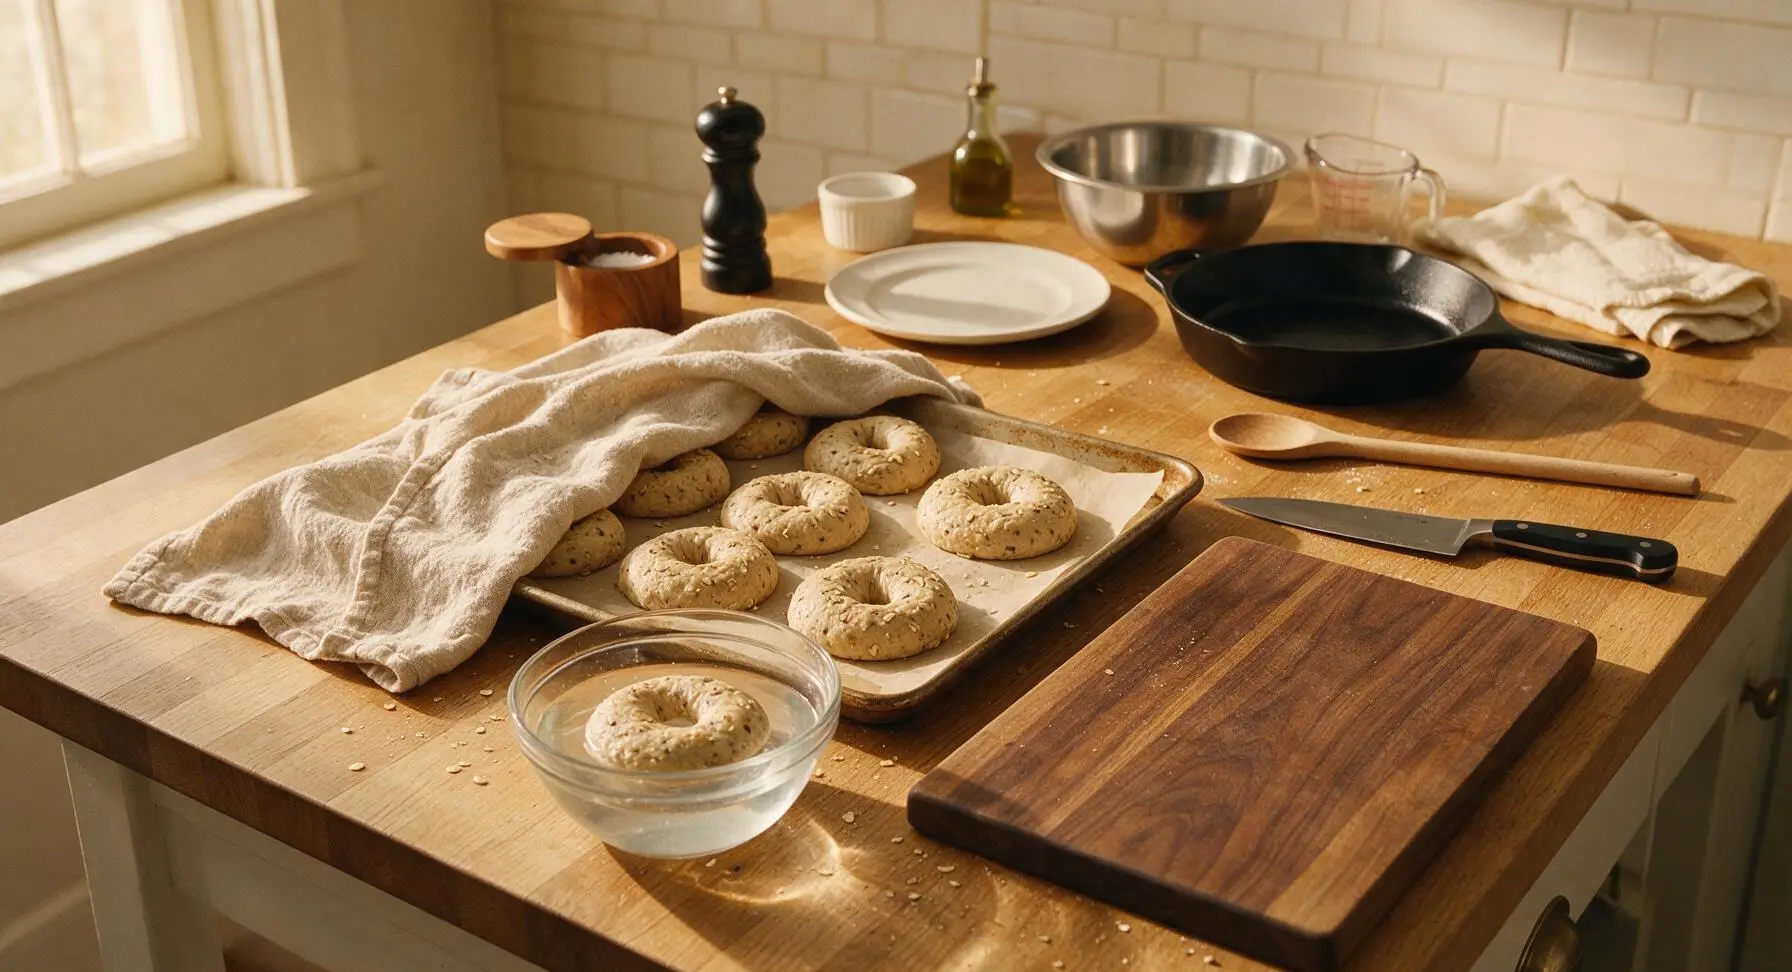
Cover the shaped bagels on the baking sheet loosely with the linen towel, and let them rest for 20 minutes at room temperature. Test readiness by dropping one bagel into a small prep bowl of cold water: if it floats within 10 seconds, it is ready to boil; if it sinks, let it rest 5 more minutes and retest.
Step 4
step4:Proof Shaped Bagels
5

Prepare Boiling Bath

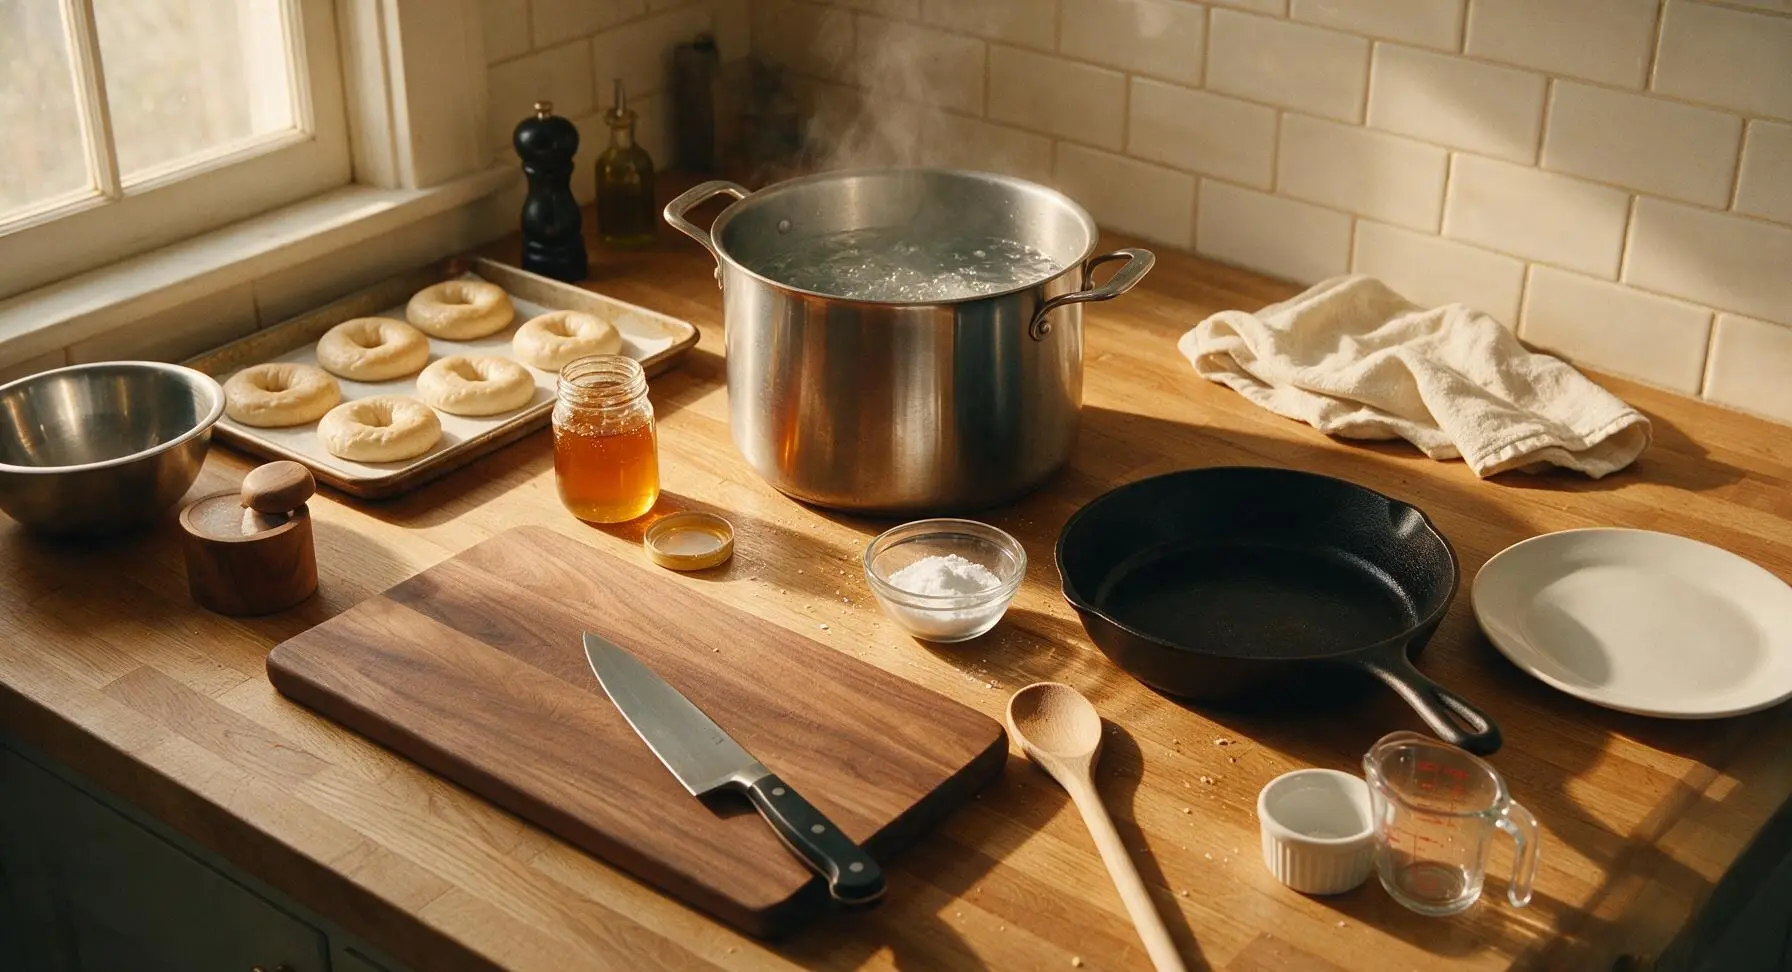
Fill the 8L stainless steel stock pot with 4L of water, bring to a rolling boil, then stir in 1 tbsp baking soda and 1 tbsp honey (the alkaline water creates bagels’ signature chewy crust and deep golden color). Reduce heat to maintain a gentle, steady boil, not a violent rolling boil.
Step 5
step5:Prepare Boiling Bath
6

Boil and Top Bagels

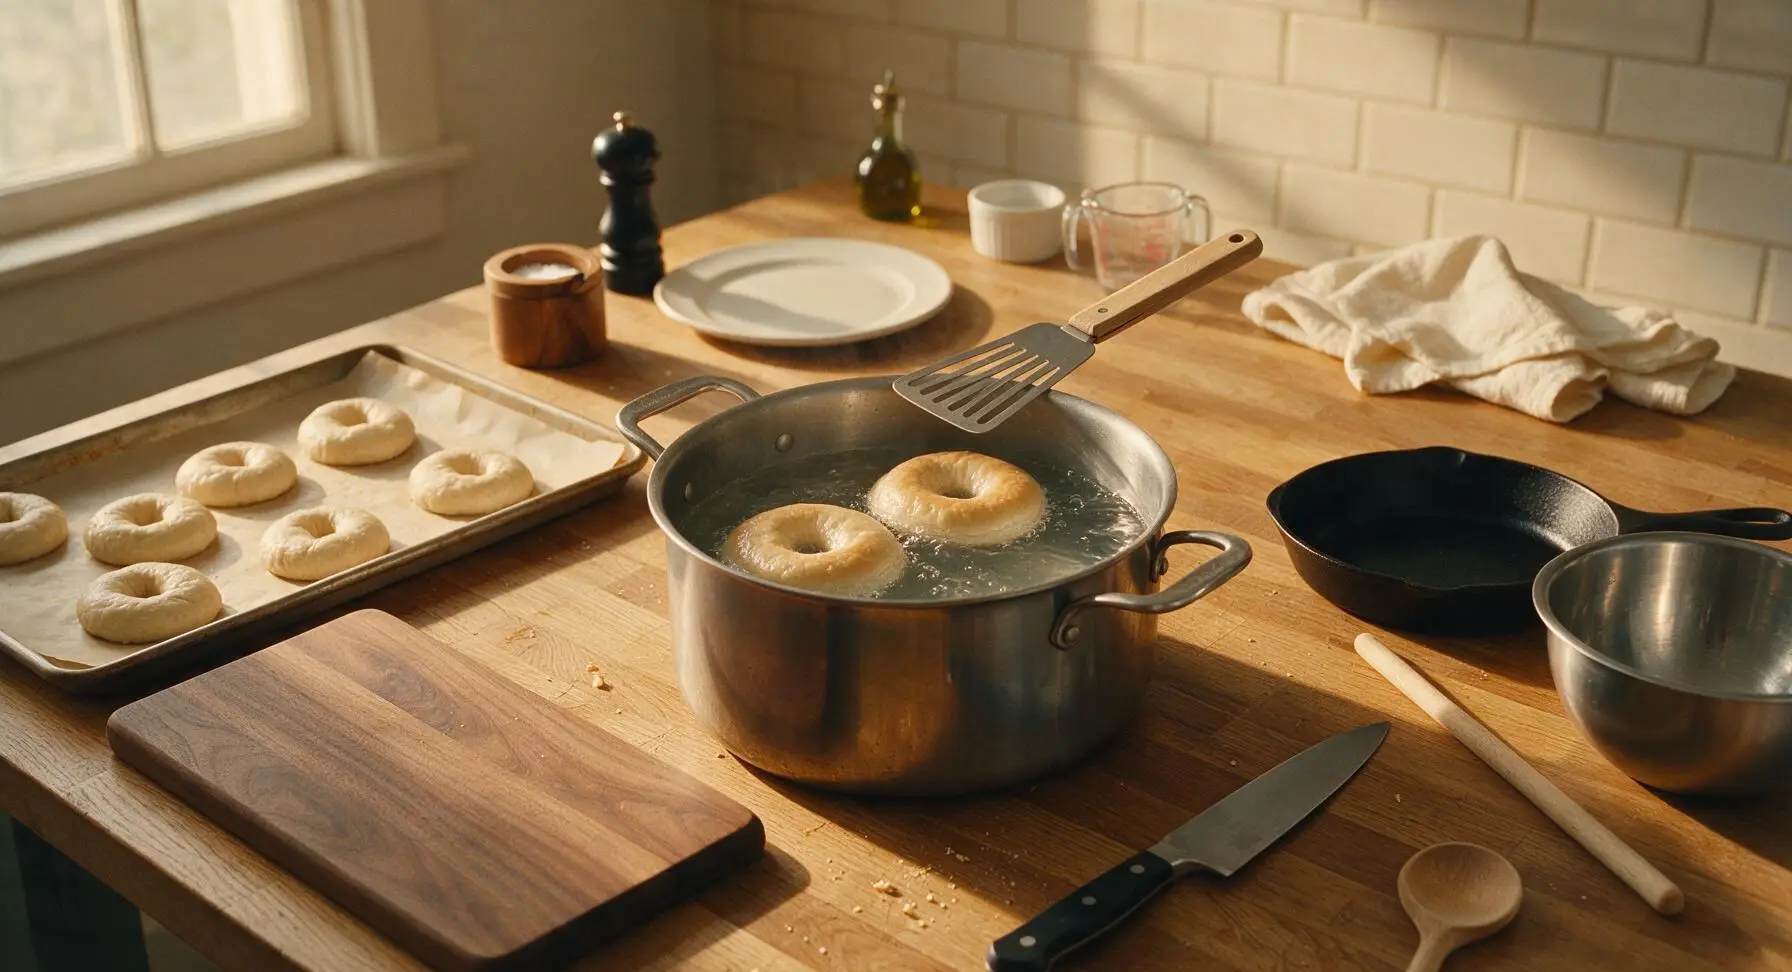
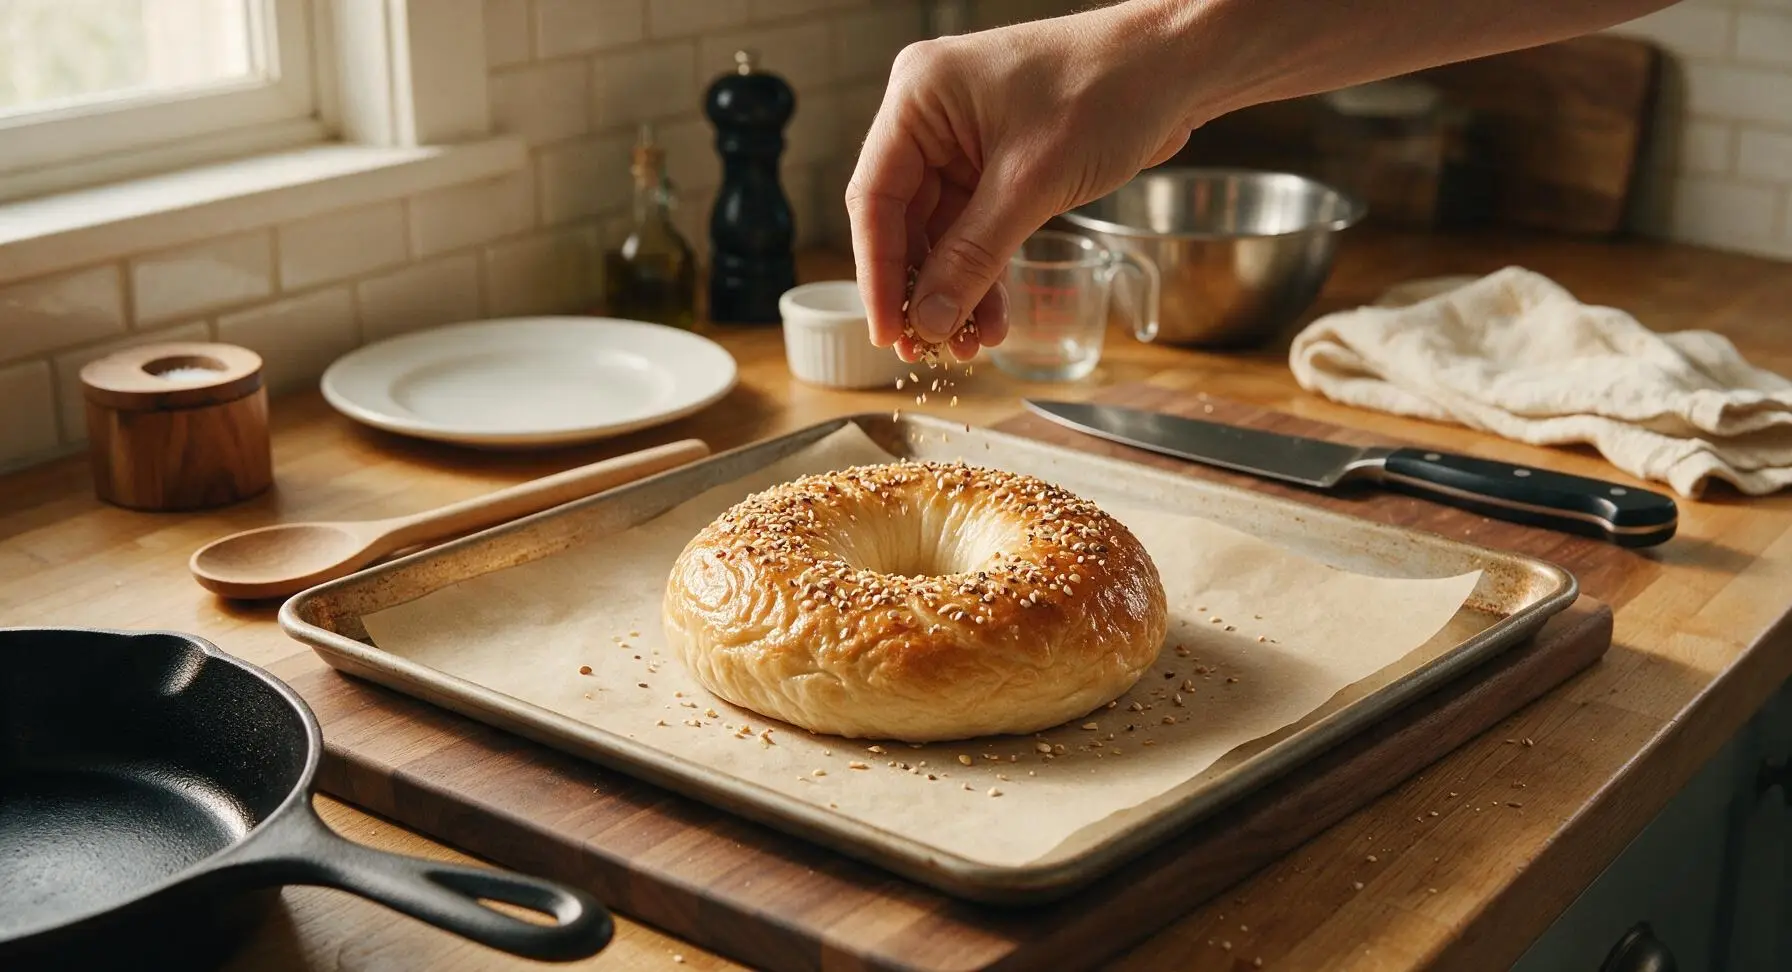
Working in batches of 2-3 bagels (do not crowd the pot), gently drop proofed bagels into the boiling water. Boil 1 minute per side, using the slotted spatula to flip them halfway through. Bagels will puff slightly and develop a glossy, wrinkled surface as they boil. Remove boiled bagels with the slotted spatula, drain excess water, and return to the parchment-lined baking sheet. Sprinkle tops immediately with the reserved 3 tbsp mixed grain topping while the surface is still wet, so grains adhere firmly.
Step 6
step6:Boil and Top Bagels
Step 6
step6:Boil and Top Bagels
7

Bake to Golden Brown

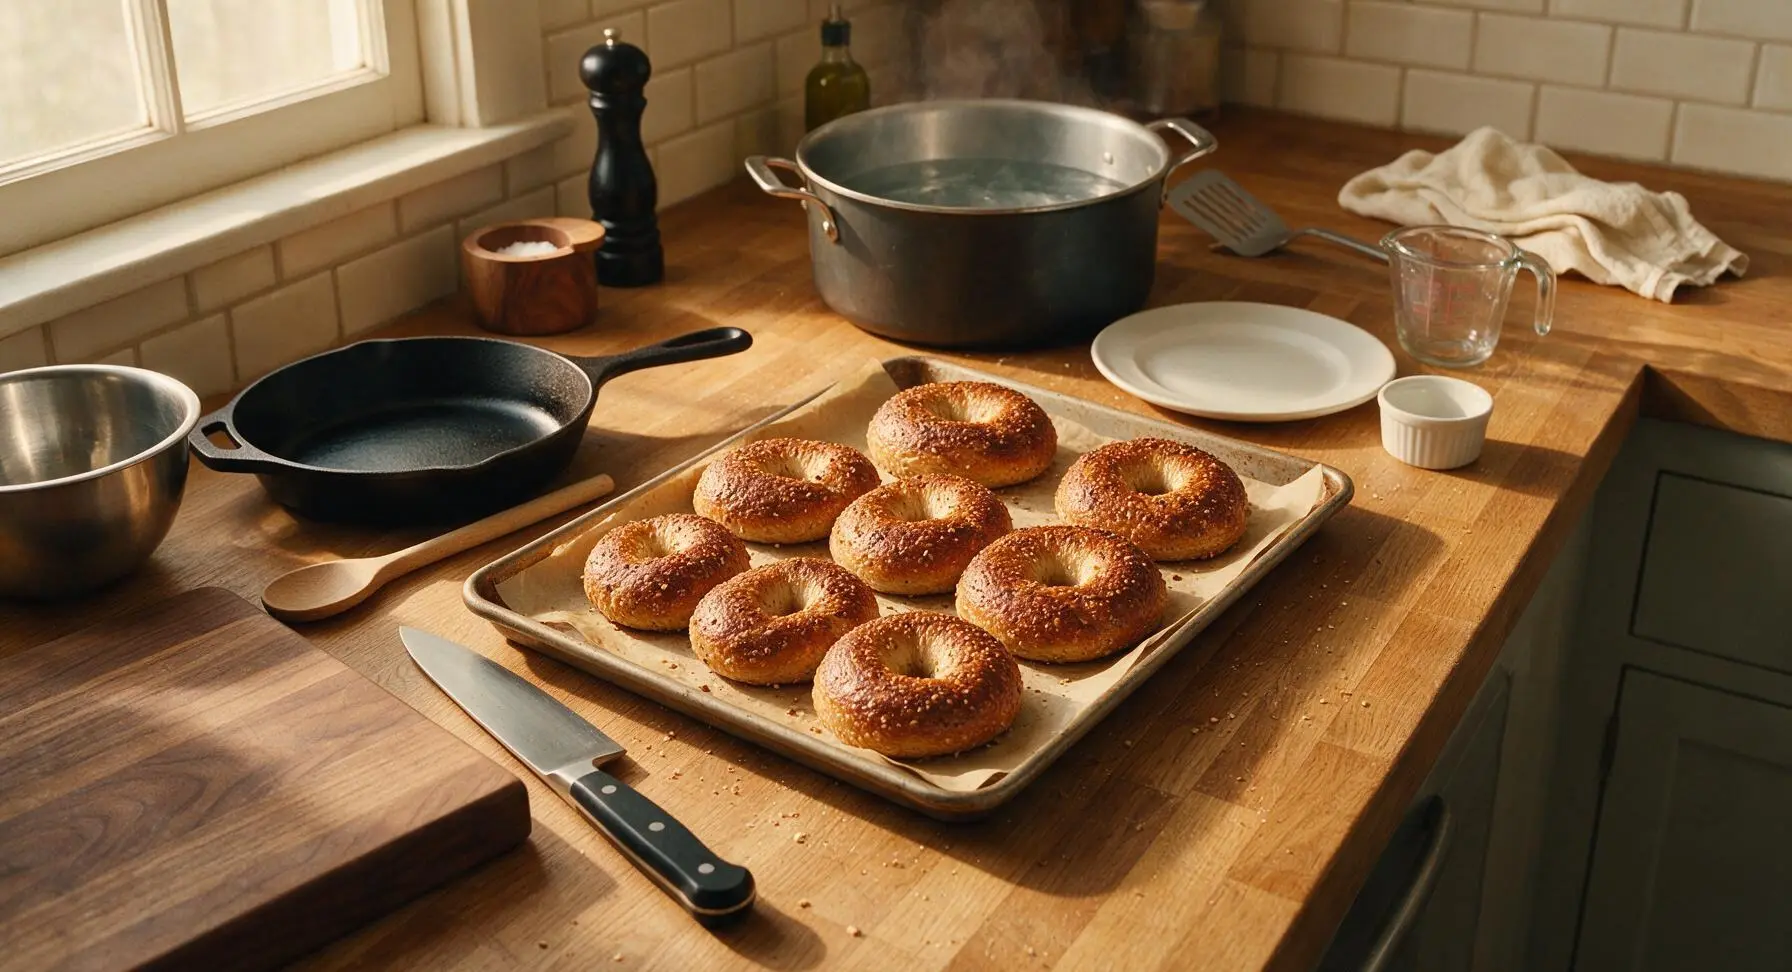
Once all bagels are boiled and topped, transfer the baking sheet to a preheated 425°F (220°C) oven. Bake for 20-22 minutes, rotating the sheet halfway through, until bagels are deep golden brown on top and bottom with a crisp outer crust. For perfect doneness, the internal temperature should reach 190°F (88°C).
Step 7
step7:Bake to Golden Brown
8

Cool and Serve

Use the slotted spatula to transfer hot baked bagels from the baking sheet to the chrome wire cooling rack. Let cool for 15 minutes to allow the crumb to set (cutting hot bagels causes a gummy, compressed texture), then arrange on the matte cream ceramic serving platter. Serve with cream cheese, smoked salmon, jam, or favorite toppings.
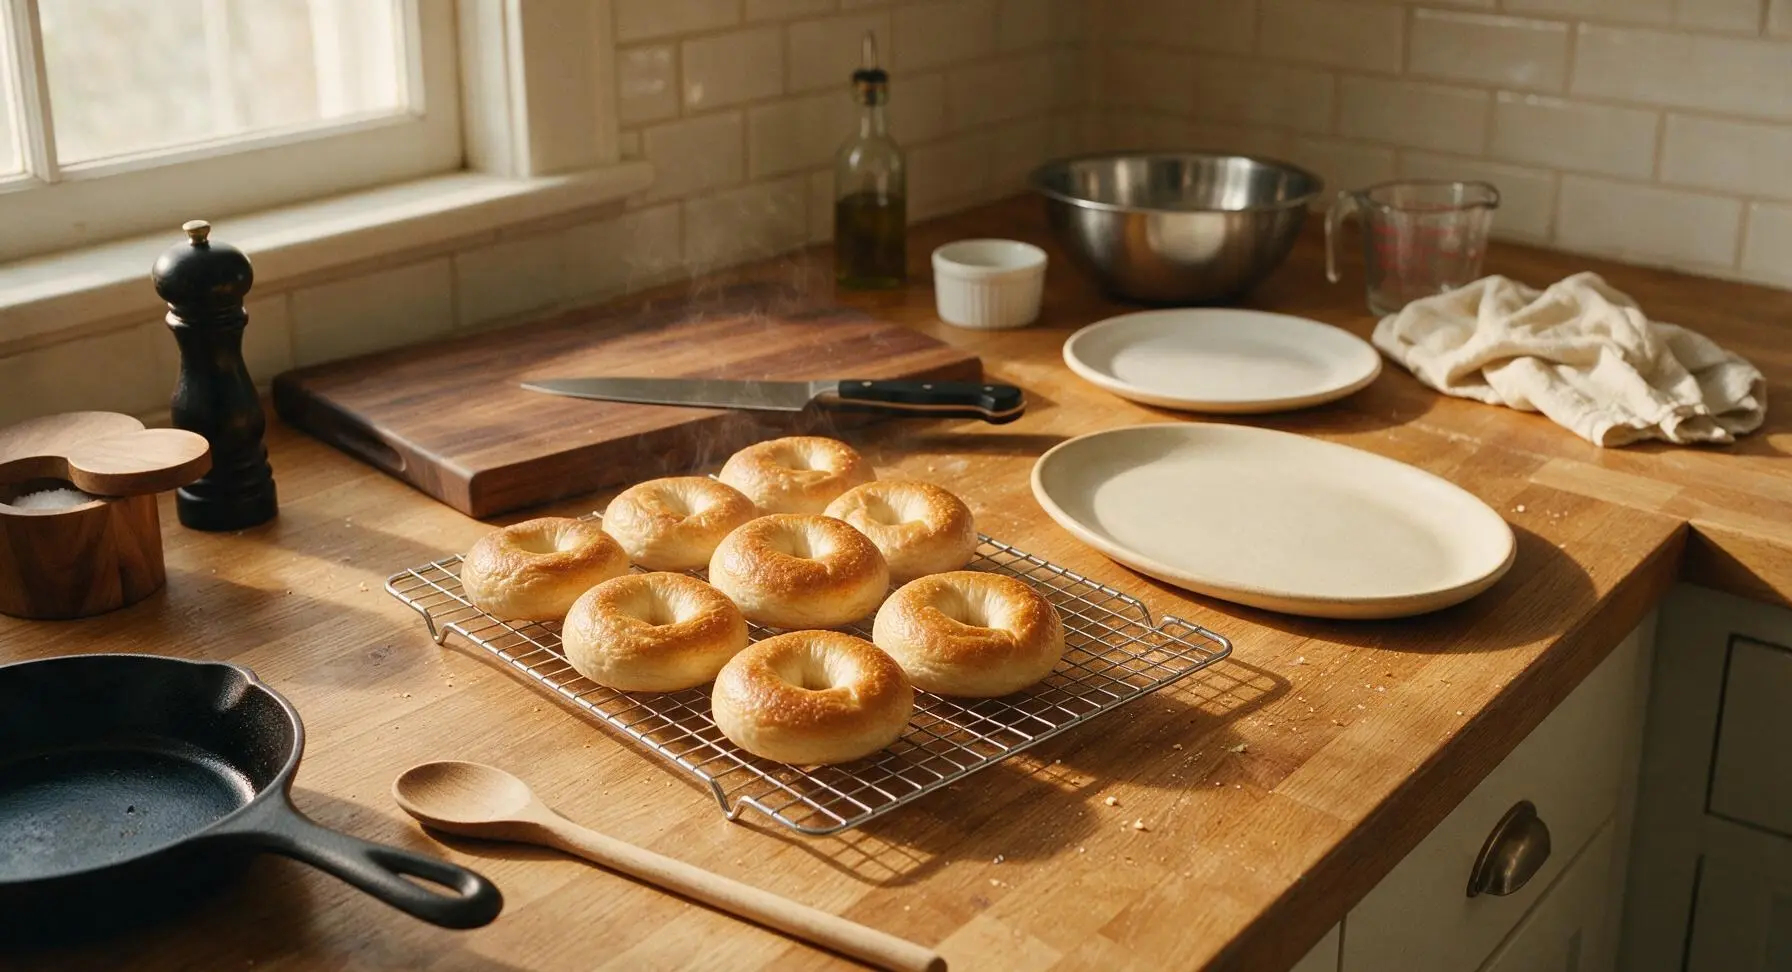
Step 8
step8:Cool and Serve

Tips

1.Resist adding extra flour or water during kneading: bagel dough requires a low 57% hydration level to hold its shape and create a dense, chewy crumb. If the dough feels too stiff at first, keep kneading—it will smooth out as gluten develops, and extra water will cause flat, spread-out bagels.
2.Do not skip the baking soda in the boiling bath: the alkaline water gelatinizes surface starches, creating the signature shiny, crisp crust and deep golden-brown color that distinguishes bagels from regular bread rolls. For extra authenticity, you can replace baking soda with food-grade lye, but baking soda is a safe, easy home alternative.
3.Customize the grain blend to your preference: for a 4-grain bagel, use a mix of rolled oats, whole wheat flour, ground flaxseed, and sunflower seeds; for a 10-grain version, add rye flakes, barley flakes, millet, quinoa flakes, amaranth, and sesame seeds. Toast grains lightly in a dry pan before adding to the dough for a deeper, nuttier flavor.


✨ You May Also Like

Breakfast
🍜 United States

Crisp-edged, fluffy lard griddle cakes are a nostalgic homestyle staple, with rich savoriness from rendered lard, perfect topped with maple syrup or savory gravy.

⏱️ 25 minuteBreakfast ★ 4.8
Breakfast
🍜 United States

Flaky, buttery homemade buttermilk biscuits smothered in creamy, peppery pork sausage gravy: a beloved, hearty Southern American comfort food classic.

⏱️ 35 minuteBreakfast ★ 4.8
Breakfast
🍜 United States

Golden, custardy brioche stuffed with sweet cream cheese and fresh berries, pan-fried to crisp perfection. An indulgent, cozy breakfast perfect for slow weekend mornings.

⏱️ 30 minuteBreakfast ★ 4.7
Breakfast
🍜 United States

Flaky, buttery Southern-style biscuits stuffed with savory salty country ham, a portable, satisfying classic perfect for casual on-the-go meals.

⏱️ 25 minuteBreakfast ★ 4.8
Breakfast
🍜 United States

Iconic puffy baked pancake popularized in Seattle, with crisp golden edges and soft custardy center, served warm with classic sweet toppings.

⏱️ 35 minuteBreakfast ★ 4.6
Breakfast
🍜 United States

Fluffy, golden pancakes studded with juicy peak-summer mixed berries, drizzled with maple syrup for a bright, comforting, crowd-pleasing family breakfast.

⏱️ 25 minuteBreakfast ★ 4.7

4-Grain / 10-Grain Bagel:Frequently Asked Questions

1.What’s the actual difference between using 4-grain vs. 10-grain hot cereal mix for these bagels? ▾
A standard 4-grain mix (usually oats, wheat, rye, barley) delivers mild nutty flavor and a lighter, approachable chew. A 10-grain blend adds extras like flax, millet, quinoa, and amaranth for deeper, earthier nuttiness, heartier texture, and extra fiber. You can swap them 1:1 with no other recipe adjustments needed.
2.Can I use regular rolled oats instead of multi-grain hot cereal mix if I don’t have it on hand? ▾
You can, but you’ll miss the layered, varied nutty depth of the blended grains. As a close substitute, use 3 parts rolled oats plus 1 part total of any coarse whole grains you have (rye flakes, wheat bran, ground flax) to match the total volume called for, to avoid making the dough too dry or dense.
3.Do I need to cook the multi-grain cereal mix before adding it to the bagel dough? ▾
No, skip pre-cooking the mix entirely! The uncooked coarse grains will hydrate fully during the dough rise, boil, and bake, softening just enough to keep a pleasant, subtle chewy bite without turning mushy. Pre-cooking would make the dough overly sticky and lead to heavy, dense bagels, so it’s not recommended.
4.Why do you use bread flour instead of whole wheat or all-purpose flour for this recipe? ▾
Bread flour has a 12-14% protein content, which builds the strong gluten network needed for that signature chewy bagel pull and crisp, glossy crust. Using 100% whole wheat flour would make bagels overly dense, while all-purpose has too little protein to create that classic, satisfying bagel texture.
5.Can I use active dry yeast instead of instant dry yeast for these bagels? ▾
Absolutely! If using active dry yeast, multiply the called-for yeast amount by 1.25, and dissolve it in 105–110°F warm water with a pinch of the brown sugar first. Let it sit 5 minutes until foamy to confirm it’s active, then mix it with the rest of your ingredients—no other adjustments are needed.
6.What does the light brown sugar do in the dough? Is it just for sweetness? ▾
It adds a subtle warm caramel note that balances the nutty grains, but it serves two key functional roles too: it feeds the yeast to support an even, steady rise, and it encourages Maillard browning during baking to help create that deep golden, crisp, glossy crust everyone loves on a good bagel.
7.How long do I need to knead this dough to get the right bagel texture? ▾
If kneading by hand, aim for 10–12 minutes on a lightly floured surface; if using a stand mixer with a dough hook, 6–8 minutes on medium-low speed works. The dough is ready when it’s smooth, elastic, and springs back slowly when poked with a floured finger, without sticking excessively to surfaces.
8.Do these bagels need a long, cold fridge ferment like traditional bakery bagel recipes? ▾
It’s not required for great results, but it is highly recommended for deeper, more complex flavor! After shaping the bagels, cover them and refrigerate for 12–24 hours before boiling and baking. This slows yeast activity, amplifies nutty grain notes, and creates an even chewier, crispier crust than same-day baking.
9.Why do bagels need to be boiled before baking? Can I skip that step? ▾
Don’t skip the boil! A 30–60 second per side dip in lightly sweetened boiling water sets the outer crust early in baking, creates that signature chewy, glossy exterior, and prevents the dough from puffing too much in the oven so you get a dense, hearty crumb instead of fluffy, bread-like texture.
10.Can I add toppings to these multi-grain bagels, and which toppings work best? ▾
Absolutely! Right after boiling, while the bagel surface is still damp, press the tops into toppings that complement the nutty grains: everything bagel seasoning, toasted sesame seeds, poppy seeds, rolled oats, flaky sea salt, sunflower seeds, or shredded asiago all stick perfectly and taste fantastic.
11.My dough came out dry and crumbly when I mixed it—what went wrong, and how do I fix it? ▾
Coarse grain mixes vary widely in how much water they absorb, so this is a super common, easy fix. If your dough feels dry and won’t come together into a smooth ball, add extra warm water 1 teaspoon at a time while kneading, until it’s firm but pliable and doesn’t crack when shaped.
12.How do I get that super glossy, crisp crust that professional bakery bagels have? ▾
For the glossiest, snappiest crust, add 1 tablespoon of light brown sugar or barley malt syrup to your boiling water, and make sure your oven is fully preheated to 425°F before baking. Baking on a preheated baking stone or heavy sheet pan delivers quick, even heat to crisp the crust without making it tough.
13.Can I adapt this recipe to make gluten-free multi-grain bagels? ▾
You can! Swap the bread flour for a high-protein gluten-free bread flour blend that includes xanthan gum, and add 1 extra teaspoon of instant yeast to support a good rise. Note the texture will be slightly less chewy than wheat-based bagels, but the warm, nutty multi-grain flavor will still shine through.
14.How should I store these baked bagels to keep them fresh as long as possible? ▾
Let them cool completely to room temperature first, then store in a sealed paper bag inside a loosely closed plastic bag at room temperature for up to 3 days. For longer storage, slice them first, wrap individually in plastic, and freeze for up to 3 months—you can toast them straight from the freezer, no thawing needed.
15.What’s the best way to shape these bagels so they don’t turn out lopsided? ▾
Divide the dough into equal, weighed portions, roll each into a tight, smooth ball, then poke a floured finger through the center of each ball to make a hole. Stretch the hole to about 2 inches wide, as it will shrink during rising and boiling. Setting shaped bagels on a lightly oiled tray helps them hold an even round shape.
16.Can I mix extra seeds or grains right into the dough instead of just using them as toppings? ▾
Definitely! You can stir in up to ¼ cup total of extra add-ins like chia seeds, sunflower seeds, cracked wheat, or even dried chopped rosemary when you’re almost done kneading. Just don’t add more than that, as too many coarse bits will cut through gluten strands and lead to crumbly, dense bagels.
17.How do I know when shaped bagels are done rising and ready to boil? ▾
Use the reliable float test! Fill a small bowl with cool tap water, and gently drop one shaped bagel into the water. If it floats to the surface within 10 seconds, it’s fully proofed and ready to boil. If it sinks, let the rest of the bagels rise another 10–15 minutes and test again to avoid dense, flat results.
18.Is the fine sea salt mandatory? Can I cut down on the salt to lower sodium? ▾
The salt doesn’t just add savoriness—it also regulates yeast activity to prevent the dough from rising too fast, and strengthens gluten for a better chew. You can cut it by ¼ teaspoon if you’re watching sodium, but don’t omit it entirely: without salt, bagels taste bland, have weak structure, and rise unevenly.
19.Why did my bagels come out flat and spread out instead of holding their round shape? ▾
This almost always comes from over-proofing the shaped dough, or boiling them for too long. Once your bagels pass the float test, boil them right away instead of letting them sit longer. Keep boil time to 30–45 seconds per side, and make sure your oven is fully preheated so bagels set quickly as they bake.

Comments (10)

2 days ago

OMG these are SO good! I used the 10-grain blend I had stashed in my pantry for meal prep this week, and my kids devoured two each before I even finished packing their school lunches. Chewy on the outside, perfectly dense inside—exactly the bagel I’ve been craving since my local bagel shop raised their prices to $3 a pop. Game changer for Sunday bake days!

1 day ago

Wait did you boil them with baking soda like the recipe says? I tried last weekend and mine came out a little too soft on the crust, wondering if I skipped that step by accident

1 day ago

So glad your family loved them! If your crust came out soft, double check that your water is at a rolling boil when you add the bagels, and don’t skip the 1 tbsp of baking soda per quart of water— that’s what gives that classic chewy, crisp crust! You can also bake them 2 minutes longer if you prefer extra crunch.

1 week ago

Solid medium-difficulty recipe, don’t let the grain blend scare you off! I made a batch for my office potluck last week and they were gone in 10 minutes flat. I topped half with everything seasoning and half with sesame seeds, both versions were hits. Only note is that cook time was right at 25 minutes for me, no extra time needed even with my old wonky oven.

6 days ago

Love that you brought these to a potluck! The everything seasoning swap is chef’s kiss, so smart to offer two topping options for different preferences. Happy they worked out even with your finicky oven!

5 minutes ago

I swapped the regular grain mix for a gluten-free 10-grain blend and added a tsp of xanthan gum, and these turned out way better than any store-bought GF bagel I’ve tried. They don’t have that weird gummy texture most GF baked goods get! Only reason it’s not 5 stars is I wish there was a note for GF bakers about adding xanthan gum, I had to guess at the amount. Will definitely be adding this to my weekly rotation.

3 days ago

As someone who grew up eating NYC bagels every weekend, I went into this super skeptical that a homemade grain bagel could hold up. Y’all. I was wrong. The texture is spot on, the nutty grain flavor doesn’t overpower the classic bagel taste, and I didn’t even need to toast it to enjoy it with cream cheese. 10/10.

2 days ago

Wait did you use the 4-grain or 10-grain version? I’m trying to decide which to make for my dad who hates super seedy textures

2 days ago

That is the highest compliment coming from a native NY bagel fan! If your dad isn’t a fan of lots of seeds, go for the 4-grain blend first—it has a milder, less seedy texture while still having that great whole grain flavor. The 10-grain is definitely heartier and more seed-forward!

5 days ago

Okay I’m a total baking newbie and I was intimidated by the medium difficulty rating, but I followed the steps exactly and these came out edible on my first try! Mine were a little lumpy looking but they tasted amazing, my roommate said they taste like the fancy bagels we pay $6 for at the café down the street. So proud of myself lol.

4 days ago

Yay, so proud of you for giving these a shot! Lumpy homemade bagels taste 10x better than perfectly smooth store-bought ones, in my totally unbiased opinion 😊 Keep practicing, they’ll get prettier every batch!

2 weeks ago

These are great for quick breakfasts! I slice and freeze them after they cool, then pop one in the toaster straight from the freezer on busy work mornings. I added a handful of dried cranberries and pumpkin seeds to half the batch for a little sweet twist, highly recommend that add-in.

yesterday

Perfect high-fiber post-workout breakfast! I’ve been buying frozen whole grain bagels for months and they’re always loaded with added sugar and weird preservatives. These have such a short, clean ingredient list and keep me full for hours after my morning gym sessions. Already made two batches this month.

3 hours ago

Do you think these would work with plant-based cream cheese as a topping? I’m vegan and always looking for good savory baked goods to pair with my vegan chive cream cheese

1 hour ago

These pair amazingly with plant-based cream cheese! I’ve tested them with vegan scallion cream cheese and even a vegan egg patty for breakfast sandwiches, and the nutty grain flavor complements those toppings perfectly. No adjustments needed to the base recipe for vegan eaters, just make sure your grain blend doesn’t have any hidden dairy additives!

1 week ago

I added a half cup of my active sourdough starter to the dough and let it cold ferment in the fridge for 24 hours before boiling and baking, and the depth of flavor is unreal. It adds that perfect little tang that pairs so well with the nuttiness of the grains. Don’t knock it till you try it!

5 days ago

Oh that sourdough addition sounds genius! Did you adjust the amount of flour or water at all when you added the starter? I don’t want to throw the dough consistency off

3 days ago

Made these for my kids’ after school snack last week and they asked for them again before I even finished cleaning the kitchen! I spread a little peanut butter and sliced banana on top for them and it was the perfect filling snack that kept them full through soccer practice. Way better than the processed granola bars I usually buy.

2 days ago

That peanut butter and banana combo sounds absolutely delicious! So happy these are a hit with your kids—perfect fuel for soccer practice, way more nutrient-dense than processed snack bars for sure.

2 hours ago

Full transparency, I overboiled my first batch and they turned into mushy grain blobs, but I tried again two days later and timed the boil to exactly 1 minute per side like the recipe says, and they turned out perfect! Knocked a star off because I wish the boil time was called out a little more prominently in the instructions, I almost missed it scrolling on my phone. Don’t give up if your first batch flops, it’s so worth it.



