Aebleskiver (Danish)

Aebleskiver (Danish)
⏱️ cook time 30 minutes
🍽️ servings 4
⚡ Difficulty medium

intro

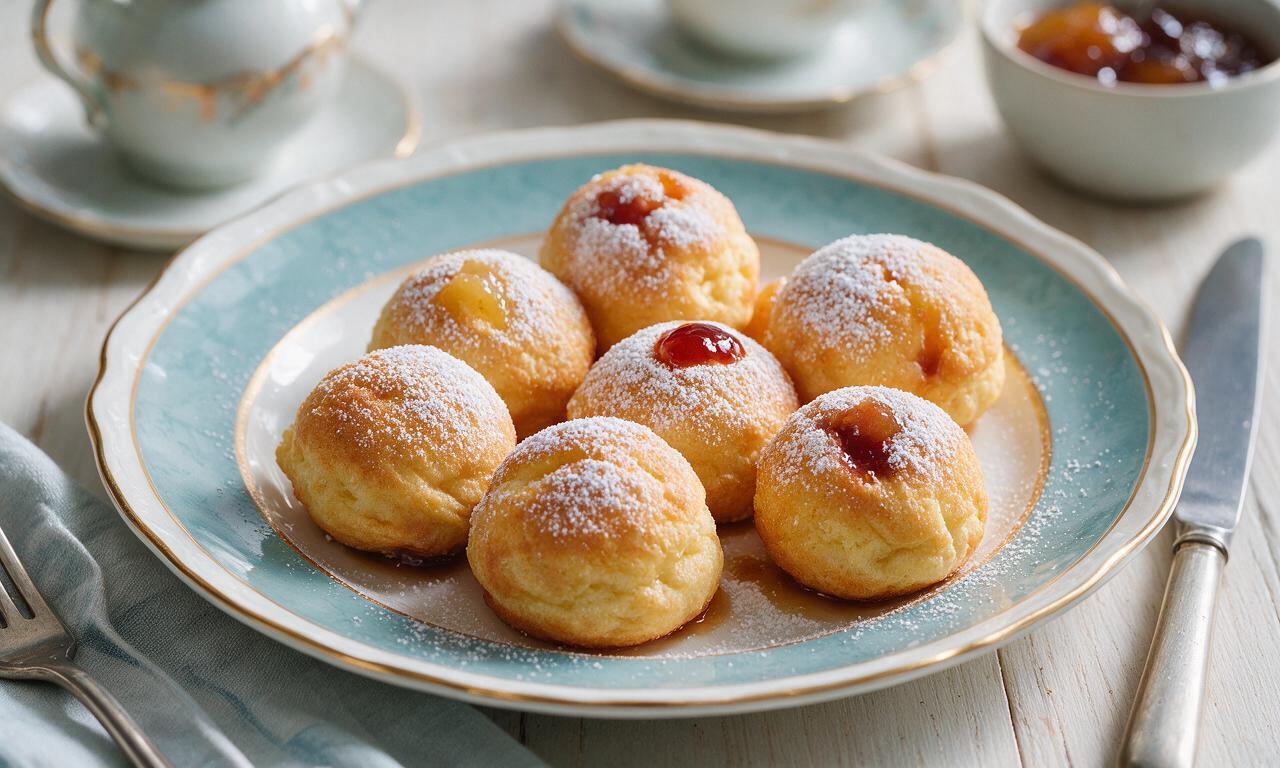
Light, fluffy spherical pancake bites dusted with powdered sugar and served with jam, a cozy, beloved holiday treat with Danish culinary roots.

Ingredients

All-purpose flour 240g (2 cups)
Buttermilk 480ml (2 cups)
Large eggs (separated into yolks and whites) 2 units (100g total)
Granulated sugar 25g (2 tbsp)
Baking powder 8g (2 tsp)
Baking soda 2.5g (½ tsp)
Fine sea salt 3g (½ tsp)
Unsalted butter (melted, cooled) 57g (4 tbsp)
Pure vanilla extract 5ml (1 tsp)
Extra melted unsalted butter (for pan greasing) 14g (1 tbsp)
Powdered sugar (for serving) 15g (2 tbsp)
Raspberry jam (for serving) 120ml (½ cup)

Steps

1

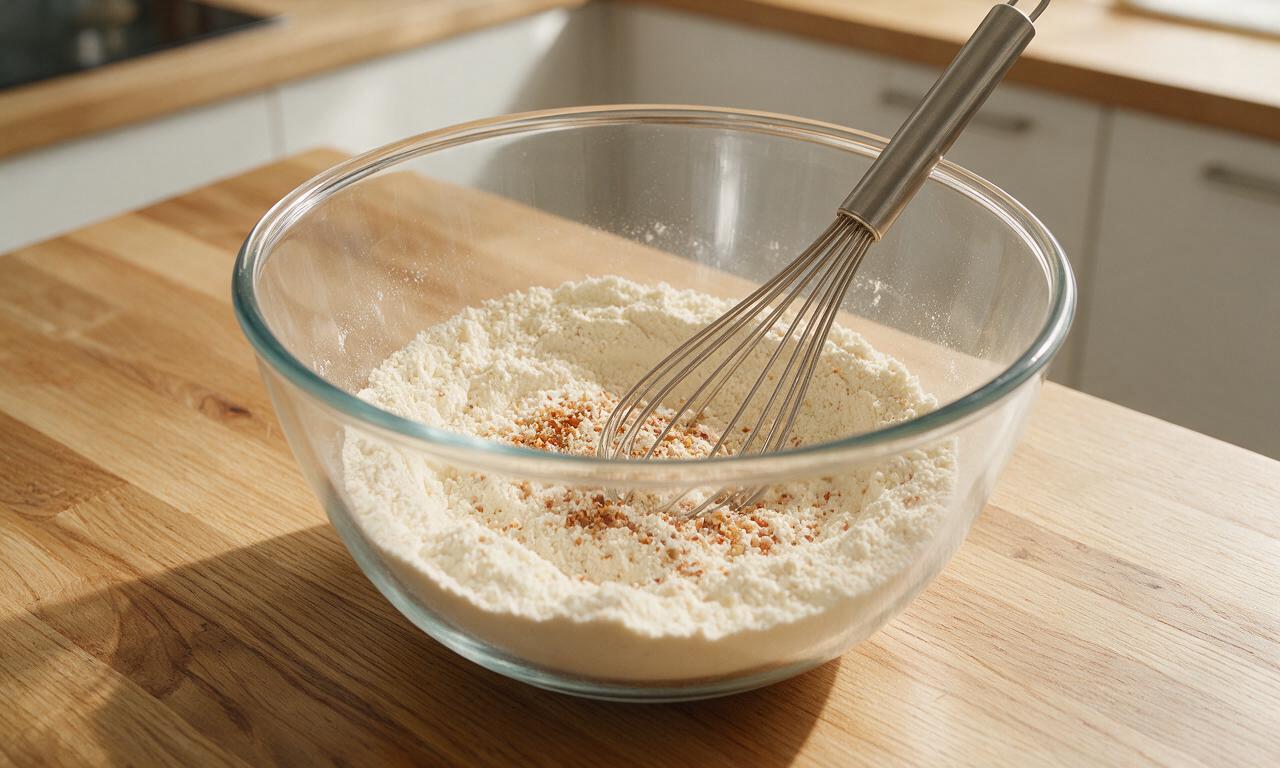
Whisk dry ingredients

In a large mixing bowl, combine 240g (2 cups) all-purpose flour, 25g (2 tbsp) granulated sugar, 8g (2 tsp) baking powder, 2.5g (½ tsp) baking soda, and 3g (½ tsp) fine sea salt. Whisk for 30 seconds until fully evenly combined, with no clumps of leavening remaining.
Step 1
step1:Whisk dry ingredients
2

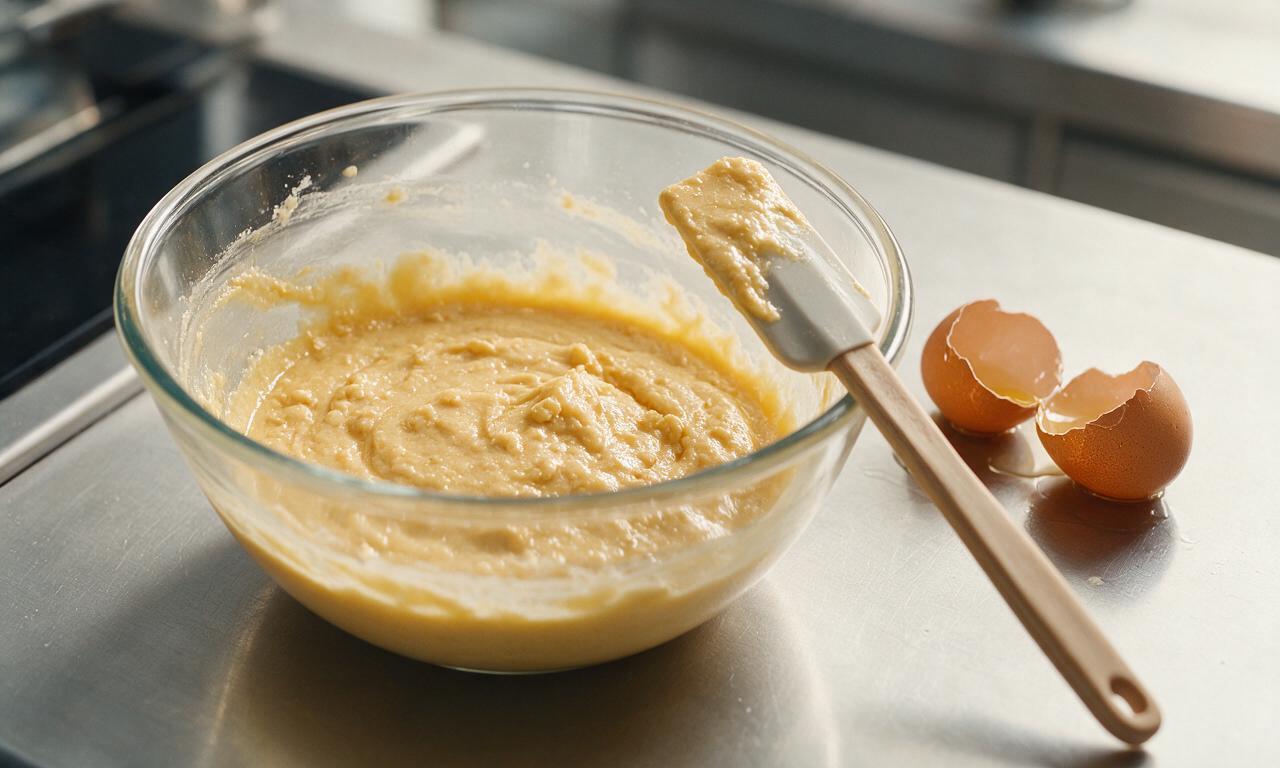
Mix wet batter base

Create a small well in the center of the dry ingredient mix, then add 2 separated egg yolks, 480ml (2 cups) room-temperature buttermilk, 57g (4 tbsp) cooled melted unsalted butter, and 5ml (1 tsp) pure vanilla extract. Stir gently with a silicone spatula for 45 seconds until just combined; leave small lumps in the batter, as overmixing will create tough aebleskiver.
Step 2
step2:Mix wet batter base
3

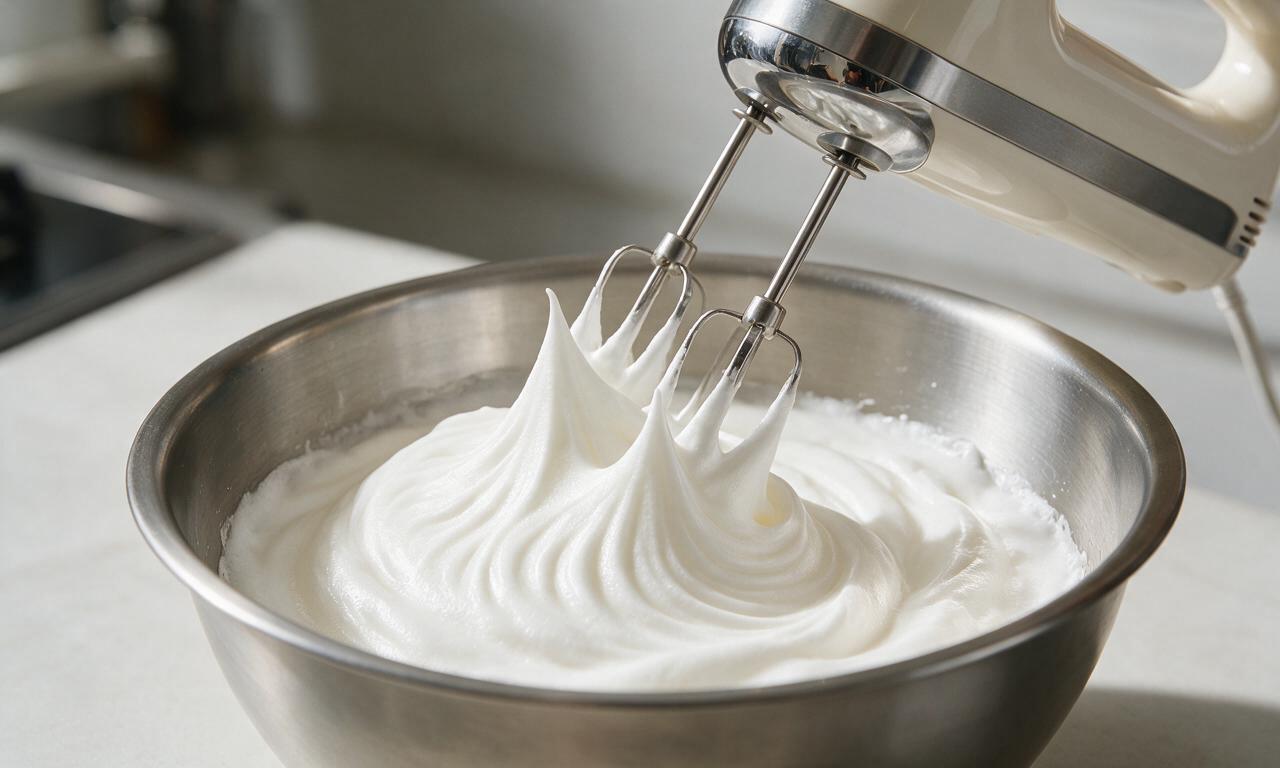
Whip and fold egg whites

In a completely clean, dry stainless steel bowl, beat the 2 reserved egg whites with an electric hand mixer on medium-high speed (speed 6 on most mixers) for 2 minutes, until stiff, glossy peaks form that hold their shape when the beaters are lifted. Gently fold ⅓ of the whipped whites into the batter to lighten it, then fold in the remaining whites in two equal additions, taking care not to deflate trapped air bubbles.
Step 3
step3:Whip and fold egg whites
4

Preheat and grease pan

Place a 7-well cast iron aebleskiver pan on the stovetop over medium-low heat (3/10 on electric stove dials, equivalent to 160C/325F pan surface temperature). Let the pan preheat for 3 minutes, then use a pastry brush to coat the bottom and sides of each round indentation with a thin layer of the 14g (1 tbsp) extra melted butter.
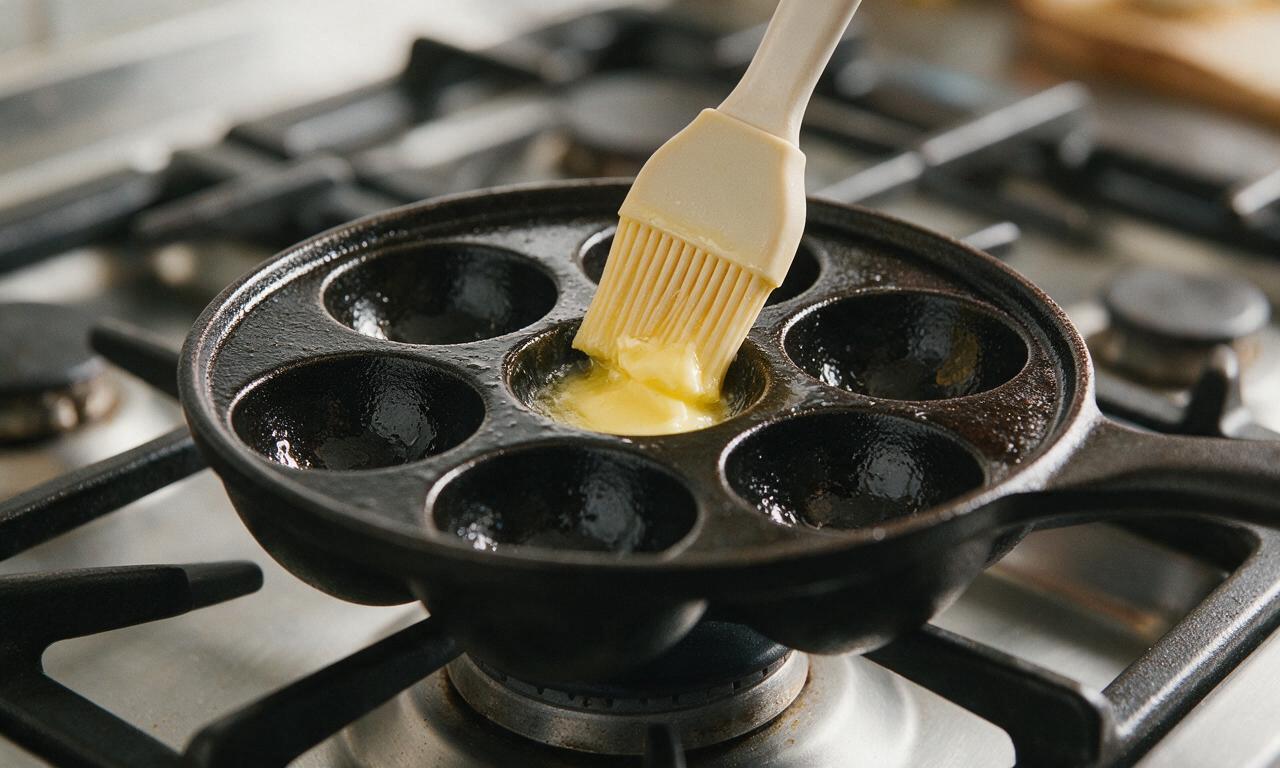
Step 4
step4:Preheat and grease pan
5

Portion batter into wells

Scoop 30ml (2 tbsp) of the light, airy batter into each greased indentation, filling each well only ⅔ full to leave space for the batter to rise as it cooks. Let the first side cook for 3 minutes, until the edges turn pale golden and the top surface develops small bubbles and is slightly set around the perimeter.
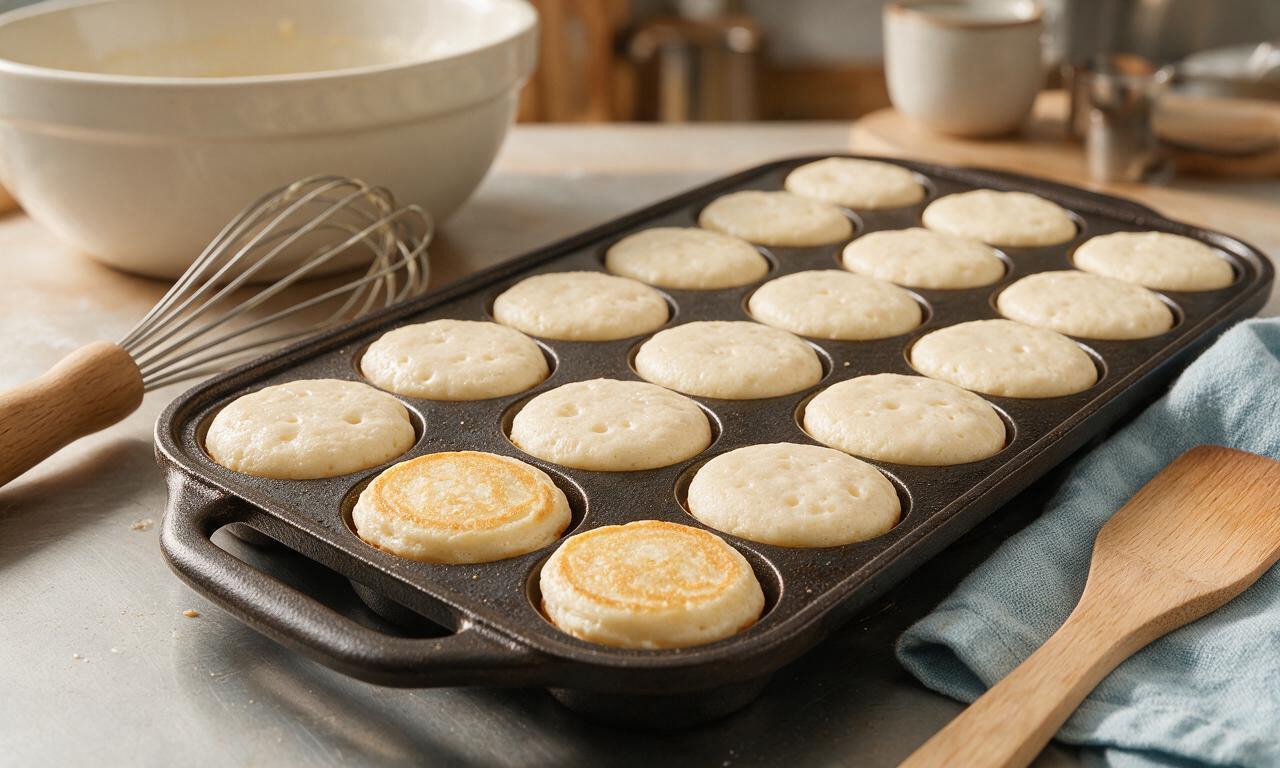
Step 5
step5:Portion batter into wells
6

Flip and cook evenly

Use a thin 15cm wooden skewer to flip each aebleskiver 90 degrees, rotating one at a time to let uncooked batter flow down into the well. Continue cooking, rotating each aebleskiver 90 degrees every 1 minute, for 3 additional minutes total, until all sides are deep golden brown and a skewer inserted into the center comes out clean with no wet batter. Transfer cooked aebleskiver to a paper-towel lined plate.
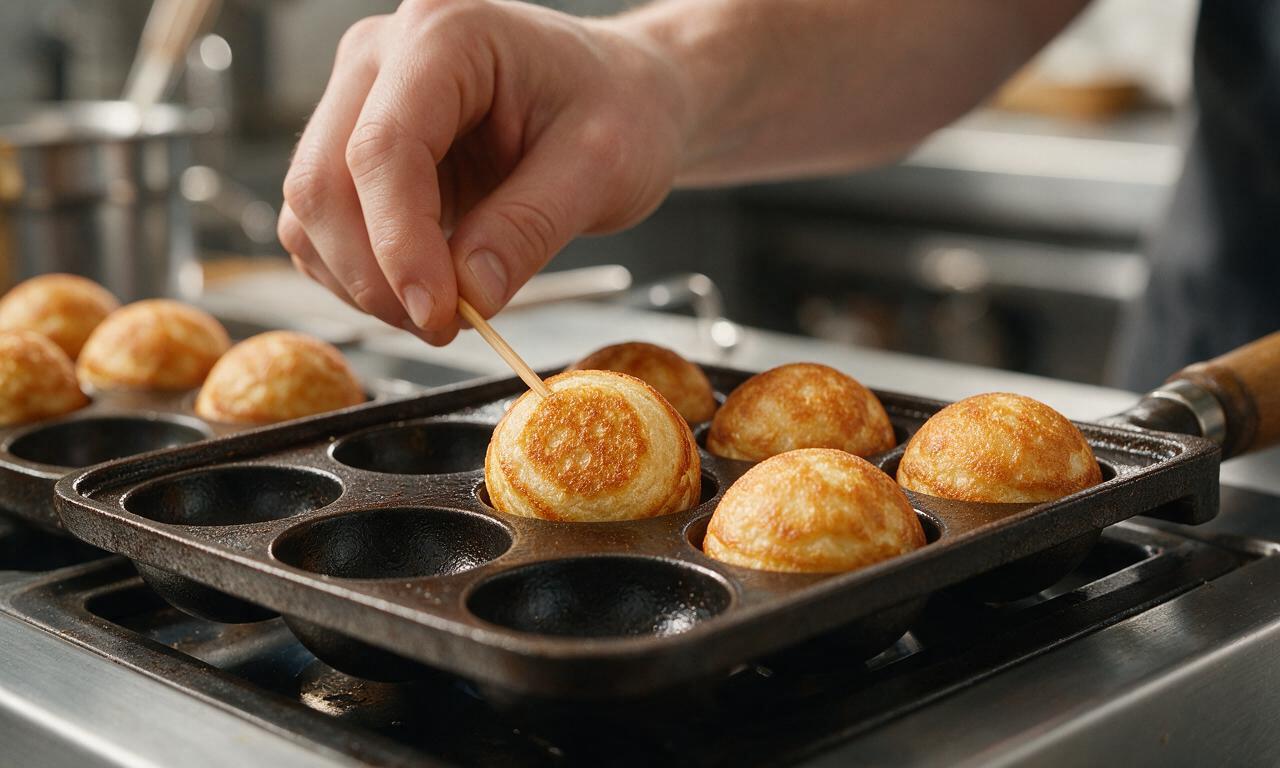
Step 6
step6:Flip and cook evenly
7

Dust and serve warm

Pile the warm cooked aebleskiver on a white ceramic serving platter, dust evenly with 15g (2 tbsp) powdered sugar tapped through a fine-mesh sieve, and serve alongside 120ml (½ cup) raspberry jam for dipping. Serve immediately, as the fluffy texture is best within 10 minutes of cooking.
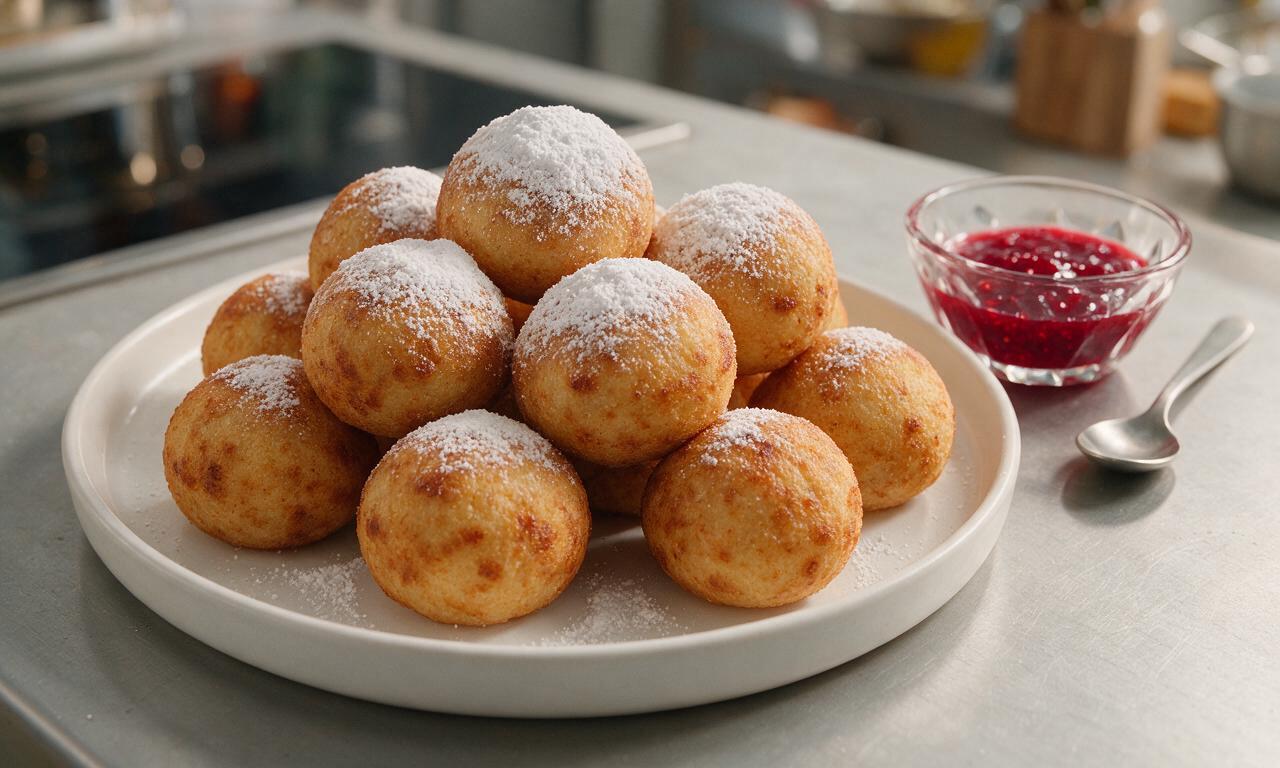
Step 7
step7:Dust and serve warm

Tips

1.Ensure your mixing bowl and beaters are completely free of grease or egg yolk residue when whipping egg whites; even a tiny amount of fat will prevent whites from forming stiff, stable peaks needed for light, fluffy aebleskiver.
2.Resist the urge to turn the stovetop heat higher than medium-low; cast iron aebleskiver pans retain heat well, and high heat will burn the outside of the pancake balls before the center cooks through.
3.If you do not have a specialty aebleskiver pan, you can use a greased mini muffin tin baked at 200C/400F for 10 minutes, though the traditional cast iron stovetop pan yields the most authentic round shape and crisp exterior.
✨ You May Also Like

Breakfast
🍜 United States

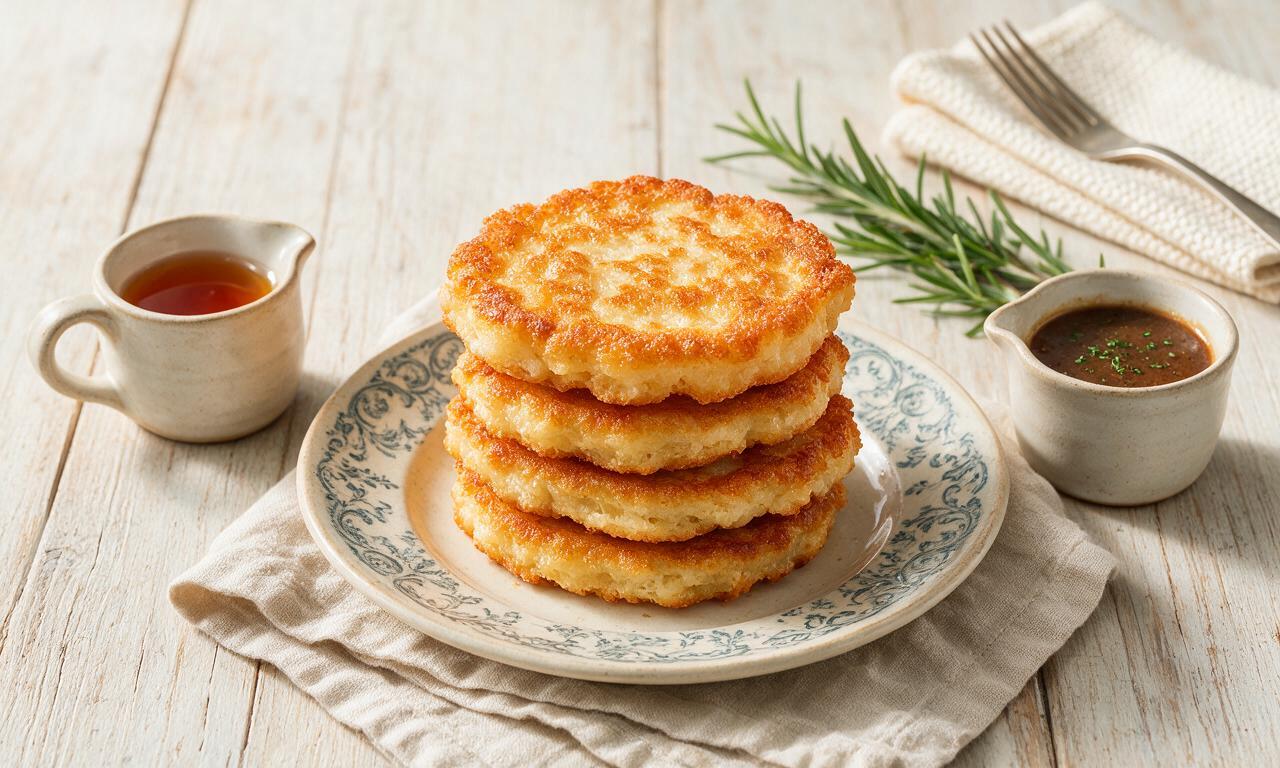
Crisp-edged, fluffy lard griddle cakes are a nostalgic homestyle staple, with rich savoriness from rendered lard, perfect topped with maple syrup or savory gravy.

⏱️ 25 minuteBreakfast ★ 4.9
Breakfast
🍜 United States

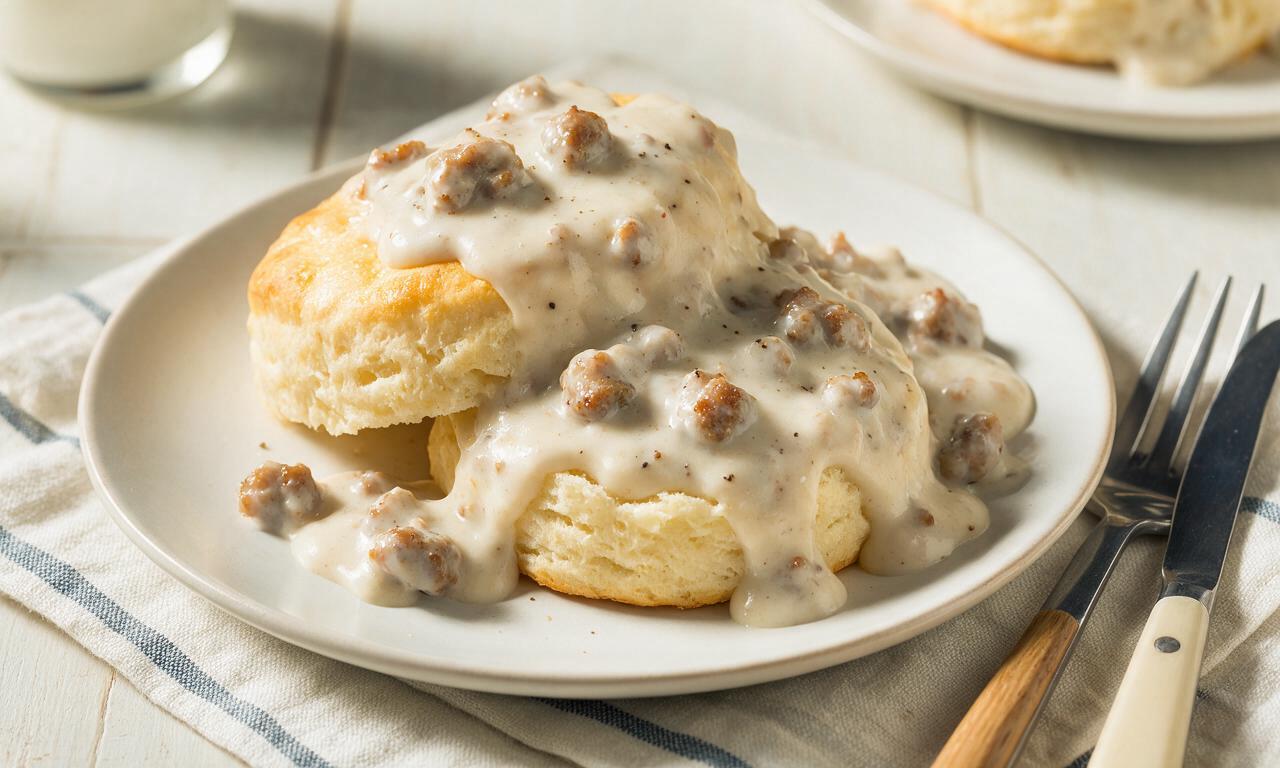
Flaky, buttery homemade buttermilk biscuits smothered in creamy, peppery pork sausage gravy: a beloved, hearty Southern American comfort food classic.

⏱️ 35 minuteBreakfast ★ 5
Breakfast
🍜 United States

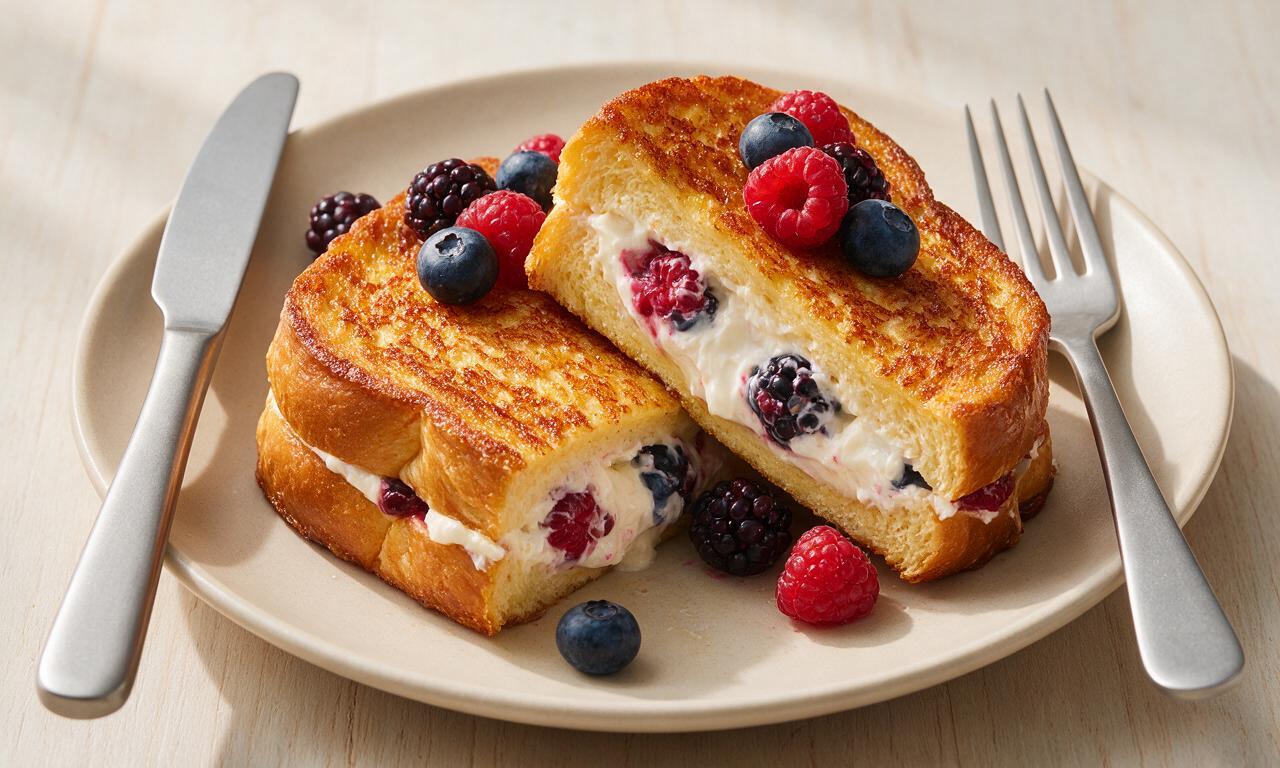
Golden, custardy brioche stuffed with sweet cream cheese and fresh berries, pan-fried to crisp perfection. An indulgent, cozy breakfast perfect for slow weekend mornings.

⏱️ 30 minuteBreakfast ★ 4.7
Breakfast
🍜 United States

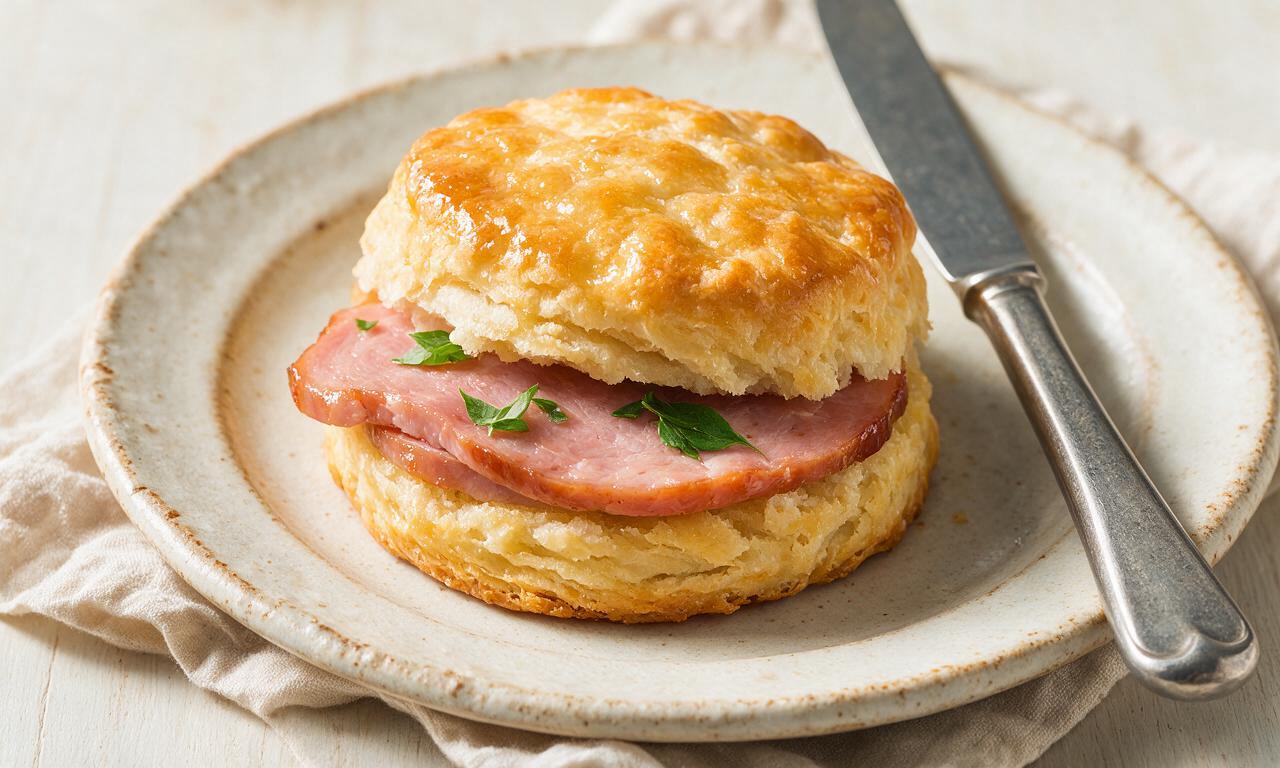
Flaky, buttery Southern-style biscuits stuffed with savory salty country ham, a portable, satisfying classic perfect for casual on-the-go meals.

⏱️ 25 minuteBreakfast ★ 4.8
Breakfast
🍜 United States

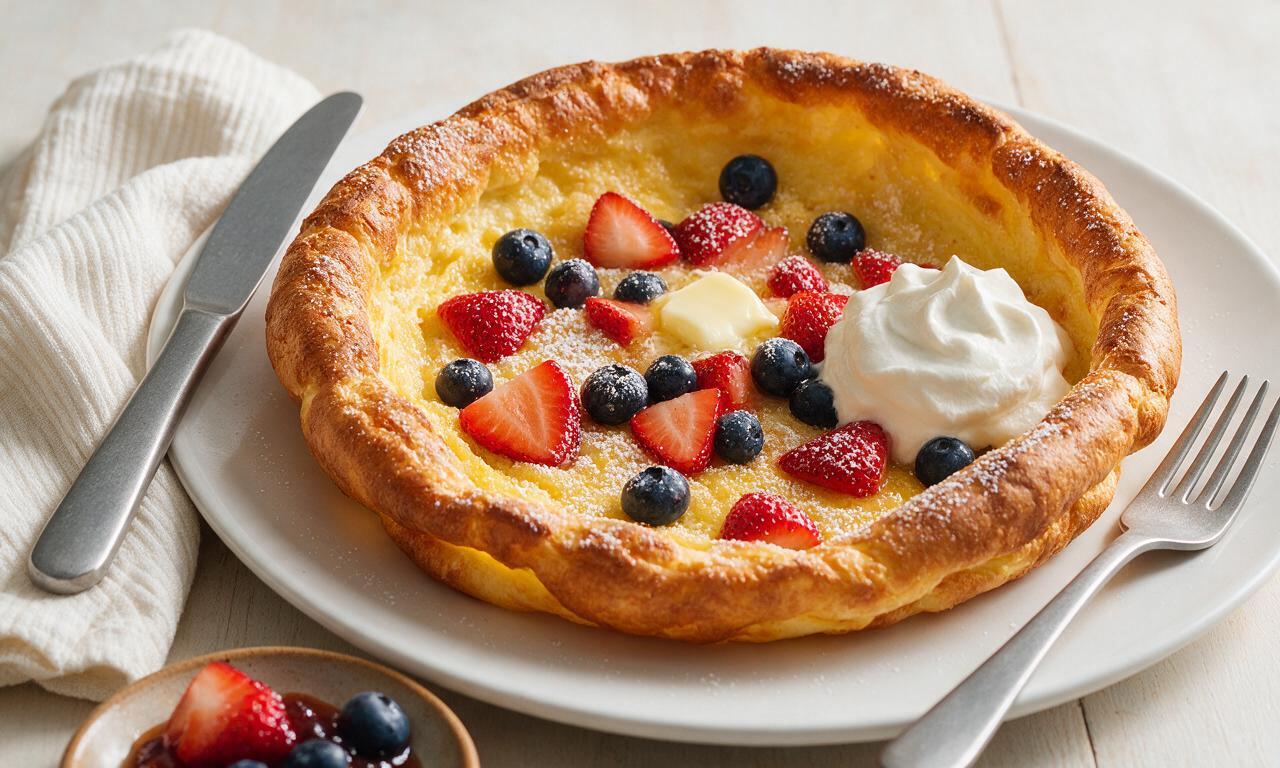
Iconic puffy baked pancake popularized in Seattle, with crisp golden edges and soft custardy center, served warm with classic sweet toppings.

⏱️ 35 minuteBreakfast ★ 4.6
Breakfast
🍜 United States

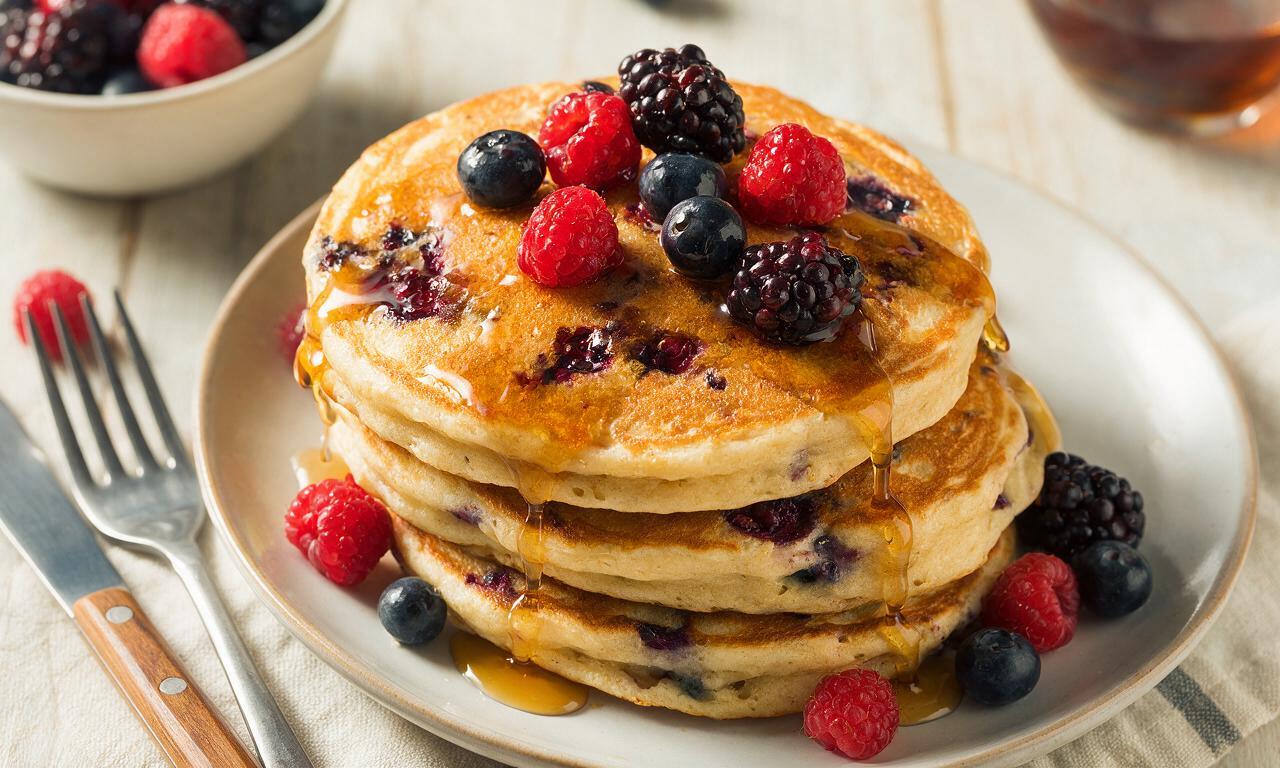
Fluffy, golden pancakes studded with juicy peak-summer mixed berries, drizzled with maple syrup for a bright, comforting, crowd-pleasing family breakfast.

⏱️ 25 minuteBreakfast ★ 4.8

Aebleskiver (Danish):Frequently Asked Questions

1.Do I need a special aebleskiver pan to make these, or can I use cookware I already own?
The traditional cast iron aebleskiver pan with half-spherical wells is ideal for nailing that perfect round shape and lightly crisped, evenly cooked exterior. If you don’t have one, you can bake batter portions in a greased mini muffin tin at 375°F for 10–12 minutes. The texture will be slightly less crisp on the edges, but you’ll still get fluffy, tasty bites; a regular flat skillet won’t form the signature spherical shape.
2.Why do my aebleskiver turn out dense and heavy instead of light and fluffy?
Dense aebleskiver almost always traces back to two common missteps: overmixing the batter, or deflating your whipped egg whites. First, mix the base just until no dry flour streaks remain—overworking the flour’s gluten makes bites tough. Second, whip egg whites to stiff, glossy peaks, and fold them into the batter very gently; don’t stir hard, or you’ll pop the air bubbles that create that signature light, airy crumb.
3.What’s the easiest way to flip aebleskiver while cooking without them deflating or falling apart?
Skip tongs and wide spatulas for this job—reach for a thin wooden skewer, chopstick, or even a clean knitting needle, the traditional Danish tool for the task. Wait until edges are set and the top surface is bubbly (about 2 minutes on the first side), then slip the tool just under the set edge to rotate the ball in small 90-degree increments instead of flipping it all at once to avoid deflating the batter.
4.Can I prep aebleskiver batter ahead of time to make holiday hosting easier?
You can prep the base batter—mixed flour, buttermilk, egg yolks, sugar, and baking powder—up to 12 hours ahead, stored tightly covered in the fridge. Wait to whip and fold in your egg whites until right before you plan to cook, though; adding whites too early lets them deflate, which kills that fluffy texture. Cooked aebleskiver can be held warm in a 200°F oven for up to 30 minutes before serving.

Comments (20)

2 days ago

OMG I made these for our family Christmas brunch last weekend and everyone went crazy! I stuffed a few with Nutella and a few with raspberry jam, game changer. So fluffy on the inside, perfectly crisp outside. 10/10 will make again for every potluck from now on.

yesterday

So glad these were a hit at your brunch! The Nutella and raspberry stuffing ideas sound absolutely delicious, we love hearing how people customize the recipe.

3 days ago

Wait, I’ve never used an aebleskiver pan before — is it absolutely required? I tried making these in a regular cast iron skillet last night and they came out lumpy and wouldn’t hold that round shape, total bummer. Flavor was great though!

2 days ago

Girl, you 100% need the special pan! I picked one up for like $20 on Amazon last month and it makes all the difference, no more wonky lumpy balls. Worth every penny.

2 days ago

Great question! The cast aebleskiver pan with the half-sphere indentations is really key to getting that classic round, evenly cooked shape. Regular skillets don’t hold the batter in the right formation as you turn them, which is why yours came out lumpy. So glad the flavor was spot on for you though!

1 week ago

My kids loved these!!! I cut up a bunch of apple slices to serve on the side with a little caramel dip, and they begged for seconds before they even finished their first serving. Way better than regular pancakes for a weekend breakfast.

5 days ago

How high did y’all have your burner set? The first batch I made burned on the outside before the middle was even cooked, I was so frustrated. Medium heat felt too hot but low took forever.

3 days ago

Great question! We recommend medium-low heat (around 325F if you have a thermometer for your pan) and giving the pan a full 5 minutes to preheat before adding batter. That way the outside crisps slowly without burning while the inside cooks through evenly!

yesterday

Brought these to my office holiday potluck yesterday and they were the first dish gone! I dusted them with powdered sugar and set out little bowls of lemon curd and maple syrup for dipping. So many people asked for the recipe, I sent the link right over.

2 hours ago

Wait were you the person who brought the pancake balls to the 3rd floor potluck?? I had three of those they were SO good I’ve been searching for the recipe ever since lmao

30 minutes ago

That makes us so happy to hear! Nothing beats a potluck dish that disappears fast, and the lemon curd dipping idea sounds incredible. Thanks for sharing the recipe with your coworkers!

2 weeks ago

Made a double batch on Sunday for quick weekday breakfasts for my teen sons, and they held up perfectly in the fridge all week! 20 seconds in the microwave and they taste just as fresh as the day I made them. Will definitely be adding these to my regular rotation.

30 minutes ago

I was nervous to try these because the difficulty says medium, but I’m a total new baker and they came out perfect on my second try! The step-by-step instructions for turning them with a skewer were so easy to follow, no fancy skills needed.

5 minutes ago

That’s wonderful to hear! We know the turning step can feel intimidating the first time, so we’re glad the instructions were clear enough to help you nail it. Great job sticking with it after the first try!

1 week ago

Has anyone tried making these with a 1:1 gluten free flour blend? My husband has celiac so I’m always looking for fun breakfast recipes I can adapt for him without losing texture.

5 days ago

I did! Used Bob’s Red Mill 1:1 GF blend and added an extra 1/4 tsp of xanthan gum, they came out exactly the same texture as the regular version. My whole family ate them and didn’t even notice they were GF!

5 days ago

Thanks for sharing that great substitution tip! We’ve tested the recipe with 1:1 GF flour blends too and had great results, just make sure your batter isn’t too runny — add a tiny extra splash of flour if it feels thinner than the recipe describes.

2 hours ago

No joke I ate half the batch straight off the pan while I was cooking. They’re so addictive when they’re warm and dusted with cinnamon sugar, I couldn’t stop. My roommate gave me so much grief when he saw how few were left for him.

30 minutes ago

LMAO this is exactly what my partner did when I made these last week! I turned around for two seconds to grab syrup and half the batch was gone. Menaces, the both of you.

5 minutes ago

We won’t lie, we’ve done the exact same thing during recipe testing! Fresh, warm aebleskiver straight from the pan is impossible to resist, no judgment here.

2 weeks ago

My grandma used to make these for us every Christmas when I was little, and this is the first recipe that tastes exactly like I remember! The hint of cardamom is perfect, so many recipes skip that and it just doesn’t hit the same. Thank you for such an authentic version!

5 minutes ago

I didn’t have buttermilk on hand when I made these this morning, so I used the old milk + lemon juice trick and they still turned out amazing! Fluffy, tangy, perfect. Just wanted to pass that along for anyone else who forgets to grab buttermilk at the store.

just now

Thanks for sharing that great hack! The milk + lemon juice (or white vinegar) buttermilk substitute works perfectly for this recipe, we’re glad it turned out great for you.

3 days ago

Wait the recipe says 30 minutes cook time, did that include prep? I feel like I spent forever measuring ingredients and waiting for the pan to heat, total time was closer to 45 minutes for me. Still worth it, just curious!

2 days ago

I think the 30 mins is active cook time once you start pouring batter! Prep for me was about 15 mins too, so total 45, which is still super quick for a weekend breakfast honestly.

2 days ago

Great catch! The 30 minute cook time listed is active cooking time once your pan is preheated and you’re ready to pour batter and cook the batches. Prep time is about 10-15 minutes on top of that, we’ll note that on the recipe card to avoid confusion!

1 week ago

I know everyone is doing sweet fillings, but I tried these with a little shredded cheese and crumbled bacon inside for a savory twist and they were INSANE. Perfect for a brunch where people don’t love super sweet food, 10/10 would recommend trying it.

2 days ago

First batch stuck so bad to my pan I thought I ruined it! Did I not use enough butter? I only brushed a tiny bit in each indent because I didn’t want them greasy.

yesterday

Oh no, sorry to hear the first batch stuck! You’ll want to generously butter each indentation between every batch — not only does that prevent sticking, it gives the outside that perfect crispy, buttery golden crust. It won’t make them greasy, promise! The extra butter cooks off into the crust rather than soaking into the batter.

5 days ago

Made these for my daughter’s 7th birthday breakfast for her sleepover, and all the little girls went wild for them! We set up a topping bar with sprinkles, chocolate chips, whipped cream, and fruit, it was such a hit. So much more fun than regular pancakes.

3 days ago

The topping bar idea is genius! I’m stealing that for my boys’ birthday breakfast next month, they’re going to lose their minds over the sprinkles option.

2 days ago

That sounds like the most fun birthday breakfast! A build-your-own aebleskiver topping bar is such a great idea for kids (and kids at heart), we love that. Happy birthday to your daughter!

1 week ago

Has anyone tried freezing these after cooking? I want to make a big batch to have on hand for busy mornings but I don’t want them to get soggy when I reheat them.

5 days ago

They freeze great! Let them cool completely, then store in an airtight freezer bag for up to 3 months. Reheat them in a 350F oven for 8-10 minutes (or in the air fryer for 3-4 minutes) instead of the microwave to keep that crispy outside, no sogginess at all!

3 days ago

I added a little extra cardamom and a pinch of nutmeg to the batter and oh my GOD it was so cozy and flavorful. Tasted like Christmas in a little pancake ball. Served them with spiced cider and it was the perfect cold Sunday breakfast.

yesterday

I tried using a fork to turn these at first and it was a total disaster, kept squishing them. Swapped for a wooden skewer like the recipe said and it was so easy! Don’t be like me and skip the skewer, y’all.

2 hours ago

Great tip! Thin wooden skewers or even chopsticks work perfectly for turning aebleskiver without squishing the soft, half-cooked batter. Forks are too thick and tend to tear the delicate crust, so the skewer trick is definitely the way to go.

2 weeks ago

Made these vegan by swapping the eggs for flax eggs and using oat milk, and they were still so light and fluffy! I was worried the texture would be off, but even my non-vegan roommate said they were better than the regular pancakes he makes.

1 week ago

That’s awesome! Thanks for sharing your vegan swaps — we’ve gotten so many questions about plant-based adaptations, so it’s great to hear that flax eggs and oat milk work so well without ruining that light, fluffy texture.

yesterday

Hosted my monthly brunch club yesterday and served these, and every single person asked for the recipe before they left. Paired them with mimosas and smoked salmon on the side, it was chef’s kiss. This is my new go-to special occasion brunch recipe from now on.