
air fried boneless chicken breast
intro
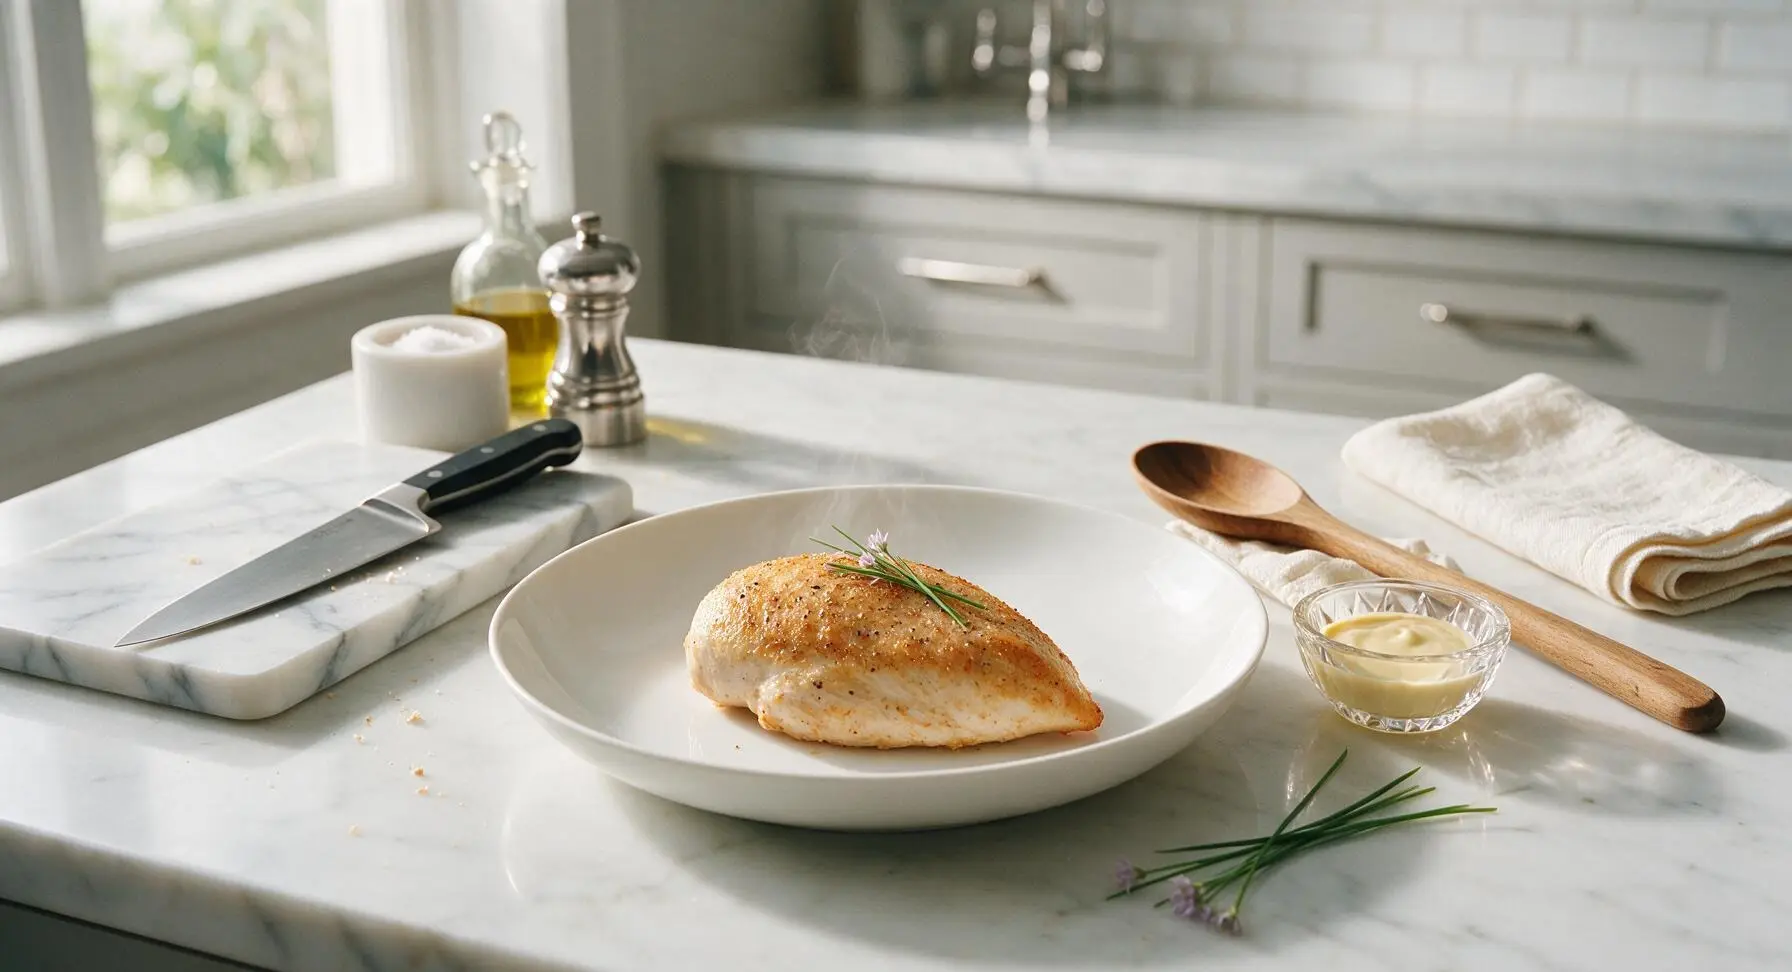
Juicy, evenly seasoned boneless chicken breast with a light crisp golden exterior, cooked fast in the air fryer for a no-fuss, protein-packed staple perfect for weeknights or meal prep.
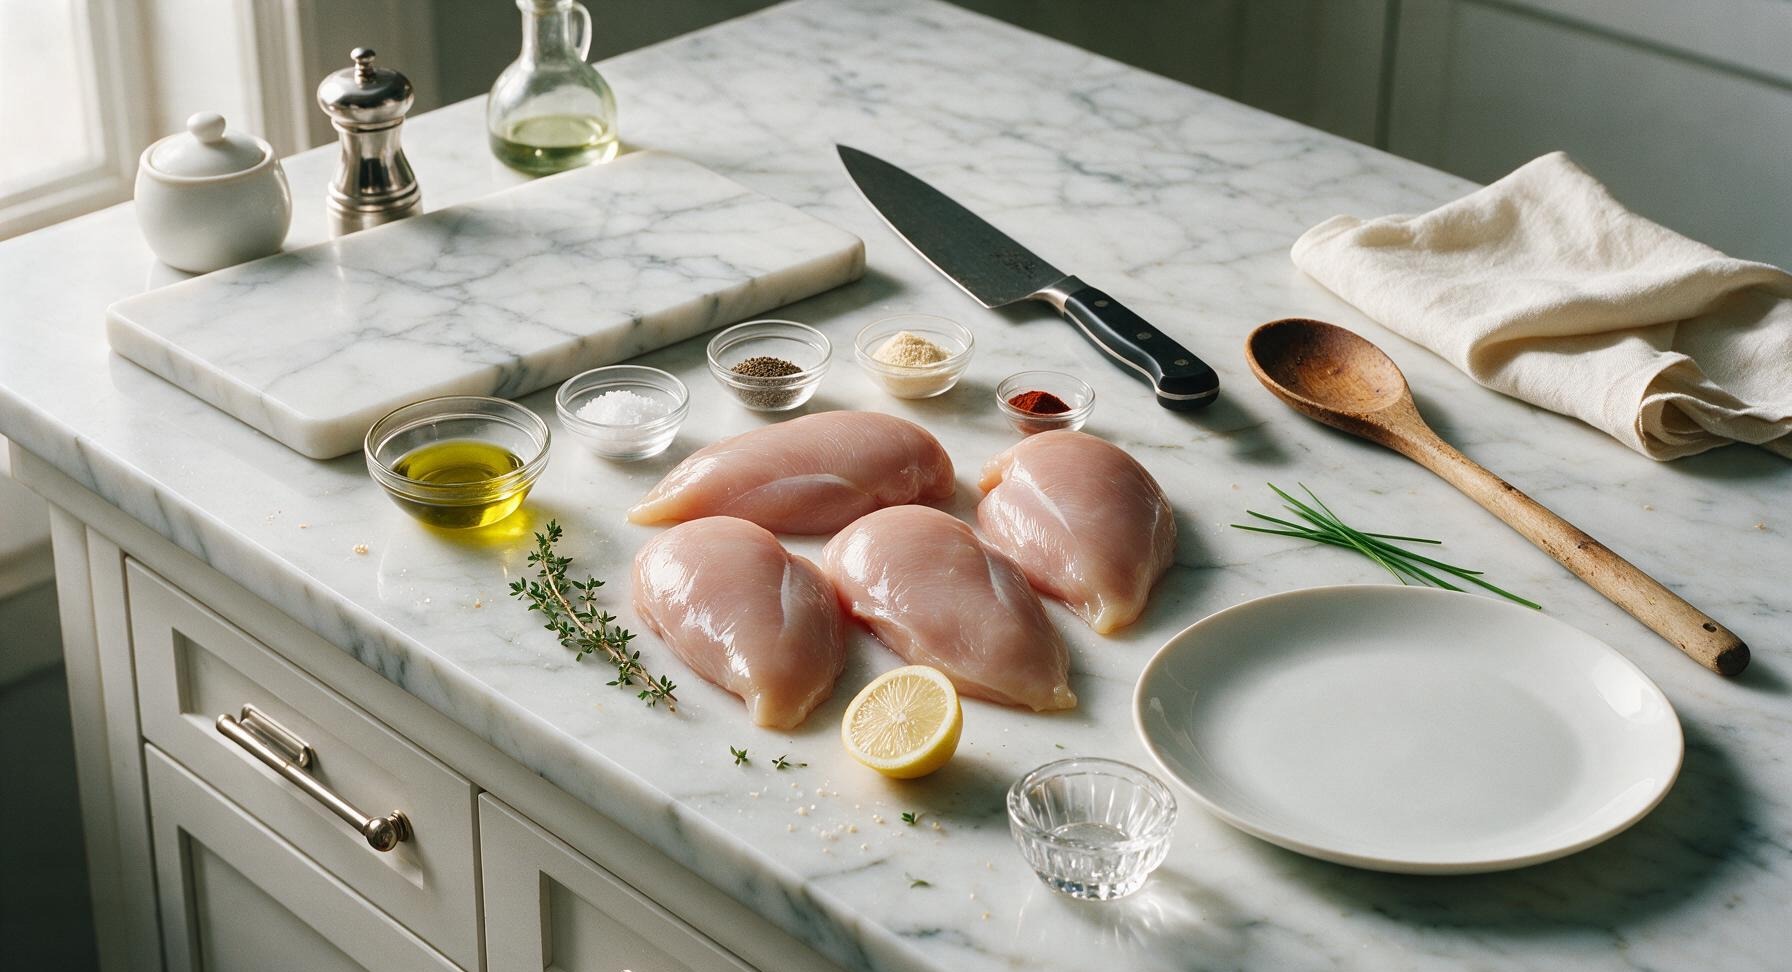
Ingredients
Steps
Pat Chicken Dry
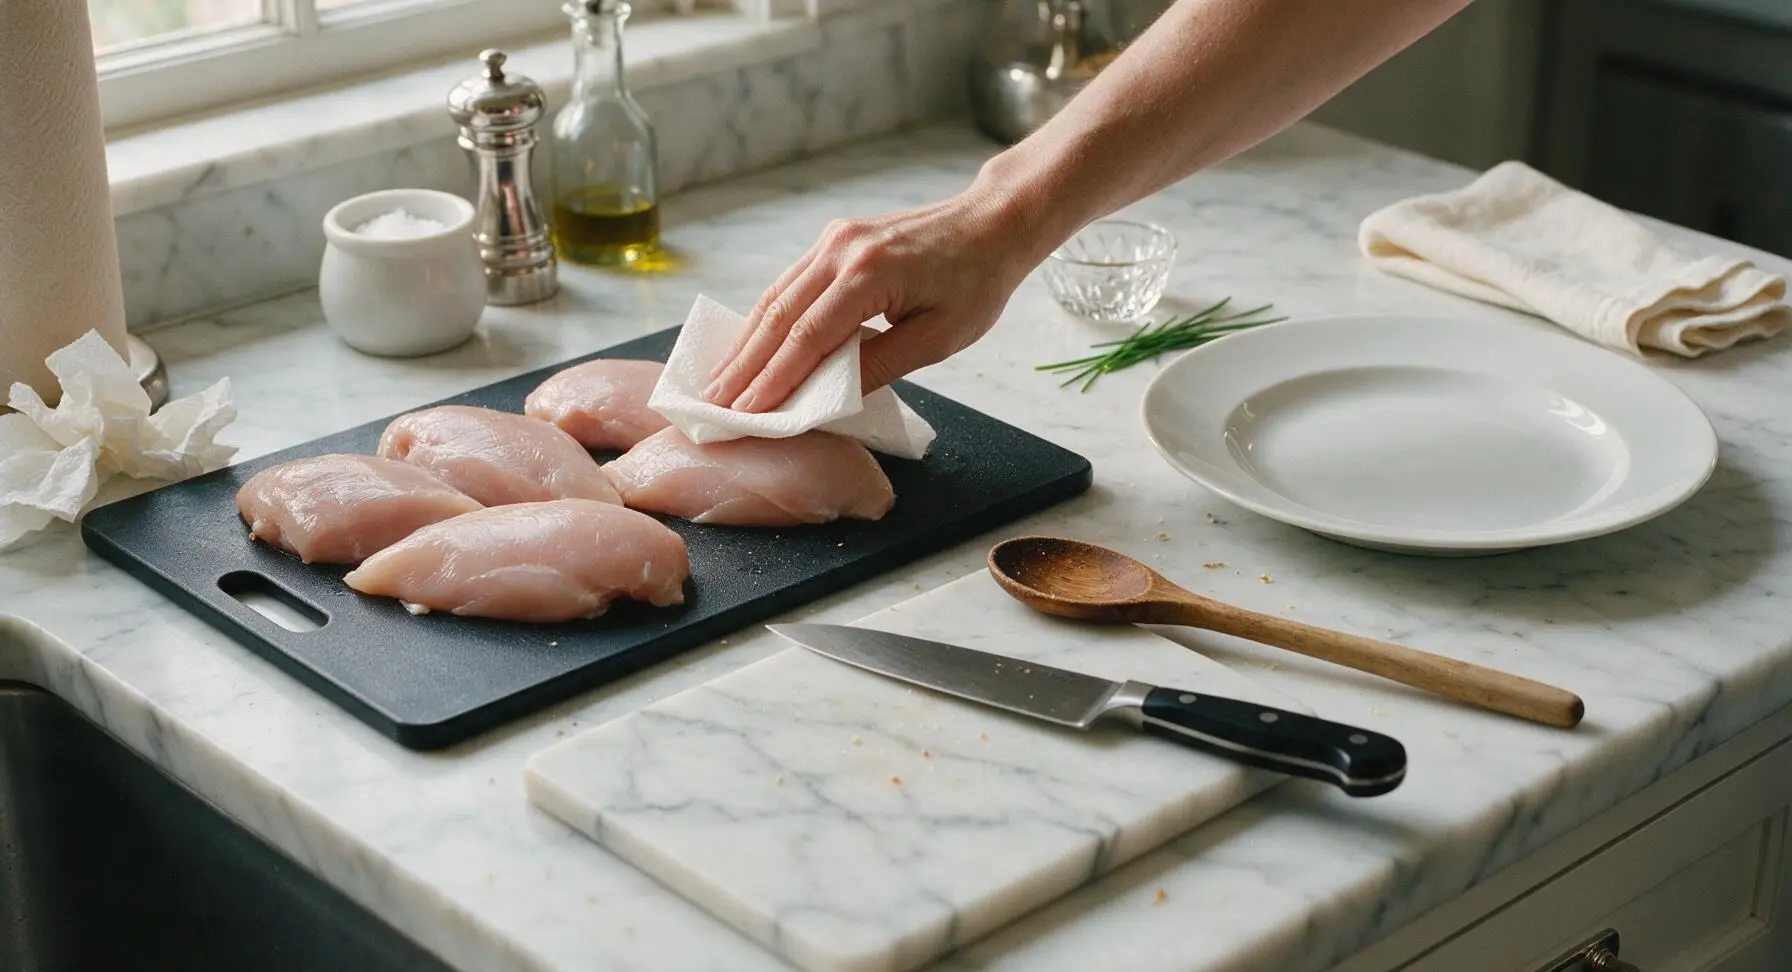
Remove 4 boneless skinless chicken breasts from packaging, place on the matte black polypropylene cutting board positioned in the center-left prep zone. Tear 2-3 sheets from the unbleached paper towel roll to firmly pat every surface of the chicken completely dry, including sides and any folded edges. Discard used paper towels in a nearby bin (out of frame). Fully dried chicken is critical to achieve a crisp, not soggy, air fried exterior.
Trim Excess Fat
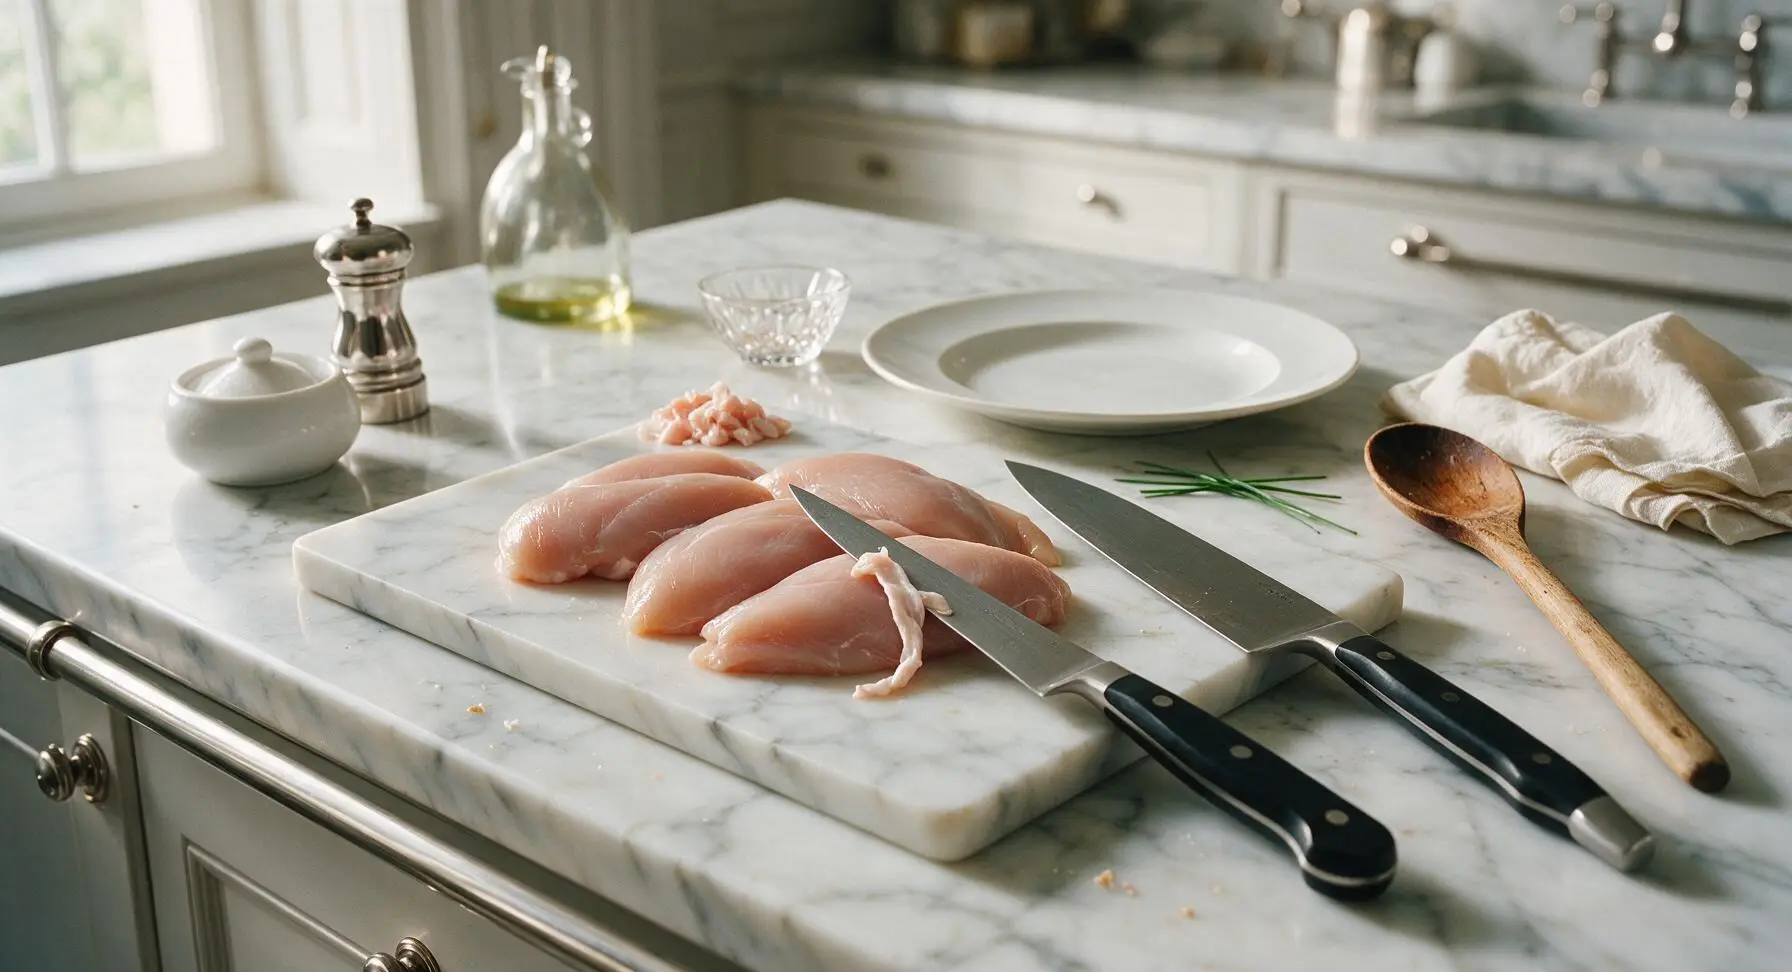
Use the 20cm stainless steel boning knife to trim away any visible loose white fat, tough silver skin, or ragged uneven edges from each chicken breast. For even cooking, gently pound the thickest tapered end of each breast with the flat side of the knife to create a uniform 2.5cm thickness across the entire cut. Do not pound chicken thinner than 2cm, as this will cause overcooking and dryness.
Coat With Olive Oil
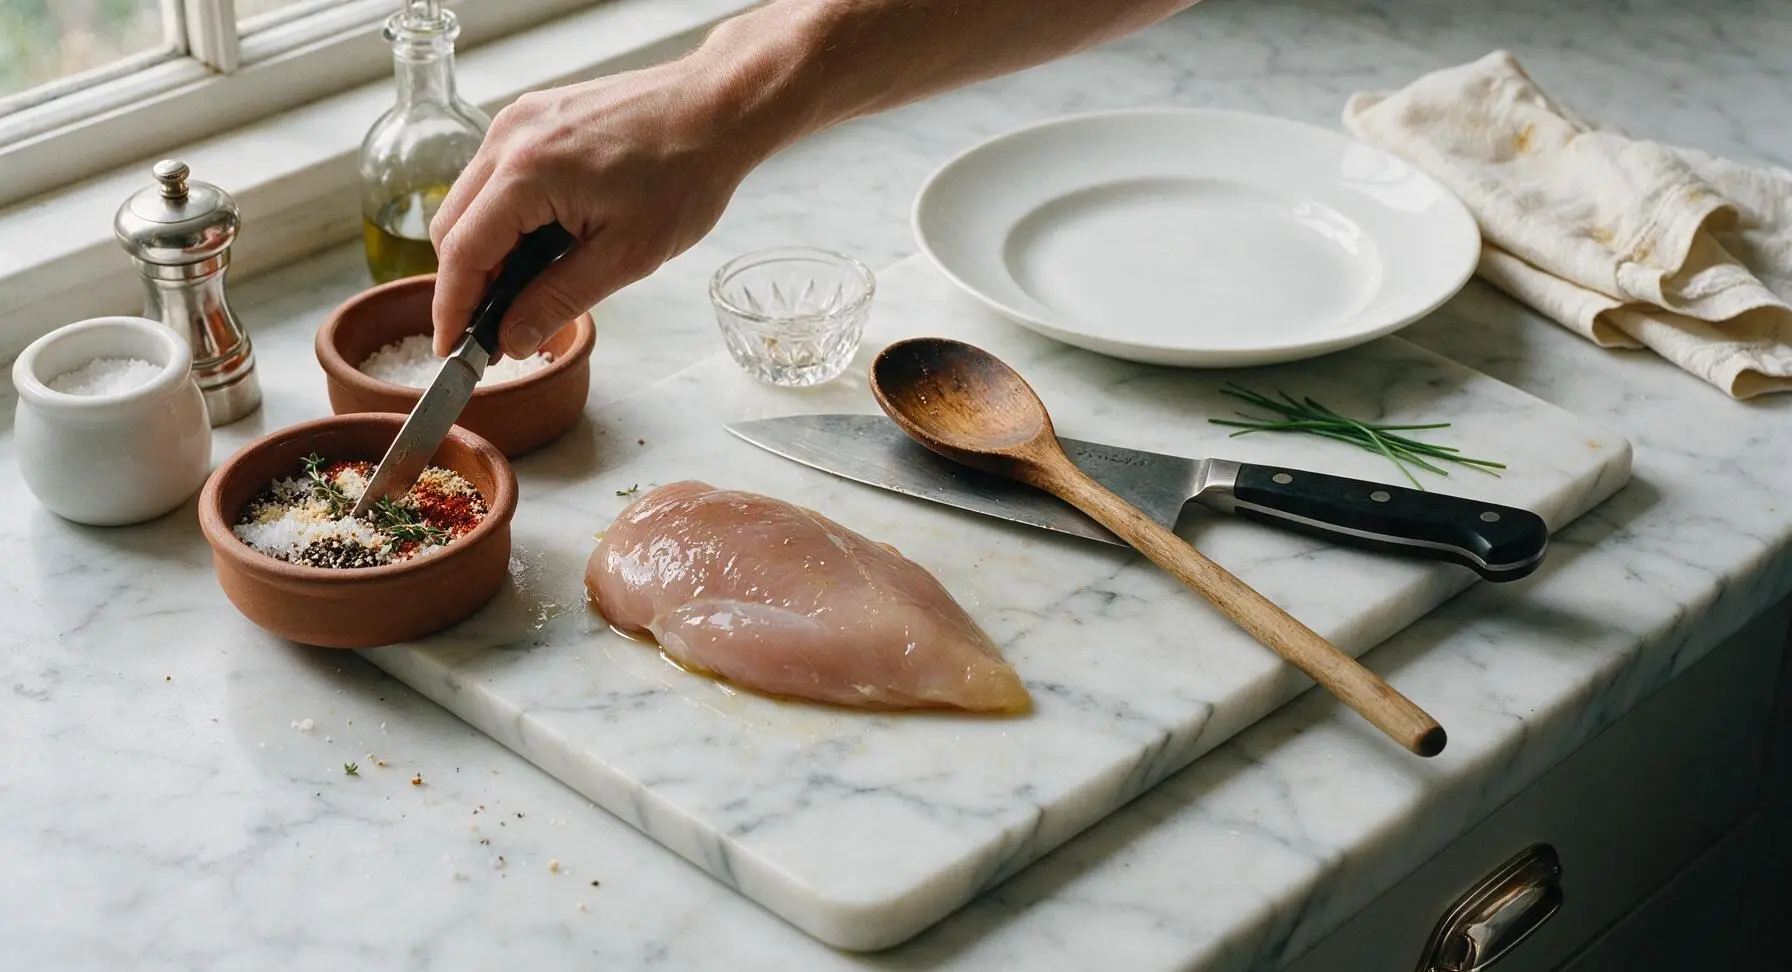
Remove the cap from the dark amber olive oil bottle, drizzle 1 tablespoon of extra virgin olive oil evenly over all sides of the chicken breasts. Use clean hands to rub the oil across every surface, creating a thin, even coating with no remaining dry spots. The oil helps seasoning adhere to the chicken and creates a crisp outer crust during air frying.

Apply Even Seasoning
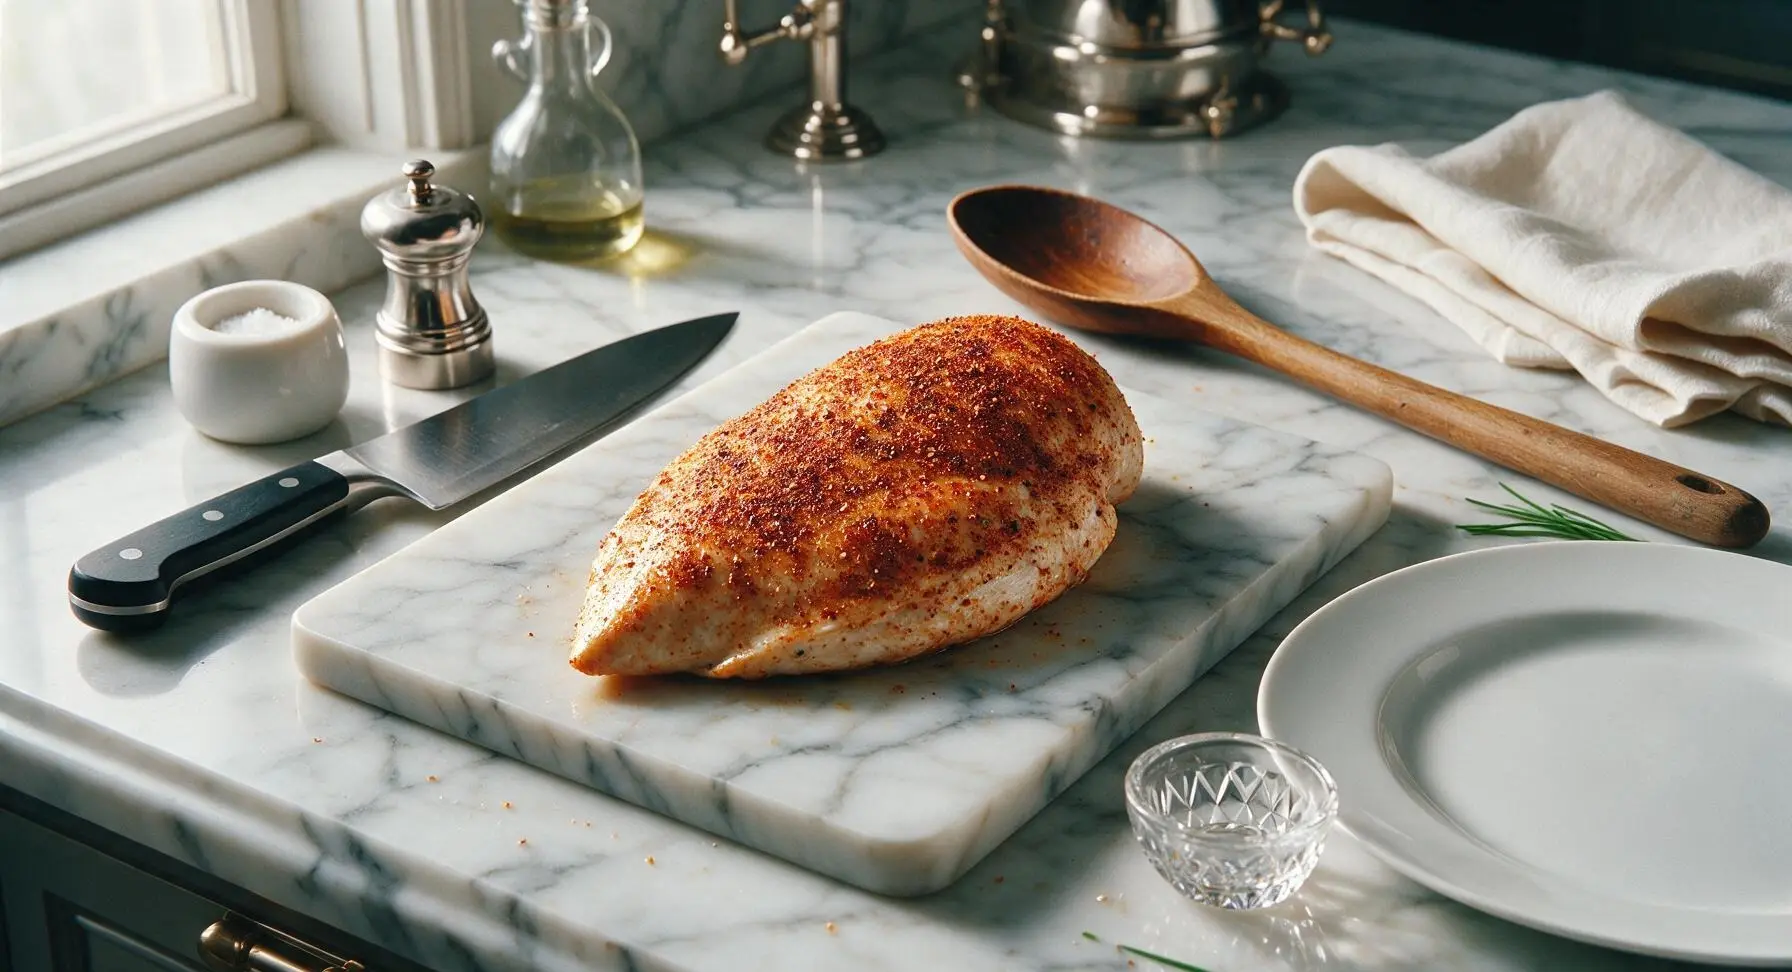
In one terracotta ramekin, mix 1 teaspoon kosher salt, ½ teaspoon freshly ground black pepper, ½ teaspoon garlic powder, ¼ teaspoon smoked paprika, and picked leaves from 2 fresh thyme sprigs until evenly blended. Sprinkle the seasoning mix over all sides of the oiled chicken, pressing lightly with clean fingertips to help the spices adhere. Ensure no large clumps of seasoning form on any chicken surface.
Preheat Air Fryer
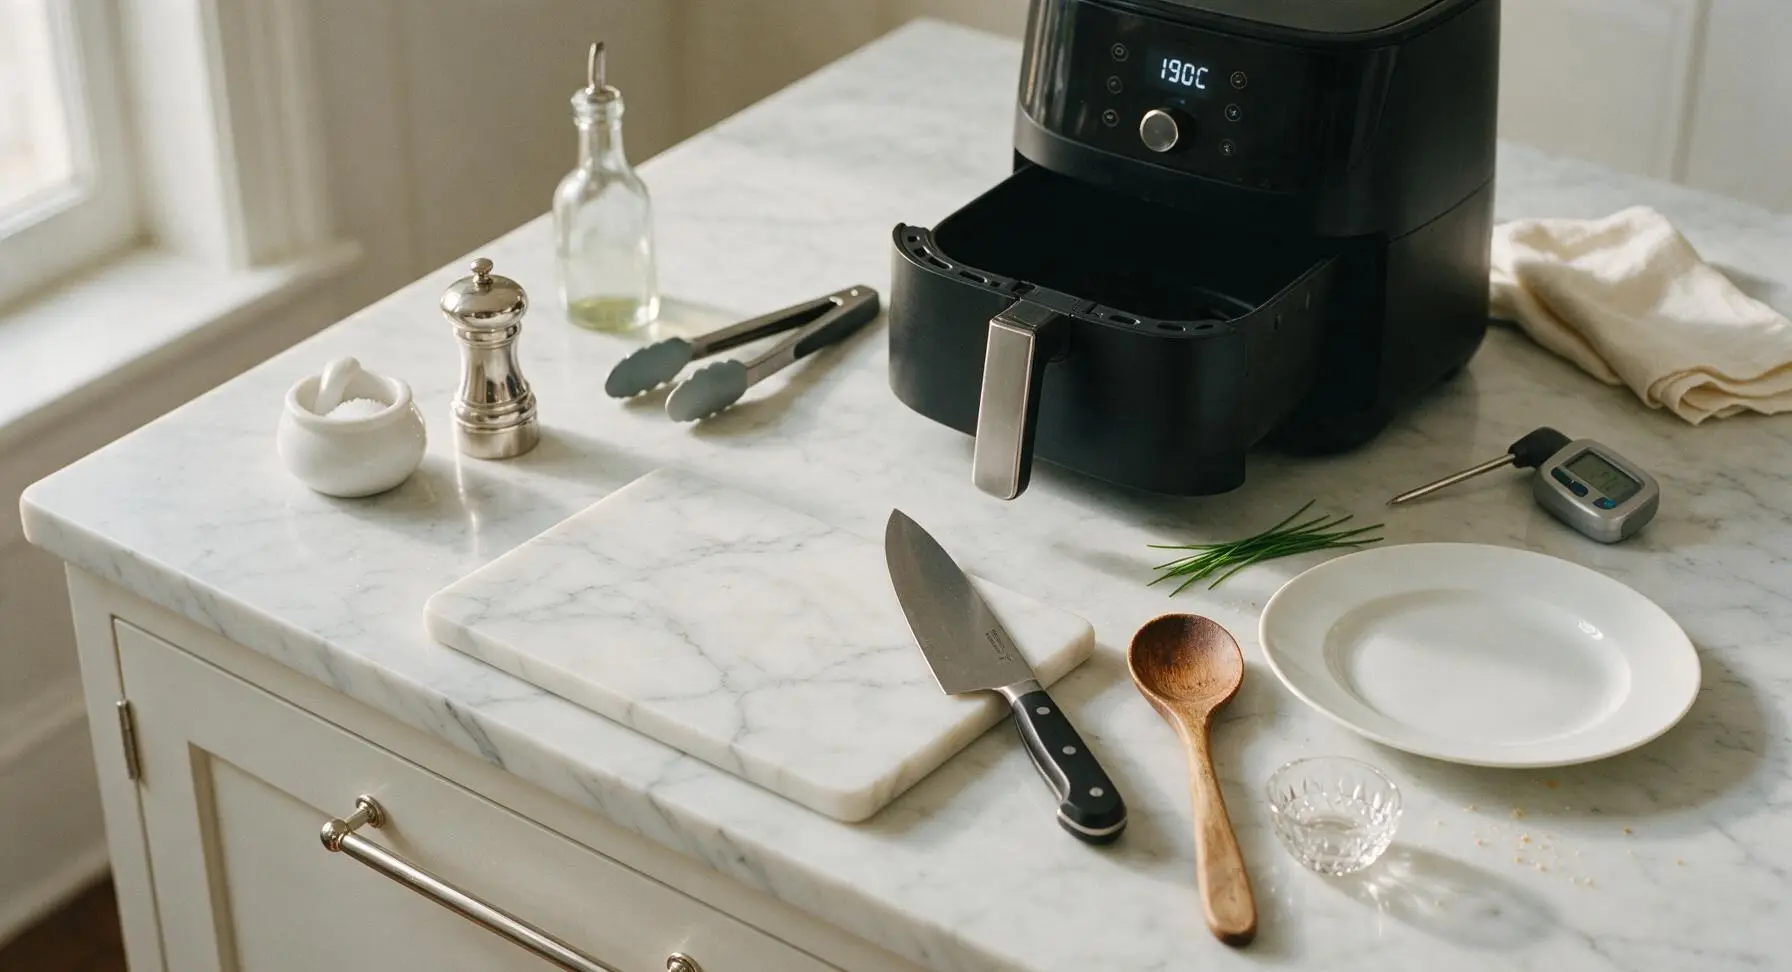
Grip the stainless steel handle of the matte black air fryer to pull the basket out, spritz the basket interior lightly with oil (optional, to prevent sticking), then return the basket and preheat the air fryer to 190C (375F) for 3 minutes. Preheating ensures the chicken sears immediately on contact with the hot basket for a crisp exterior, rather than steaming as it comes up to temperature.
Load Chicken Into Basket
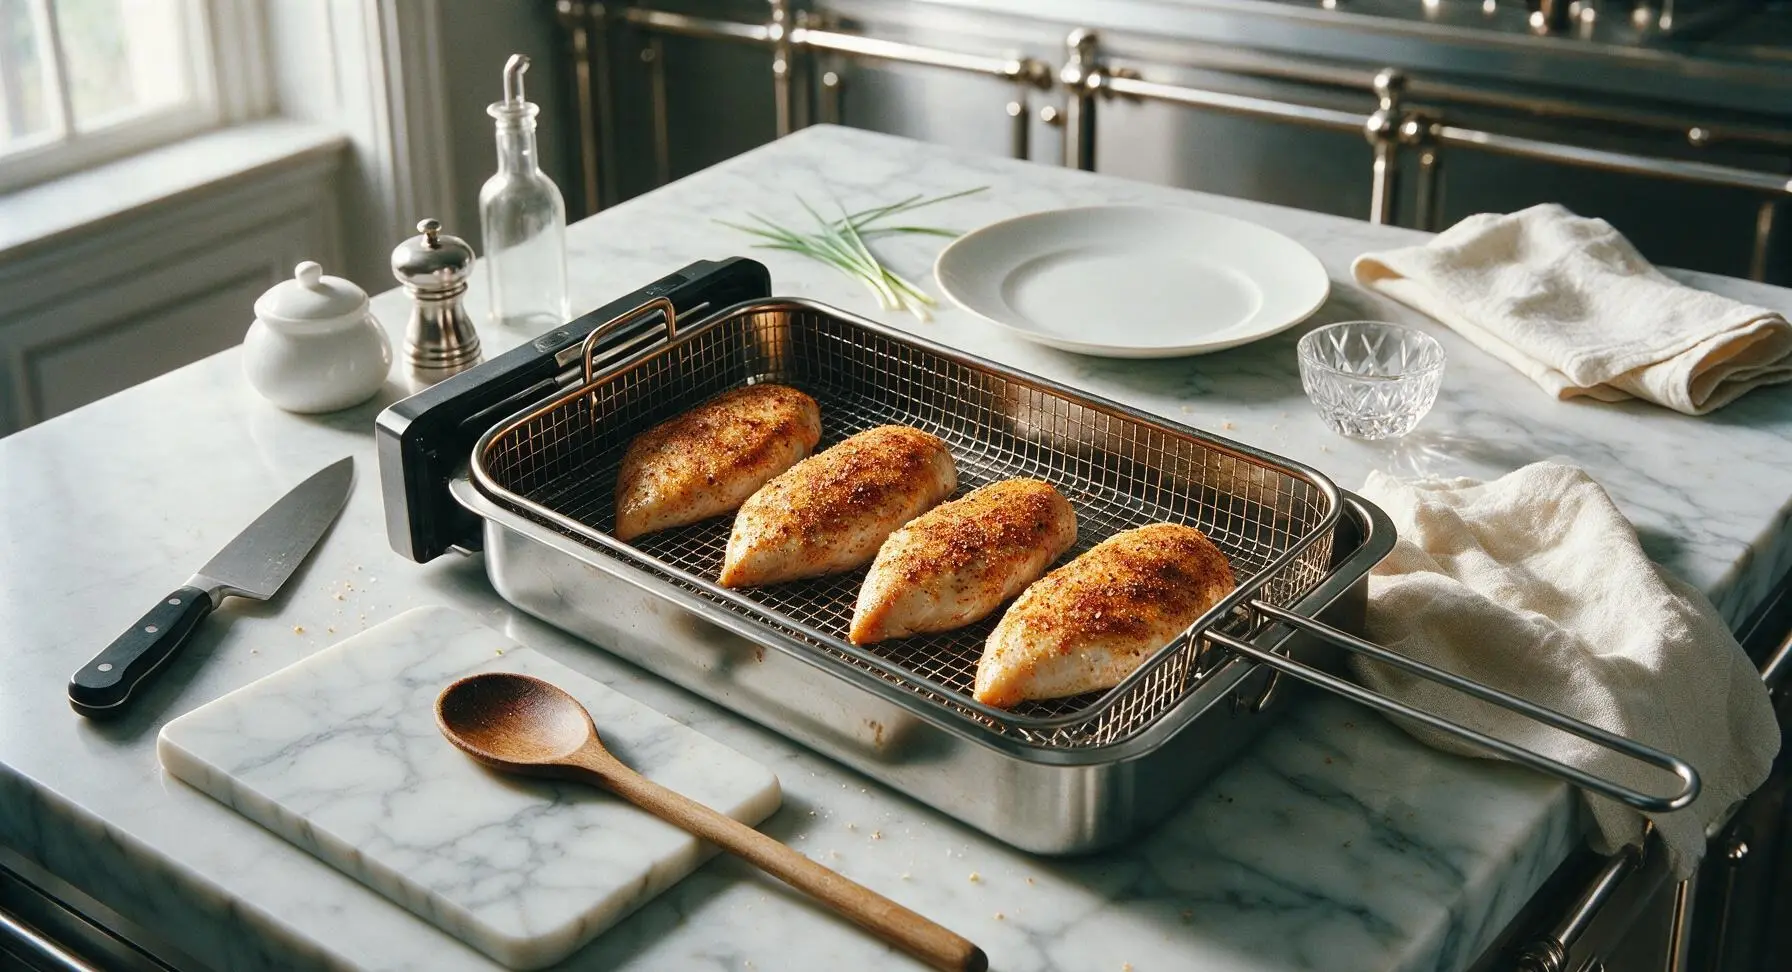
Once preheated, use clean hands to place the seasoned chicken breasts in a single layer in the air fryer basket, leaving 1cm of open space between each piece to allow unobstructed hot air flow. Do not stack or overlap the chicken, as this will cause uneven cooking and soggy, steamed spots. If using an air fryer smaller than 5L, cook the chicken in two batches rather than overcrowding.
Air Fry Until Golden
Push the basket back into the air fryer and cook for 8 minutes at 190C (375F). After 8 minutes, use the silicone-tipped tongs to carefully flip each chicken breast, then cook for an additional 6-7 minutes, until the exterior is light golden brown and crisp at the edges. Total cook time is 14-15 minutes, adjusted slightly for breast thickness.
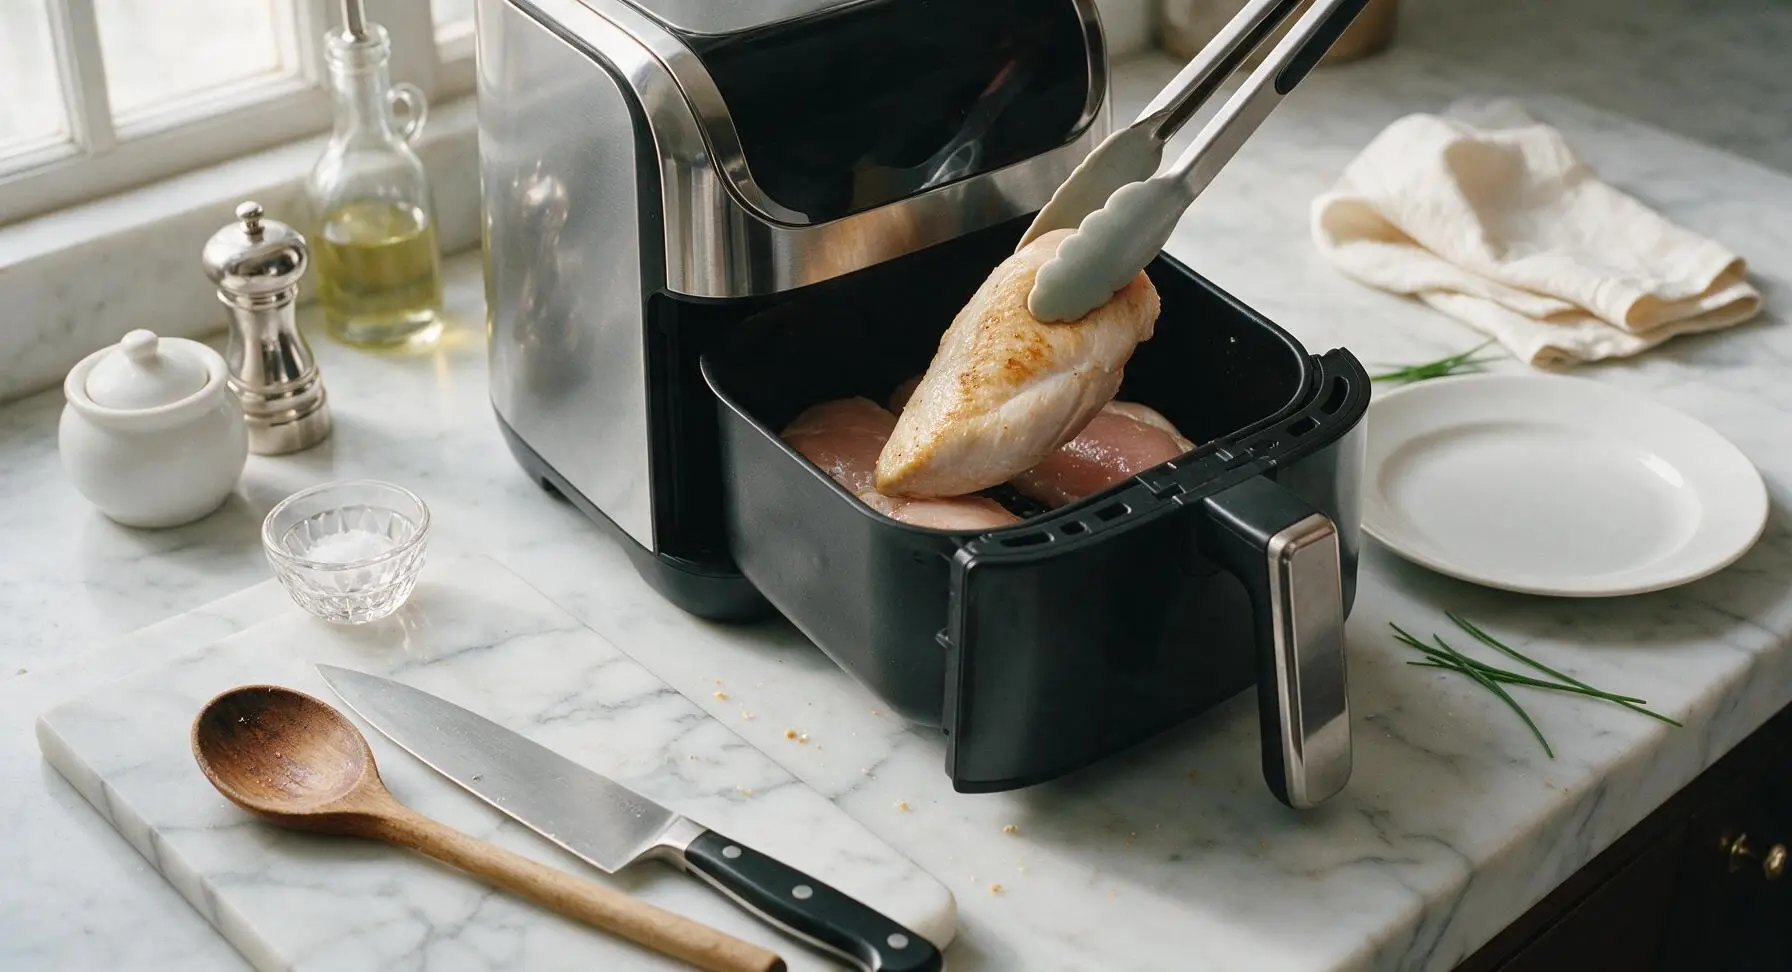
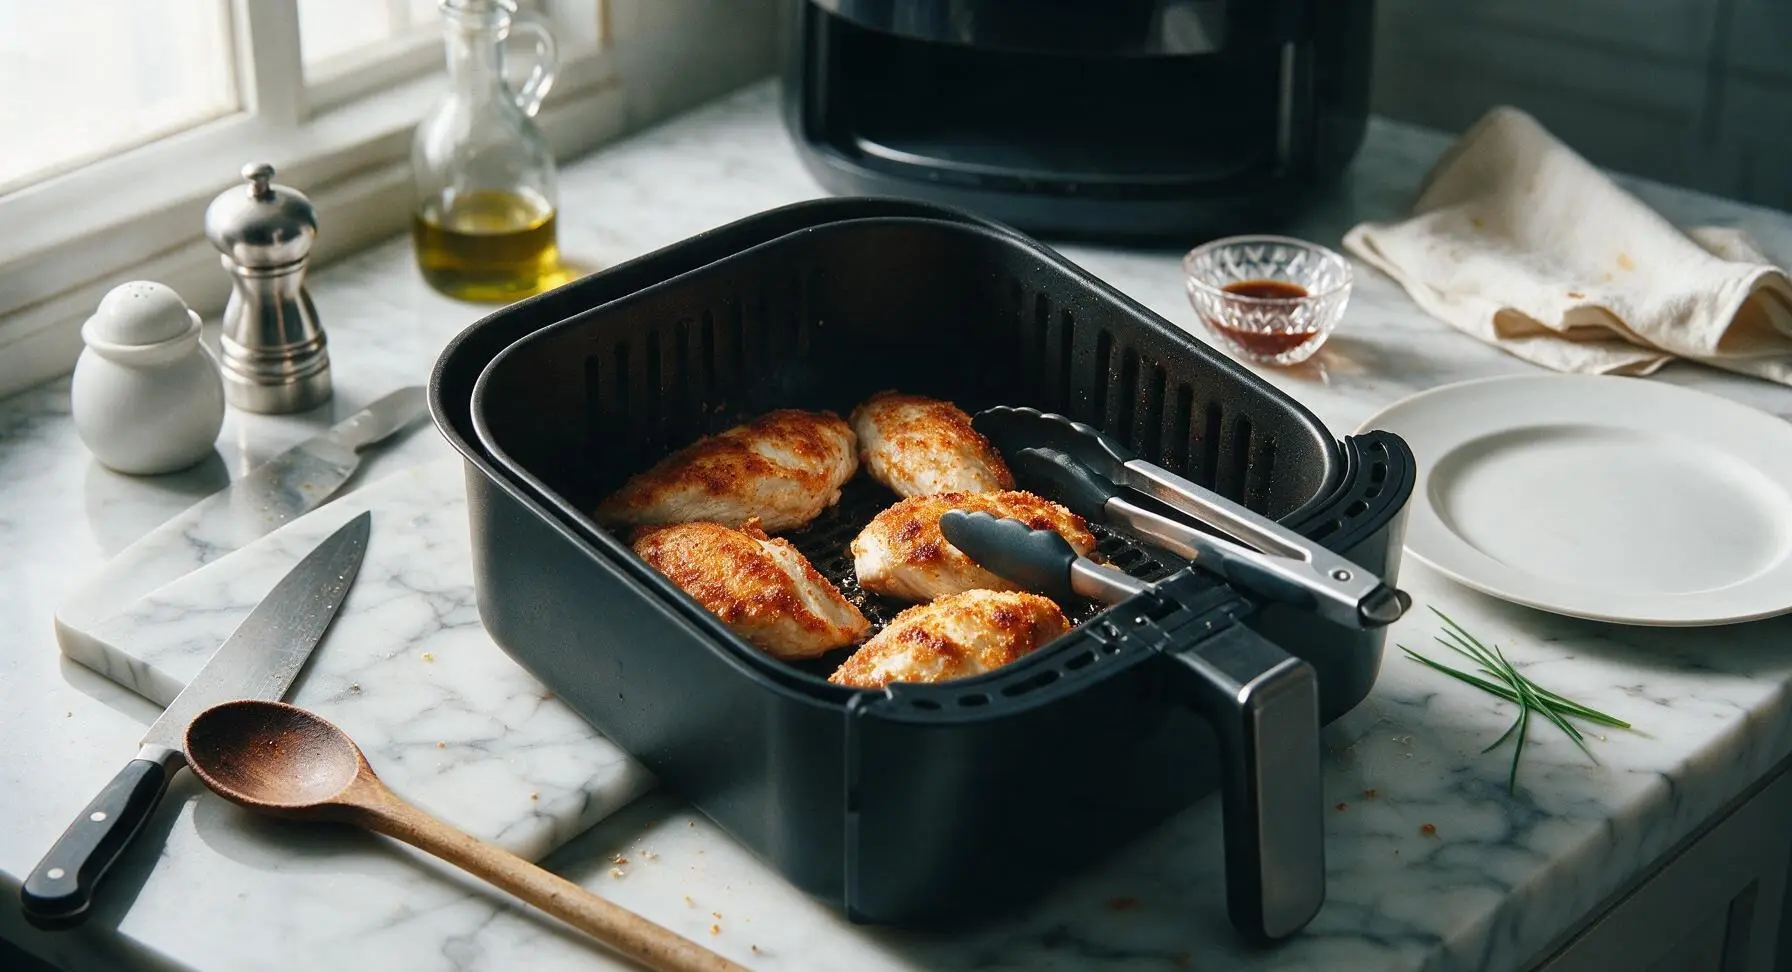
Check Internal Temperature
Pick up the digital meat thermometer from its permanent position left of the air fryer, insert the thin probe into the thickest part of each chicken breast, taking care not to touch the metal basket. Chicken is perfectly juicy and food-safe when the internal temperature reads 74C (165F). If the temperature reads lower, return the basket to the air fryer and cook in 2-minute increments until the correct temperature is reached.
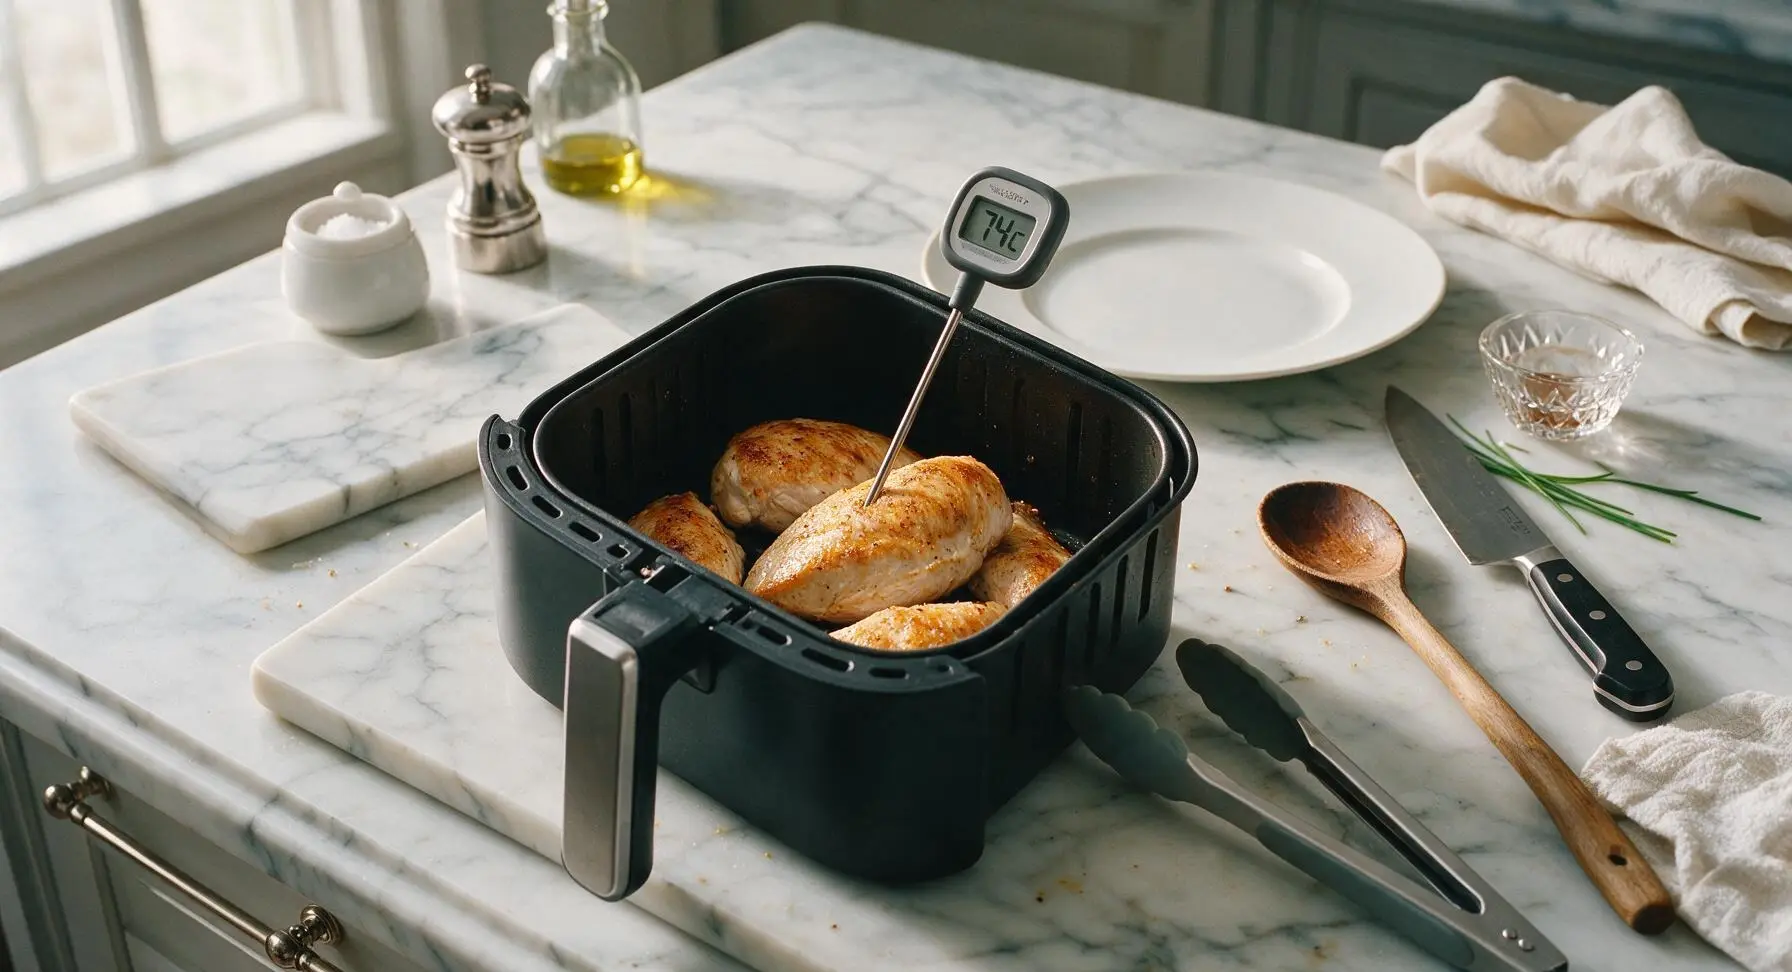
Rest Chicken Breast
Use the silicone-tipped tongs to transfer the cooked chicken breasts from the air fryer basket to one matte cream white ceramic plate pulled from the permanent stack. Tent the plate loosely with a small sheet of unbleached paper towel, and let the chicken rest for 5 minutes at room temperature. Resting allows muscle fibers to relax and juices to redistribute through the meat, rather than running out onto the plate when sliced.
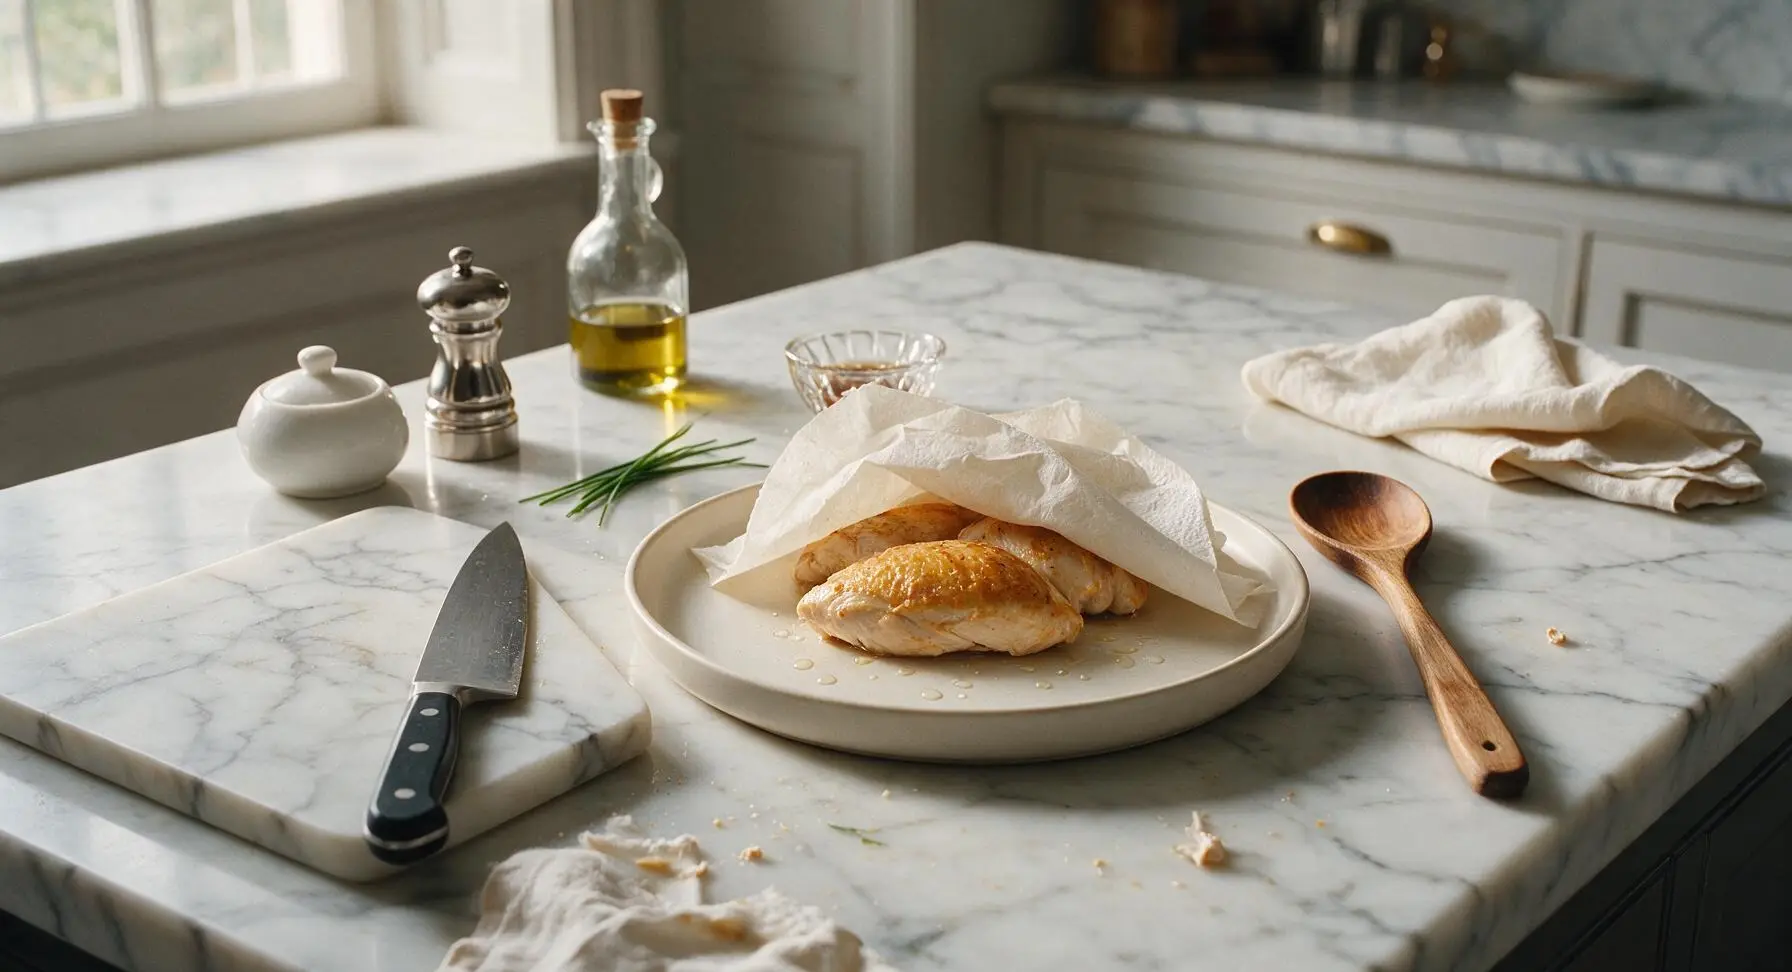
Slice and Plate
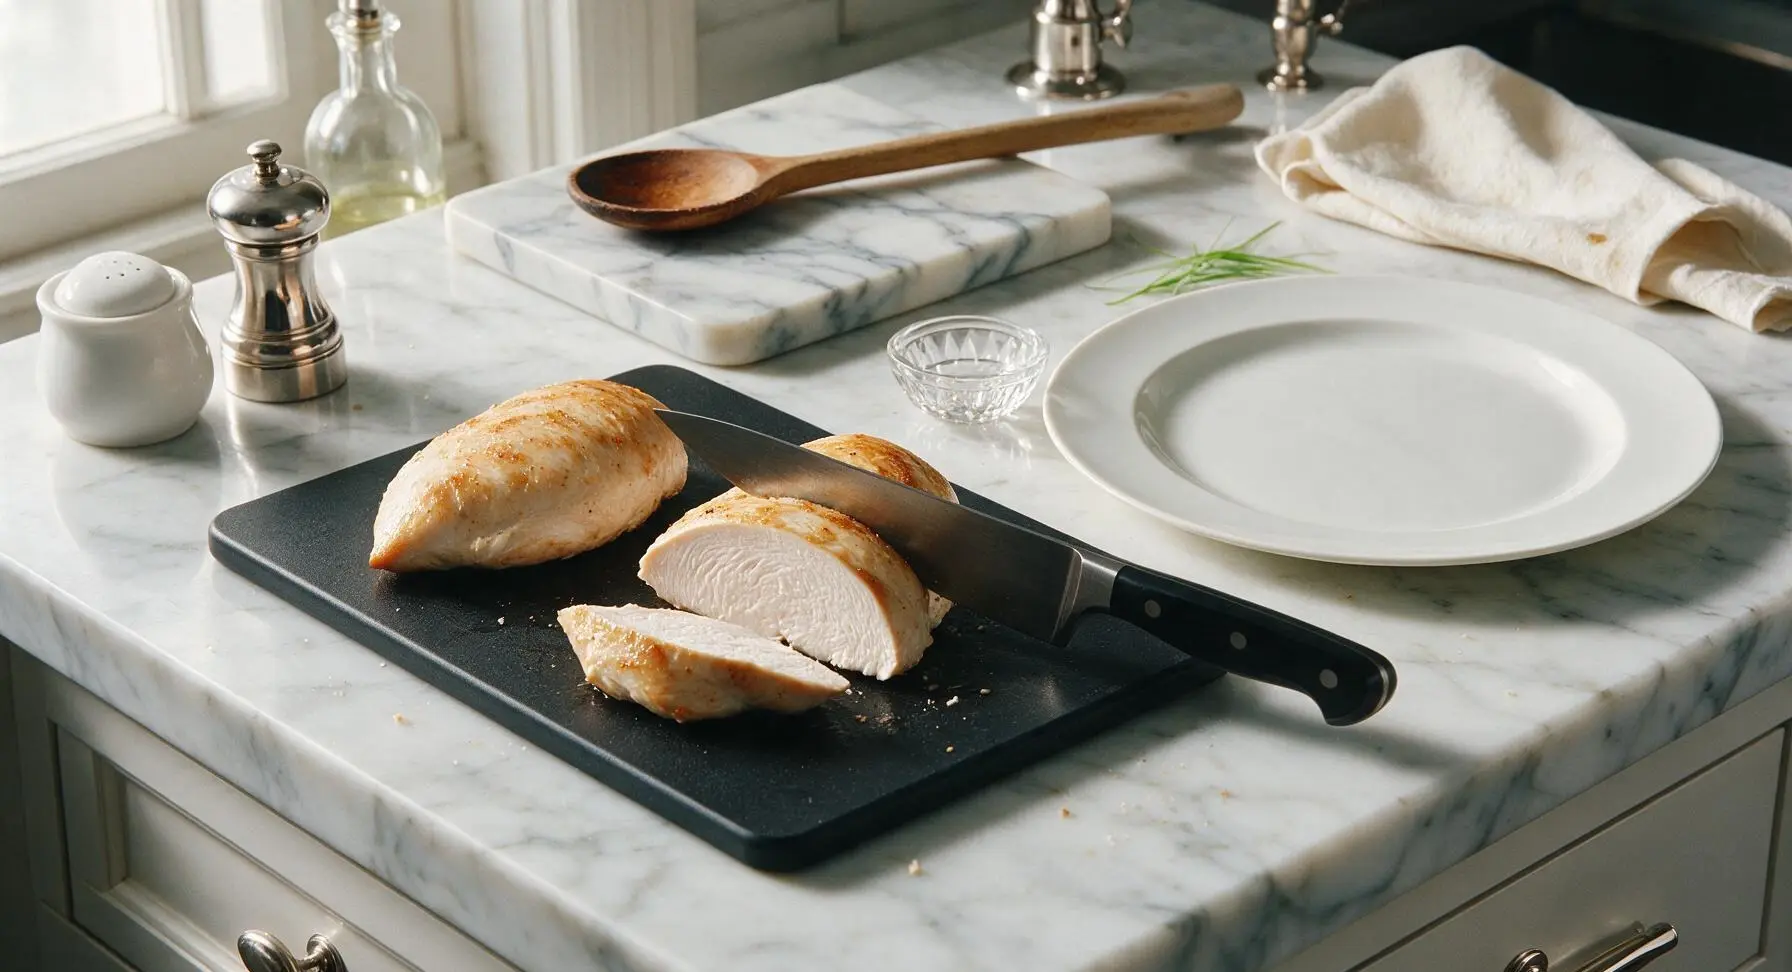
After resting, transfer the chicken back to the wiped-clean black cutting board. Use the boning knife to slice each breast against the grain into 1cm thick slices. Arrange the sliced chicken on a fresh matte cream white ceramic dinner plate, squeeze a light amount of fresh lemon juice over the top, and garnish with a small fresh thyme sprig before serving.
Tips
2.Avoid overcrowding the air fryer basket: leaving 1cm of open space between each breast allows hot air to circulate evenly around every surface, ensuring consistent browning and even cooking. If your air fryer is smaller than 5L, cook the chicken in two separate batches rather than piling pieces on top of each other.
3.Always let cooked chicken rest for 5 minutes before slicing: cutting into hot chicken immediately causes all the trapped internal juices to flow out onto the plate, leaving you with dry, tough meat even if you cooked it to the exact correct internal temperature.
4.For extra even cooking, if your chicken breasts are thicker than 3cm at the tapered thick end, cut them horizontally into two equal 2.5cm thick cutlets before seasoning, rather than pounding, to avoid overcooking the thinner tapered edges while waiting for the thick center to come to temperature.






OMG this was SO good! I’ve been overcooking chicken breast for years and this 15 minute cook time had it perfectly juicy every single bite. My 3 kids devoured it at dinner last night, no complaints at all. Already added this to our weekly rotation!
Total game changer for weeknight meals! I used to hate making boneless breast because it always turned out dry, but the air fryer method here is foolproof. Quick question though – can I use frozen chicken if I add a few minutes? Forgot to thaw mine for meal prep today.
I make a batch of this every Sunday for my work lunches! It stays juicy all week when I store it in airtight containers, and I can toss it on salads, in wraps, or even eat it plain with veggies. 10/10, easiest recipe ever.
Made this for my potluck last weekend and people were asking me for the recipe left and right! I seasoned it with a little paprika and garlic powder on top of the base seasoning the recipe calls for, and it was a total hit. So easy too, I didn’t even break a sweat getting it made before the party.
Okay I’m literally brand new to cooking and I was so nervous I’d mess this up, but it turned out perfect! The instructions were so straightforward, no fancy steps or weird ingredients. I felt like a real chef pulling this out of the air fryer lol
This is my go-to for post-workout meals! High protein, low effort, no messy pans to scrub after. Only thing is, my chicken came out a little less crispy on the outside than I wanted – any tips?
My super picky 7 year old asked for SECONDS of this chicken. I repeat – my kid who refuses to eat 90% of the food I make asked for more. I’m never making chicken any other way ever again.
So easy even I can make it in my tiny dorm air fryer! No fancy equipment needed, cheap ingredients, done in 15 minutes so I don’t have to wait forever to eat between study sessions. Saved me from spending money on takeout this week for sure.
I added a dash of cayenne and some blackened seasoning to mine and it was chef’s kiss! Perfect base recipe that you can tweak to match whatever flavor you’re craving that night. 10/10, will be making constantly.
This recipe is perfect because it’s naturally gluten free, dairy free, and doesn’t have any weird additives! I made it for my sister who has a ton of food sensitivities and she was able to eat it no problem. So grateful for simple, accessible recipes like this.
Made this for my girlfriend last night when we did a little at-home date night, paired it with roasted veggies and mashed potatoes, and she was convinced I ordered it from a nice restaurant. Little does she know it took me 15 minutes total lmao. Win for me!
I was skeptical about air fryer chicken at first – I’ve been baking chicken in the oven for 40 years! But my granddaughter talked me into trying this recipe, and I have to admit, it’s just as juicy as my oven baked version and done in a fraction of the time. I’ll be making this often, especially on busy days when I don’t want to heat up the whole kitchen.
Just got my first air fryer last week and this was the first recipe I tried! It turned out so good that I’m actually excited to test more air fryer recipes now. Quick question – what temperature are you using? I think my air fryer runs a little hot because the edges got a tiny bit charred even at the time listed.
I’ve tried like 6 different air fryer chicken breast recipes online and this one is hands down the best. No weird brining steps, no marinating for hours, just season and cook, and it’s juicy every single time. Saves me so much time on my Sunday prep sessions.
Made a big batch of this for our tailgate last weekend, sliced it up and put it on sliders with pickles and mayo. It was gone in 10 minutes! So much easier than grilling when we’re trying to set up all the other tailgate food, and it stays warm in the foil pan for a good while. Will be a regular on our tailgate menu from now on.
This is perfect for my low carb diet! Zero breading, tons of flavor, pairs amazing with roasted broccoli and cauliflower rice. I don’t get bored of it even when I eat it a couple times a week. So glad I found this recipe!
Wait, I followed the time exactly but my chicken was still a little pink in the middle? Did I do something wrong? I cut into the thickest part and it was 150°F when I pulled it out.
I love that I don’t have to scrub a bunch of pans after making this! Just line the air fryer basket with a little parchment paper, cook, toss the paper, and cleanup takes 30 seconds. As someone who hates doing dishes more than anything, this is a dream come true.
My partner and I made this together last night for our weekly at-home cooking night and it was so fun! We each seasoned a piece differently (I did lemon pepper, they did BBQ rub) and both turned out incredible. 15 minutes was the perfect amount of time, we didn’t even have to wait long to eat after we got home from work. Will be a staple for us.