
air fryer baked chicken

title 1
air fryer baked chicken
⏱️ cook time 25 minutes
🍽️ servings 4
⚡ Difficulty easy

intro

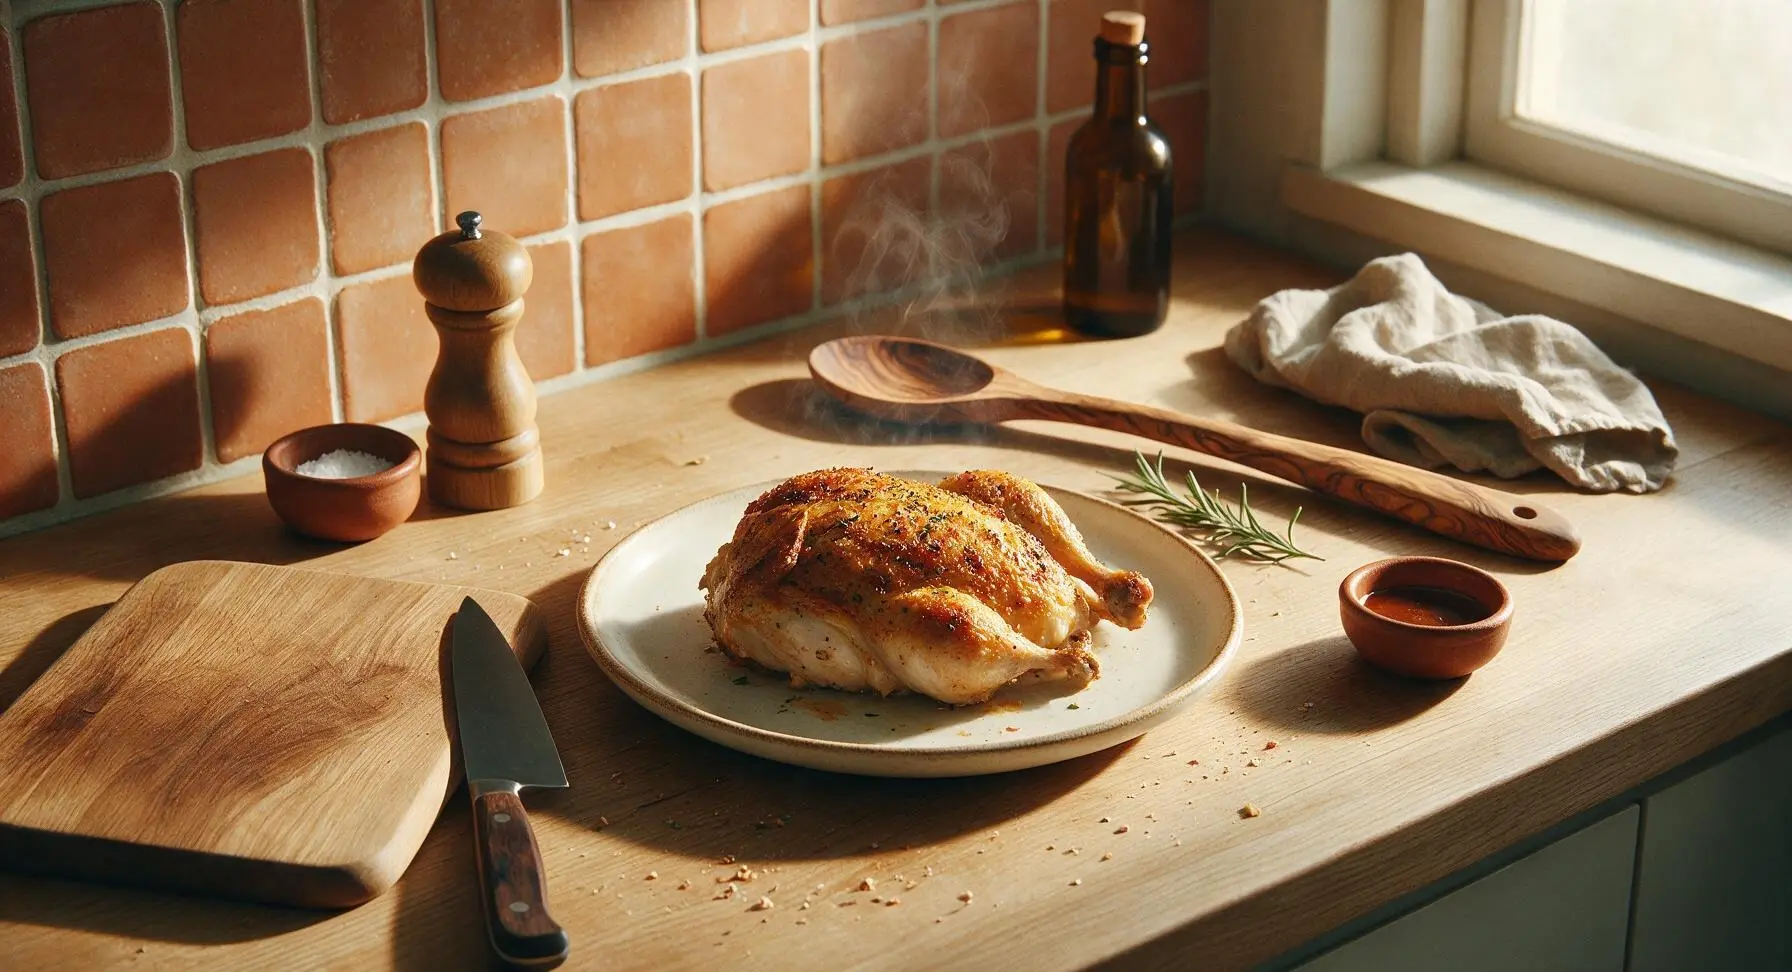
Juicy, shatteringly crisp-skinned herb-seasoned chicken made in the air fryer, with no long oven preheat and minimal cleanup—perfect for fast, satisfying weeknight dinners.

Ingredients
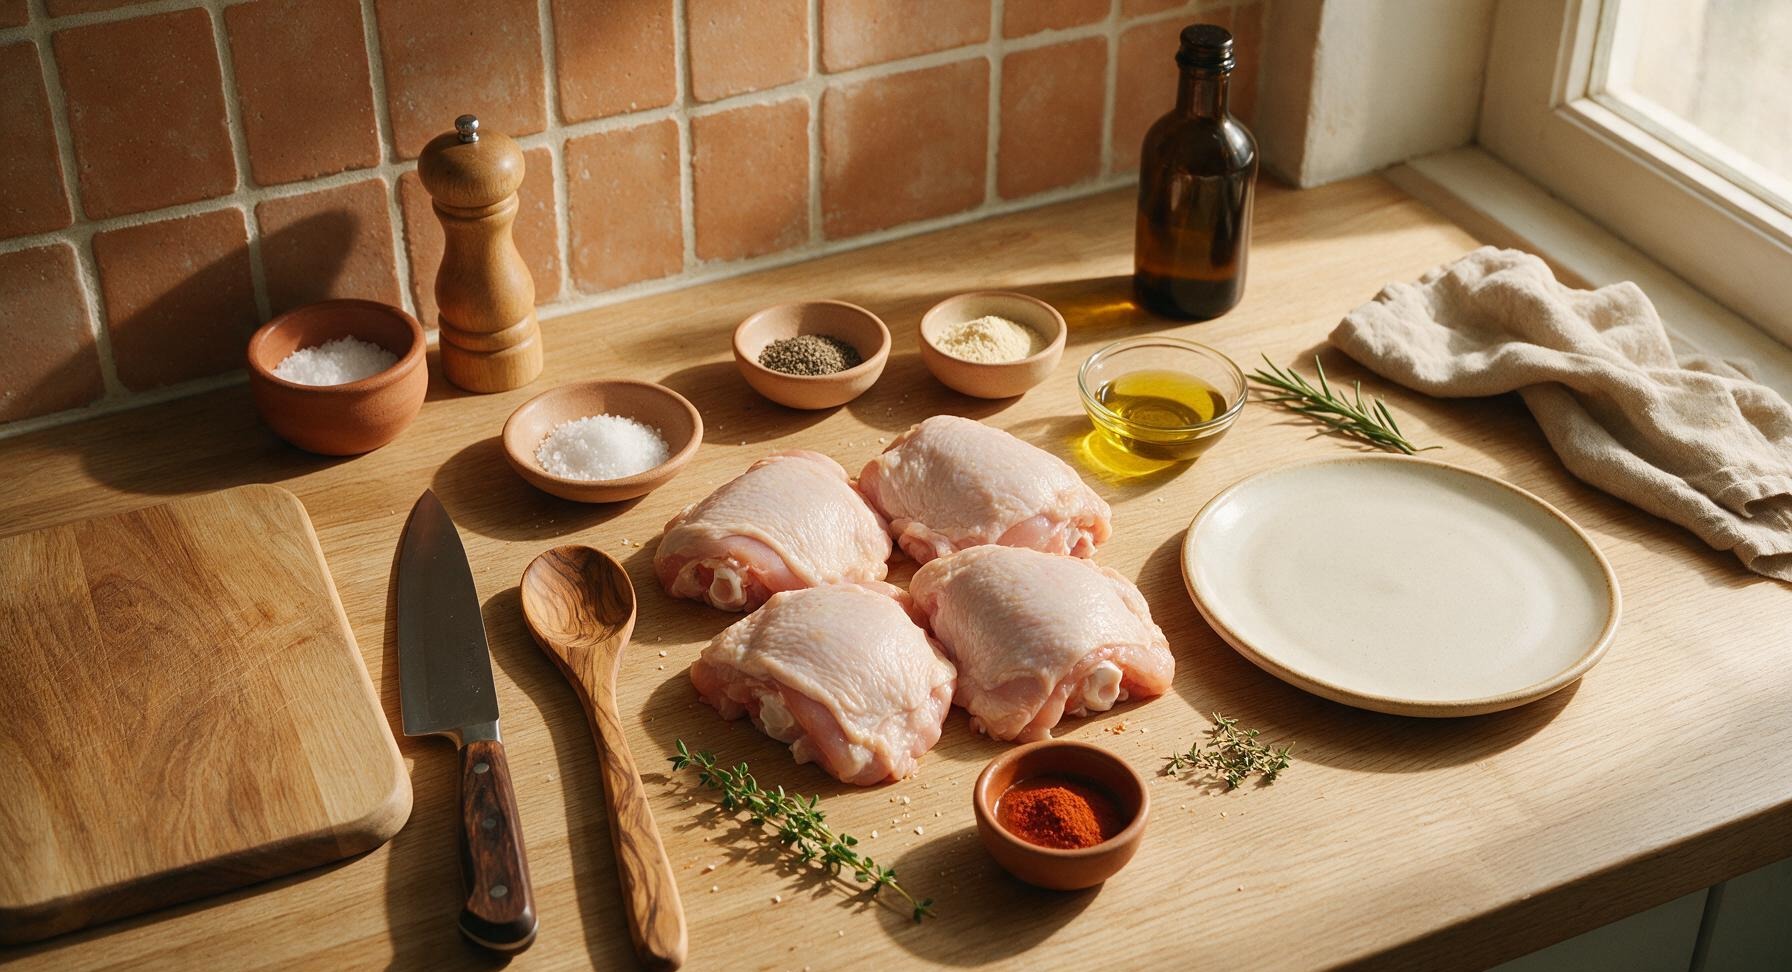
Bone-in, skin-on chicken thighs 4 pieces (approx 480g total)
Extra-virgin olive oil 1 tablespoon
Kosher salt 1 teaspoon
Freshly ground black pepper ½ teaspoon
Garlic powder 1 teaspoon
Smoked paprika ½ teaspoon
Dried thyme ¼ teaspoon
Fresh thyme sprigs 2 sprigs (for garnish)

Steps

1

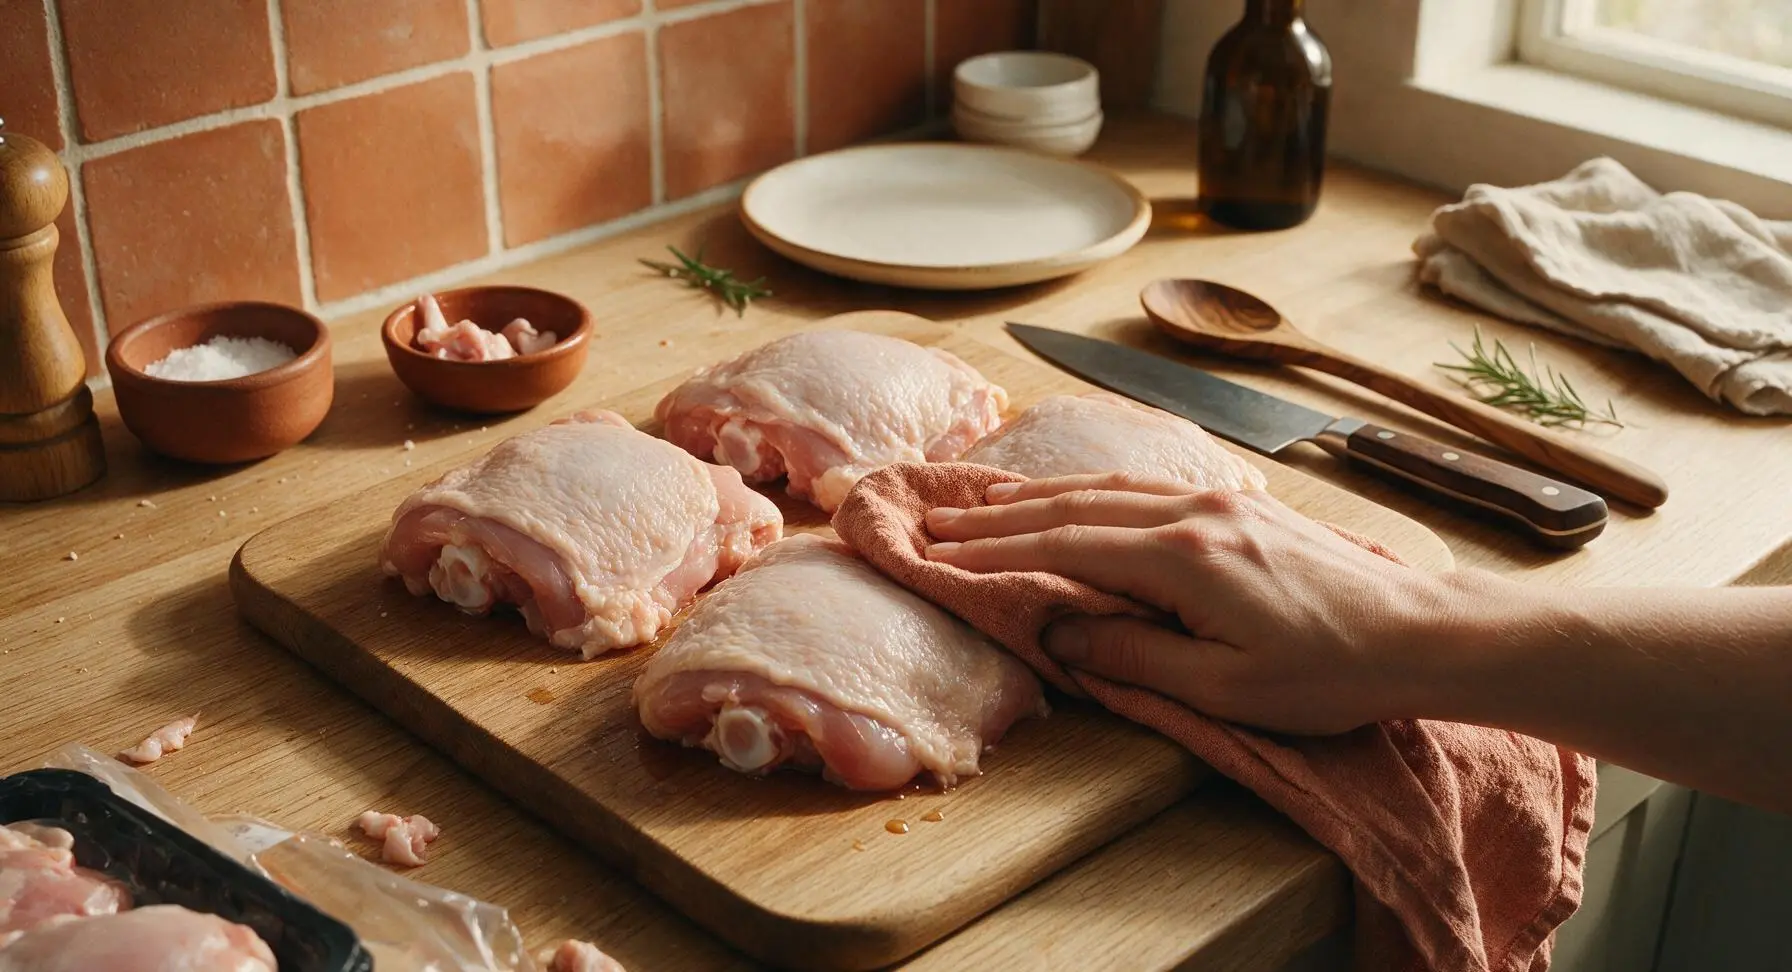
Pat Chicken Dry

Remove the 4 bone-in, skin-on chicken thighs from their packaging, placing them skin-side up on the light maple cutting board. Use a clean corner of the terracotta linen towel to firmly pat every surface of the chicken—especially the skin side—completely dry. Discard any excess packaging or loose fat trimmings into the small terracotta ramekin. Properly dried skin is critical for crisp, non-rubbery results; the chicken surface should feel fully matte to the touch, with no visible damp spots when finished.
Step 1
step1:Pat Chicken Dry
2

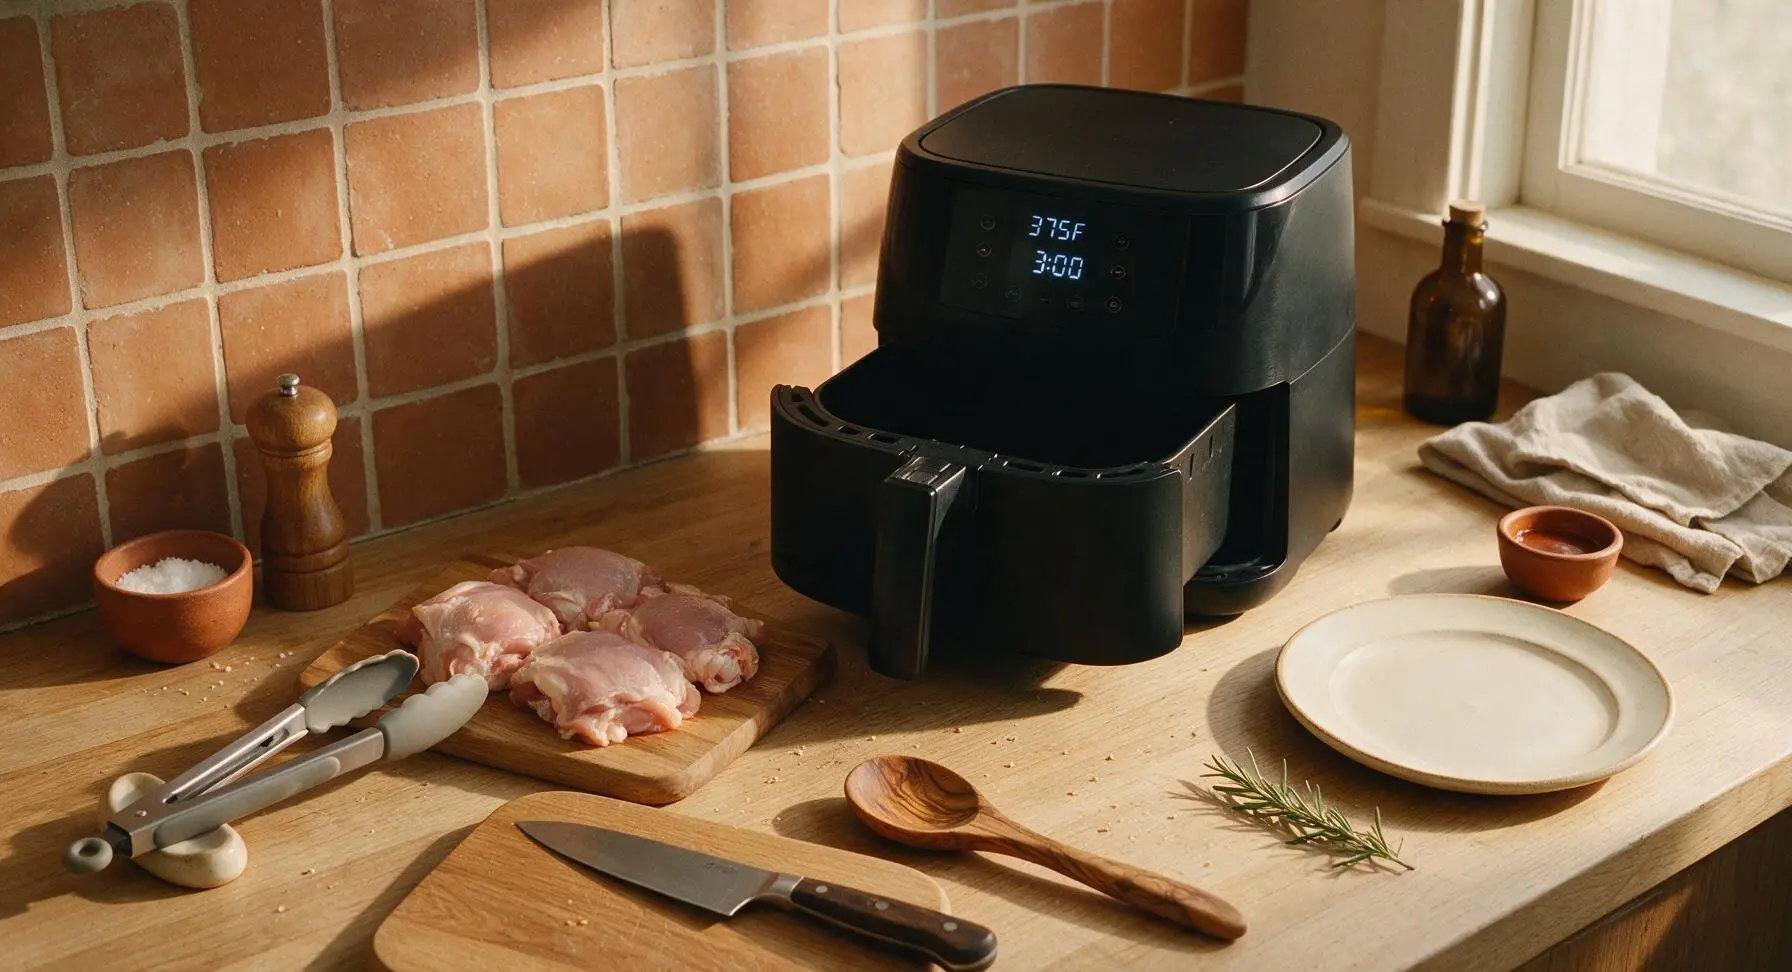
Preheat the Air Fryer

Pull the basket out of the matte black air fryer, spritz the basket mesh lightly with a thin coat of olive oil to prevent sticking. Set the air fryer to 190C / 375F, and preheat for 3 minutes. Avoid preheating longer than 3 minutes, as this can cause the basket to overheat and lead to burnt chicken skin before the meat cooks through.
Step 2
step2:Preheat the Air Fryer
3

Mix Seasoning Blend

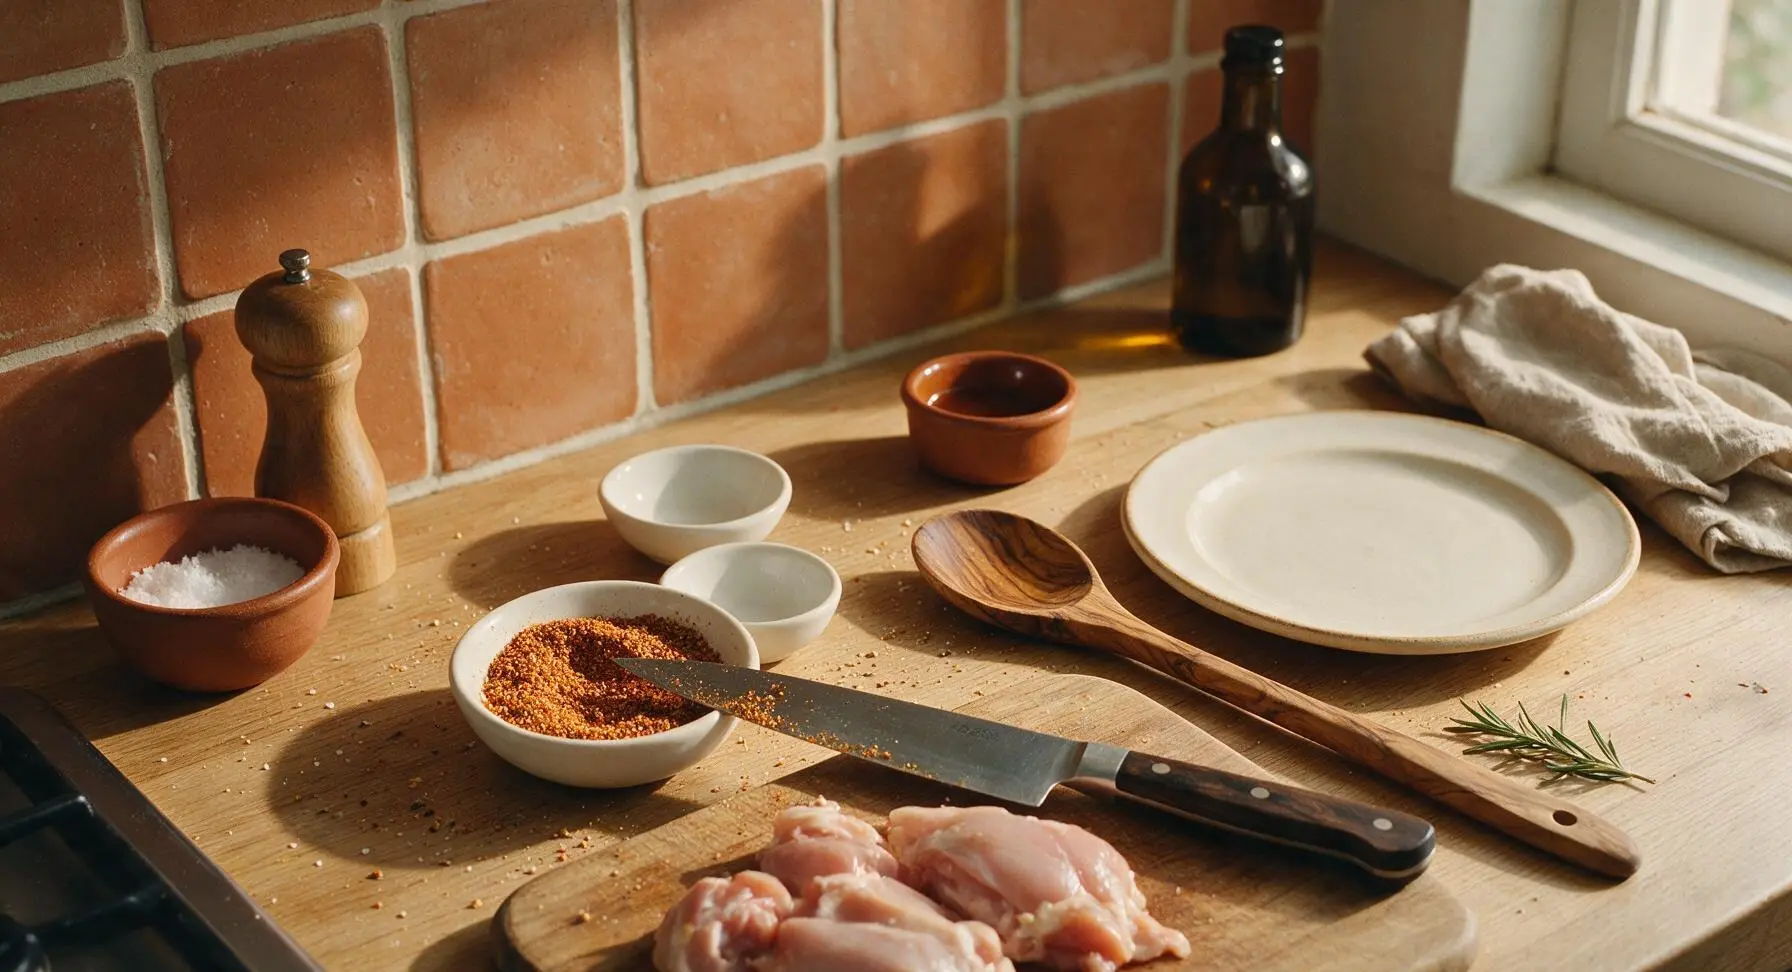
Measure 1 teaspoon kosher salt, ½ teaspoon freshly ground black pepper, 1 teaspoon garlic powder, ½ teaspoon smoked paprika, and ¼ teaspoon dried thyme into one of the small white pinch bowls. Stir the spices together with the tip of the walnut-handled chef knife until evenly combined, breaking up any small clumps of paprika or garlic powder. The finished blend should be a uniform warm reddish-tan color with no streaks of single spices.
Step 3
step3:Mix Seasoning Blend
4

Coat Chicken Evenly

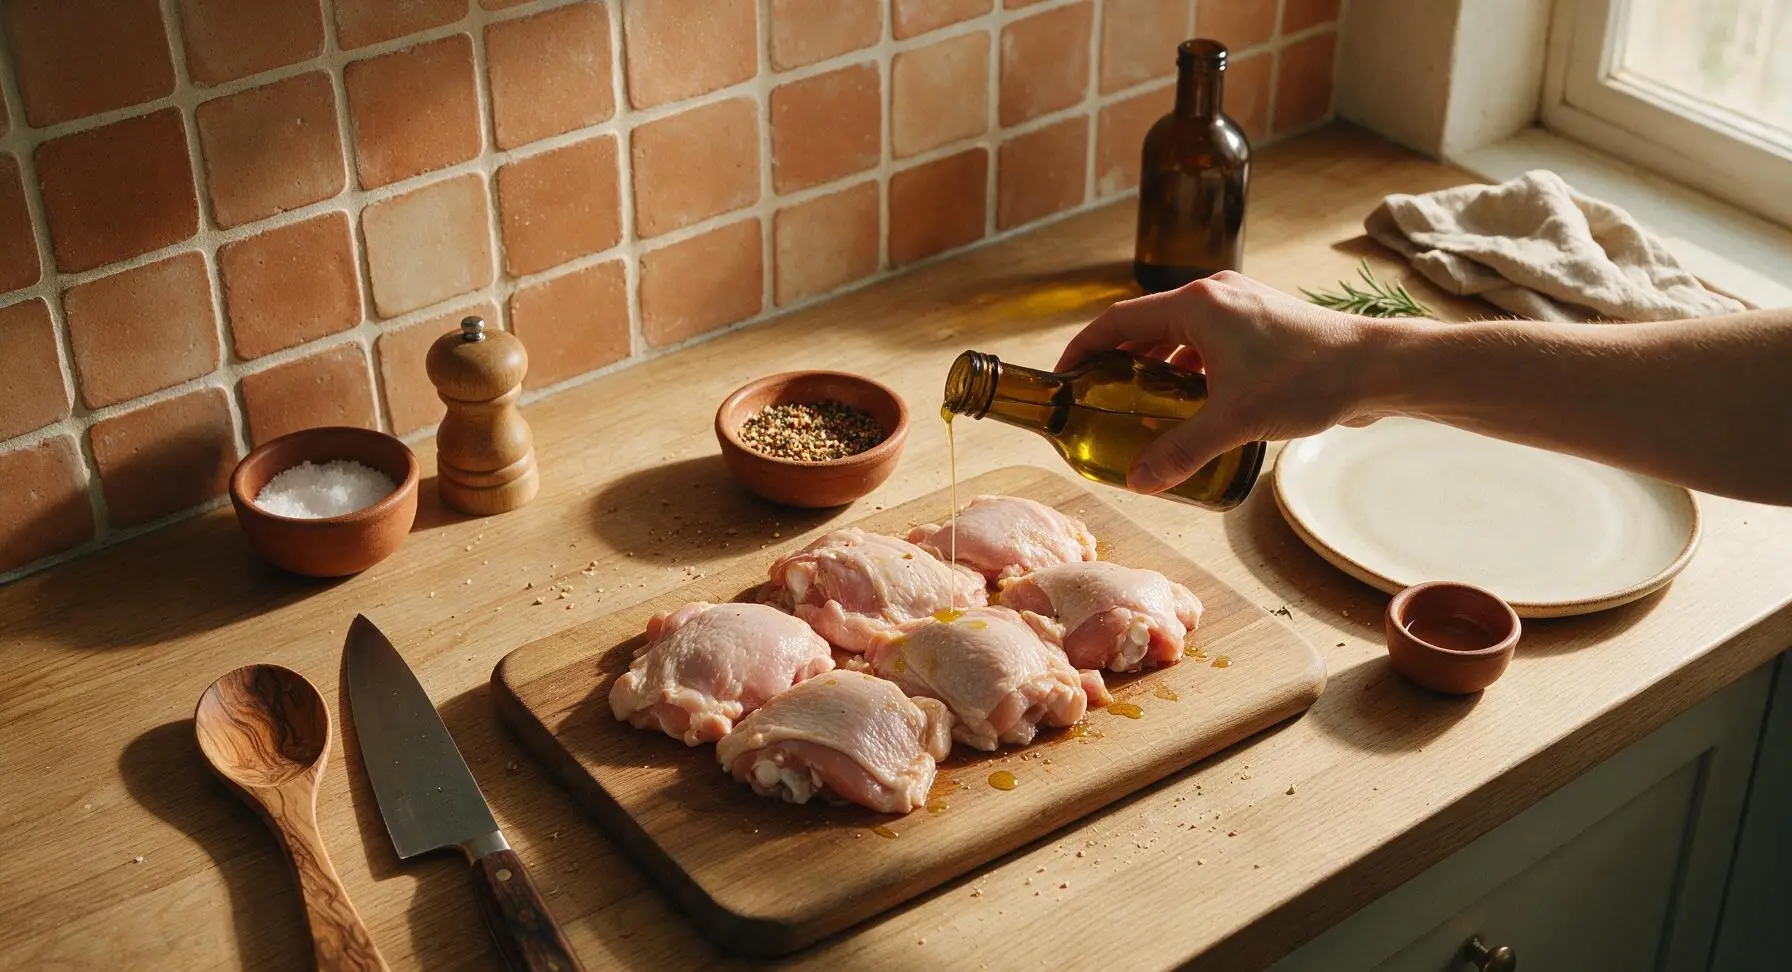
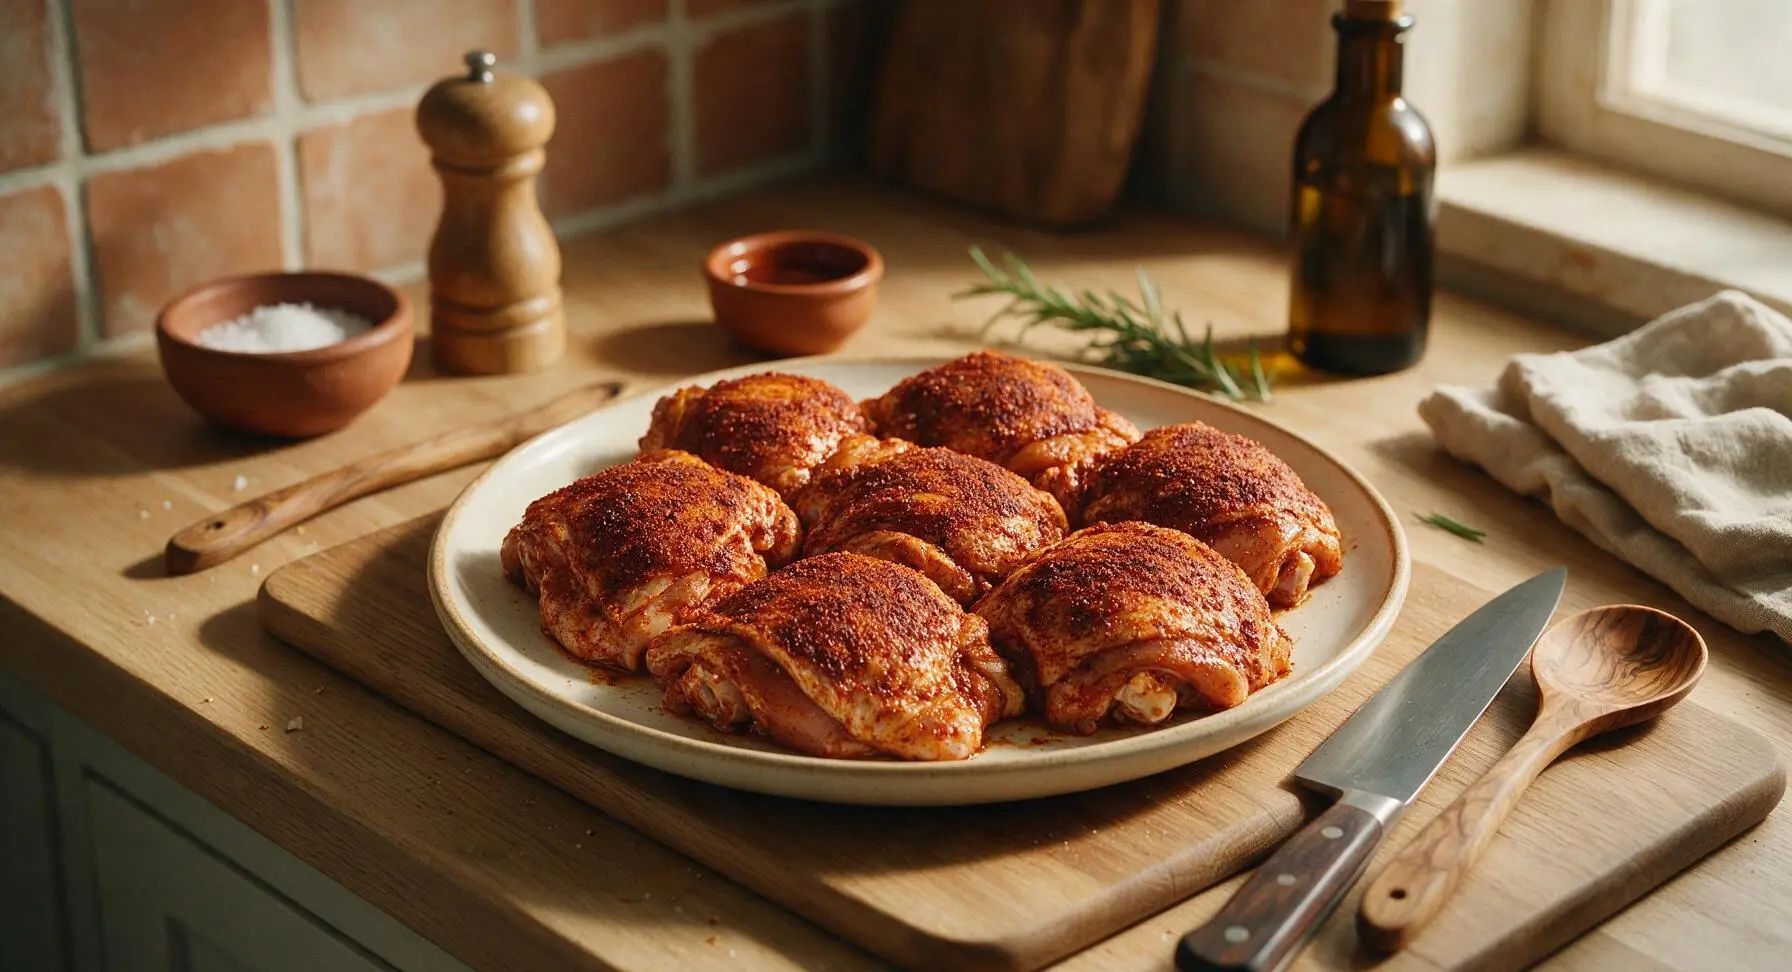
Drizzle 1 tablespoon of olive oil over the dried chicken thighs, using clean hands to rub the oil over every surface (both skin and bone side) of the chicken. Sprinkle ¾ of the mixed spice blend evenly over the skin side, rubbing gently to press spices into the skin, then flip the thighs and sprinkle the remaining spice blend over the bone side. The chicken should be evenly coated, with no large bare patches of skin or meat visible.
Step 4
step4:Coat Chicken Evenly
Step 4
step4:Coat Chicken Evenly
5

Arrange in Air Fryer Basket

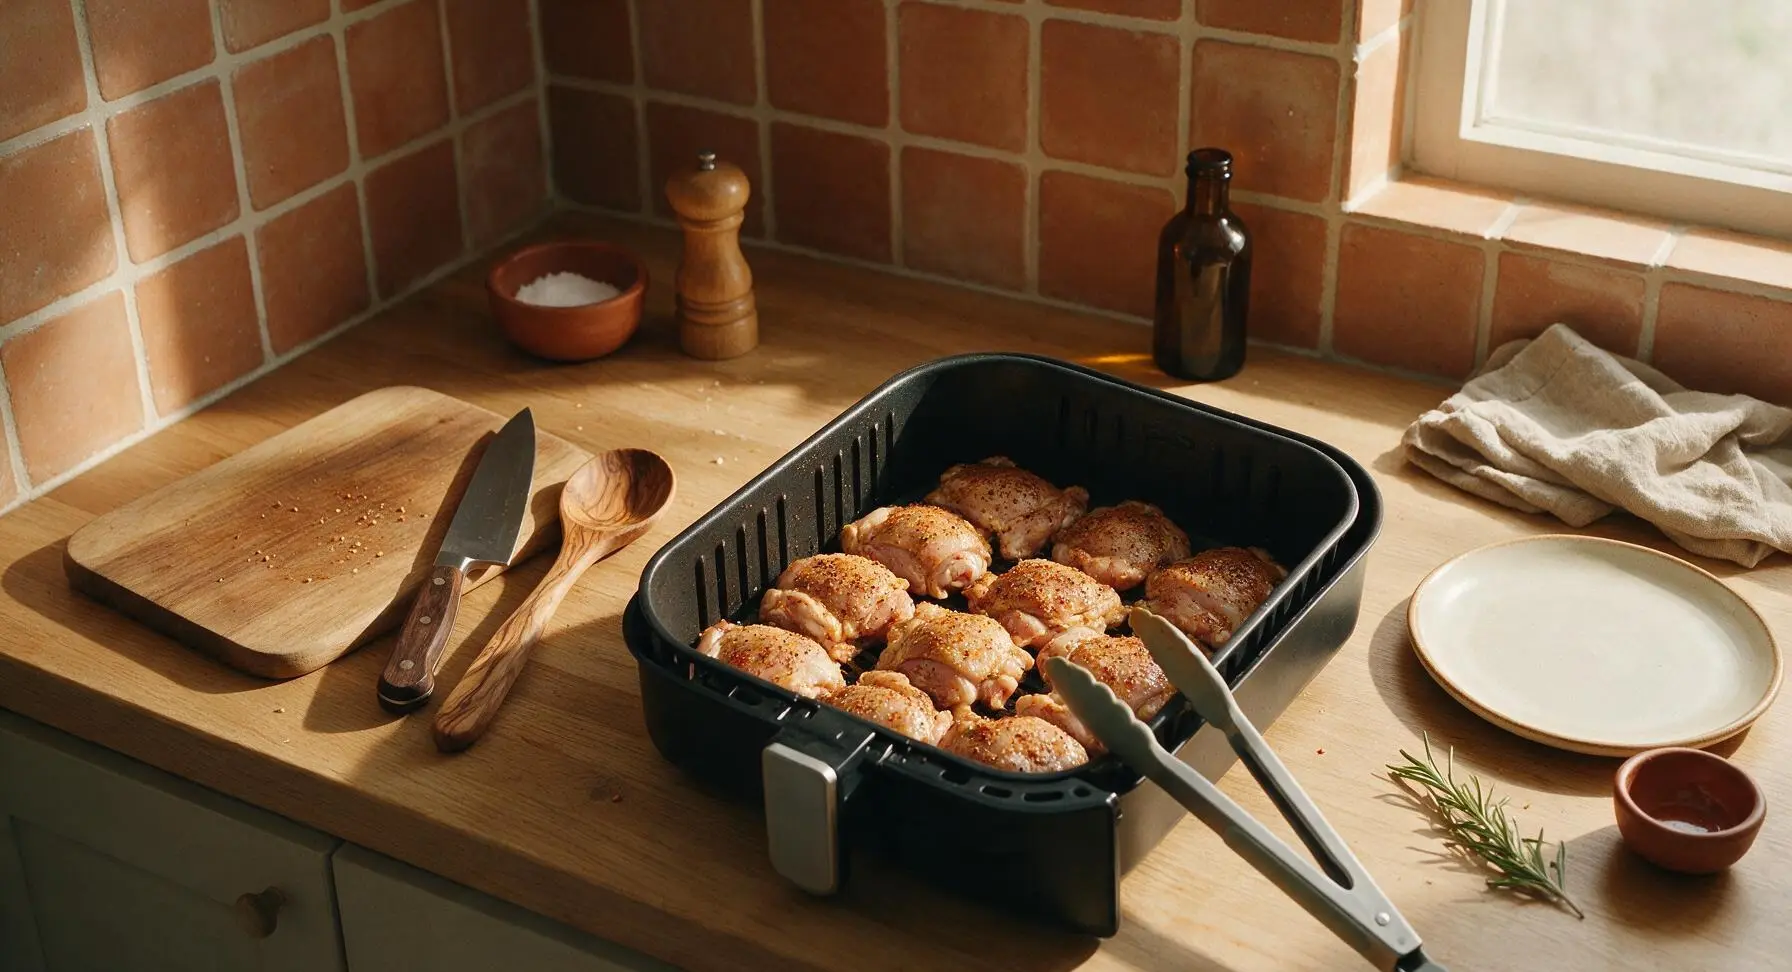
Once the air fryer finishes preheating, place the seasoned chicken thighs in the air fryer basket in a single even layer, skin-side UP. Do not stack or overlap the thighs; leave 1cm of space between each piece to allow hot air to circulate evenly. If using a smaller air fryer, cook in 2 batches to avoid overcrowding, which causes soggy, steamed skin.
Step 5
step5:Arrange in Air Fryer Basket
6

Air Fry the Chicken

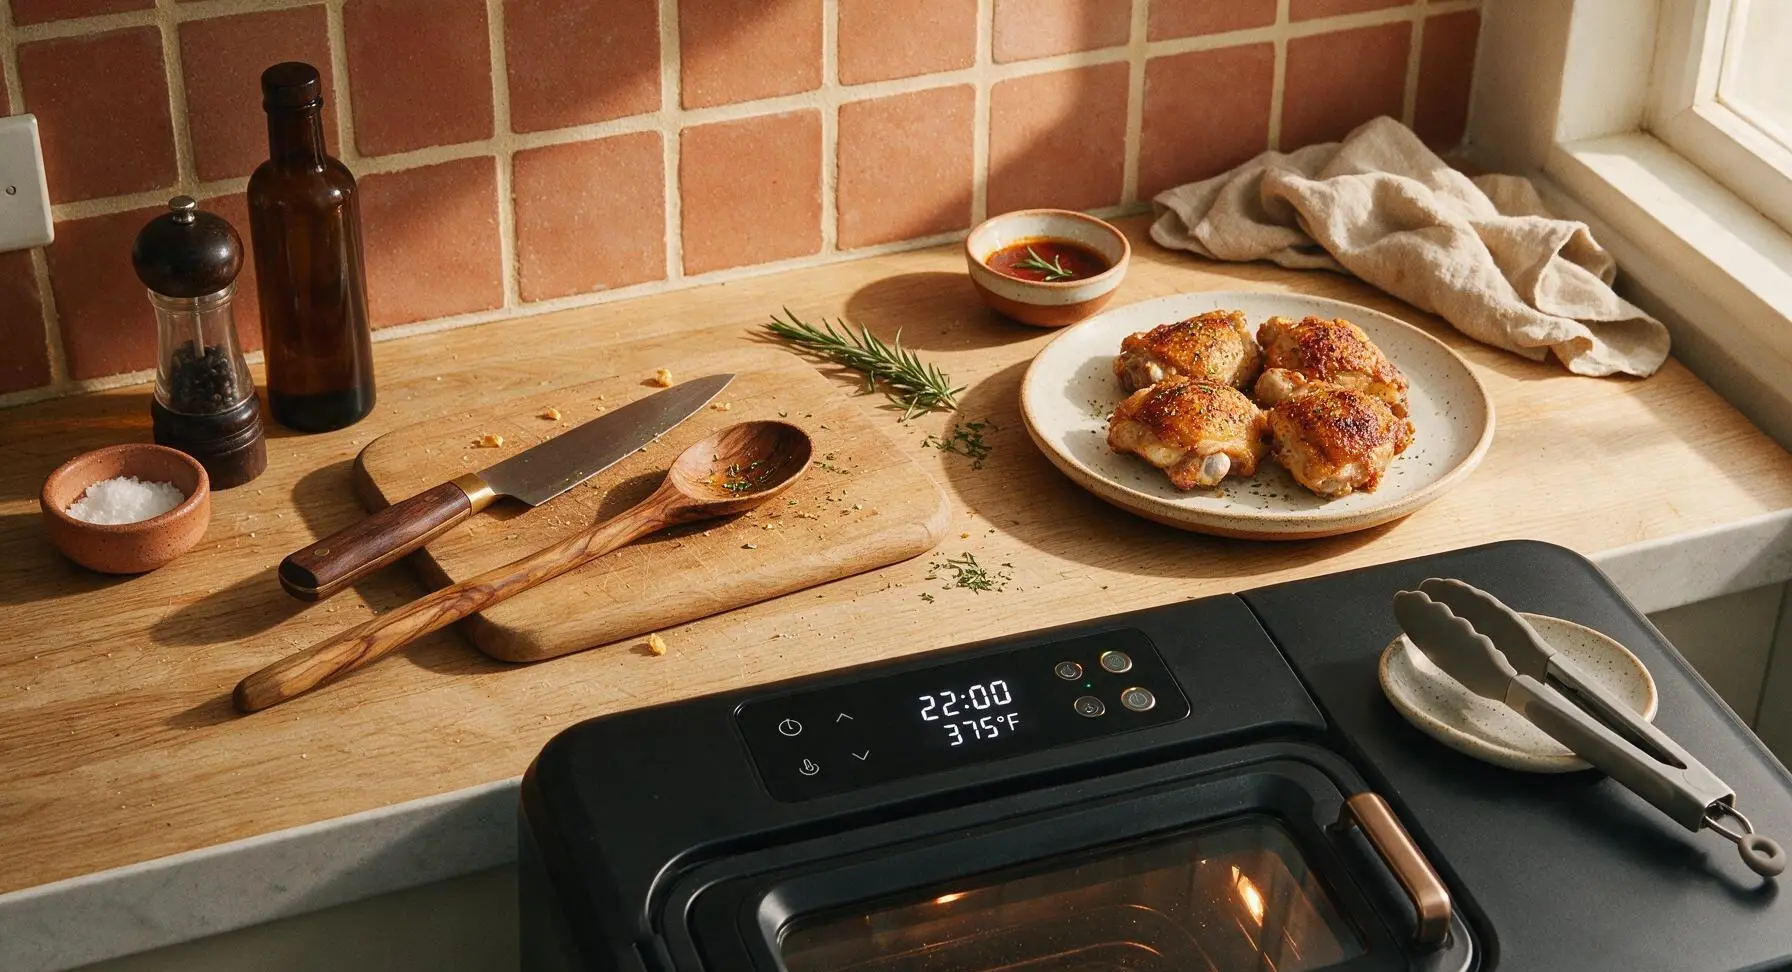
Slide the basket back into the air fryer, set the timer for 22 minutes at 190C / 375F. Do not flip the chicken during cooking—keeping the skin side up the entire time allows fat to render fully and the skin to crisp evenly without sticking. Avoid opening the air fryer basket for the first 18 minutes, as this drops internal temperature and slows the crisping process.
Step 6
step6:Air Fry the Chicken
7

Check for Doneness

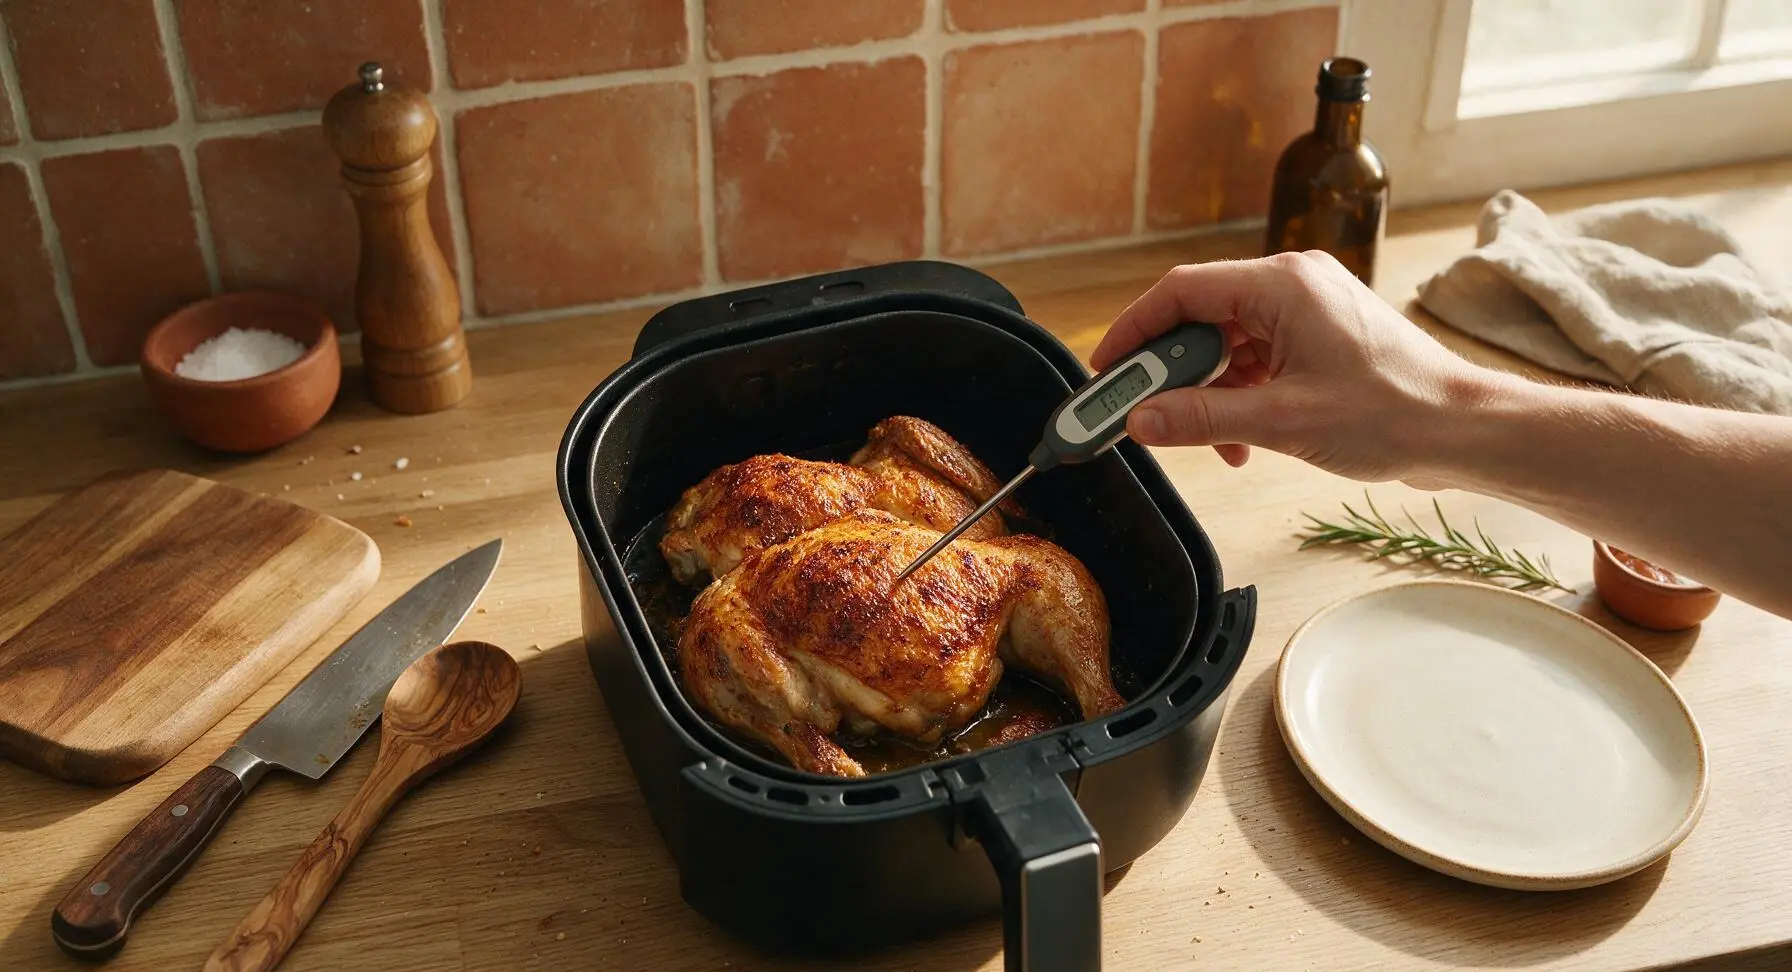
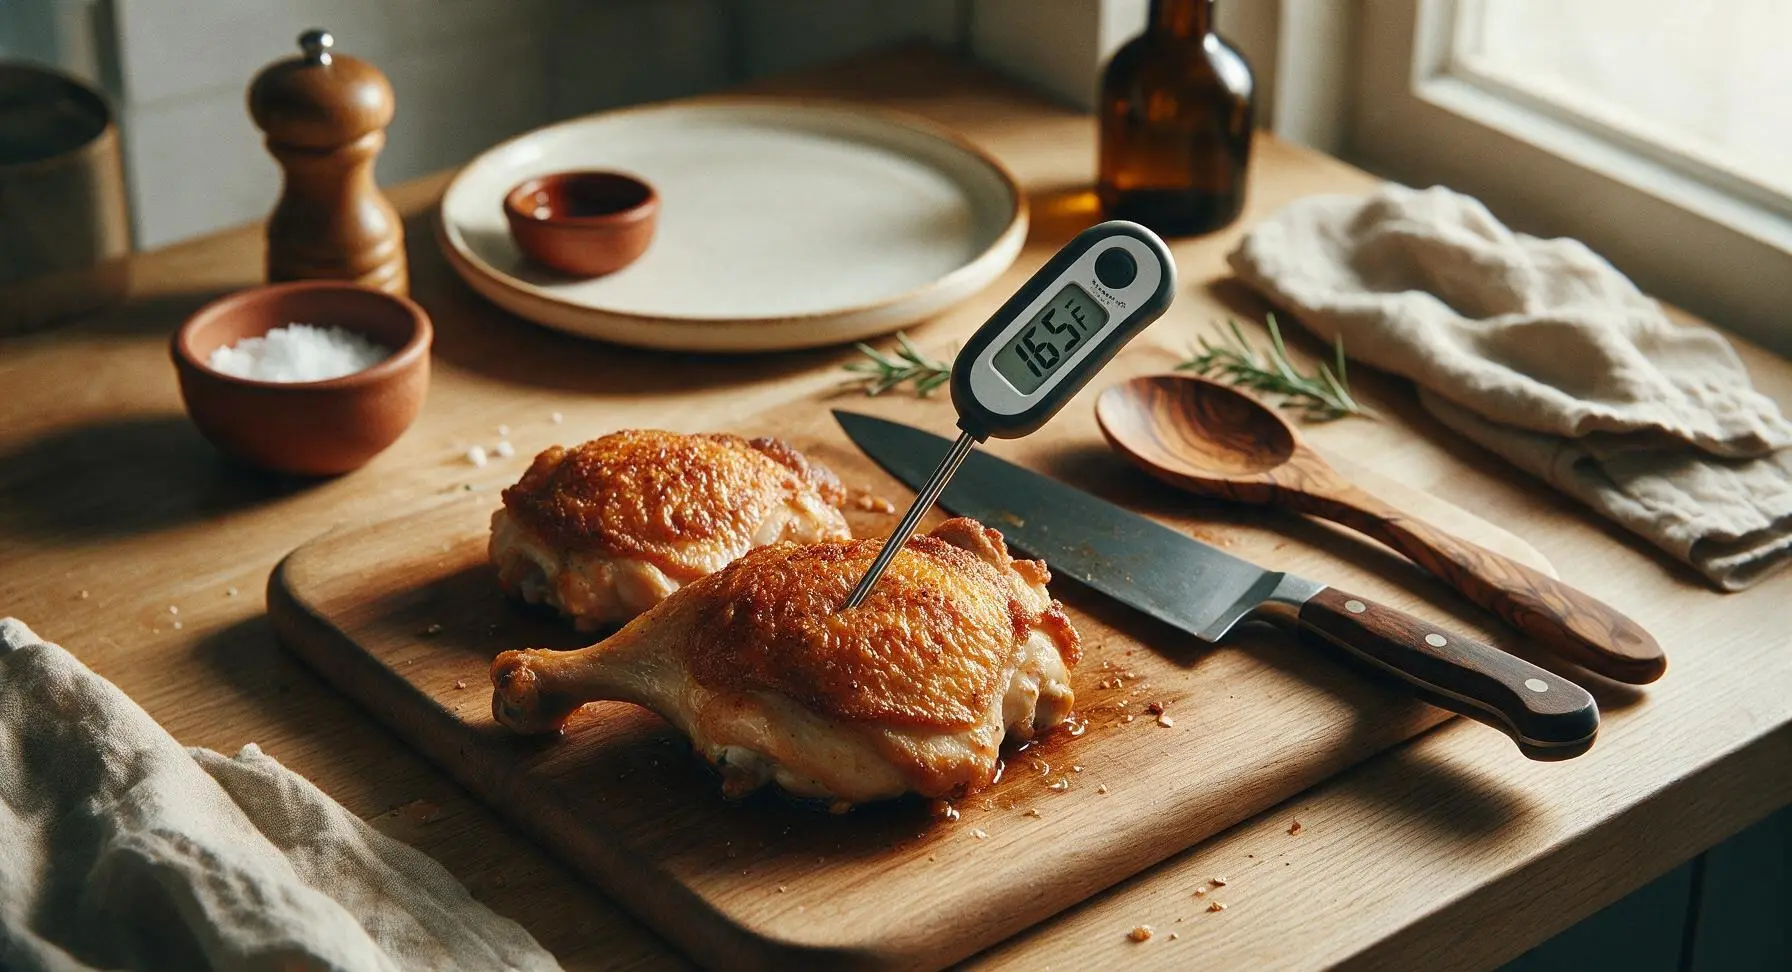
When the timer goes off, pull the air fryer basket out. Insert an instant-read meat thermometer (no visible brand logos) into the thickest part of the largest thigh, avoiding contact with the bone: the internal temperature should read 75C / 165F for safe consumption. The skin should be deep golden brown, crisp to the touch, with visible rendered fat bubbling lightly around the chicken edges. If skin is not fully crisp, cook for an additional 2-3 minutes, checking every minute to avoid burning the paprika in the spice blend.
Step 7
step7:Check for Doneness
Step 7
step7:Check for Doneness
8

Rest and Plate Chicken

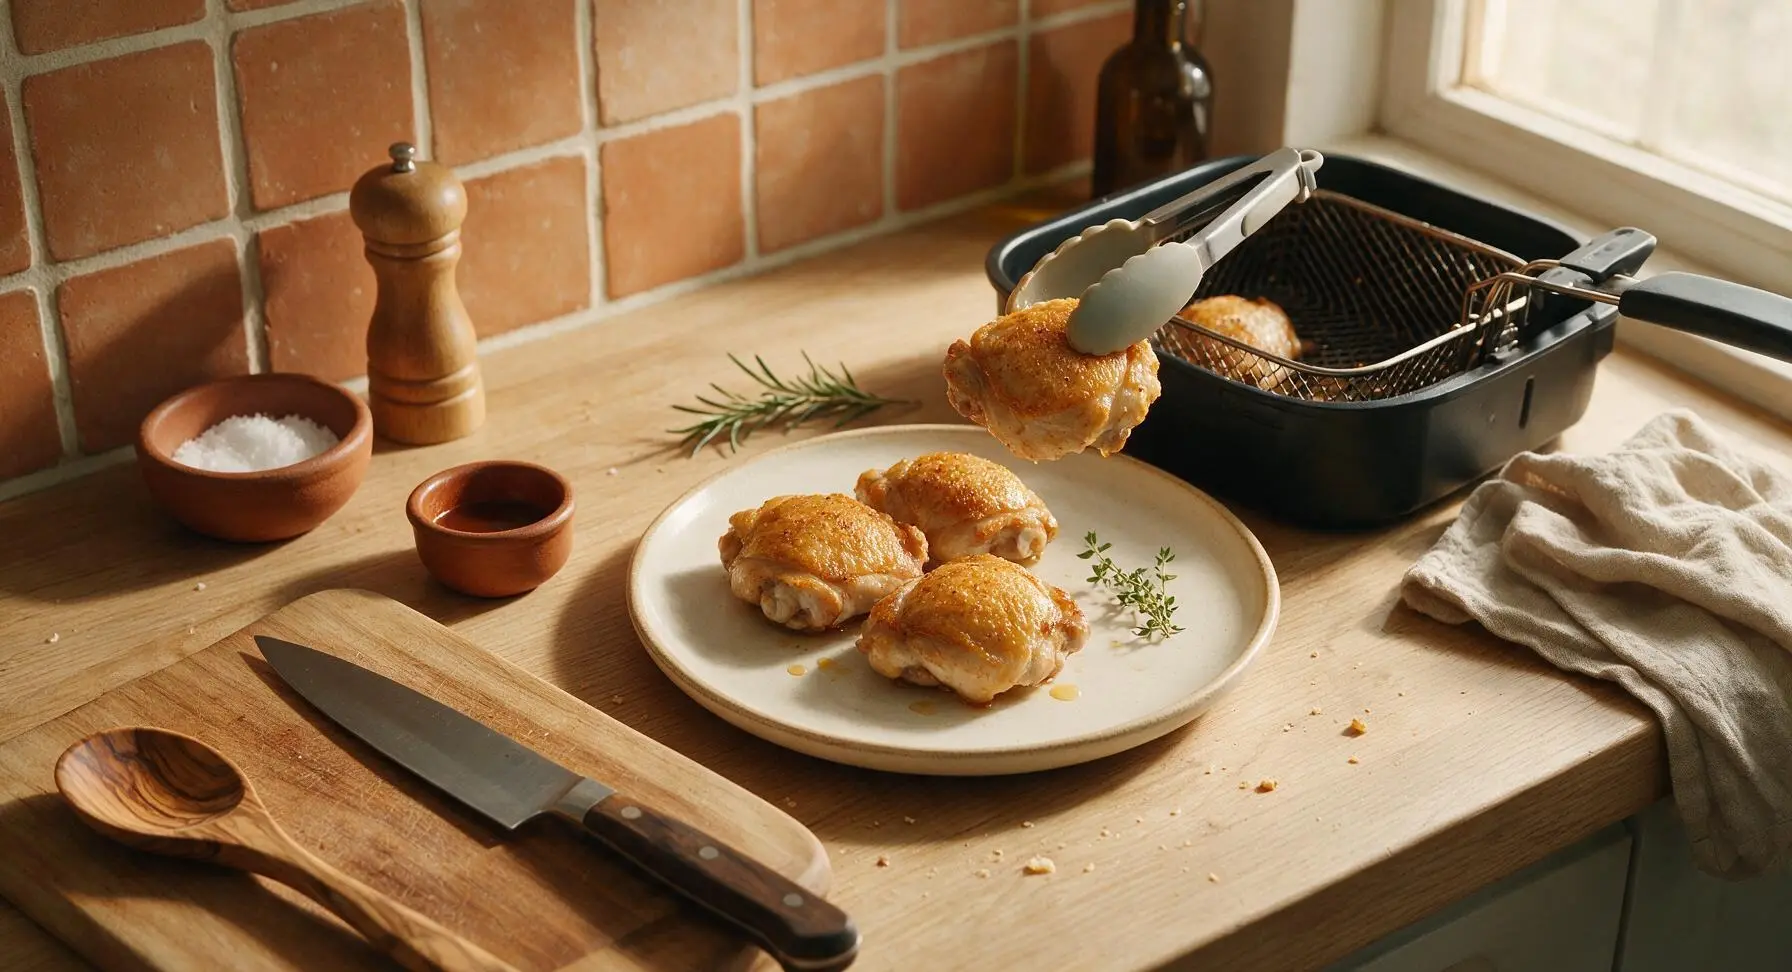
Use the silicone tongs to transfer cooked chicken thighs from the air fryer basket to the 26cm cream ceramic dinner plate. Let the chicken rest for 3 minutes to allow juices to redistribute back into the meat, rather than running out when cut or bitten into. Garnish with a small sprig of fresh thyme before serving.
Step 8
step8:Rest and Plate Chicken

Tips

1.Pat chicken completely dry with a clean towel before seasoning: any residual moisture on the skin will steam instead of crisp in the circulating air fryer heat, leading to rubbery, chewy skin instead of the desired golden crisp texture.
2.Never overcrowd the air fryer basket: leave at least 1cm of space between each chicken thigh to allow unobstructed hot air flow. If cooking for a larger group, work in 2 batches rather than stacking or overlapping pieces, which causes soggy, unevenly cooked chicken.
3.Resist the urge to flip chicken mid-cook: keeping thighs skin-side up for the full cook time lets rendered subcutaneous fat baste the skin as it melts, creating a shatteringly crisp texture and preventing delicate skin from tearing or sticking to the basket mesh.


✨ You May Also Like

Main Course
🍜 United Kingdom

A showstopping classic of tender seared beef, savory mushroom duxelles, and crisp prosciutto wrapped in flaky golden puff pastry, baked to juicy perfection.

⏱️ 2 hours 1Main Course ★ 4.7
Main Course
🍜 India

Tender charred marinated chicken simmered in a rich, spiced creamy tomato sauce, this iconic Anglo-Indian curry pairs perfectly with basmati rice or warm naan.

⏱️ 50 minuteMain Course ★ 4.6
Main Course
🍜 Thailand

Classic tangy, sweet, and savory Thai stir-fried rice noodles with shrimp, tofu, and crunchy garnishes, balancing all five core Thai flavor profiles.

⏱️ 30 minuteMain Course ★ 4.5
Main Course
🍜 United Kingdom

Crispy golden beer-battered cod and fluffy double-fried chips, served with tangy tartar sauce and malt vinegar: the timeless, beloved British pub comfort classic.

⏱️ 45 minuteMain Course ★ 4.7
Main Course
🍜 Mexico

Smoky, chile-marinated pork tacos with caramelized pineapple, fresh cilantro, and lime: a beloved classic Mexican street food perfect for casual summer gatherings.

⏱️ 1 hour 45Main Course ★ 4.8
Main Course
🍜 United States

Crunchy Fritos corn chips layered with savory beef chili and melted cheddar, topped with cool, zesty fixings for a beloved, cozy Tex-Mex comfort food.

⏱️ 35 minuteMain Course ★ 4.8

air fryer baked chicken:Frequently Asked Questions

1.Why does this recipe call for bone-in, skin-on chicken thighs instead of boneless, skinless cuts or chicken breasts? ▾
Bone-in, skin-on thighs are far more forgiving for air frying! The insulating bone and higher natural fat content in dark meat keep the chicken juicy even if you slightly overcook it, and the skin renders perfectly to that signature shatteringly crisp texture. Lean boneless breasts dry out much faster, making them a trickier pick for fast, low-fuss weeknight meals.
2.Do I need to preheat my air fryer before adding the chicken thighs? ▾
A quick 3-minute preheat at 400°F is all you need—no lengthy oven-style preheat required! Preheating ensures the chicken skin starts rendering and crisping the second it hits the basket, instead of steaming as the air fryer warms up, which leads to rubbery, soggy skin. It also shaves a few minutes off total cook time for faster dinners.
3.How do I get that perfectly crisp chicken skin instead of chewy, soft skin? ▾
Start by patting the chicken skin completely dry with paper towels before tossing with oil and seasonings—any leftover surface moisture will steam instead of crisp. Don’t overcrowd the air fryer basket; leave ½ inch of space between thighs so hot air circulates evenly. Skip wet sauces until the last 2 minutes of cook time to avoid soggy skin.
4.What internal temperature should I cook the chicken to for food safety and best texture? ▾
Cook thighs until they reach an internal temperature of 165°F, measured at the thickest part of the meat without touching the bone. At this temp, dark meat stays tender and juicy, and juices will run clear when you pierce the thickest section. Let the chicken rest 3 minutes after cooking to lock in juices before serving.
5.Can I add extra seasonings beyond the salt, pepper, and garlic powder listed in the recipe? ▾
Absolutely! That simple seasoning base is a versatile blank slate for your favorite flavors. Try adding smoked paprika, dried thyme, rosemary, a pinch of cayenne, or a light sprinkle of parmesan in the last minute of cooking. Just skip heavy, wet seasonings early on, as those will turn crisp skin soggy as it cooks.
6.Why is my air fryer chicken coming out dry even when I follow the cook time? ▾
Dry chicken almost always traces back to overcooking or overcrowding the basket. Always use an instant-read meat thermometer to pull thighs the second they hit 165°F, since air fryer power varies widely by model. If your basket is small, cook in batches so each thigh has room for air to circulate evenly around it.
7.Do I need to flip the chicken thighs halfway through air frying? ▾
Yes, flip each thigh once at the halfway point of cook time (usually around the 8 to 9 minute mark for a total 16 to 18 minute cook at 400°F). This ensures even hot air exposure on all sides, so the skin crisps uniformly instead of staying soft on the side pressed against the basket. You don’t need to flip more than once.
8.How much extra-virgin olive oil do I actually need for this recipe? ▾
You only need 1 teaspoon of olive oil per 4 chicken thighs—just enough to help seasonings stick and encourage even skin crisping. Using too much oil causes excess smoking in the air fryer and leaves skin greasy instead of shatteringly crisp, so stick to a light, even coating rather than dousing the thighs before cooking.
9.How do I keep cleanup as minimal as the recipe promises? ▾
For ultra-fast cleanup, tuck a small piece of aluminum foil in the bottom of the air fryer drawer (under the perforated basket, not directly on the basket itself) to catch rendered fat and seasoning drips. Lining the basket blocks air flow, so skip that. Once cool, the basket and drawer wash quickly with warm, soapy water, no baked-on oven mess to scrub.

Comments (6)

2 hours ago

OMG this air fryer baked chicken is a total game changer! I’ve been scrambling to find easy weeknight dinners my two super picky kids will actually eat, and they both asked for SECONDS when I made this last night. The skin got perfectly crispy without all the greasy splatters I get when I bake chicken in the oven, and 25 minutes total cook time? *Chef’s kiss* Perfect for our chaotic evenings shuttling between soccer practice and piano lessons. I’m already planning to make a big batch this Sunday for weekly meal prep!

30 minutes ago

Wait did you use bone-in skin-on thighs like the recipe says? I tried chicken breasts once in my air fryer and they came out so dry, wondering if I should switch for this recipe.

5 minutes ago

Great question! Bone-in skin-on cuts will get that perfect crispy skin and stay juicy, but if you prefer breasts, just cook them to 165°F internal temp and spritz with a little extra olive oil to keep them from drying out. So glad your family loved the recipe, Jill!

yesterday

SO good! I brought this air fryer chicken to my neighborhood potluck last weekend and people were asking me for the recipe left and right. Only reason I’m not giving 5 stars is I added a little extra paprika and garlic powder because I like my chicken extra seasoned, but the base recipe is super solid. Super easy too, I didn’t even have to thaw the chicken completely first and it still turned out great!

3 days ago

As someone who meal preps 5 days of lunches every Sunday, this recipe is going into my permanent rotation. It’s so quick, minimal cleanup, and the chicken stays juicy even when I reheat it in the office microwave two days later. Saved me so much time this week—usually I spend over an hour on protein alone for meal prep, this took 25 minutes total! Game. Changer.

2 days ago

Love hearing this works for meal prep! Pro tip: store the chicken in an airtight container with a paper towel on top to keep the skin from getting soggy in the fridge, it makes reheating even better.

1 week ago

Full transparency: I’m a total beginner in the kitchen and I was so nervous I’d mess this up, but it was SO EASY! The chicken came out perfectly cooked, crispy on the outside, juicy on the inside, and I didn’t even set off the smoke alarm (which is a win for me, tbh). My roommate thought I ordered takeout when he smelled it, lmao. 10/10 will make again for our next game night.

5 days ago

Lol same, I burn everything in my air fryer usually! Did you flip the chicken halfway through like the recipe says? I always forget that step and end up with one side super crispy and the other sad.

3 days ago

I did set a timer to flip it! That halfway tip is no joke, I almost forgot too but my Alexa reminded me. Definitely don’t skip it, it makes such a difference.

5 minutes ago

Just pulled this out of the air fryer and had to hop on to leave a review immediately! The seasoning is perfect, not too salty, just the right amount of garlic and pepper. I paired it with roasted broccoli and rice for a quick dinner after work, and my boyfriend already asked if we can have this again tomorrow. So easy, no fancy ingredients needed, which is exactly what I need on busy weeknights.

2 days ago

Really good recipe! My whole family loved it, even my super picky 7 year old who normally refuses any chicken that isn’t chicken nuggets. My only note is that my air fryer runs a little hot, so I had to drop the temp by 25 degrees and cook it for 2 minutes less to avoid the edges getting too charred. Otherwise, super straightforward and delicious!

yesterday

Thanks for the heads up about hot running air fryers! Mine does the same thing, I always forget to adjust temp and end up with burnt edges. Can’t wait to try this with your adjustment this weekend.



