1.Can I use boneless, skinless chicken thighs instead of bone-in, skin-on for this recipe?
▾
You absolutely can, though you’ll miss the rich, rendered chicken fat that flavors the rice and the ultra-crispy skin texture. If using boneless, skinless thighs, reduce chicken cook time by 5 to 7 minutes, pat the chicken dry thoroughly, and spritz lightly with olive oil to encourage a lightly browned, crisp outer layer.
2.Do I have to use long-grain white rice, or can I swap in other rice varieties?
▾
Long-grain white rice is ideal here because it cooks up light, fluffy, and doesn’t get mushy in the air fryer’s circulating heat. If you swap for brown rice, add ¼ cup extra broth and extend cook time by 15 minutes; avoid short-grain sushi or arborio rice, as those turn overly sticky and gummy with this cooking method.
3.Why does the recipe call for low-sodium chicken broth instead of regular?
▾
Low-sodium broth lets you control the total salt level of the dish, since garlic powder and rendered chicken fat from the thighs already add savoriness. Regular broth can lead to overly salty rice, especially as liquid reduces while cooking. If you only have regular broth, dilute it with ¼ cup water to cut the salt concentration.
4.Do I need to pre-cook the rice before adding it to the air fryer?
▾
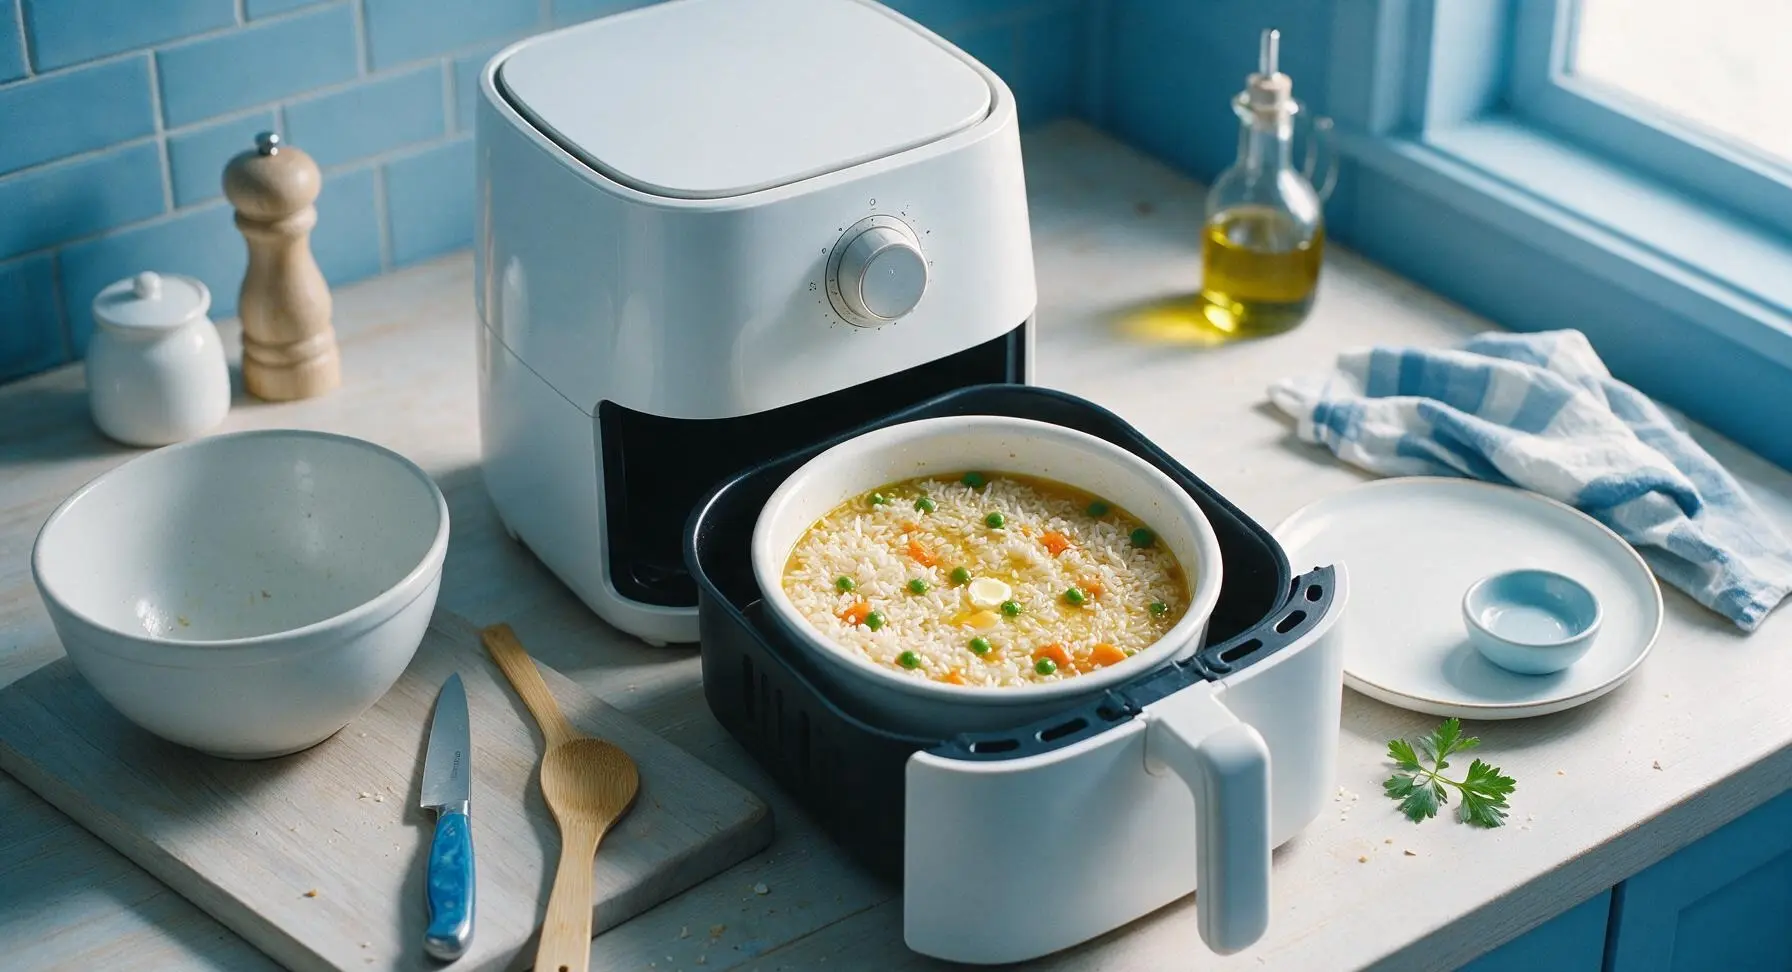
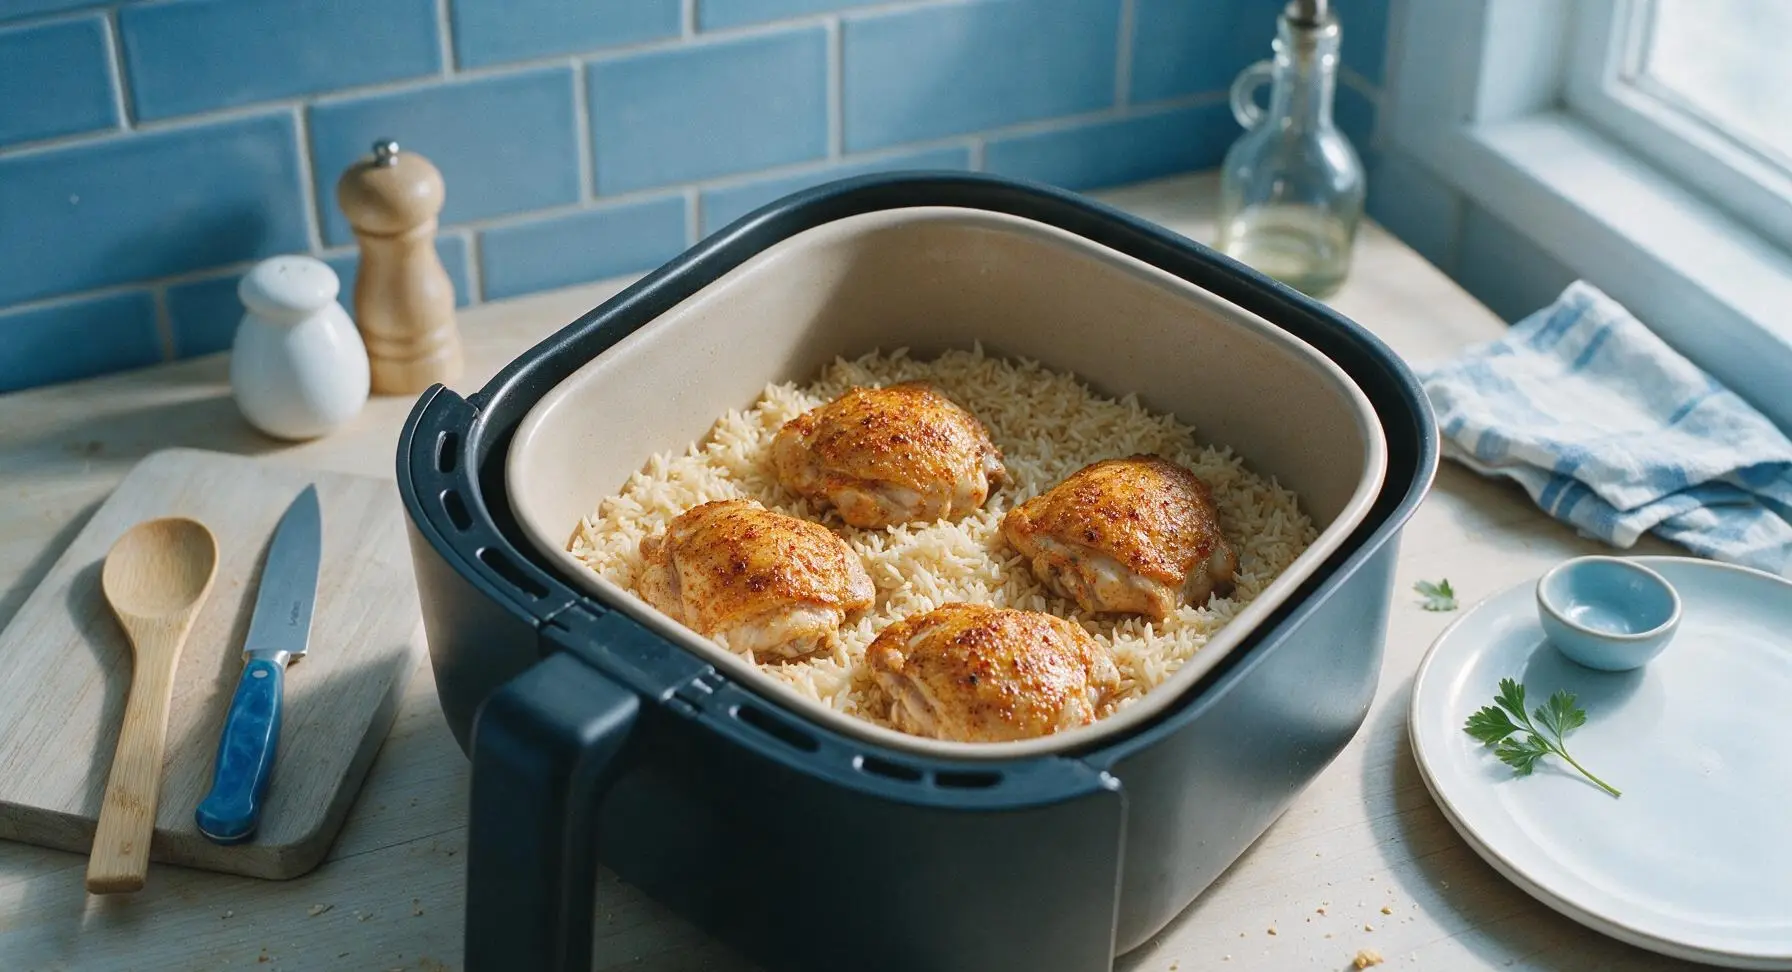
No pre-cooking required—that’s part of the minimal-cleanup weeknight appeal! Just spread rinsed, uncooked long-grain white rice evenly in your air fryer-safe pan, pour measured broth over it, and it will cook fully as the air fryer circulates hot, steamy air under the chicken. Make sure all rice is fully submerged in liquid before cooking.
5.What size air fryer do I need to make this full recipe?
▾
You’ll need at least a 6-quart air fryer to fit both the rice layer and chicken thighs without overcrowding. Smaller 3-4 quart models work if you halve the recipe, or cook chicken in batches, but overcrowding blocks air flow, leading to soggy chicken skin and unevenly cooked, crunchy undercooked rice patches.
6.Can I add extra vegetables to the rice without messing up cook times?
▾
Absolutely! Diced carrots, celery, frozen peas, or finely diced bell pepper work beautifully mixed right into the uncooked rice. Stick to 1 cup total of finely diced veggies so you don’t throw off the liquid-to-rice ratio, and add softer veggies like peas during the last 5 minutes of cook time to avoid mushy texture.
7.How do I make sure the chicken skin gets extra crispy, not rubbery?
▾
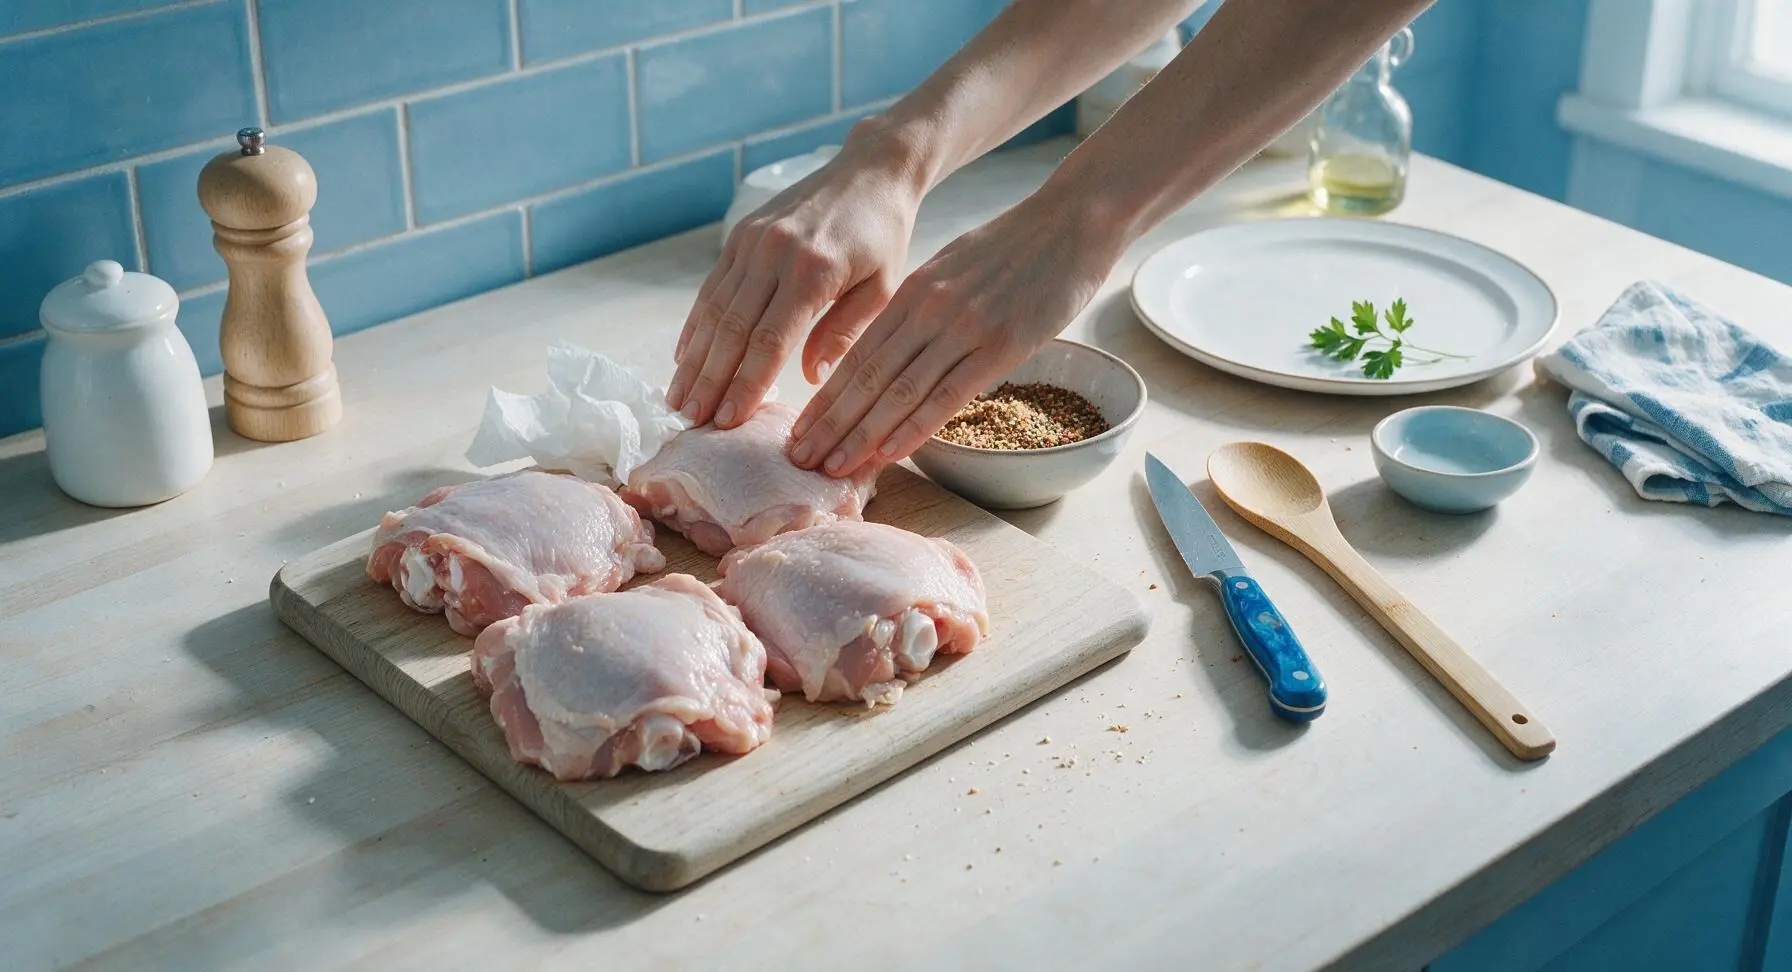
Pat the chicken thighs completely dry with paper towels before seasoning—that’s the number one rule for crispy skin. Lightly coat the skin with a thin layer of extra-virgin olive oil, and place thighs skin-side up on a raised rack over the rice so rendered fat drips down instead of letting skin sit in pooling liquid.
8.My rice came out crunchy and undercooked when I tried a similar recipe—what went wrong?
▾
Crunchy rice usually means you didn’t use enough liquid, the rice wasn’t spread in an even, thin layer, or your air fryer runs hotter than its readout says. Make sure all rice is fully submerged in broth, cover the rice pan tightly with foil for the first 15 minutes to trap steam, and add 2 extra tablespoons of broth for air fryers that run dry.
9.Can I use chicken breasts instead of thighs for this recipe?
▾
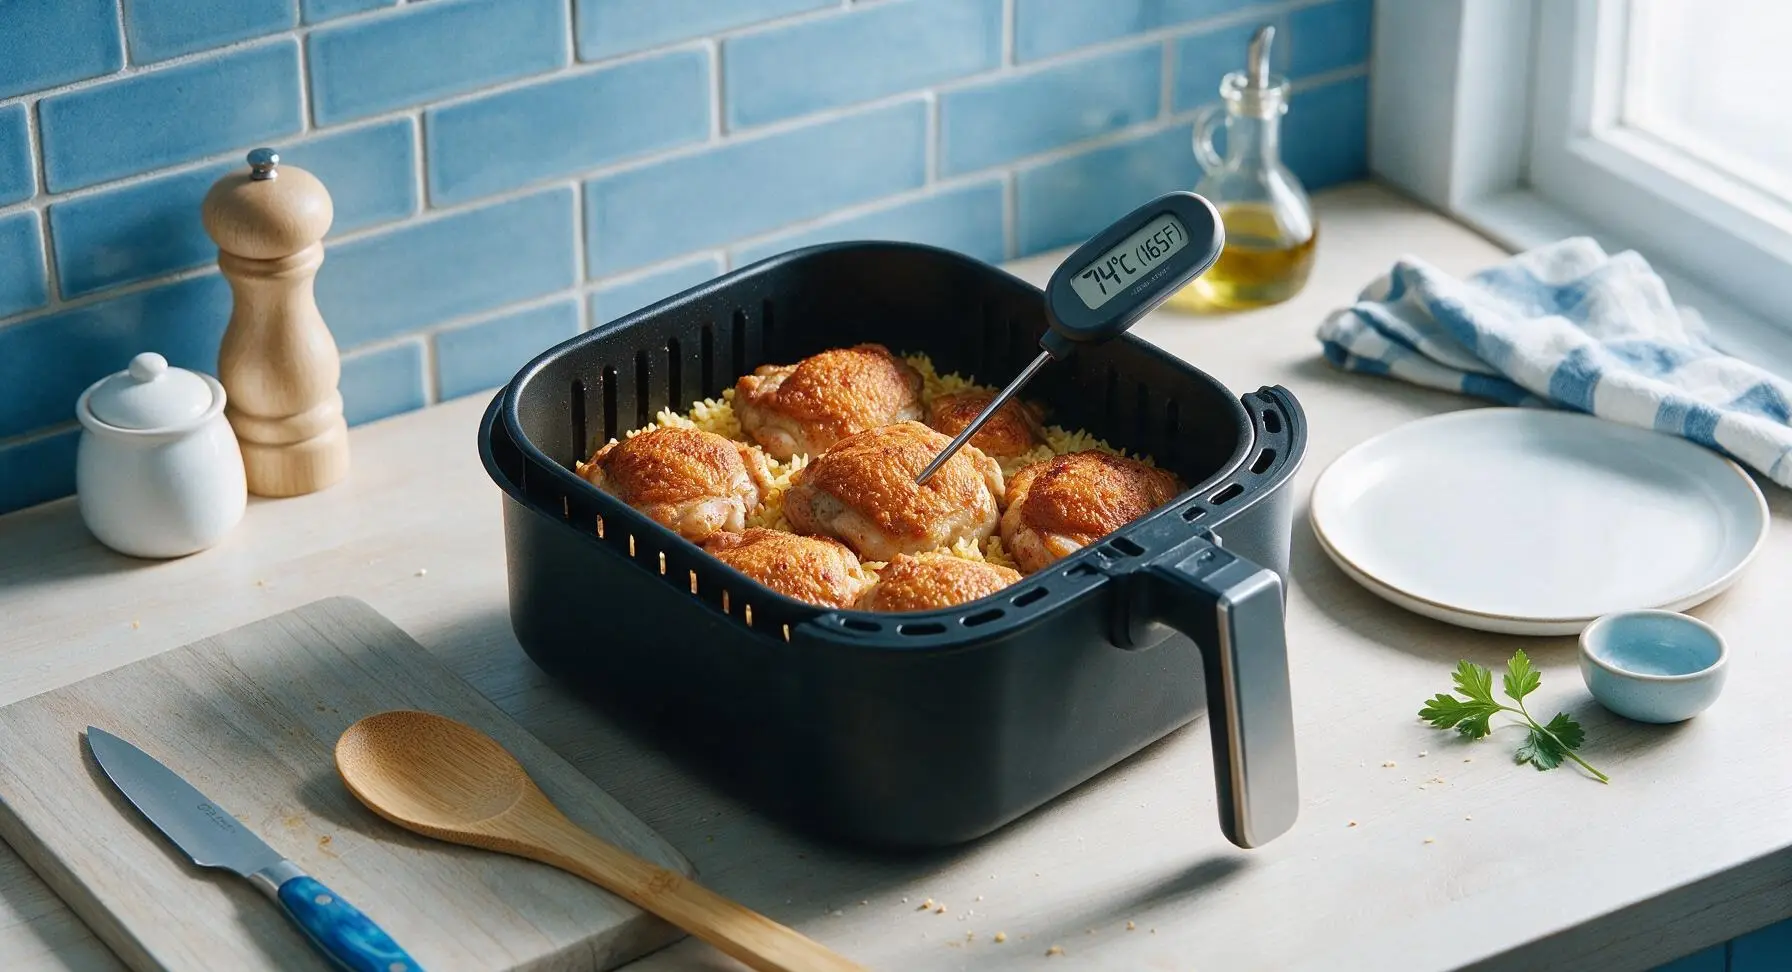
You can, but chicken breasts are far leaner and prone to drying out in the air fryer’s high heat. If you swap, use 1-inch thick boneless, skinless breasts, brine them for 20 minutes in salt water first, reduce cook time by 8 to 10 minutes, and check for 165°F internal temp early to avoid tough, dry chicken.
10.Do I need any special air fryer accessories to make this?
▾
No fancy accessories are required, though a 7-inch round, air fryer-safe cake pan or ceramic insert makes containing the rice and broth mess-free. If you don’t have one, line the bottom of your air fryer basket with heavy-duty foil formed into a shallow lip to hold rice and liquid, just don’t block all air flow around basket edges.
11.How much garlic powder should I use, and can I substitute fresh garlic?
▾
The base recipe uses 1 teaspoon of garlic powder, split between seasoning the chicken and stirring into the rice, but you can adjust that amount up or down to taste. If you prefer fresh garlic, mince 2 cloves and sauté for 30 seconds first; raw fresh garlic can burn and turn bitter in fast-circulating air fryer heat.
12.What internal temperature should the chicken reach to be safe to eat?
▾
Bone-in chicken thighs are food-safe at 165°F, measured at the thickest part away from the bone, but I recommend pulling them at 170°F for best results. At that temp, connective tissue breaks down for extra juicy, tender meat, and the skin will be perfectly crisp without being burnt.
13.Can I meal prep this recipe ahead of time for weekday lunches?
▾
Absolutely! This dish holds up beautifully in the fridge for 3 to 4 days stored in an airtight container. Let it cool completely before packing, and reheat portions in the air fryer at 350°F for 3 to 4 minutes, or in the microwave for 90 seconds, adding a splash of broth if the rice feels dry.
14.Why is my rice turning out mushy instead of light and fluffy?
▾
Mushy rice usually comes from using too much broth, skipping rinsing uncooked rice to remove excess surface starch, or cooking at too low a temperature. Rinse rice until the water runs clear before adding it to the pan, stick to the 1:1.5 rice-to-broth ratio, and cook at 375°F to keep grains separate and fluffy.
15.Can I add other seasonings besides garlic powder to change up the flavor?
▾
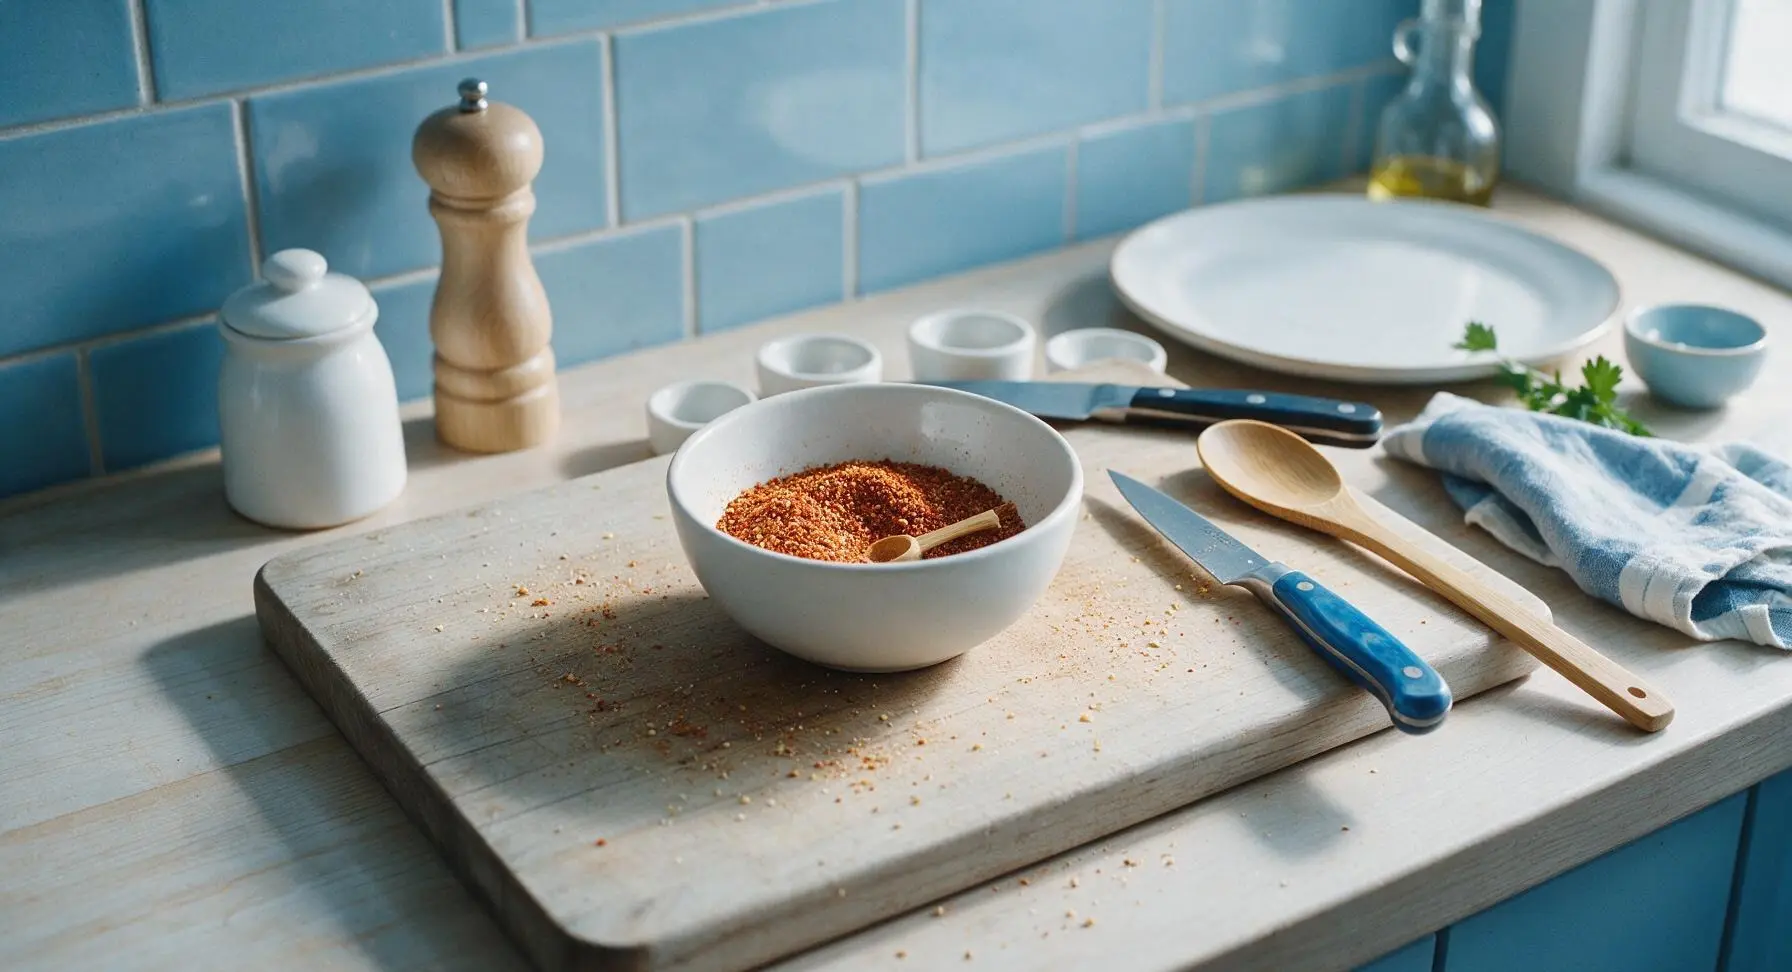
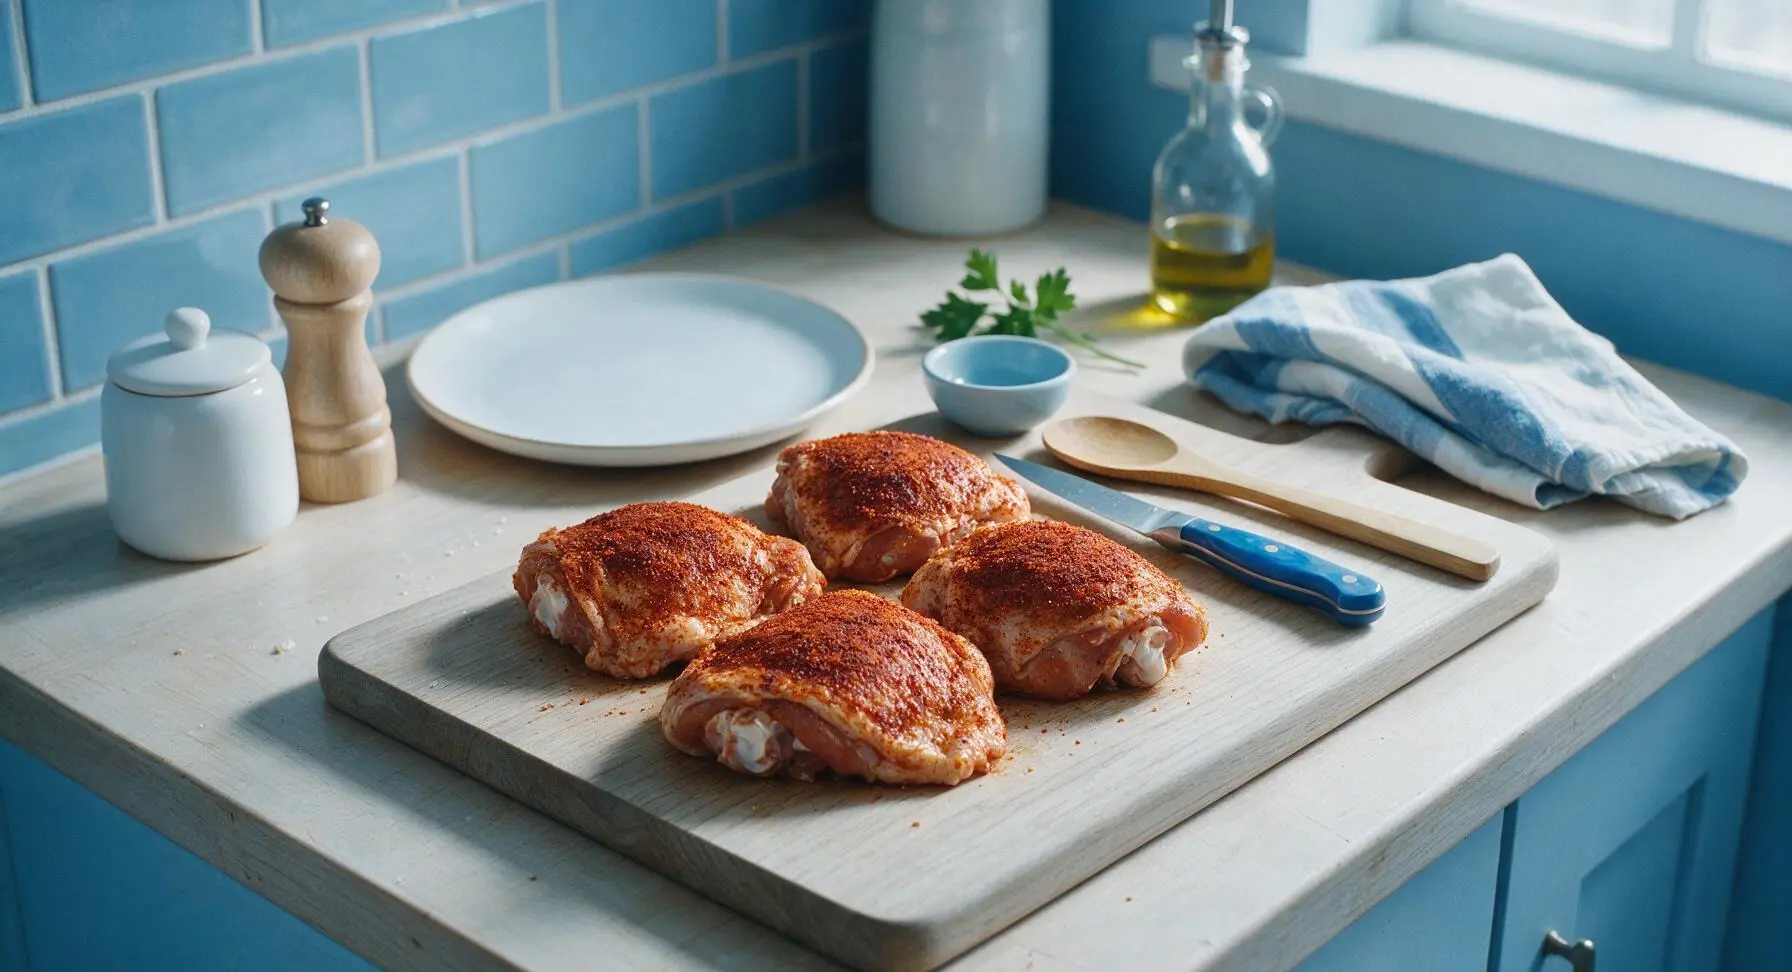
Definitely! Garlic powder is a neutral, crowd-pleasing base, but you can add paprika, dried thyme, onion powder, a pinch of cayenne, or even a sprinkle of parmesan to the chicken or rice. Just avoid heavy sugar-based seasonings like sweet barbecue rub on the skin, as they burn quickly in high air fryer heat.
16.Do I need to flip the chicken thighs halfway through cooking?
▾
You don’t need to flip them if you’re cooking skin-side up on a rack over the rice, since that position lets air circulate evenly around the skin to crisp it. If placing chicken directly on the rice instead of a rack, flip them halfway to keep skin from getting soggy, and finish skin-side up for the last 5 minutes.
17.Can I make this with frozen chicken thighs instead of thawed?
▾
I don’t recommend cooking frozen chicken directly in this recipe, because extra meltwater will throw off your rice liquid ratio and make rice mushy, plus chicken skin won’t crisp properly. Thaw thighs completely in the fridge overnight, or in a cold water bath for 30 minutes, and pat very dry before seasoning and cooking.
18.What’s the best way to get the promised minimal cleanup with this recipe?
▾
The single-vessel air fryer method already cuts down on dish duty, but for even easier cleanup, line your air fryer basket under the rice pan with a small sheet of parchment to catch drips, and spritz your rice pan with light nonstick spray before adding ingredients. Let the pan soak 5 minutes in warm soapy water after cooking, and stuck-on rice wipes right off.
19.Can I freeze leftover portions of this chicken and rice?
▾
Yes, cooled portions freeze well for up to 3 months stored in sealed, freezer-safe bags or containers. Thaw portions in the fridge overnight before reheating, and fluff the rice with a fork after warming to break up clumped grains. Note that chicken skin will lose some crispness after freezing, but the rich, savory flavor will hold up.

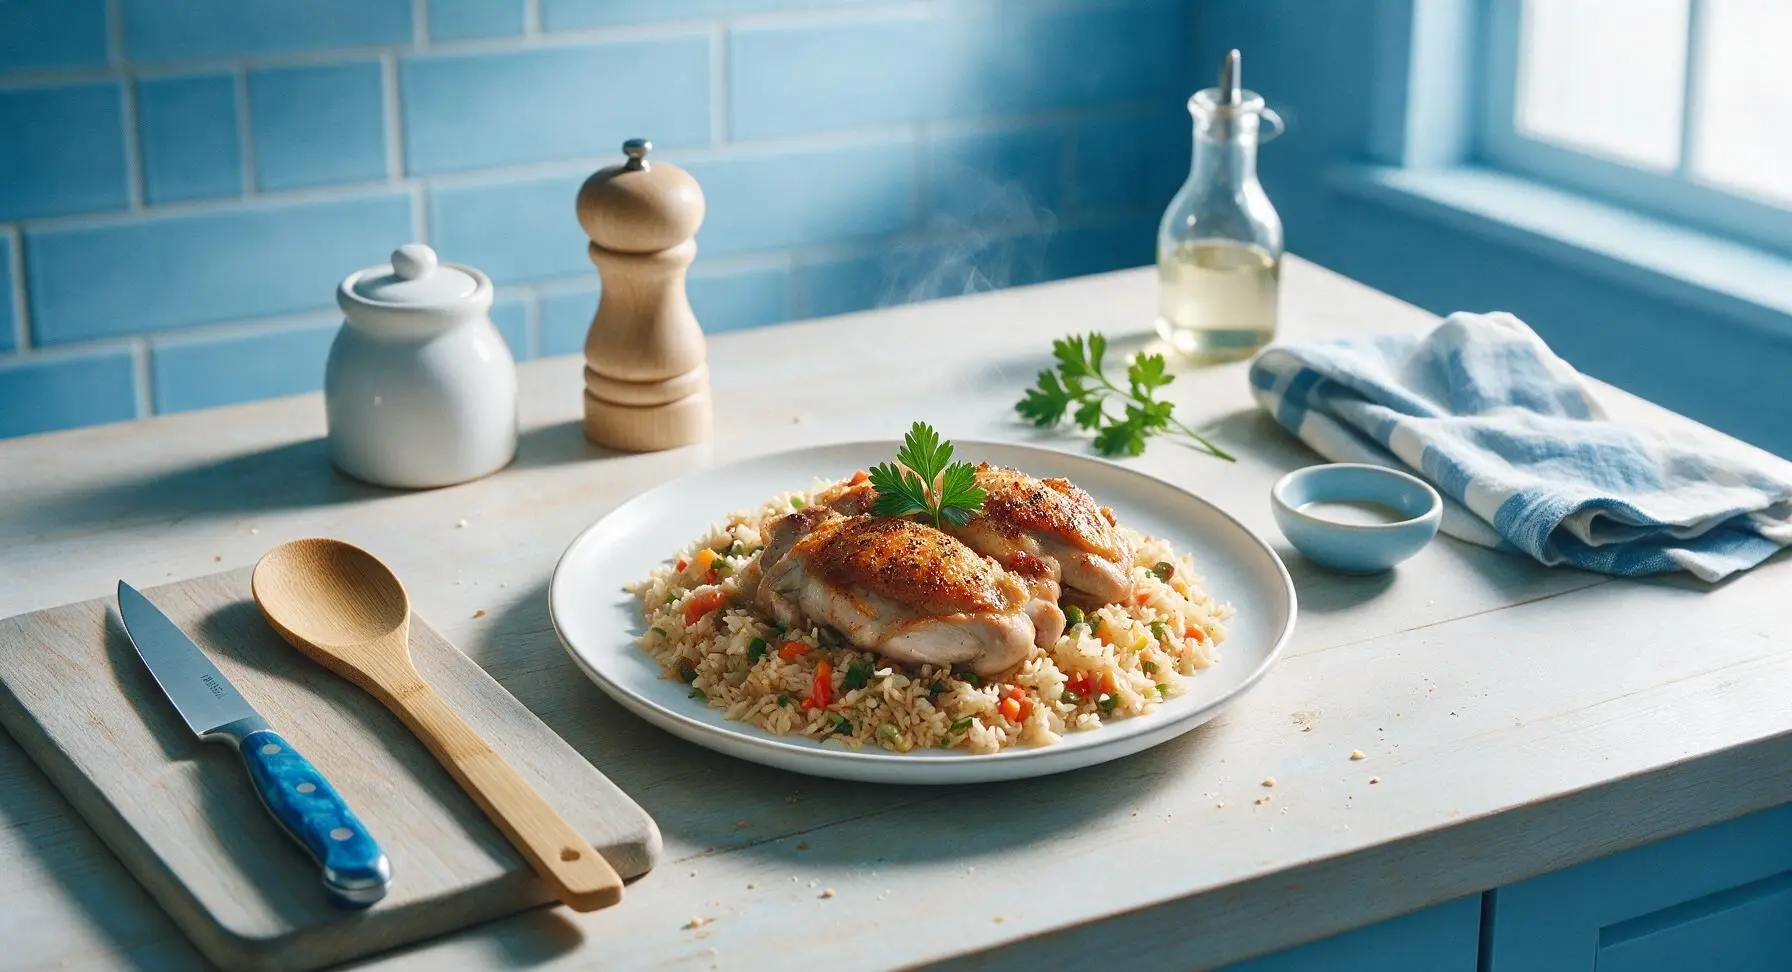
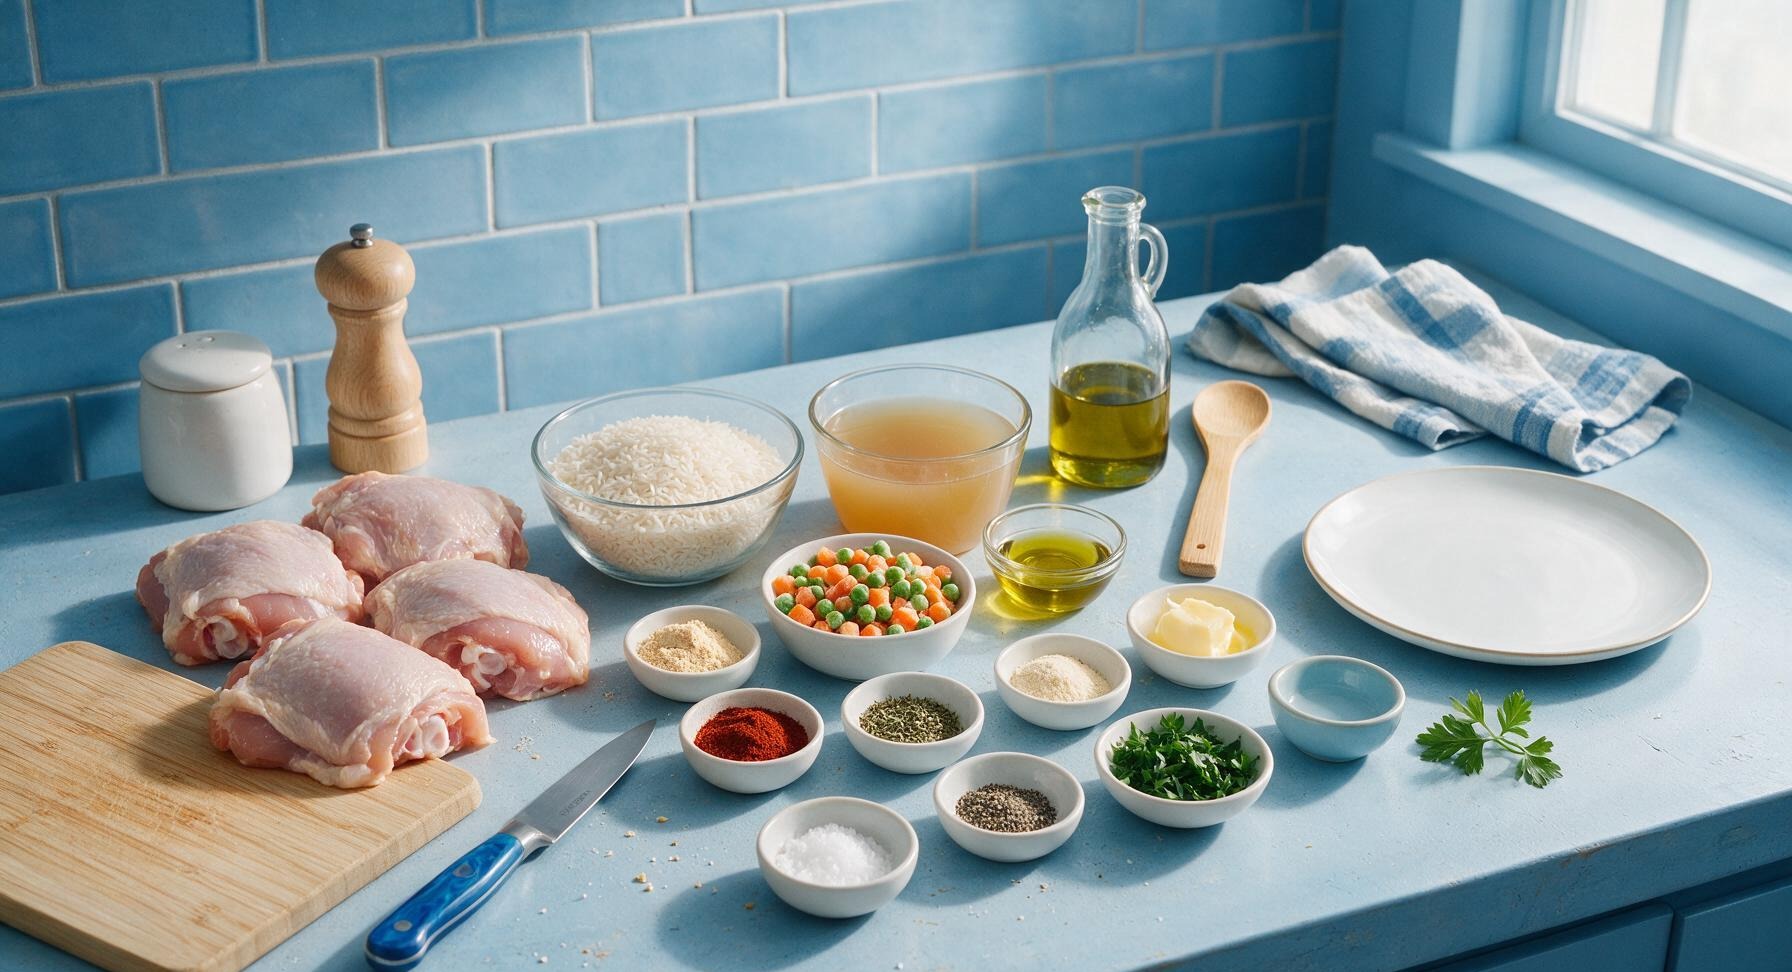
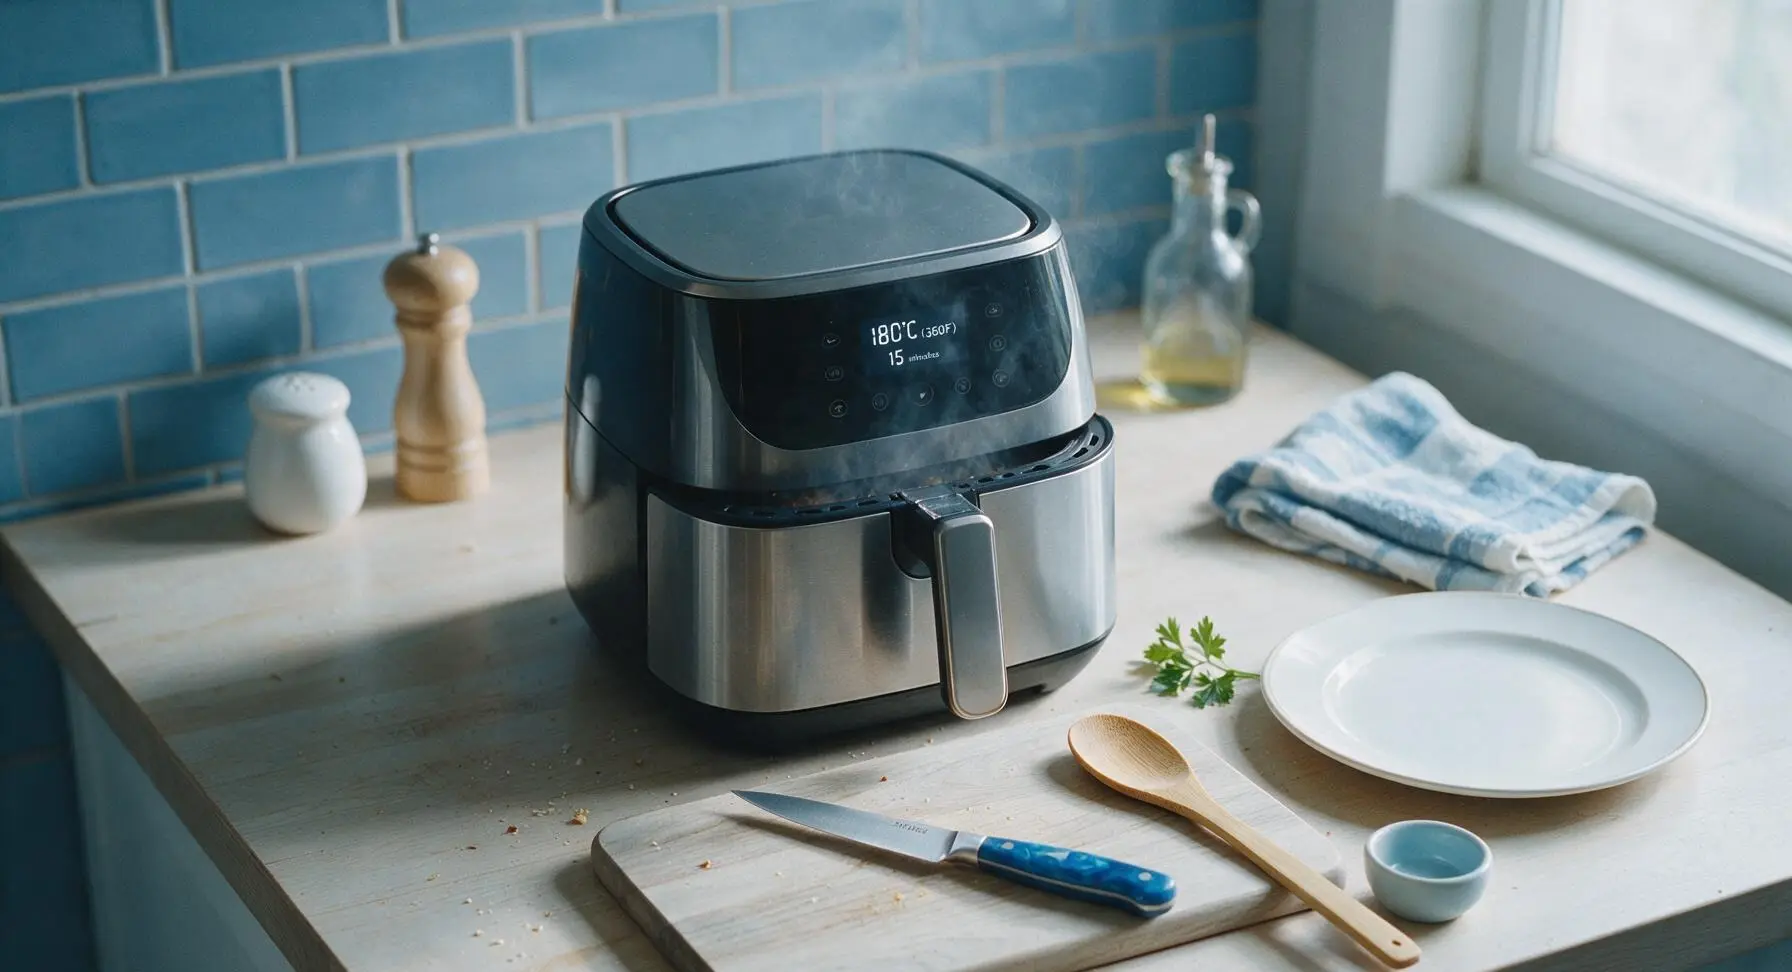
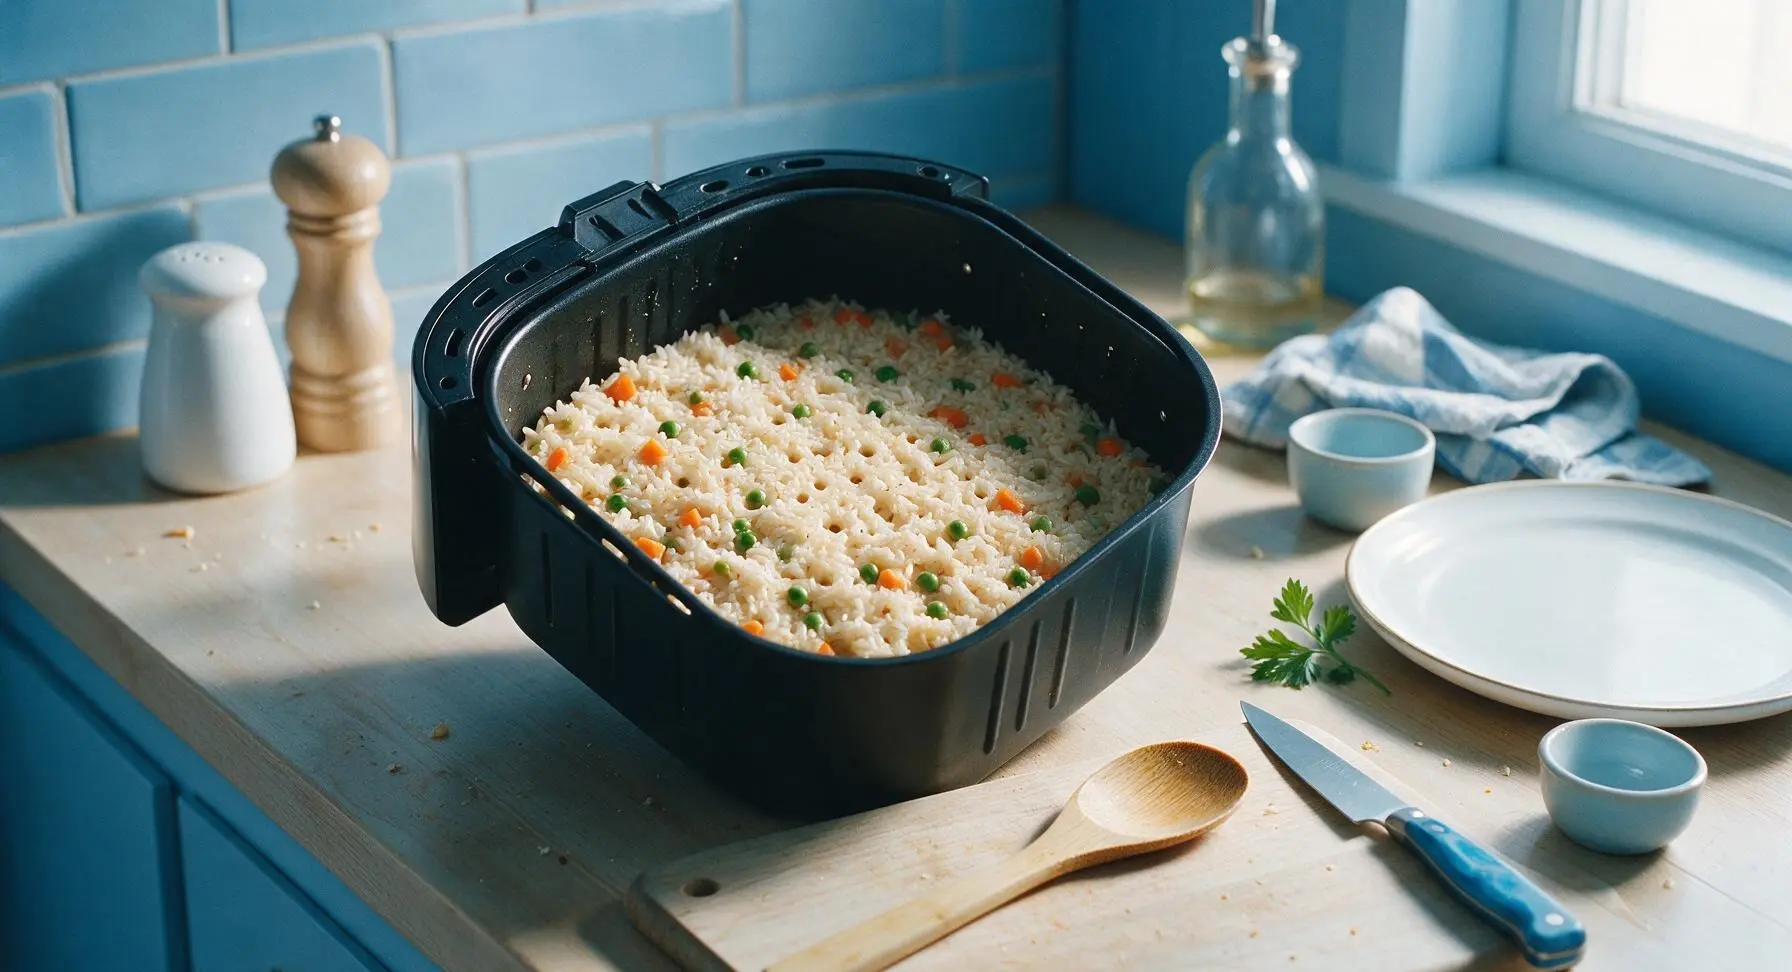
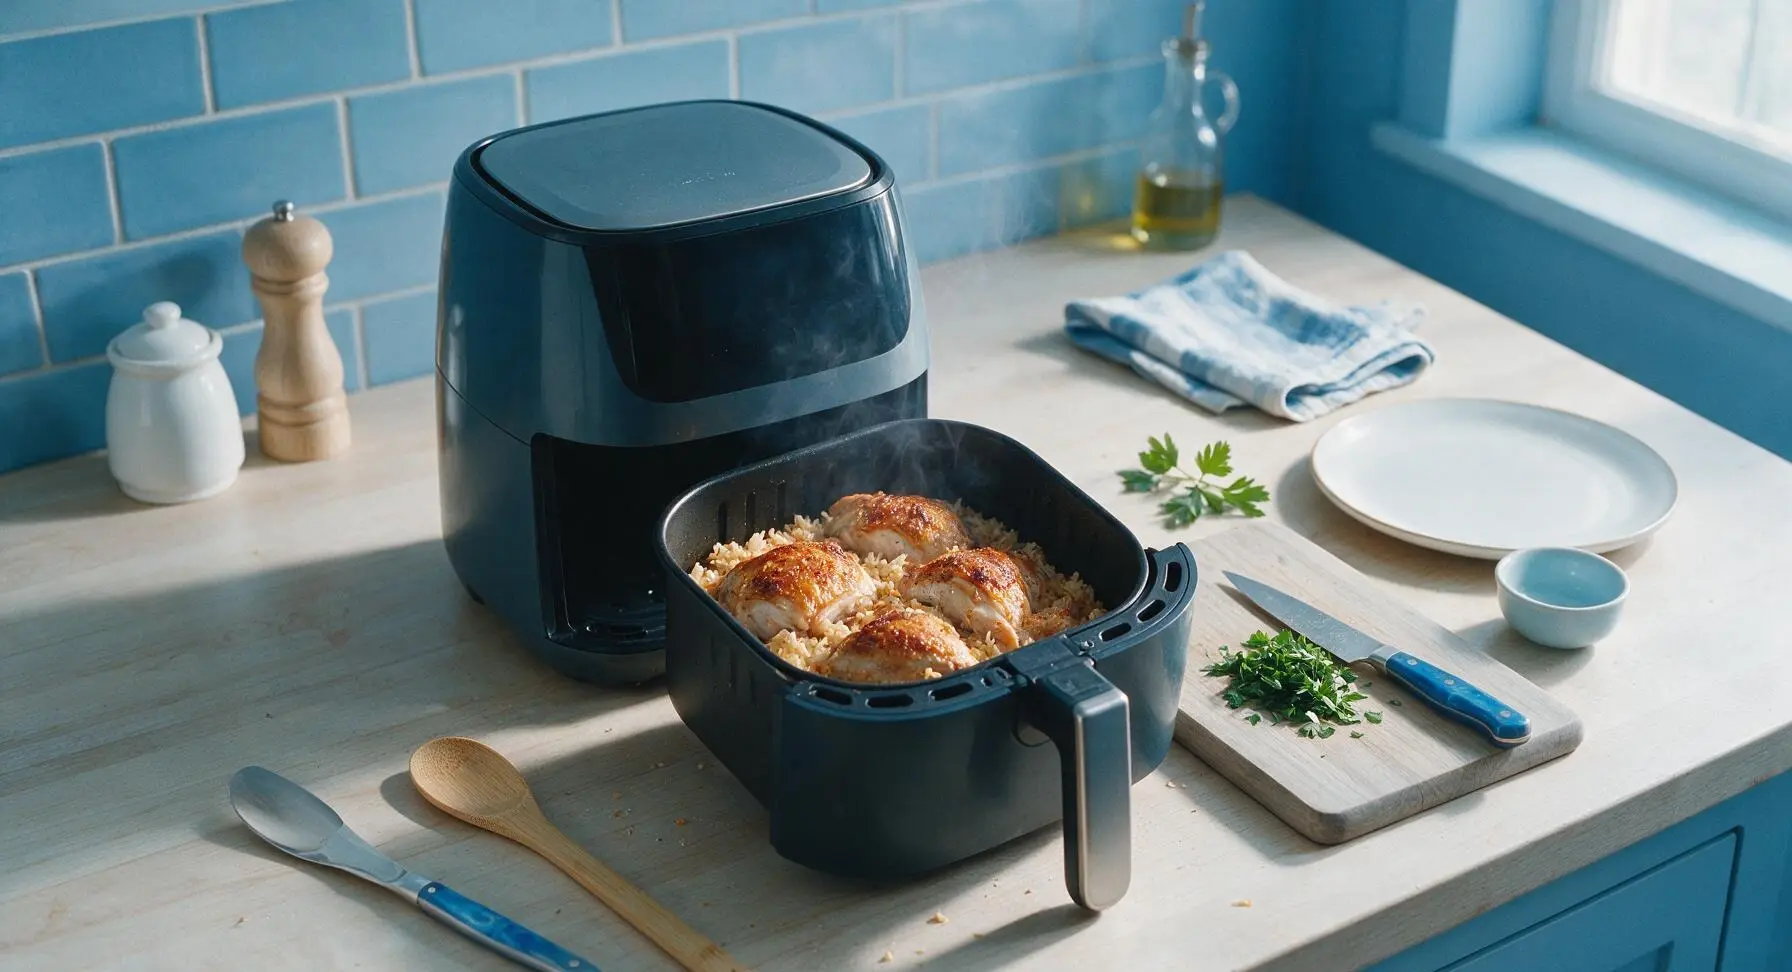



OMG this air fryer chicken and rice is a total game changer for our weeknight family dinners! I was so sick of scrubbing pots after making rice on the stove, and this one-pot (well, one air fryer basket) meal came together so fast. My 7 and 9 year old both asked for seconds, which basically never happens unless we’re having chicken nuggets. The chicken was juicy, the rice was perfectly fluffy, no mushy bits at all. 10/10, will be adding this to our regular meal rotation!
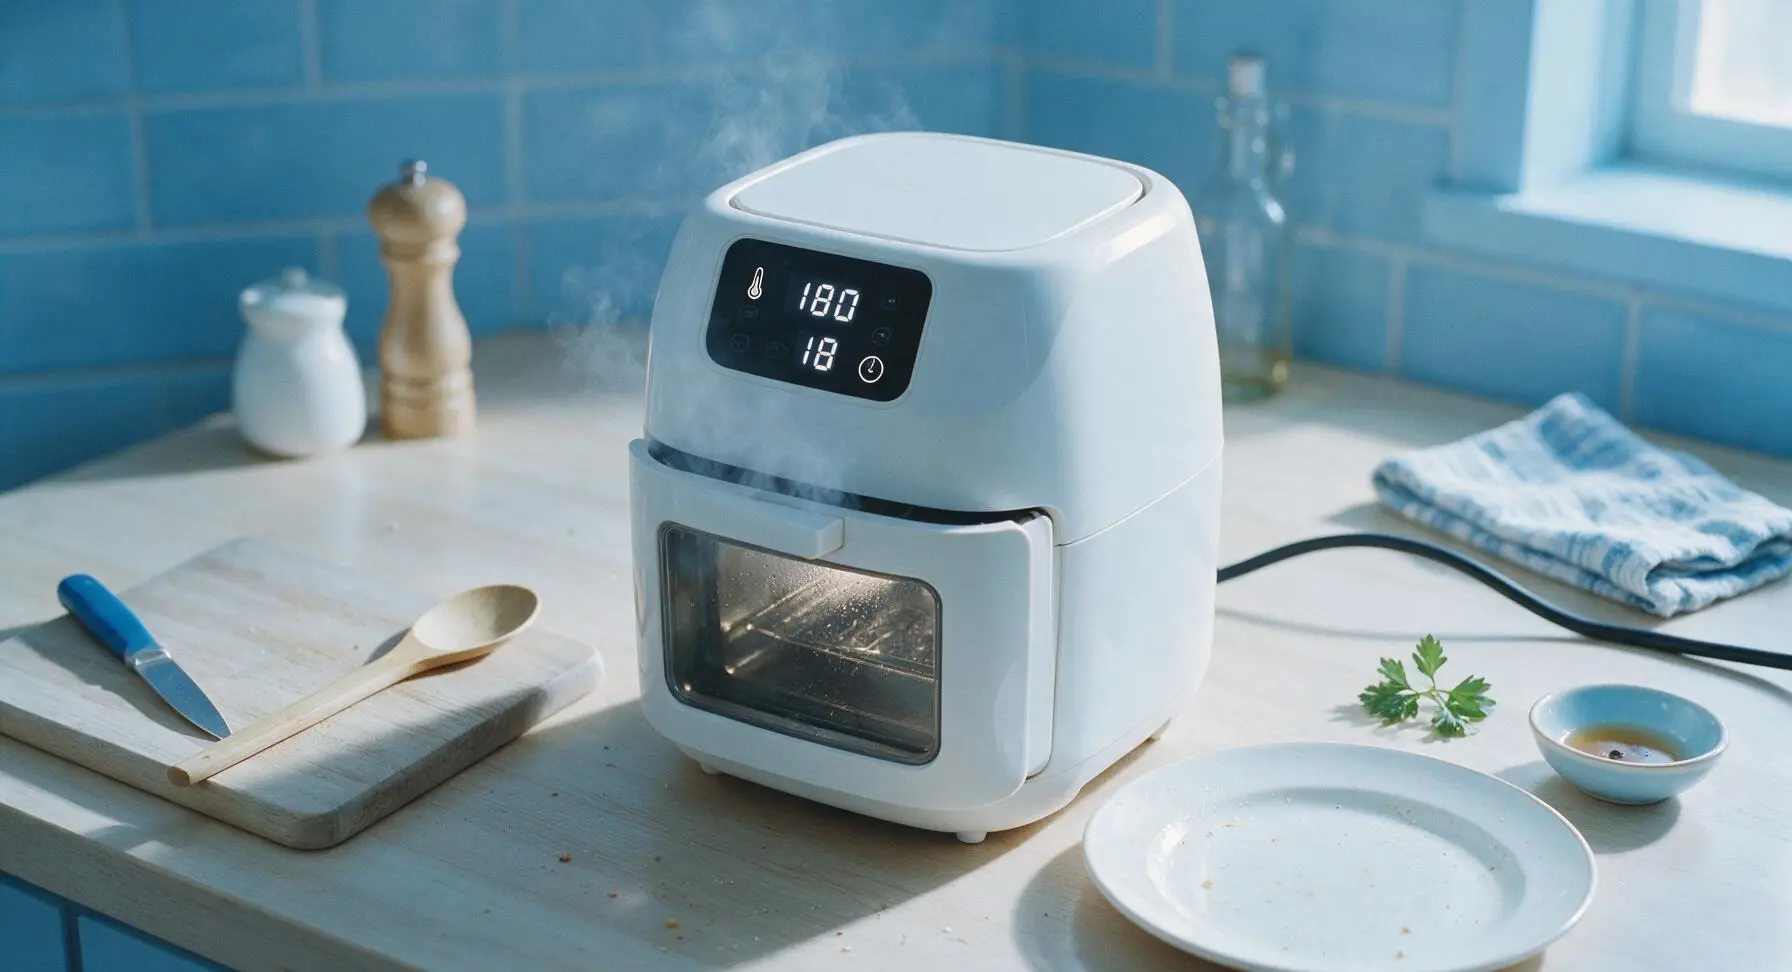
Tried this last night for my roommates and I, and it was SO good! Only thing I messed up was I forgot to spray the basket a little first so some rice stuck to the bottom, but that was 100% my bad. Cook time was spot on for my 6 quart air fryer, chicken hit that 165 internal temp right at 35 minutes like the recipe said. Already sent the link to our group chat for our next potluck prepping session.
Really solid recipe, perfect for my Sunday meal prep! I made a big batch on Sunday and portioned it out for lunches all week, and it reheats like a dream. Only reason I’m not giving 5 stars is I wish the recipe had a note about adjusting cook time if you use brown rice instead of white — I used brown and it was still a little crunchy at 35 minutes, so I added 8 extra minutes and it turned out great. Would recommend!
Wait, hold up — you can cook rice IN the air fryer?? I’ve had my air fryer for 3 years and I’ve only ever made frozen fries and chicken wings in it. This feels like a whole new world just opened up. Running to the kitchen to grab chicken thighs and rice right now, wish me luck!
I made this for my grandkids when they were visiting over the weekend, and even my super picky oldest grandson ate two full servings! I added a little extra garlic powder and a sprinkle of parmesan on top at the end like I do with my baked chicken, and it was chef’s kiss. So easy to make too, I didn’t have to stand over the stove stirring while the kids were running around the house. 10/10!
Super stoked to try this! I’ve been looking for easy air fryer meals that don’t require a ton of cleanup since I work 12 hour shifts and barely have the energy to cook when I get home. 35 minute cook time and no extra pots? Sign me up. Grabbing the ingredients on my way home from work tonight!