
air fryer chicken breast
intro
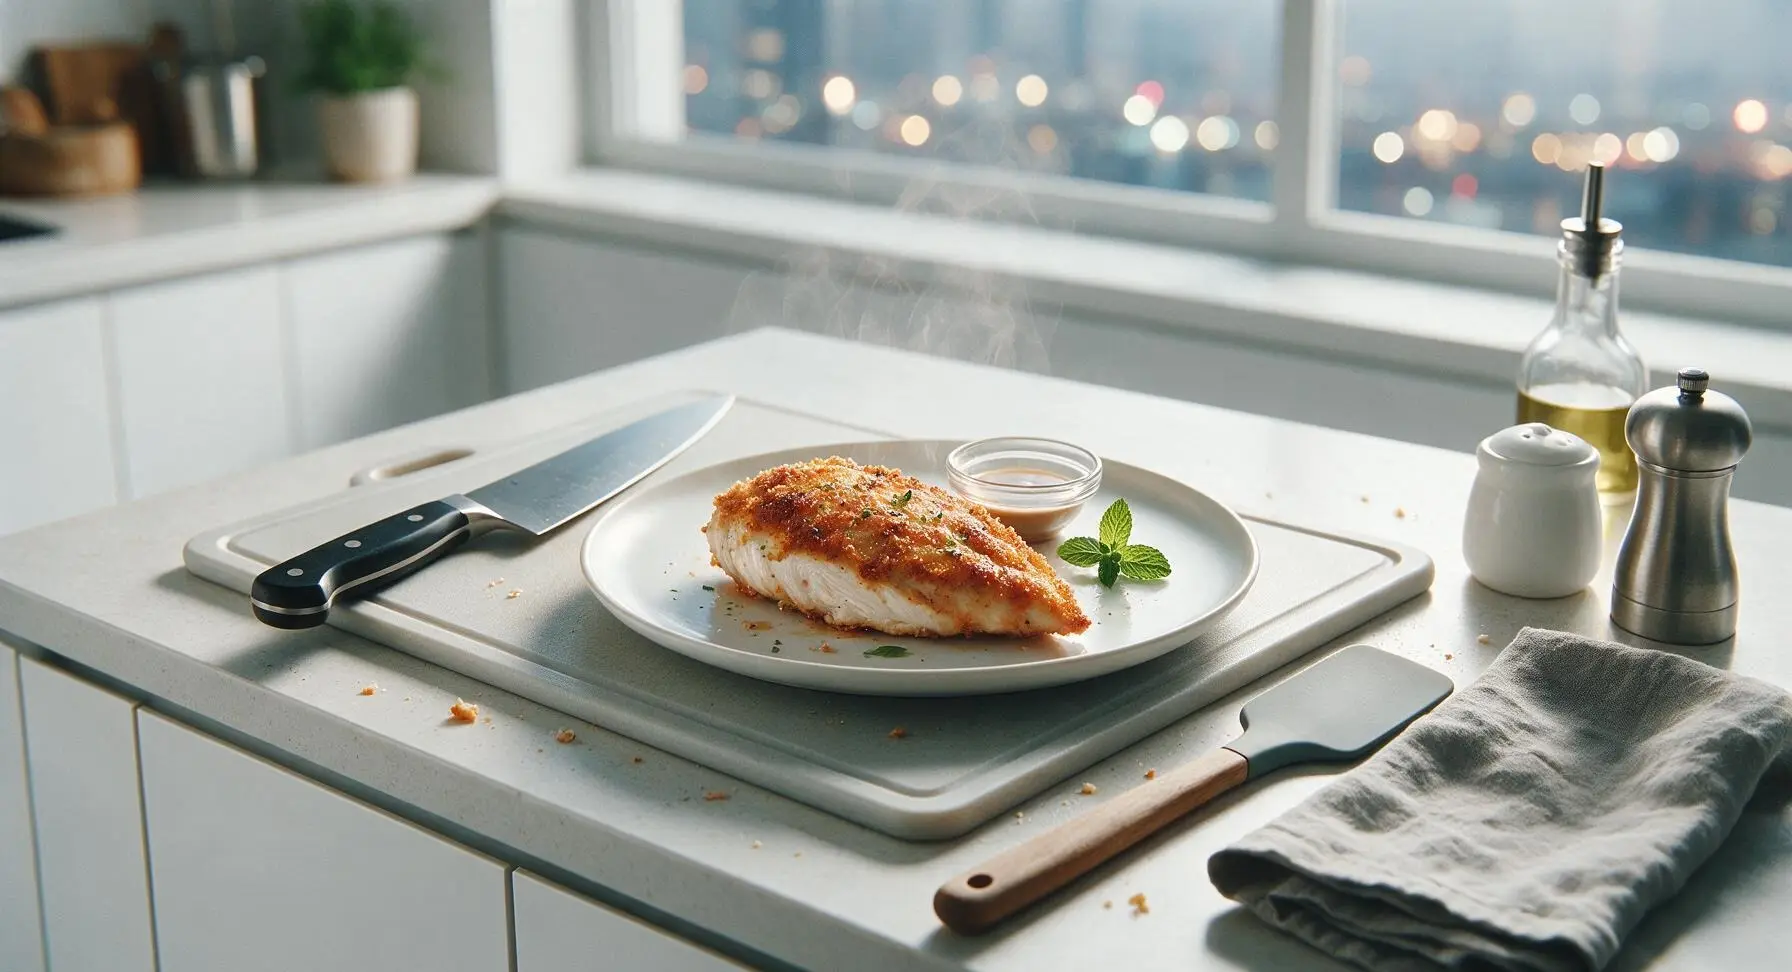
Juicy, tender air fryer chicken breast with a crisp golden crust, ready in under 30 minutes. No dry, rubbery bites—perfect for meal prep, salads, wraps, or quick weeknight dinners.
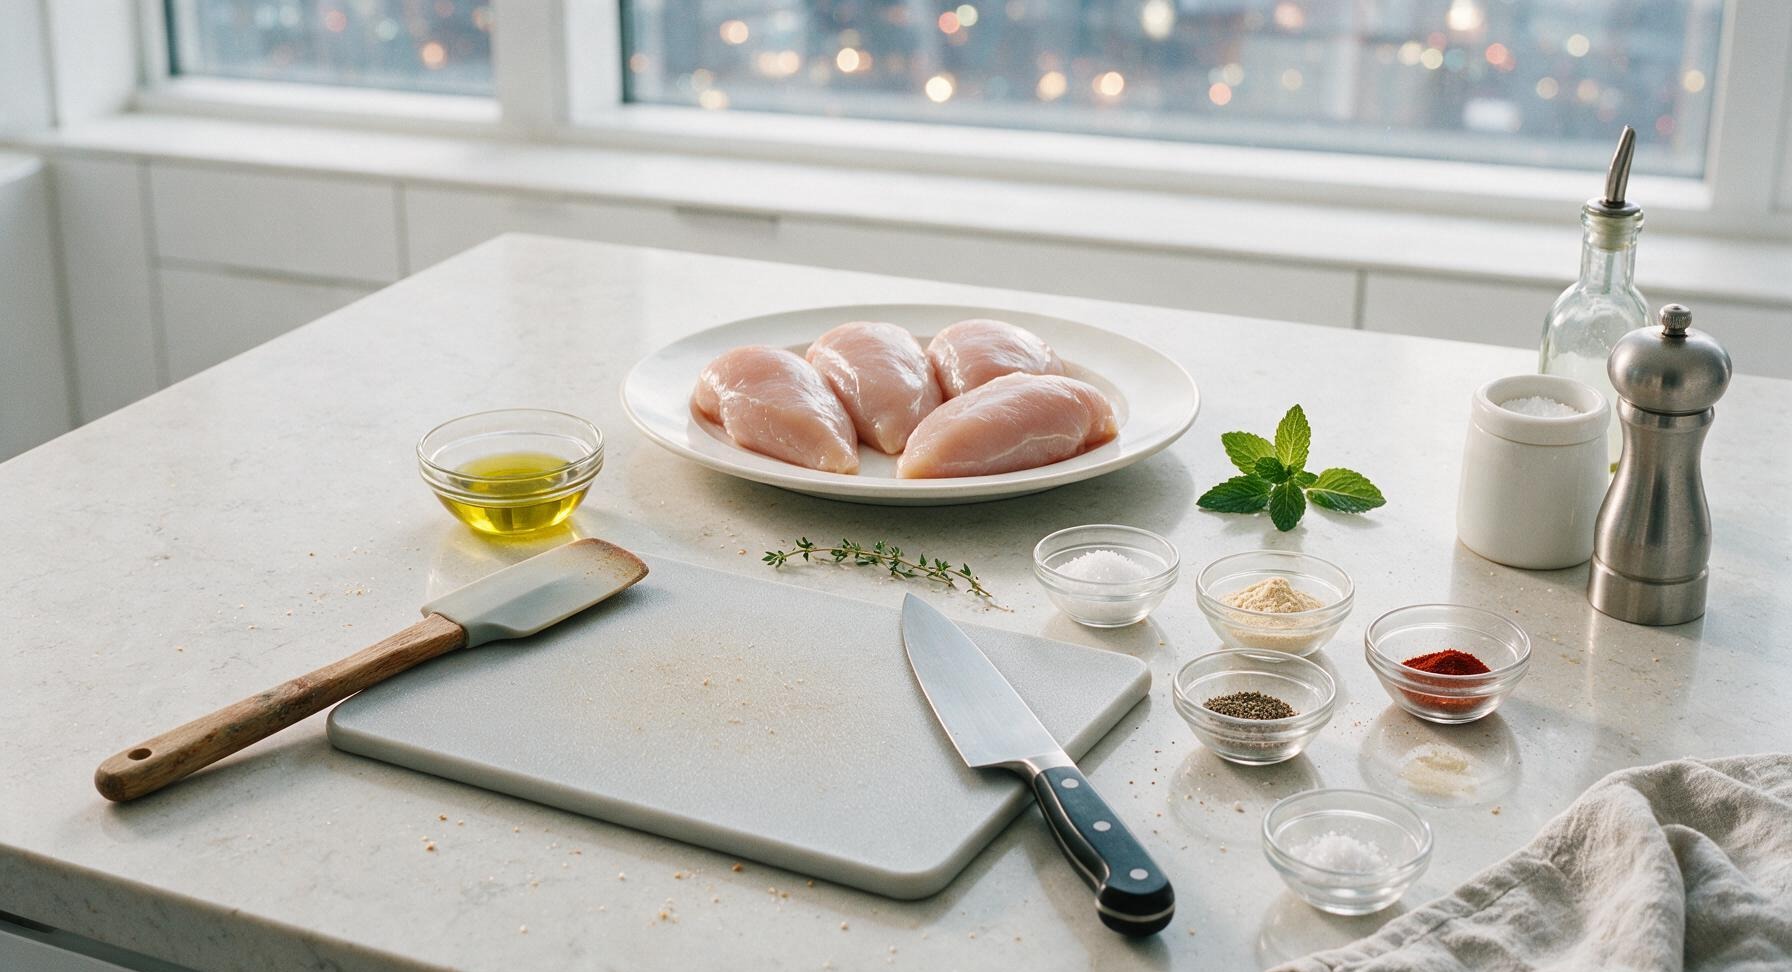
Ingredients
Steps
Pound Chicken to Even Thickness
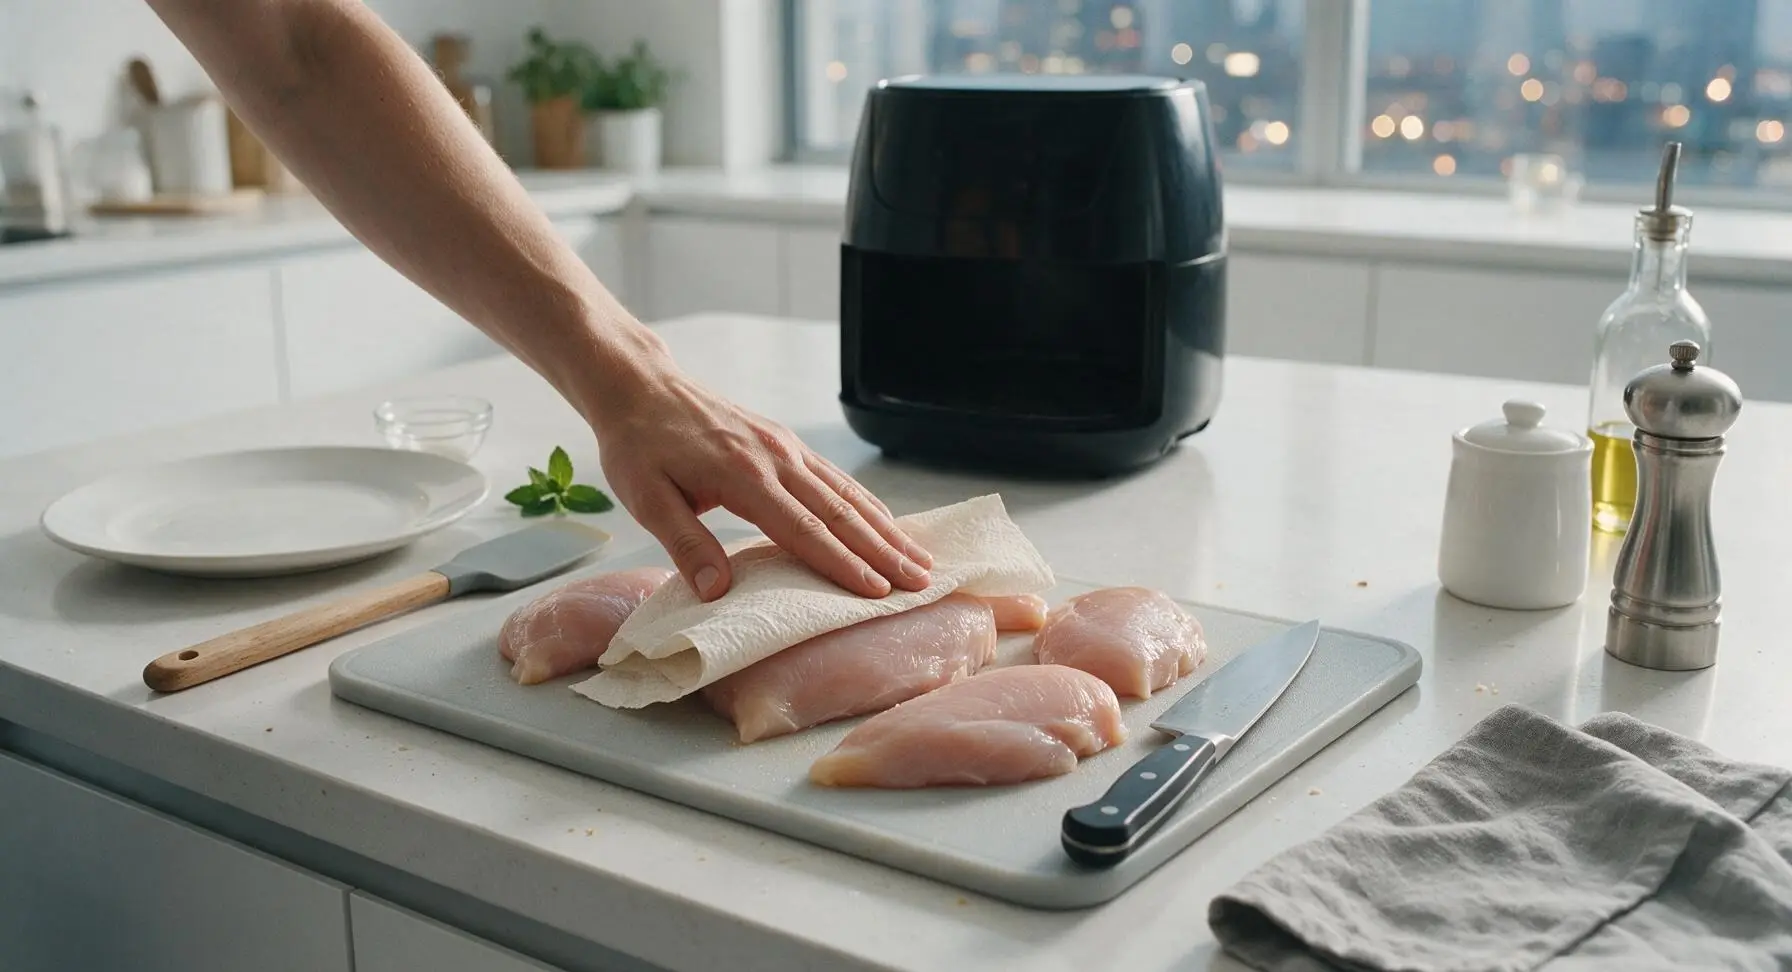
Place the raw chicken breasts on the honey maple cutting board. Cover with a single sheet of pulled paper towel to prevent splatter. Gently press and pound the thicker tapered end of each chicken breast with the palm of your hand until the entire breast is a uniform 1-inch thickness. This ensures even cooking so the thin end does not dry out before the thickest part reaches a safe temperature. Discard the paper towel cover when done.
Pat Chicken Completely Dry
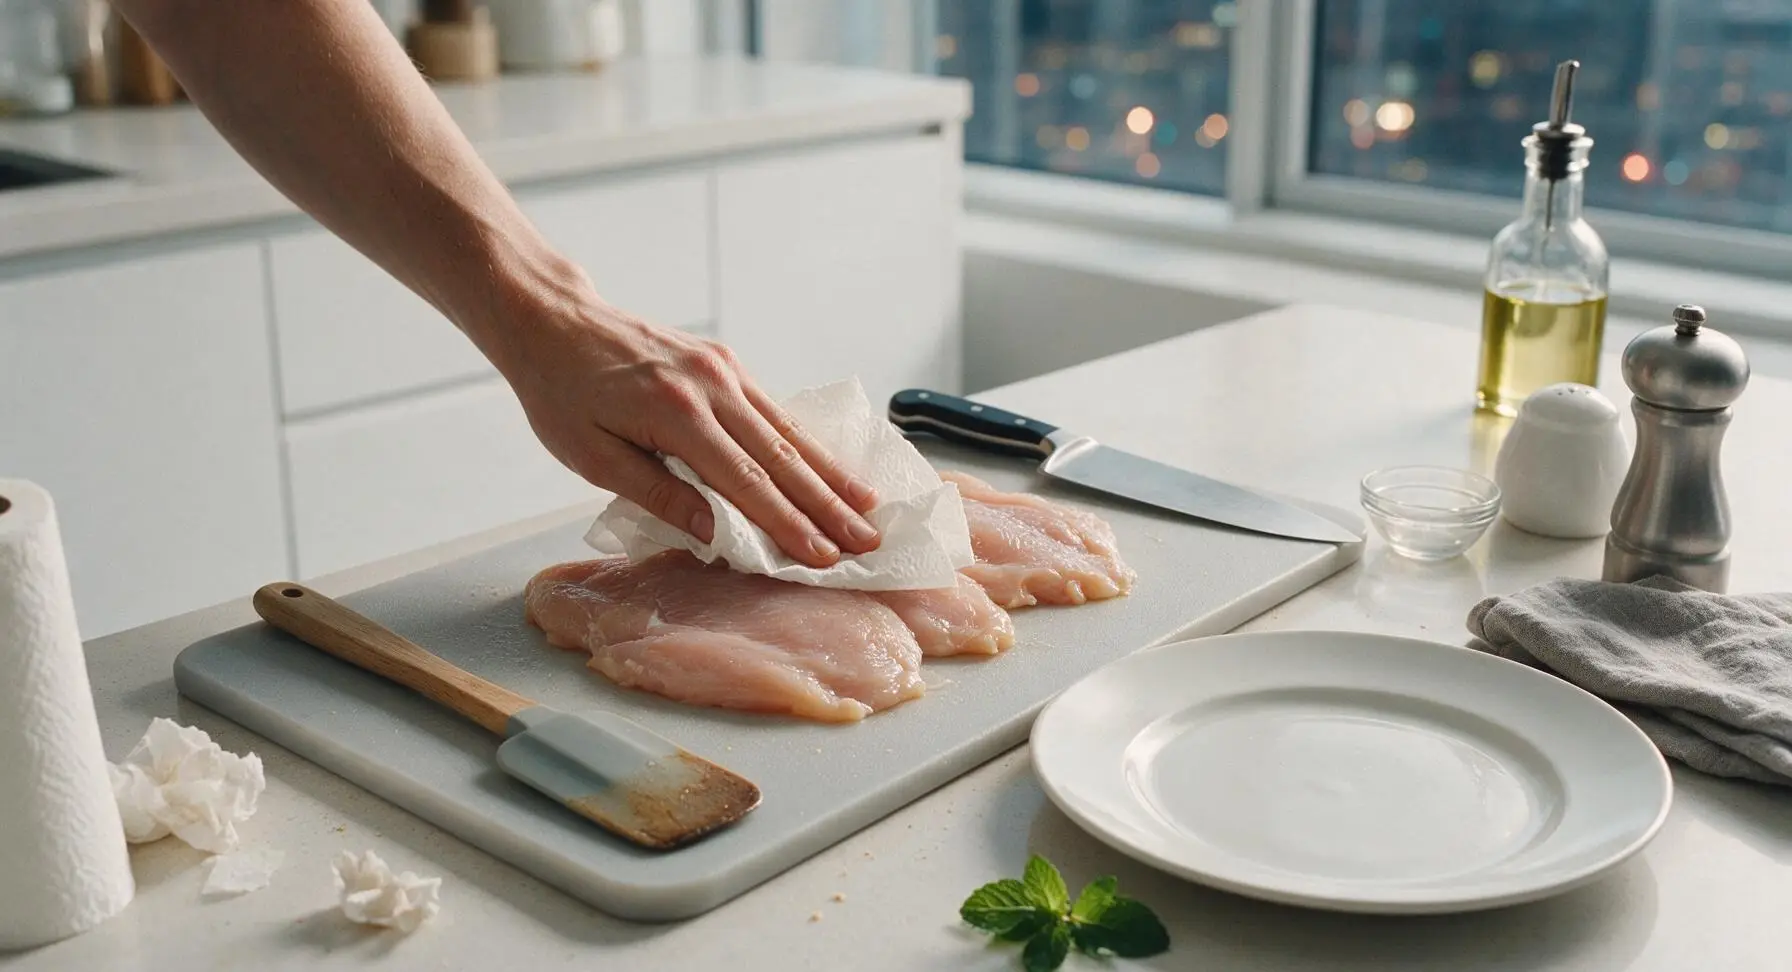
Use fresh sheets of paper towel to pat every surface of the pounded chicken breasts thoroughly dry, removing all visible surface moisture. This is critical to creating a crisp, golden exterior in the air fryer rather than steaming the chicken as it cooks. Discard used damp paper towels in a bin just out of frame.
Coat and Season Chicken
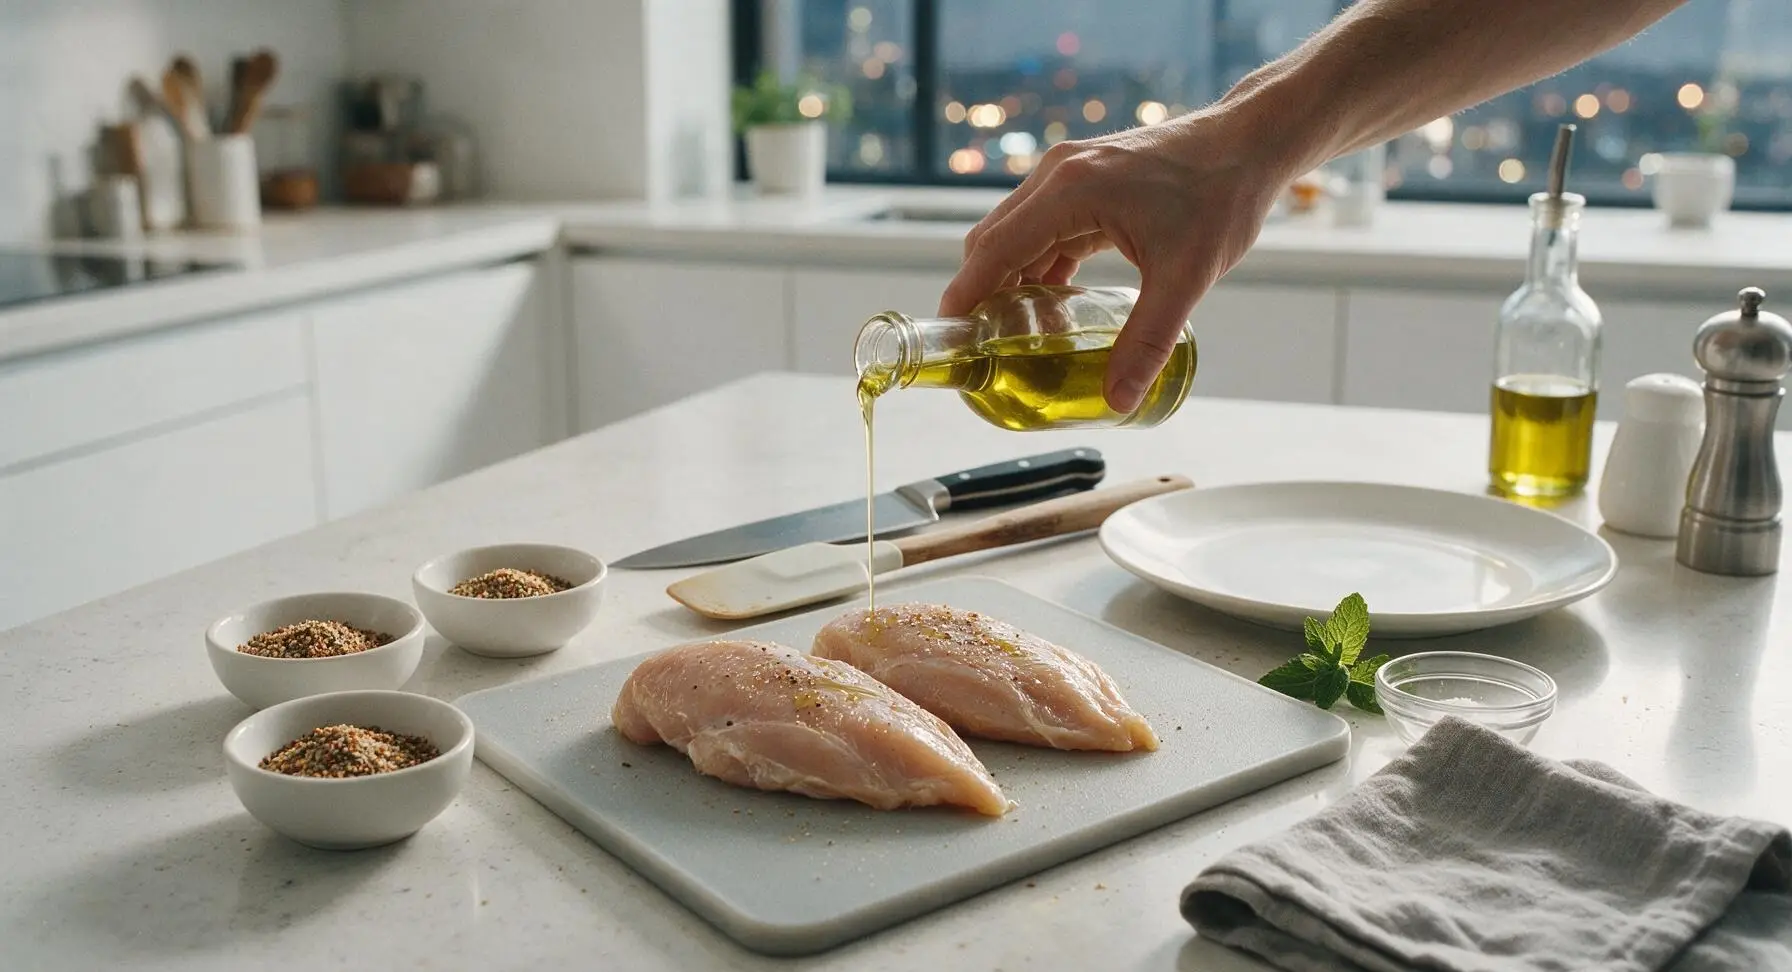
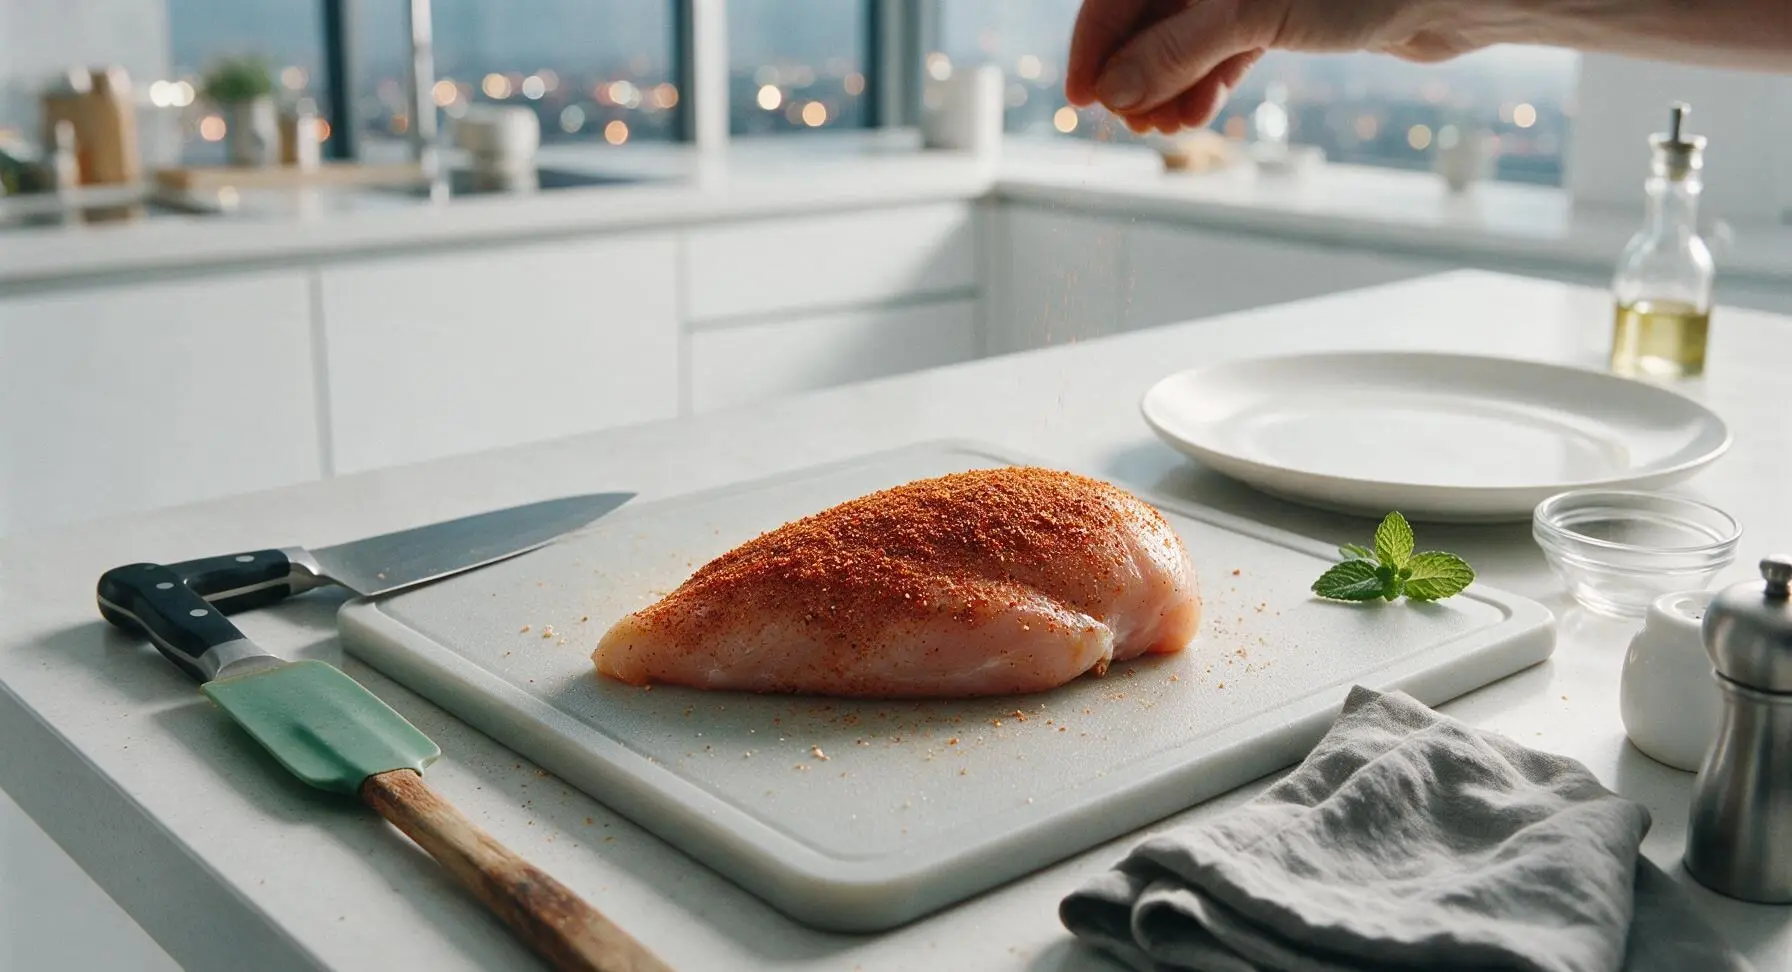
Drizzle 1 tablespoon of extra-virgin olive oil over the dried chicken breasts, using your hands to rub the oil across every surface to coat evenly. In one matte white pinch bowl, mix 1 teaspoon kosher salt, 1 teaspoon garlic powder, ½ teaspoon smoked paprika, ½ teaspoon onion powder, and ½ teaspoon freshly ground black pepper until fully combined. Sprinkle the spice blend evenly over all sides of the oiled chicken, pressing gently so the spices adhere to the surface with no bare patches.
Preheat the Air Fryer
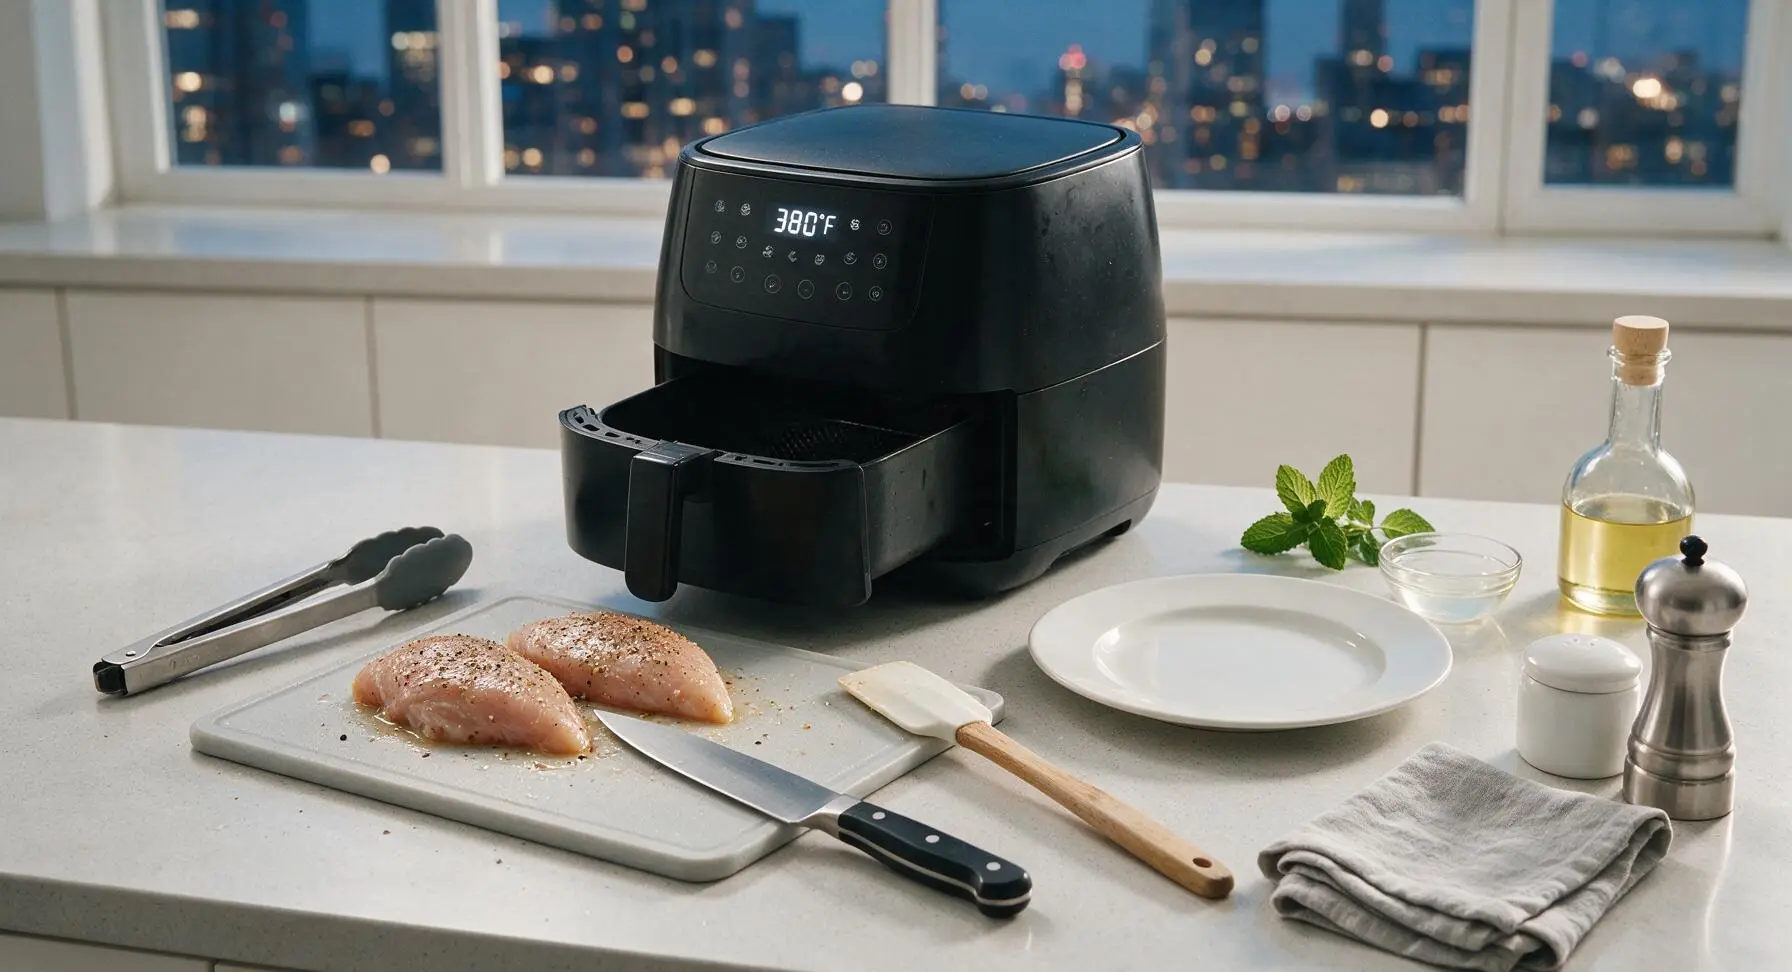
Slide the air fryer basket out slightly to confirm it is empty, then set the air fryer to 380°F (193°C) and preheat for 3 minutes. Preheating ensures the chicken starts searing immediately when placed in the basket, preventing sticking and building a crisp, flavorful crust rather than steaming the meat.
Air Fry Chicken Breasts
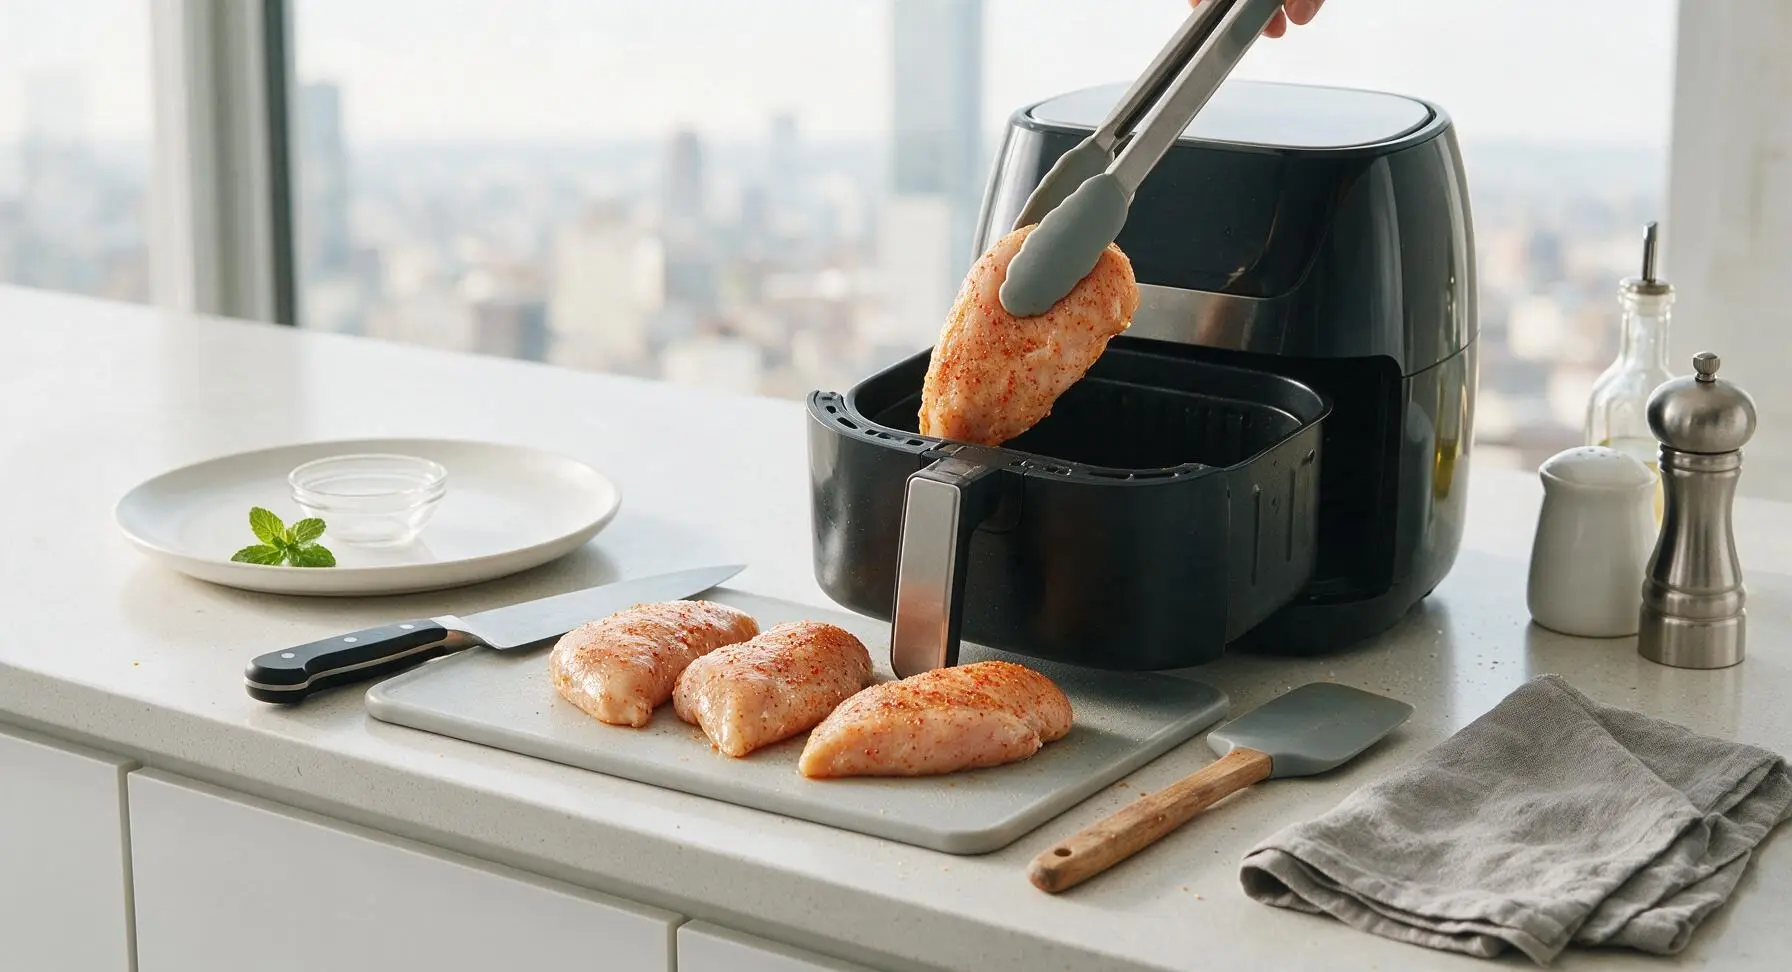
Once preheated, use the silicone-tipped tongs to place the seasoned chicken breasts in the air fryer basket in a single layer, leaving ½ inch of space between each piece for unobstructed air circulation (cook in 2 batches if your air fryer basket is too small to fit all 4 pieces without crowding). Cook for 8 minutes at 380°F, then use tongs to flip each breast carefully. Cook for an additional 6-7 minutes, until the internal temperature reads 160°F (71°C) when inserted into the thickest part of each breast with the digital meat thermometer.
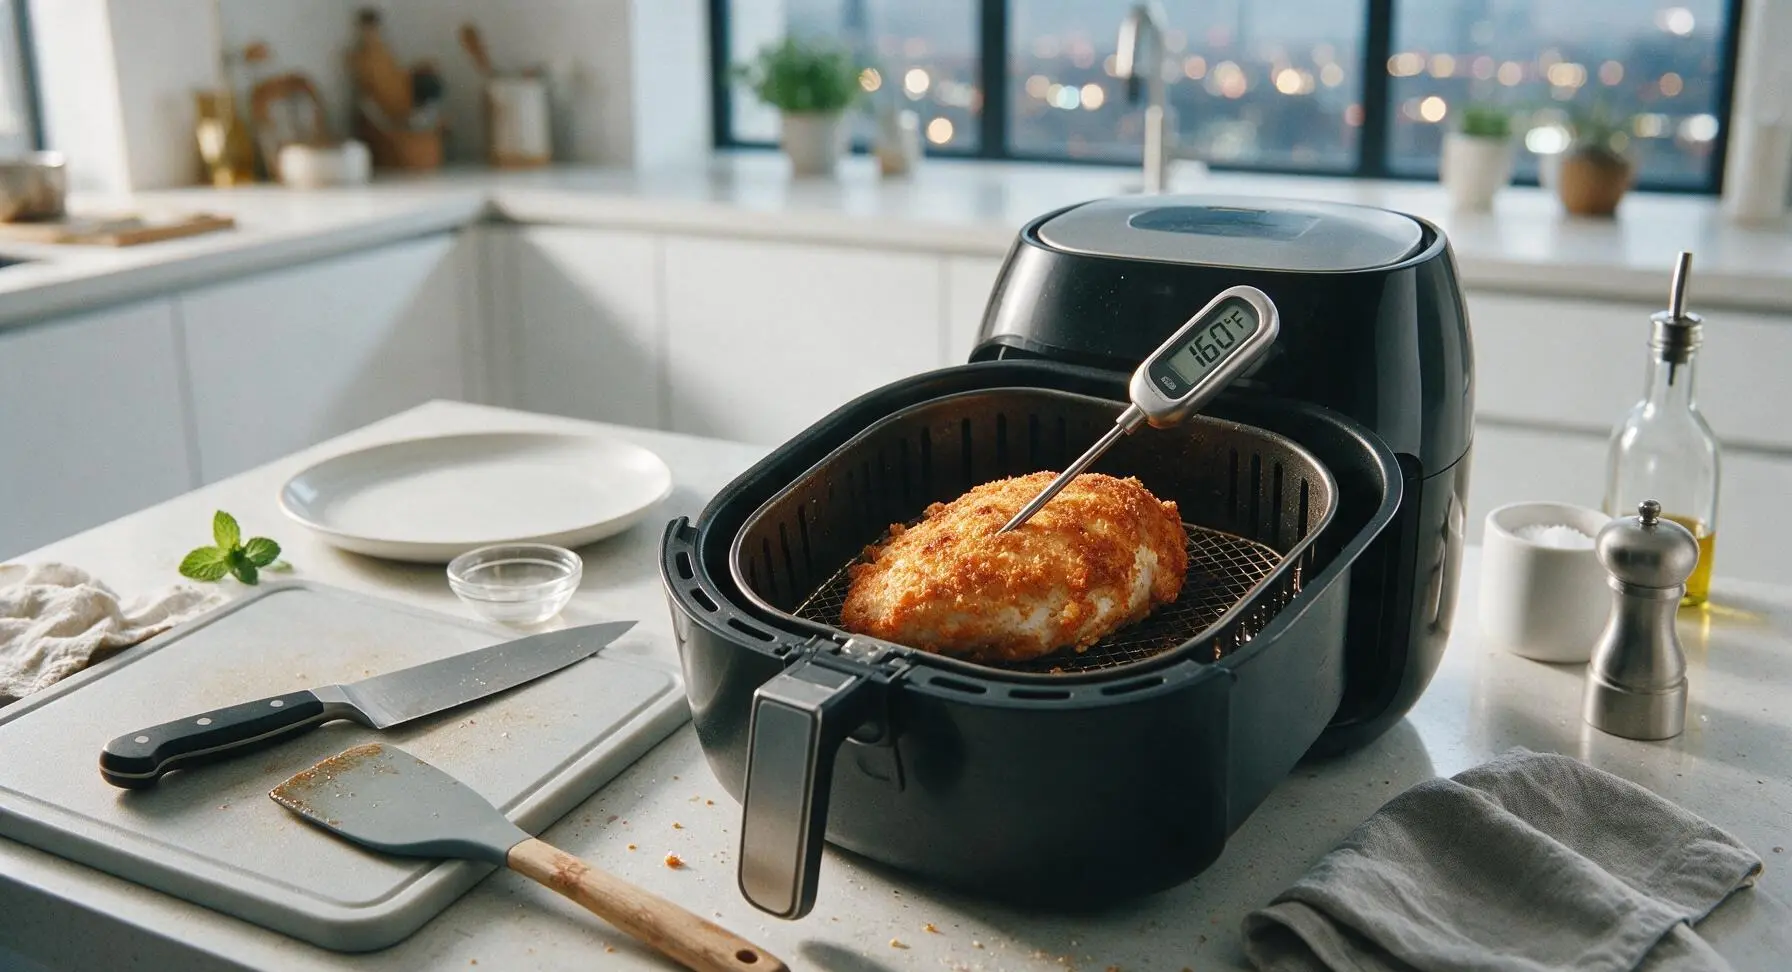
Rest Cooked Chicken
Use the silicone-tipped tongs to transfer the cooked chicken breasts from the air fryer basket to the clean maple cutting board. Let rest for 5 full minutes; a loose drape of paper towel over the top is fine if your kitchen is cool, but tight foil wrapping is not needed. During this time, carryover cooking will raise the internal temperature to the food-safe 165°F (74°C), and juices will redistribute through the meat instead of running out when sliced.
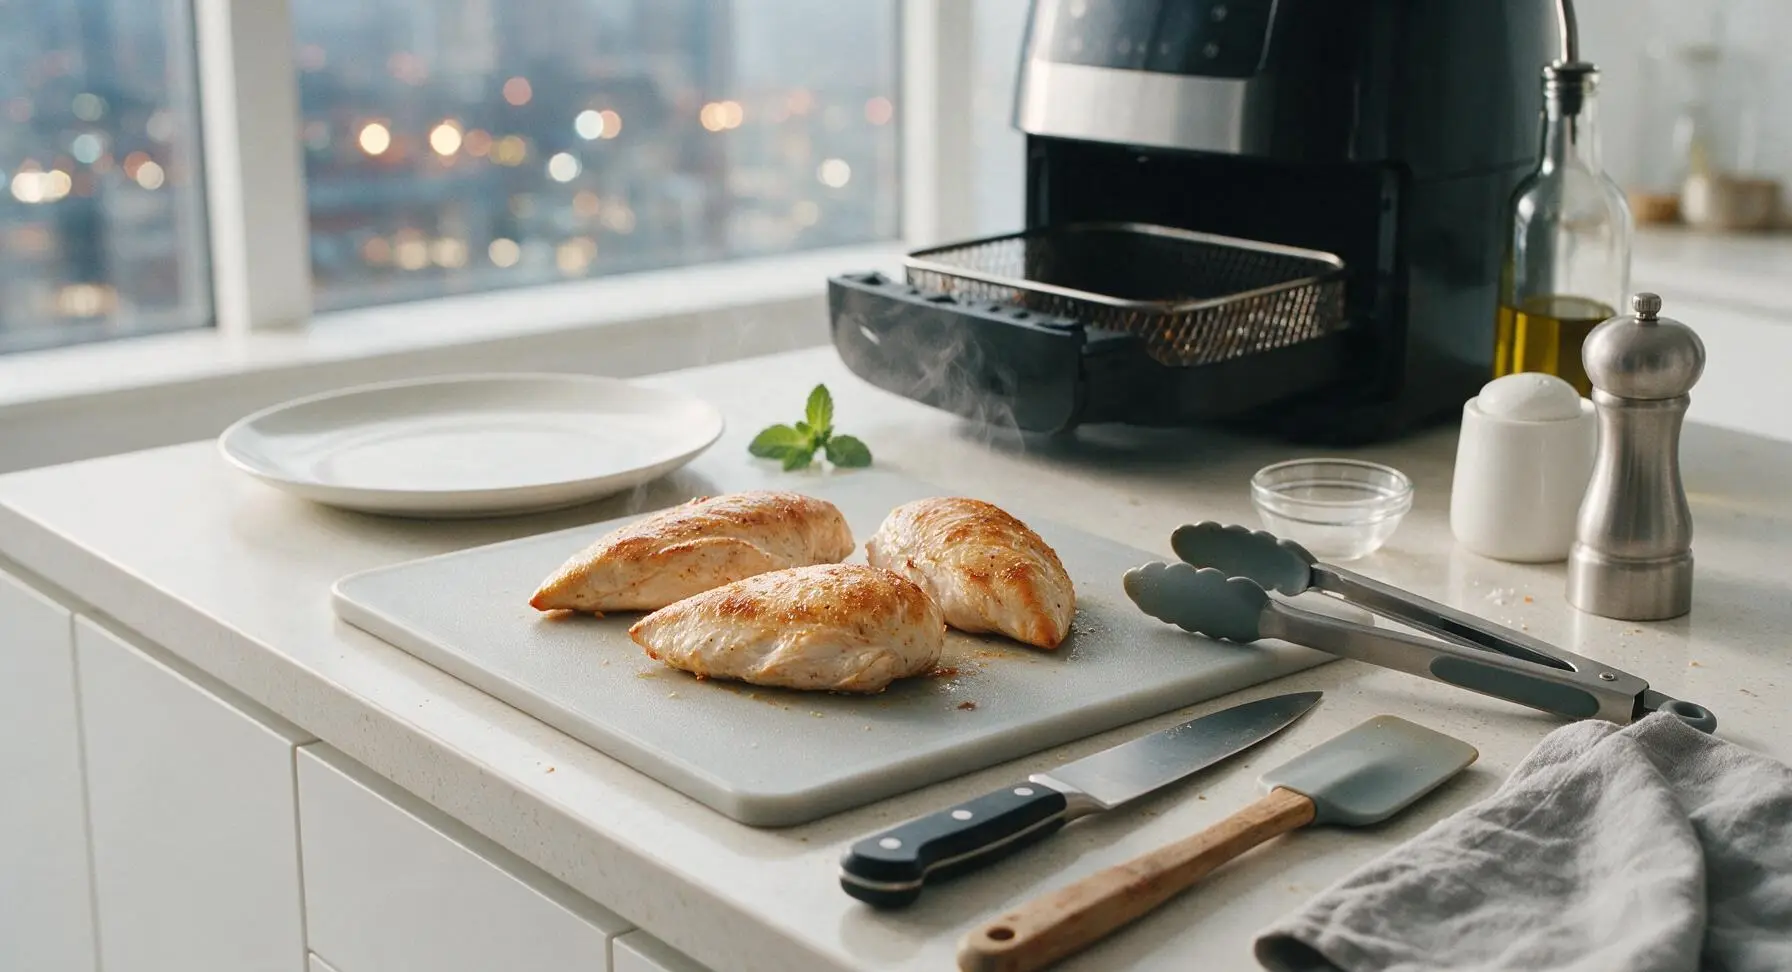
Slice and Plate Chicken
After the 5-minute rest, use the 6-inch stainless steel boning knife to slice the chicken breasts against the grain into ½-inch thick slices. Arrange the slices fanned across the center of the matte cream white ceramic dinner plate, sprinkle lightly with flaky sea salt, and tuck a fresh thyme sprig at the edge of the plate for garnish.
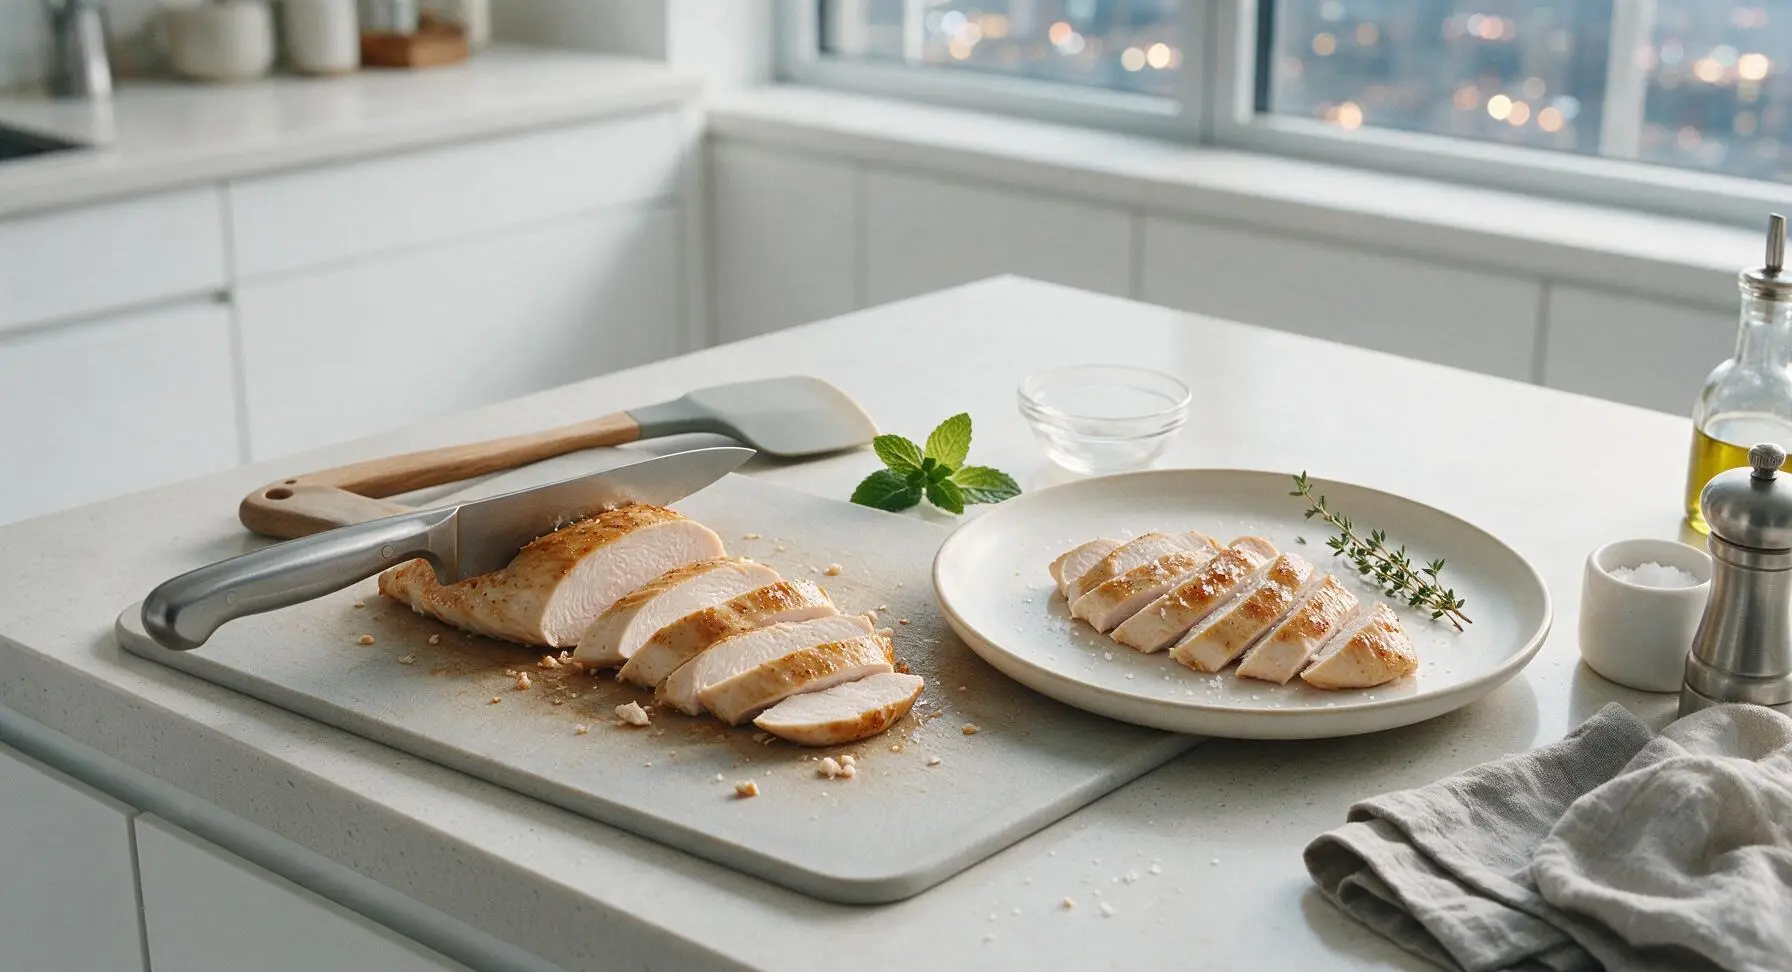
Tips
2.Use a meat thermometer for perfect doneness: Remove chicken when the thickest part reads 160°F before resting, as carryover heat will raise the temperature to the food-safe 165°F during the 5-minute rest period. Cutting into chicken early to check doneness releases flavorful juices that keep the meat moist.
3.Adjust cook time for breast thickness and air fryer wattage: If your chicken breasts are thicker than 1 inch even after pounding, add 2-3 minutes of total cook time. Smaller, lower-wattage air fryers may run 20-30°F cooler than the displayed temperature, so always trust thermometer readings over suggested timing to avoid dry, overcooked chicken.






OMG this is a total game changer! I’ve always struggled to get chicken breast that isn’t dry and rubbery in the air fryer, but this came out perfectly juicy every single bite. I made it for our family dinner last night and my two picky kids asked for seconds! I seasoned it with a little extra paprika like I usually do and it was chef’s kiss. 18 minutes total cook time is perfect for busy weeknights too, no more waiting forever for the oven to preheat.
Really solid recipe! Cook time was spot on for my 6-quart air fryer, chicken came out super juicy with that nice little crispy outer layer I love. Only reason it’s not 5 stars is I wish it had a quick seasoning blend suggestion in the notes – I just used garlic powder, salt, pepper, and a little cayenne and it worked great, but would’ve loved a recommended mix for people who don’t know what to add.
SO good! I brought this to a neighborhood potluck last weekend and people were hounding me for the recipe all night. Everyone kept asking how I got the chicken so juicy without it being undercooked, I told them it was all thanks to this 18 minute air fryer trick! No more dry potluck chicken for us lmao.
Game changer for my post-gym meals! I eat chicken breast like 4 nights a week and I was so sick of baking it in the oven and having it turn into a dry, flavorless brick. This was so easy even I couldn’t mess it up, and the 18 minute cook time is short enough that I can throw it on right when I get home from the gym and be eating in 20 minutes flat. 10/10.
My kids loved it!!! I have one kid who swears he hates chicken breast and will only eat nuggets, and he ate two whole pieces of this without complaining. I didn’t even have to bribe him with dessert, that’s how good it was. This was so easy to throw together too, I didn’t have to pull out any fancy gadgets or weird ingredients. The only thing I did different was spray a little olive oil on the outside before seasoning to help the spices stick. Will be making this every single week for sure.
Wow, I was skeptical because every air fryer chicken breast recipe I’ve tried before has been mid at best, but this one actually delivers on the juicy promise. It’s genuinely easy enough for someone who barely cooks to nail on the first try. I used thin-sliced chicken breasts once and adjusted the cook time to 12 minutes and that worked perfectly too, for anyone who prefers thinner cuts. Super easy, no fancy ingredients needed, exactly what I want in a weeknight recipe.
Absolute new staple in our house! My husband is the type who thinks chicken breast is always boring and dry, and he went back for a third piece tonight. This recipe is so easy even on nights I get home late from work and don’t feel like cooking, it’s no stress. I served it with roasted broccoli and mashed cauliflower and it felt like a fancy dinner but took literally no effort to throw together. Can’t recommend enough!