
air fryer chicken fried chicken
intro
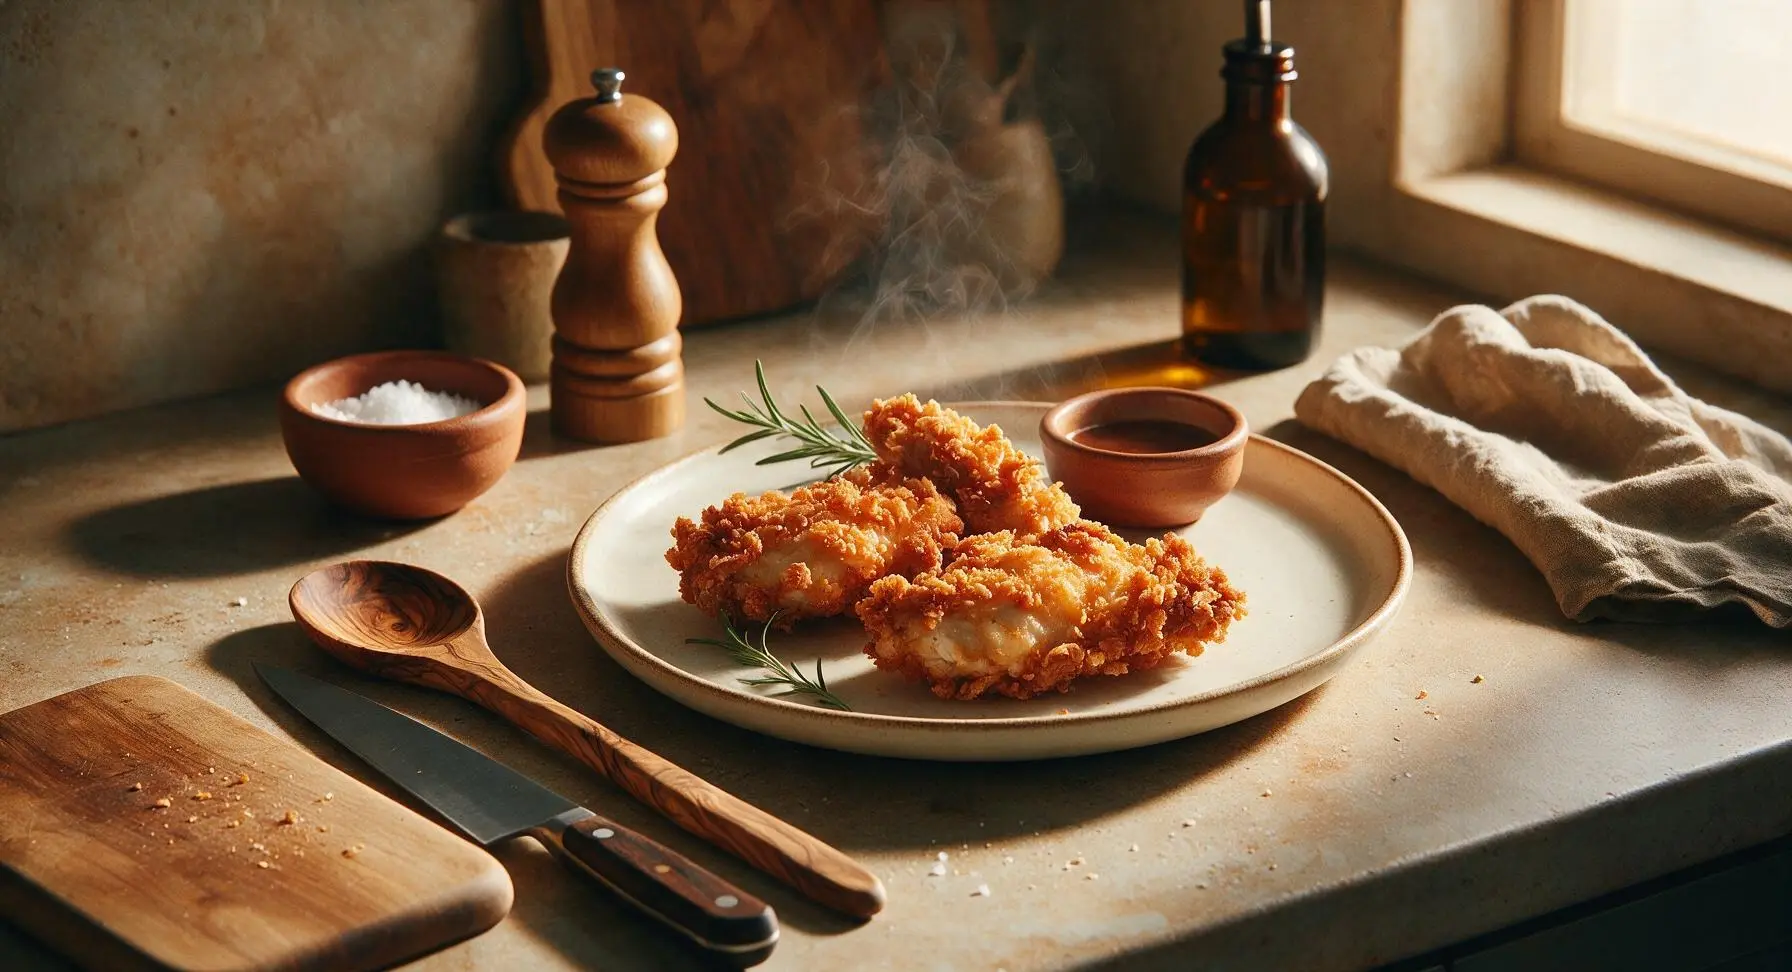
Shatteringly crisp, golden air fryer chicken fried chicken delivers classic Southern comfort with a fraction of the oil, packing juicy tender meat under every crunchy bite.
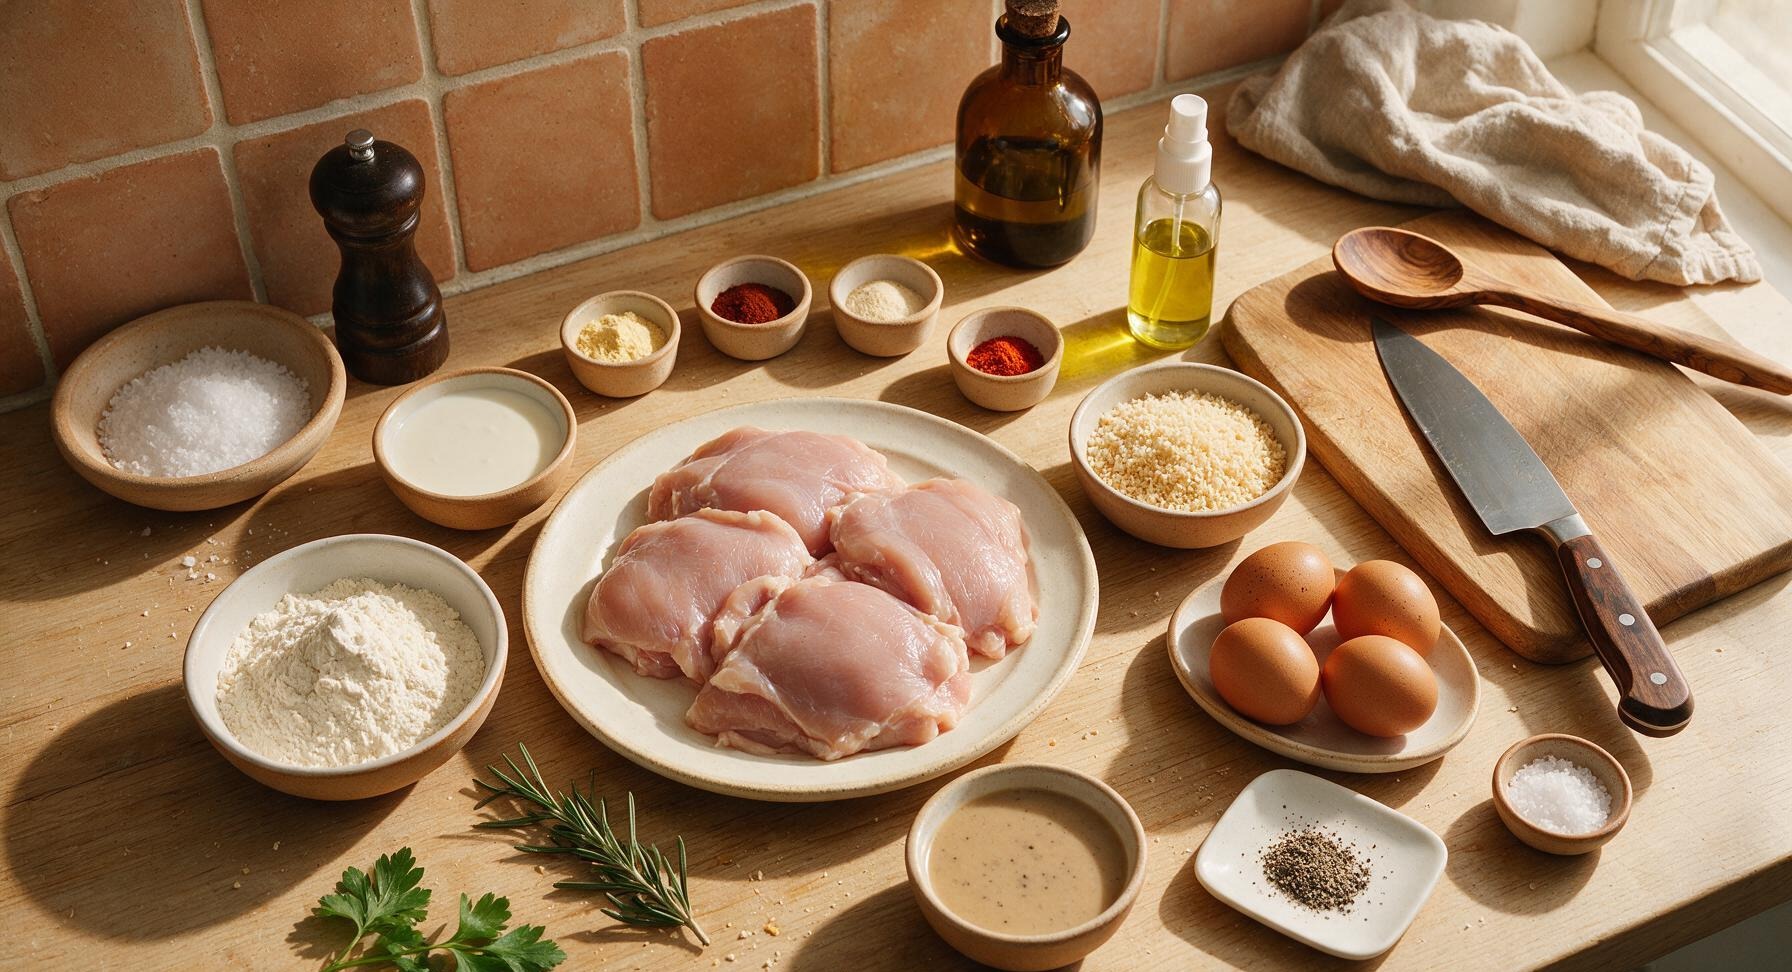
Ingredients
Steps
Pound Chicken Cutlets
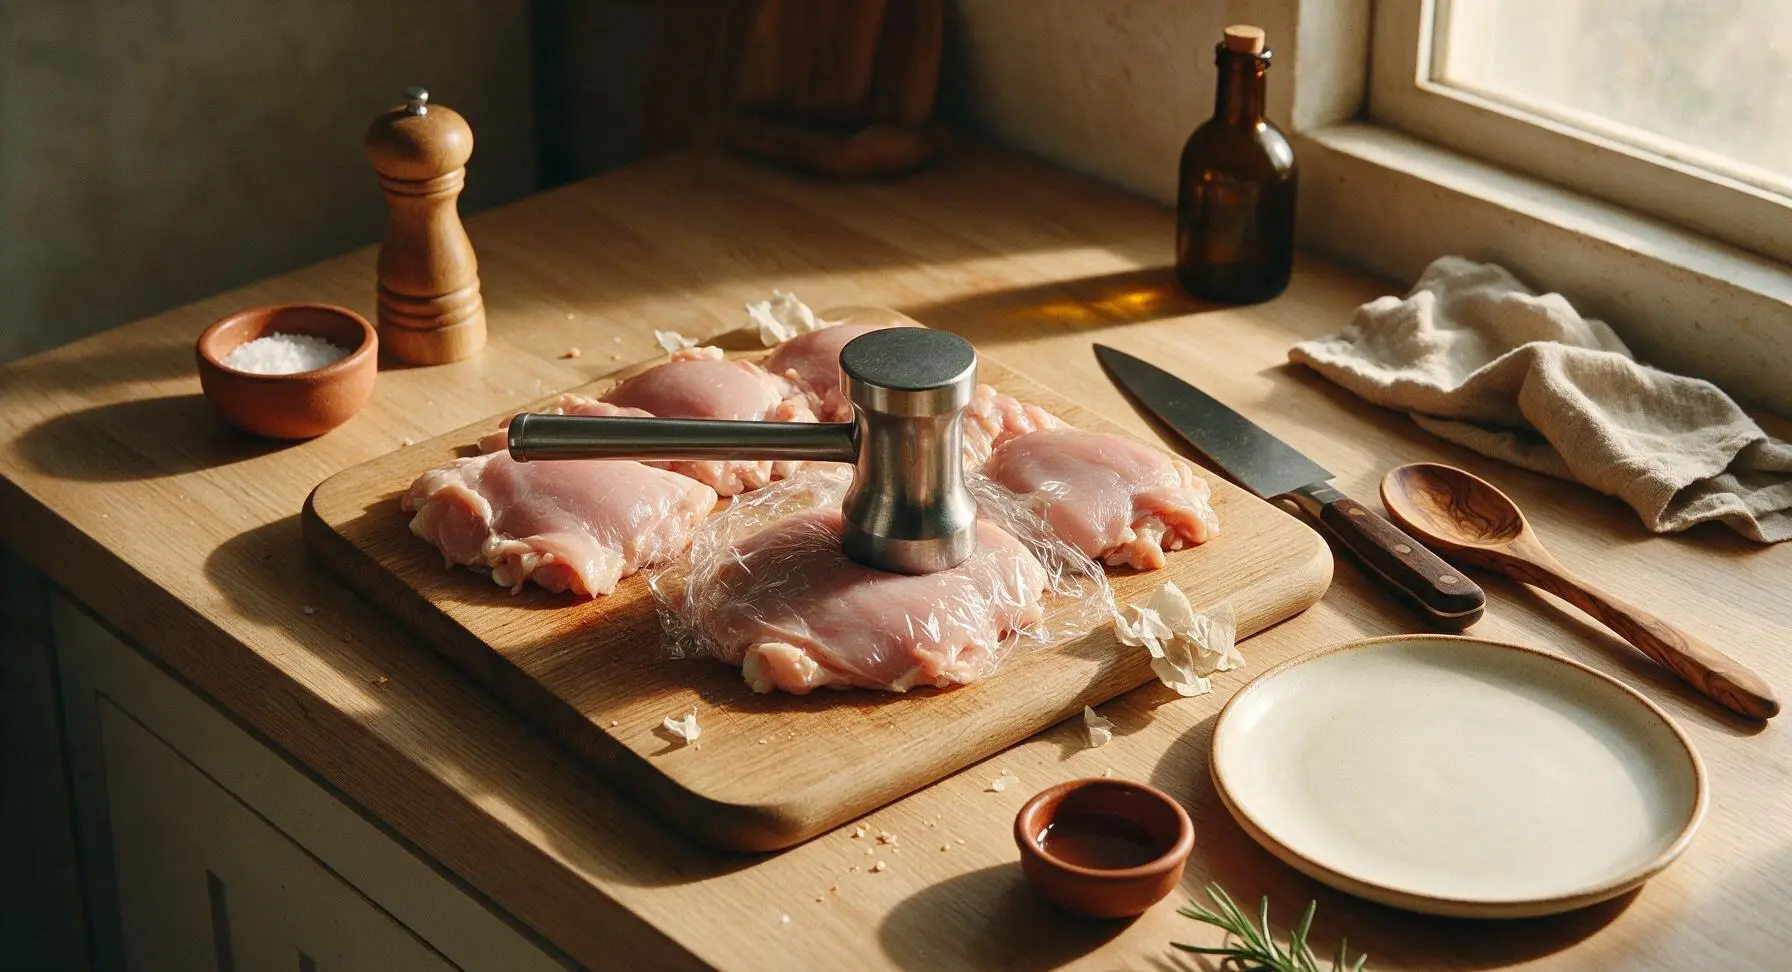
Place the 4 boneless, skinless chicken thighs on the light beech wood cutting board. Cover loosely with a sheet of plastic wrap to prevent splatter, then use the flat face of the stainless steel meat pounder to pound each thigh to an even 1/2-inch thickness. This uniform thickness ensures even cooking in the air fryer, eliminating dry, overcooked thick spots. Pat the pounded chicken completely dry with paper towels, discarding the plastic wrap when finished.
Arrange Breading Station
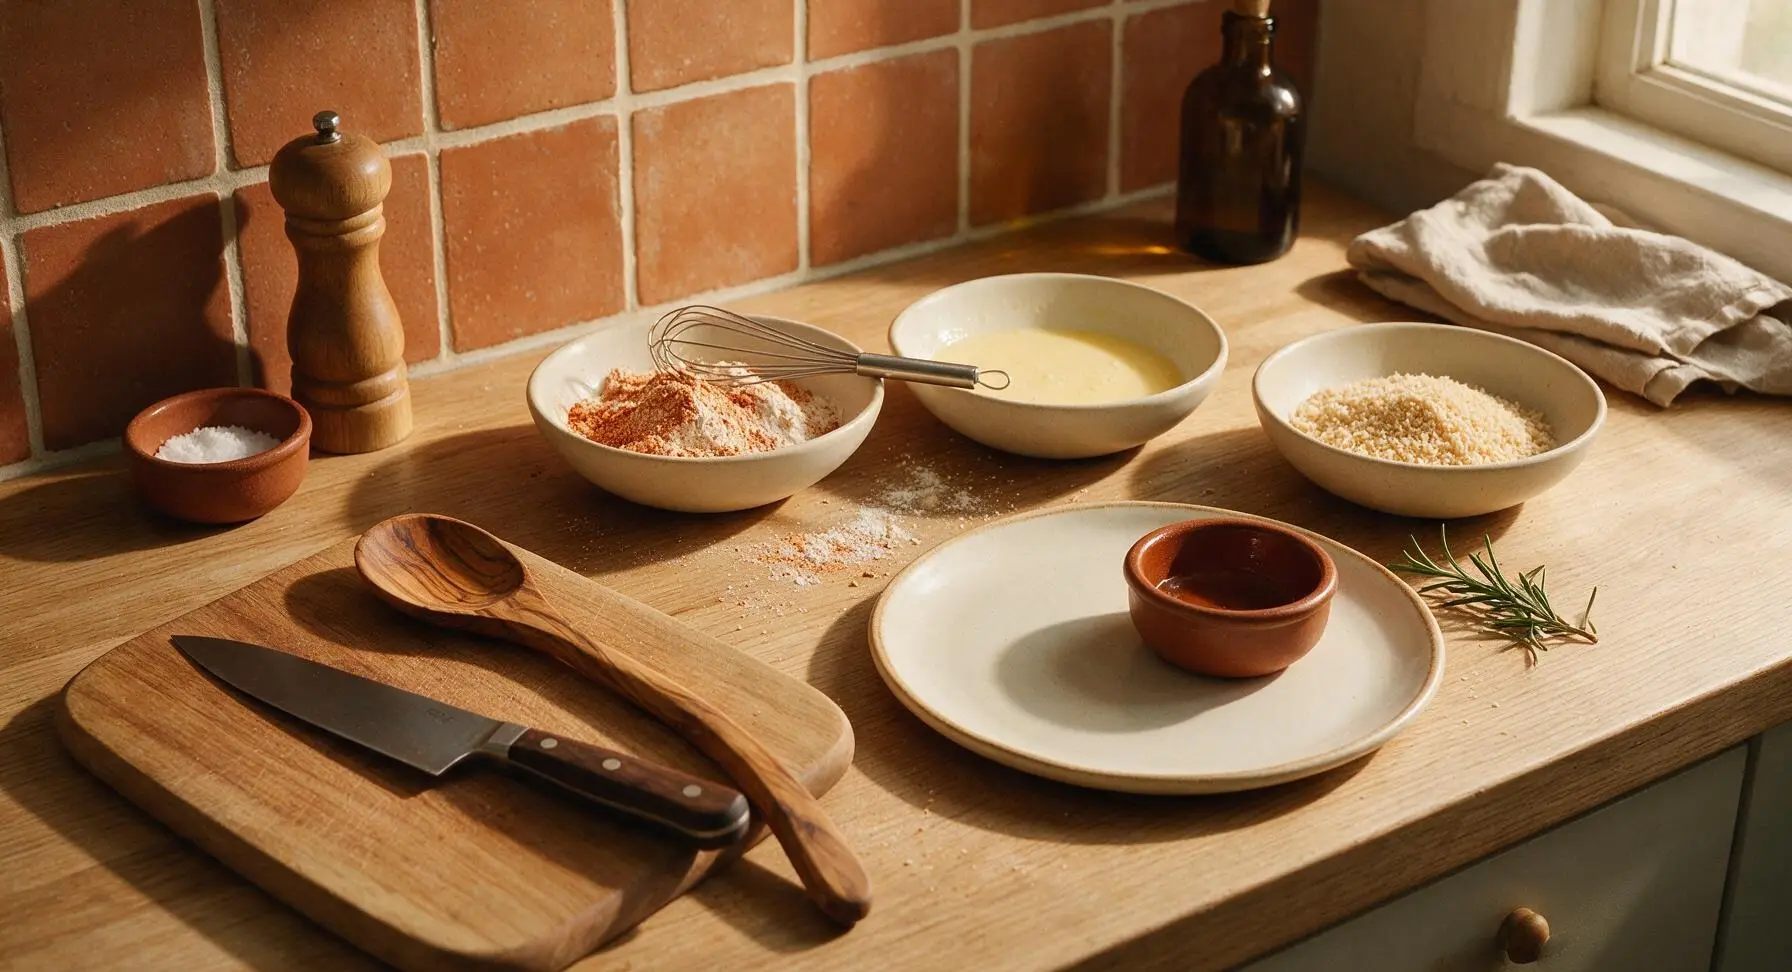
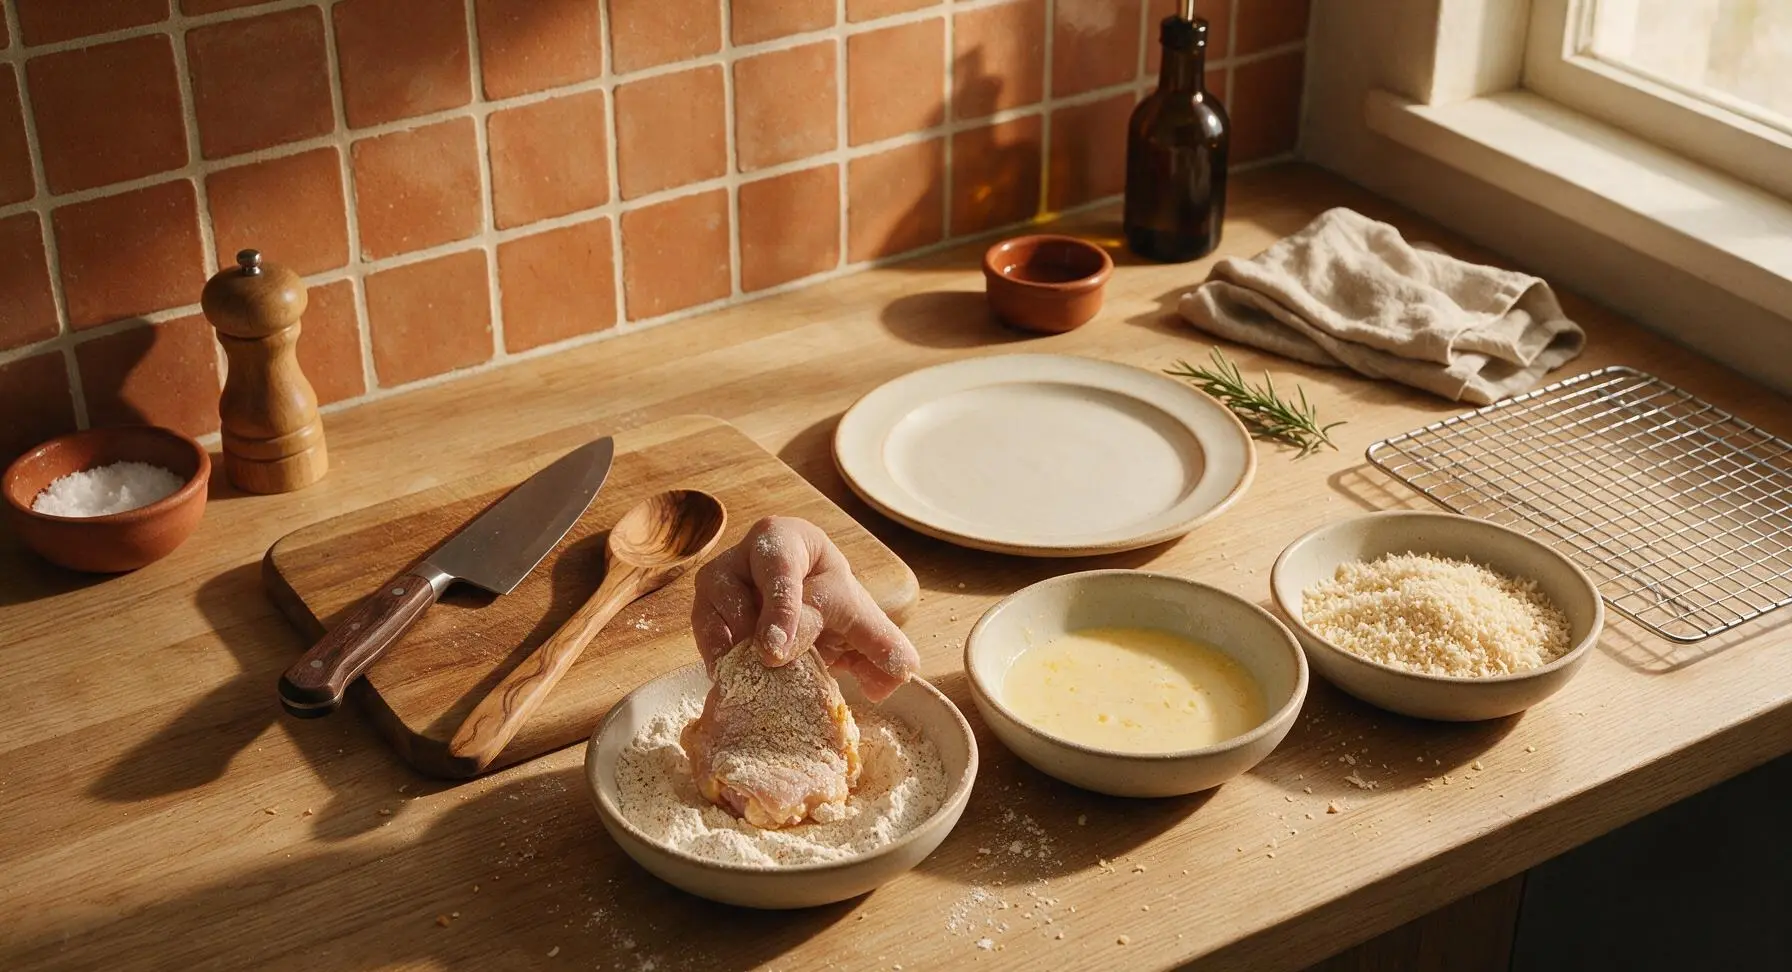
Line up the three shallow matte cream prep bowls in a straight row to the right of the cutting board. In the first bowl, combine 1.5 cups all-purpose flour, 1 tbsp garlic powder, 1 tsp smoked paprika, 1 tsp onion powder, 1 tsp kosher salt, 1 tsp black pepper, and 1/4 tsp cayenne pepper, whisking with the small stainless steel whisk until fully combined with no spice clumps. In the second bowl, whisk 2 large eggs and 1 cup buttermilk until completely smooth, with no streaks of unincorporated egg white. In the third bowl, add 1 cup panko breadcrumbs, stirring gently to break up any large clumps.
Bread Chicken Cutlets
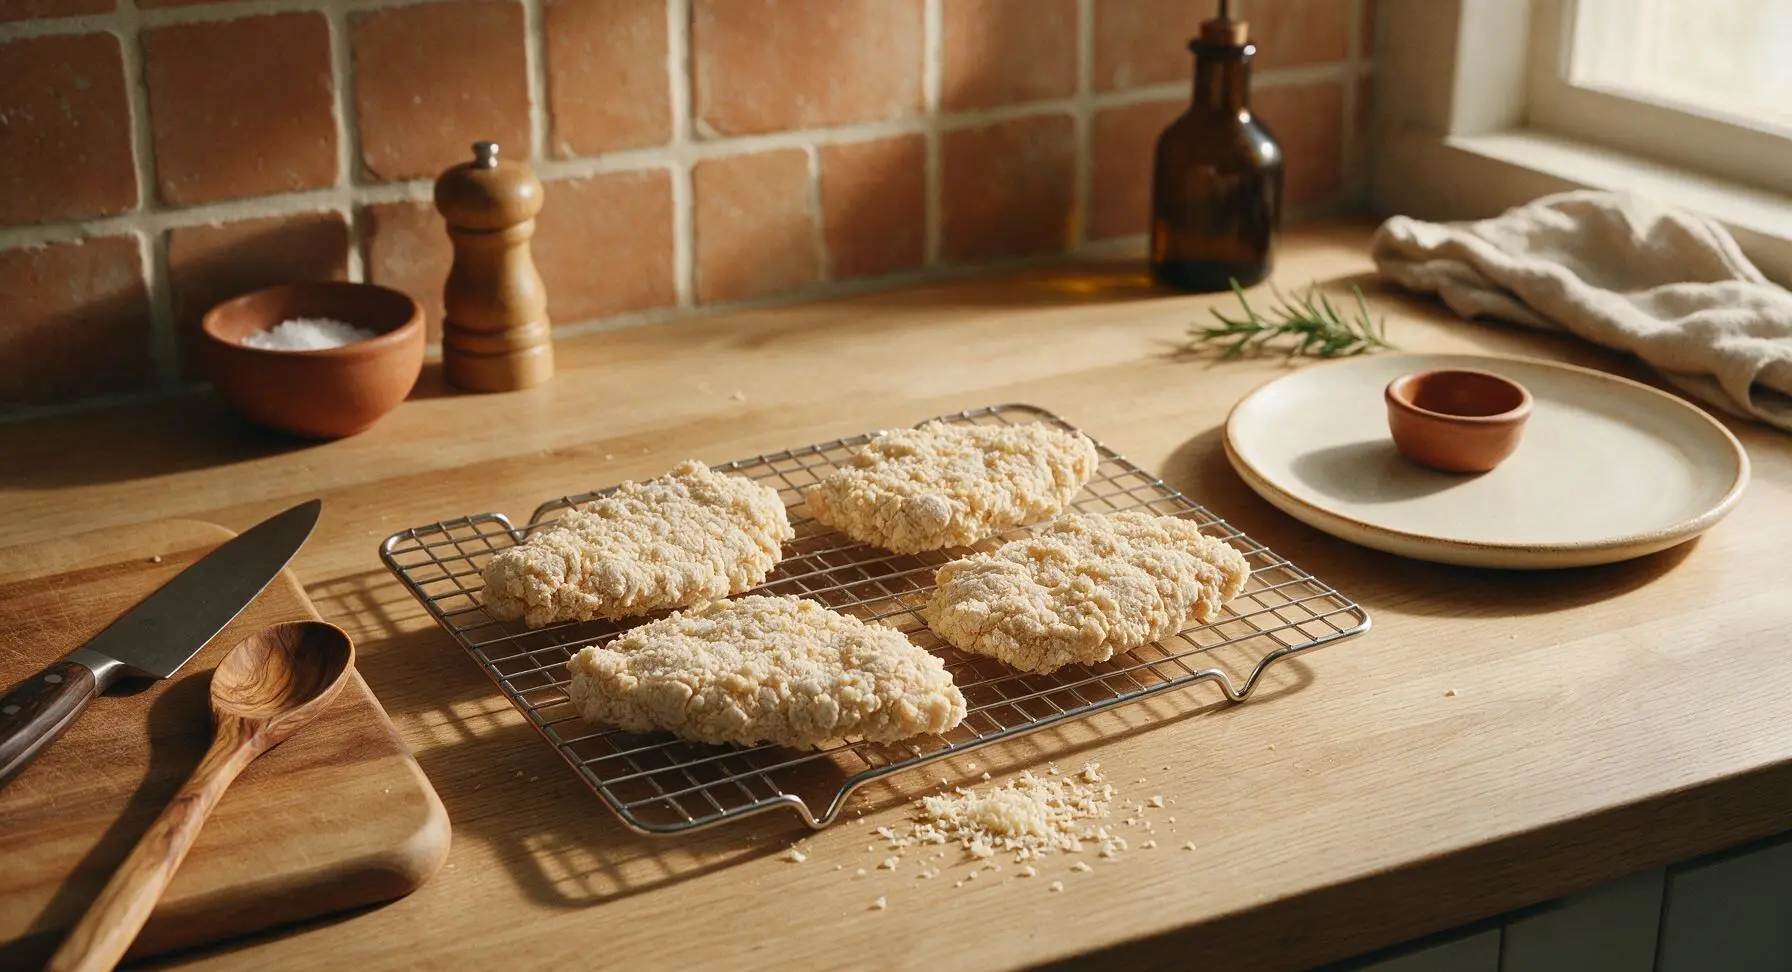
Working one cutlet at a time, dredge each pounded chicken thigh first in the spiced flour, pressing firmly to coat all sides, then shake off excess flour. Dip the floured cutlet fully into the buttermilk-egg mixture, letting excess drip off for 2 seconds. Return the cutlet to the spiced flour for a second coat, pressing gently to help the flour form a rough, craggy coating, then dip again briefly in the buttermilk mixture before pressing firmly into the panko breadcrumbs, ensuring every surface is evenly covered with crumbs. Place breaded cutlets on the chrome wire cooling rack as you work, then let them rest for 5 minutes to allow the breading to adhere—this prevents it from blowing off in the air fryer’s circulating air.
Preheat Air Fryer
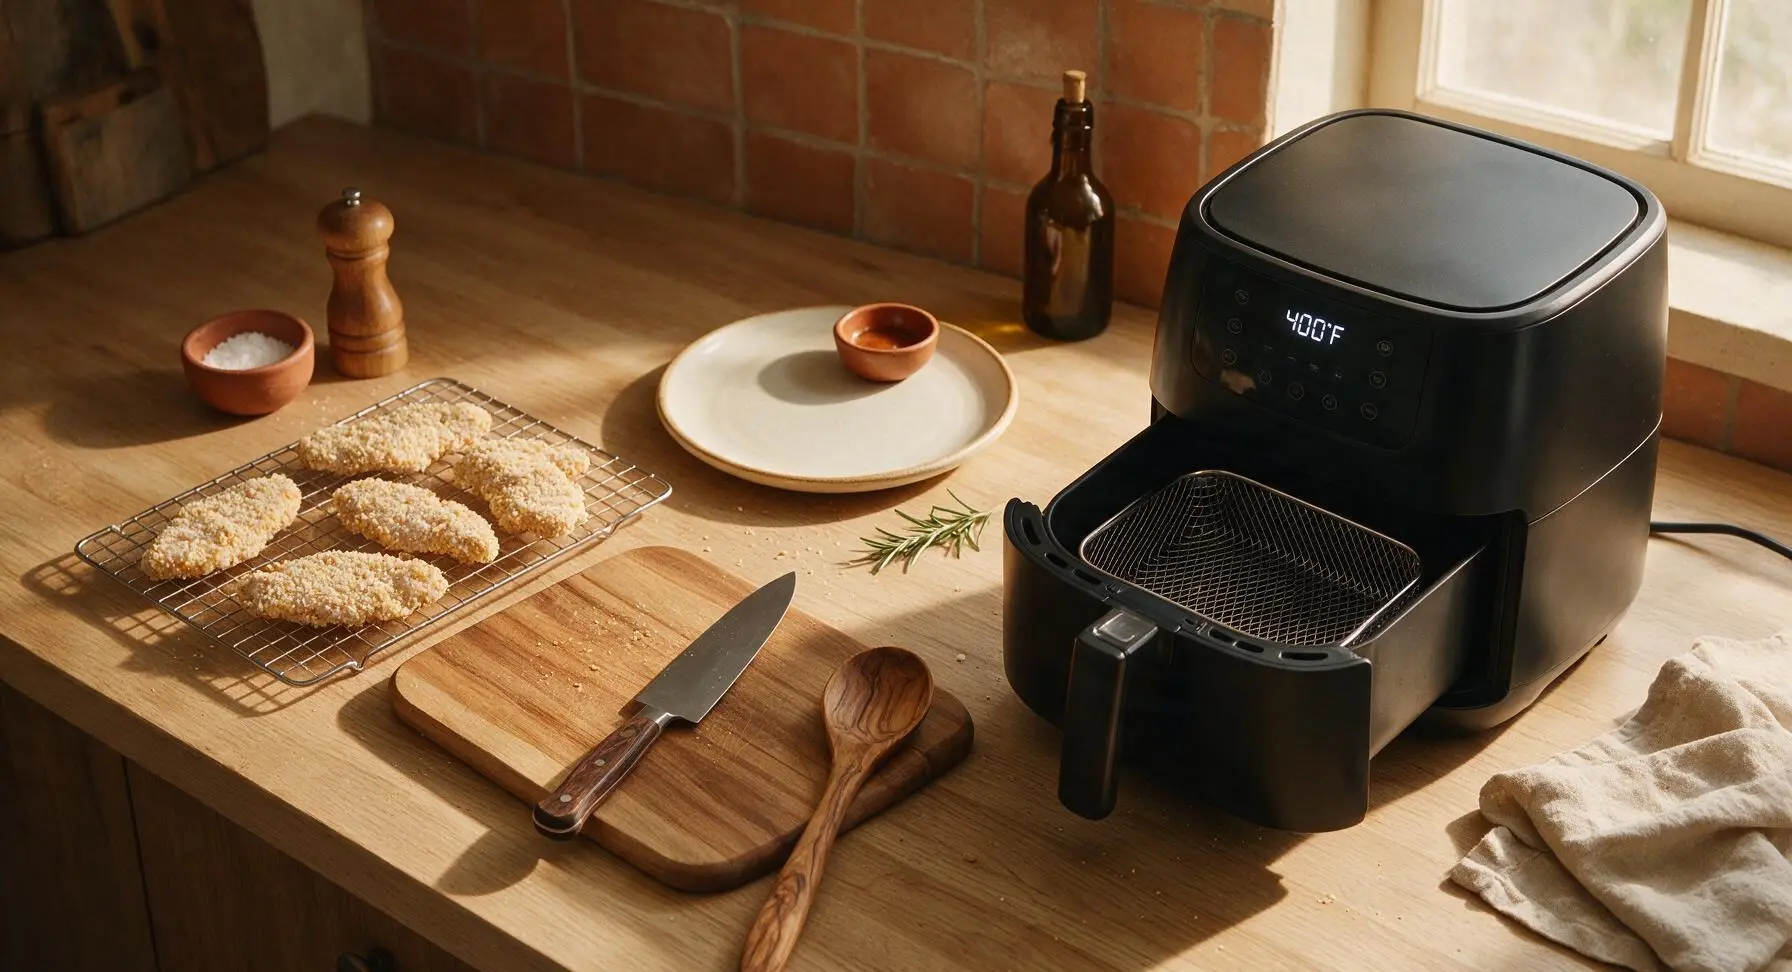
Move the 5.5-quart matte black air fryer into position on the right side of the counter, next to the breading station. Set the temperature to 400°F (200°C) and preheat for 3 minutes. Do not skip preheating: this creates an immediate crispy sear on the breading the moment the chicken enters the basket, preventing soggy, steamed breading.
Cook First Chicken Side
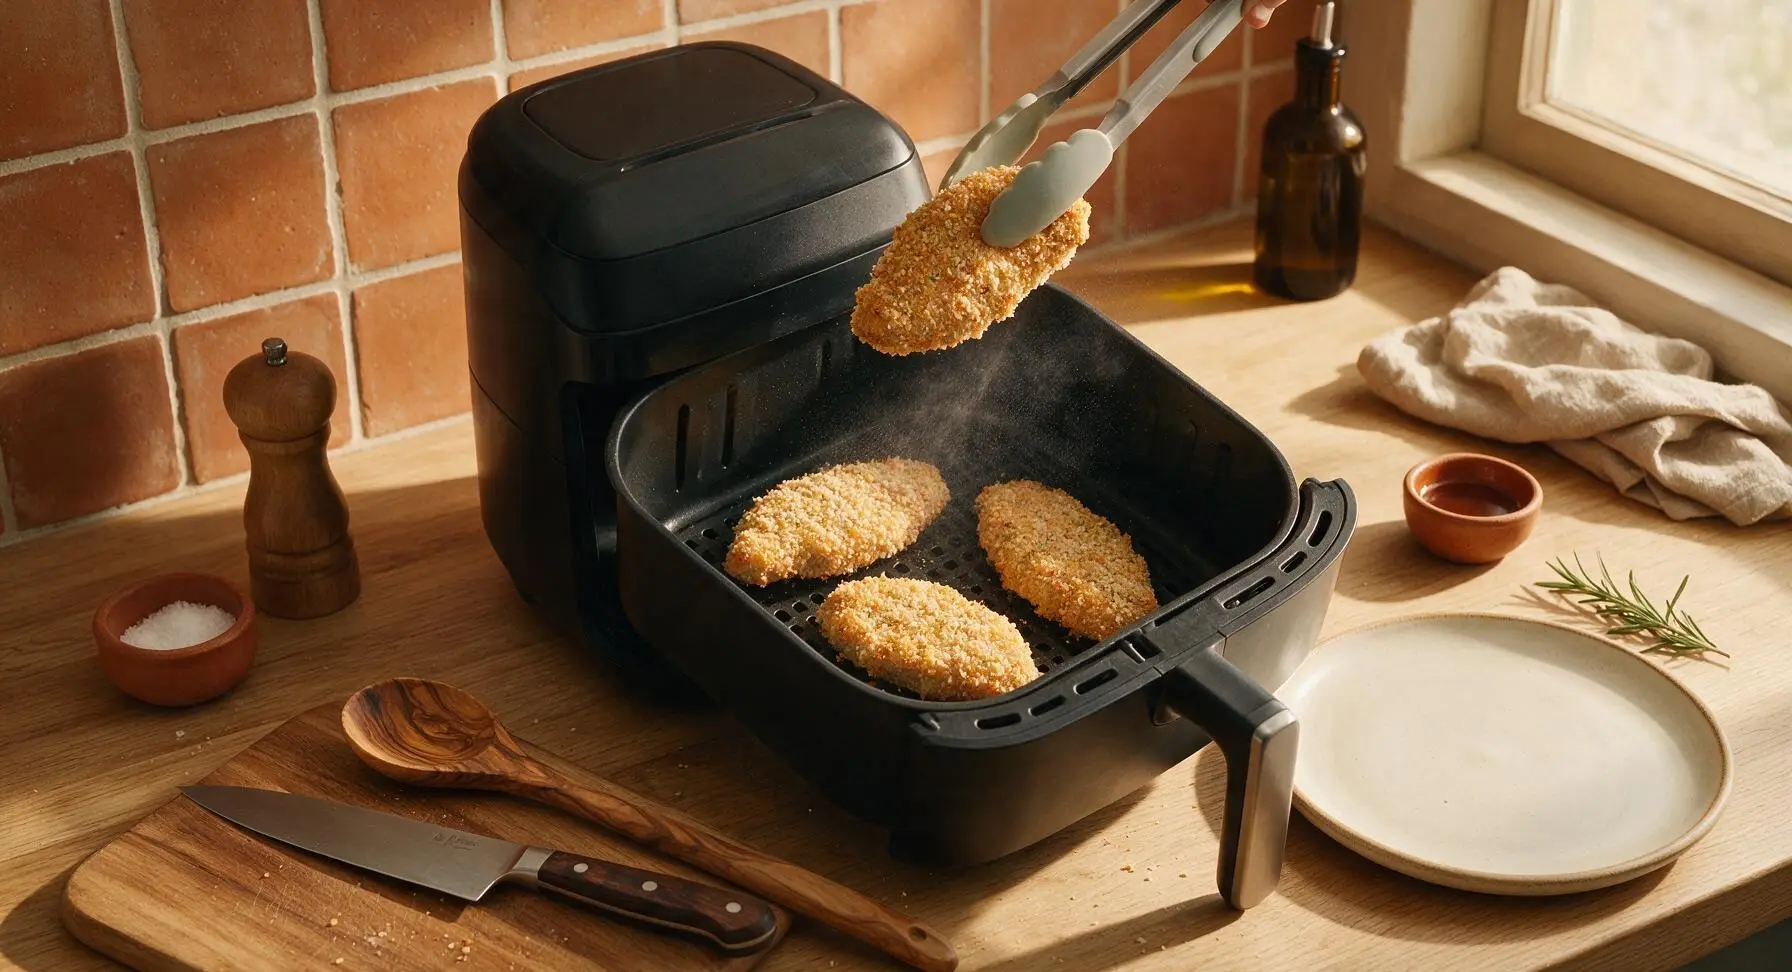
Once preheated, lightly spray the air fryer basket insert with avocado oil from the fixed glass spray bottle to prevent sticking. Use the silicone-tipped kitchen tongs to arrange all 4 breaded cutlets in the basket in a single layer, leaving at least 1/2 inch of space between them to allow air circulation (cook in 2 batches for smaller air fryer baskets to avoid overcrowding). Lightly spray the top of the cutlets with a thin, even coat of avocado oil. Slide the basket back into the air fryer and cook for 8 minutes at 400°F (200°C). Do not open the basket or flip the chicken during this first cook window.
Flip and Finish Cooking
After the first 8 minutes, pull the air fryer basket out carefully. Use the tongs to flip each cutlet over, then lightly spray the second side with avocado oil. Return the basket to the air fryer and cook for an additional 7-9 minutes, until the breading is deep golden brown and crispy all over, and the internal temperature of the chicken reaches 165°F (74°C) when checked with the digital meat thermometer. Transfer cooked cutlets back to the wire cooling rack to rest for 3 minutes—this keeps the breading crisp instead of trapping condensation and getting soggy on a solid plate.
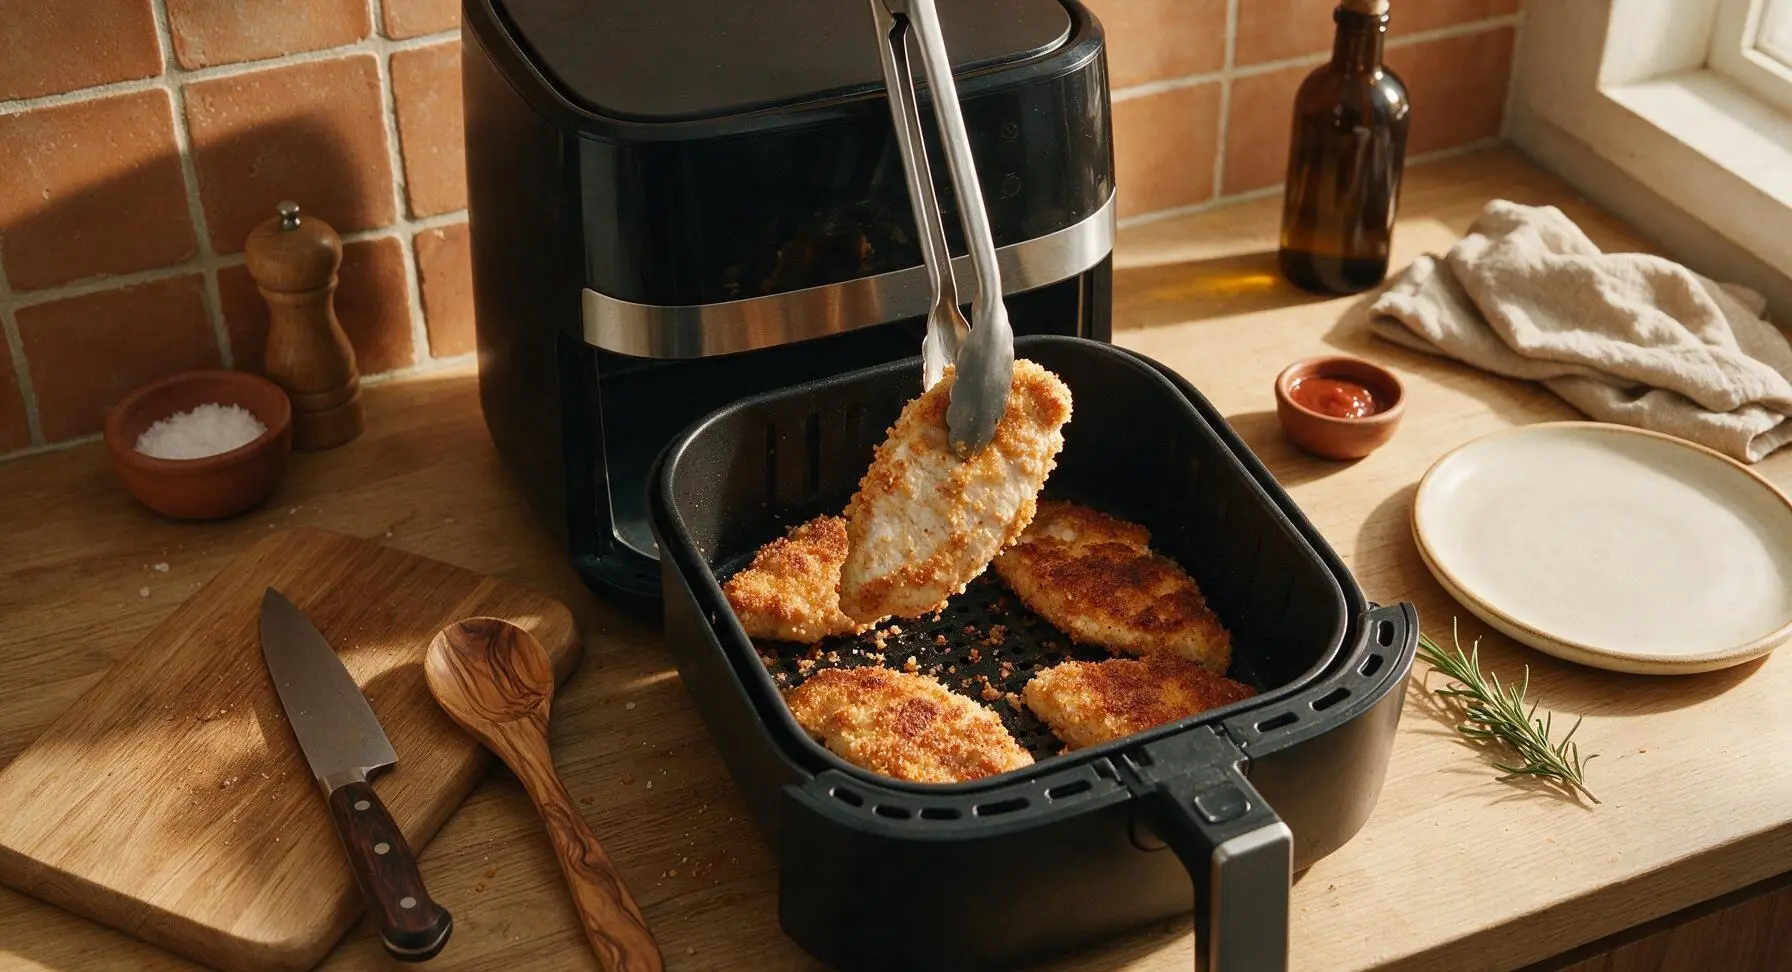
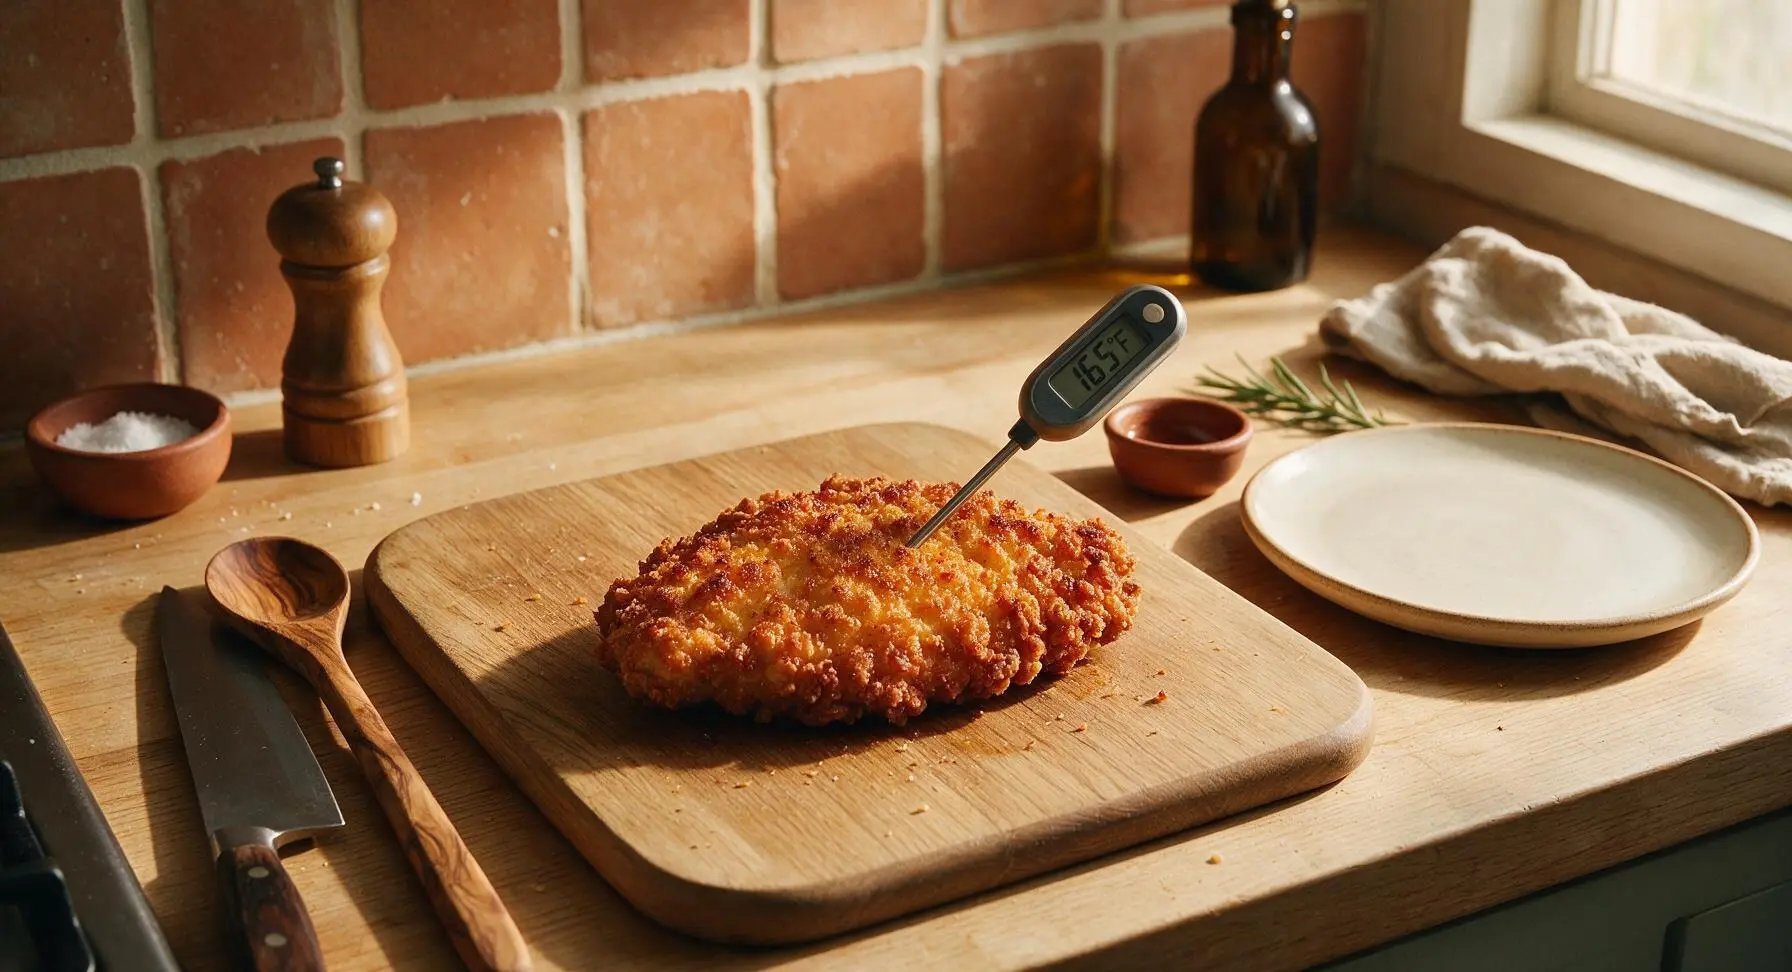
Plate and Serve
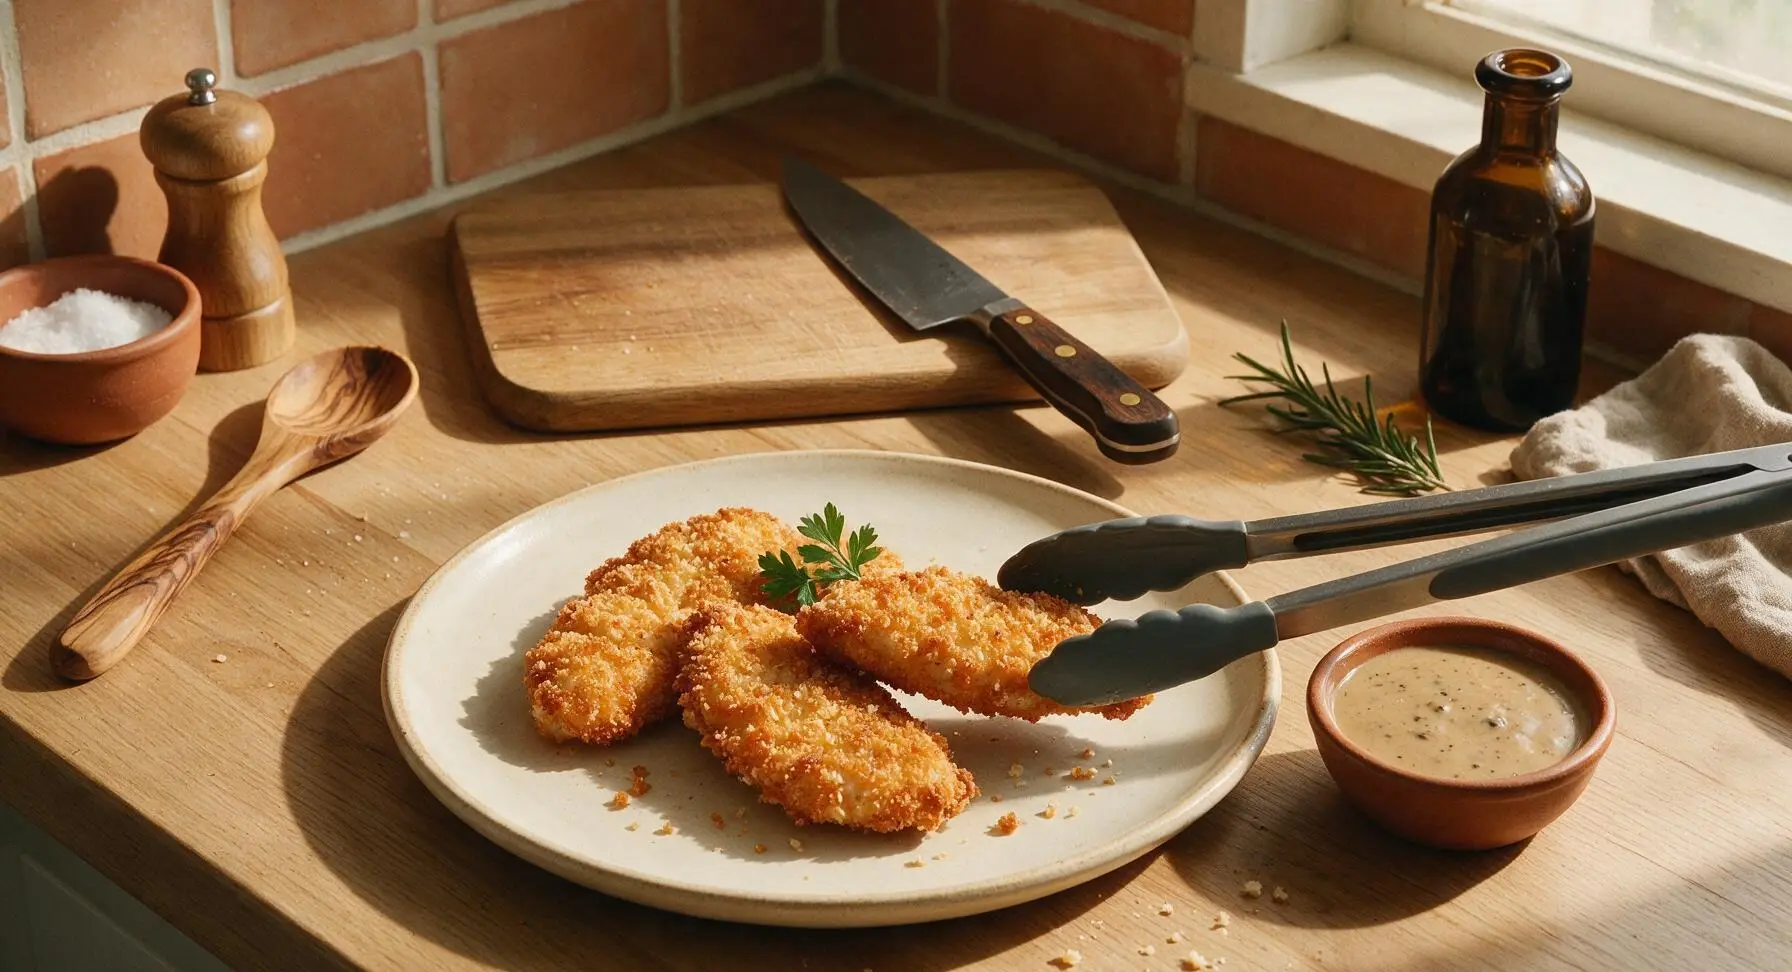
Transfer the rested, crispy chicken fried chicken cutlets to the warm off-white stoneware dinner plate. Drizzle with warm creamy pepper gravy, garnish with a sprig of fresh flat-leaf parsley, and serve immediately while the breading is shatteringly crisp.
Tips
2.Let breaded cutlets rest for 5 minutes before air frying: This short rest allows the flour, egg, and panko layers to hydrate and bond to each other and the chicken, preventing the breading from blowing off, sliding, or separating during cooking.
3.Never overcrowd the air fryer basket: Cook cutlets in a single layer with 1/2 inch of space between them, working in batches if needed for smaller baskets. Overcrowding traps hot steam around the chicken, which softens the breading and leads to uneven, pale browning instead of a crisp, golden crust.






OMG this is a total game changer! I’ve always hated making stovetop chicken fried chicken because it splatters grease all over the stove, my counters, even my shirt half the time, and leaves my kitchen a total mess. But this air fryer version? *Chef’s kiss* Perfectly crunchy coating on the outside, juicy tender chicken inside, done in 20 minutes flat? My kids went back for seconds before I even sat down to eat, and begged me to put it on next week’s dinner menu. Served it with buttery mashed potatoes and steamed green beans for our Sunday family dinner, even my super picky 7 year old cleaned his entire plate! 10/10, this is going straight into our regular weeknight meal prep rotation.
SO good! I threw this together last minute for my neighborhood block party potluck when my old deep fryer crapped out right as I was about to start cooking. I was low-key stressed it wouldn’t be crispy enough to impress the crowd, but people were lining up for seconds and asking me for the recipe before they even finished their first piece! It was so easy too— I didn’t even have time to fully thaw my chicken cutlets, just added 3 extra minutes of cook time and it turned out perfectly juicy. This recipe literally saved my whole potluck contribution, no cap.
Such an easy weeknight win! I’ve been hunting for quick, low-mess dinners I can pull off between getting home from work and shuttling my 10 year old to soccer practice, and this fits the bill perfectly. The breading is so flavorful without being heavy or greasy, and cleanup is literally just wiping out the air fryer basket instead of a sink full of greasy pots and pans. I did add a little extra smoked paprika and a pinch of cayenne to the breading mix for a tiny kick, and it was chef’s kiss. Will absolutely be making this at least twice a month going forward.