
air fryer chicken recipes easy
intro
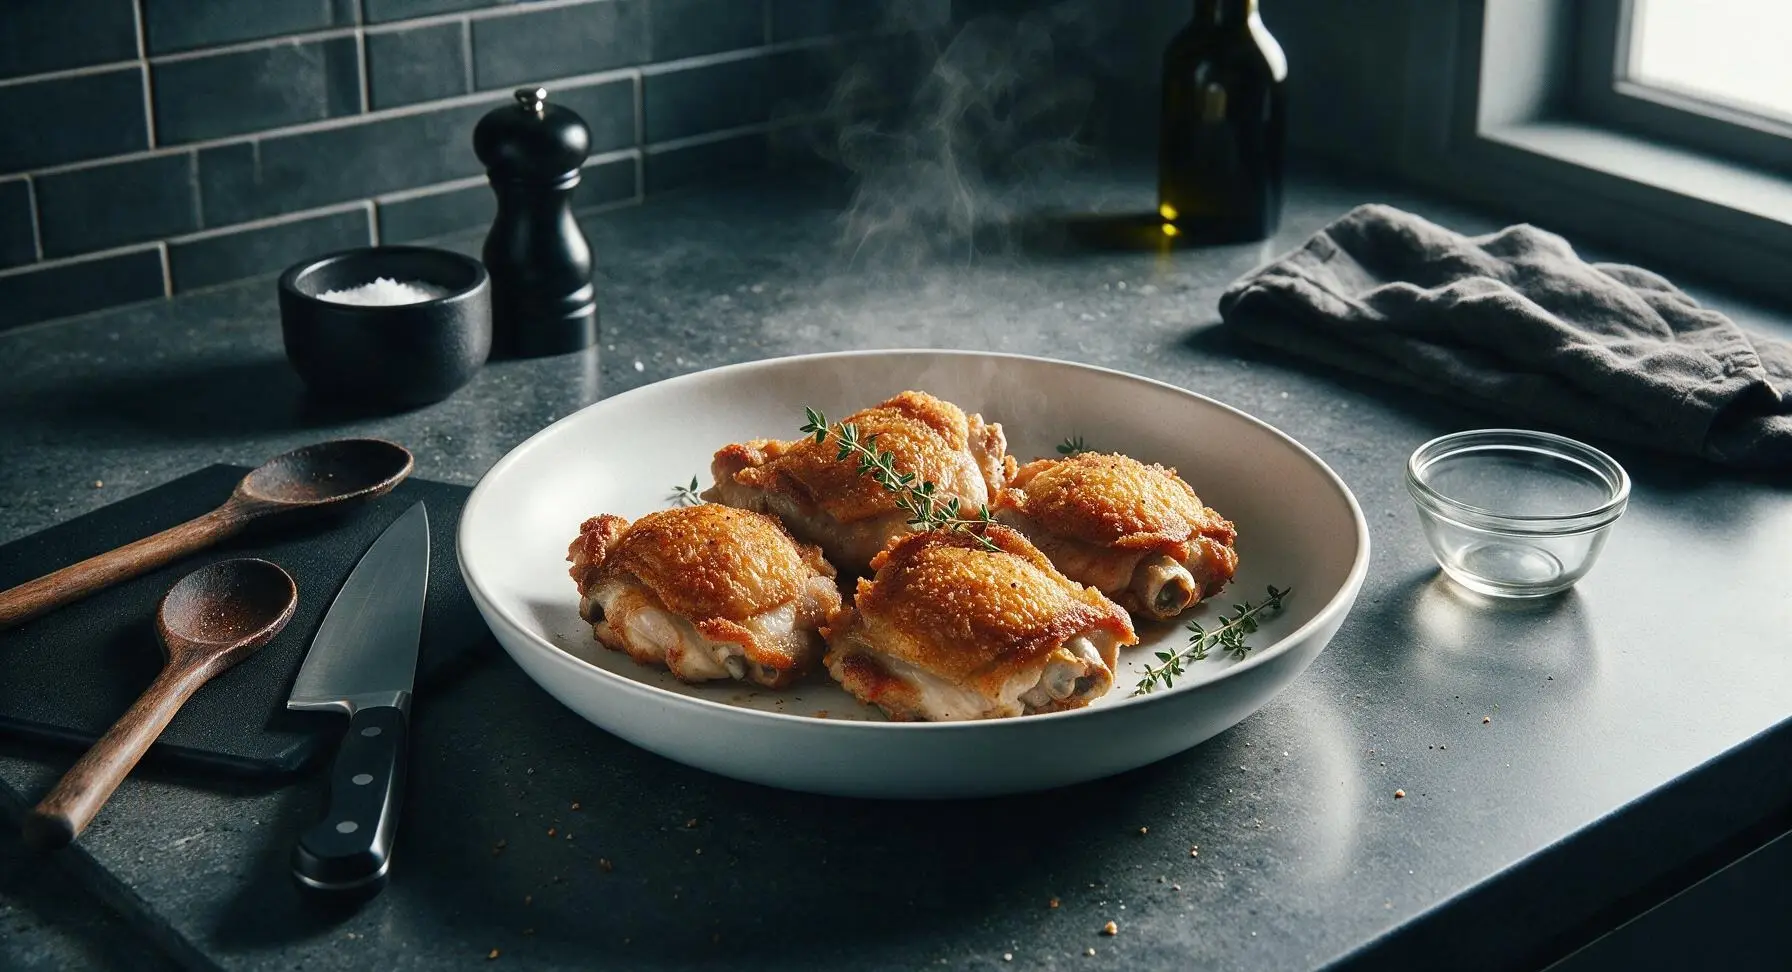
Shatteringly crisp, golden bone-in chicken thighs with juicy, tender meat, seasoned simply and cooked in 18 minutes for a zero-fuss, flavor-packed weeknight meal.
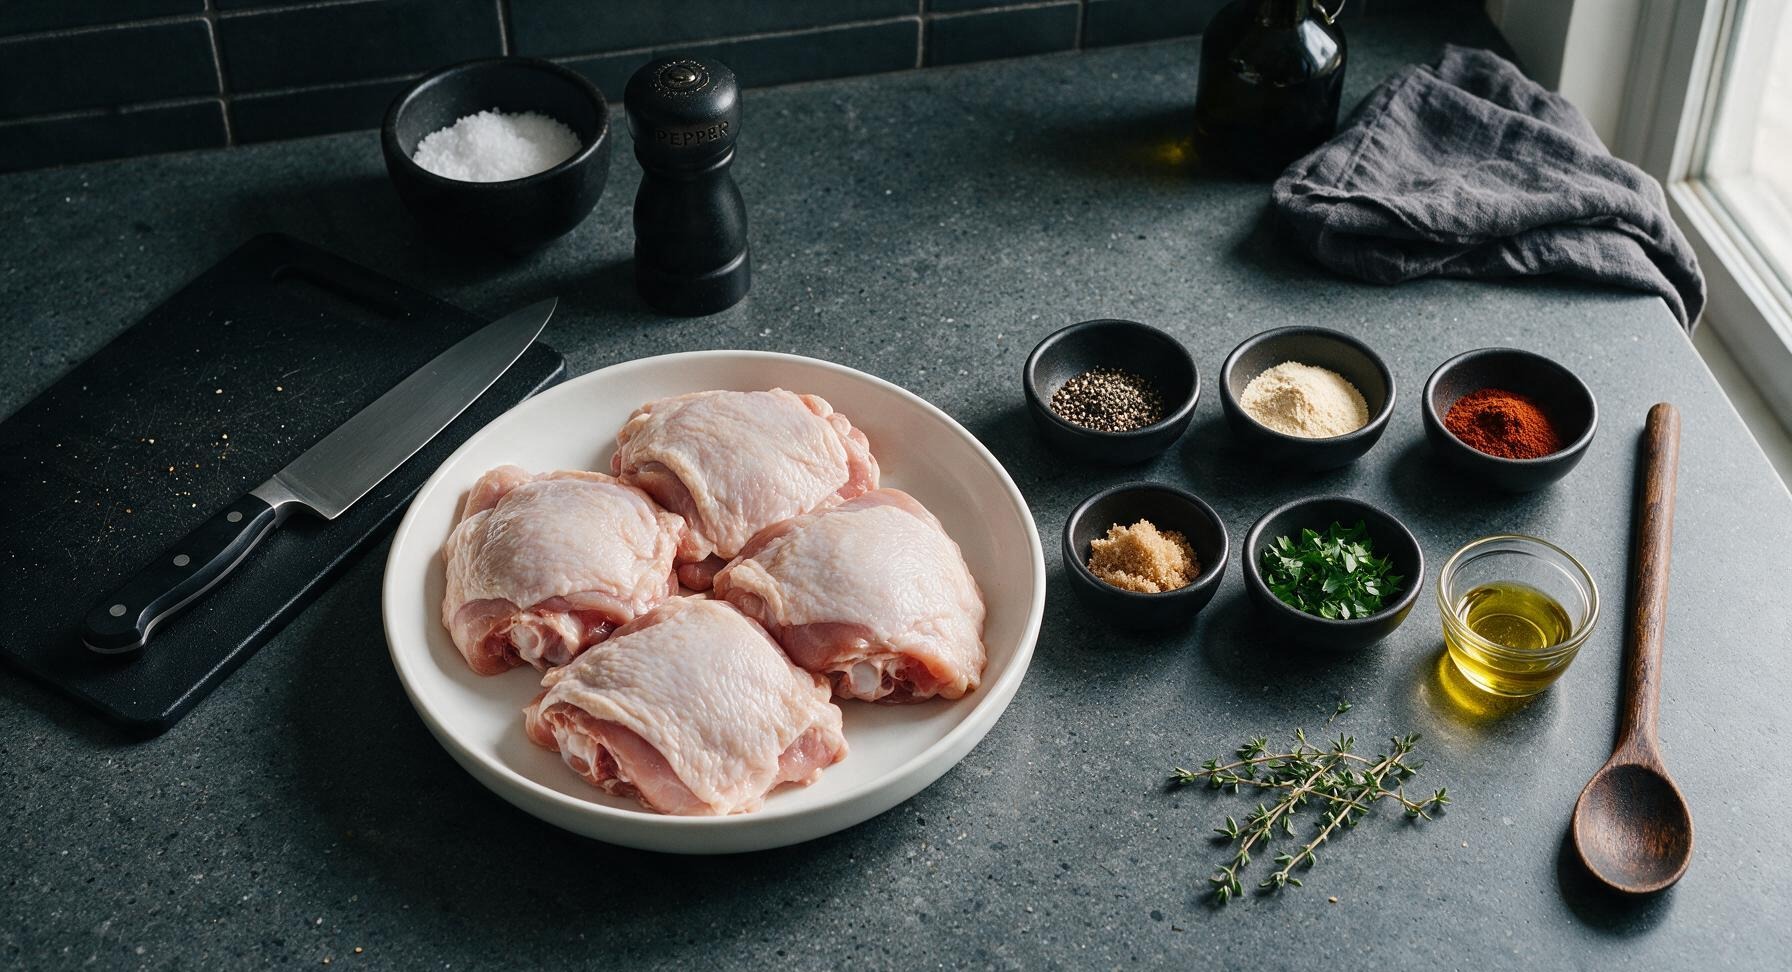
Ingredients
Steps
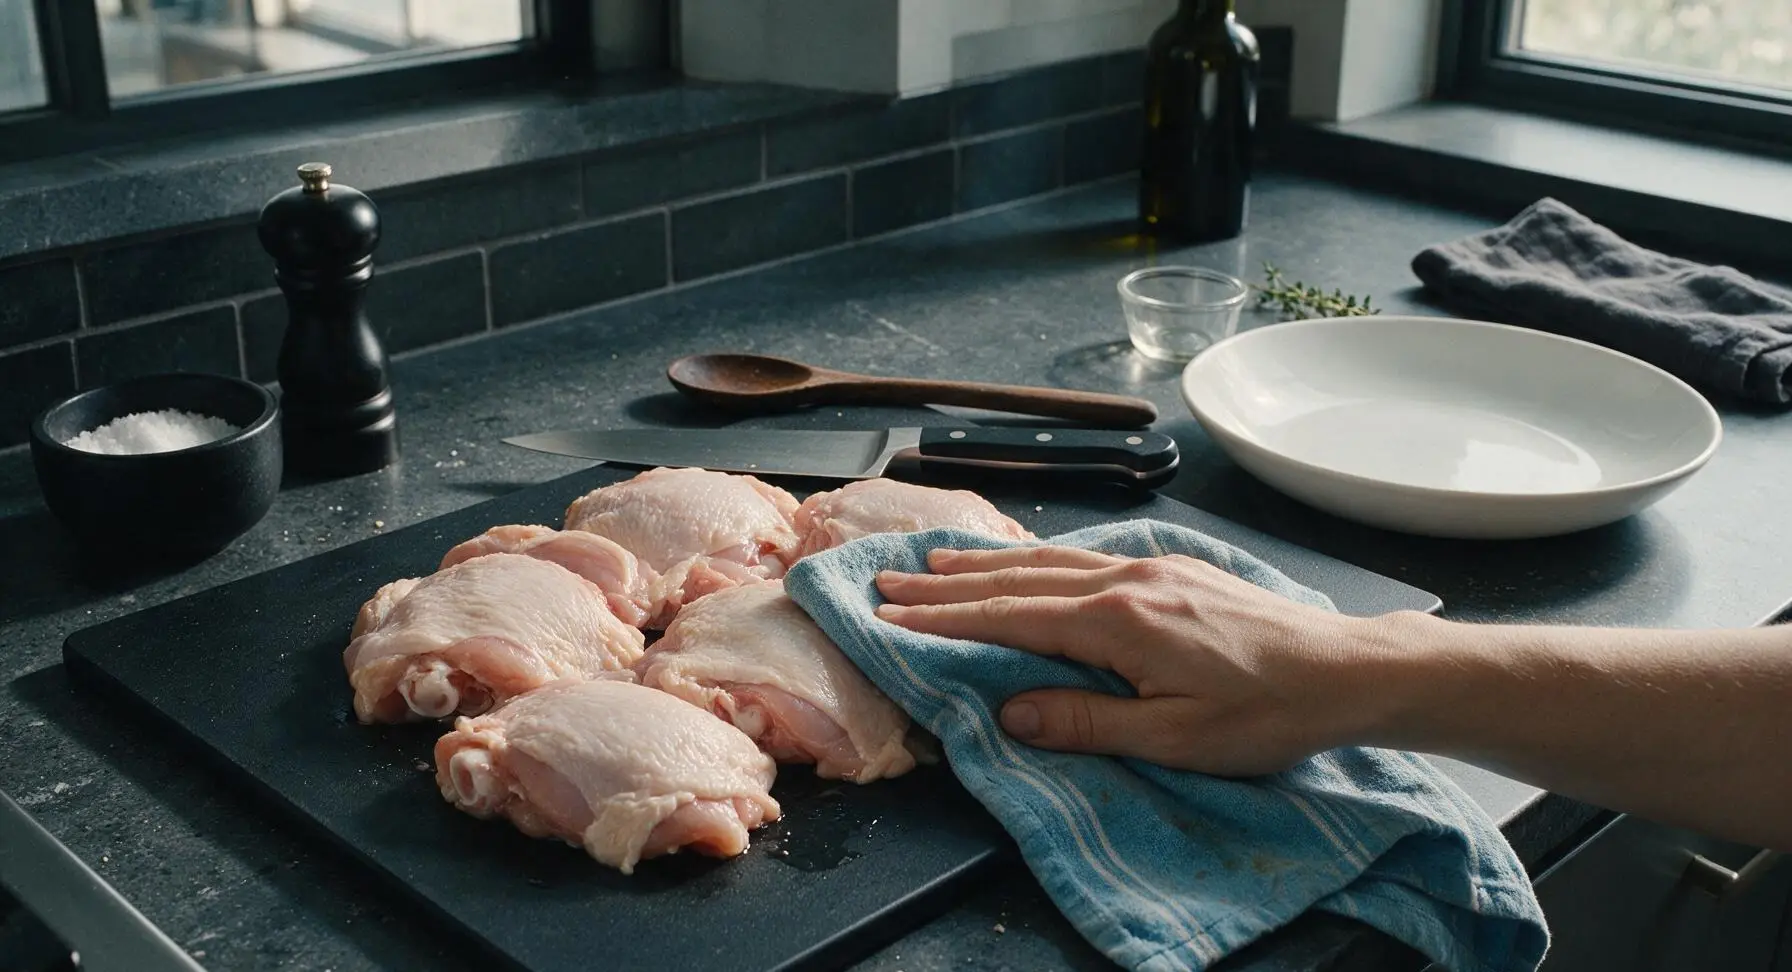
Pat Chicken Dry
Remove the 4 bone-in, skin-on chicken thighs from their packaging and place them on the bamboo cutting board. Use the corner of the sky-blue striped kitchen towel to thoroughly pat every surface of the chicken, especially the skin, completely dry. Discard any excess packaging or loose moisture. Properly dried skin is the most critical step for crispy results; the skin should feel matte and dry to the touch, not damp or slimy.
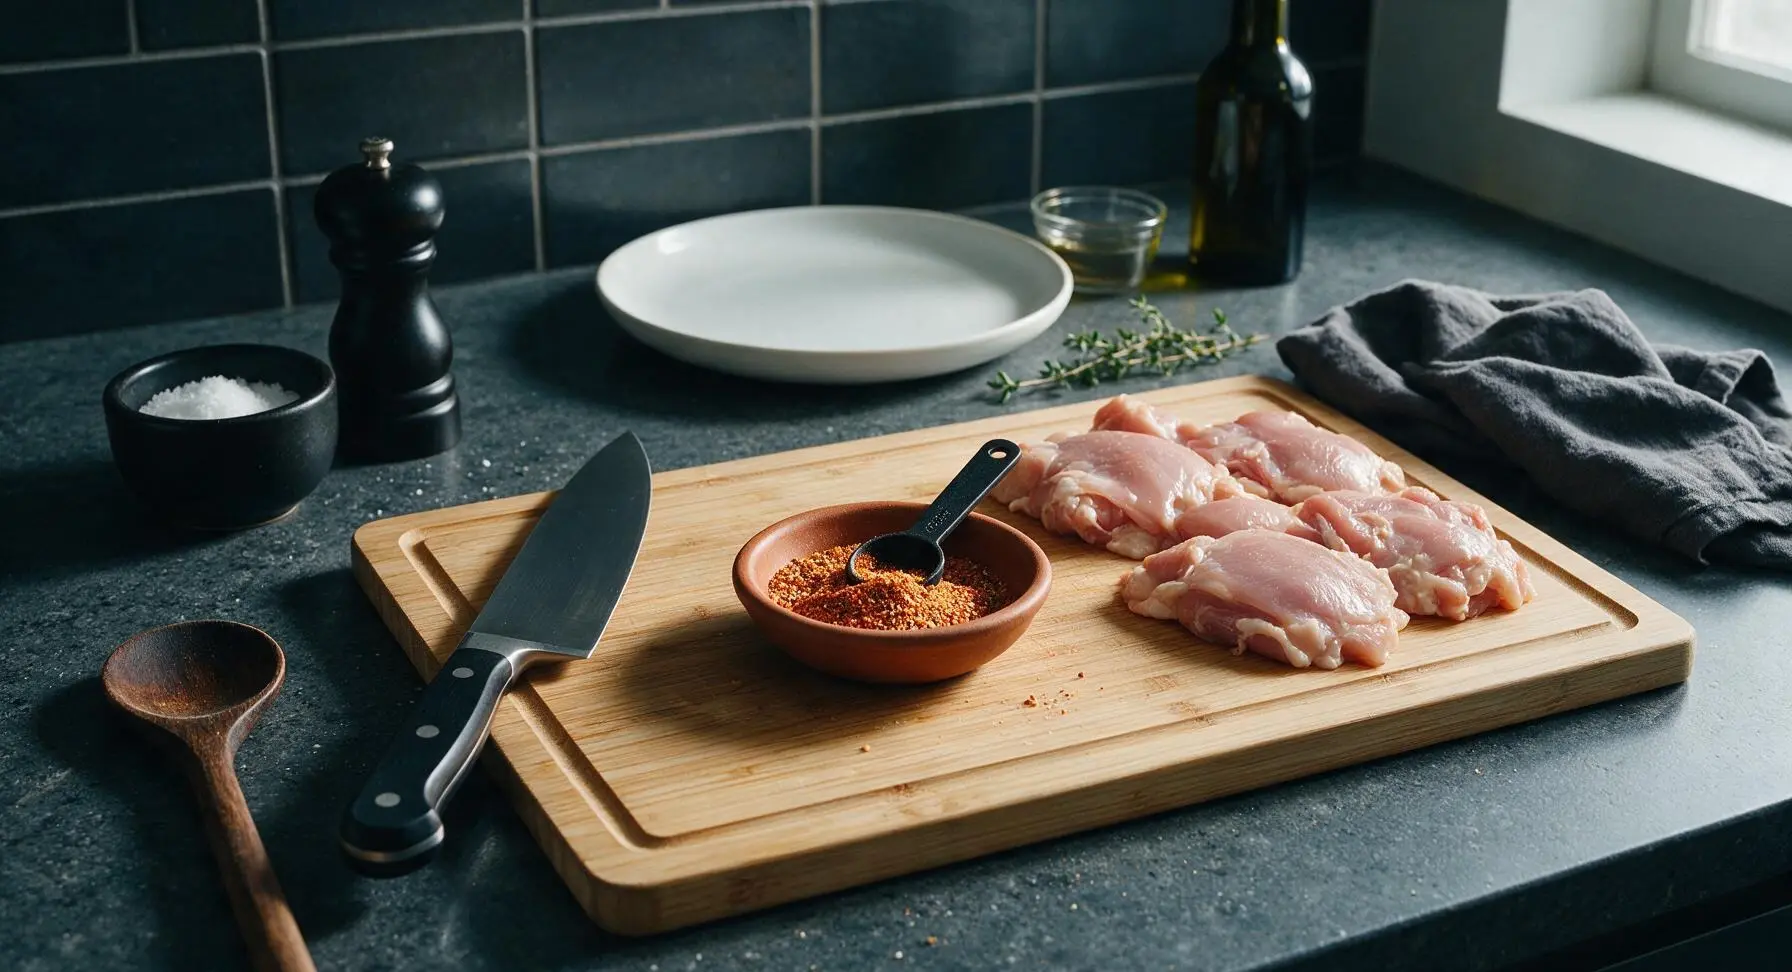
Mix Spice Blend
In one of the small terracotta pinch bowls, combine 1 tsp kosher salt, 1/2 tsp freshly cracked black pepper, 1/2 tsp garlic powder, 1/4 tsp smoked paprika, and 1/4 tsp light brown sugar. Stir the mixture with the 1/4 tsp measuring spoon until fully combined, breaking up any small clumps of brown sugar to create a uniform, reddish-tan spice blend.
Coat Chicken Lightly
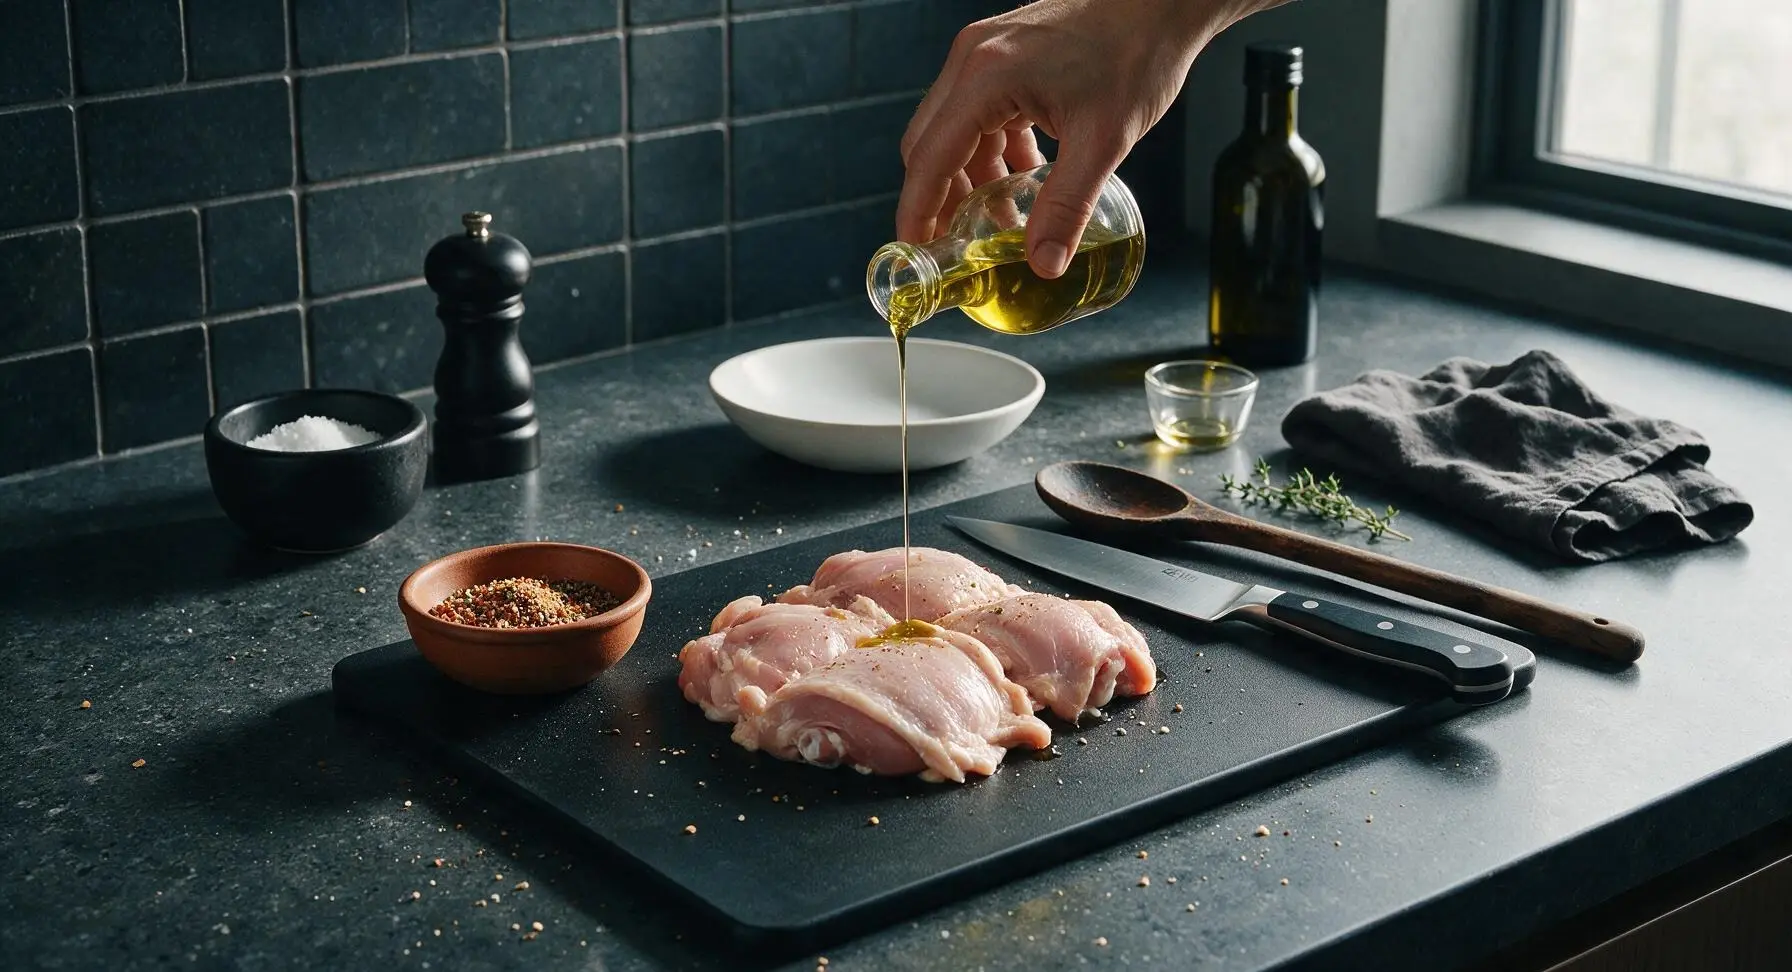
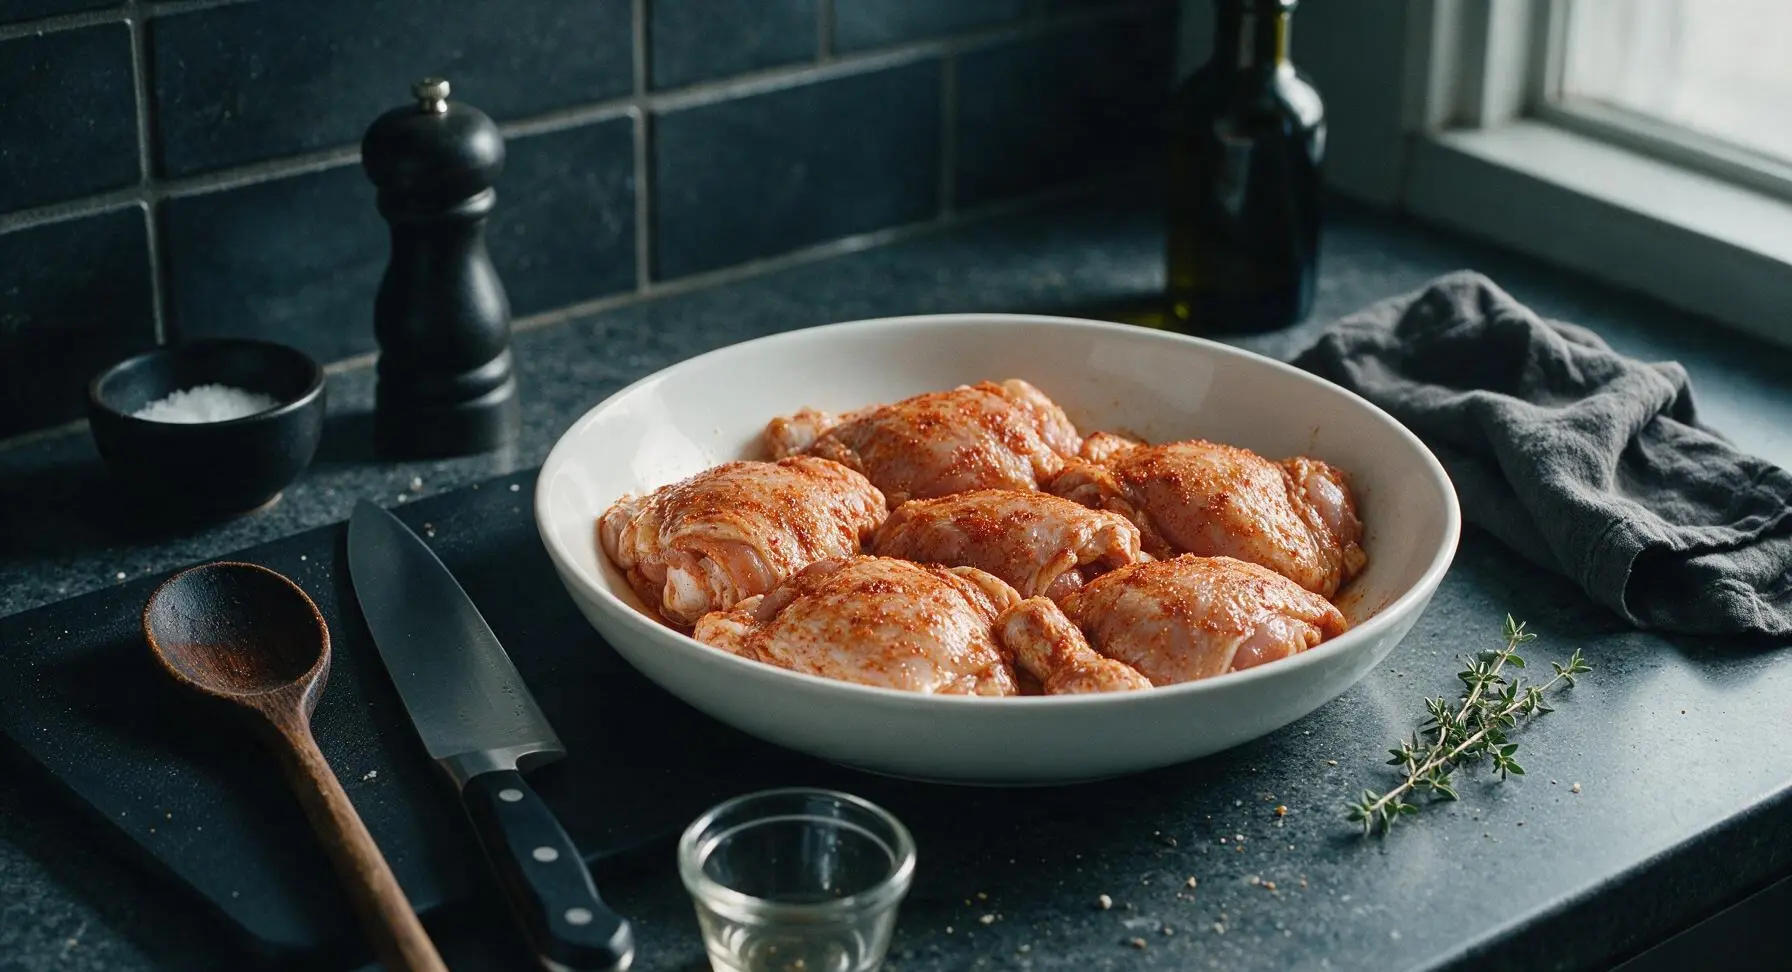
Drizzle 1 tsp of olive oil evenly over all sides of the dry chicken thighs, rubbing gently with clean hands to coat every surface in a thin, even oil layer. Sprinkle the mixed spice blend evenly over the front, back, and sides of each thigh, pressing spices lightly into the skin and meat so they adhere with no bare spots left. Avoid thick clumps of seasoning, which can burn during cooking.
Preheat Air Fryer
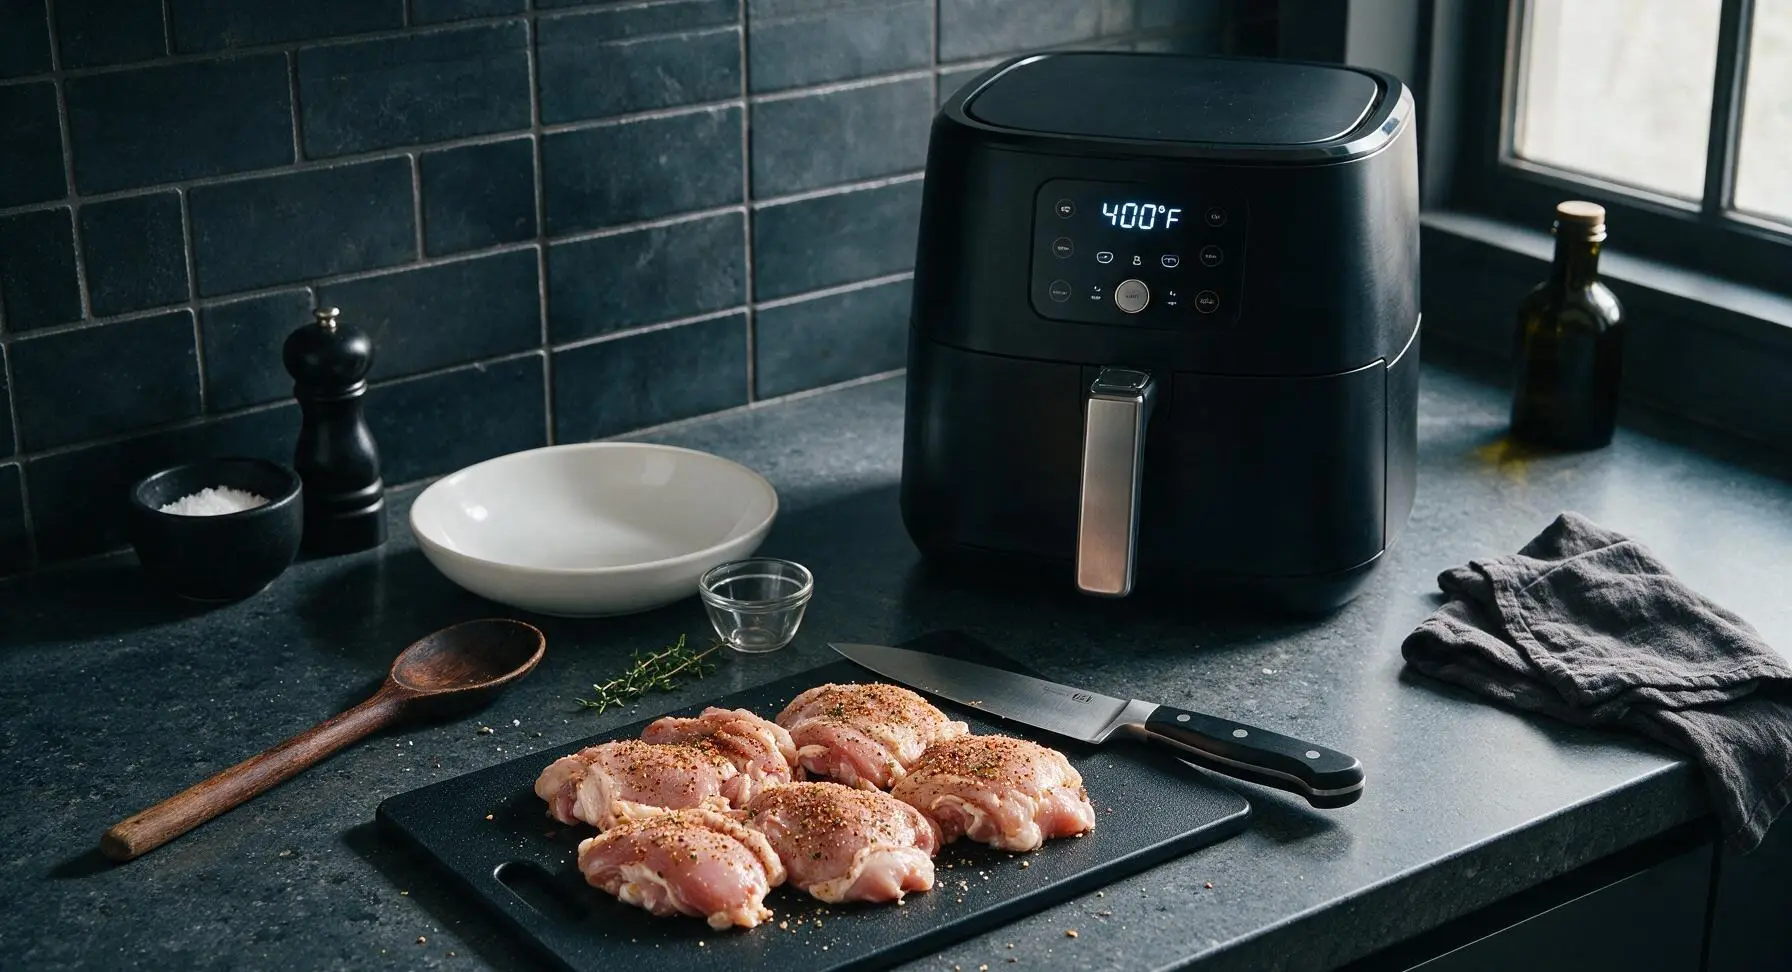
Confirm the air fryer basket is clean and dry, then slide it into the unit. Preheat the air fryer to 400°F (200°C) for 3 minutes. Preheating ensures the chicken skin starts crisping immediately on contact with the hot basket, preventing sticking and soggy skin.
Arrange Chicken in Basket
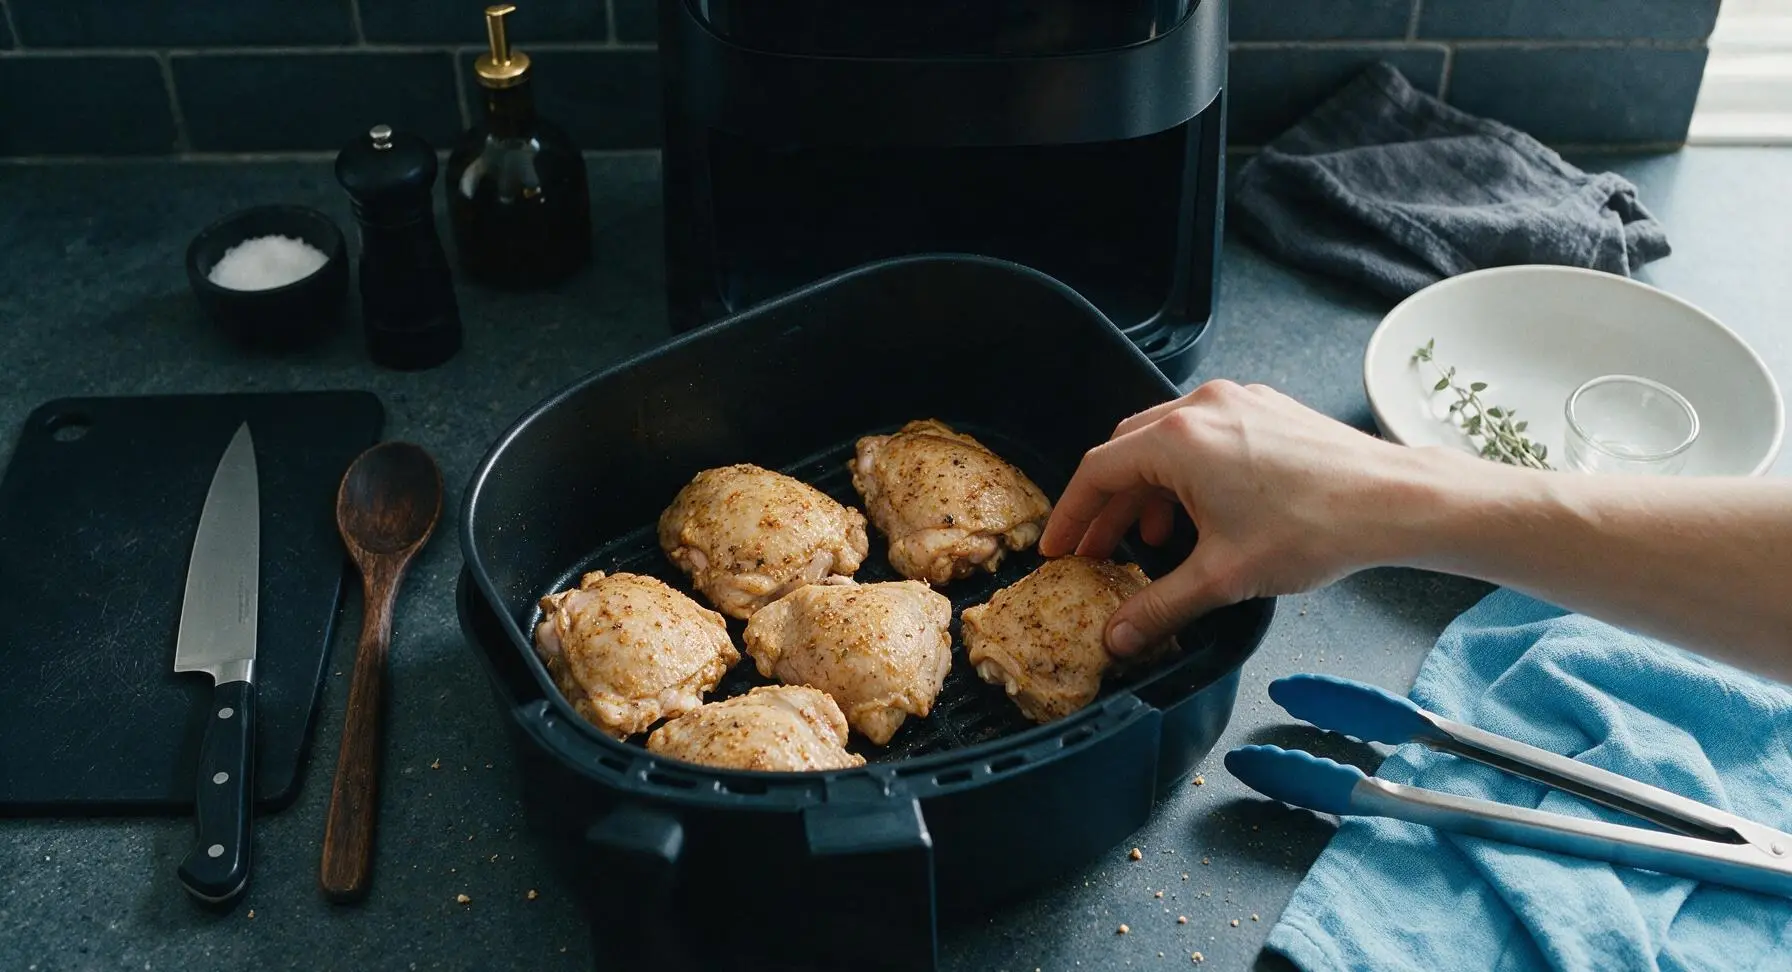
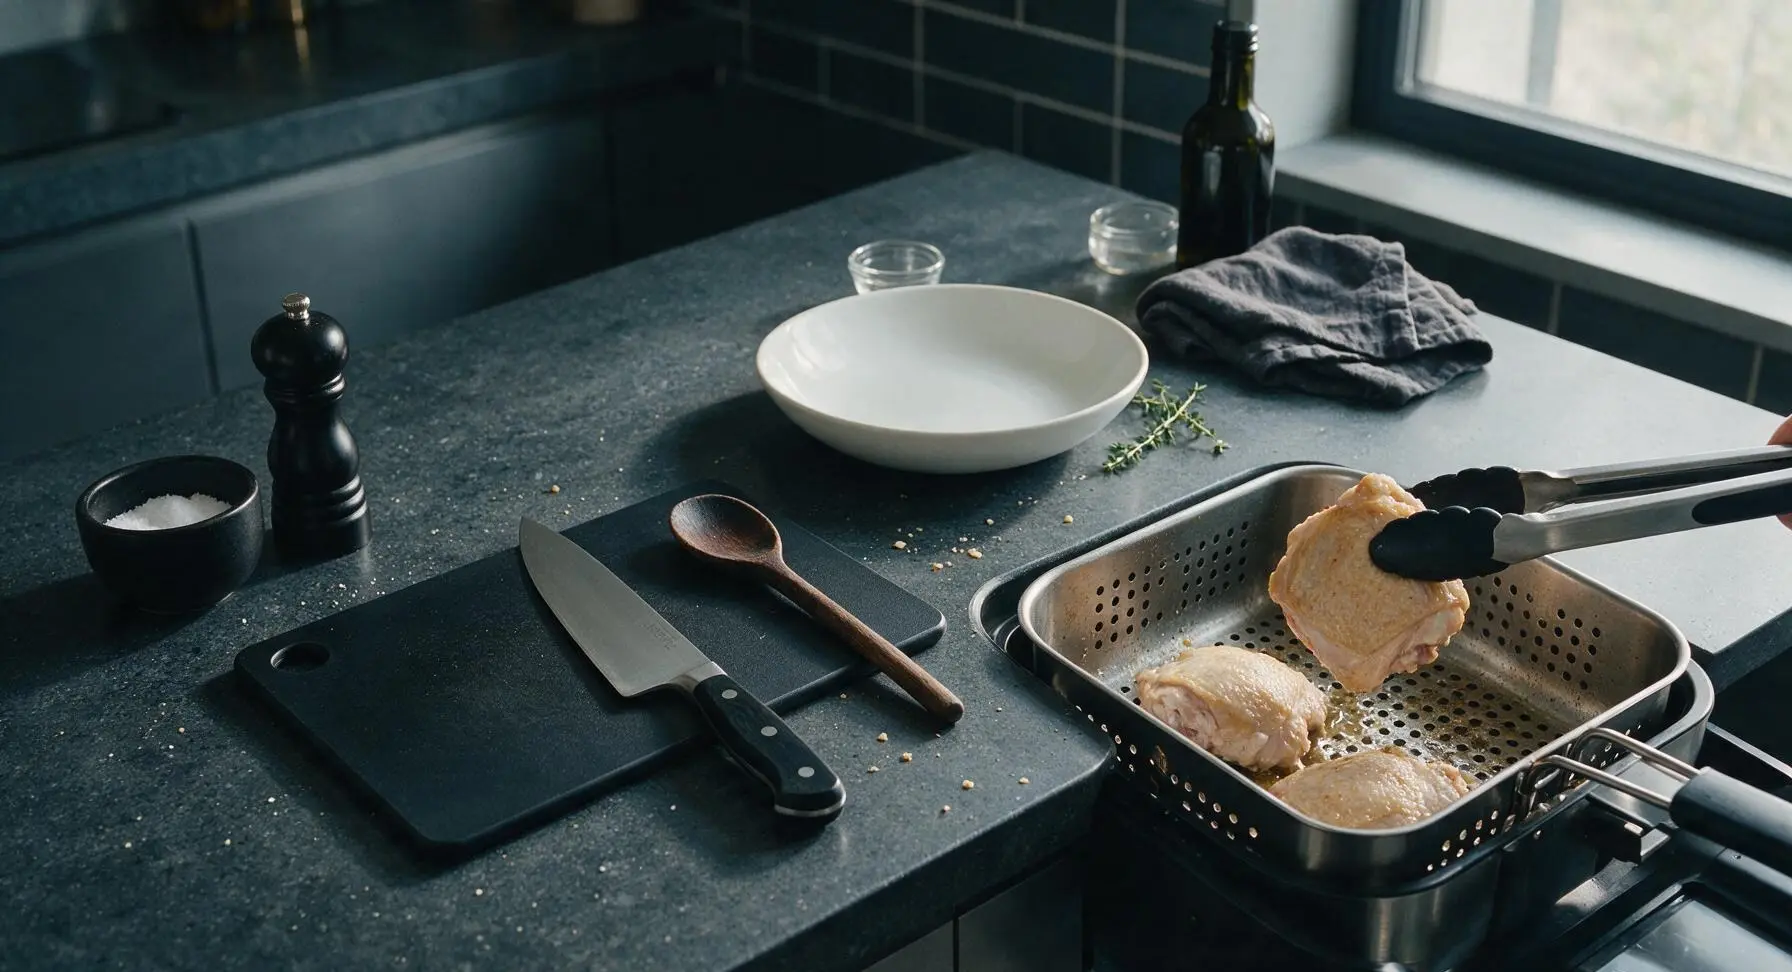
Once preheated, carefully pull the hot air fryer basket out. Arrange the chicken thighs in a single layer in the basket, skin-side down. Do not overlap or stack the thighs; leave a 1/2-inch gap between each piece to allow hot air to circulate evenly for all-over crispness.
Cook and Flip Chicken
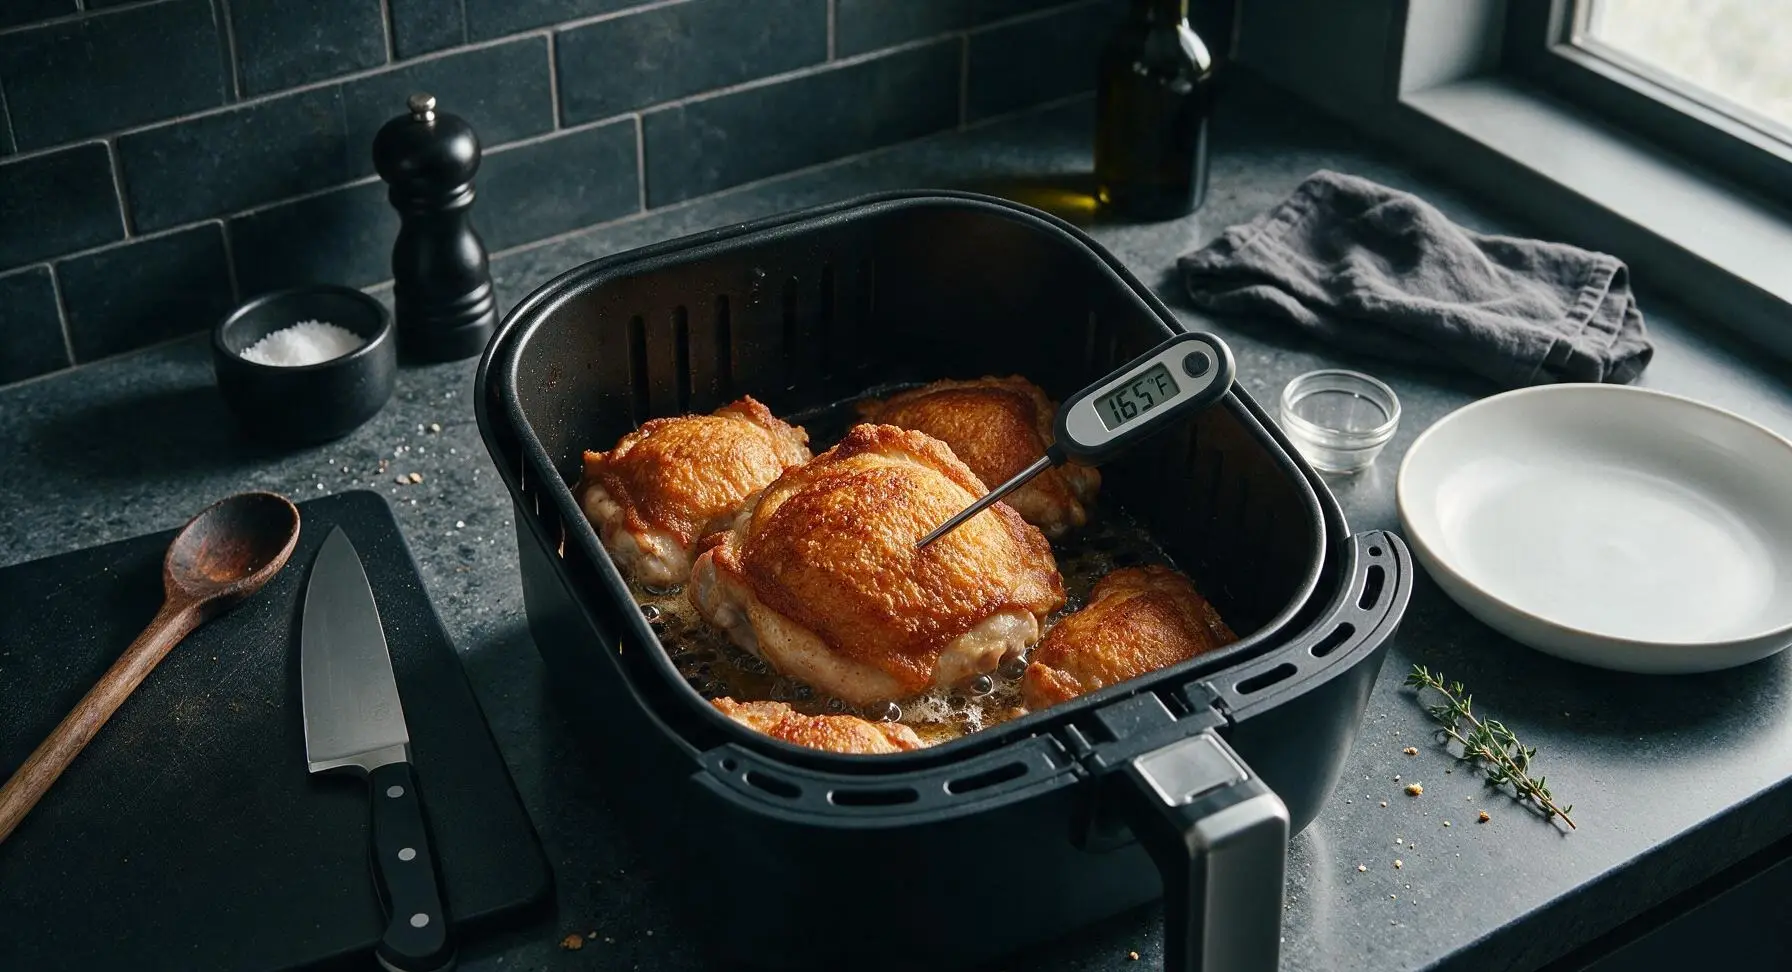
Slide the basket back into the air fryer and cook at 400°F (200°C) for 9 minutes. After 9 minutes, pull the basket out carefully and use the silicone-tipped tongs to flip each thigh so the skin side faces up. Return the basket to the air fryer and cook for an additional 9 minutes, until the skin is deep golden and crispy, and a meat thermometer inserted into the thickest part of the thigh reads 165°F (74°C). Total chicken cook time is 18 minutes.
Rest and Serve
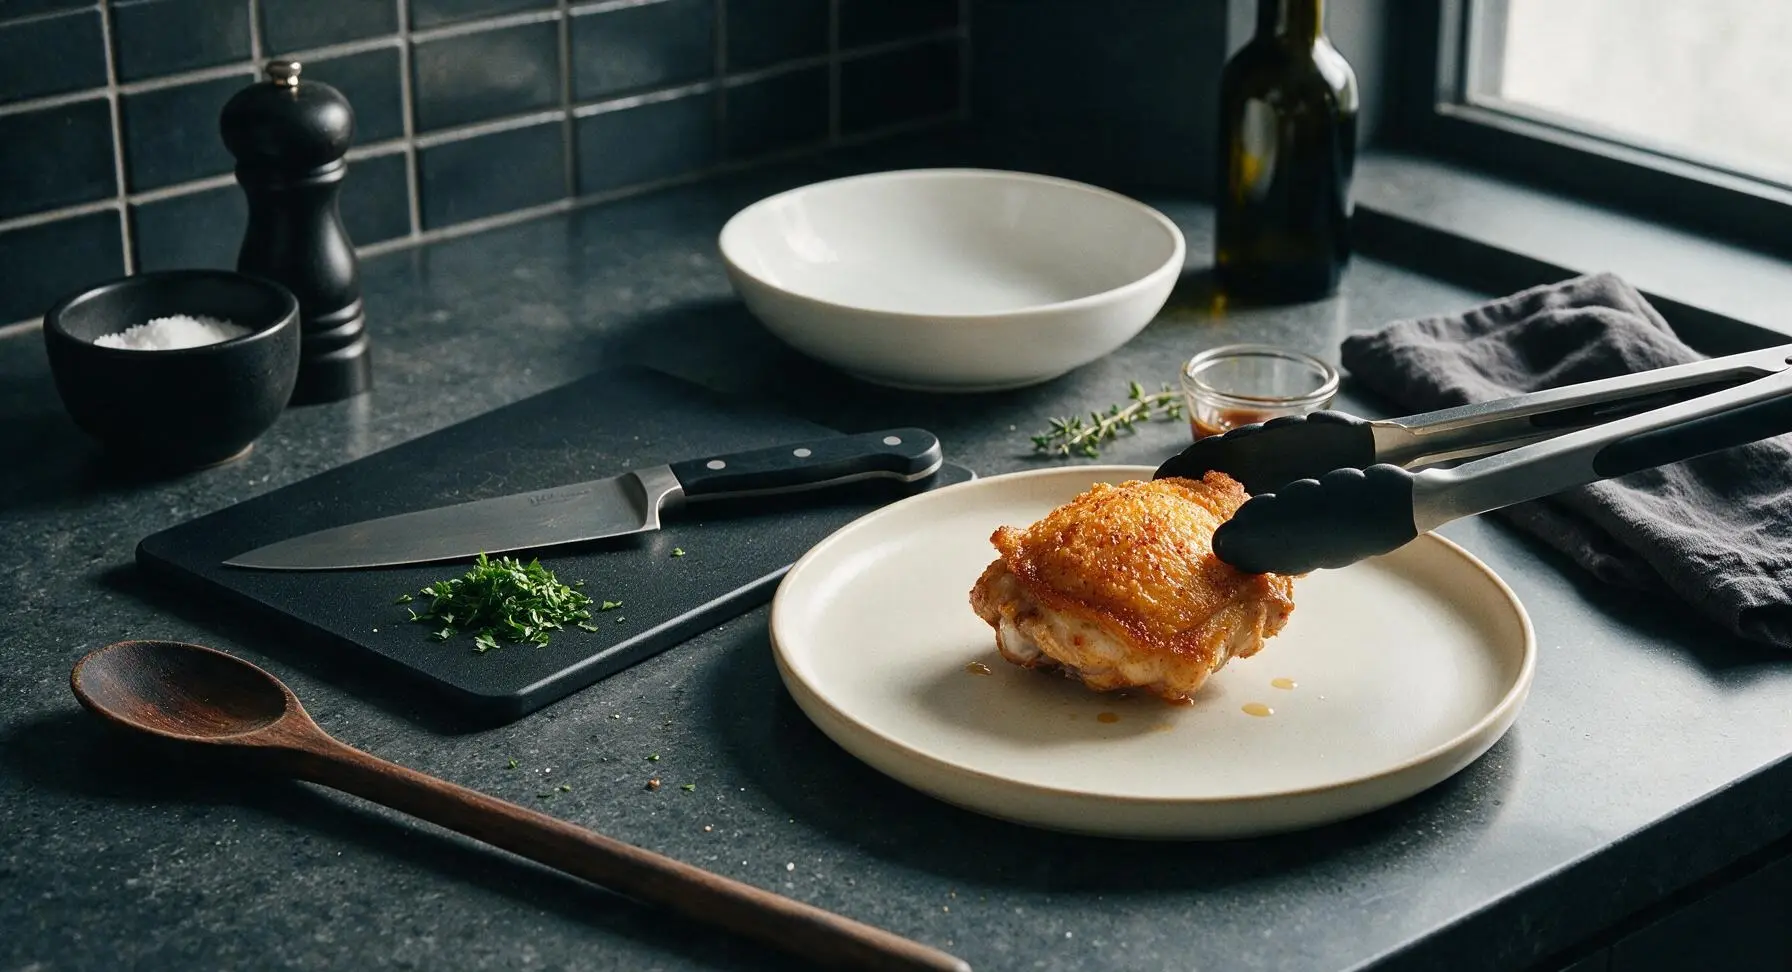
Use the silicone-tipped tongs to transfer the cooked chicken thighs from the air fryer basket to the matte cream ceramic serving plate. Let the chicken rest for 3 minutes to allow juices to redistribute, then sprinkle with chopped fresh parsley before serving.
Tips
2.Do not overcrowd the air fryer basket: leave 1/2-inch gaps between each thigh to let hot air circulate fully. If cooking more than 4 thighs, work in batches—overlapping chicken causes uneven cooking and soggy, un-crisped skin patches.
3.Skip excess oil: you only need 1 teaspoon of oil to help spices adhere and encourage crisping. The chicken skin will render plenty of its own fat as it cooks, so extra oil will only make the final dish greasy.






OMG these came out SO crispy! I made them for last night’s family dinner right after soccer practice and even my super picky 7 year old asked for seconds. 18 minutes cook time was totally accurate for my air fryer, no raw spots at all. Total game changer for busy weeknights!
I make a batch of these every Sunday for my work lunches and they hold up perfectly all week! The skin stays crispy even after reheating in the office microwave, which I never thought was possible. No more sad desk lunches for me, this is a total game changer!
First thing I’ve made in my new air fryer that didn’t burn or come out rubbery?? Wild. I seasoned it with a little extra paprika and garlic powder because that’s all I had in my dorm, and it slapped. Will be making this at least once a week for sure.
I was skeptical air fryer chicken could be as good as my classic oven-fried recipe, but wow — these were crispy on the outside, juicy all the way through, and didn’t heat up my whole kitchen in this Florida heat! Brought them to my church potluck last Sunday and three people came up to ask me for the recipe.
These were super tasty, but quick question — do I need to spray the skin with oil? I didn’t see that mentioned in the steps. I made them last night and the skin was good but I want that extra crunch next time I make them.
Tried this last night with a little drizzle of hot honey after cooking and *chef’s kiss*. The cook time was spot on for my 6qt air fryer — I know the recipe says no flipping needed but I flipped mine halfway because I’m paranoid, and it still turned out perfect. 10/10
Made these for date night last night and my partner thought I ordered takeout, no joke. I paired it with roasted broccoli and some rice, total meal took 25 minutes start to finish. Only complaint is I only made 4 thighs and we fought over the last one.
Cook time was way off for me? I followed the directions exactly and did 18 minutes at 400, but the thighs were still pink near the bone when I pulled them out. My air fryer is a smaller 3qt model, does that make a difference?
These are perfect for my high protein meal plan! I eat 2 thighs with a side of sweet potato fries after my workouts and it keeps me full for hours. The skin is so crispy I don’t even miss the fast food fried chicken I used to grab on my way home from the gym. SO good, already added this to my regular rotation.