
air fryer crispy chicken breast
intro
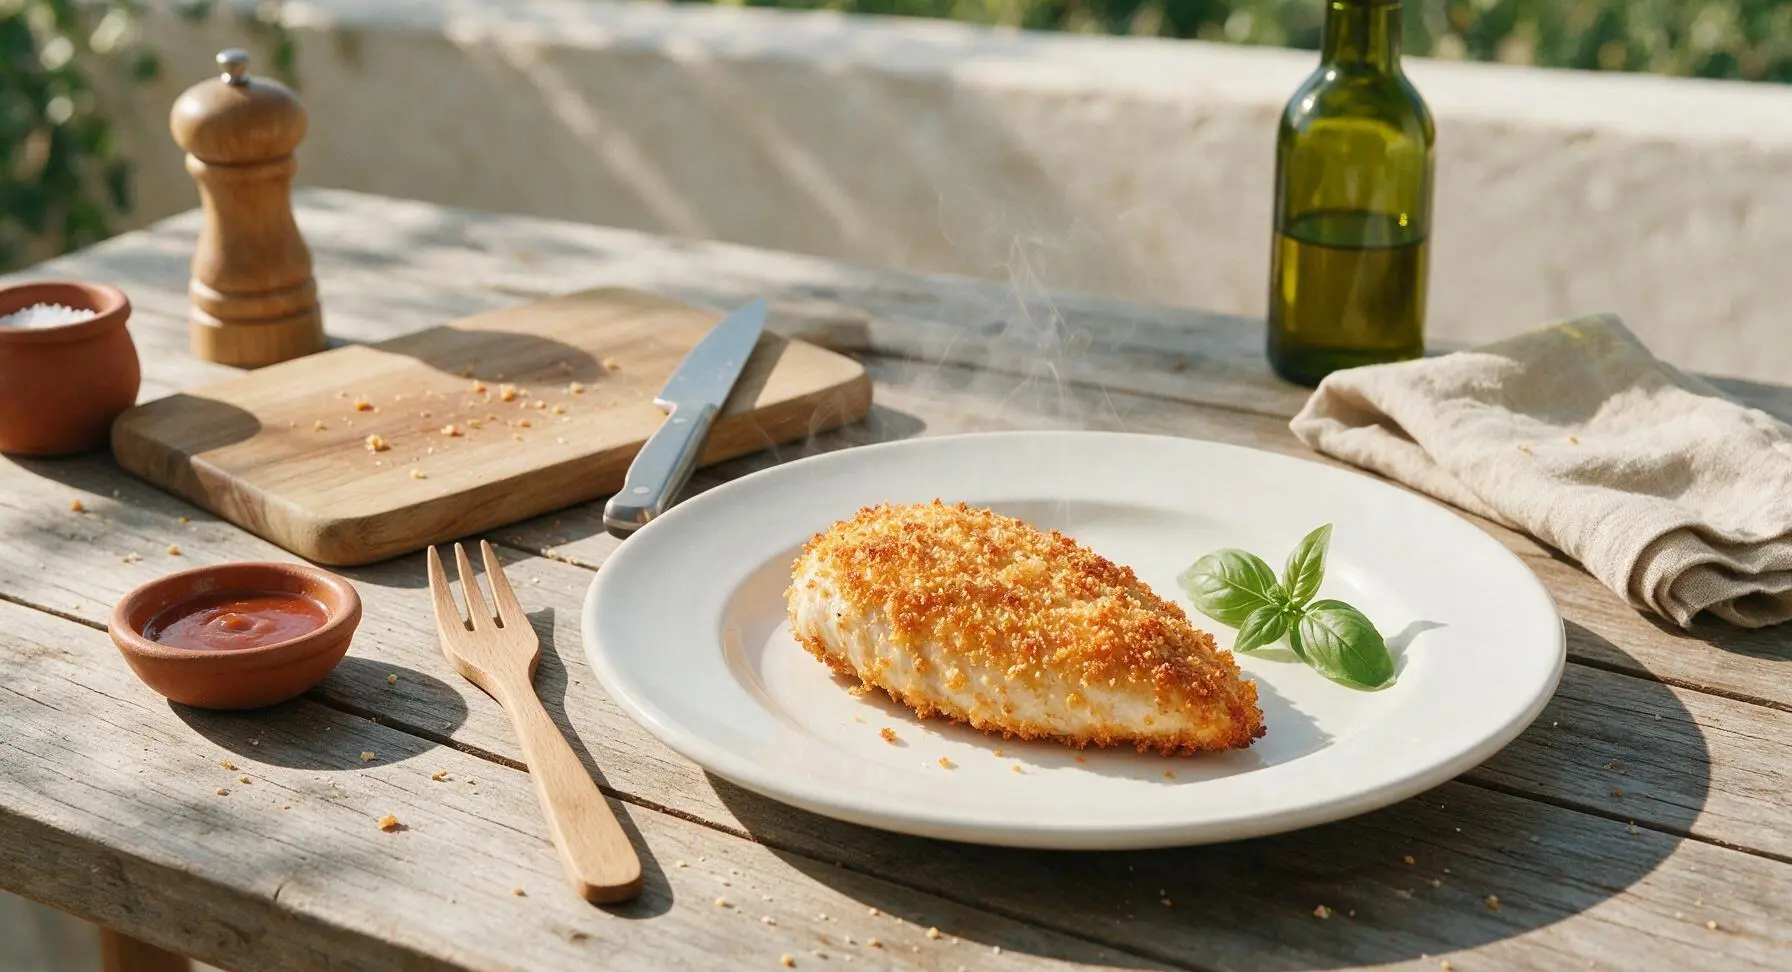
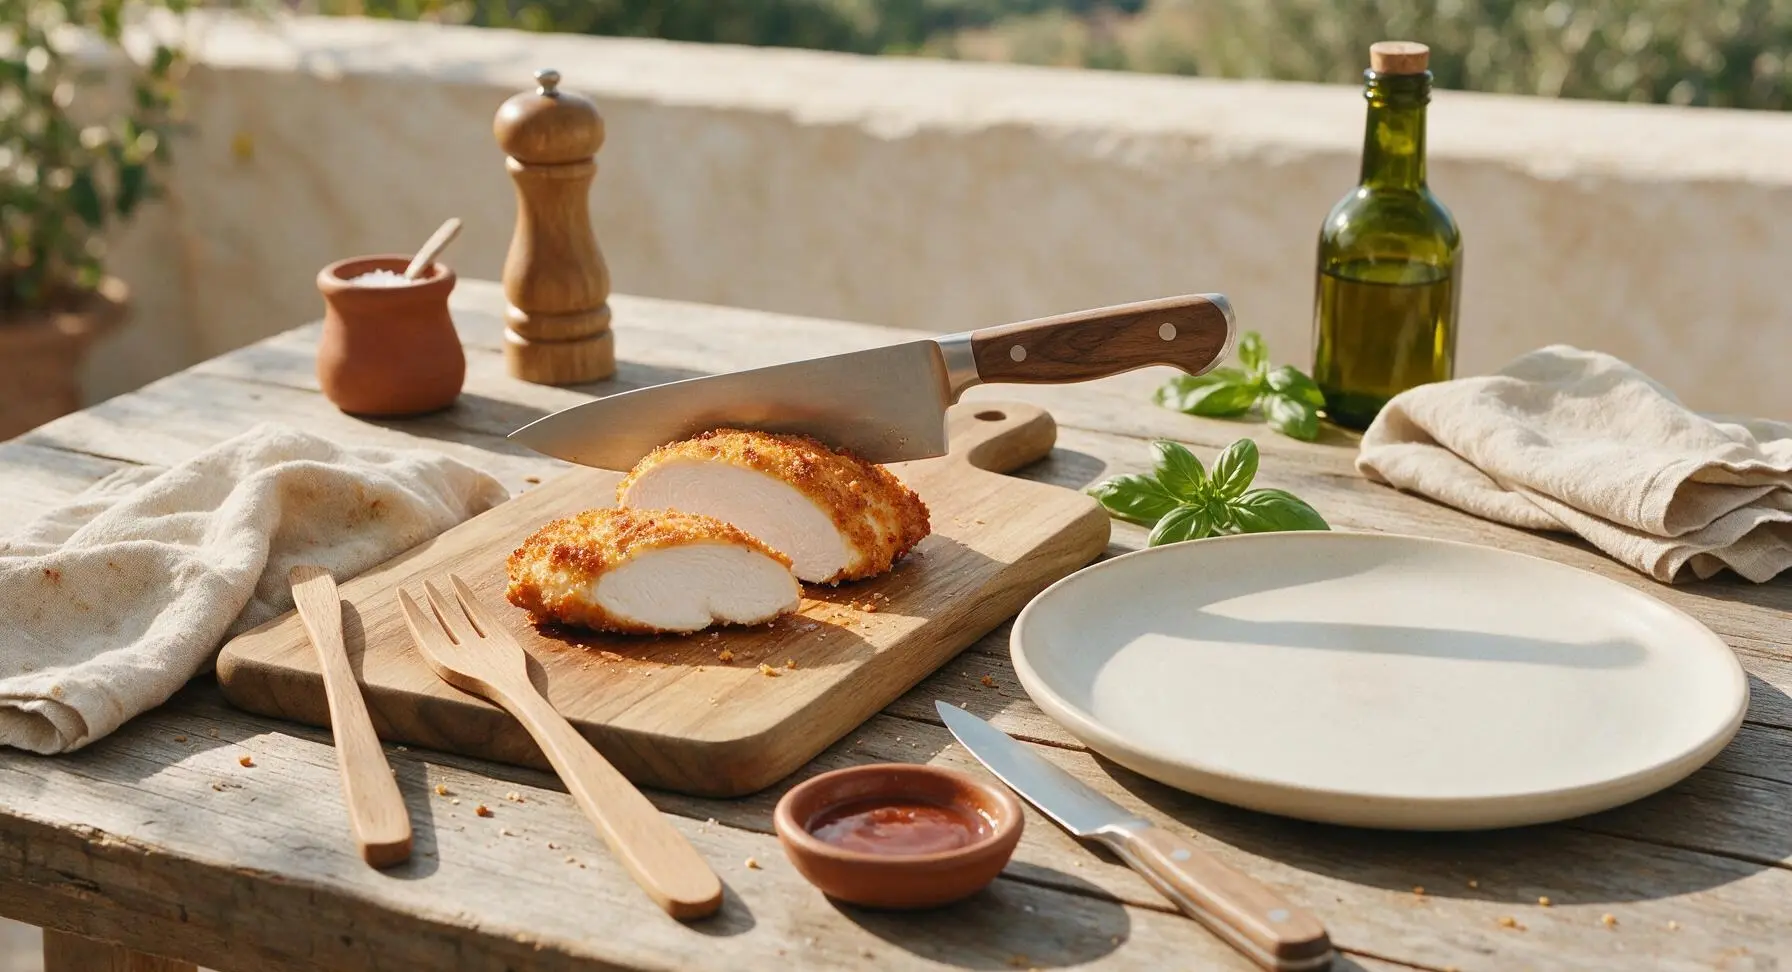
Shatteringly crisp, golden panko-crusted chicken breast with juicy, tender interior, made in the air fryer with minimal oil for a fast, satisfying weeknight main.
Ingredients
Steps
Pound Chicken Evenly
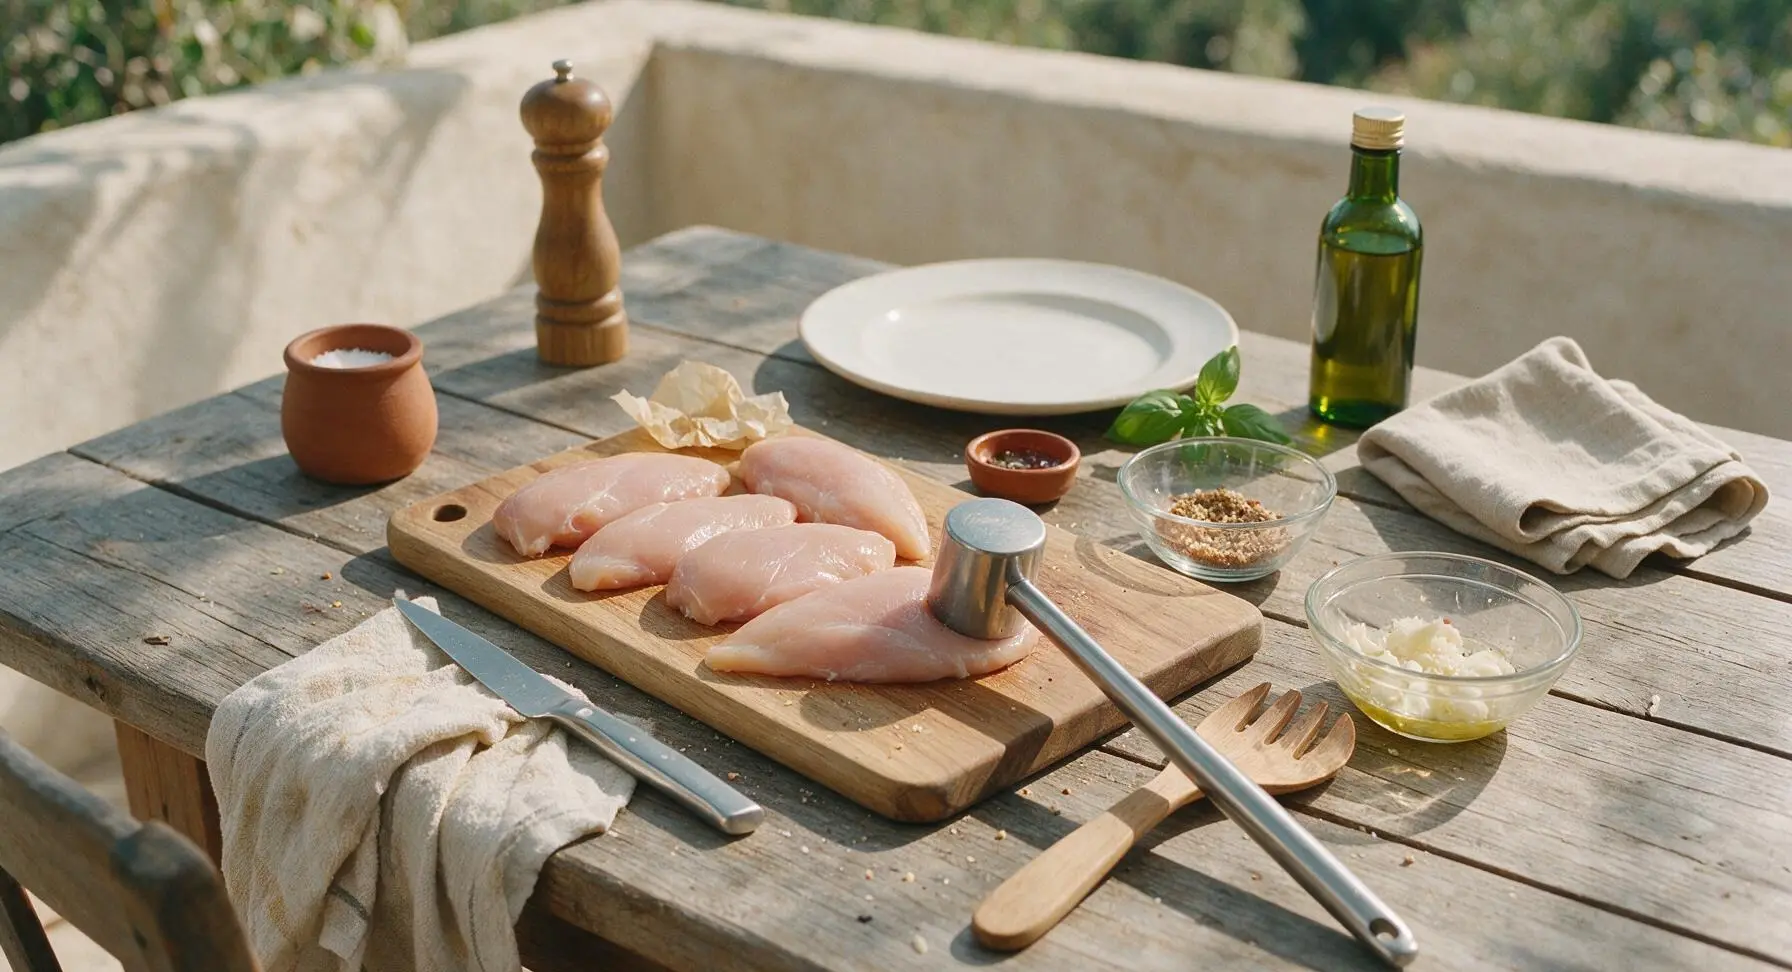
Place the 4 boneless, skinless chicken breasts on the maple cutting board. Cover with a small piece of parchment paper to prevent splatter, then use the stainless steel meat pounder to gently pound the thickest end of each breast until the entire piece is a uniform 1-inch thickness. This ensures even cooking so no section dries out before the crust crisps. Discard the parchment after pounding.
Mix Seasoned Panko Coating
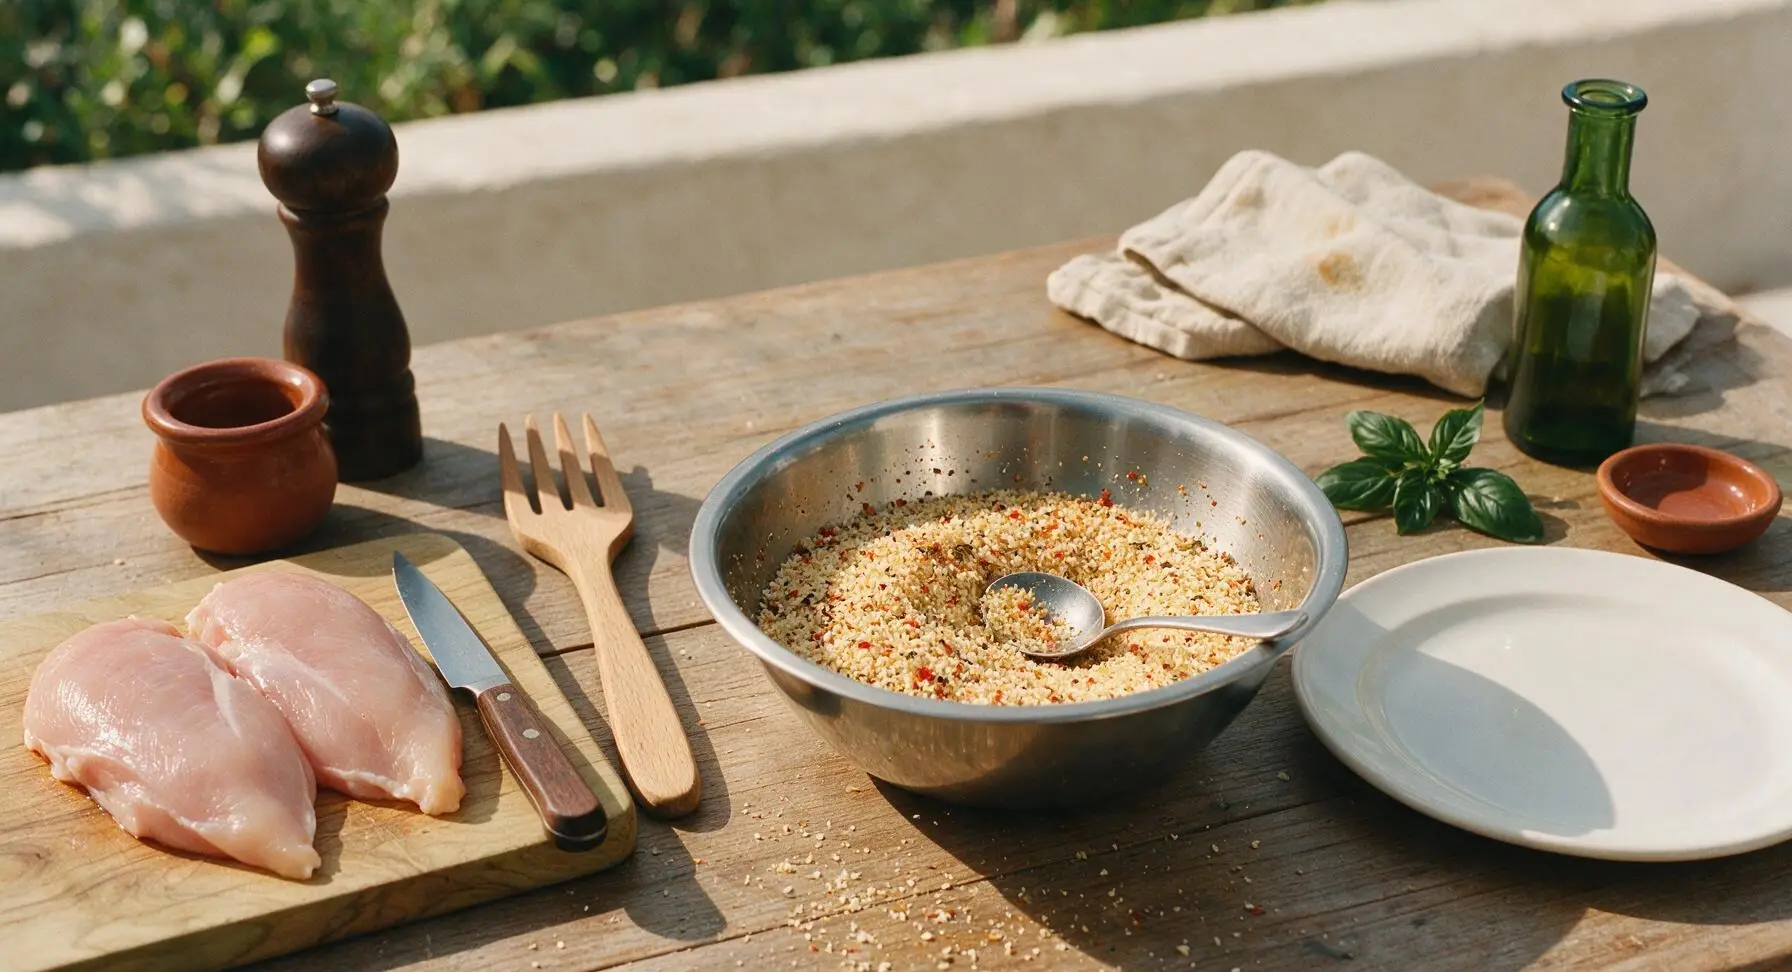
In the stainless steel small mixing bowl, combine the ½ cup panko breadcrumbs, 1 tsp garlic powder, 1 tsp onion powder, ½ tsp smoked paprika, ½ tsp dried oregano, 1 tsp kosher salt, and ½ tsp freshly ground black pepper. Stir with a small spoon until the spices are evenly distributed throughout the pale panko crumbs, creating a warm golden-speckled mixture.
Oil Chicken Surfaces
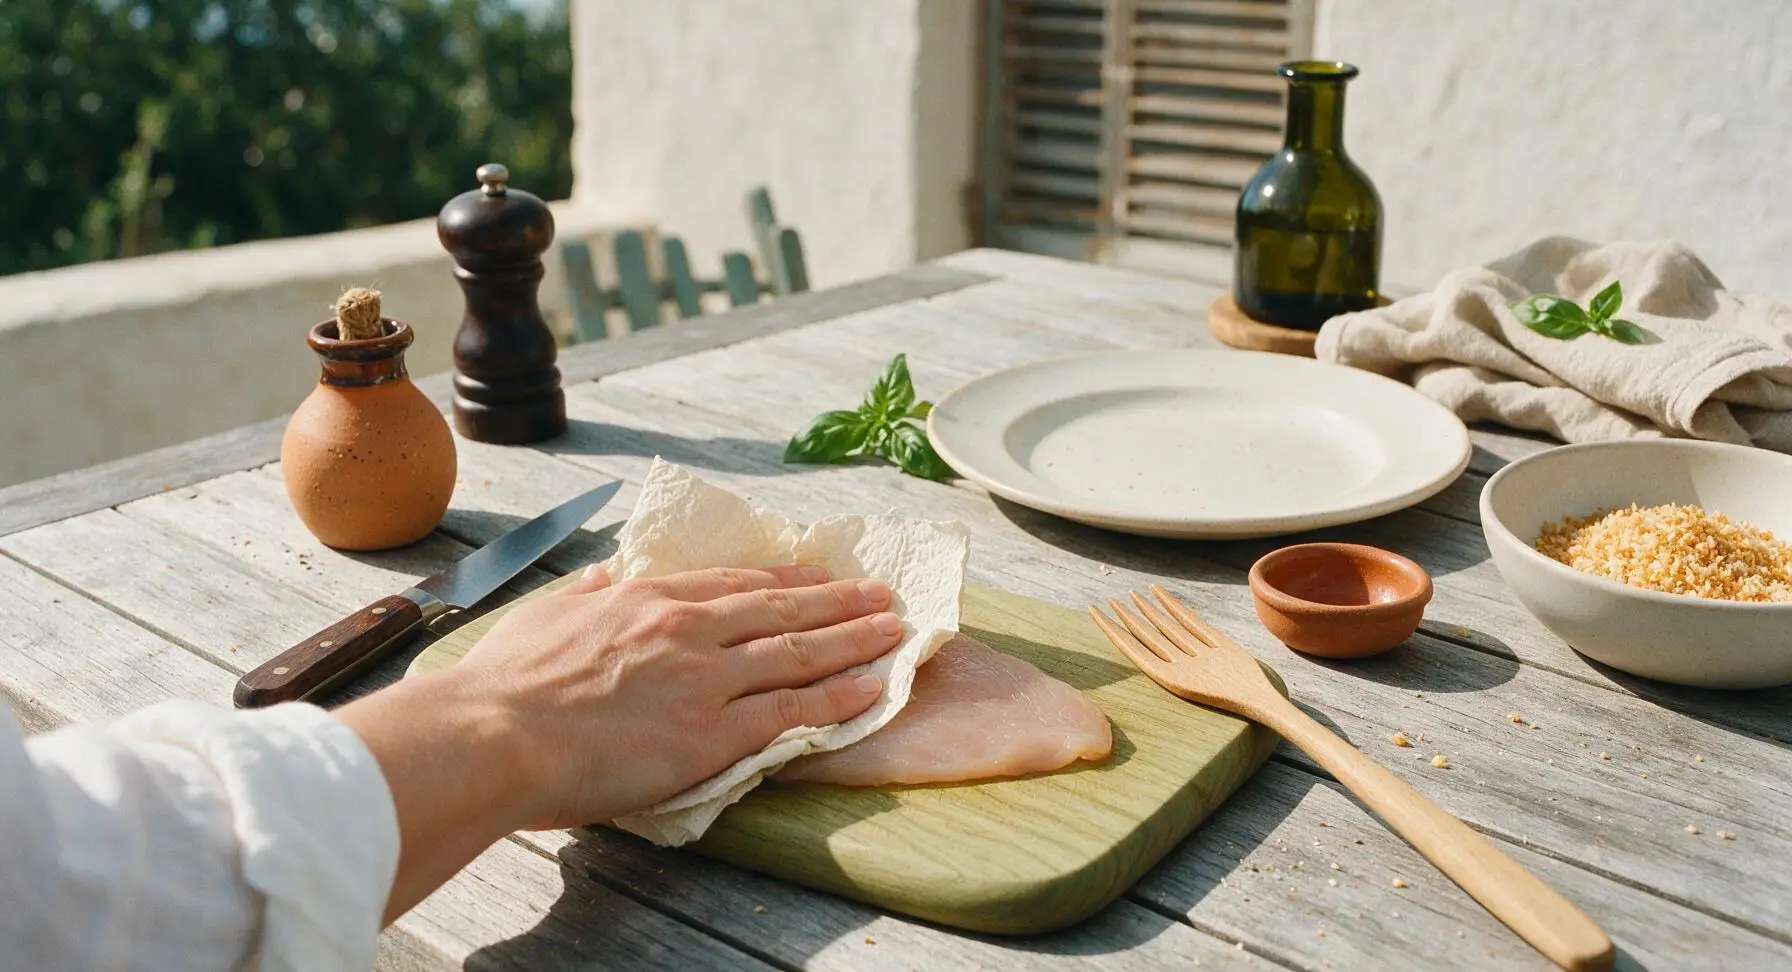
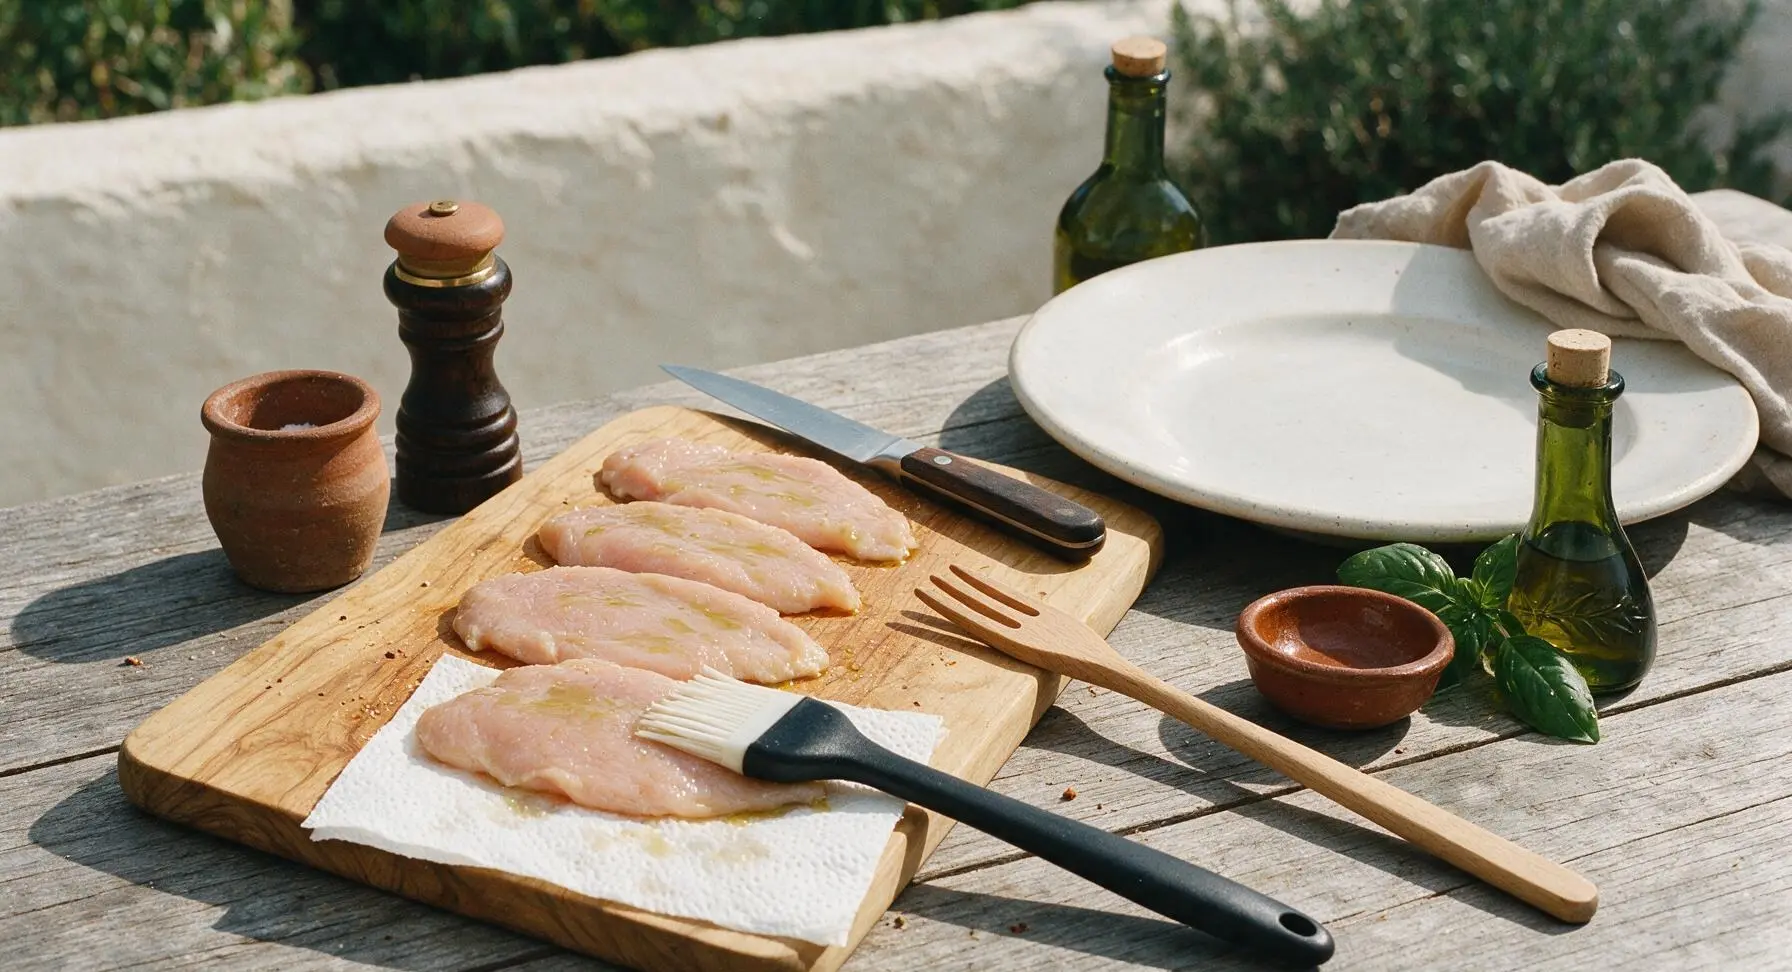
Pat all surfaces of the pounded chicken breasts completely dry with paper towels—this step is critical for crisping. Use the silicone basting brush to coat every side of each chicken breast with a thin, even layer of the 1 tbsp olive oil. Do not leave dry patches, as the oil helps the panko adhere and crisp, but avoid excess oil that will make the crust soggy.
Apply Crispy Panko Coating
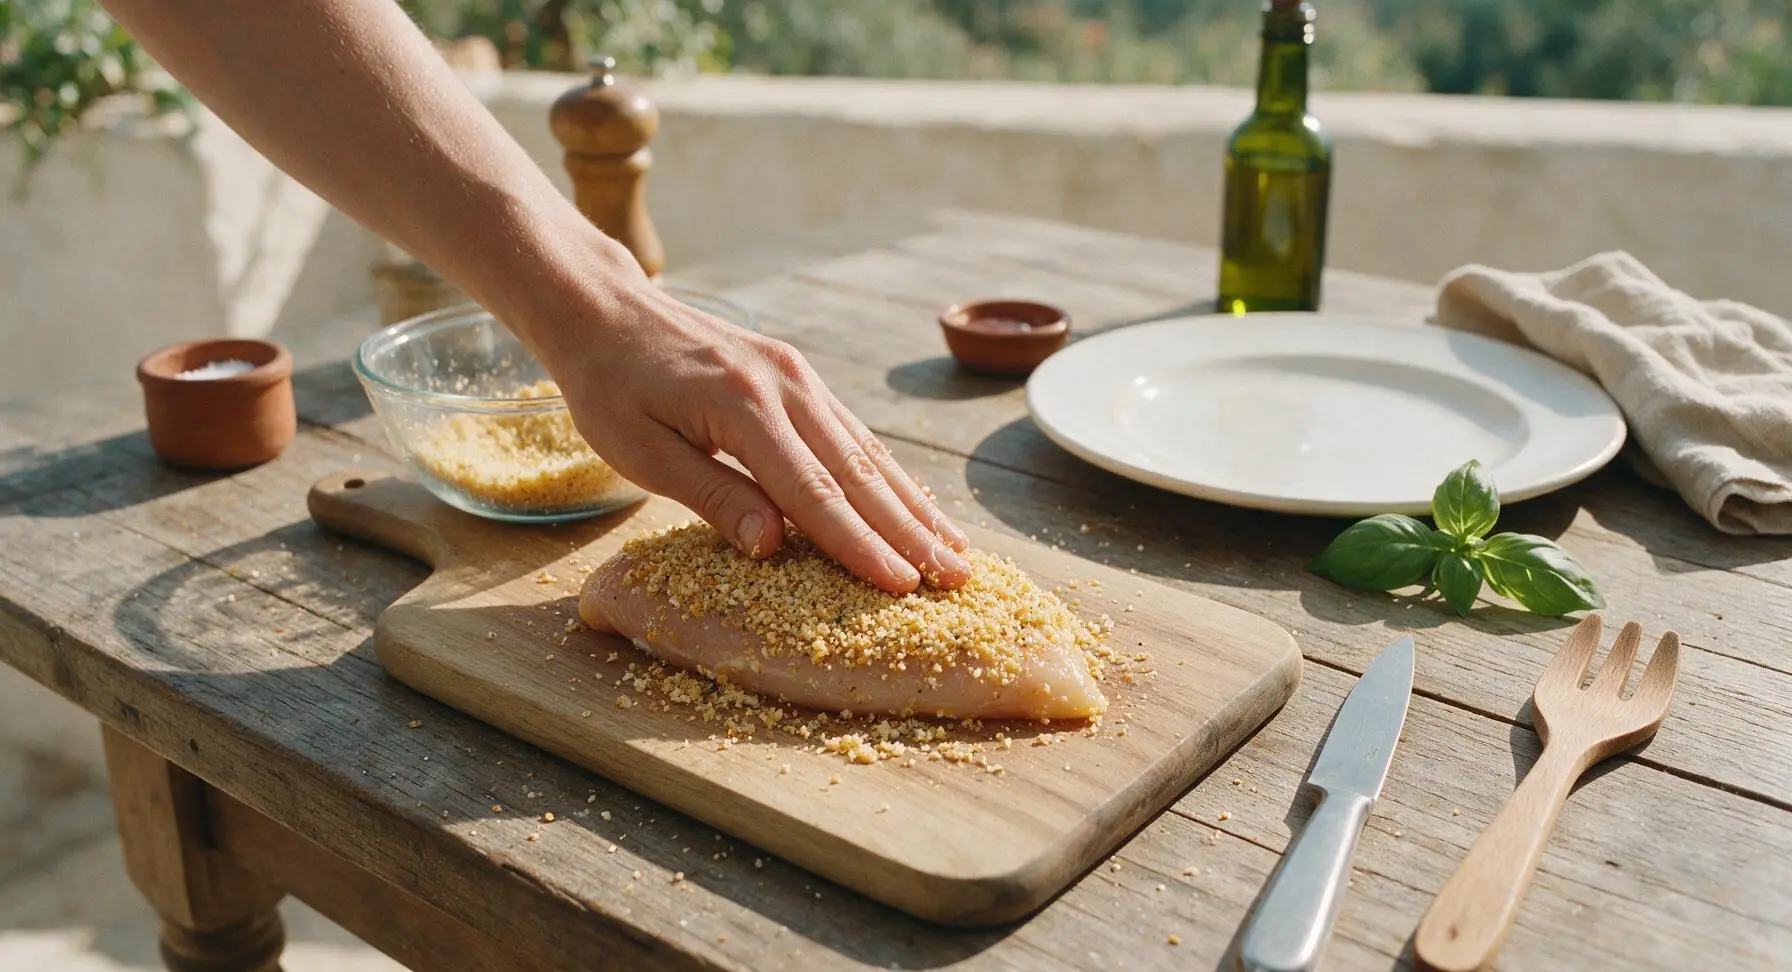
Working one breast at a time, scoop a portion of the seasoned panko mixture onto the top of the oiled chicken, pressing firmly with your fingers to adhere the crumbs to every surface (top, bottom, and sides). The coating should form a thin, even, tightly adhered layer; press any loose crumbs back onto the chicken so no bare spots remain. Discard any leftover loose crumbs that do not stick.
Arrange Chicken in Basket
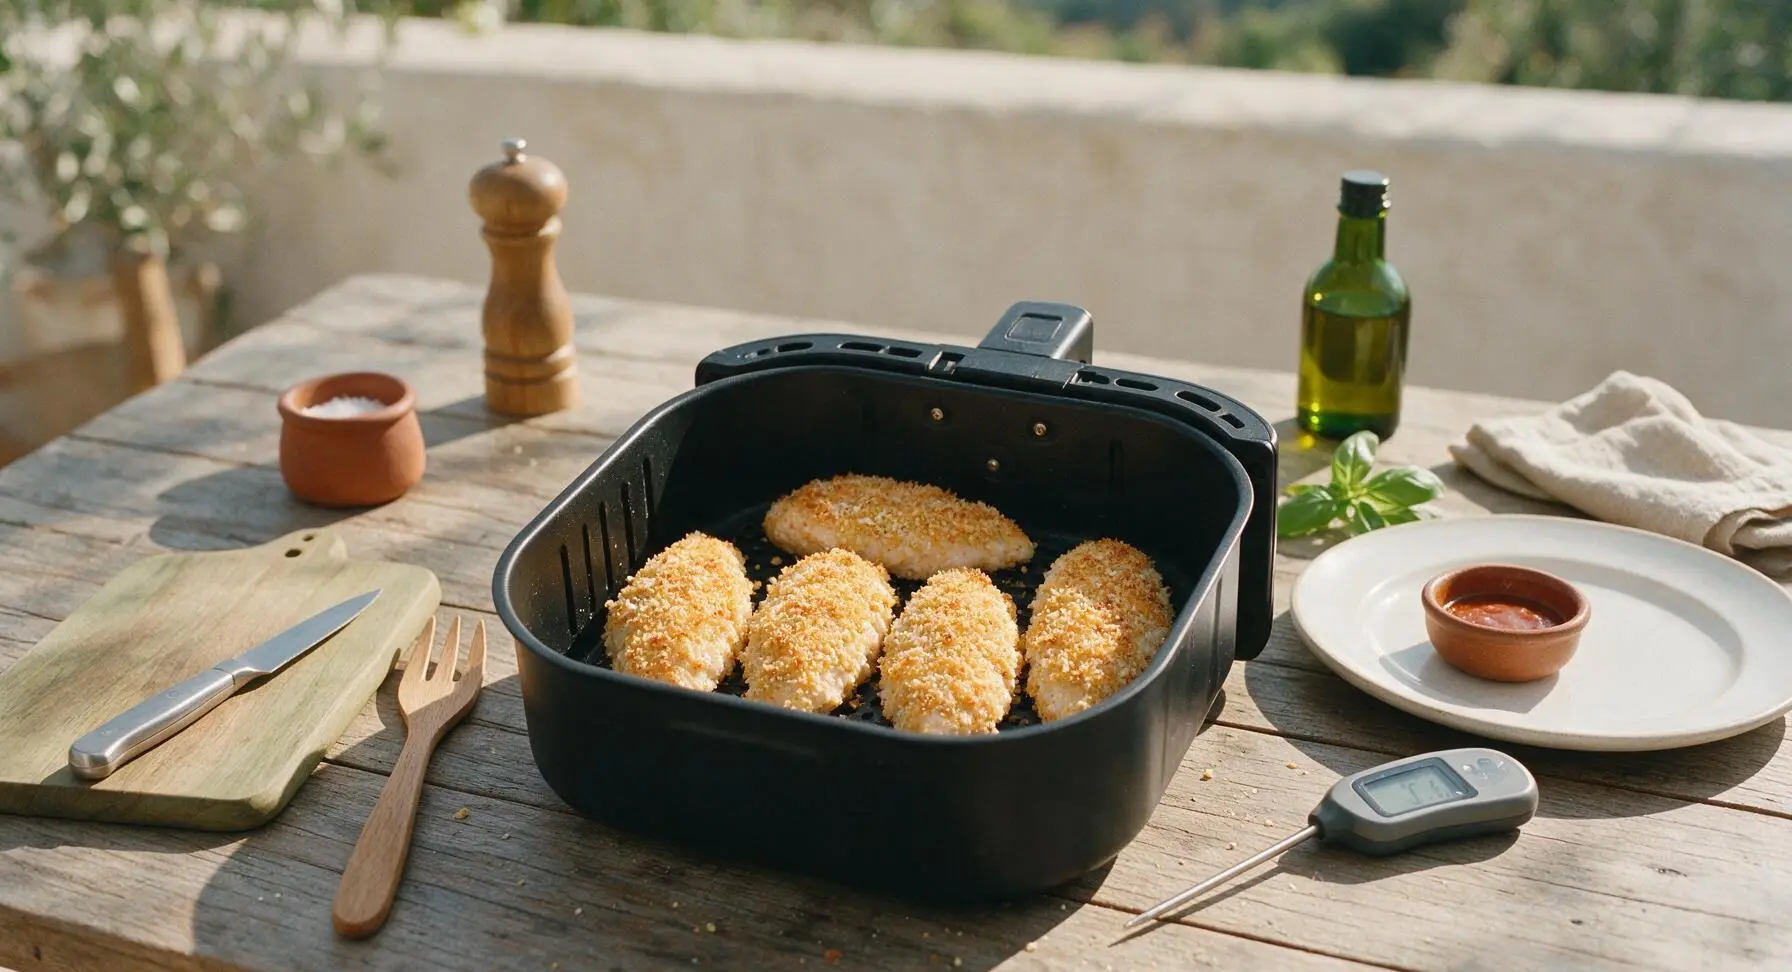
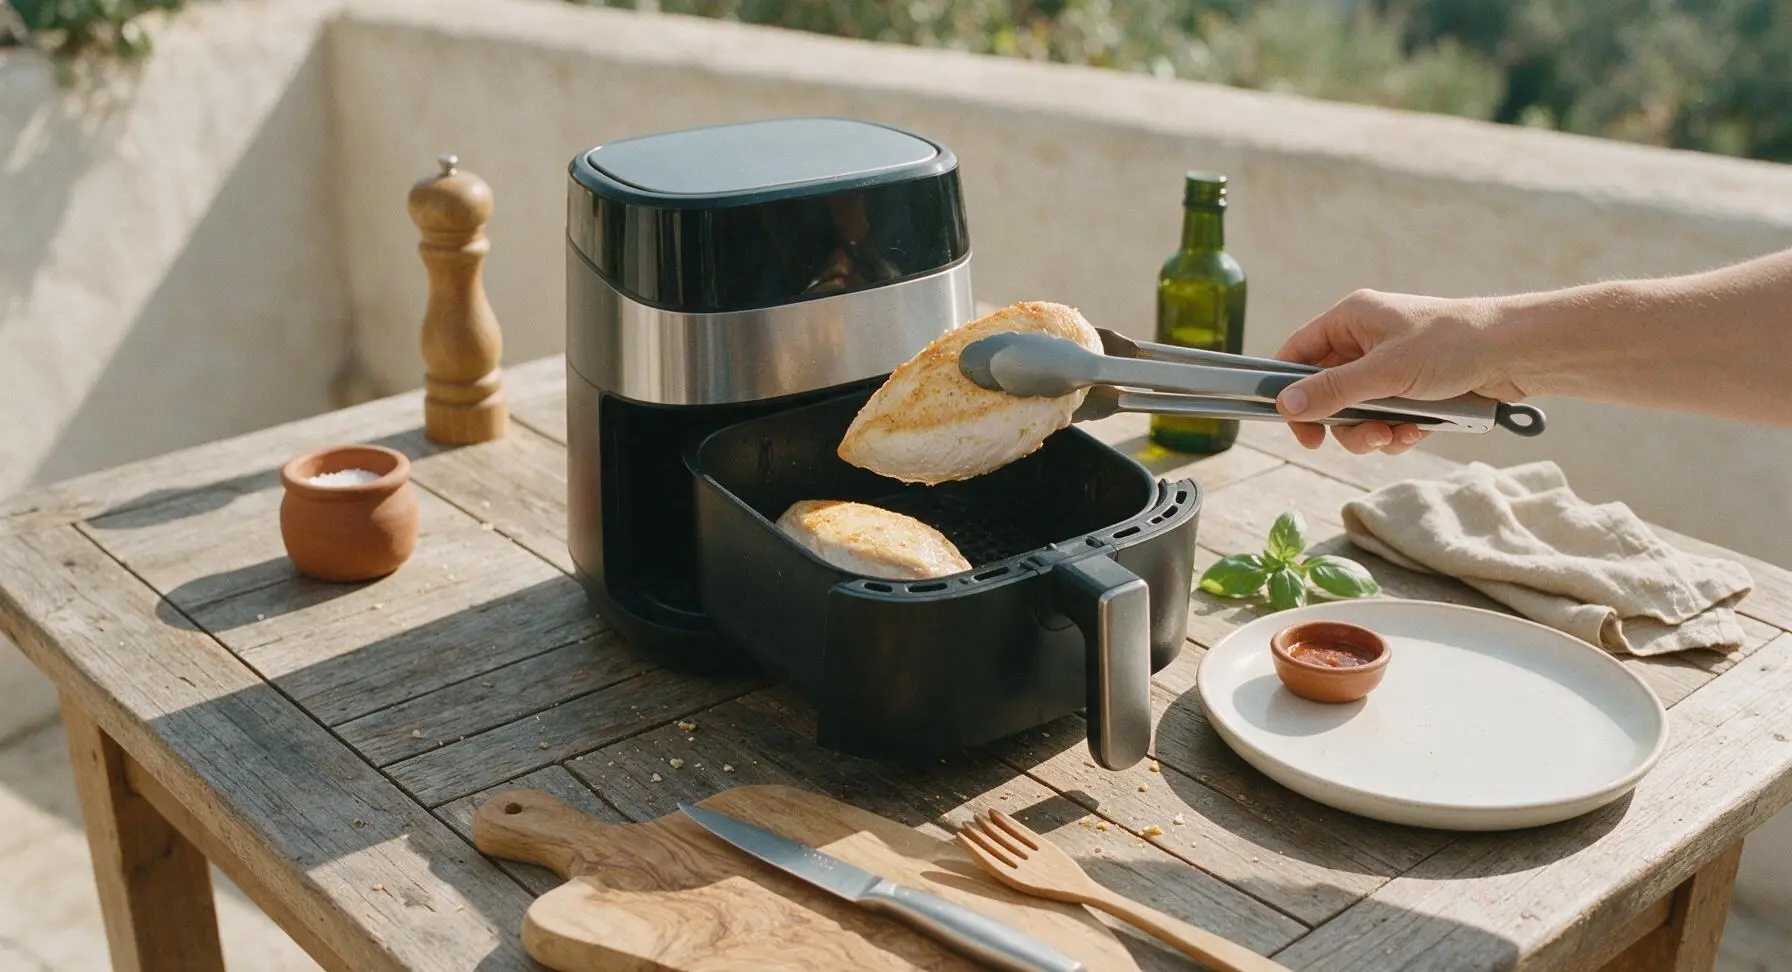
Preheat the air fryer to 375°F (190°C) for 3 minutes. Once preheated, lightly spray the air fryer basket with a thin layer of non-stick spray (optional, for easy release). Place the panko-coated chicken breasts in the basket in a single layer, leaving ½ inch of space between each piece to allow air circulation—do not stack, as this will make the crust soggy. Cook in batches if your air fryer is smaller than 5.8 quarts.
Air Fry Until Crisp
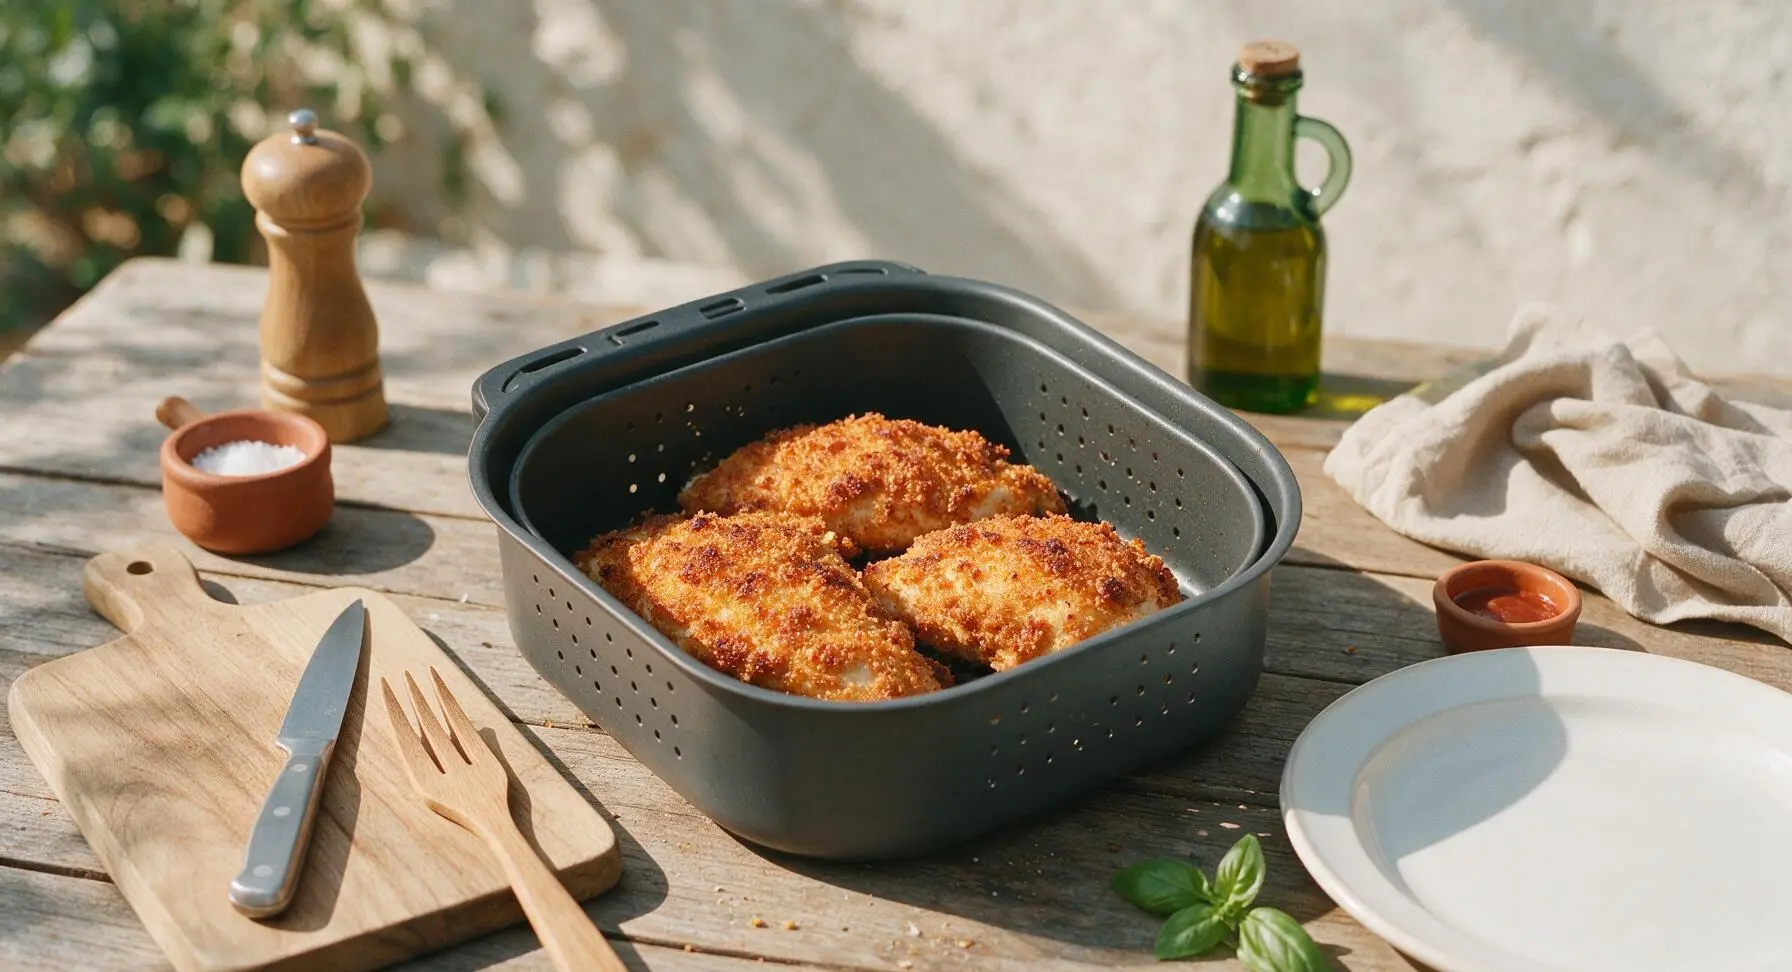
Slide the basket into the air fryer and cook at 375°F (190°C) for 7 minutes. After 7 minutes, carefully pull the basket out, use the stainless steel silicone-tipped tongs to flip each chicken breast over, then return the basket to cook for an additional 6-8 minutes. The crust should be deep golden brown and crispy on all sides when done.
Verify Doneness Temperature
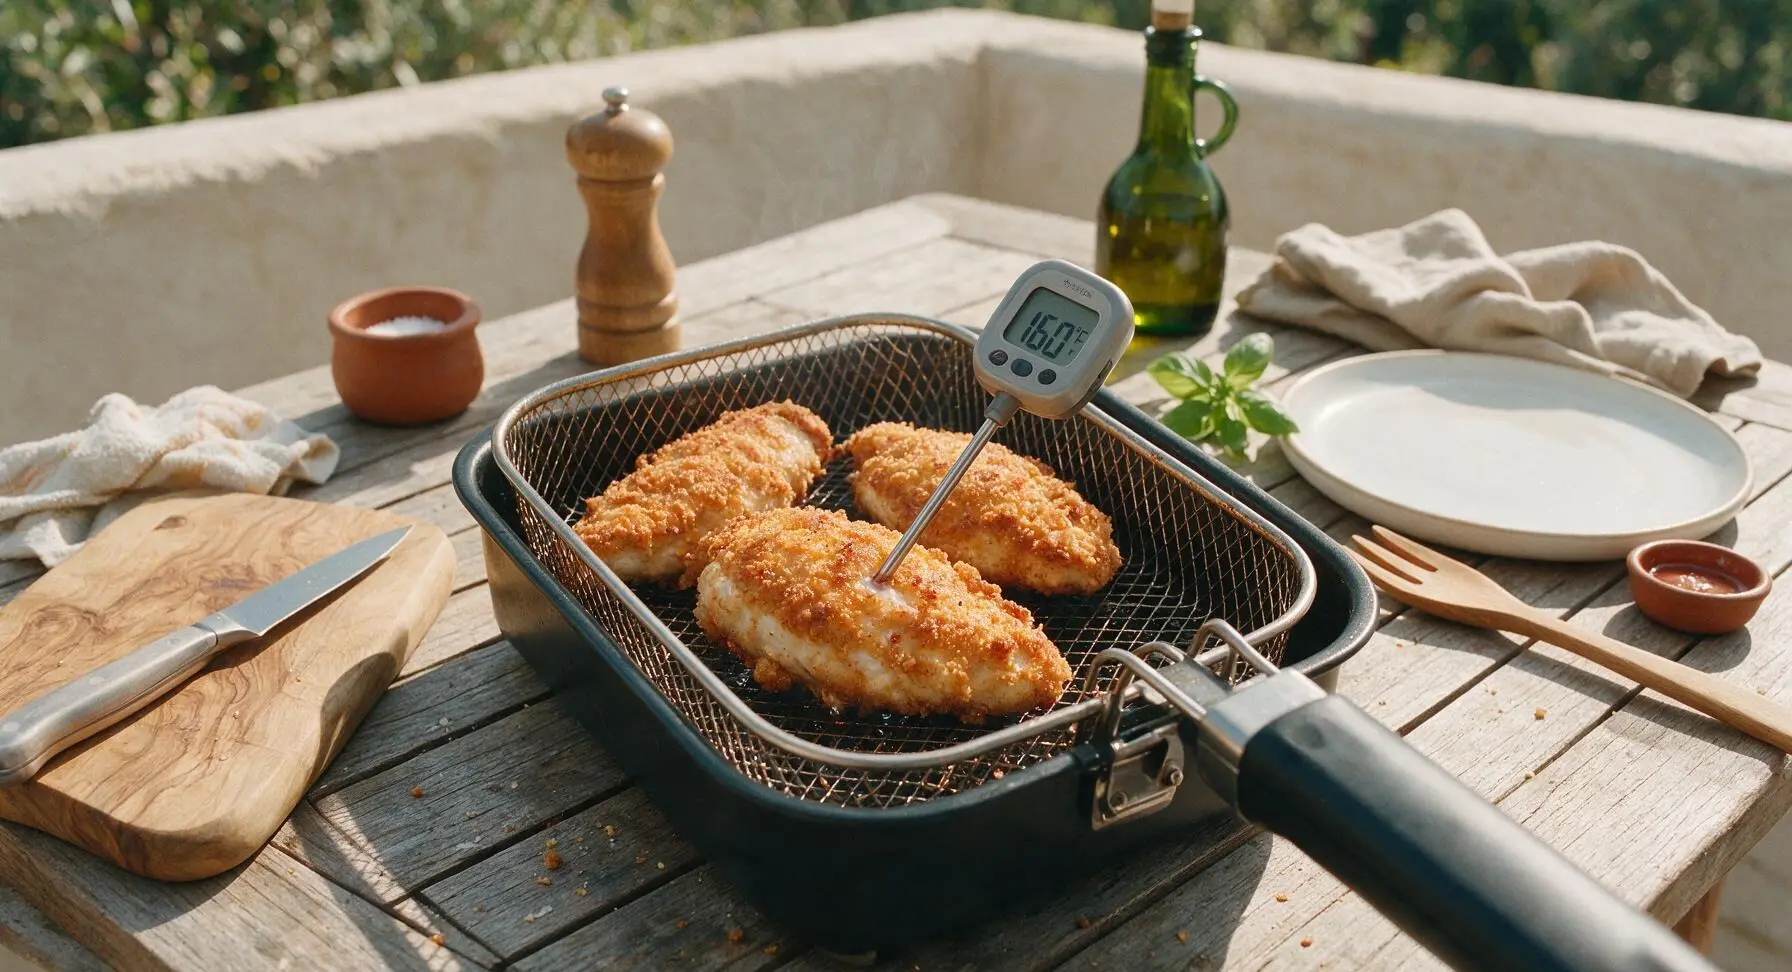
Use the digital instant-read meat thermometer to check the thickest part of each chicken breast: the internal temperature should read 160°F (71°C) when removed from the air fryer. It will rise 5°F to the food-safe 165°F (74°C) during resting, which keeps the meat juicy instead of overcooked. If any breast is below temperature, return to the air fryer for 2 more minutes before rechecking.
Rest and Plate Chicken
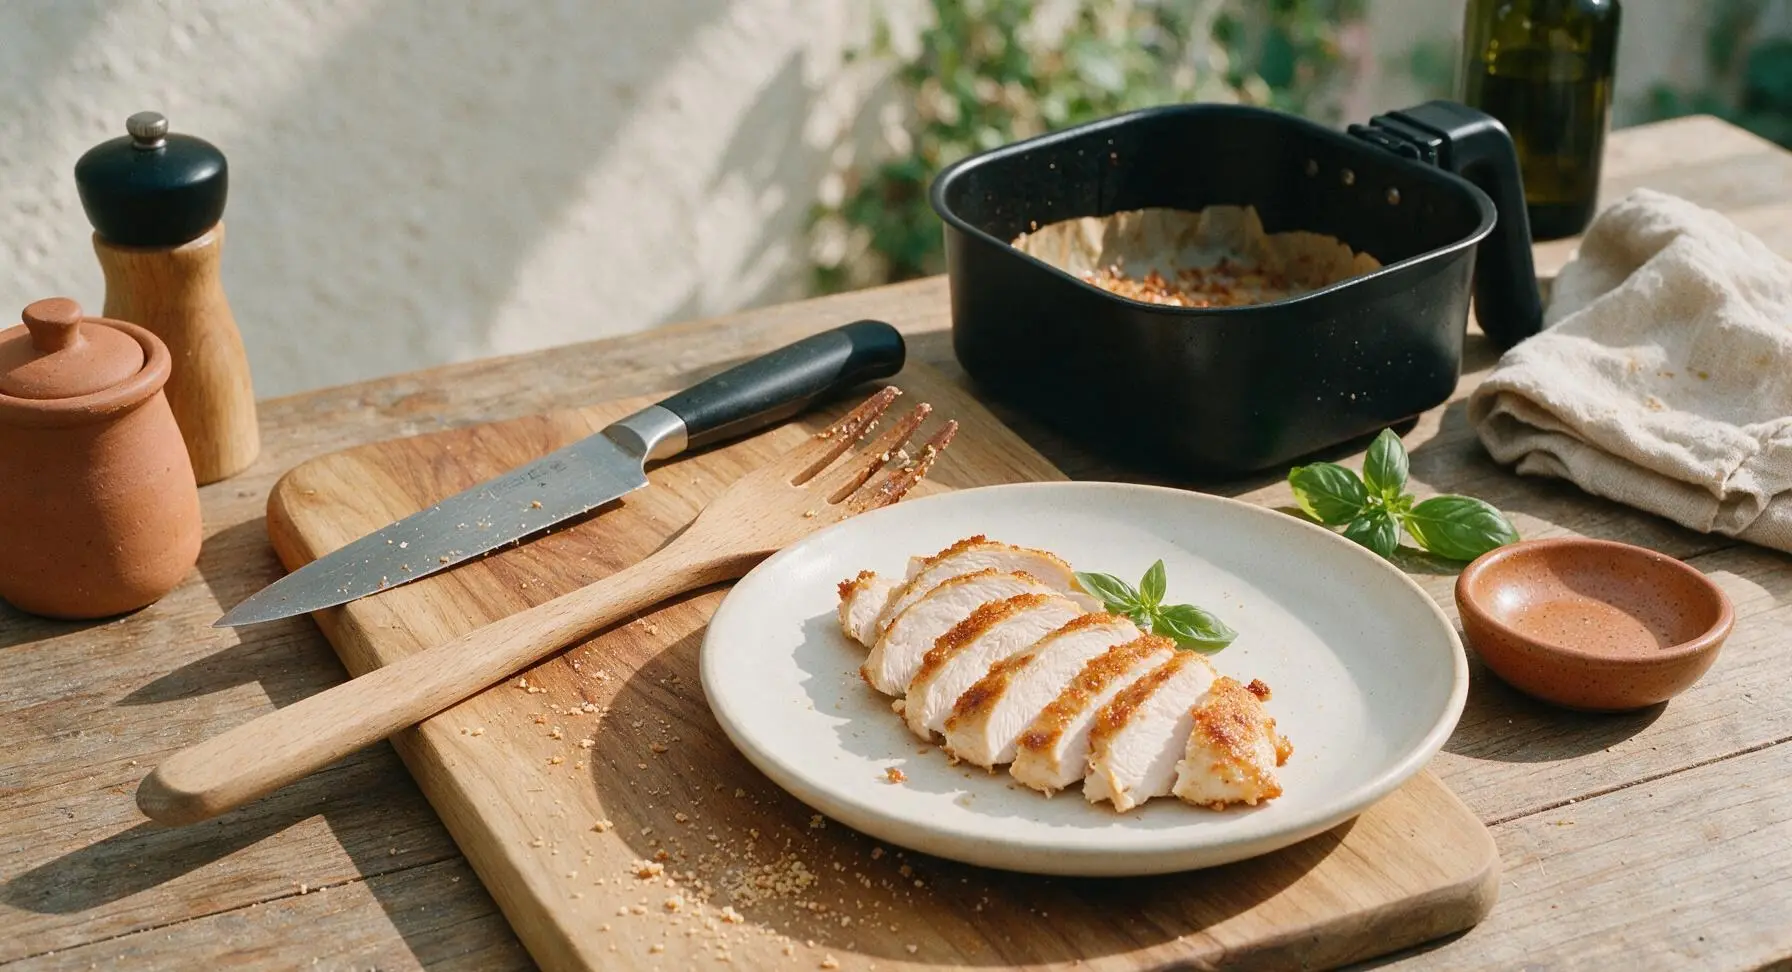
Use the tongs to carefully transfer the cooked chicken breasts from the air fryer basket to the maple cutting board, and let rest uncovered for 5 minutes. Resting allows muscle fibers to relax and reabsorb juices, so every bite stays juicy instead of leaking liquid onto the plate. After resting, slice each breast against the grain into 1-inch thick strips, then arrange fanned across the matte warm white ceramic dinner plate, and garnish with a single small basil sprig plucked from the countertop plant.
Tips
2.Don’t overcrowd the air fryer basket: Hot air needs to circulate around every surface of the chicken to crisp the coating evenly. If your air fryer is smaller than 5 quarts, cook the chicken in two batches rather than stacking or squeezing pieces together, which causes soggy spots.
3.Resist the urge to slice chicken immediately: Letting the chicken rest for 5 minutes after cooking allows the hot muscle fibers to relax and reabsorb juices, so every bite stays moist. Cutting right away will cause all the flavorful juice to run out onto the plate, leaving dry chicken behind.






OMG this is such a game changer! I’ve been struggling to make juicy, non-soggy chicken breast for my weekly meal prep for months, and this 15 minute air fryer recipe absolutely nailed it. No dry, rubbery chicken whatsoever! My husband even said it’s better than the grilled chicken we get at our local sports bar! Crispy, seasoned outside, perfectly tender inside, zero weird breading that slides off when you take a bite. Will be making this every Sunday prep session from now on.
SO good! I made this for our weeknight family dinner last night and all three of my super picky boys devoured it, zero complaints at all. I tossed a little extra grated parmesan in the breading mix and it was chef’s kiss. It’s so easy even on nights when we have back to back soccer practice, I can throw this together without stressing. 10/10, already added it to our regular dinner rotation!
Super solid recipe, came out crispy on the first try! Only reason I’m knocking off one star is I wish there was a quick note about seasoning the breading a little heavier—my first batch was a tiny bit bland, but once I added extra smoked paprika and garlic powder on the second batch it was perfect. Great easy base recipe for quick workday lunches, will definitely keep this in my rotation.