
Air Fryer Fried Chicken
intro
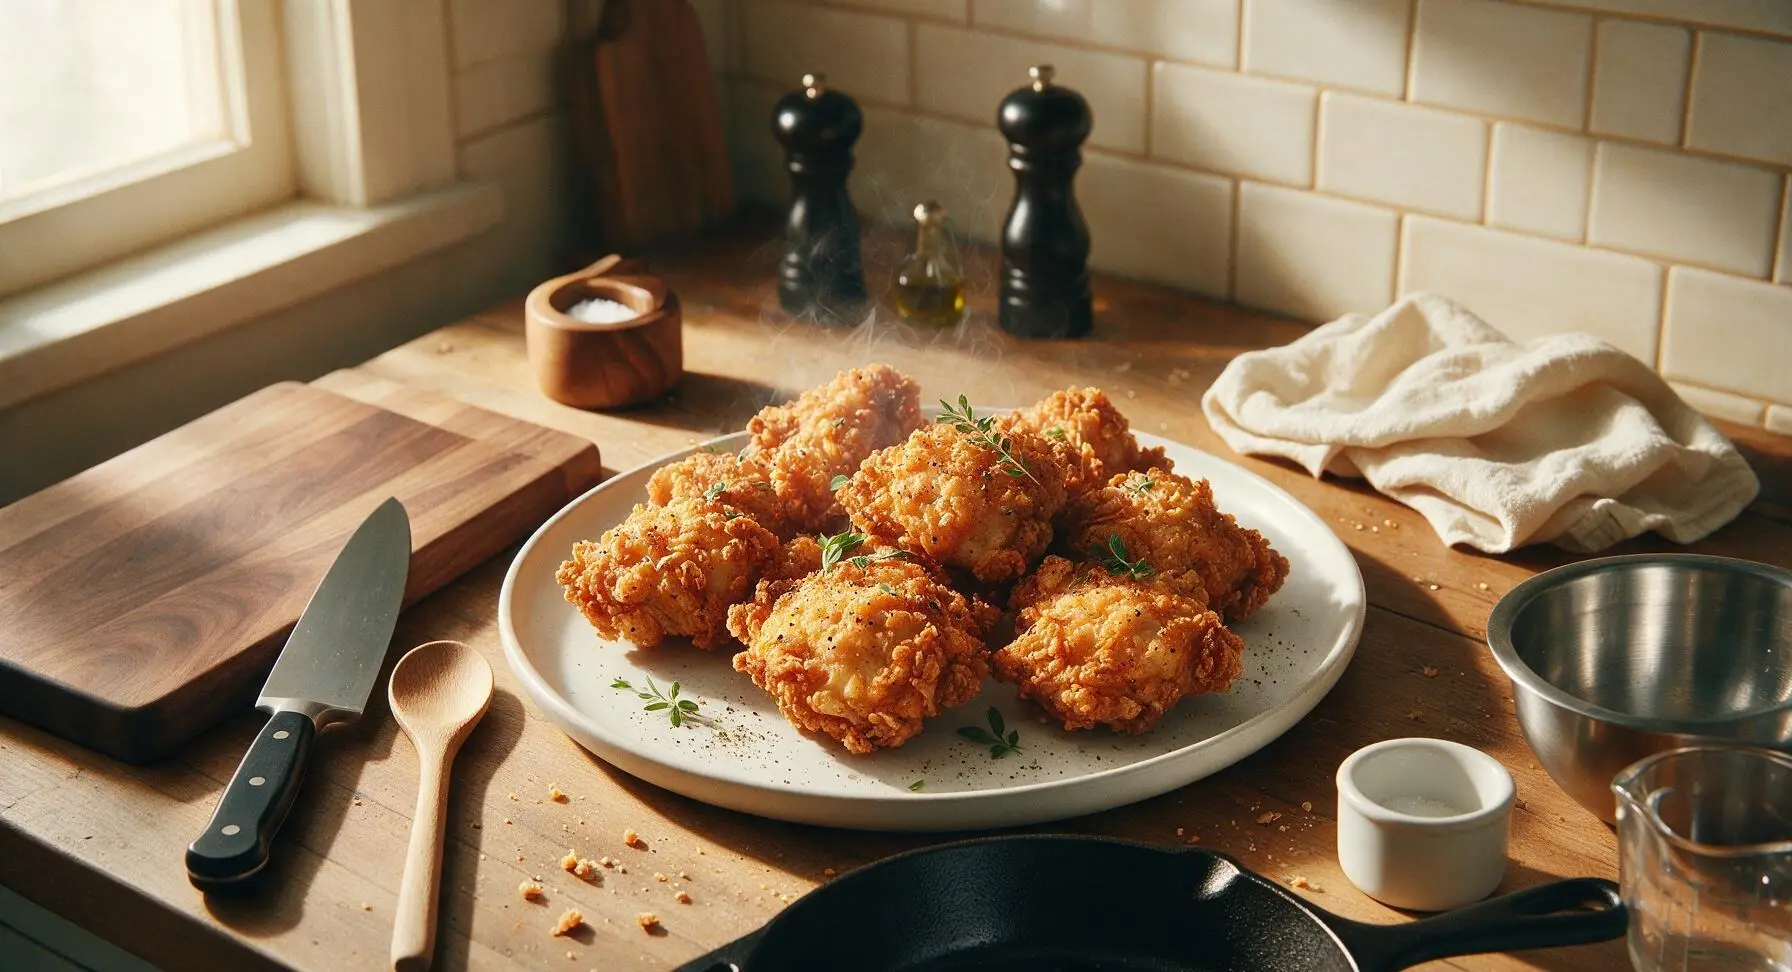
Shatteringly crisp, juicy golden fried chicken made with 90% less oil than traditional deep-fried versions, packed with classic Southern flavor, ready in under 45 minutes with zero messy oil splatters.
Ingredients
Steps
Prep and Brine Chicken
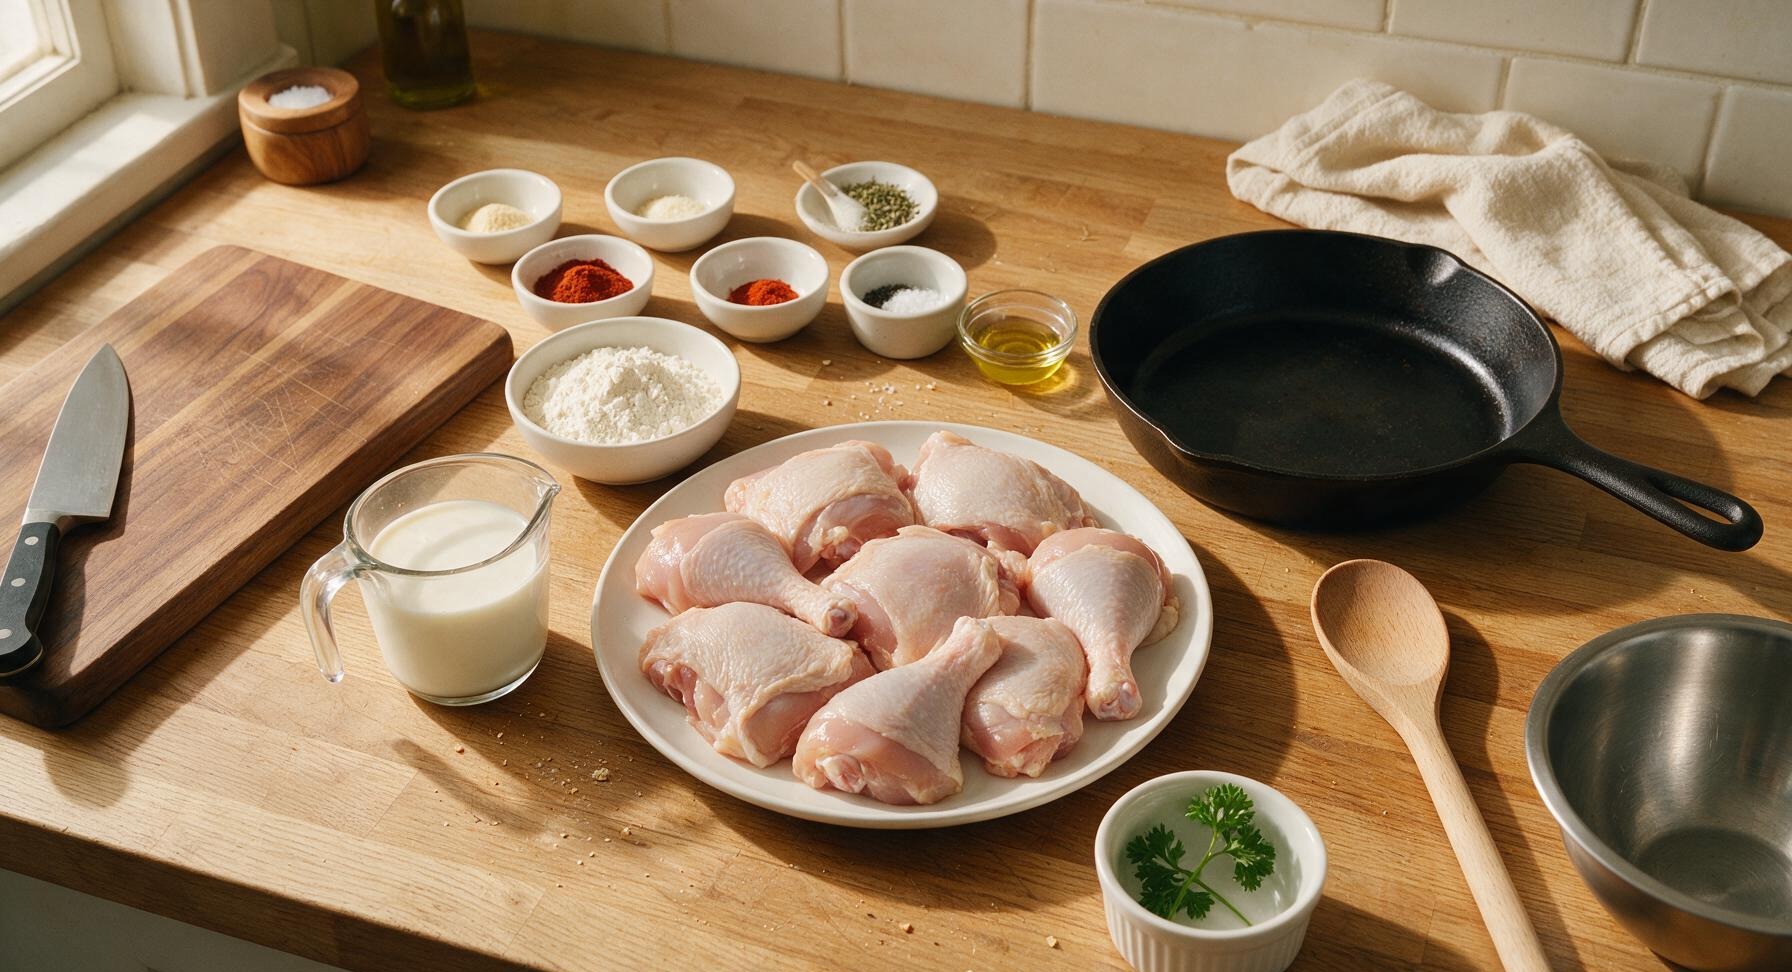
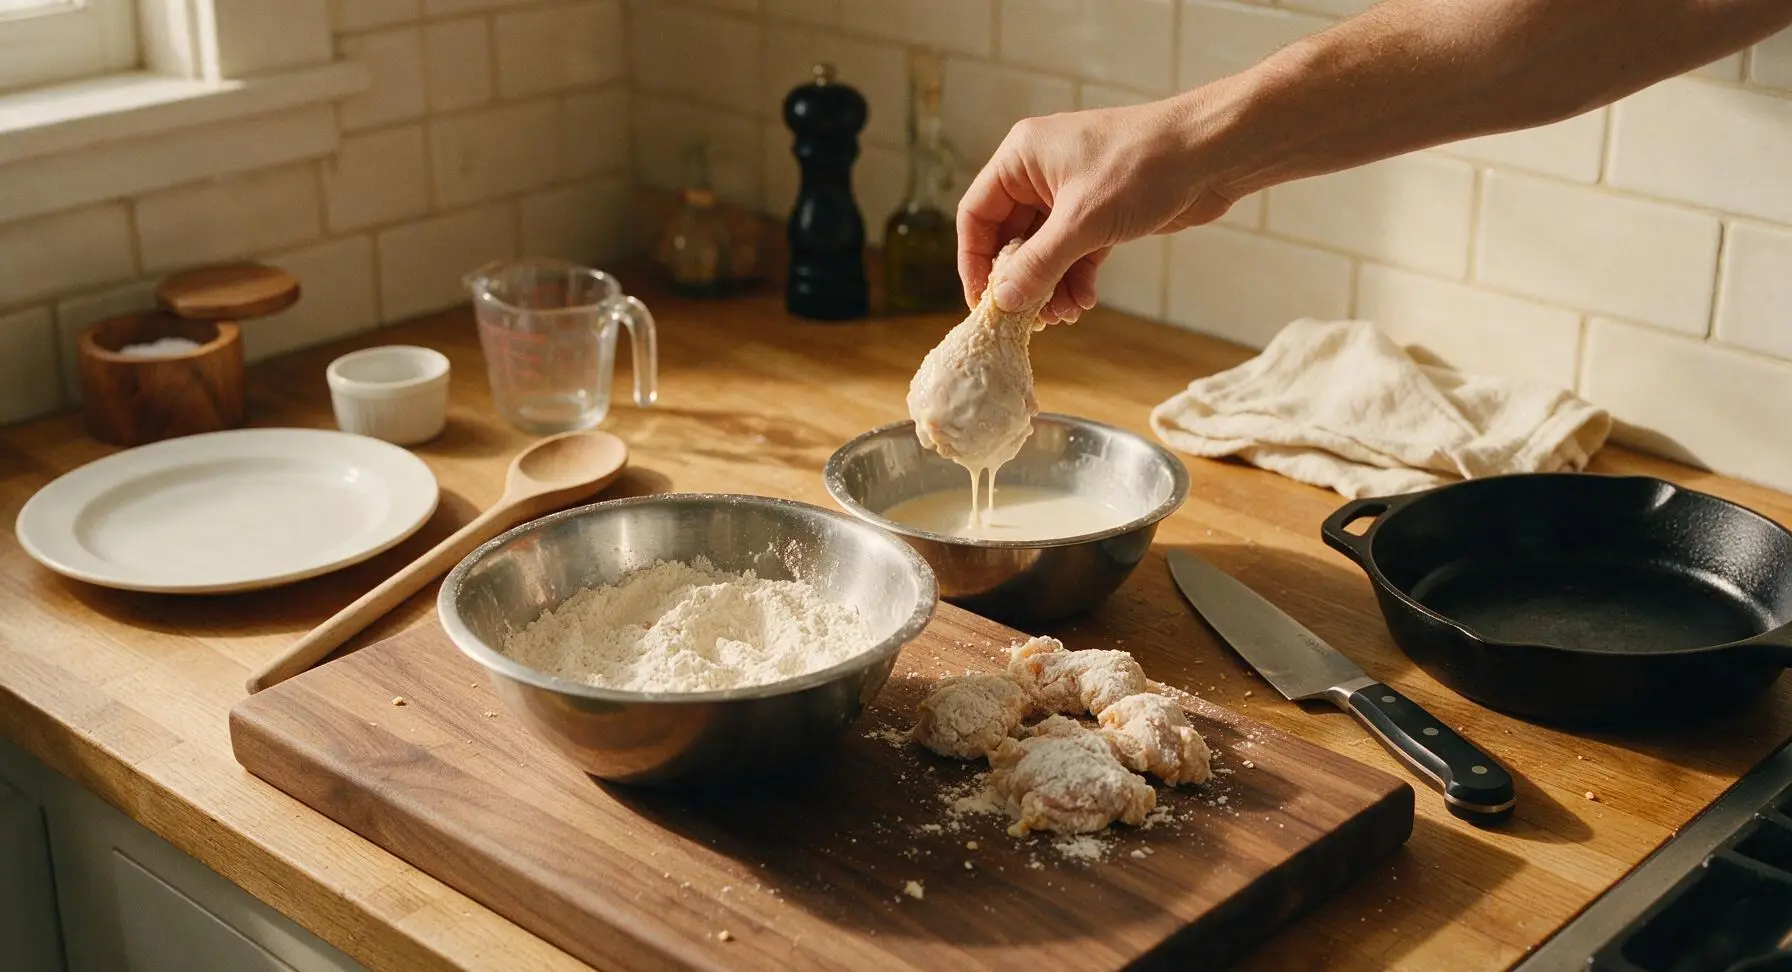
Pat all chicken pieces thoroughly dry with paper towels, then season lightly with 1/2 tsp kosher salt. Pour the measured buttermilk from the glass measuring cup into the smaller 22cm stainless steel mixing bowl, then submerge all chicken pieces fully in the buttermilk. Let rest 10 minutes at room temperature while you prep the coating (for extra juiciness, brine covered in the fridge for up to 4 hours).
Mix Seasoned Flour Coating
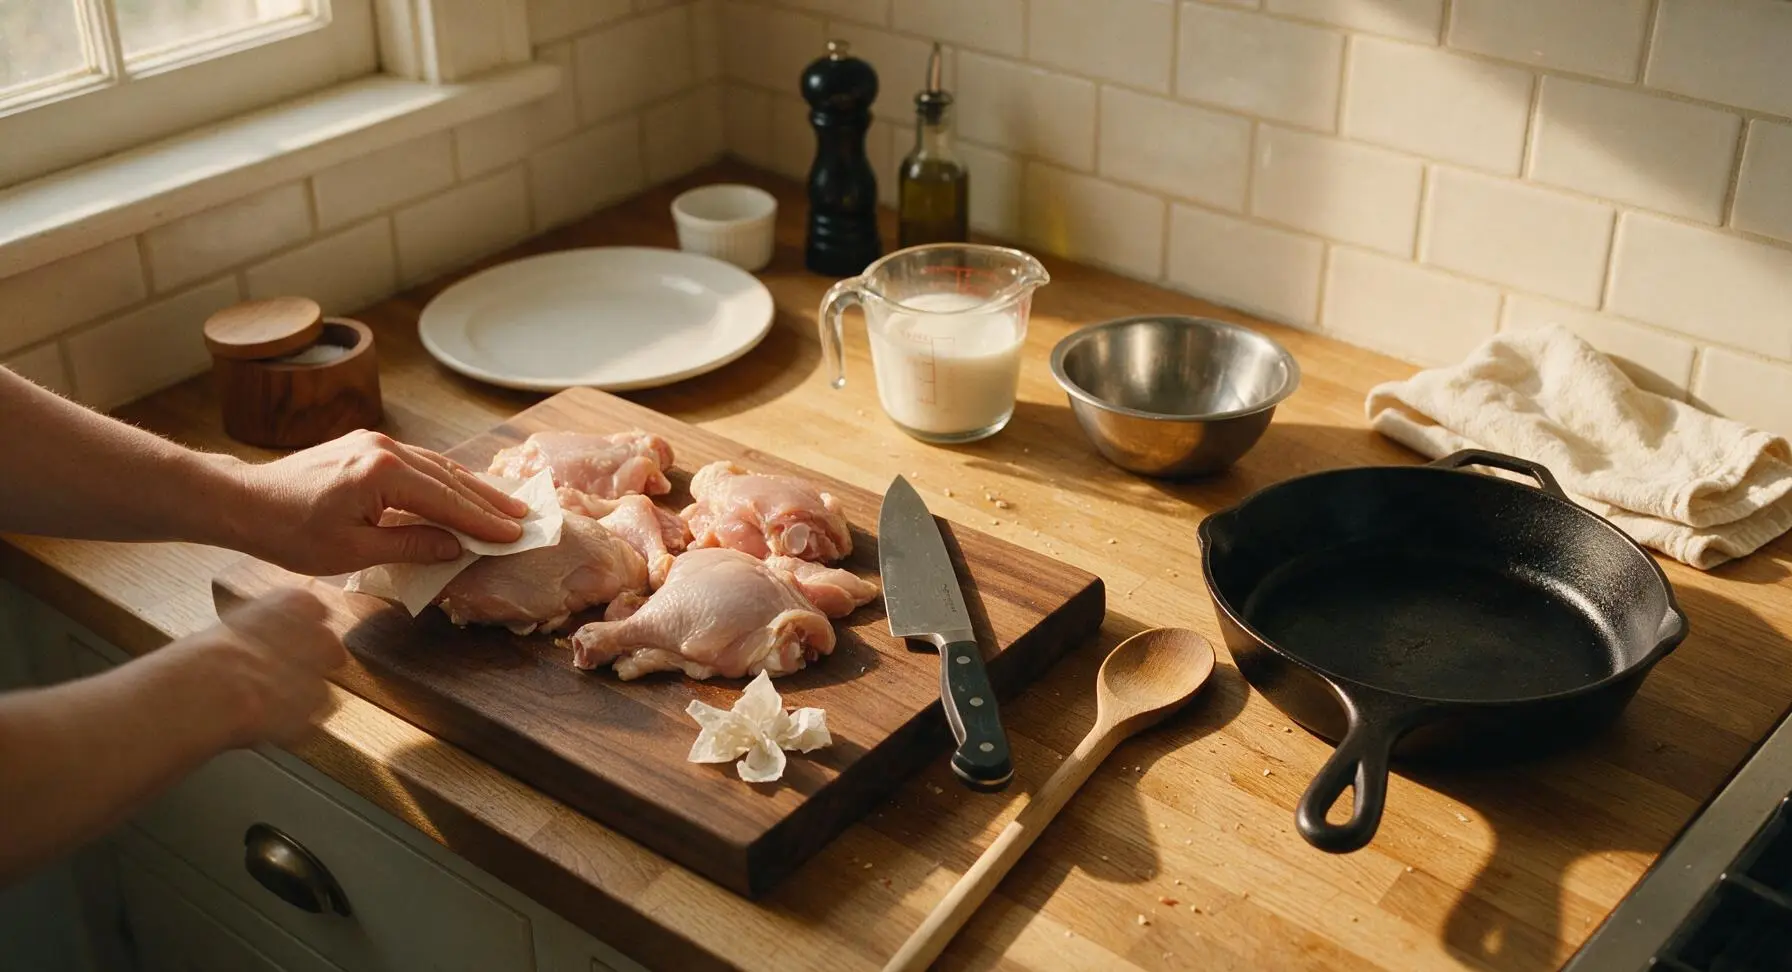
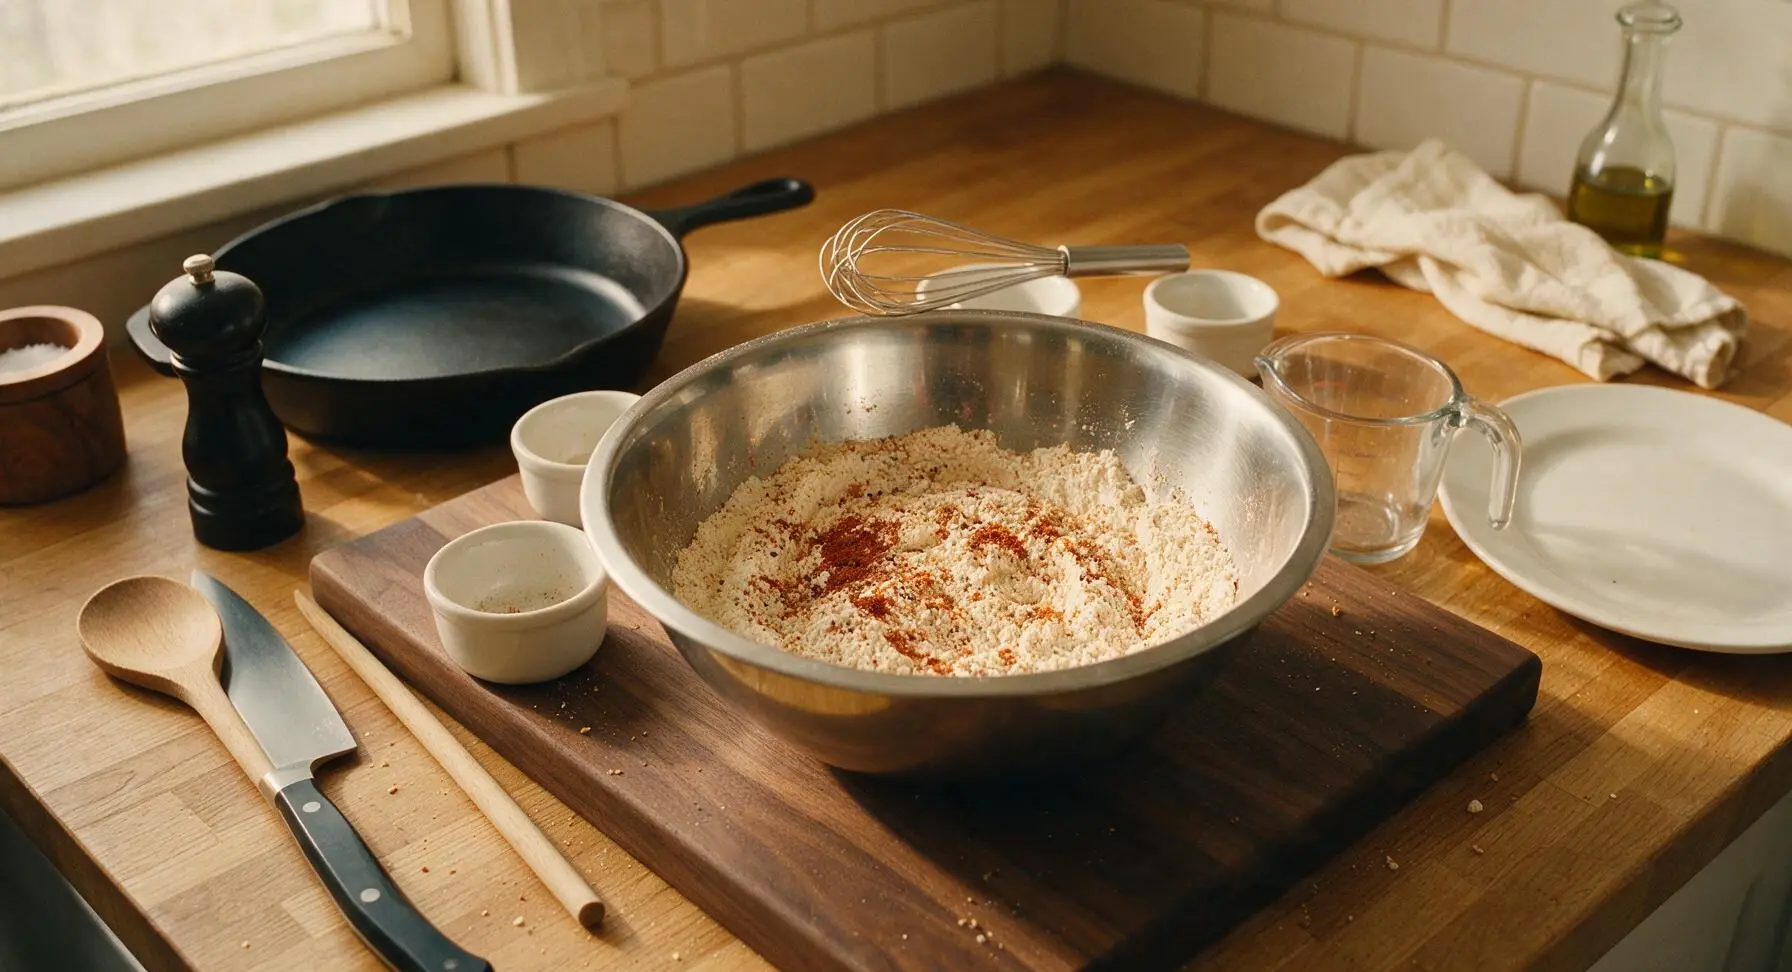
Add all-purpose flour, smoked paprika, garlic powder, onion powder, dried thyme, cayenne pepper, remaining 1.5 tsp kosher salt, and black pepper to the larger 24cm stainless steel mixing bowl. Use the small stainless steel whisk to mix thoroughly for 30 seconds until all spices are evenly distributed through the flour, with no dense clumps of spice remaining.
Coat Chicken in Flour
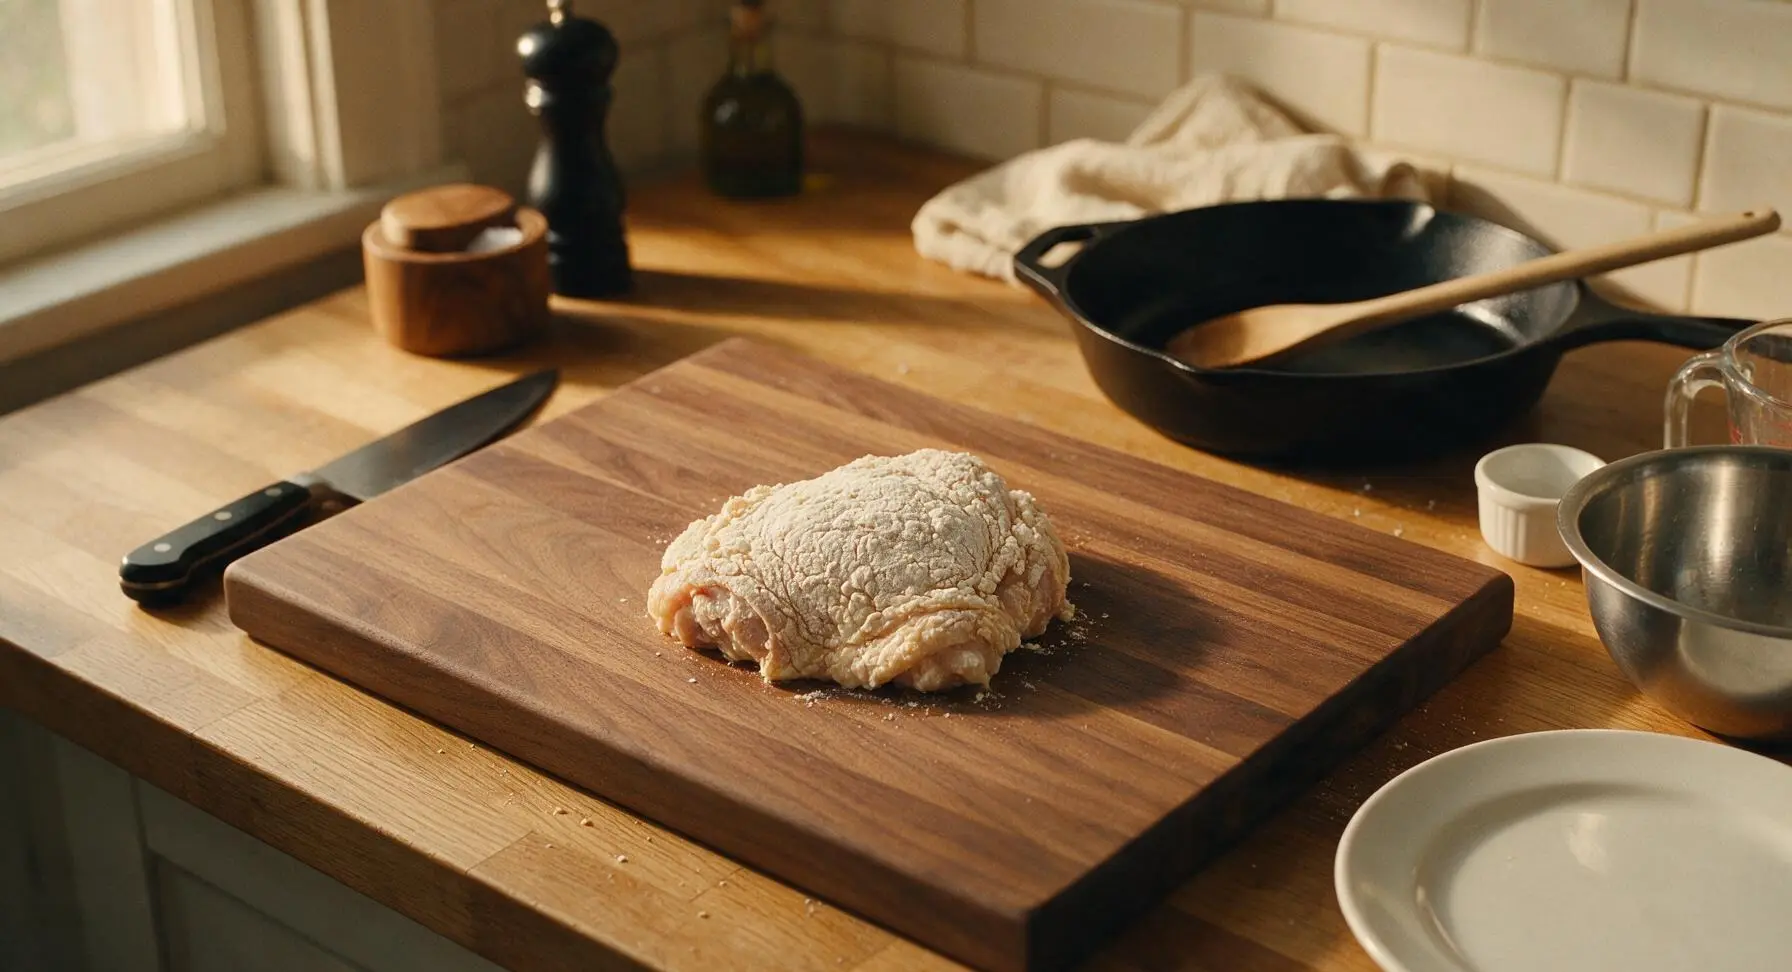
Working one piece at a time, lift chicken from the buttermilk, letting excess buttermilk drip back into the bowl for 2 seconds. Dredge fully in the seasoned flour, pressing firmly so the coating adheres to every surface, including under loose skin flaps. Place coated pieces on a clean section of the cutting board, and let rest 5 minutes to allow the coating to set—this prevents it from blowing off in the air fryer.
Preheat Air Fryer
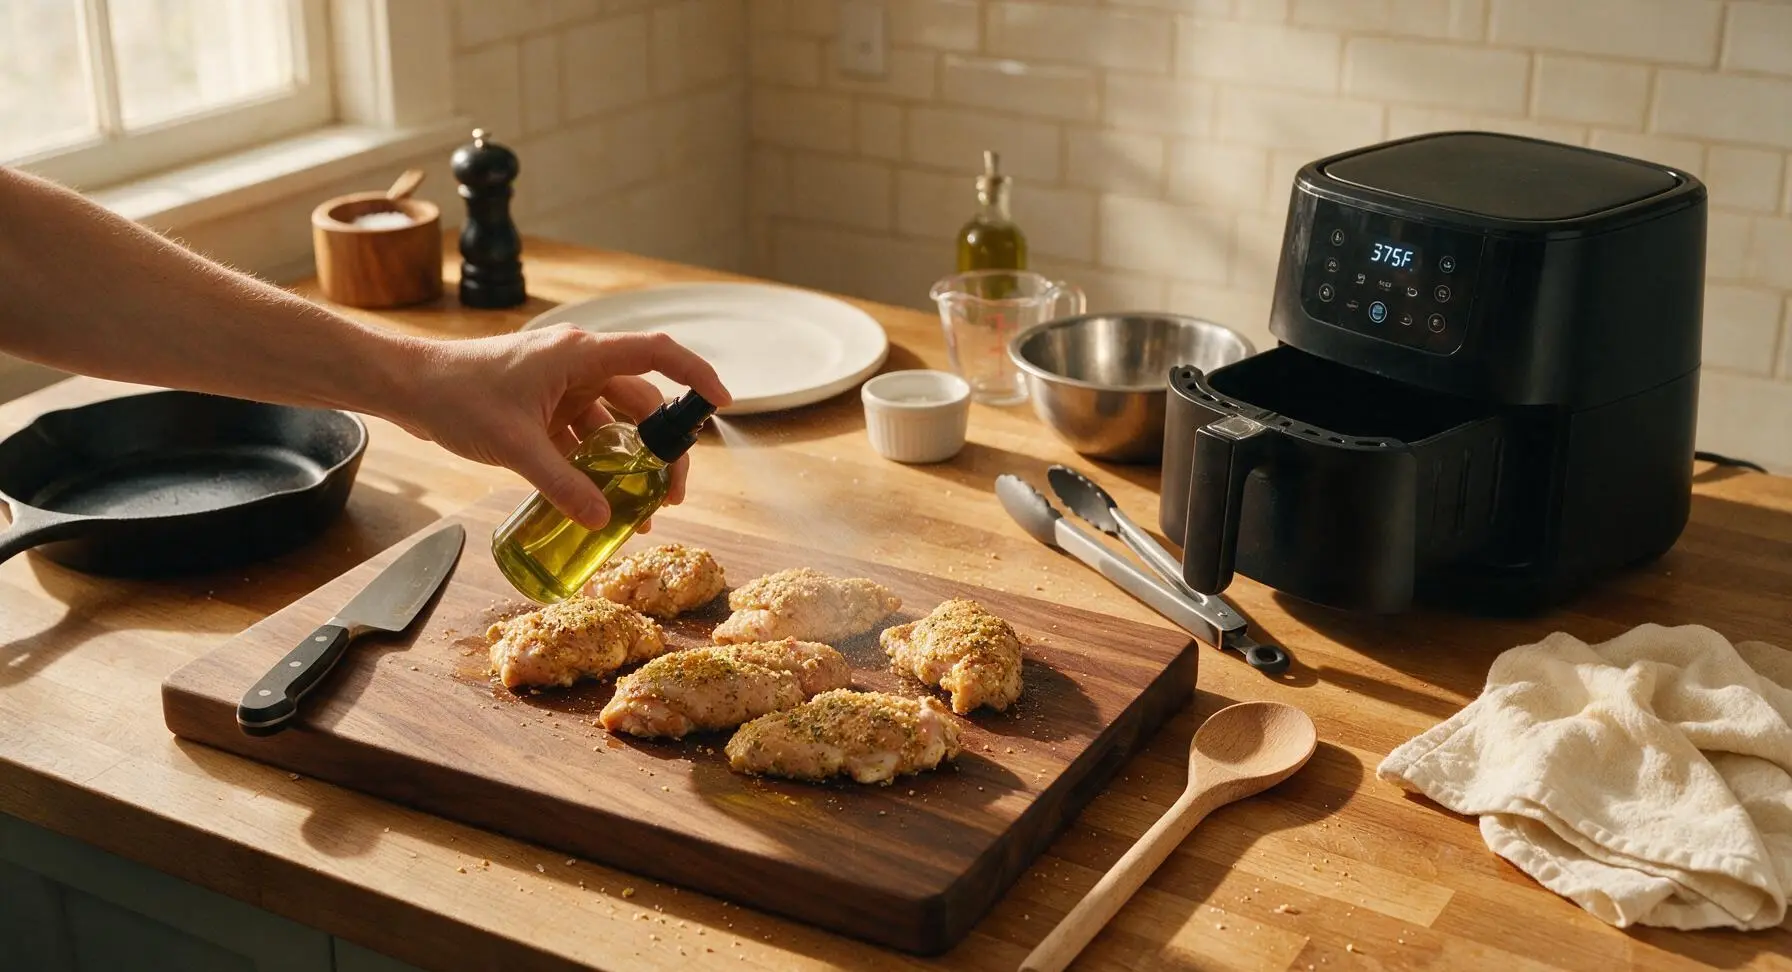
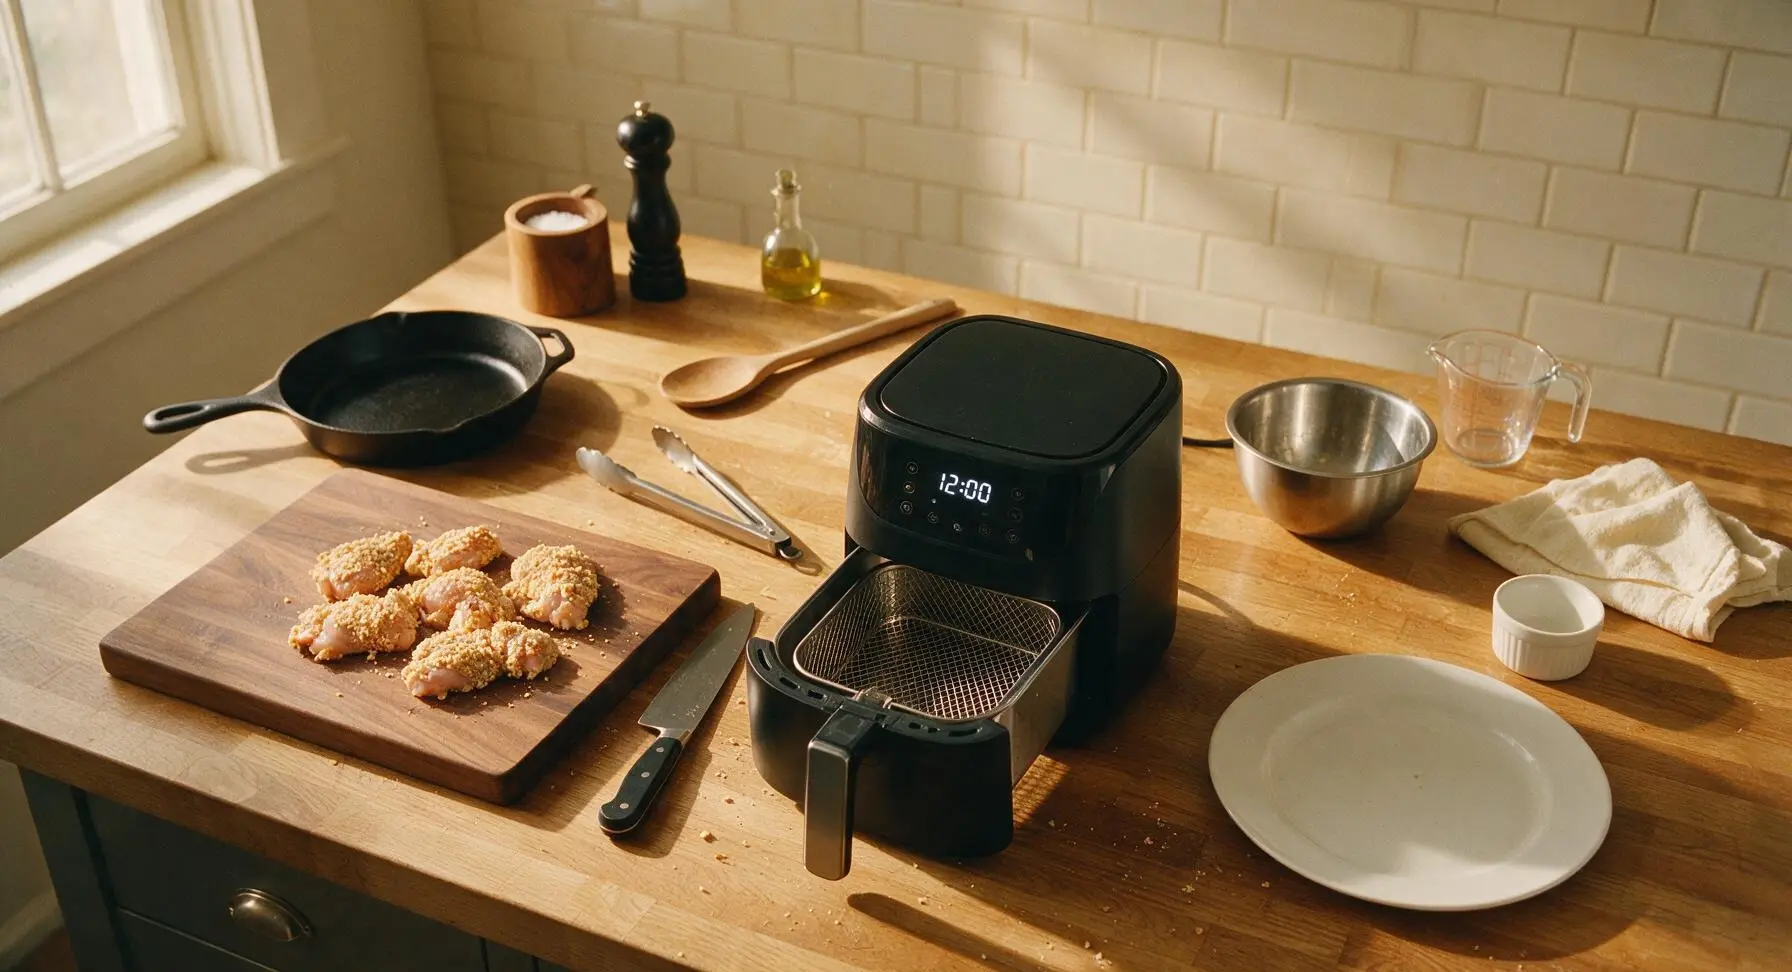
Preheat the matte black air fryer to 190C (375F) for 3 minutes. While it preheats, hold the avocado oil spray 15cm above the coated chicken pieces, applying a light even mist to cover every dry flour spot—do not douse, as excess oil will make the coating soggy.
Arrange Chicken in Basket
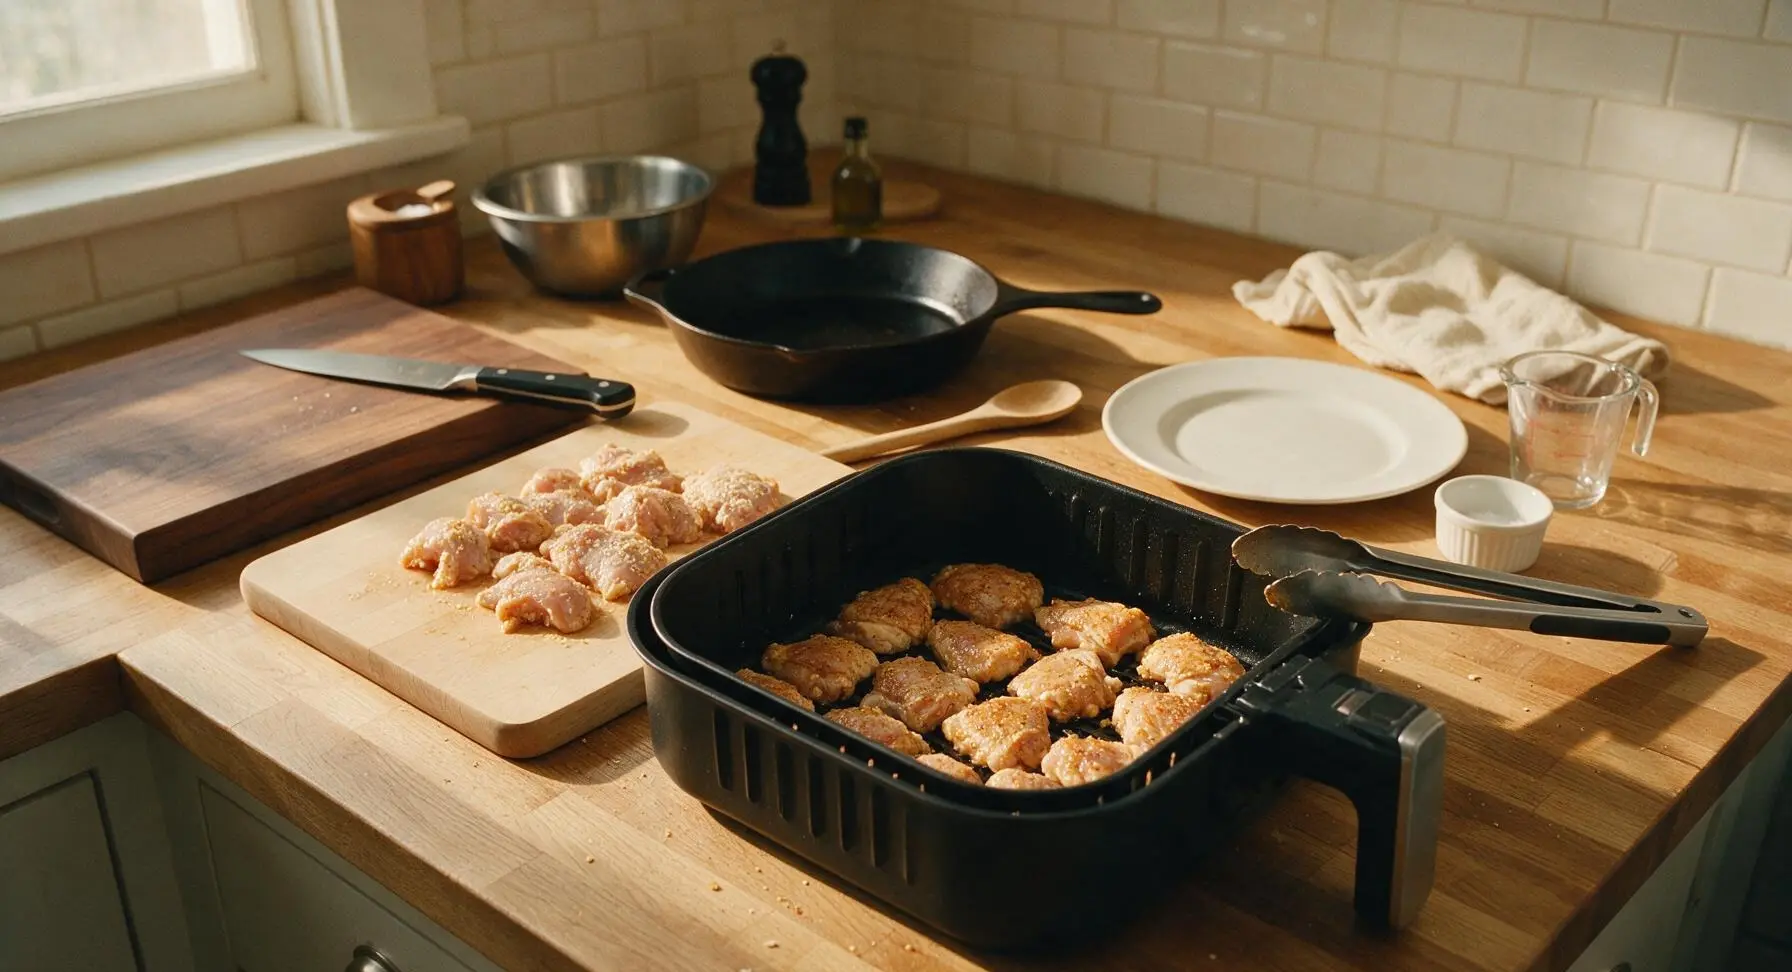
Use the kitchen tongs to place oiled chicken pieces in the preheated air fryer basket in a single layer, skin-side up, leaving 1cm of space between each piece to allow air circulation. Do not overcrowd—cook in two batches if needed, as crowding causes steaming instead of crisping.
Air Fry First Side
Slide the basket back into the air fryer, and cook at 190C (375F) for 12 minutes. Do not open the basket during this first phase, as temperature drops will prevent proper crust formation and crisping.
Flip and Finish Cooking
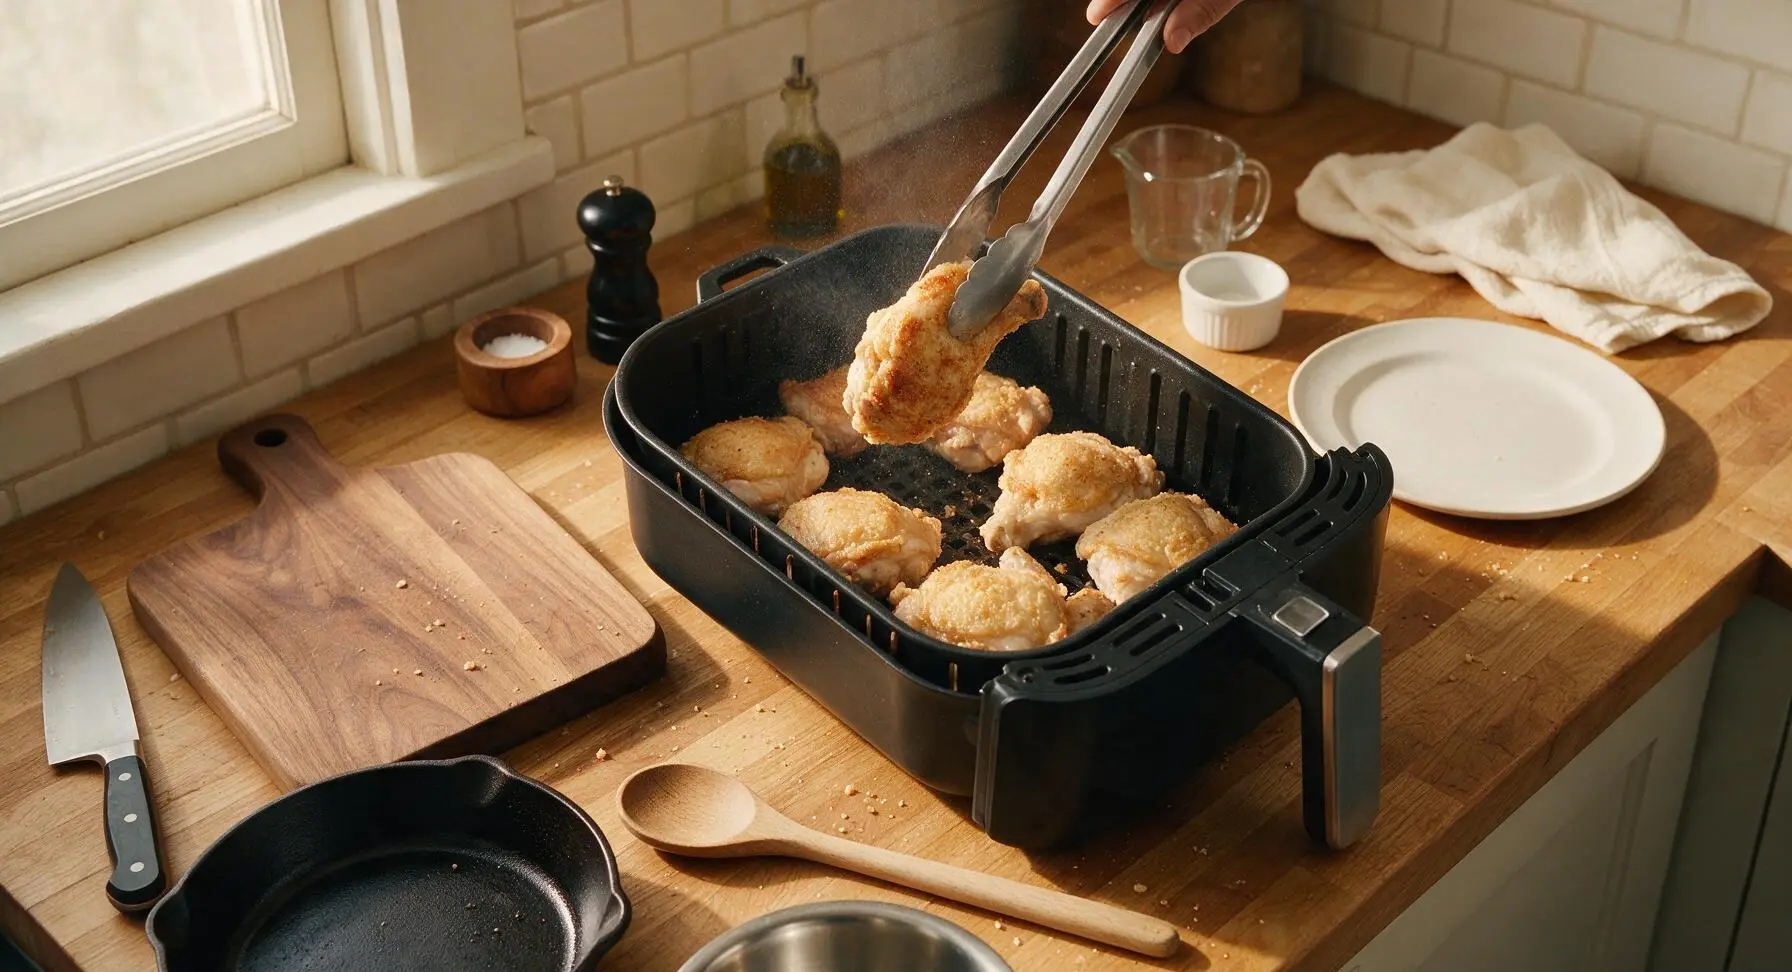
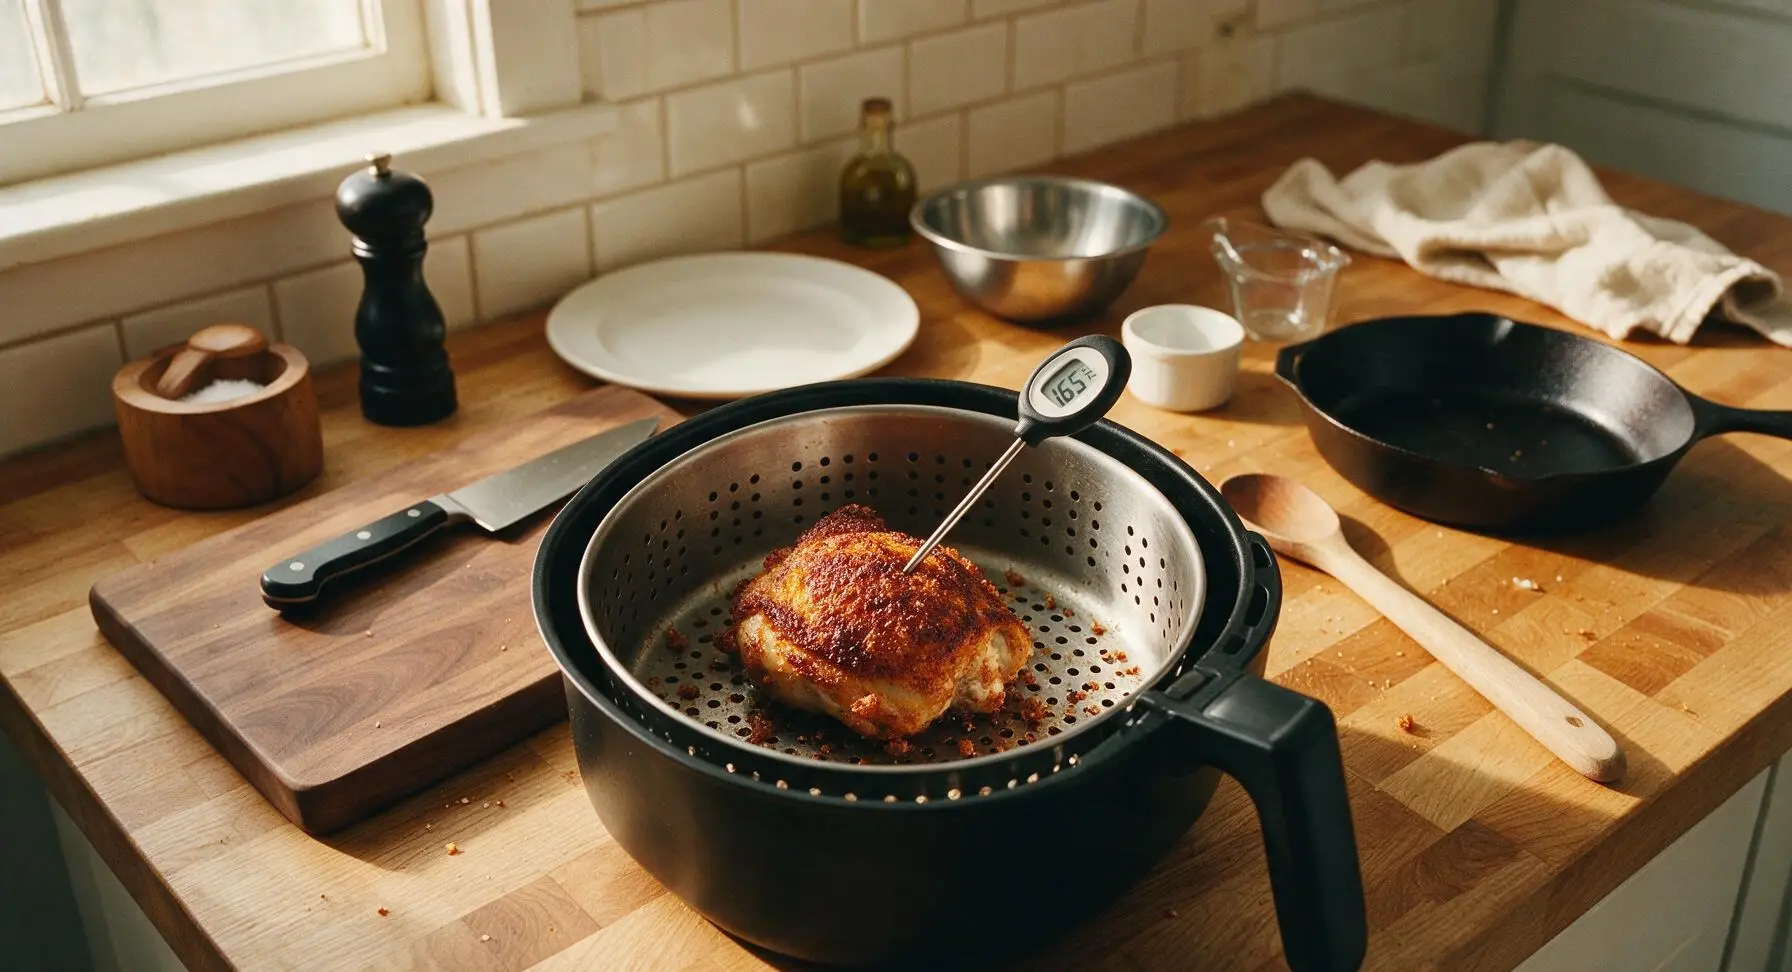
After the first 12 minutes, pull the basket out, use tongs to carefully flip each chicken piece, and apply a tiny burst of avocado oil to the second side. Return the basket to the air fryer, and cook another 10-12 minutes, until the crust is deep golden and crispy, and internal temperature at the thickest part of the meat reaches 75C (165F) as measured with the instant-read thermometer.
Rest and Serve
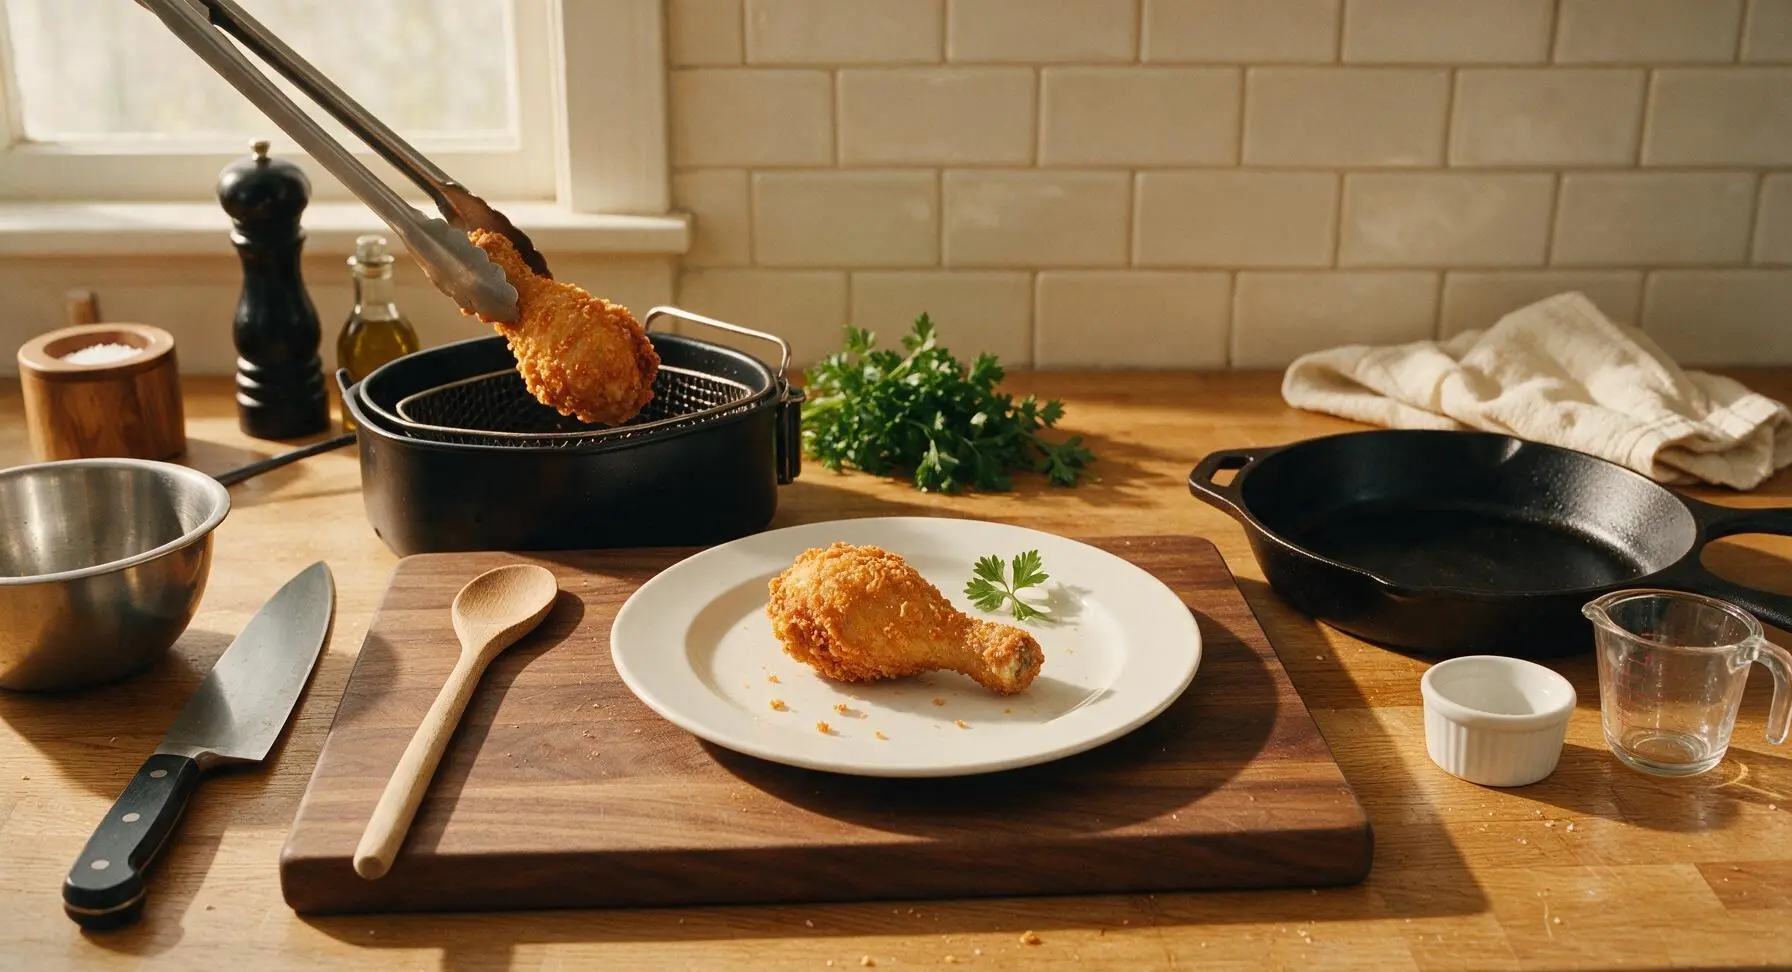
Use tongs to transfer cooked chicken from the air fryer basket to the cream ceramic dinner plate. Let rest 5 minutes to allow juices to redistribute, then garnish with a sprig of fresh parsley before serving.
Tips
2.Avoid overcrowding the air fryer basket: Leaving 1cm gaps between pieces lets hot air circulate 360 degrees around every surface, creating a shatteringly crisp crust instead of trapping steam that makes coating soggy. Cook in two batches for air fryers smaller than 5 quarts.
3.Use high-smoke-point oil spray: Avocado oil has a 500F smoke point, which is higher than the 375F cook temperature, so it won’t burn or create bitter, off-flavors the way lower-smoke-point olive oil sprays can, leading to a clean, nutty crisp crust.






OMG this air fryer fried chicken is a total game changer!!! I’ve tried 3 other recipes before that came out either soggy or so dry it was like chewing cardboard, but this one? Perfectly crispy outside, juicy all the way through, my kids devoured 6 thighs between them at dinner last night. I didn’t even have to mess with a big pot of hot oil, which is chef’s kiss for weeknights. 10/10 will be making this every other week for meal prep!
Made this for our Sunday family dinner yesterday and even my super picky mother-in-law asked for the recipe! The seasoning blend is *perfect* — not too salty, just the right amount of paprika and garlic kick. Cook time was spot on at 25 minutes, no guesswork needed. I will say I lined my air fryer basket with parchment to make cleanup easier, and it still got crispy, no sogginess at all. SO good.
Brought a big batch of this to my neighborhood potluck on Saturday and people were hovering over the platter the whole time! Everyone kept asking how I got fried chicken that crispy without deep frying, it was so easy to toss together that morning. Even held up really well for an hour on the potluck table, which I was worried about. Already planning to make it for our next game night.
Wait, full transparency — I burn literally everything I try to cook in my air fryer, so I went into this super nervous. But y’all??? This turned out perfect first try??? The crust didn’t slide off, the chicken was cooked all the way through, no burnt spots. I did flip the pieces halfway like the recipe said and I think that’s what saved me. My roommate said it tastes better than the fast food fried chicken down the street. Wild.
Added this to my weekly meal prep rotation and it’s saved me so much time! I make a batch on Sunday, portion it out with roasted veggies and mac and cheese for my husband’s work lunches, and he says it stays juicy even when he reheats it in the office microwave. No more sad desk lunches for us! The easy difficulty rating is no joke, even on chaotic Sunday prep days this doesn’t feel like a chore. Only thing I’ll do differently next time is add a little extra cayenne for a kick, we like our food spicy around here.
Tried this last night after seeing it pop up on my feed and I’m mad I didn’t make it sooner. Used drumsticks because they were on sale at the grocery store, brined them for an hour before coating, and they came out so juicy the juice ran down my wrist when I took a bite. Way less mess than traditional fried chicken, and I didn’t have to waste a whole bottle of oil. Knocked a star off because I wish the seasoning had a little more cracked black pepper for my taste, but that’s a super easy tweak for next time. Will absolutely be making this again soon.
Made this for date night last night and it went over so well, my date thought I ordered takeout from that fancy southern spot downtown! Total win, 10/10. Quick question for y’all though — can I use the same coating mix for chicken tenders for my little cousin’s birthday party next weekend? I know all the kids love tenders, just wanna make sure the cook time adjusts okay so I don’t serve raw chicken to a bunch of 7 year olds lmao.