
airfryer crispy chicken

title 1
airfryer crispy chicken
⏱️ cook time 21 minutes
🍽️ servings 4
⚡ Difficulty easy

intro

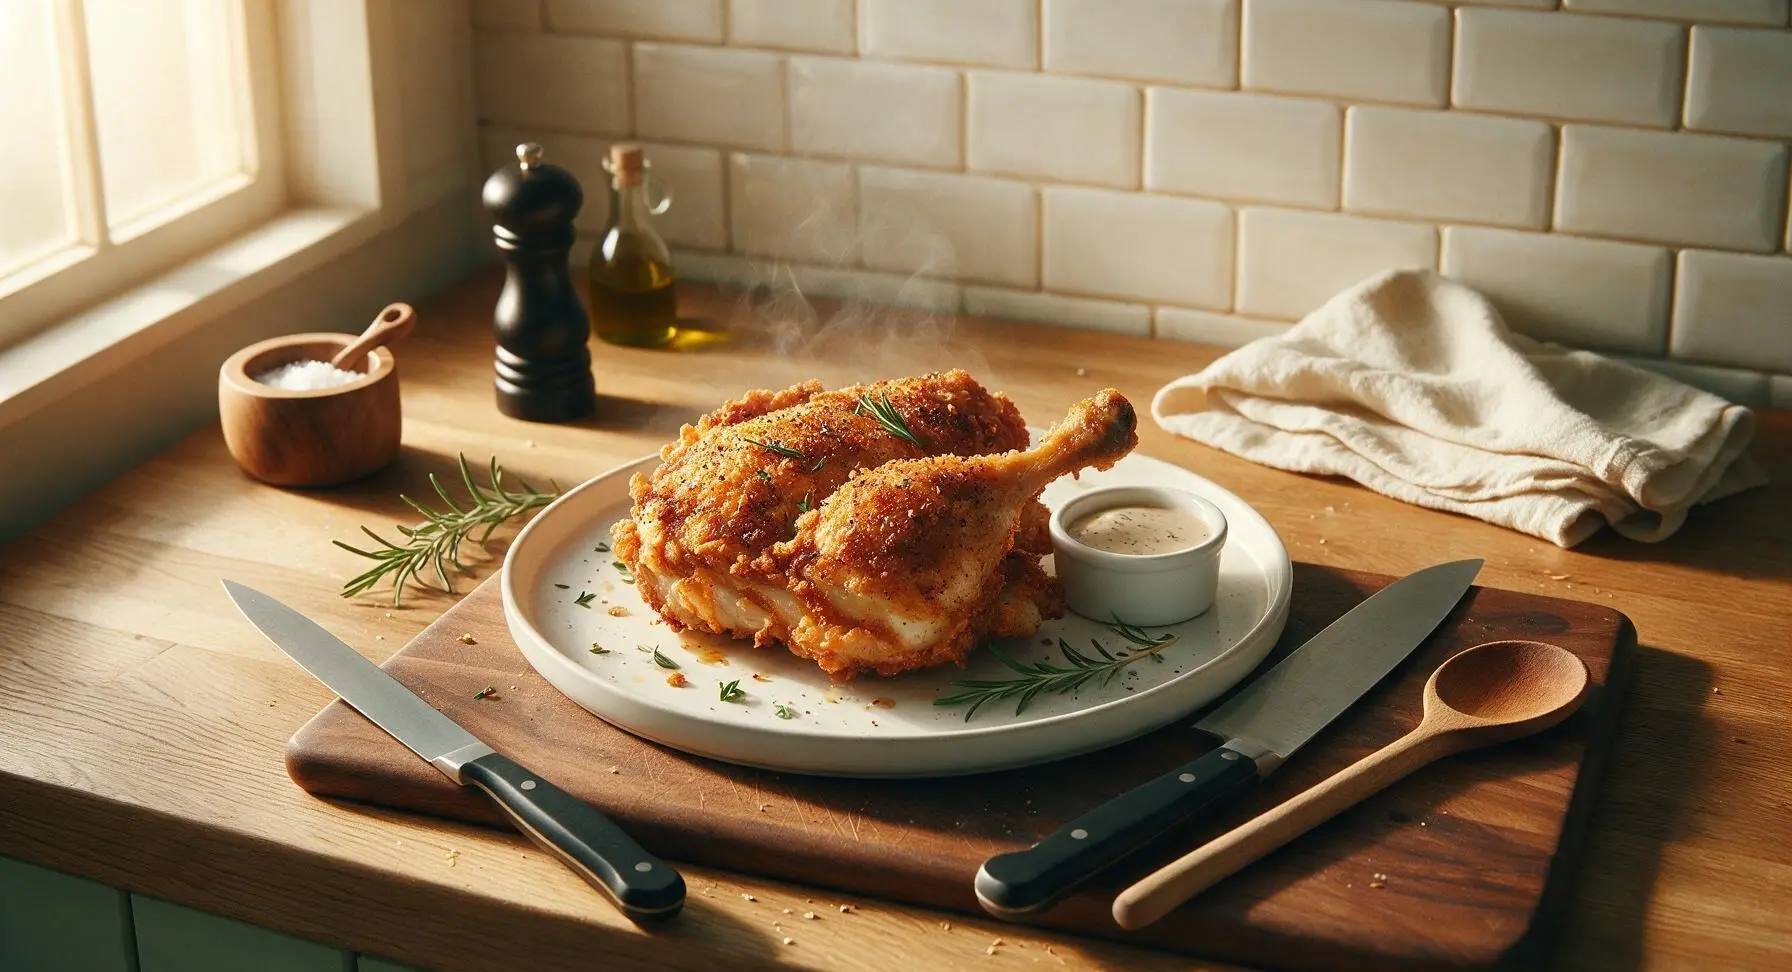
Shatteringly crisp, juicy seasoned chicken made with zero deep-frying mess, cooked fast in the air fryer for a satisfying, crowd-pleasing weeknight dinner.

Ingredients
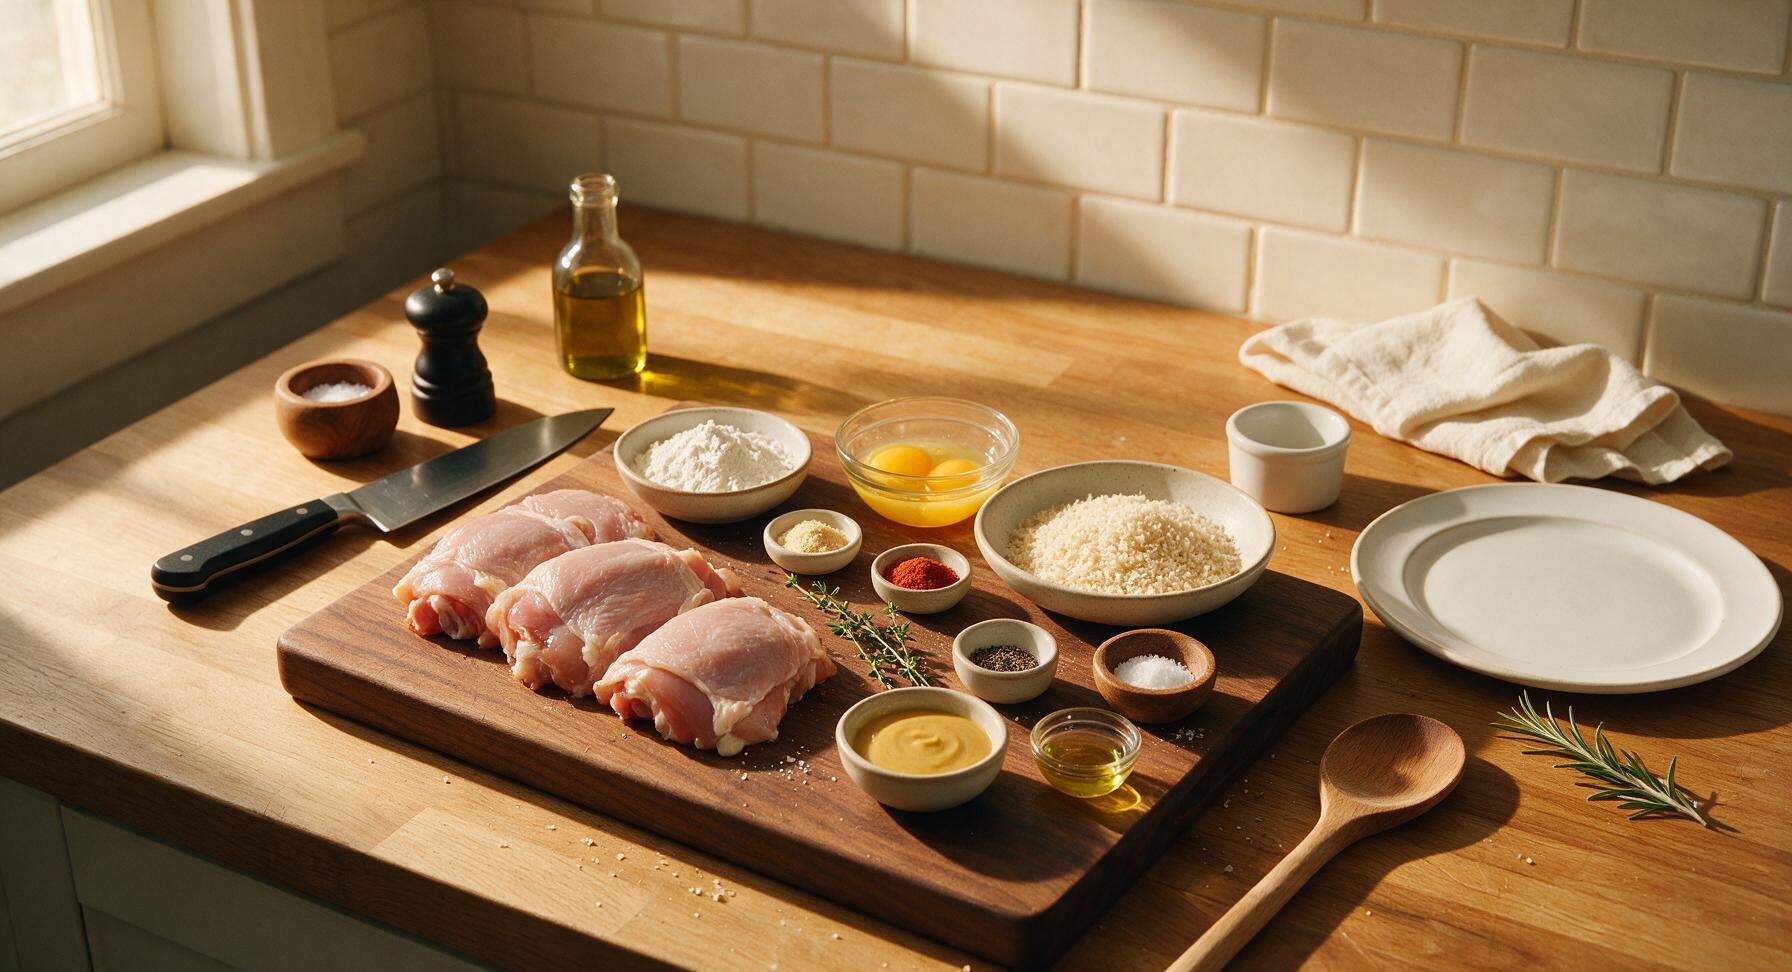
Bone-in skin-on chicken thighs 4 pieces (approx 680g total, patted dry)
All-purpose flour 1/3 cup (40g)
Large eggs 2, lightly beaten
Panko breadcrumbs 1 cup (60g)
Garlic powder 1 tsp
Smoked paprika 1 tsp
Kosher salt 1 tsp, plus pinch of flaky salt for finishing
Freshly ground black pepper 1/2 tsp
Avocado oil 1 tsp, for misting
Fresh thyme sprigs 2, for garnish
Honey mustard 1/4 cup, for serving

Steps

1

Set Up Breading Station

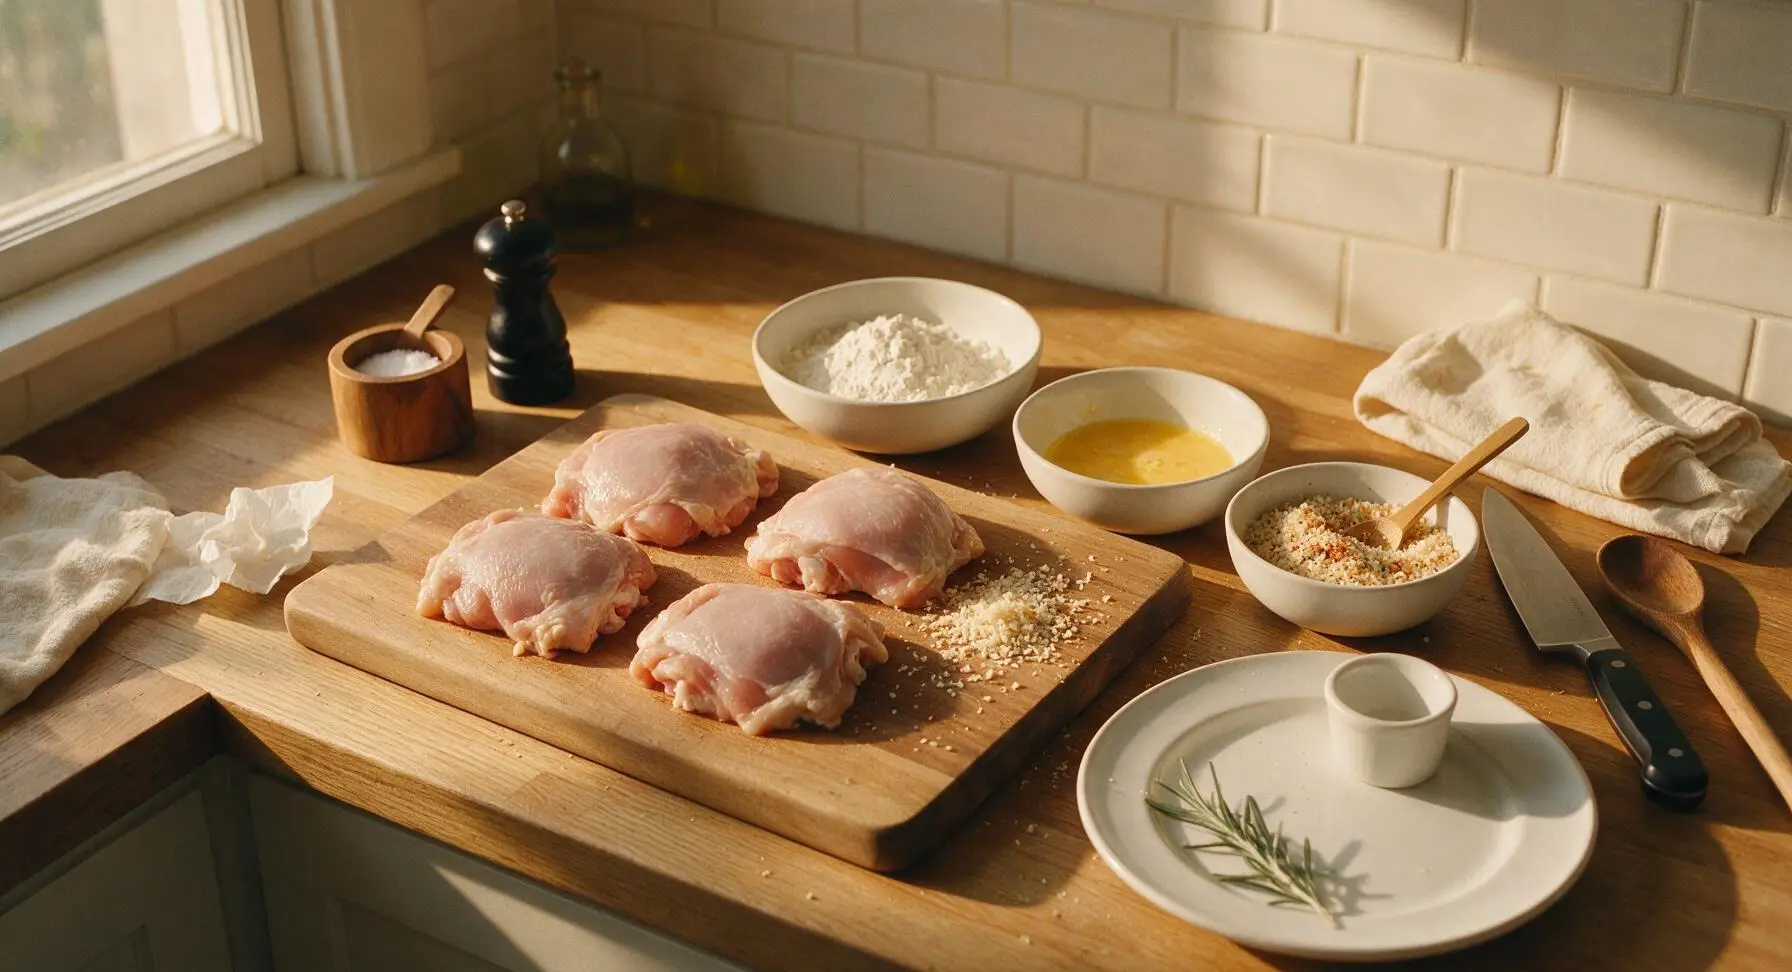
First, pat the 4 chicken thighs completely dry on all sides with paper towels, paying extra attention to the skin surface—any residual moisture will prevent crisping. Arrange the 3 shallow matte white ceramic nesting bowls to the right of the light maple cutting board: place all-purpose flour in the 15cm largest bowl, beaten eggs in the 12cm middle bowl, and mix panko breadcrumbs, garlic powder, smoked paprika, 1 tsp kosher salt, and black pepper in the 10cm smallest bowl, stirring to combine evenly with the small bamboo spoon. Set used paper towels aside for disposal.
Step 1
step1:Set Up Breading Station
2

Dredge Chicken in Flour

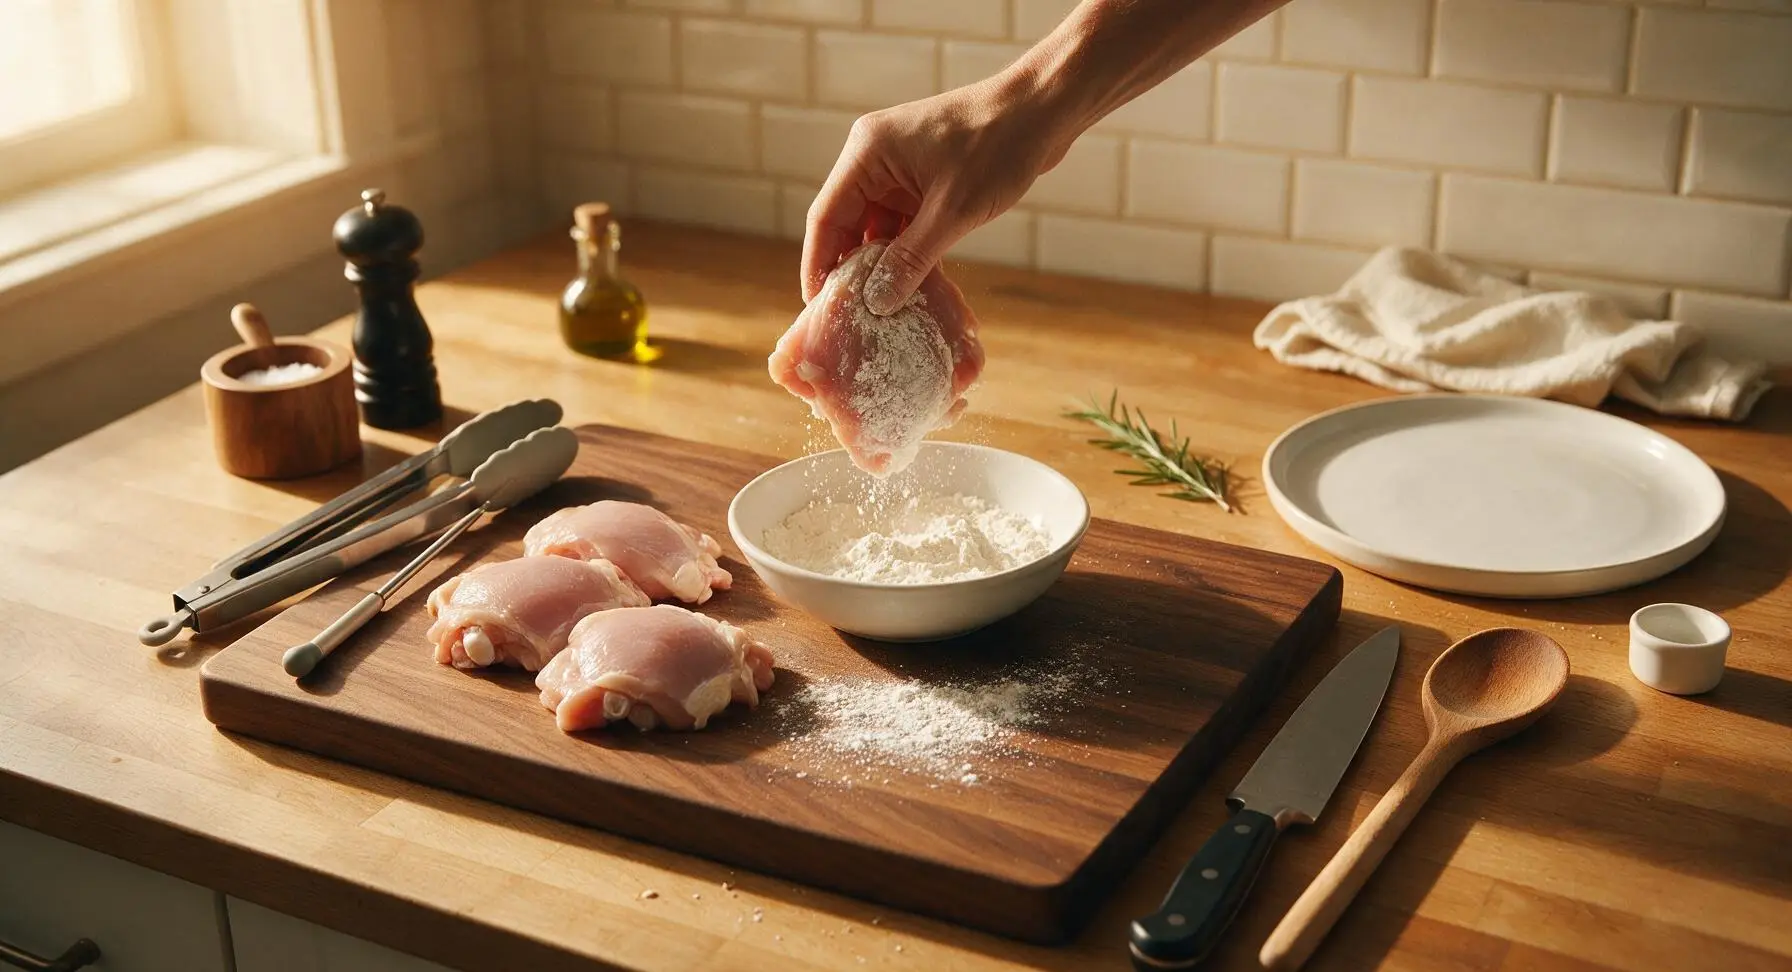
Working one piece at a time, place a chicken thigh in the flour bowl, turning to coat every surface (including under the skin flap and around the bone) evenly. Shake off excess flour thoroughly so only a thin, dry dusting remains—thick clumps of flour will create gummy spots under the breading. Set floured chicken pieces on the empty left edge of the cutting board as you work.
Step 2
step2:Dredge Chicken in Flour
3

Dip in Egg Wash

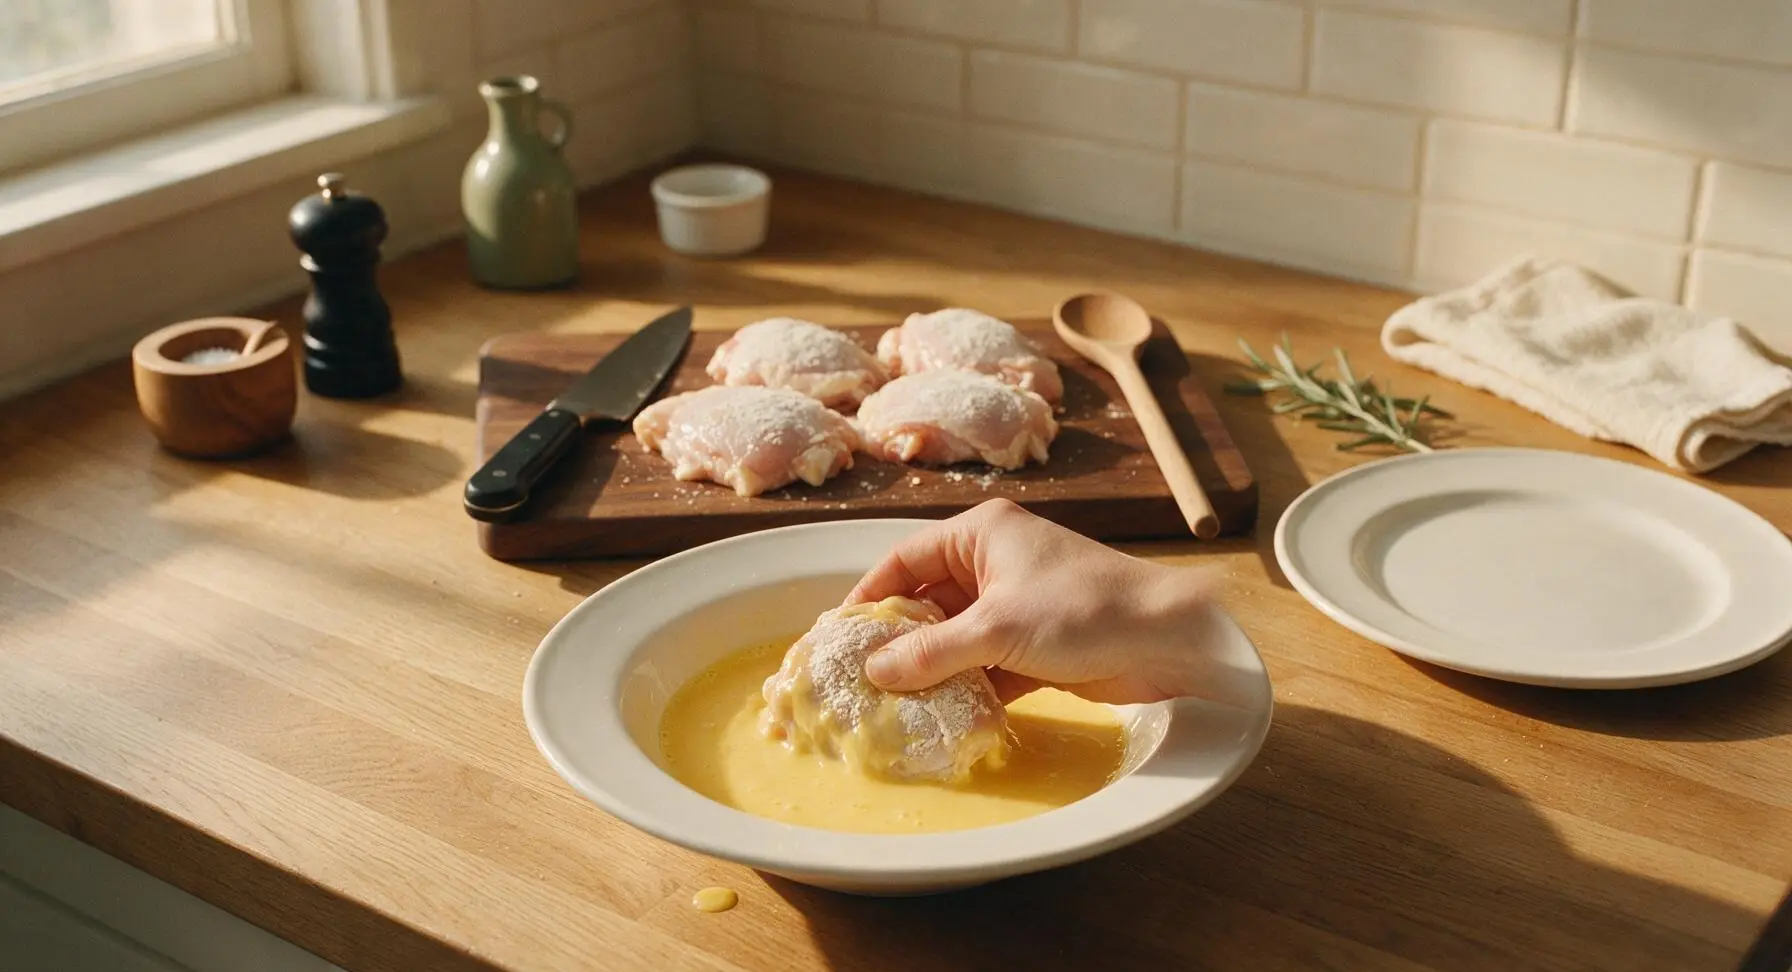
Take each floured chicken thigh and dip it fully into the beaten egg, turning to coat every floured surface. Hold the thigh above the egg bowl for 2 seconds to let excess egg drip off, so the panko coating adheres evenly without soggy drips. Return the egg-coated thigh to the cutting board edge temporarily.
Step 3
step3:Dip in Egg Wash
4

Apply Panko Coating

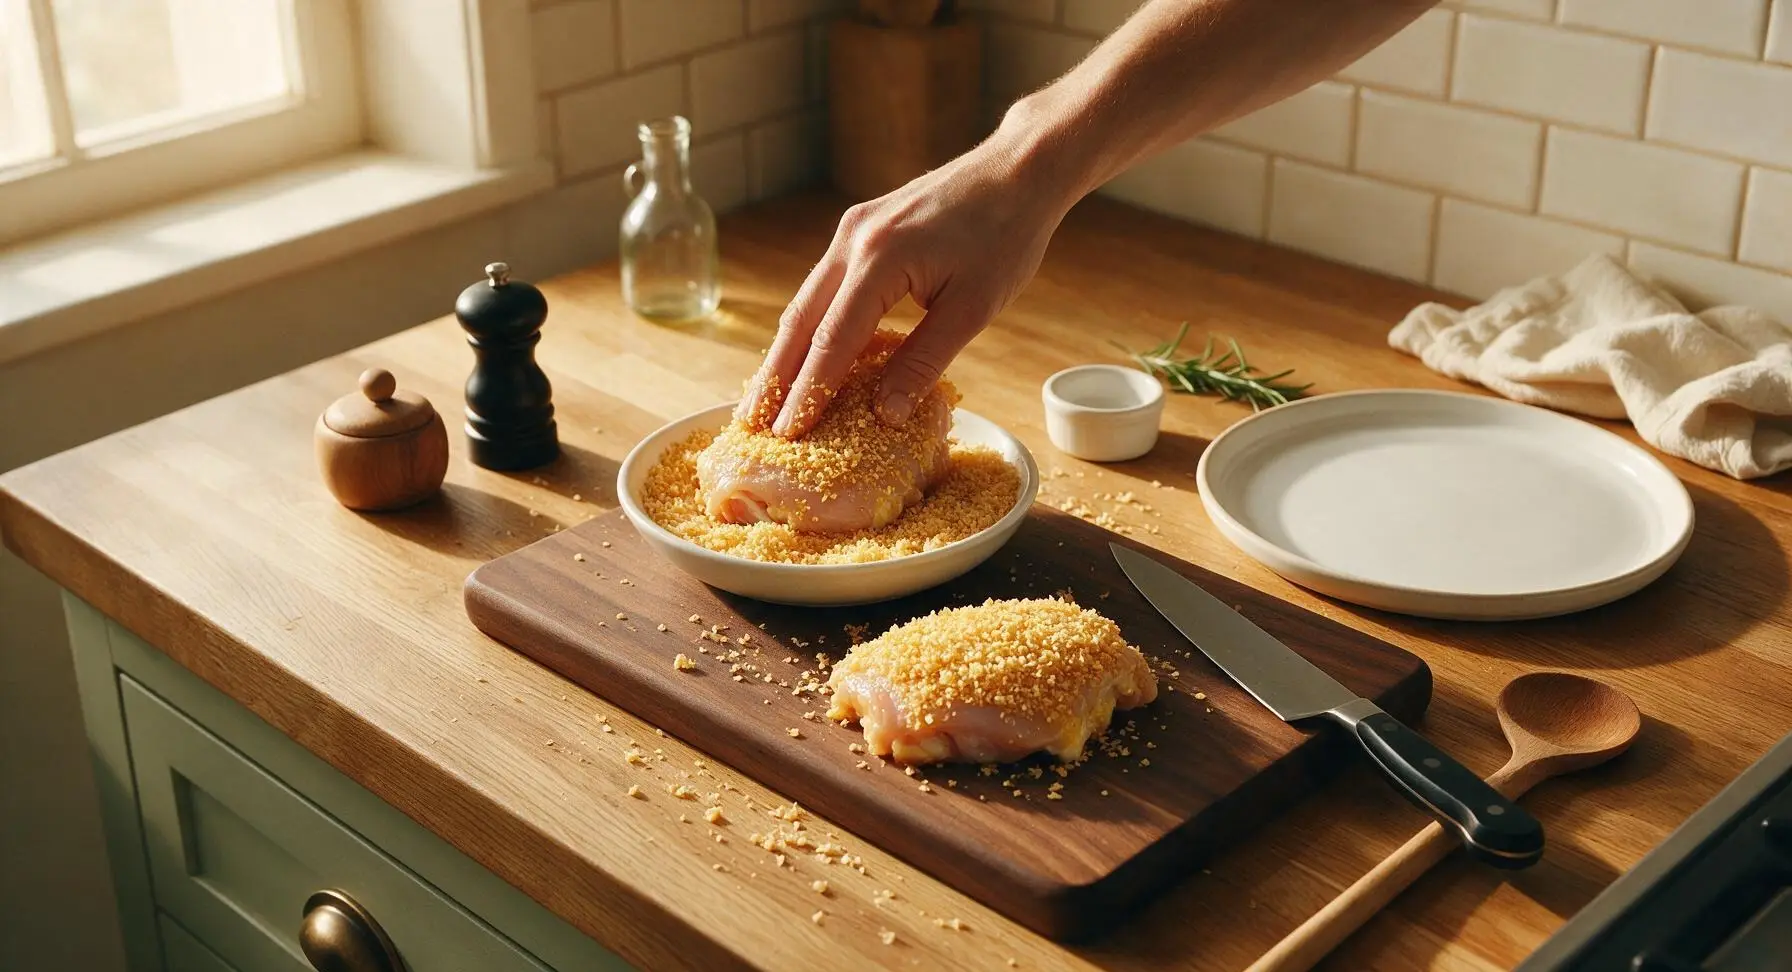
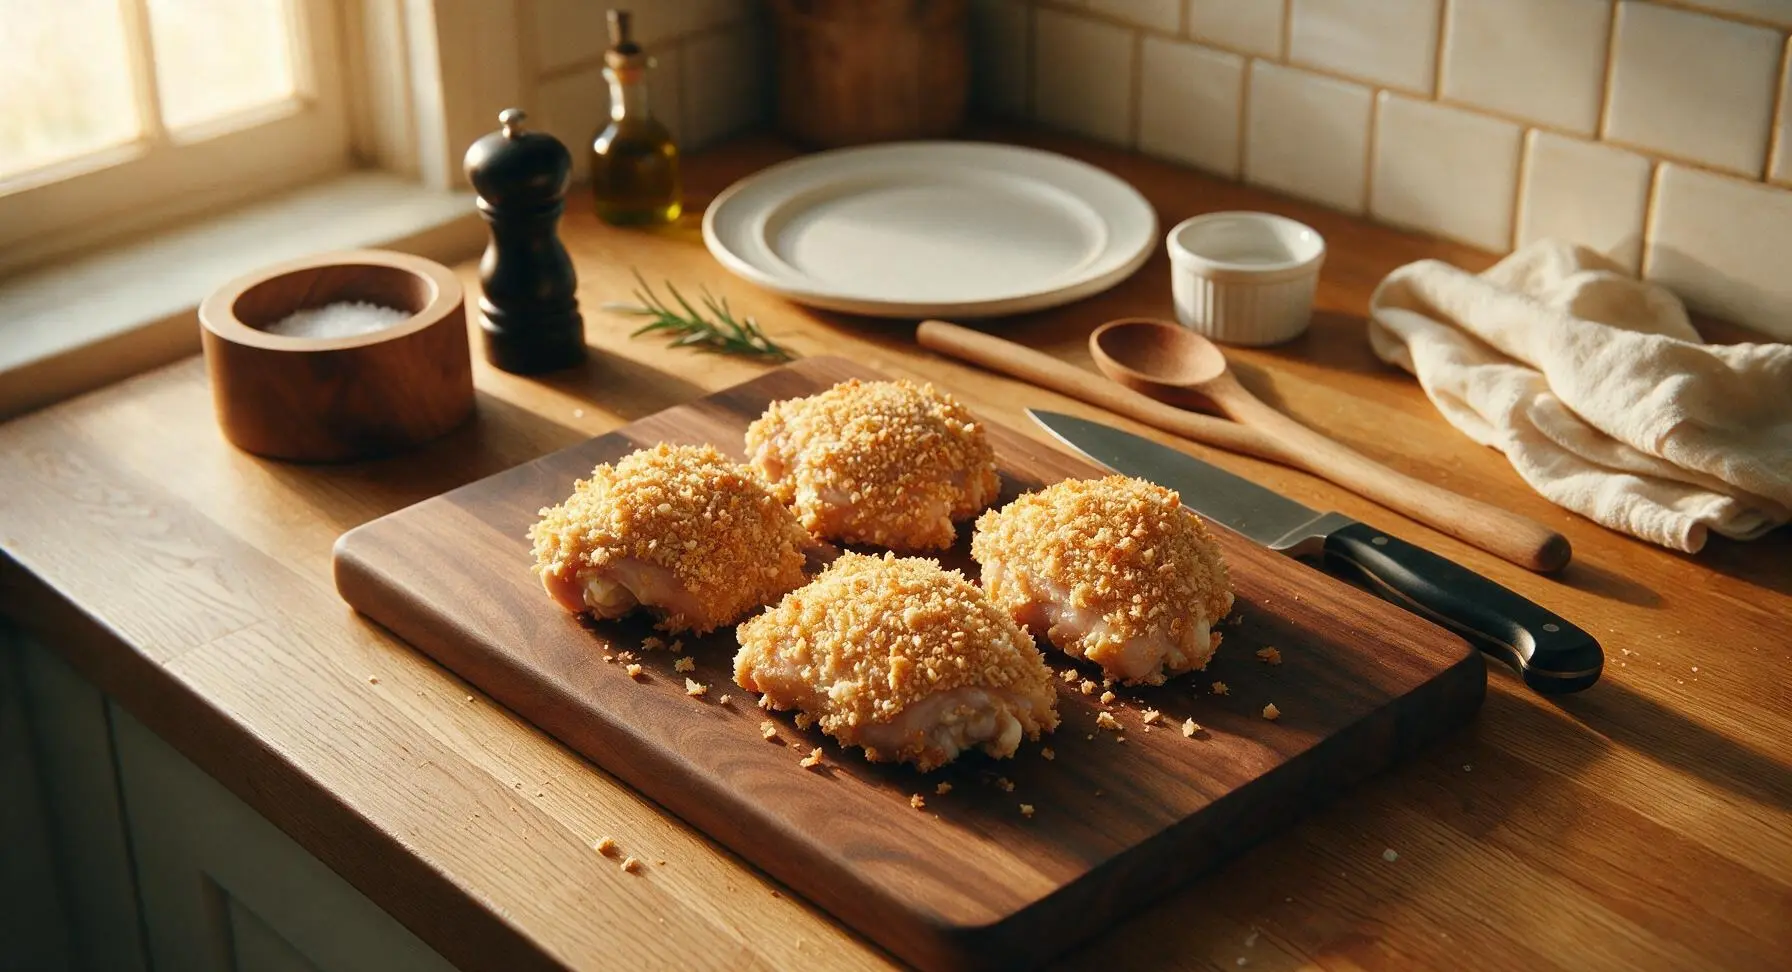
Place each egg-dipped chicken thigh into the seasoned panko bowl, pressing panko crumbs firmly onto every surface of the chicken (including the skin side and edges) to create a thick, even, craggy coating. Do not shake off excess panko—pressing the crumbs on ensures they stay attached during cooking and create maximum crispness. Set fully coated thighs on the clean center section of the cutting board when done.
Step 4
step4:Apply Panko Coating
Step 4
step4:Apply Panko Coating
5

Preheat Air Fryer

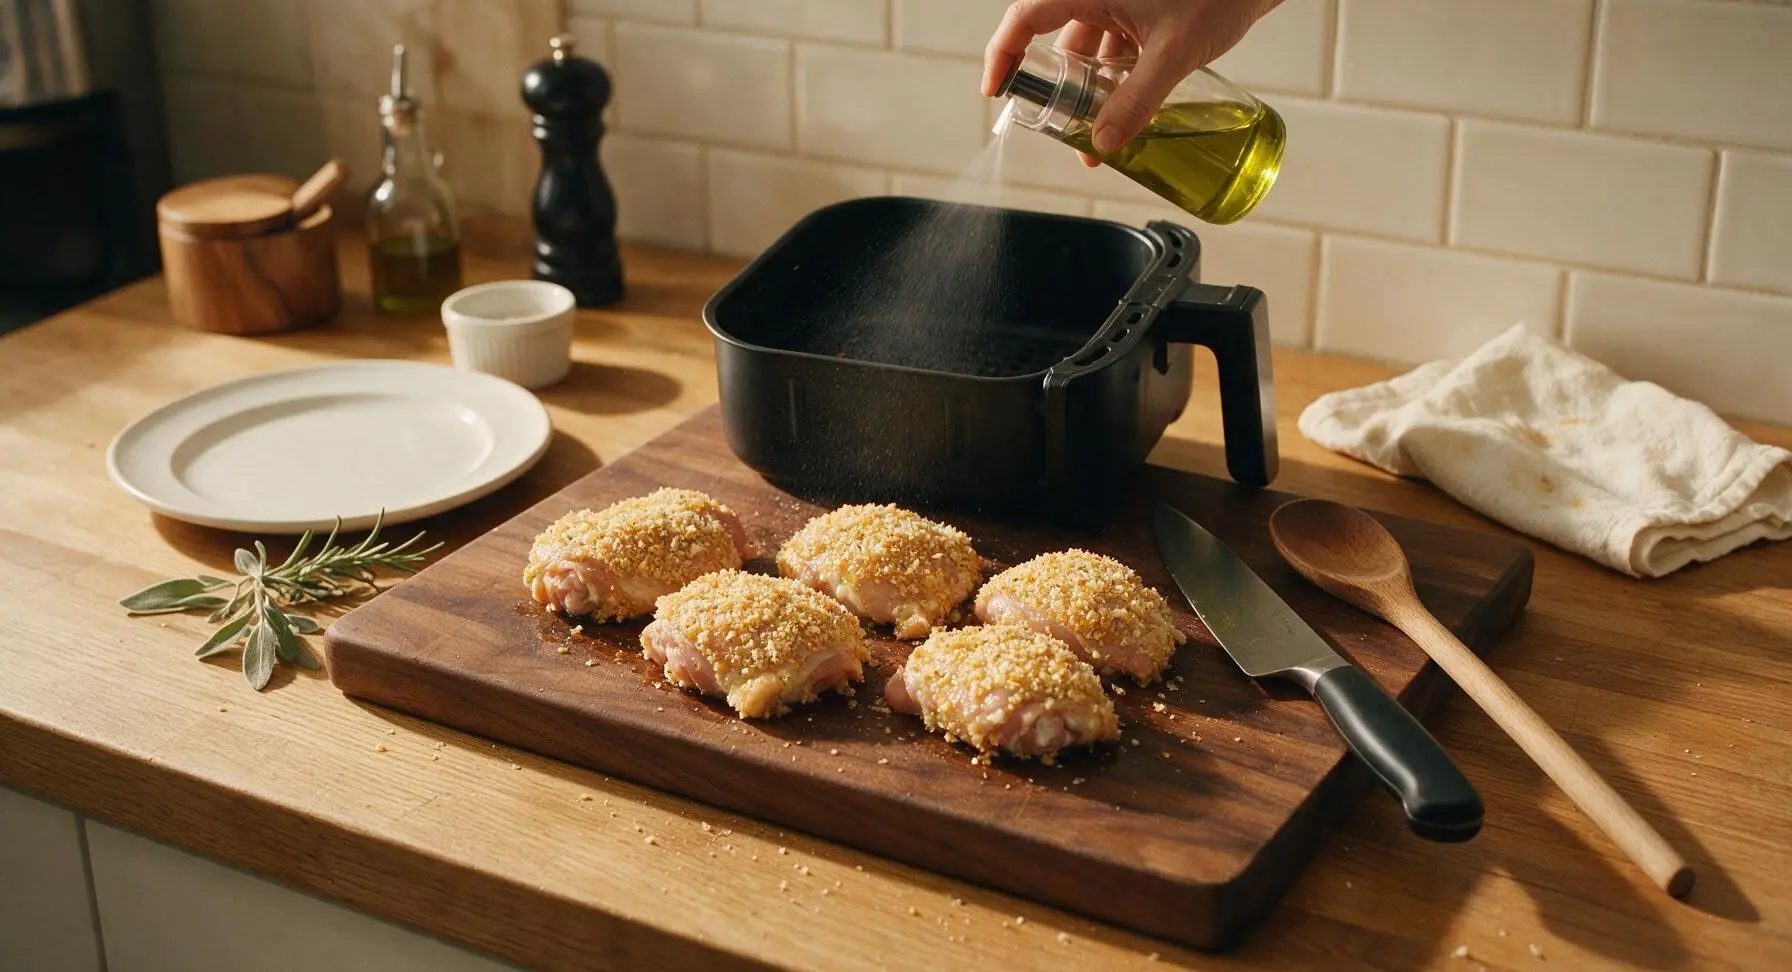
Slide the basket out of the matte black air fryer, mist the basket lightly with avocado oil from the glass oil mister to prevent sticking. Preheat the air fryer to 200C (400F) for 3 minutes. While it preheats, lightly mist the top of all panko-coated chicken thighs with a thin, even layer of avocado oil—this helps the crumbs turn golden and crisp instead of drying out and blowing off in the air fryer fan.
Step 5
step5:Preheat Air Fryer
6

Cook First Side

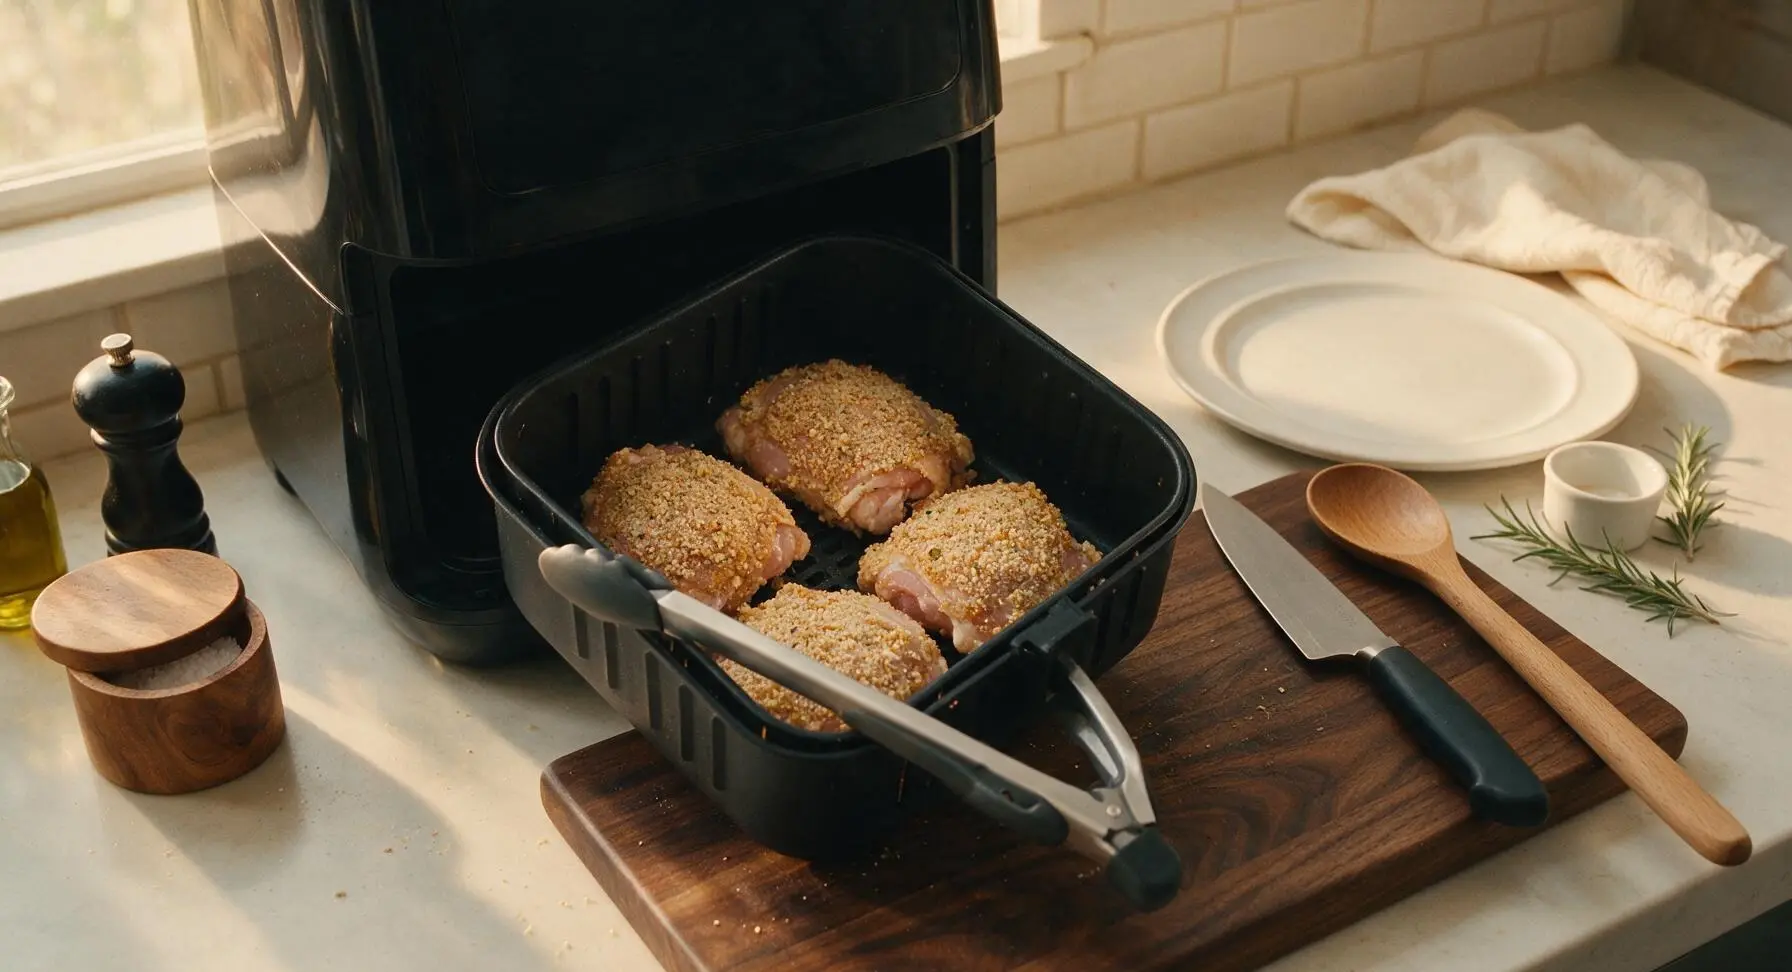
Arrange the coated chicken thighs in the preheated air fryer basket in a single layer, skin-side down, making sure pieces do not touch (cook in 2-batch increments if using a smaller 3-quart air fryer to avoid steaming). Slide the basket back into the air fryer and cook for 9 minutes at 200C (400F). Do not open the basket during this time to maintain consistent circulating heat.
Step 6
step6:Cook First Side
7

Flip and Finish Cooking

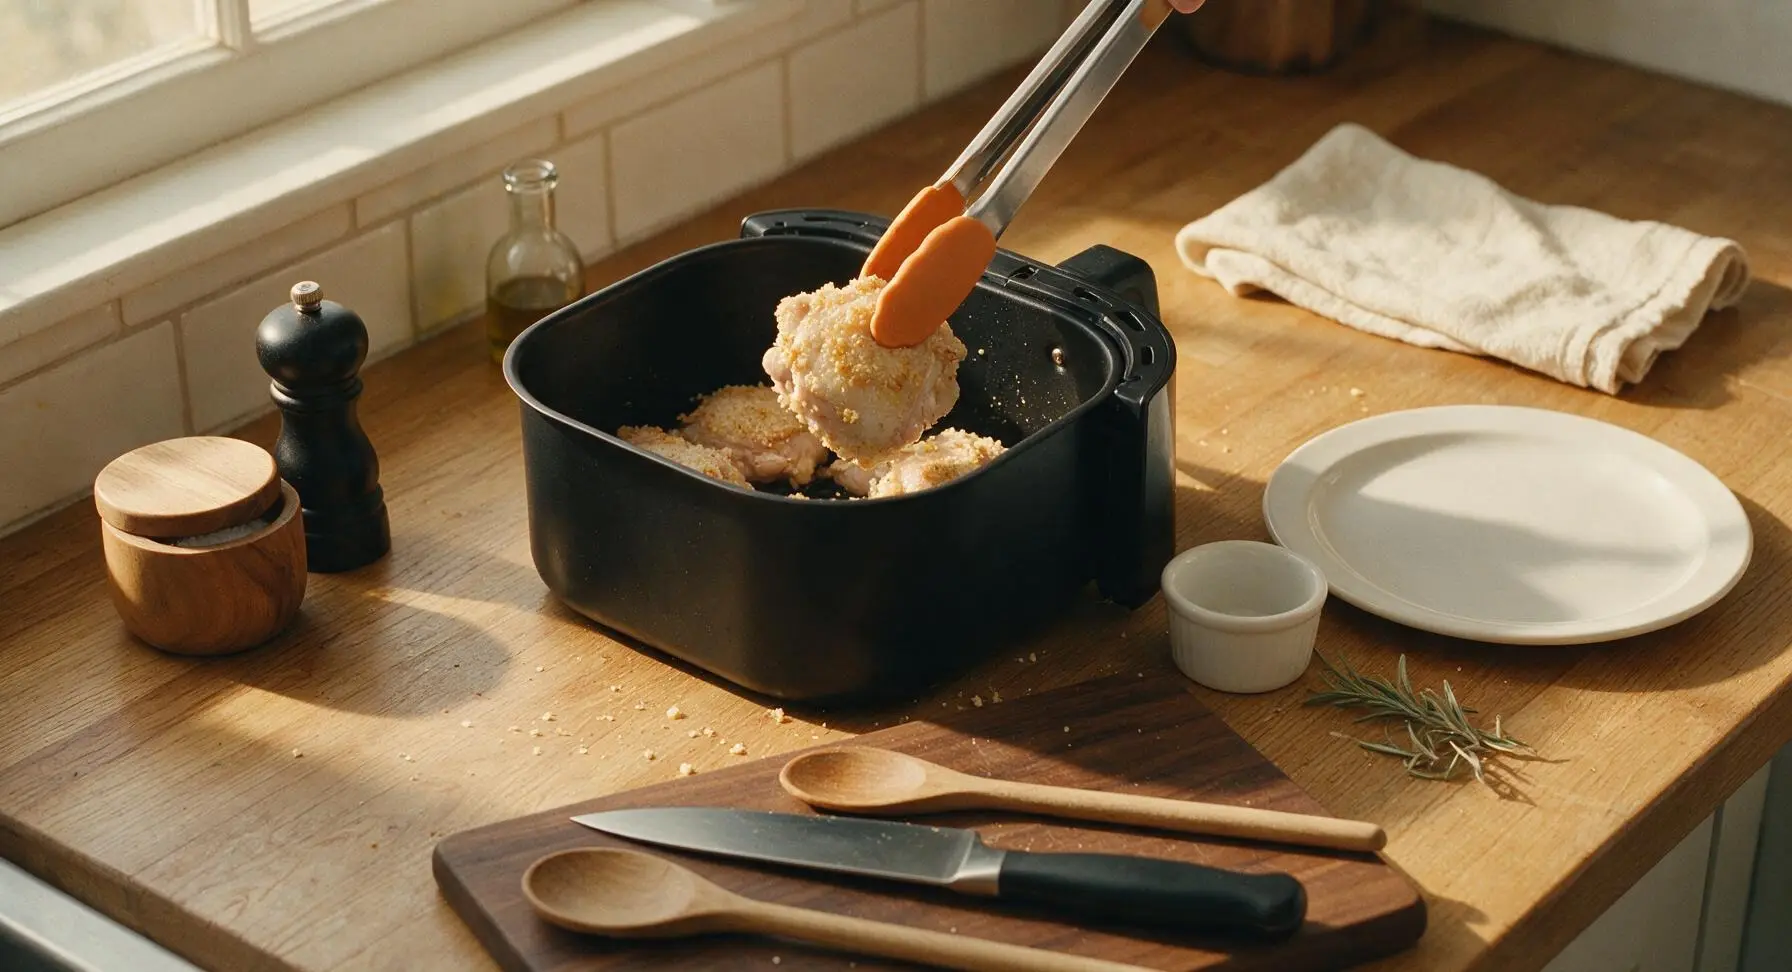
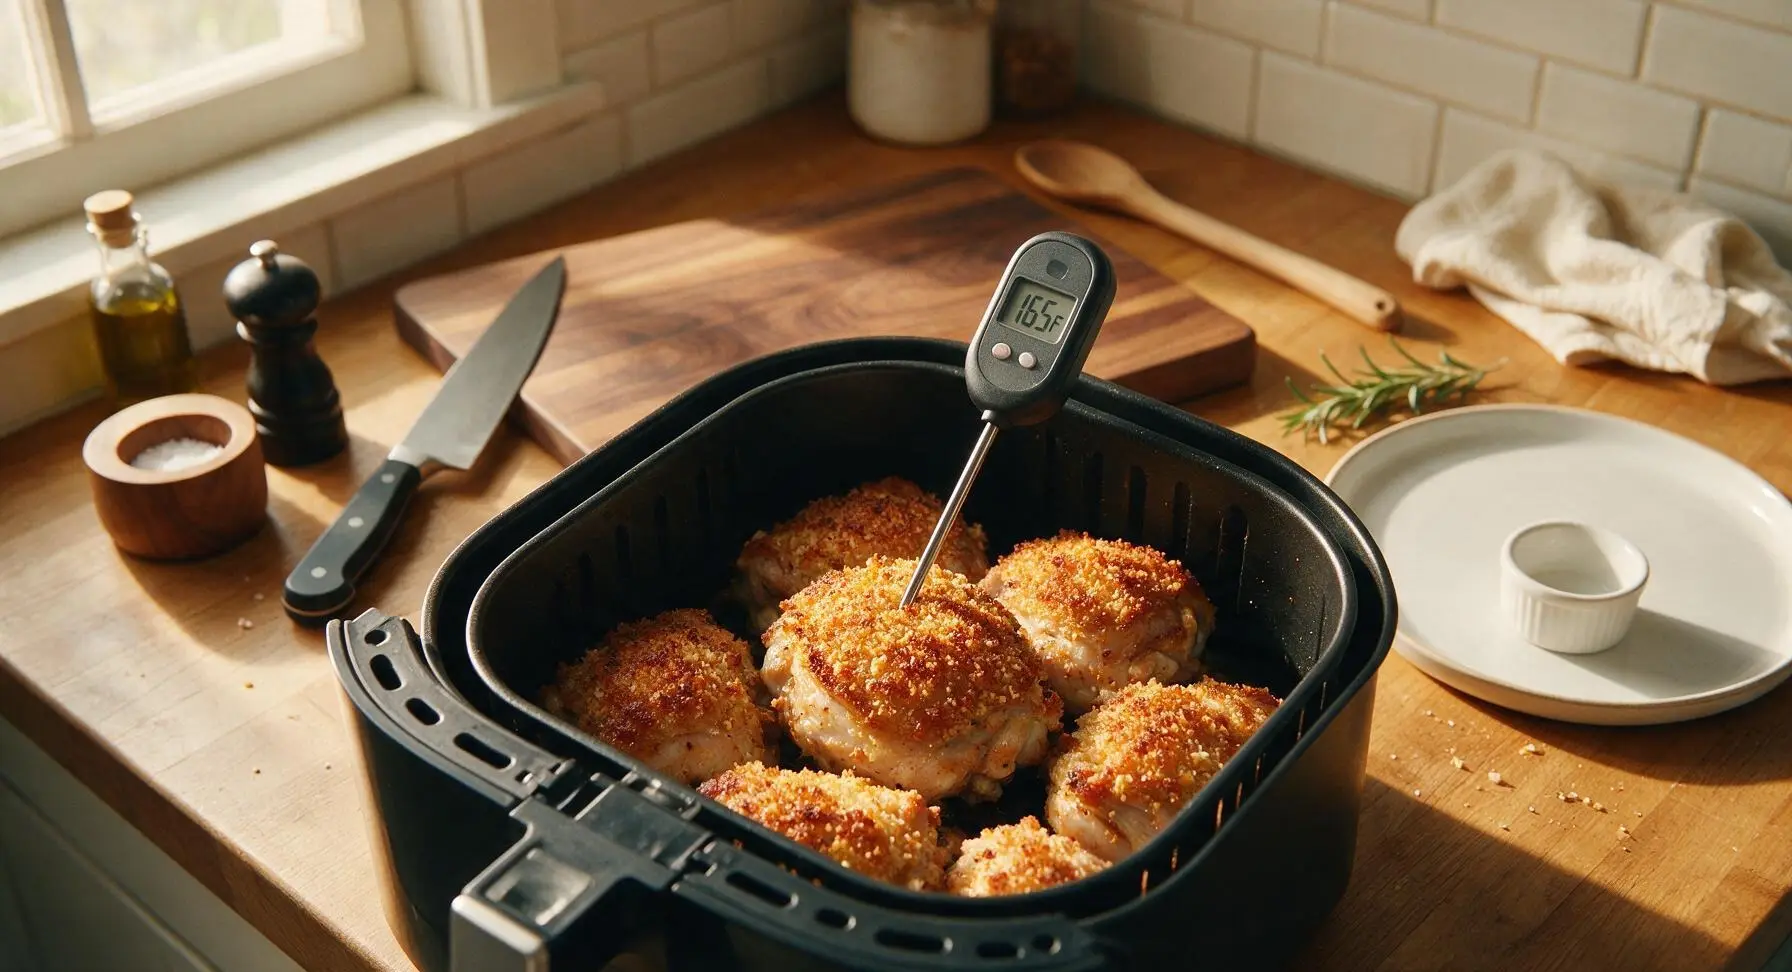
After 9 minutes, pull the air fryer basket out carefully (the basket and exterior will be hot). Use the silicone-tipped tongs to flip each chicken thigh so the skin side faces up. Mist the top lightly with a tiny bit more avocado oil, then slide the basket back in and cook for another 9 minutes at 200C (400F), until the crust is deep golden brown and crisp, and the internal temperature of the thickest part of the chicken (not touching bone) reads 75C (165F) on the digital food thermometer.
Step 7
step7:Flip and Finish Cooking
Step 7
step7:Flip and Finish Cooking
8

Rest and Plate

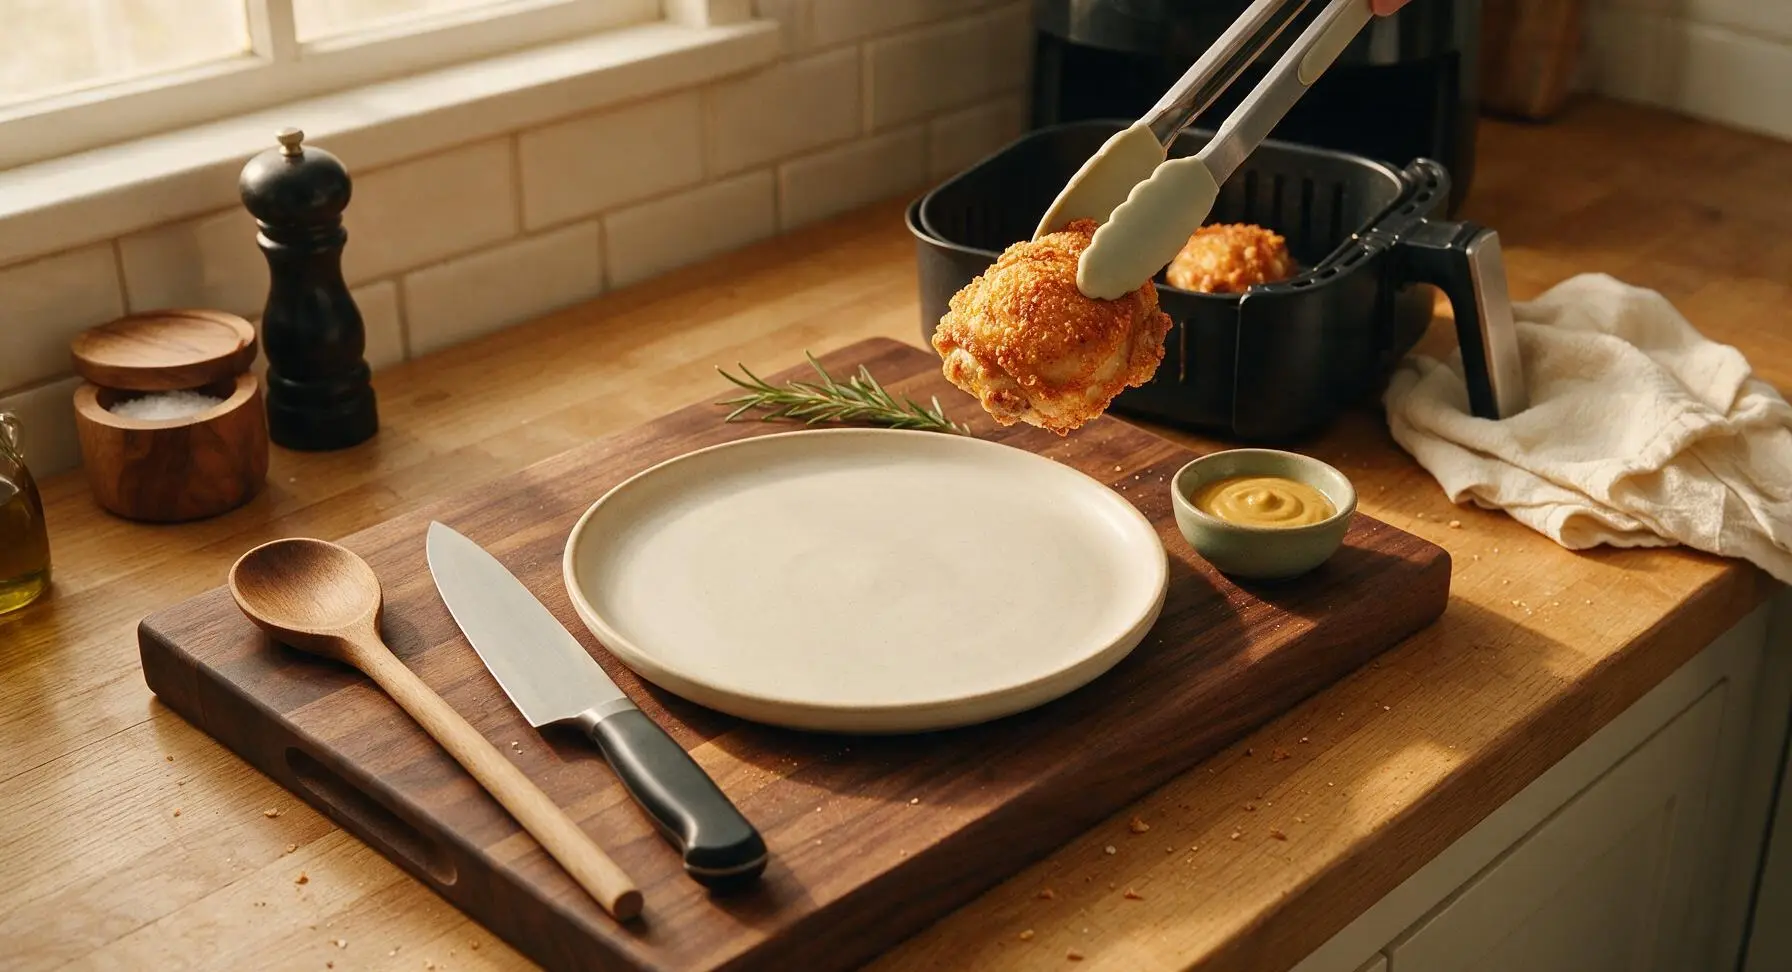
Use the tongs to transfer the cooked crispy chicken from the air fryer basket to the matte off-white stoneware dinner plate. Let the chicken rest for 3 minutes to let juices redistribute, then sprinkle lightly with a pinch of flaky finishing salt. Tuck a sprig of fresh thyme on the plate for garnish, and set the small sage bowl of honey mustard to the side for serving.
Step 8
step8:Rest and Plate

Tips

1.Pat chicken completely dry before breading: Any residual moisture on the chicken skin or surface will turn to steam in the hot air fryer, leading to soggy, soft crust instead of the desired shatteringly crisp texture. Pay extra attention to drying crevices around the bone and under loose skin flaps with paper towels.
2.Avoid overcrowding the air fryer basket: If chicken pieces touch or overlap, hot air cannot circulate evenly around the breading, leading to steamed, pale, soft spots on the crust. For smaller 3-quart air fryers, cook the chicken in two batches of 2 pieces each, letting the basket reheat for 1 minute between batches.
3.Press panko crumbs firmly instead of sprinkling: Loose, un-pressed panko will blow around in the air fryer’s high-speed fan and leave bare, uncoated patches on the chicken. Pressing crumbs firmly into the egg wash creates a tight, even crust that stays attached and crisps uniformly across the entire piece of chicken.


✨ You May Also Like

Main Course
🍜 United Kingdom

A showstopping classic of tender seared beef, savory mushroom duxelles, and crisp prosciutto wrapped in flaky golden puff pastry, baked to juicy perfection.

⏱️ 2 hours 1Main Course ★ 4.7
Main Course
🍜 India

Tender charred marinated chicken simmered in a rich, spiced creamy tomato sauce, this iconic Anglo-Indian curry pairs perfectly with basmati rice or warm naan.

⏱️ 50 minuteMain Course ★ 4.6
Main Course
🍜 Thailand

Classic tangy, sweet, and savory Thai stir-fried rice noodles with shrimp, tofu, and crunchy garnishes, balancing all five core Thai flavor profiles.

⏱️ 30 minuteMain Course ★ 4.5
Main Course
🍜 United Kingdom

Crispy golden beer-battered cod and fluffy double-fried chips, served with tangy tartar sauce and malt vinegar: the timeless, beloved British pub comfort classic.

⏱️ 45 minuteMain Course ★ 4.7
Main Course
🍜 Mexico

Smoky, chile-marinated pork tacos with caramelized pineapple, fresh cilantro, and lime: a beloved classic Mexican street food perfect for casual summer gatherings.

⏱️ 1 hour 45Main Course ★ 4.8
Main Course
🍜 United States

Crunchy Fritos corn chips layered with savory beef chili and melted cheddar, topped with cool, zesty fixings for a beloved, cozy Tex-Mex comfort food.

⏱️ 35 minuteMain Course ★ 4.8

airfryer crispy chicken:Frequently Asked Questions

1.Why does this recipe use bone-in, skin-on chicken thighs instead of other cuts? ▾
Bone-in, skin-on thighs stay far juicier during high-heat air frying than leaner cuts like boneless breasts, since the bone insulates the meat and the skin renders fat to build that signature shatter. They have richer, savorier flavor, and you won’t end up with dry, tough chicken even if you cook them a minute or two too long.
2.Do I need to preheat my air fryer before adding the breaded chicken? ▾
Yes, always preheat your air fryer to 400°F for 3 to 5 minutes first, just like you would a regular oven. A preheated basket hits the breading immediately to set the panko and flour coating so it doesn’t stick or turn soggy, and cuts down total cook time to keep chicken juicy under the crisp crust.
3.Why does the coating use both all-purpose flour and panko breadcrumbs? ▾
The thin layer of flour helps beaten egg adhere tightly to the chicken skin, so your breading doesn’t slide off during cooking. Coarse, flaky panko creates that light, ultra-crunchy outer texture fine regular breadcrumbs can’t match, instead of turning dense or tough as it cooks in the circulating hot air.
4.How do I prevent the panko coating from turning soggy instead of crispy? ▾
First, pat your chicken completely dry with paper towels before breading—excess skin moisture is the #1 cause of soggy coating. Don’t overcrowd the air fryer basket; leave space between each thigh so hot air can circulate evenly, and flip the chicken halfway through cooking for all-over crispness.
5.Can I use boneless, skinless chicken if that’s what I already have on hand? ▾
Absolutely, though you’ll need to adjust cook time to avoid dryness. Boneless, skinless thighs take 12 to 15 minutes total at 400°F, while 1-inch thick boneless breasts take 10 to 12 minutes. Add a light spritz of cooking spray to the breading to help it crisp without natural skin fat.
6.What internal temperature should the chicken reach to be safe to eat? ▾
Use an instant-read thermometer inserted into the thickest part of the thigh, away from the bone, to check for the USDA-recommended safe internal temperature of 165°F. Let the chicken rest 3 minutes after pulling it from the air fryer so juices redistribute for juicier, more tender bites.
7.Do I need to spray oil on the chicken or basket to get a crisp crust? ▾
You don’t need much oil, but a light spritz of neutral cooking spray (like canola or avocado oil) on both the preheated basket and top of the breaded chicken helps panko turn golden and shatteringly crisp, instead of staying pale and dry. Skip heavy oil douses, which make coating greasy instead of crisp.
8.Can I mix other seasonings in with the garlic powder for more flavor? ▾
Of course! Garlic powder is a fantastic savory base, but you can mix in paprika, onion powder, dried oregano, a pinch of cayenne for heat, or even grated parmesan to the flour and panko mix. Keep total added seasonings to about 1 teaspoon per cup of coating so you don’t overpower the chicken.
9.Why does my breading fall off the chicken when I go to flip it? ▾
Breading slides off if you skip the flour step, don’t press panko firmly onto the egg-coated chicken, or flip too early. Let breaded chicken rest on a plate for 5 minutes before air frying to help layers set, and wait until the first 8 minutes of cook time passes before flipping to let the crust firm up.
10.What’s the best way to reheat leftovers so the crust stays crispy? ▾
Skip the microwave, which turns the crust rubbery and soggy. Reheat leftovers in the air fryer at 375°F for 4 to 6 minutes, flipping halfway, until the chicken is heated through and the coating is crisp again. Store leftovers in an airtight container in the fridge for up to 3 days for quick, tasty meals.

Comments (16)

2 days ago

OMG this was a total game changer for our weeknight dinner! My kids are super picky about chicken and they all asked for seconds. It was so crispy even without drenching it in oil, I couldn’t believe it. Cook time was exactly 21 minutes too, no guesswork!

1 day ago

Same! My two toddlers devoured it last night, I didn’t even have to break out the deep fryer which saves so much cleanup

1 day ago

So glad it was a hit with your kids! For extra crispy next time, you can spritz a tiny bit of olive oil spray on the coating right before air frying if you want!

1 week ago

Added this to my Sunday meal prep rotation! It stays crispy for 3-4 days in the fridge if you store it in an airtight container, reheats perfectly in the airfryer at 350 for 3 minutes. SO good, way better than the sad fast food crispy chicken I used to grab on lunch breaks.

5 days ago

Great tip for meal prep! We love that you’re making it work for your weekly lunches, thanks for sharing the reheat hack!

3 days ago

Made this for our neighborhood potluck last weekend and people were begging for the recipe! Everyone thought I spent hours frying it, nope, just tossed it in the airfryer while I got the rest of the sides ready. 10/10 will make again for every gathering.

5 minutes ago

Just got my first airfryer last week and this is the first recipe that didn’t turn out soggy or burnt! The only thing I messed up was forgetting to flip it halfway, so one side was a little less crispy, but still tasted amazing. Does anyone know if I can use panko instead of regular breadcrumbs?

just now

I used panko last time I made this and it came out even crispier! Just press the panko into the chicken really well so it doesn’t fly around in the airfryer

just now

Great question! Panko works perfectly for this recipe, just like the user above said—press it firmly to adhere, and flipping halfway (set a timer!) helps get that even crisp on all sides. So glad it turned out well for your first airfryer win!

yesterday

I added a tsp of cayenne and a sprinkle of paprika to the breading for a little kick and it was chef’s kiss. This recipe is so easy to customize to whatever flavor you’re craving, love a good base recipe that doesn’t require a million ingredients.

yesterday

Love that spicy twist! That cayenne addition sounds absolutely delicious, we might have to test that variation for our next recipe roundup!

2 weeks ago

High protein, low oil, actually tastes like a treat instead of diet food? Sign me up. I’ve made this three times in the last two weeks, it’s my go-to post gym dinner when I don’t feel like cooking something elaborate. 10/10 for nutrition and flavor.

30 minutes ago

Full disclosure, I burn 90% of the things I try to cook. I followed this exactly, set the timer for 21 minutes, flipped when the reminder went off, and it came out perfect. My wife thought I ordered takeout lmao. Easy enough for even the most cooking challenged people like me.

20 minutes ago

This is what we love to hear! This recipe is designed to be super forgiving for home cooks of all skill levels, so stoked you pulled off a win that impressed your wife!

2 hours ago

Wait, has anyone tried this with gluten free breadcrumbs? I have a gluten sensitivity and I’m dying to make this for my family Sunday dinner, but I don’t want the coating to fall off or get mushy.

1 hour ago

I used gluten free panko for this last week and it worked great! Just make sure your chicken is patted really dry before you dip it in egg so the coating sticks

1 hour ago

Gluten free breadcrumbs (especially GF panko) work beautifully for this recipe! The key tip is patting the chicken completely dry before breading, just like the user mentioned, to make sure the coating stays put and gets crispy. Let us know how it turns out!

5 days ago

No fancy ingredients, no fancy equipment, done in 20 something minutes? Perfect for my tiny dorm airfryer. I made this with frozen chicken tenders I thawed real quick and it still came out crispy, saved me from spending $12 on a chicken sandwich from the campus food court.

3 days ago

Pro tip: you don’t even have to thaw them! Just add 5 extra minutes of cook time if they’re frozen, works like a charm

1 week ago

I served this with mashed potatoes and green beans just like my grandma used to make with her fried chicken, and honestly? The airfryer version is just as crispy without all the grease splatters all over my stove. Will be making this at least once a week from now on.

3 days ago

Wait, can I use chicken thighs instead of breasts for this? I prefer thighs because they’re juicier but I don’t want to mess up the cook time!

2 days ago

I do boneless skinless thighs all the time for this! Just add 2 extra minutes of cook time and they come out perfectly juicy and crispy, way better than breast imo

2 days ago

Chicken thighs work wonderfully here! As the user noted, boneless skinless thighs just need a couple extra minutes of cook time (make sure internal temp hits 165°F!) and they turn out juicy and crispy every time. Great swap!

2 days ago

The breading mix is so simple! I already had all the spices in my pantry, no run to the grocery store needed. I’ve tried so many airfryer chicken recipes that come out soggy, but this one had that perfect crunch you get from deep frying without all the oil.

1 day ago

We’re all about pantry-friendly recipes over here! No fancy specialty ingredients required for that perfect crispy crunch, so glad it worked out for you!

1 week ago

I made this for my grandkids when they visited over the weekend and they ate every last bite. Even my oldest grandson who says he “hates homemade chicken” asked for thirds. It’s easy on my old joints too because I don’t have to stand over a hot fryer for half an hour. Wonderful recipe.

yesterday

Uh, total fail for me? The breading all blew off the chicken in the airfryer and made a huge mess, and the chicken was a little dry. Did I do something wrong? I followed the directions exactly I thought…

yesterday

Oh no! Did you spray the top of the chicken with oil before you put it in? I forgot that the first time too and the breading went everywhere. Also make sure you don’t overcrowd the basket, cook in batches if you need to!

yesterday

We’re so sorry this didn’t turn out for you! A light spritz of oil on top of the breaded chicken helps weigh the coating down so it doesn’t blow around, and not overcrowding the basket is key for even crispness too. If you give it another try, those two tweaks should make all the difference!

5 days ago

Made these as sliders for the football watch party last Sunday and they were gone in 10 minutes. Topped them with pickles and a little spicy mayo, chef’s kiss. Way easier than frying up a big batch of chicken for a crowd, the airfryer did all the work.

3 days ago

The slider idea is genius! I’m making these for my Super Bowl party next year, no question

just now

I used leftover sourdough breadcrumbs I made from old bread that was about to go stale for the coating and it was incredible. Such a versatile recipe, I love that I can tweak it to use up what I already have in the kitchen instead of buying new stuff. Crispy, flavorful, zero food waste, total win.



