
airfryer sandwich
intro
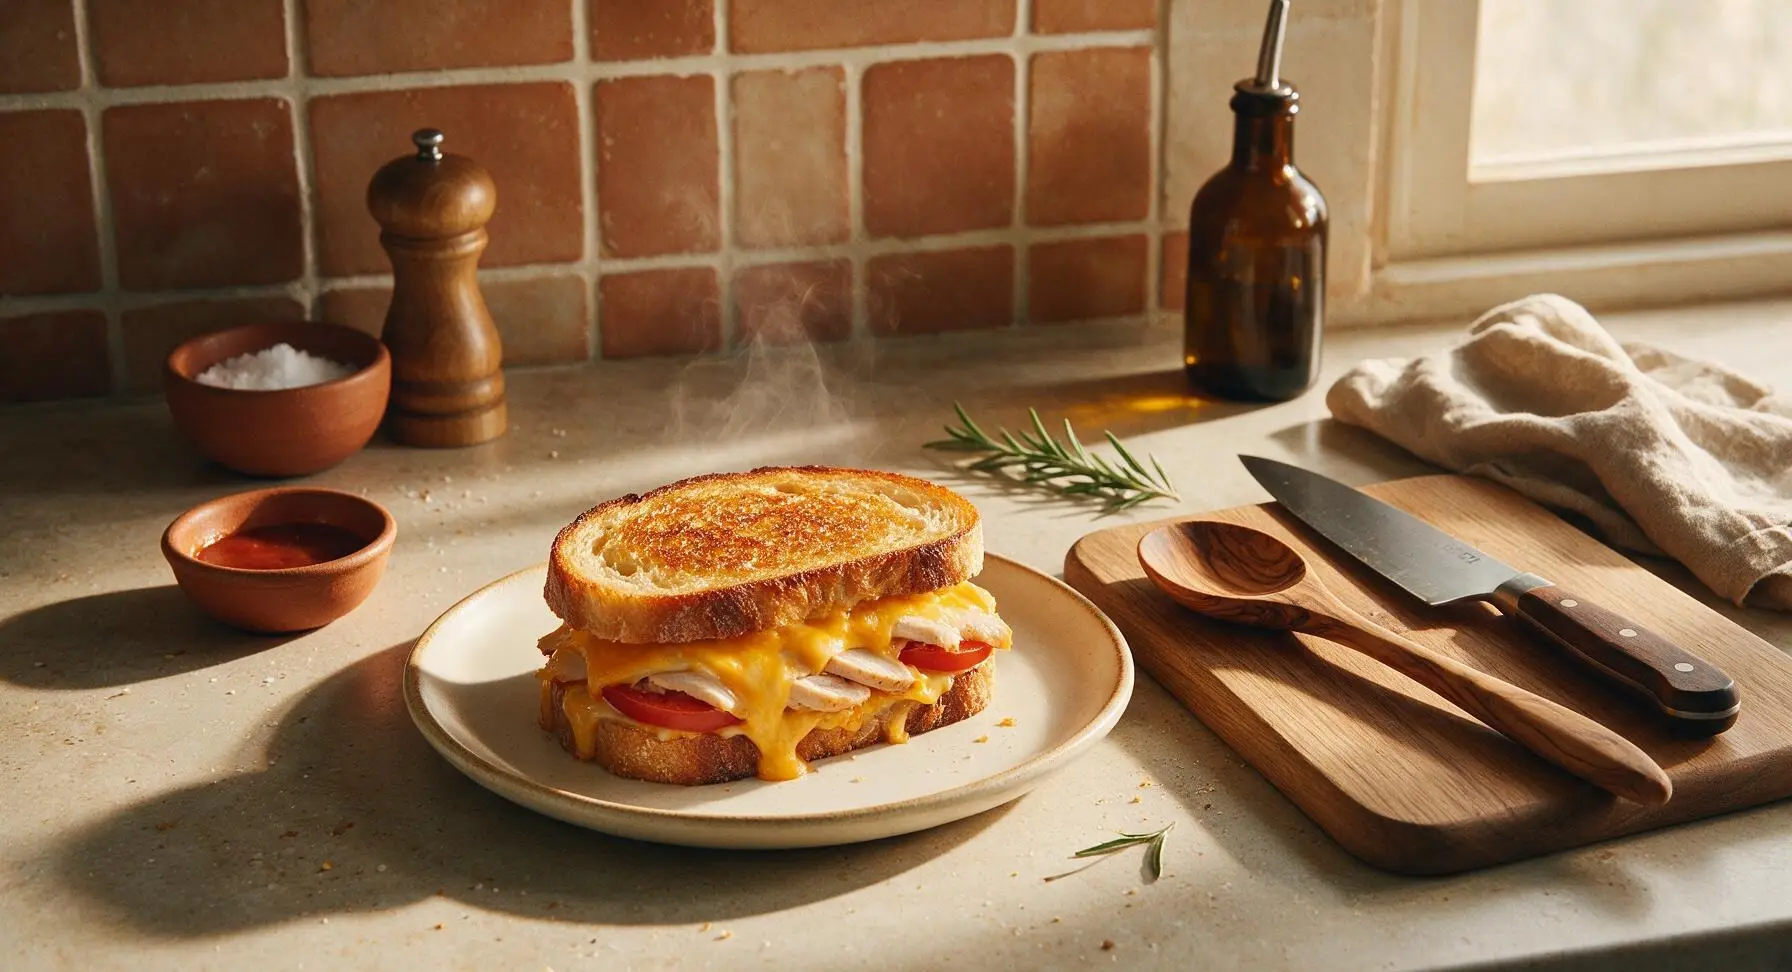
Crispy golden sourdough loaded with melted sharp cheddar, sliced turkey, and ripe tomato, air-fried for zero-mess, perfectly toasty results ready in under 20 minutes.
Ingredients
Steps
Butter Bread Exteriors
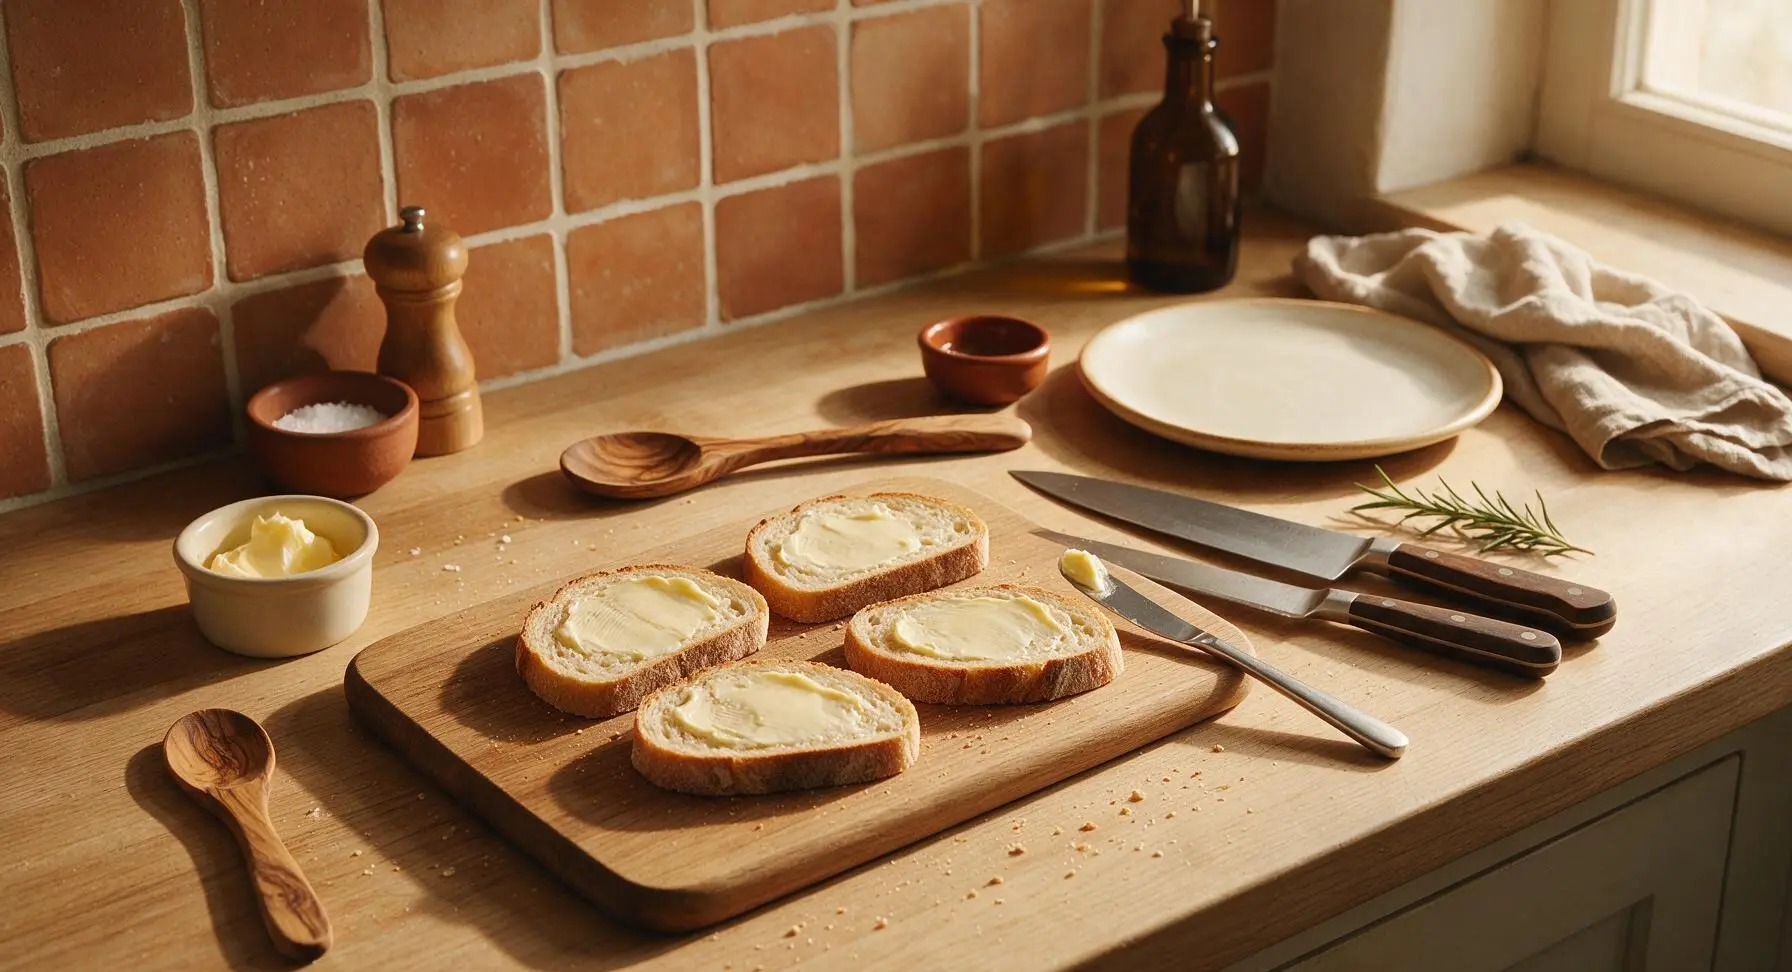
Lay all 4 sourdough slices flat on the light oak cutting board. Use the stainless steel butter knife to spread 1/2 tablespoon of softened butter evenly across one entire side of each bread slice. Aim for a thin, uniform layer where faint bread texture is still visible through the butter, with no thick clumps, to ensure even crisping without greasy sogginess.
Spread Inner Mayo Layer
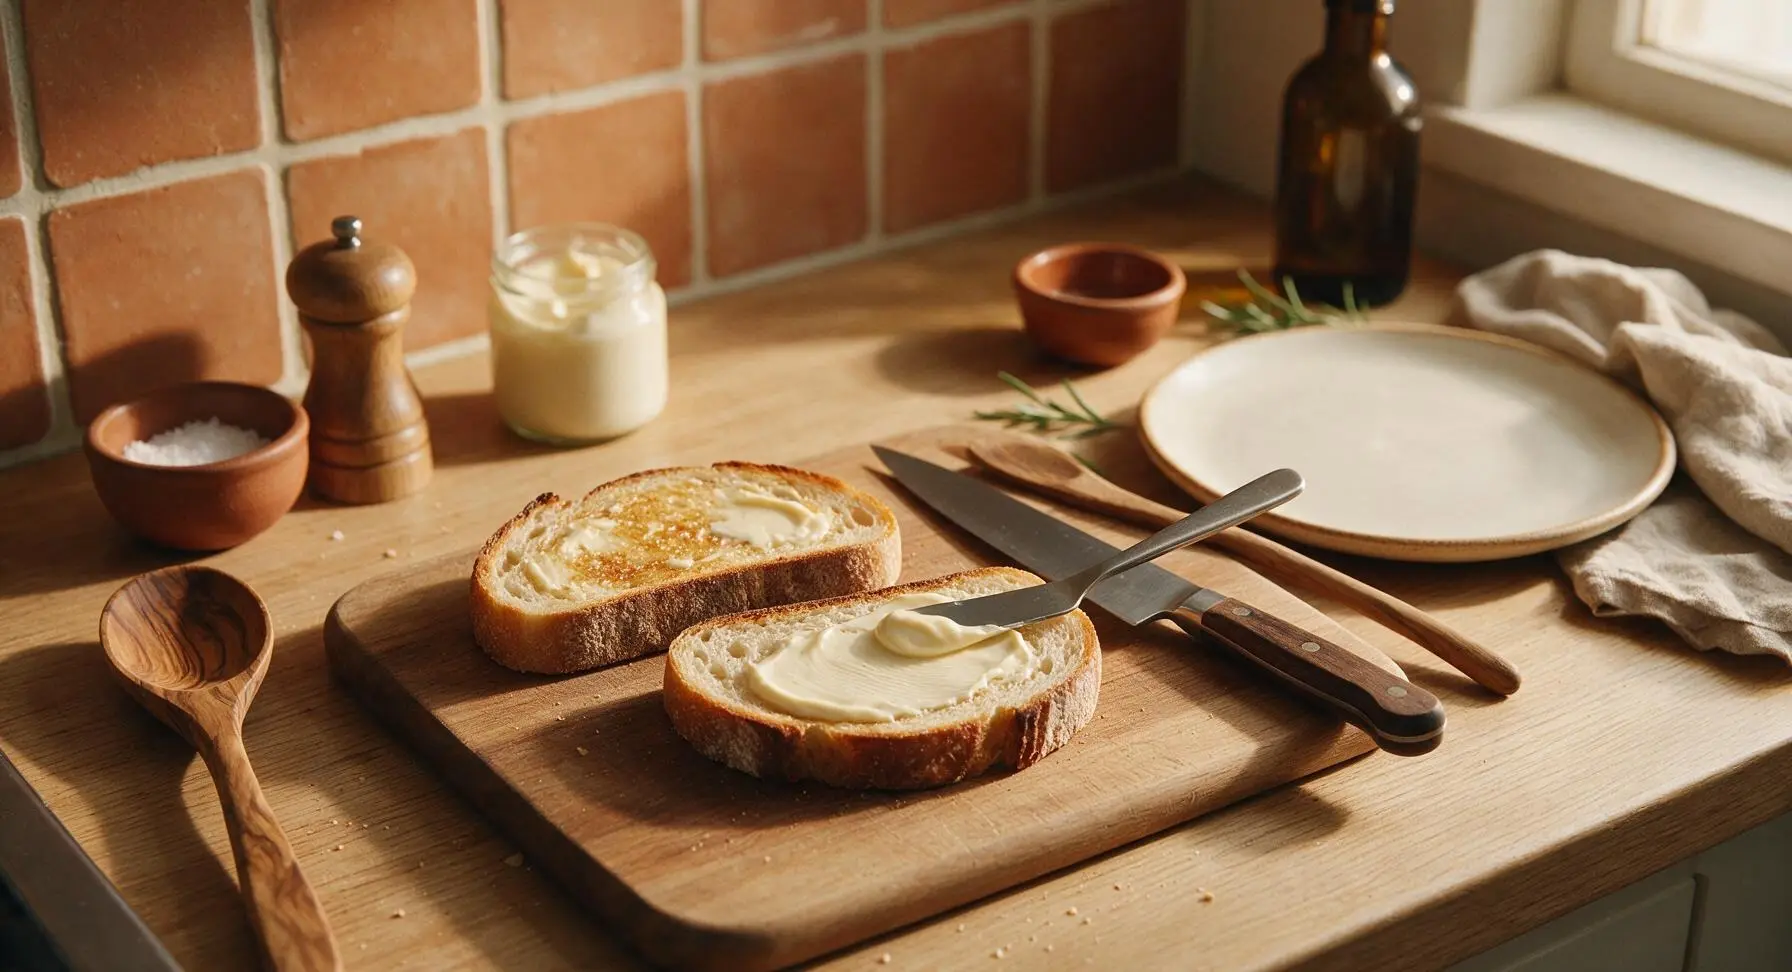
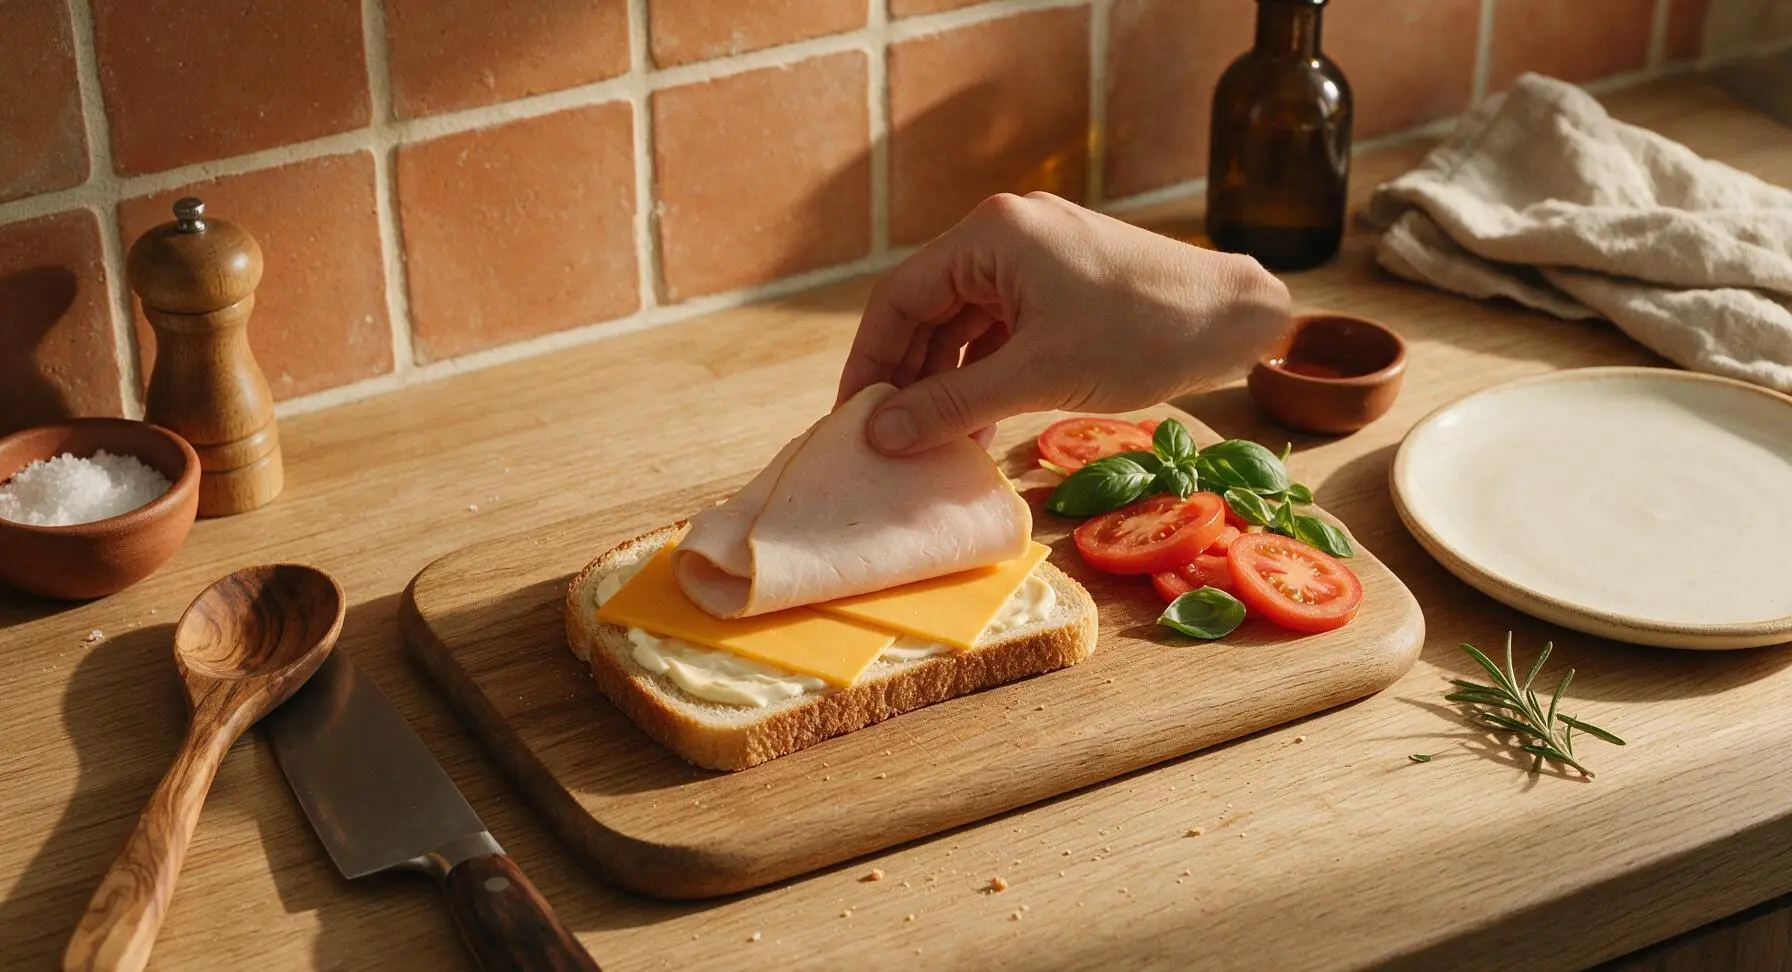
Flip all bread slices over so the buttered side faces down against the cutting board. Use the small stainless steel spreader to coat the unbuttered (inner) side of each slice with a thin, even layer of mayonnaise, roughly 1/4 tablespoon per slice. The mayo creates a moisture barrier that prevents tomato juice from soaking into the bread and creating soggy spots during cooking.
Layer Sandwich Fillings
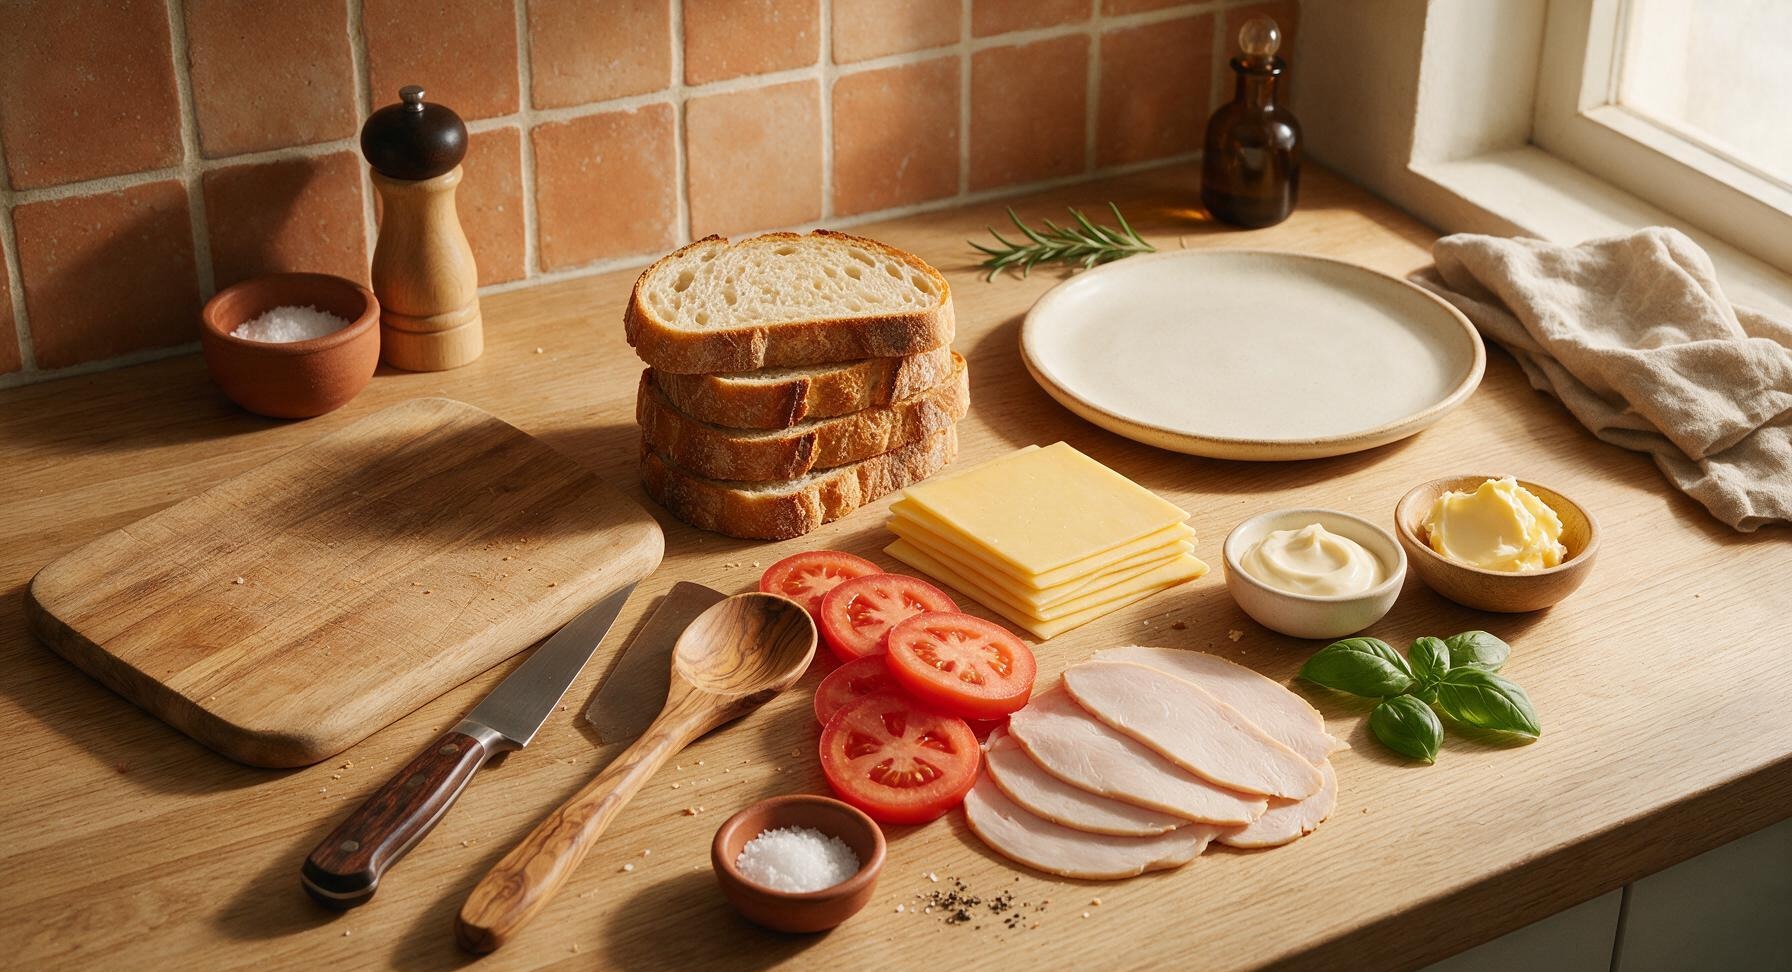
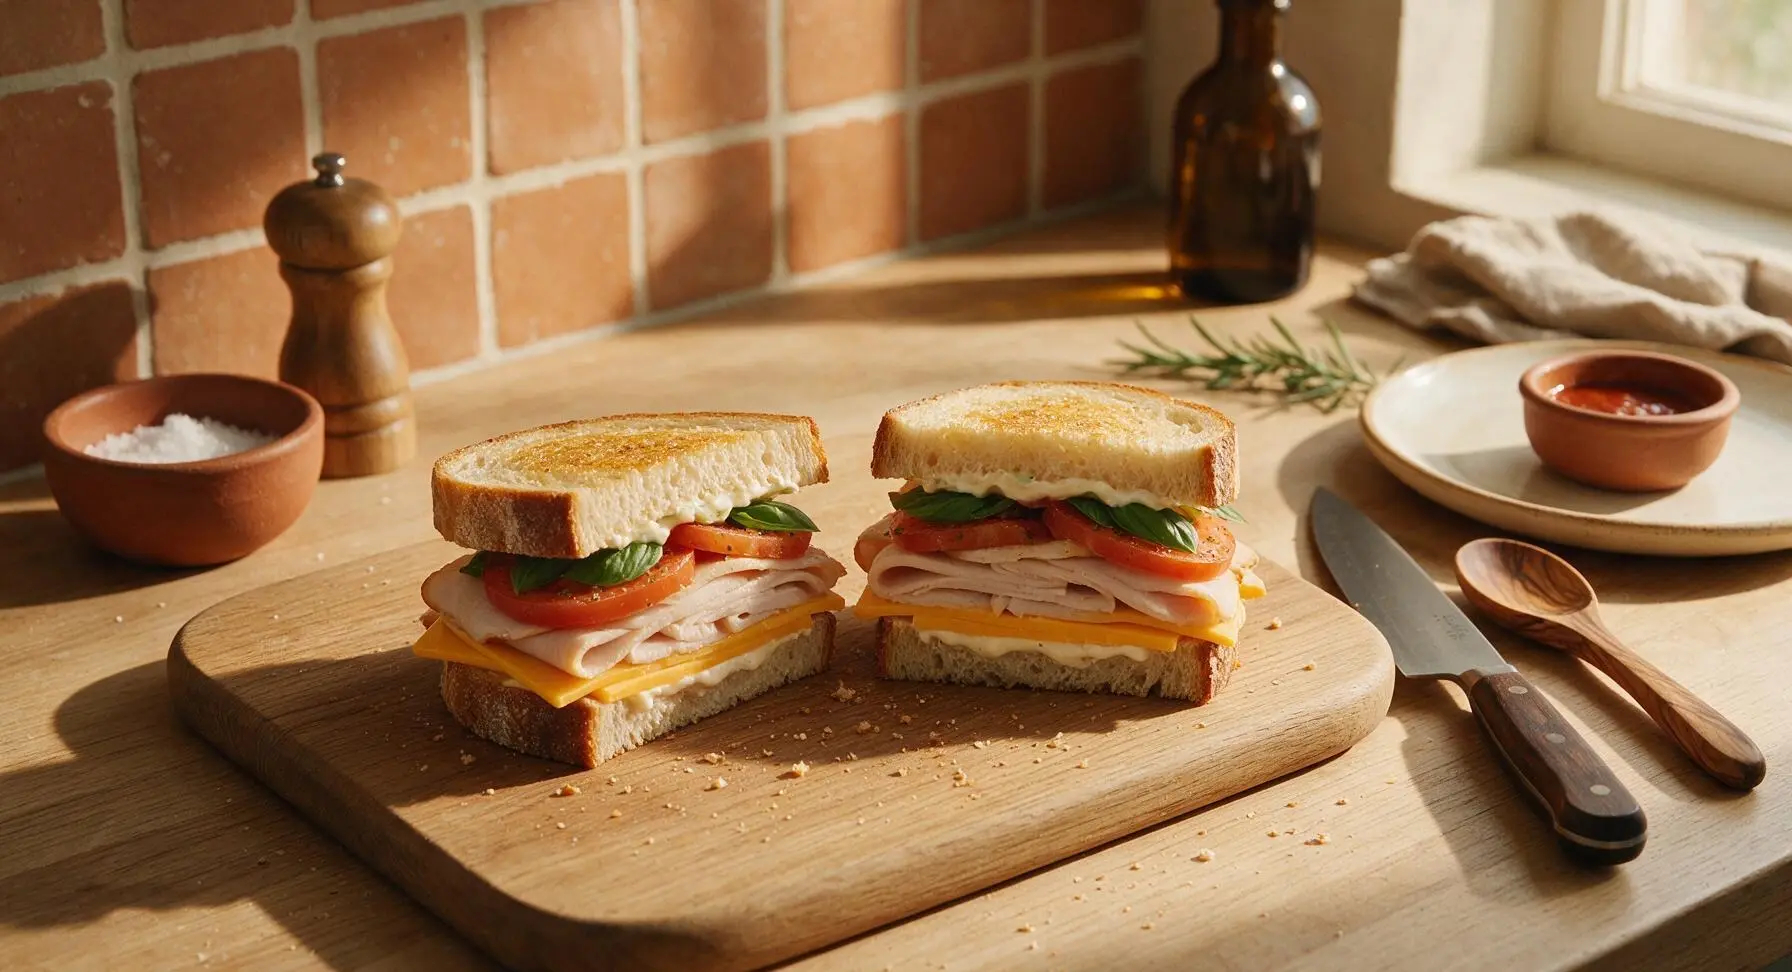
On two of the mayo-coated bread slices, layer fillings in order for even melting: 2 slices of cheddar placed directly against the mayo, 3 folded turkey slices, 2 tomato slices lightly seasoned with the 1/4 tsp sea salt and 1/8 tsp black pepper, 2 fresh basil leaves, then a final 2 slices of cheddar on top to seal the fillings in. Top each stack with the remaining two bread slices, mayo-side facing in towards the fillings and buttered side facing out. Press down gently on each sandwich with the palm of your hand to compact layers slightly so they do not shift during cooking.
Preheat Air Fryer
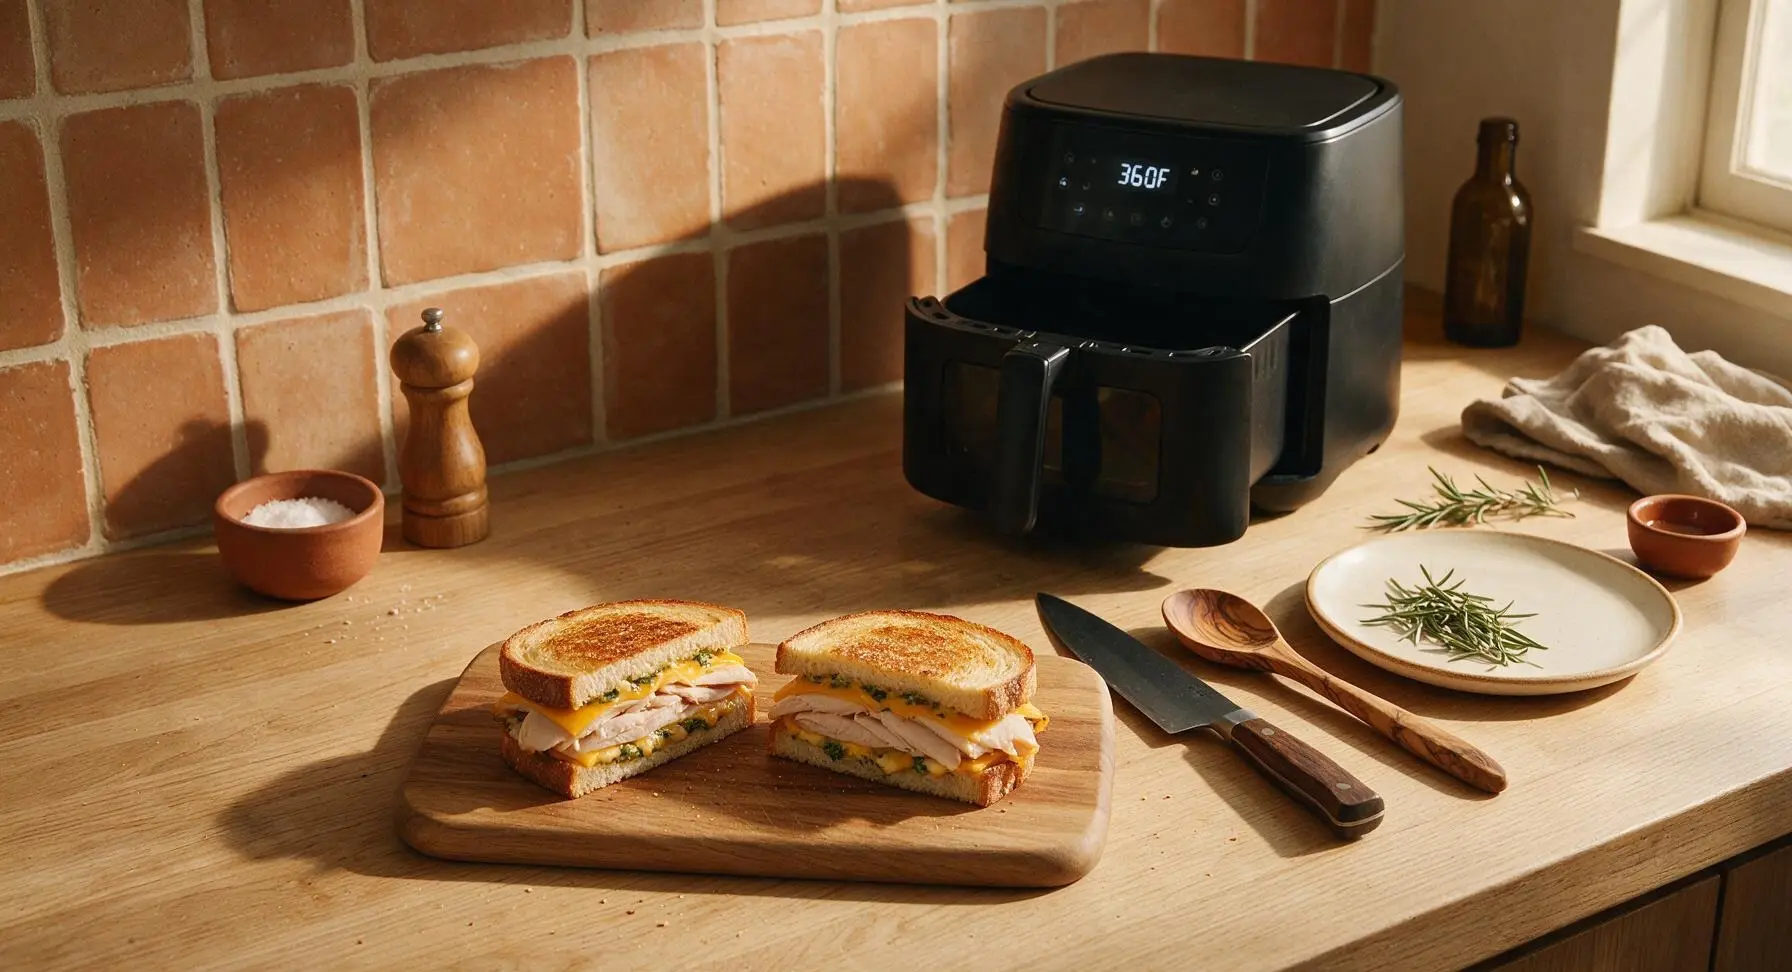
Ensure the basket of the matte black air fryer is empty, close the drawer, and preheat to 180C (360F) for 2 minutes. Do not add oil, spray, or parchment paper to the basket at this stage, as direct contact with the air fryer mesh will create the crispiest crust without sticking.
Air Fry First Side
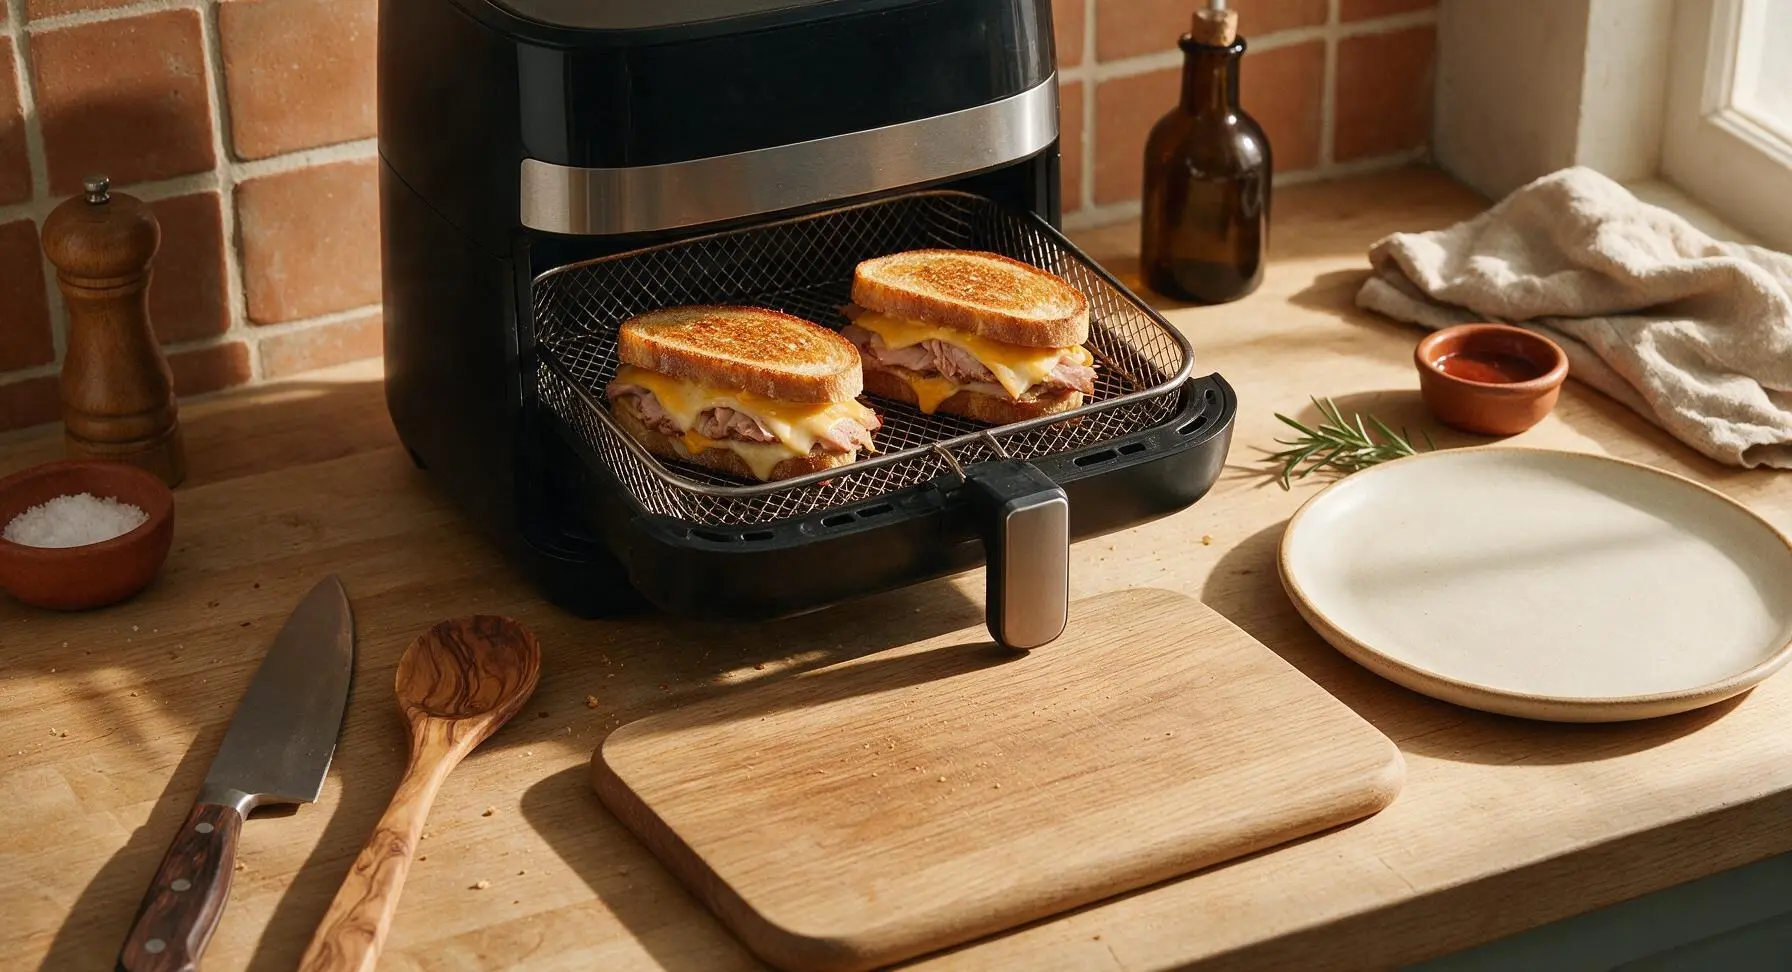
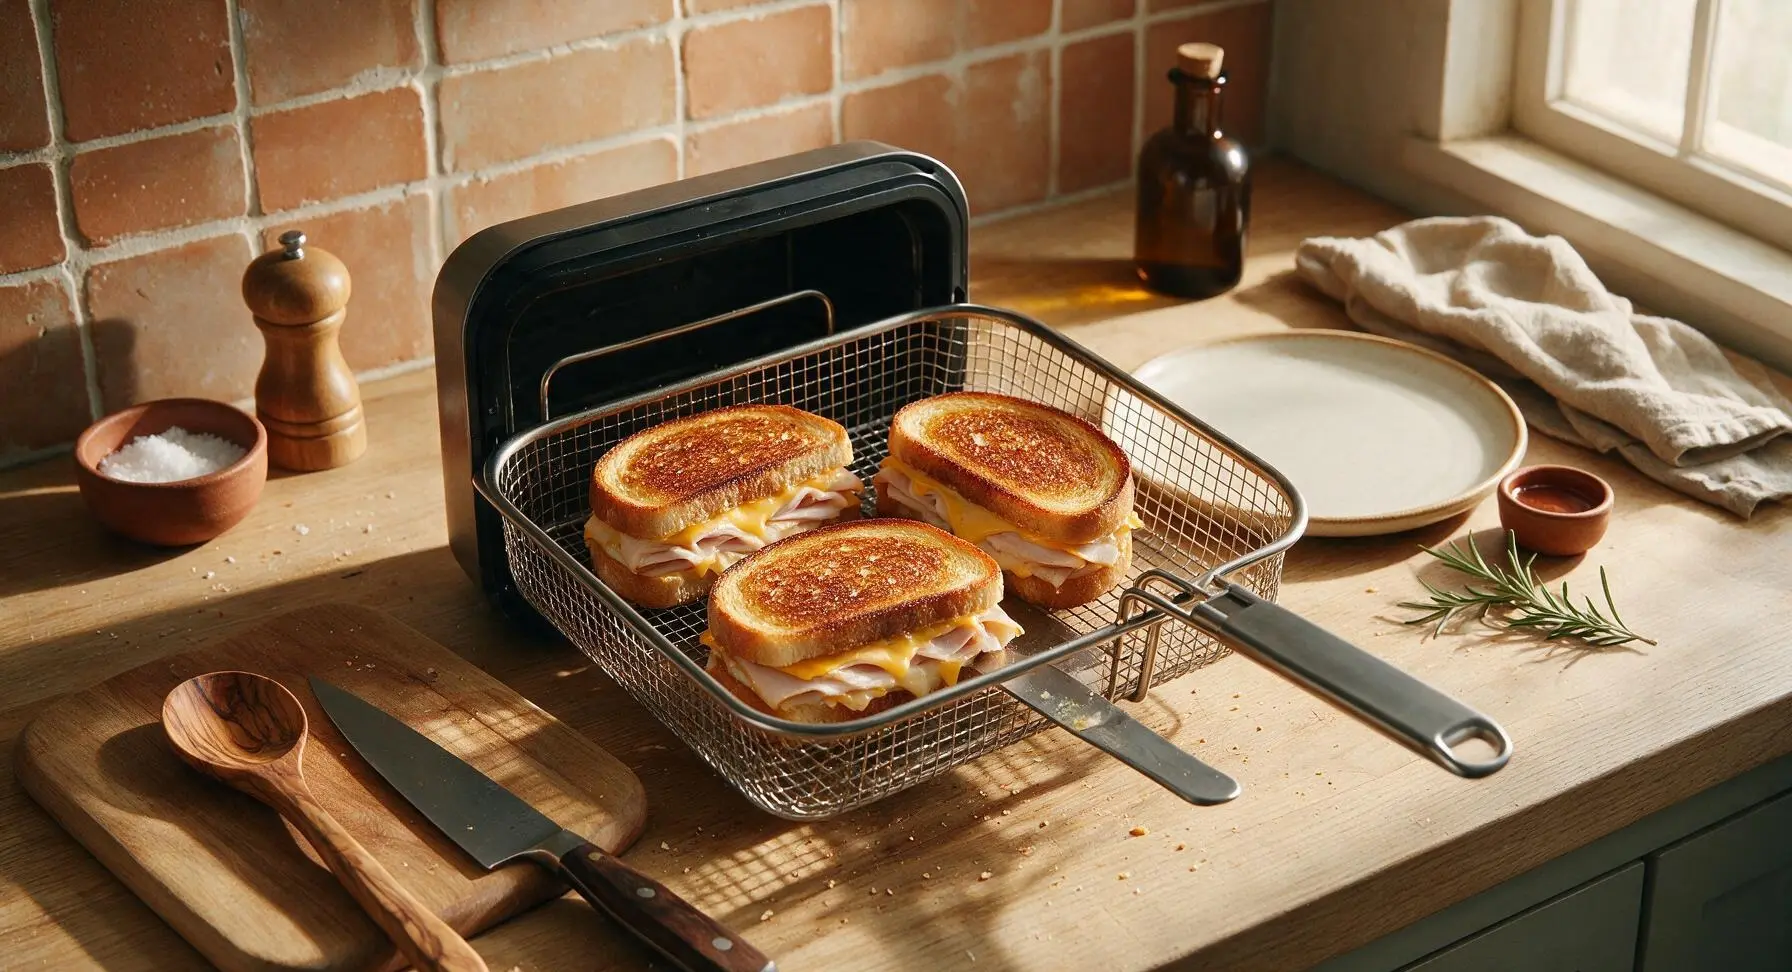
Once preheated, pull the air fryer basket out and place both assembled sandwiches directly on the mesh basket in a single layer, leaving 1cm of space between them for unobstructed hot air circulation. Close the drawer and cook for 4 minutes at 180C (360F). Do not press the sandwiches down once they are in the basket, as this will squeeze out fillings.
Flip Sandwiches Carefully
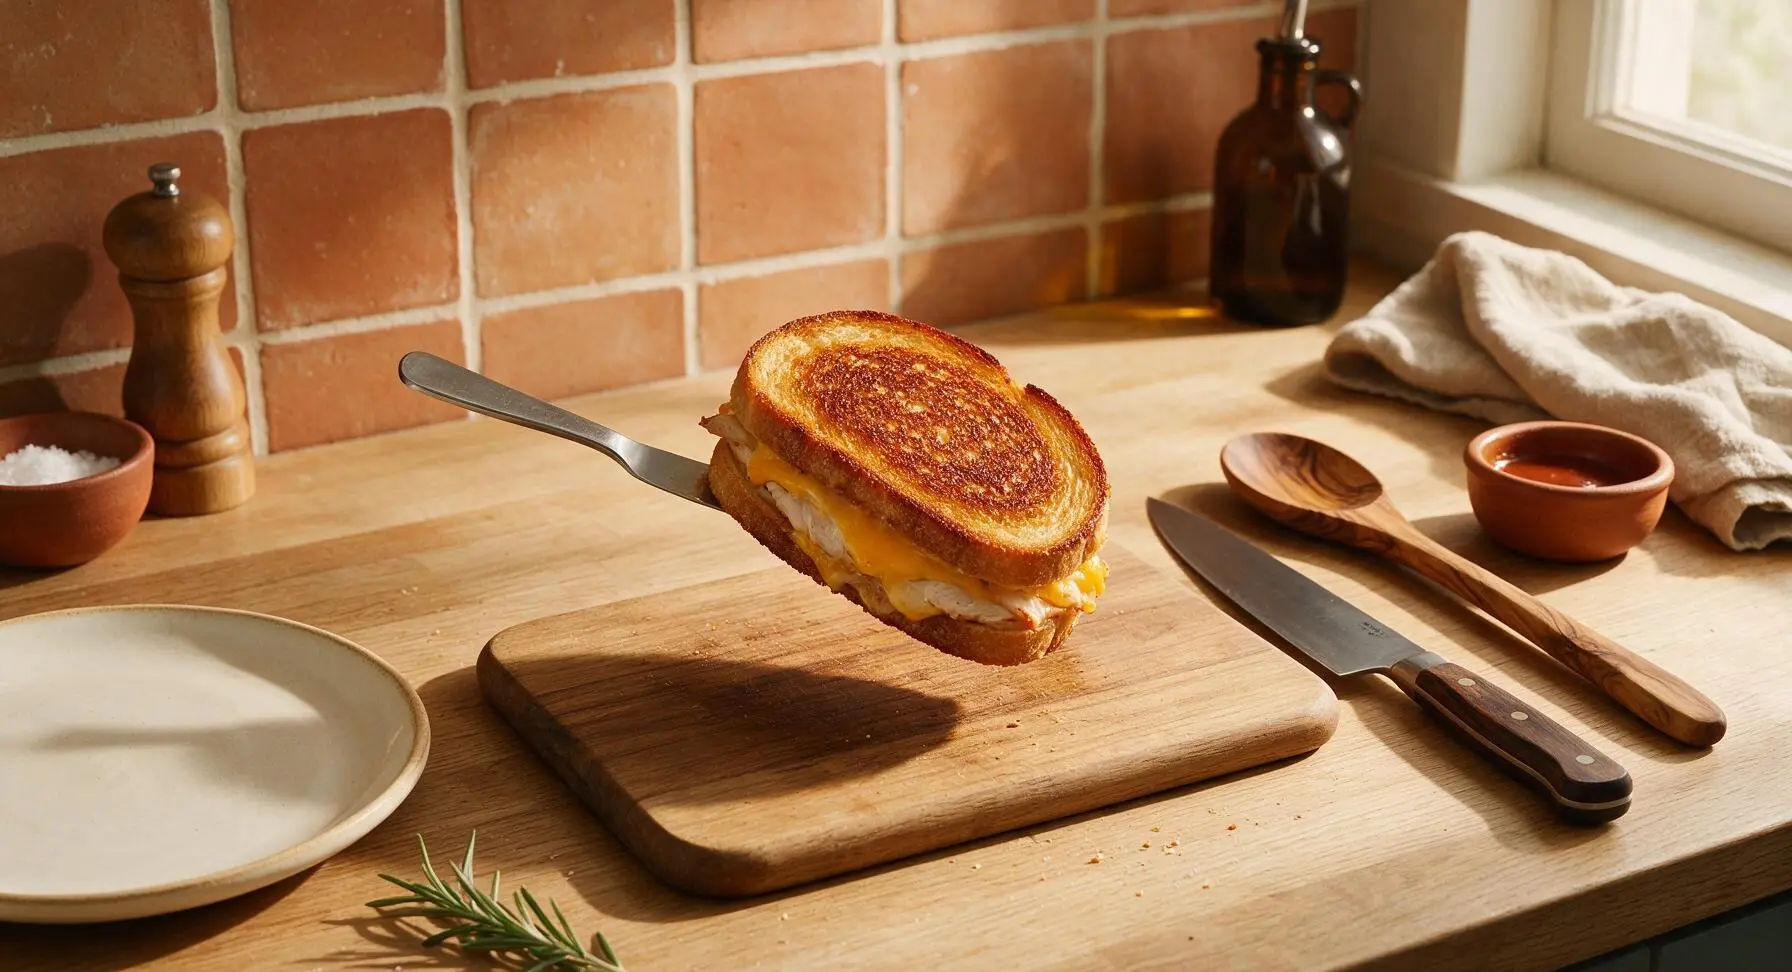
After 4 minutes of cooking, pull the air fryer basket out. Use the stainless steel butter knife to gently lift and flip each sandwich, taking care not to tear the crispy toasted top layer. The cooked first side should be deep golden brown with slightly darker crispy edges, with no pale, uncooked bread spots visible.
Cook Second Side Crisp
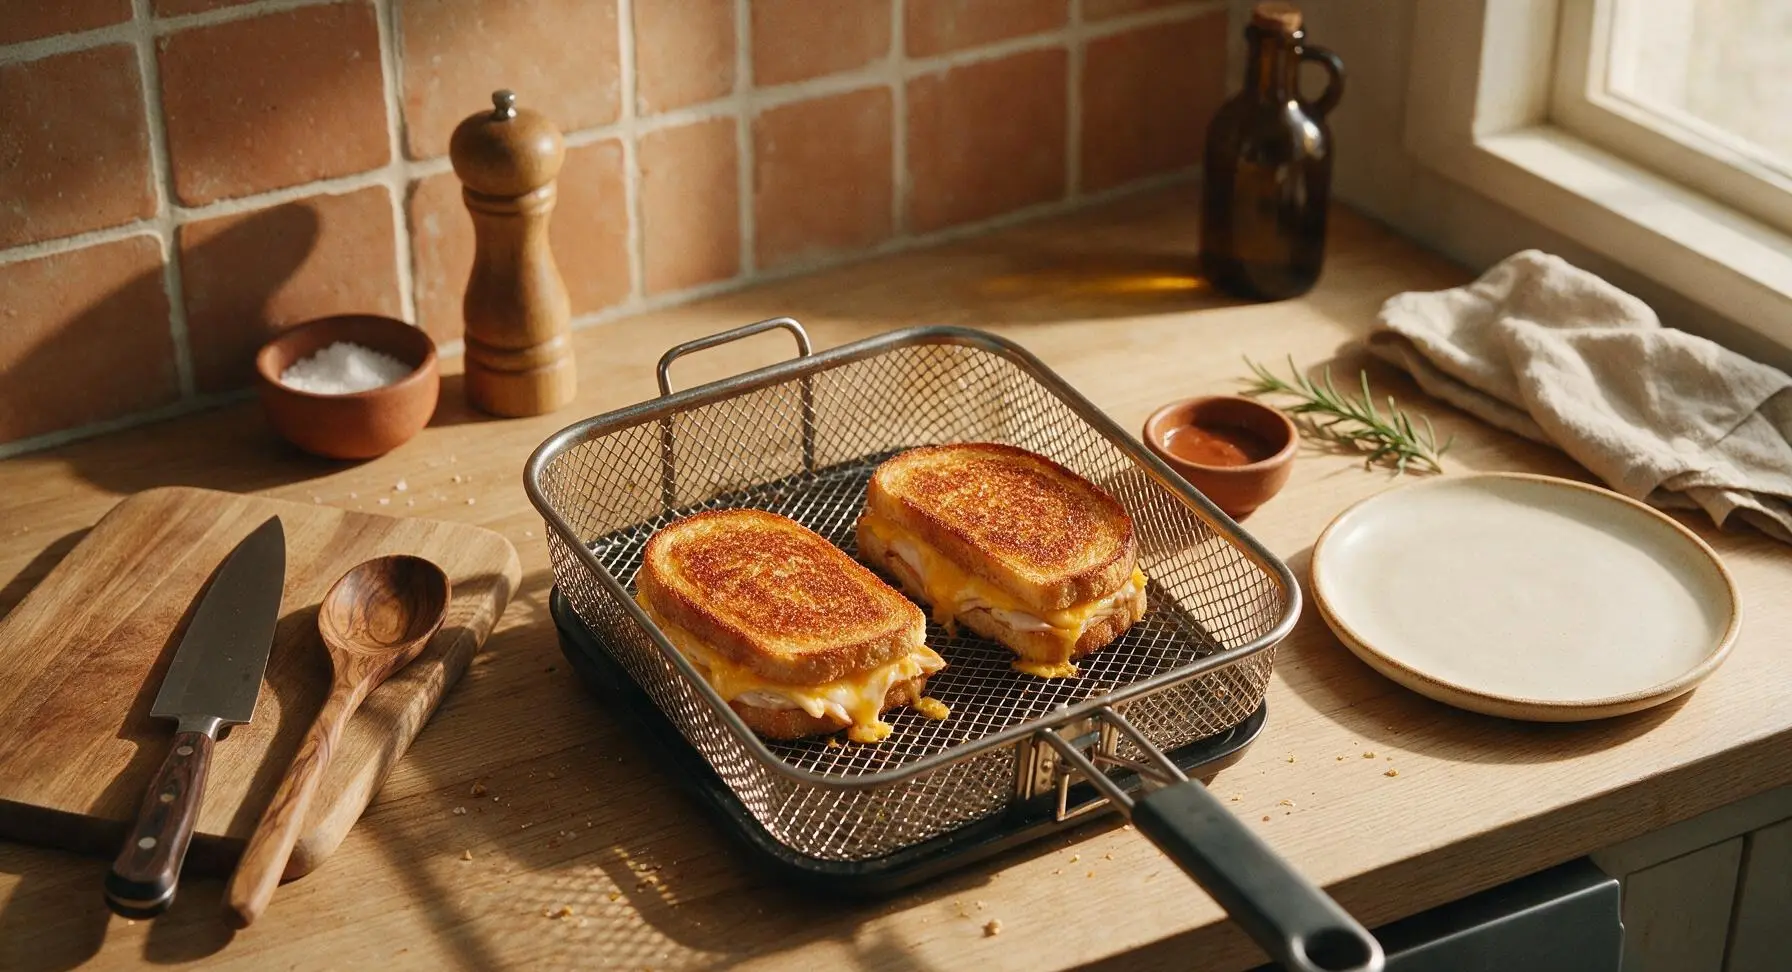
Push the basket back into the air fryer and cook for an additional 3-4 minutes at 180C (360F), until the second side is equally golden brown and the cheddar cheese is fully melted and oozing slightly from the sandwich edges. Total cook time is 7-8 minutes; add 1 minute for a darker, extra-crispy crust, or reduce by 1 minute for a lighter toast.
Rest and Serve
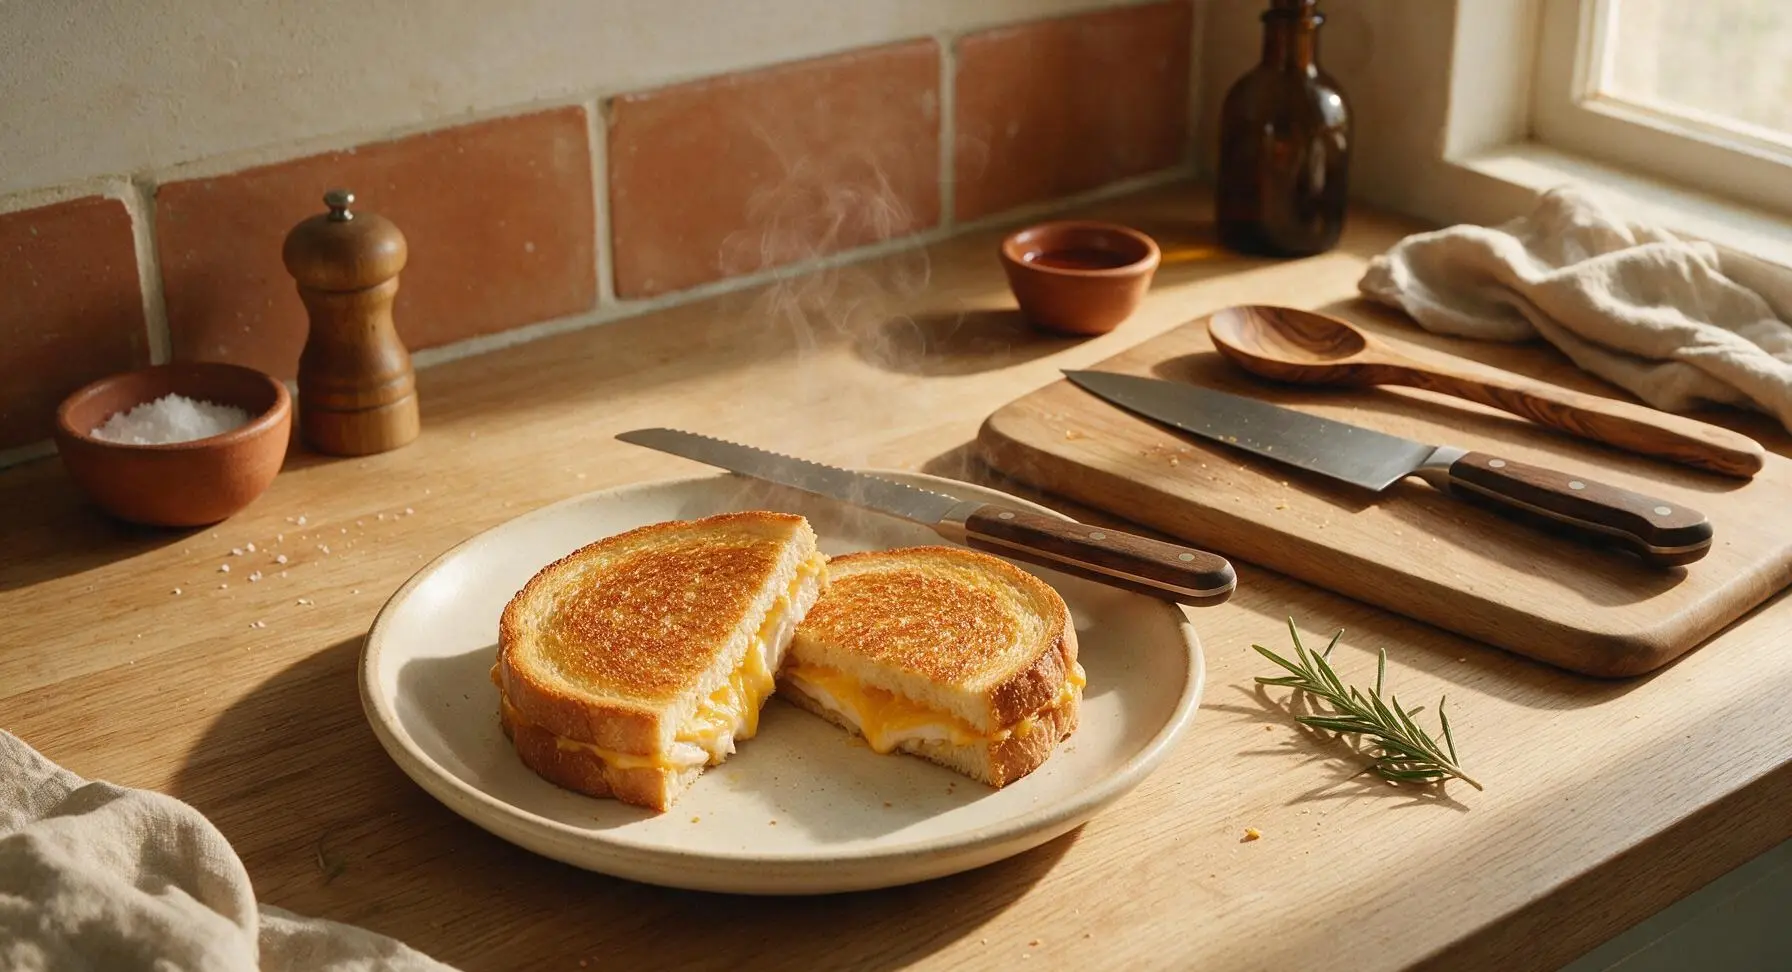
Use the small stainless steel spreader to lift the hot sandwiches from the air fryer basket and transfer them to the matte cream ceramic dinner plate. Let rest for 1 minute to allow the cheese to set slightly, then cut each sandwich diagonally in half with the serrated bread knife. Garnish with a small extra basil leaf if desired before serving.
Tips
2.Avoid overstuffing the sandwiches. Too much filling prevents even cheese melting, causes tomato juice to soak into the bread, and leads to cheese dripping onto the heating element which can create unwanted smoke during cooking.
3.Let the cooked sandwiches rest for 1 full minute before cutting and eating. This short pause lets molten cheese set slightly so it does not run out when you take a bite, and allows trapped steam to escape so the crust stays crisp instead of turning soft.


OMG this is such a game changer for busy weeknights! I threw this together in literally 10 minutes total, air fryer crisped the bread perfectly and the cheddar got all melty and gooey. My three kids devoured theirs in 5 minutes flat and asked for seconds. 10/10 will be adding this to our regular meal prep rotation!
8 minute cook time is NO JOKE. I was skeptical it would heat all the way through, but the turkey was warm, cheese fully melted, bread crispy on the outside and soft in the middle. SO good, I made one for a quick lunch between work meetings and it was better than the panini I get from the café down the street. Only thing I added was a little slice of tomato and a dash of hot honey, chef’s kiss.
Made a batch of these for my weekly meal prep, wrapped them individually in foil, and they reheated like a dream in the air fryer at 350 for 2 minutes. Perfect for grab-and-go lunches when I’m running out the door for work. No more sad desk salads for me! Only knock is I wish I’d added a little extra cheddar, but that’s on me, not the recipe.
Made these for the football watch party this past weekend and they were a total hit! I cut them into quarters, stuck a toothpick in each, and served them with a side of tomato soup for dipping. People were asking me for the recipe before halftime. So easy to make a big batch too, just did two rounds in the air fryer and they were all done in 16 minutes total.
I just got my air fryer last week and this is the first recipe I tried that didn’t turn out burnt or soggy! The instructions were super straightforward, no fancy ingredients needed. I didn’t have cheddar so I used colby jack and it still slapped. Can’t wait to try more of your easy air fryer recipes!
Okay hear me out: add a handful of crispy bacon bits to this and it’s next level. I thought the plain version was great, but the salty bacon cuts through the rich cheddar so well. My husband said it’s better than any melt we’ve gotten at a diner. Cook time was spot on too, 8 minutes exactly at the temp listed, no adjustments needed for my air fryer model.
Literally saved me from ordering takeout for the third night in a row. I had leftover deli turkey and a block of cheddar in my fridge, some stale bread even, and it turned out AMAZING. 8 minutes is so fast, I didn’t even have time to finish scrolling TikTok while it cooked. Way cheaper than delivery too, total cost per sandwich is like $2 max.
I swapped the regular bread for gluten-free sourdough and it came out perfectly crispy! I was worried GF bread would get too dry or crunchy in the air fryer, but the olive oil spritz kept it nice and soft on the inside. Such a great easy lunch option for my GF diet, I don’t have to make a separate meal for myself when the rest of the family has sandwiches. Only thing is I had to add 2 extra minutes of cook time for my GF bread, which makes sense since it’s a little denser, so just a heads up for other GF folks!