
all purpose baking mix waffles

title 1
all purpose baking mix waffles
⏱️ cook time 15 minutes
🍽️ servings 4
⚡ Difficulty easy

intro

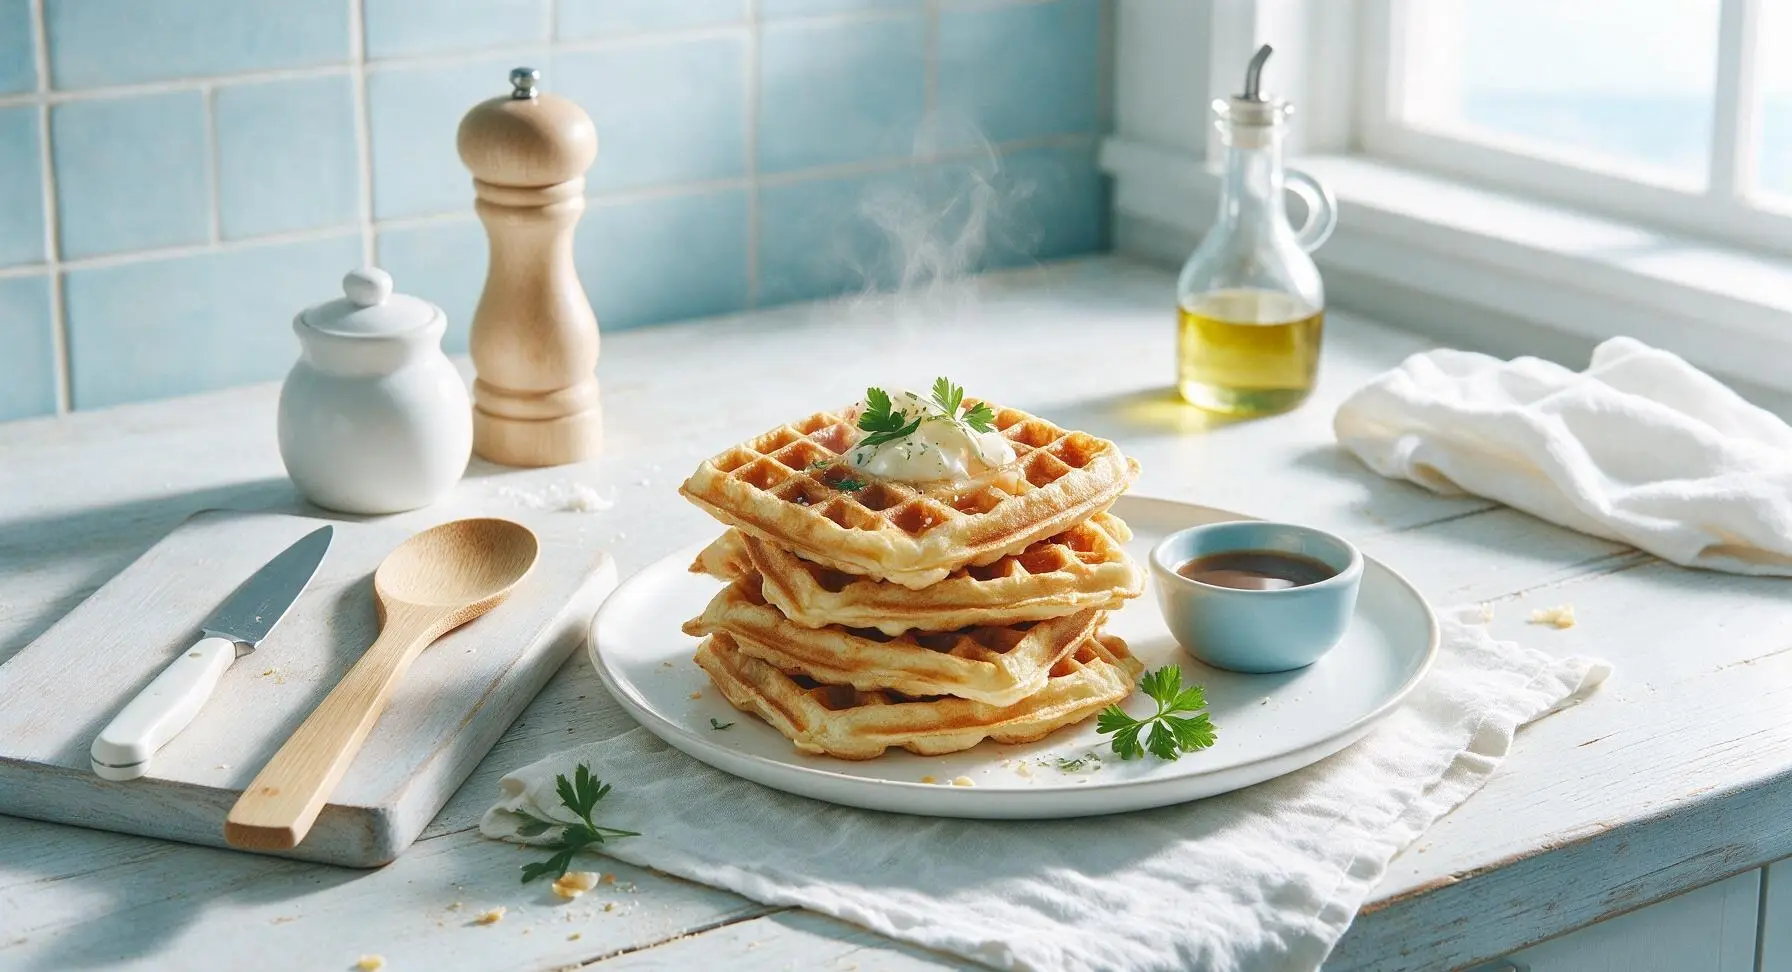
Crisp golden edges, fluffy tender centers, and zero fancy prep: these all-purpose baking mix waffles come together in minutes for cozy, no-fuss meals any time of day.

Ingredients
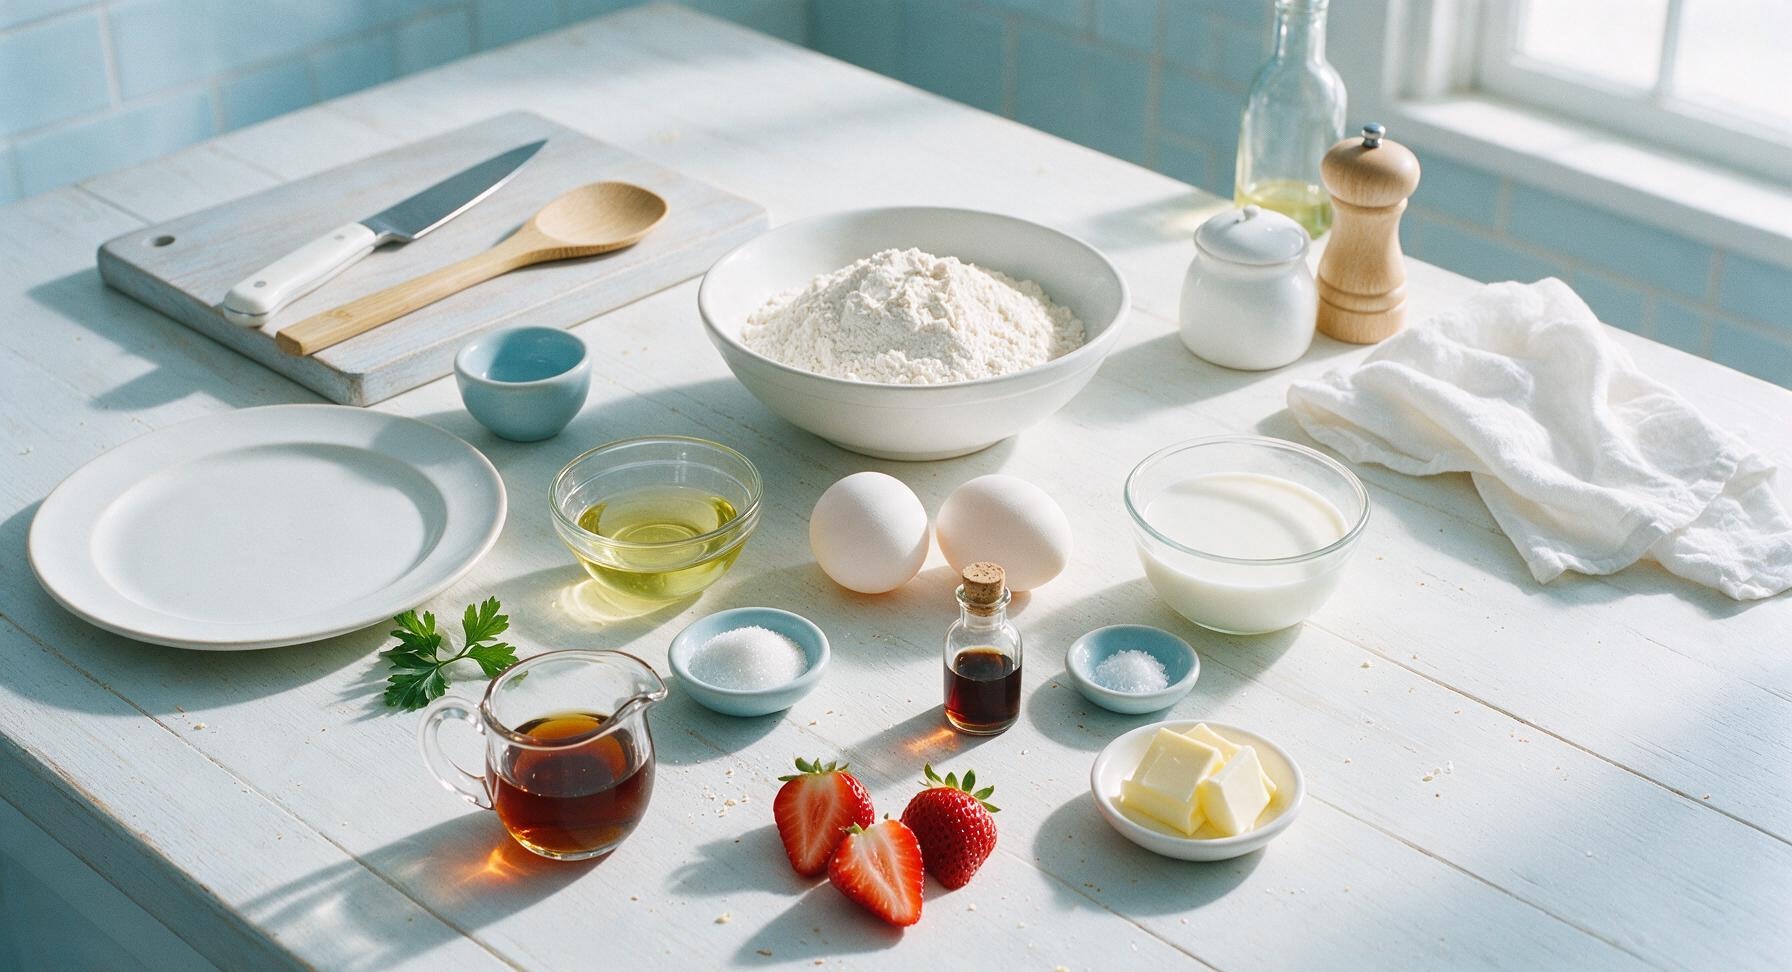
All-purpose baking mix (e.g. Bisquick) 2 cups
Large eggs 2
Whole milk 1 1/3 cups
Neutral vegetable oil 2 tablespoons
Granulated sugar 1 tablespoon
Pure vanilla extract 1 teaspoon
Kosher salt 1/4 teaspoon
Unsalted butter (for serving) 2 tablespoons, cut into pats
Pure maple syrup (for serving) 1/2 cup
Fresh strawberries (for garnish) 3, hulled and sliced

Steps

1

Preheat Waffle Maker

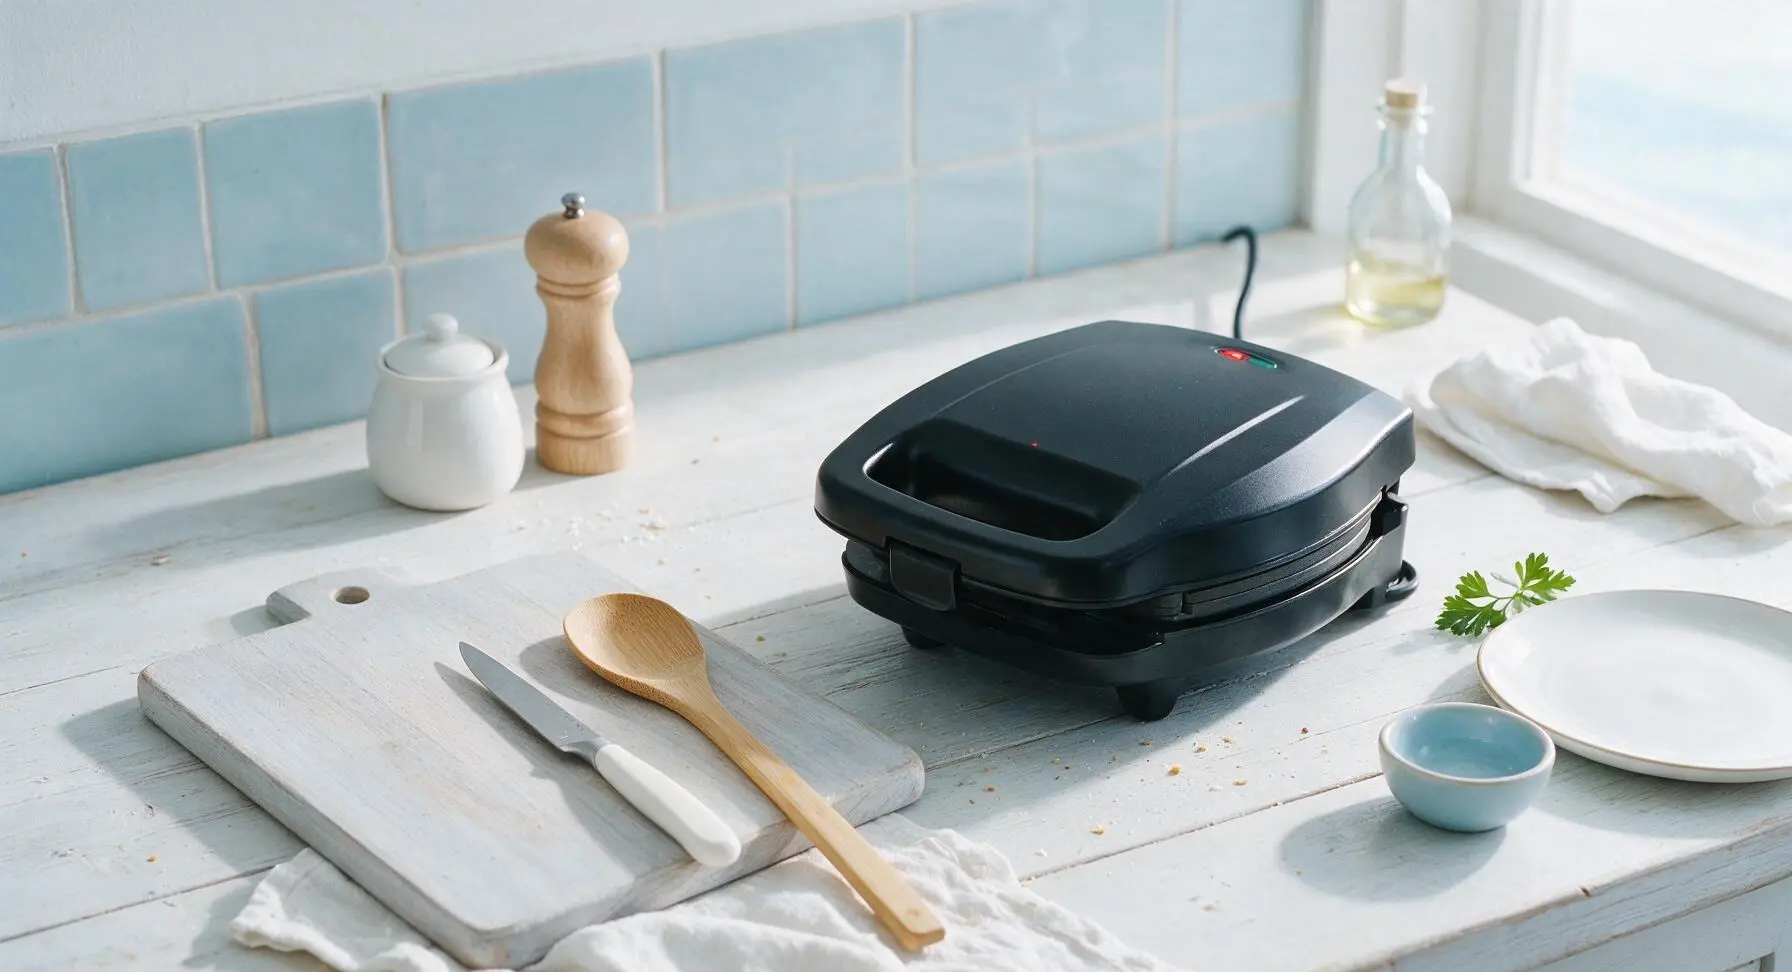
Plug in the matte black waffle maker and preheat to medium-high setting (375°F/190°C). Close the lid while you prepare the batter; the indicator light will turn green when it reaches full temperature, about 3 minutes. Lightly coat the cooking grids with non-stick spray if your model does not have a permanent non-stick coating.
Step 1
step1:Preheat Waffle Maker
2

Whisk Wet Ingredients

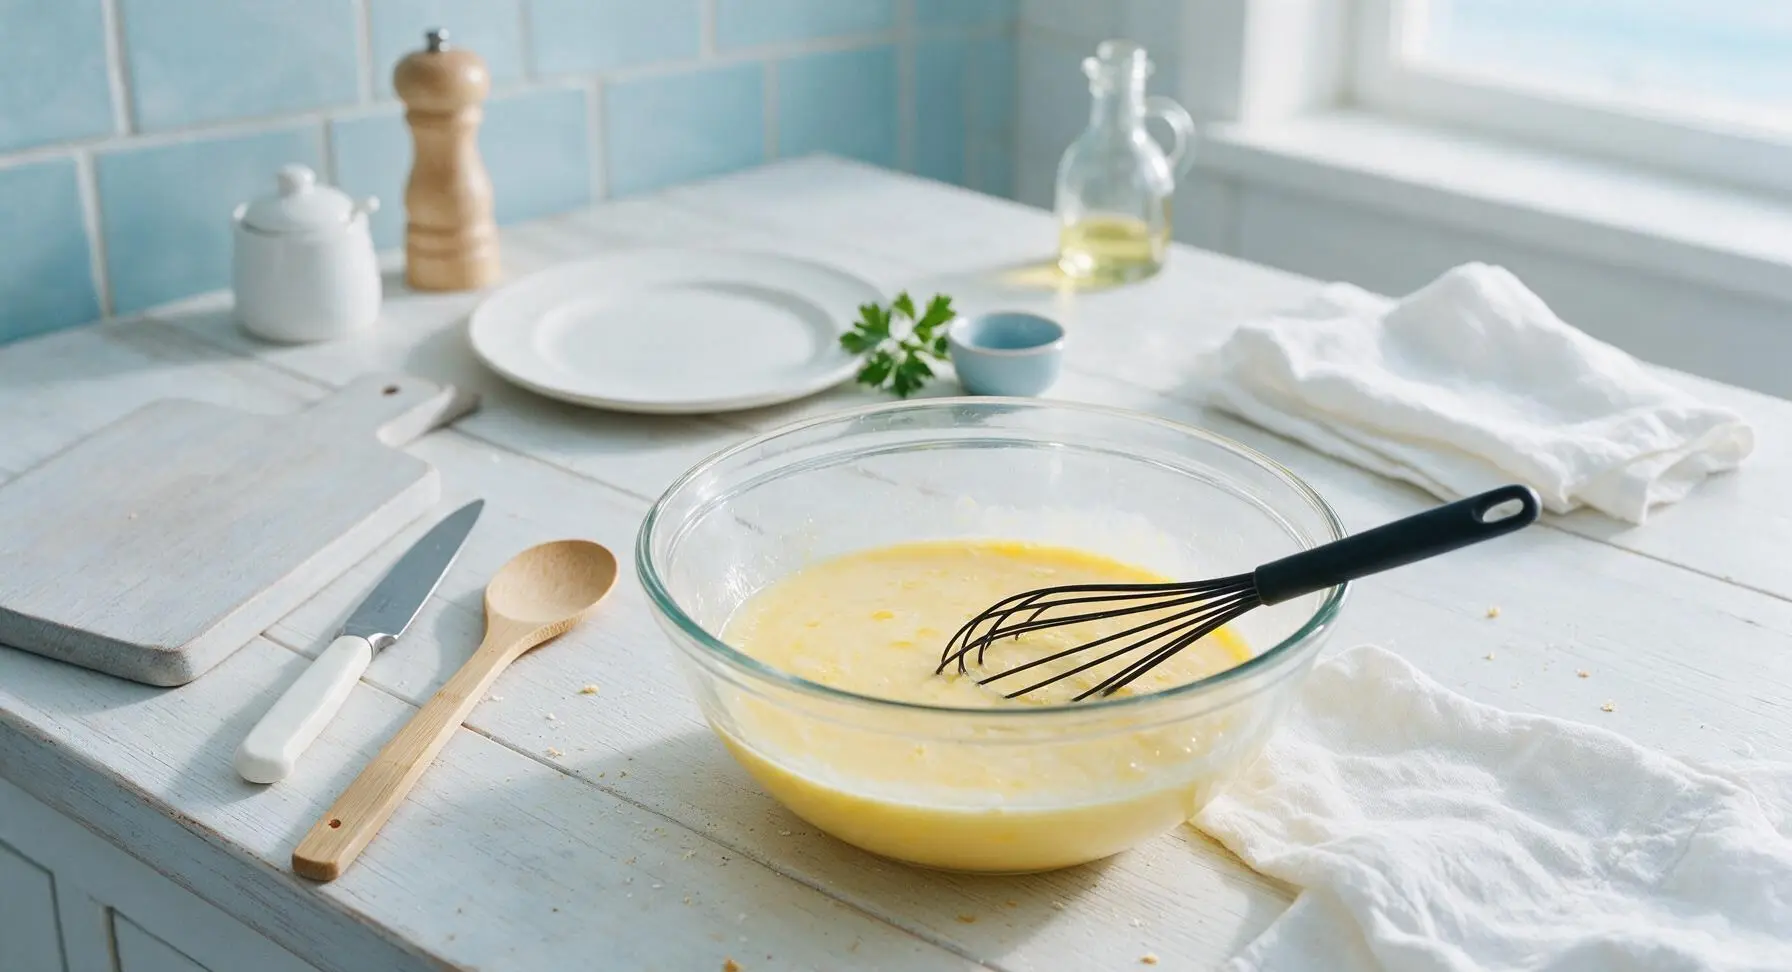
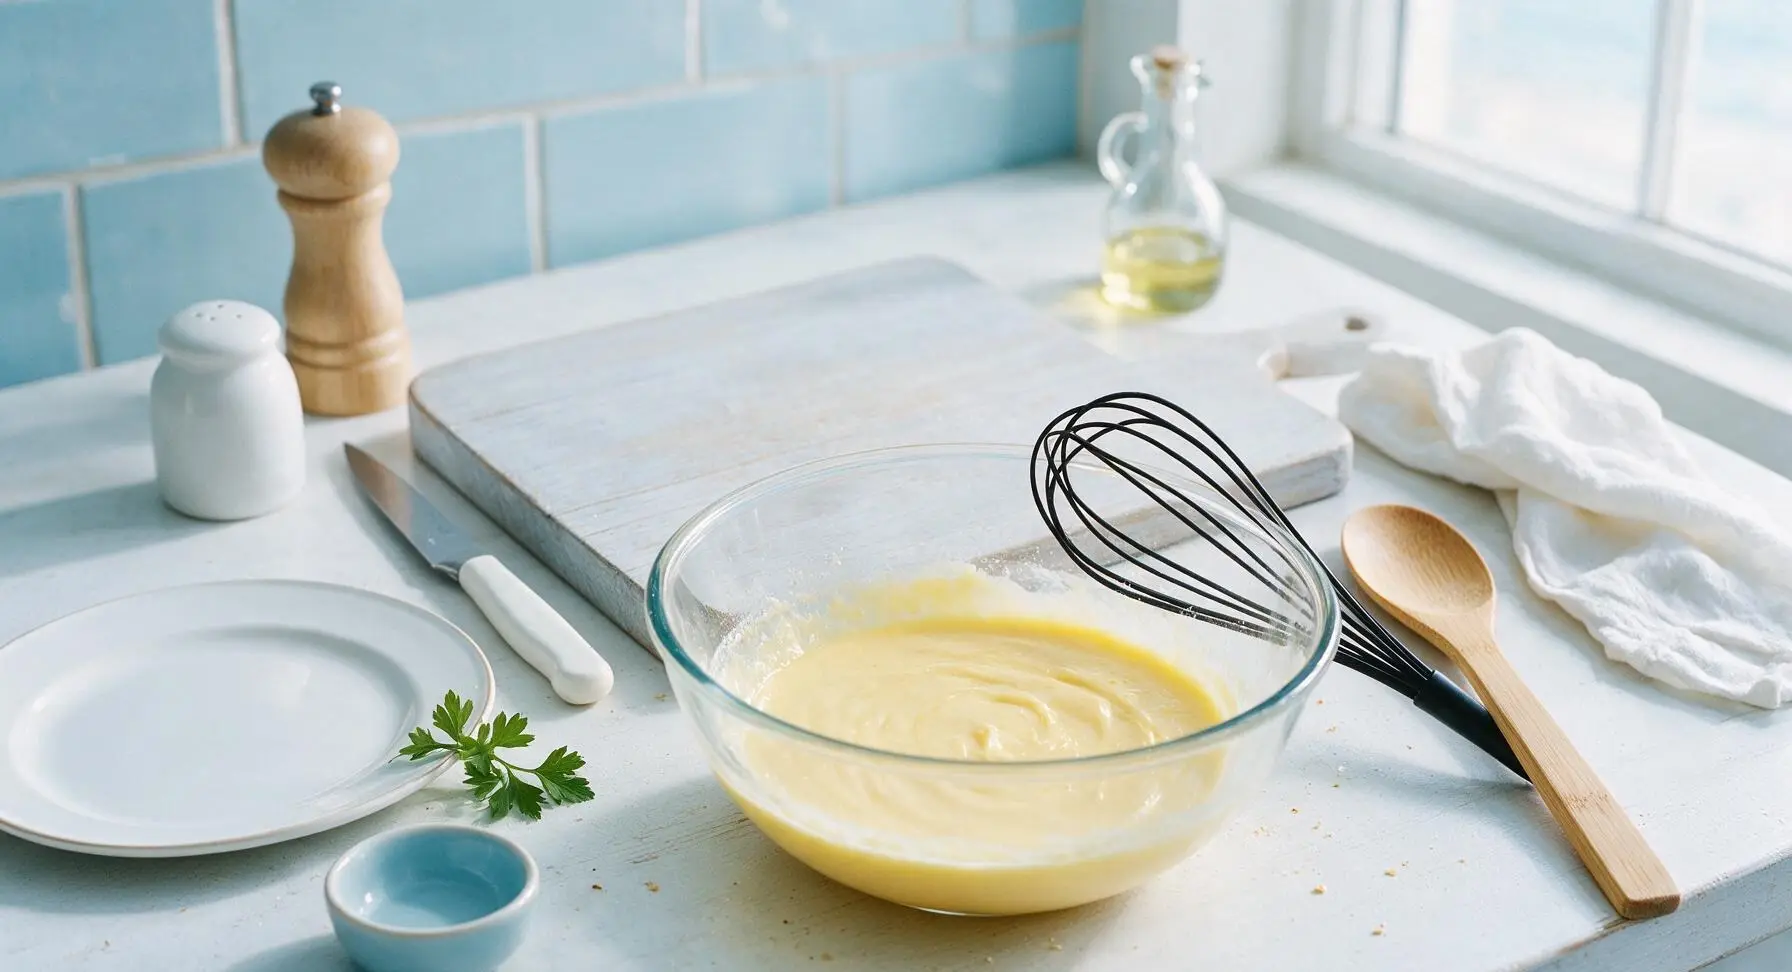
Crack the 2 large eggs into the clear glass mixing bowl. Add 1 1/3 cups whole milk, 2 tablespoons vegetable oil, and 1 teaspoon vanilla extract. Use the matte black wire whisk to beat the mixture for 30 seconds until fully combined, pale yellow, with no streaks of separated egg visible.
Step 2
step2:Whisk Wet Ingredients
Step 2
step2:Whisk Wet Ingredients
3

Add Dry Ingredients

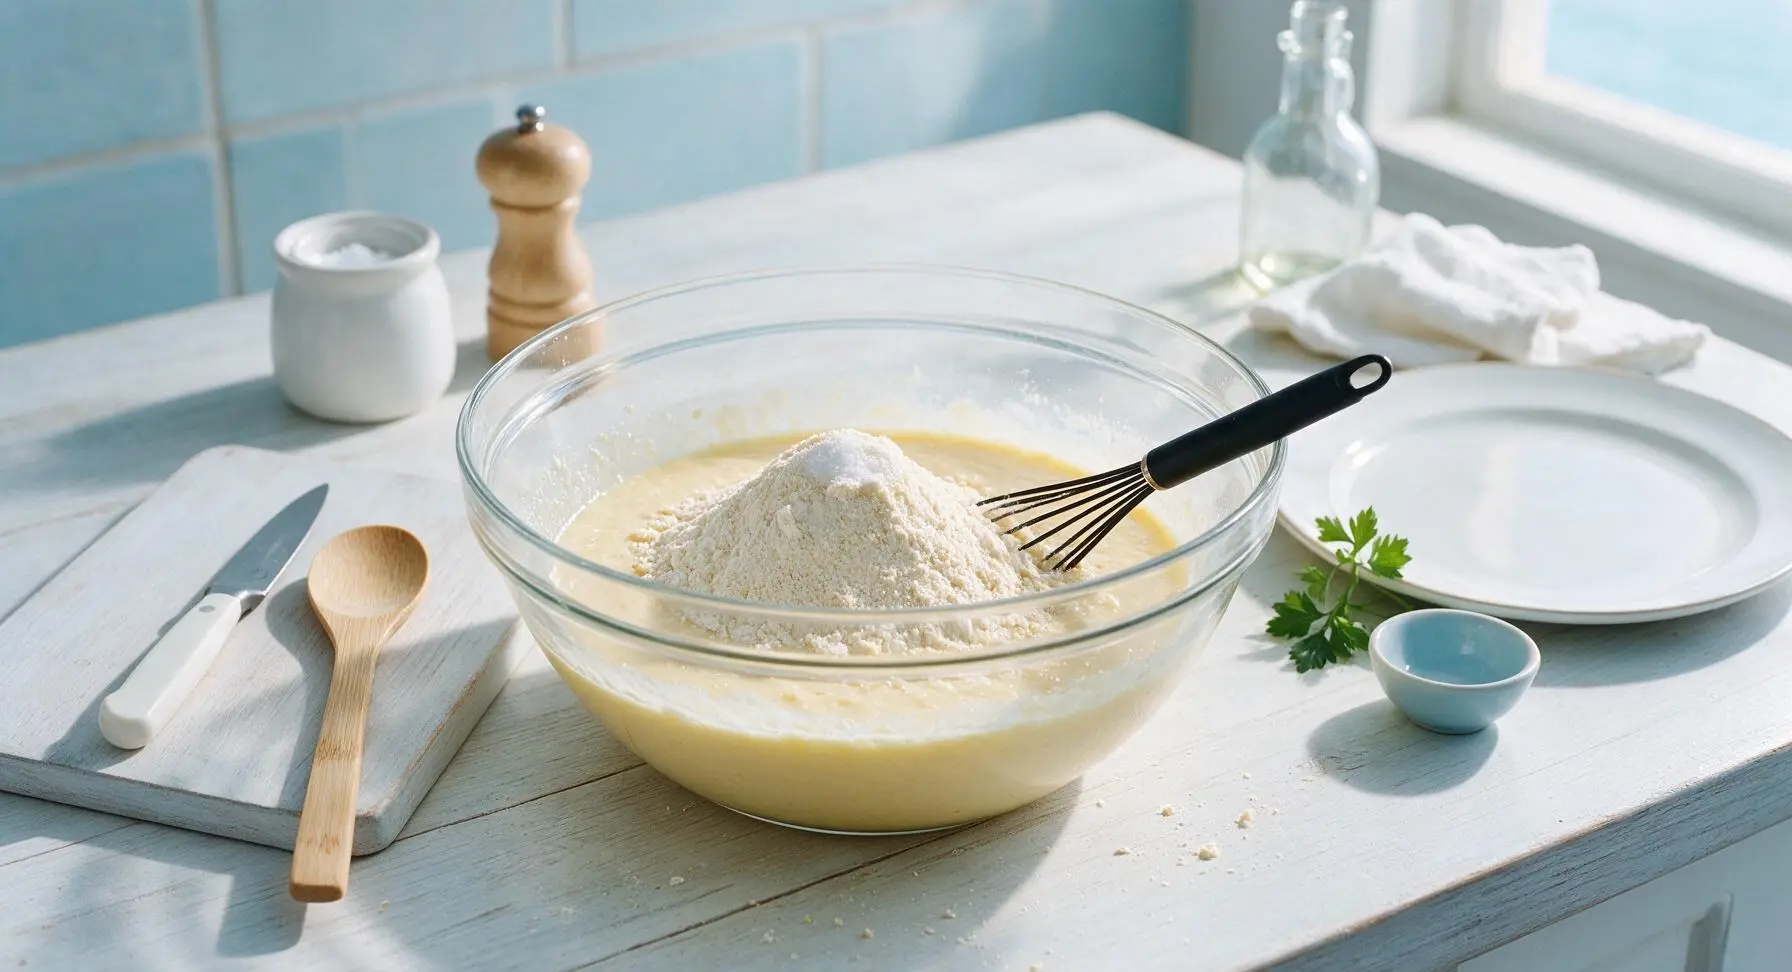
Add the 2 cups all-purpose baking mix, 1 tablespoon granulated sugar, and 1/4 teaspoon kosher salt directly to the bowl with the combined wet ingredients. Do not sift the baking mix beforehand, as this is unnecessary for this quick recipe.
Step 3
step3:Add Dry Ingredients
4

Mix Waffle Batter

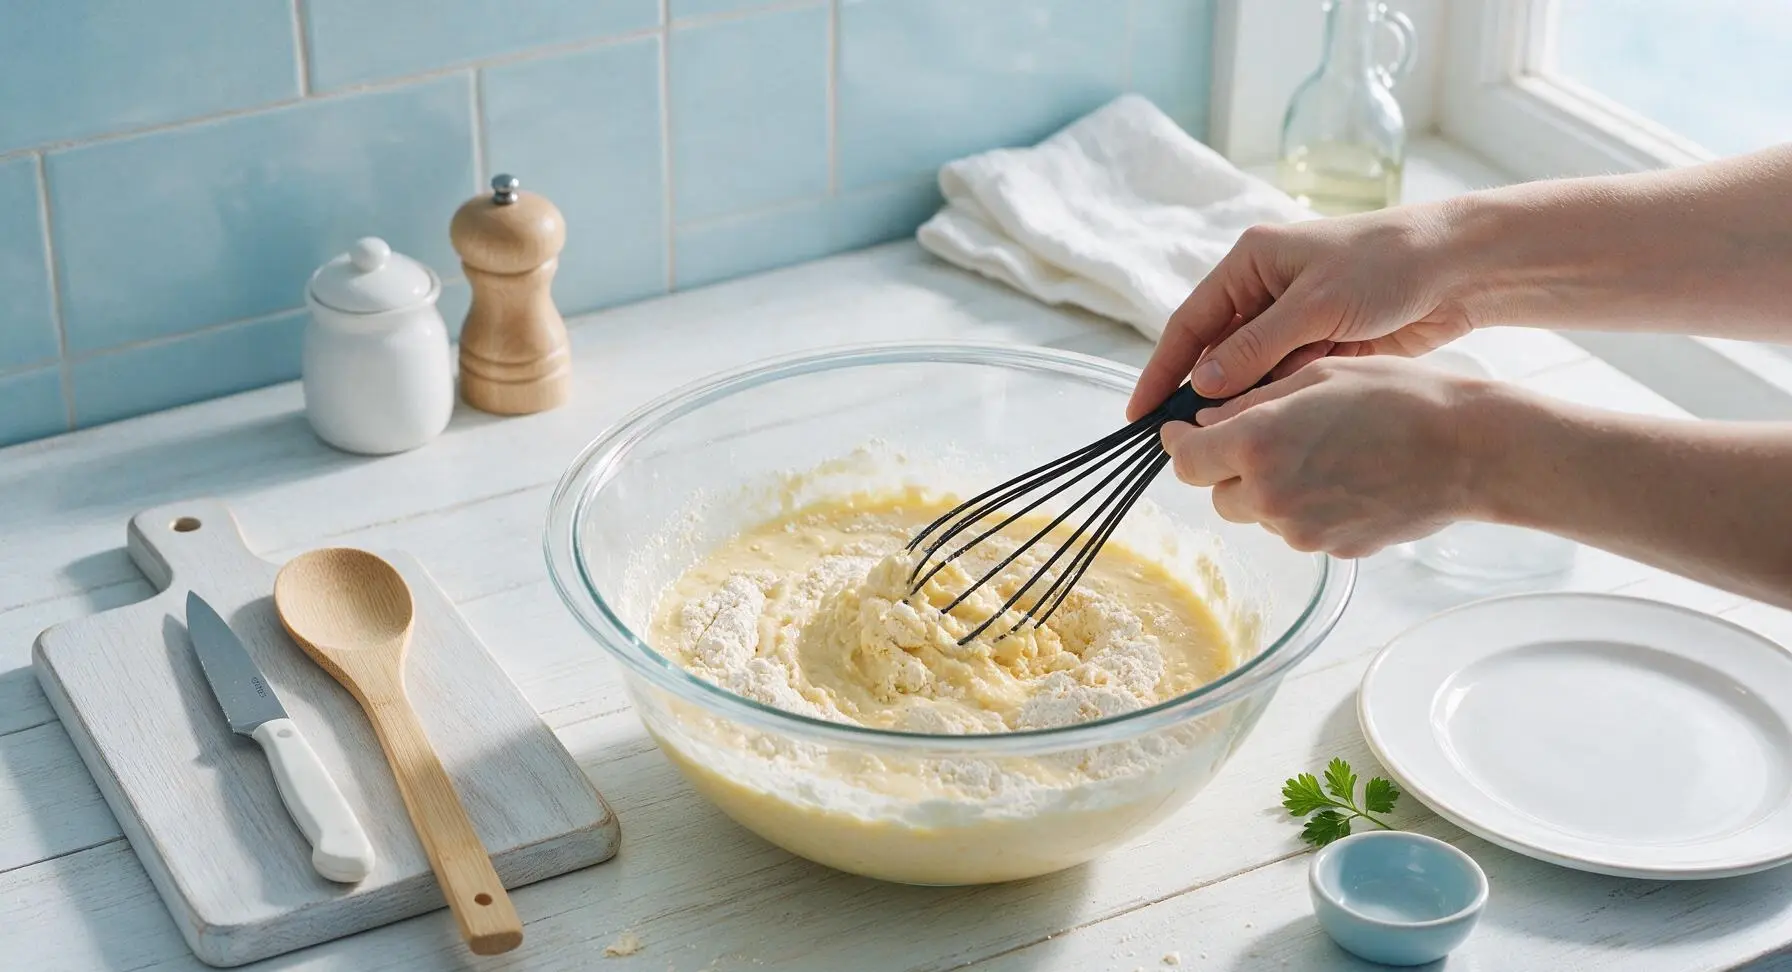
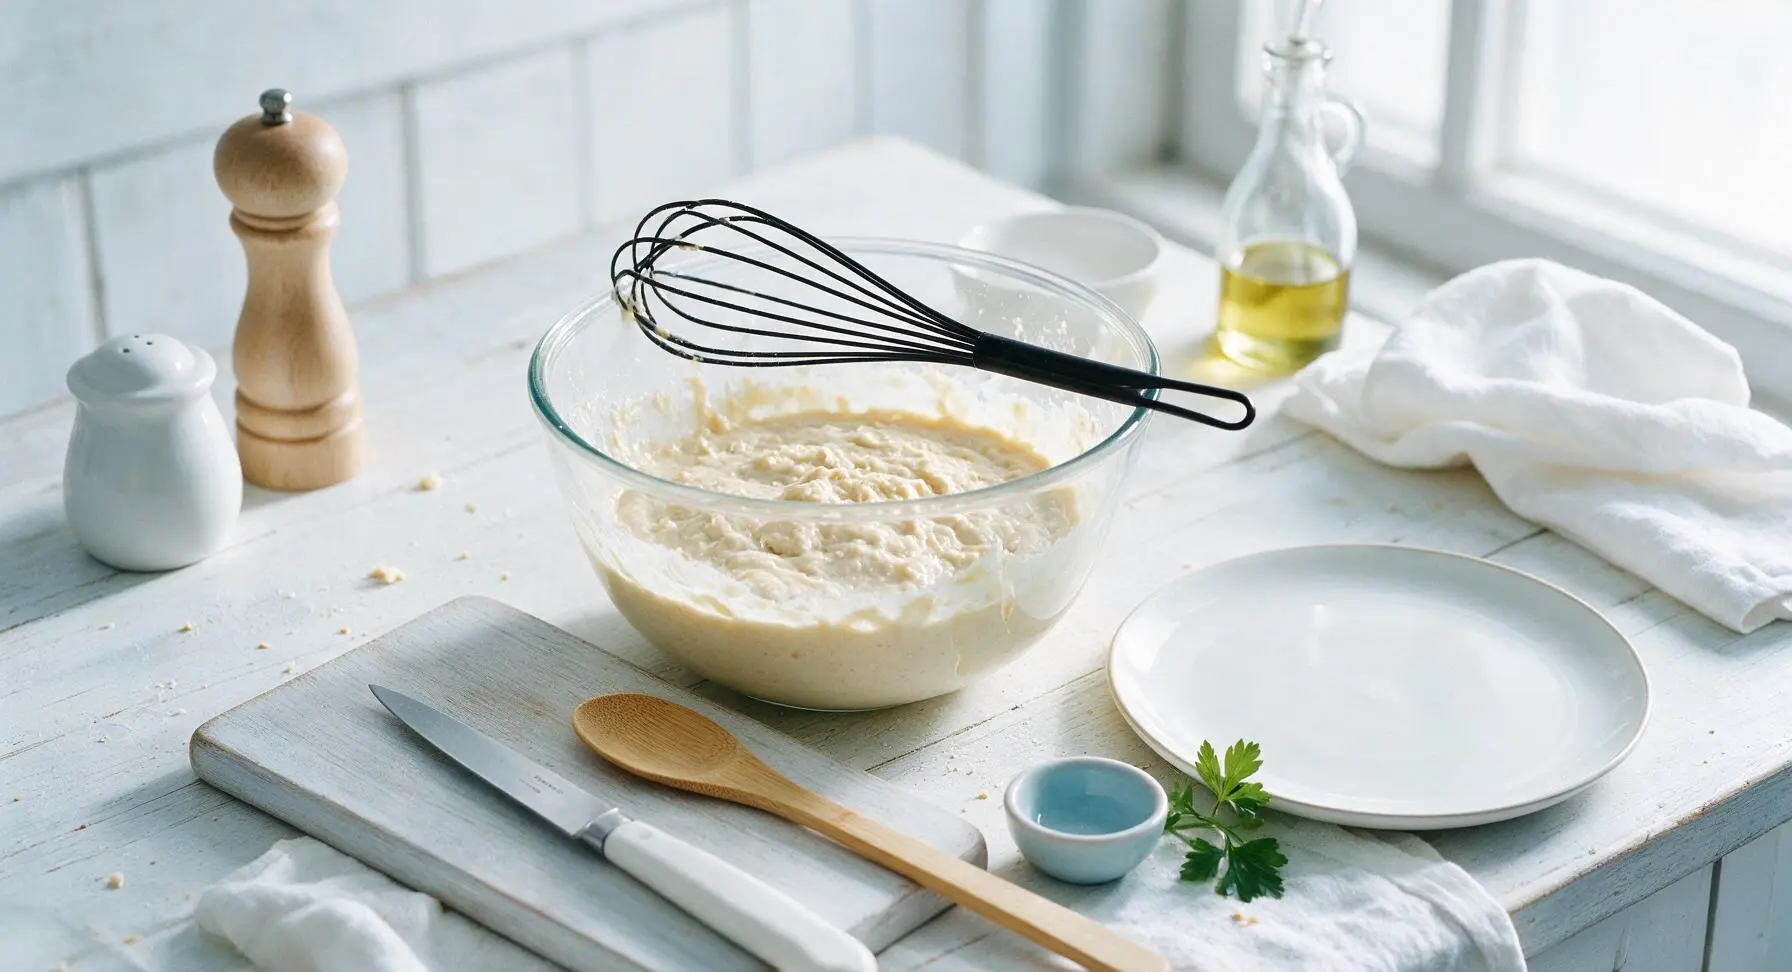
Use the black wire whisk to gently stir the dry ingredients into the wet ingredients, mixing only just until combined. Stop stirring as soon as no large pockets of dry mix remain; the batter will be slightly lumpy, which is the correct texture. Do not overmix, as this will develop gluten and create tough, dense waffles. Let the batter rest for 2 minutes to thicken slightly.
Step 4
step4:Mix Waffle Batter
Step 4
step4:Mix Waffle Batter
5

Pour Batter Onto Iron

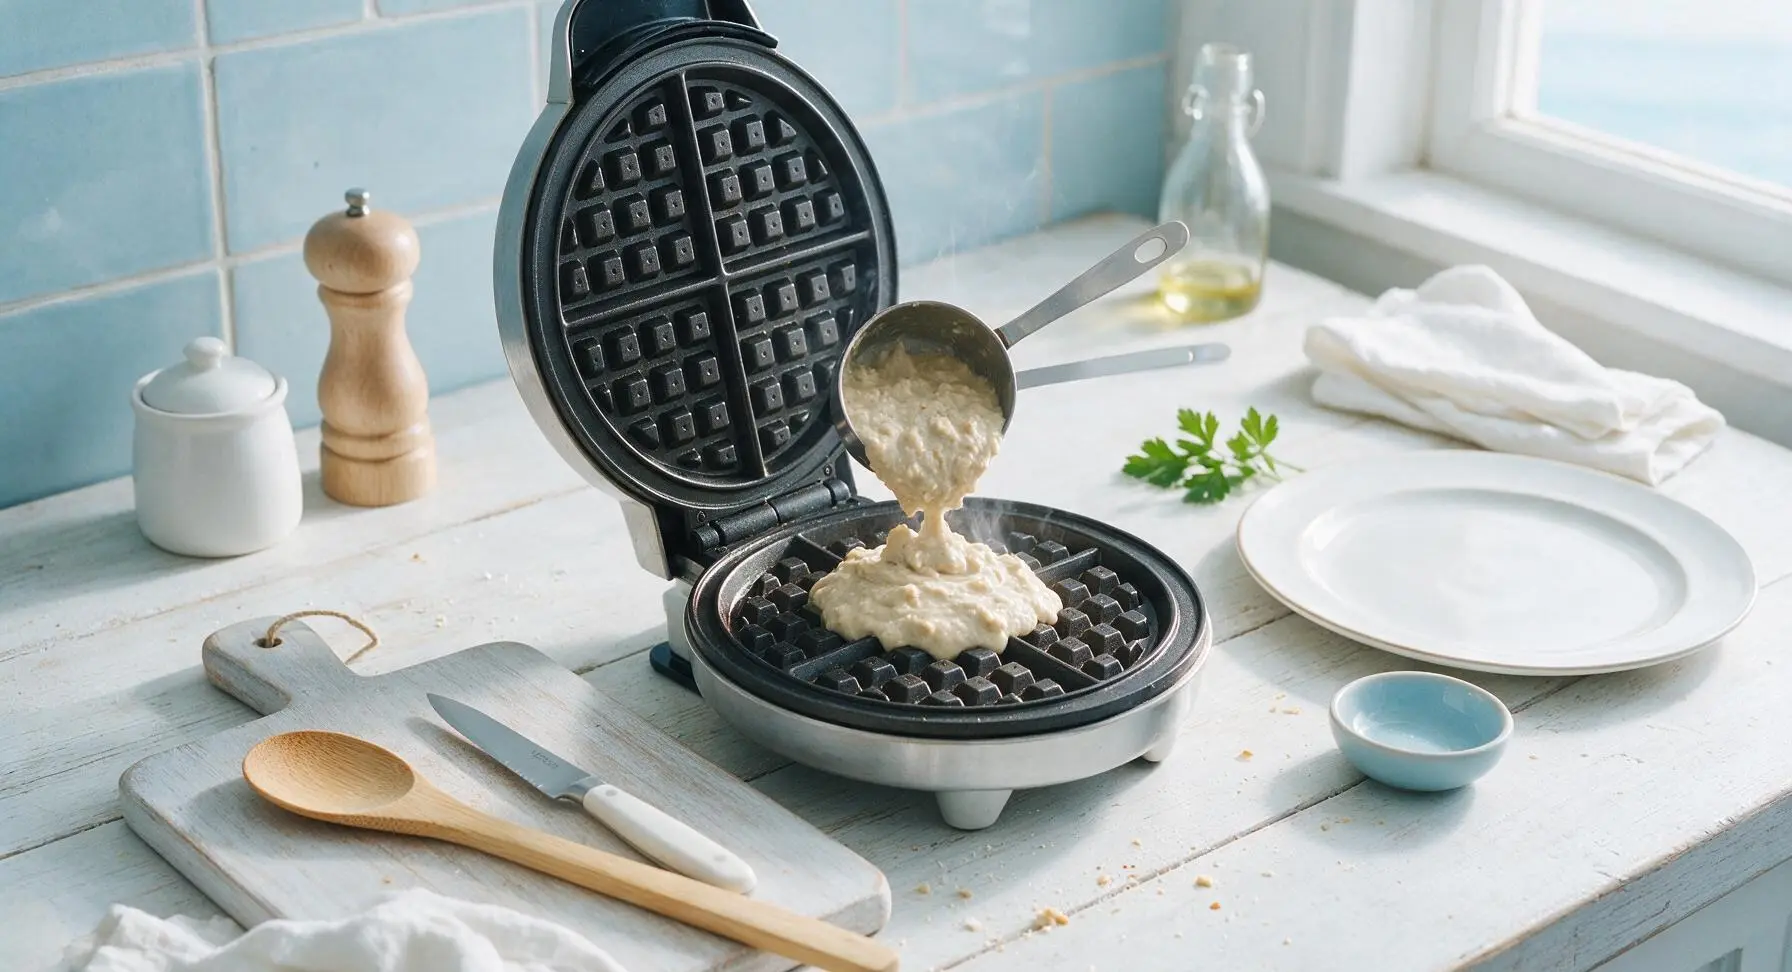
Once the waffle maker indicator light turns green to signal it is fully preheated, use the stacked stainless steel 1/4 cup measuring cup to scoop 1/2 cup (two level scoops) of batter directly onto the center of the lower waffle grid. Do not spread the batter; it will spread evenly on its own when the lid closes.
Step 5
step5:Pour Batter Onto Iron
6

Cook Waffles Until Crisp

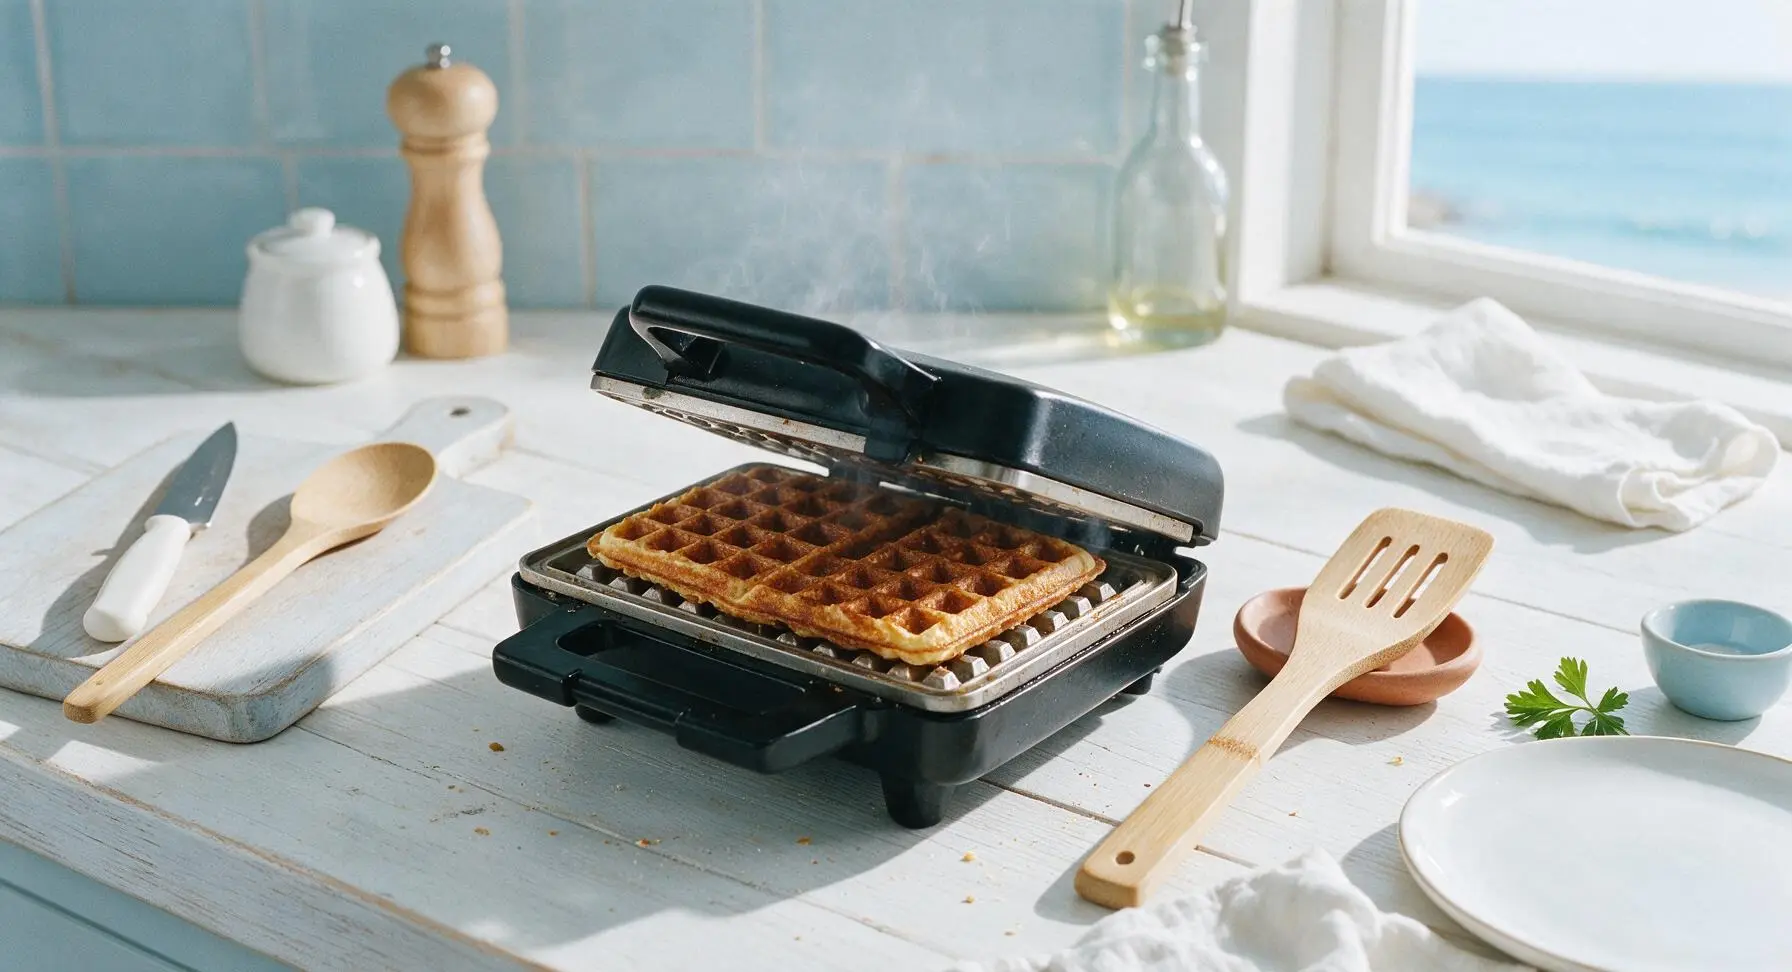
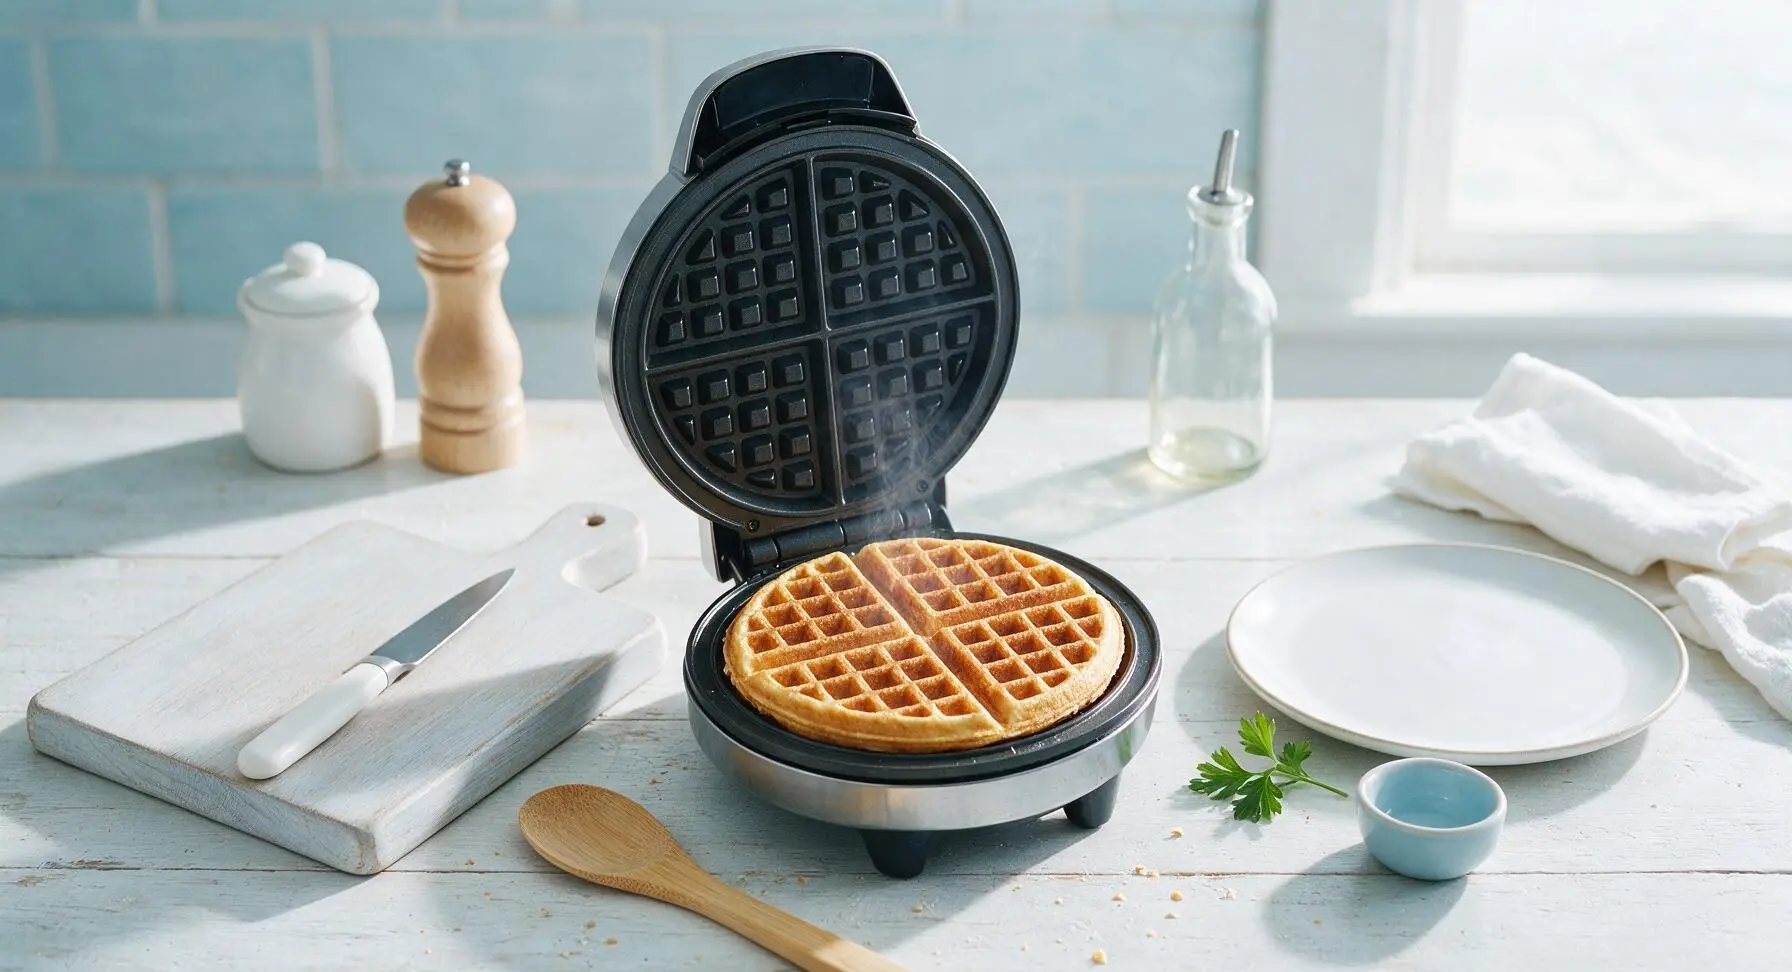
Close the waffle maker lid and cook for 3 to 4 minutes, until the indicator light shows cooking is complete and waffles are deep golden brown with crisp edges. Do not open the lid during the first 2 minutes of cooking, as this will tear the uncooked waffle. Steam will slow to a faint, thin wisp when waffles are fully cooked.
Step 6
step6:Cook Waffles Until Crisp
Step 6
step6:Cook Waffles Until Crisp
7

Remove Cooked Waffles

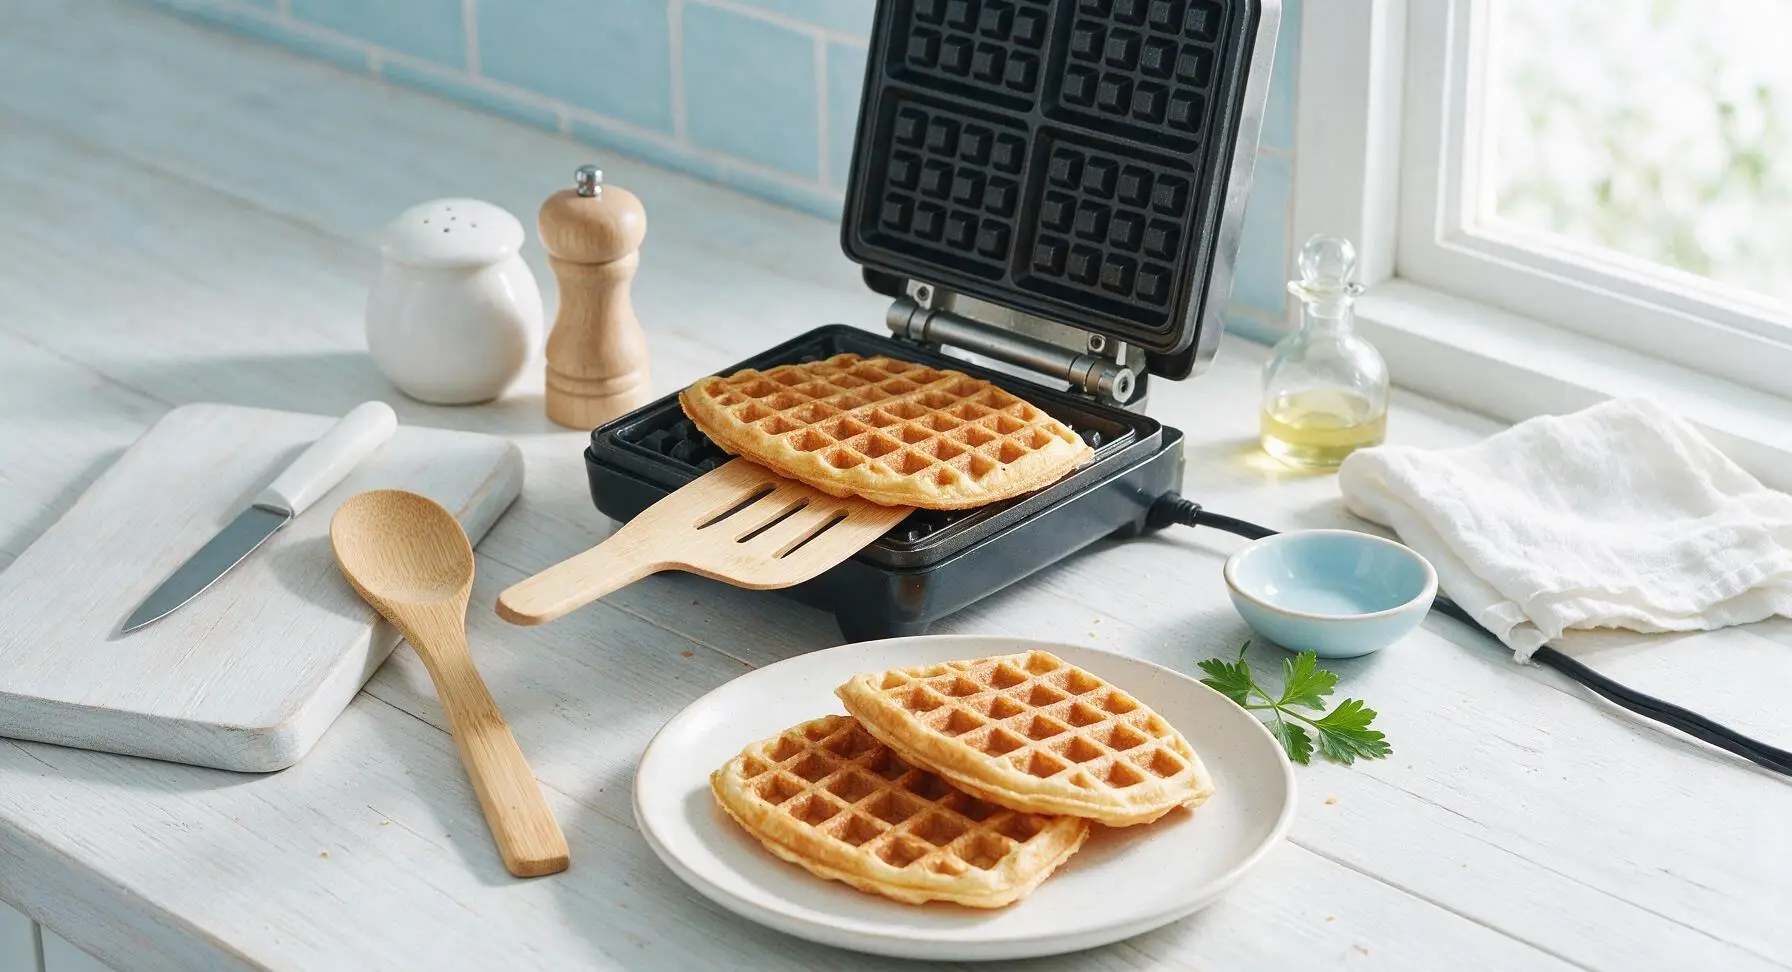
Use the slotted birch wood turner to lift the finished waffle from the iron, and transfer it to the matte cream stoneware dinner plate. Repeat the pouring and cooking process with remaining batter, stacking cooked waffles loosely on the plate as you work; you will make 6 to 8 total waffles.
Step 7
step7:Remove Cooked Waffles
8

Plate and Serve Waffles

Stack 2 to 3 warm waffles per serving on the cream stoneware plate. Top with a pat of unsalted butter, drizzle with warm maple syrup, and garnish with sliced fresh strawberries and a small sprig of fresh mint. Serve immediately while waffles are hot and crisp.
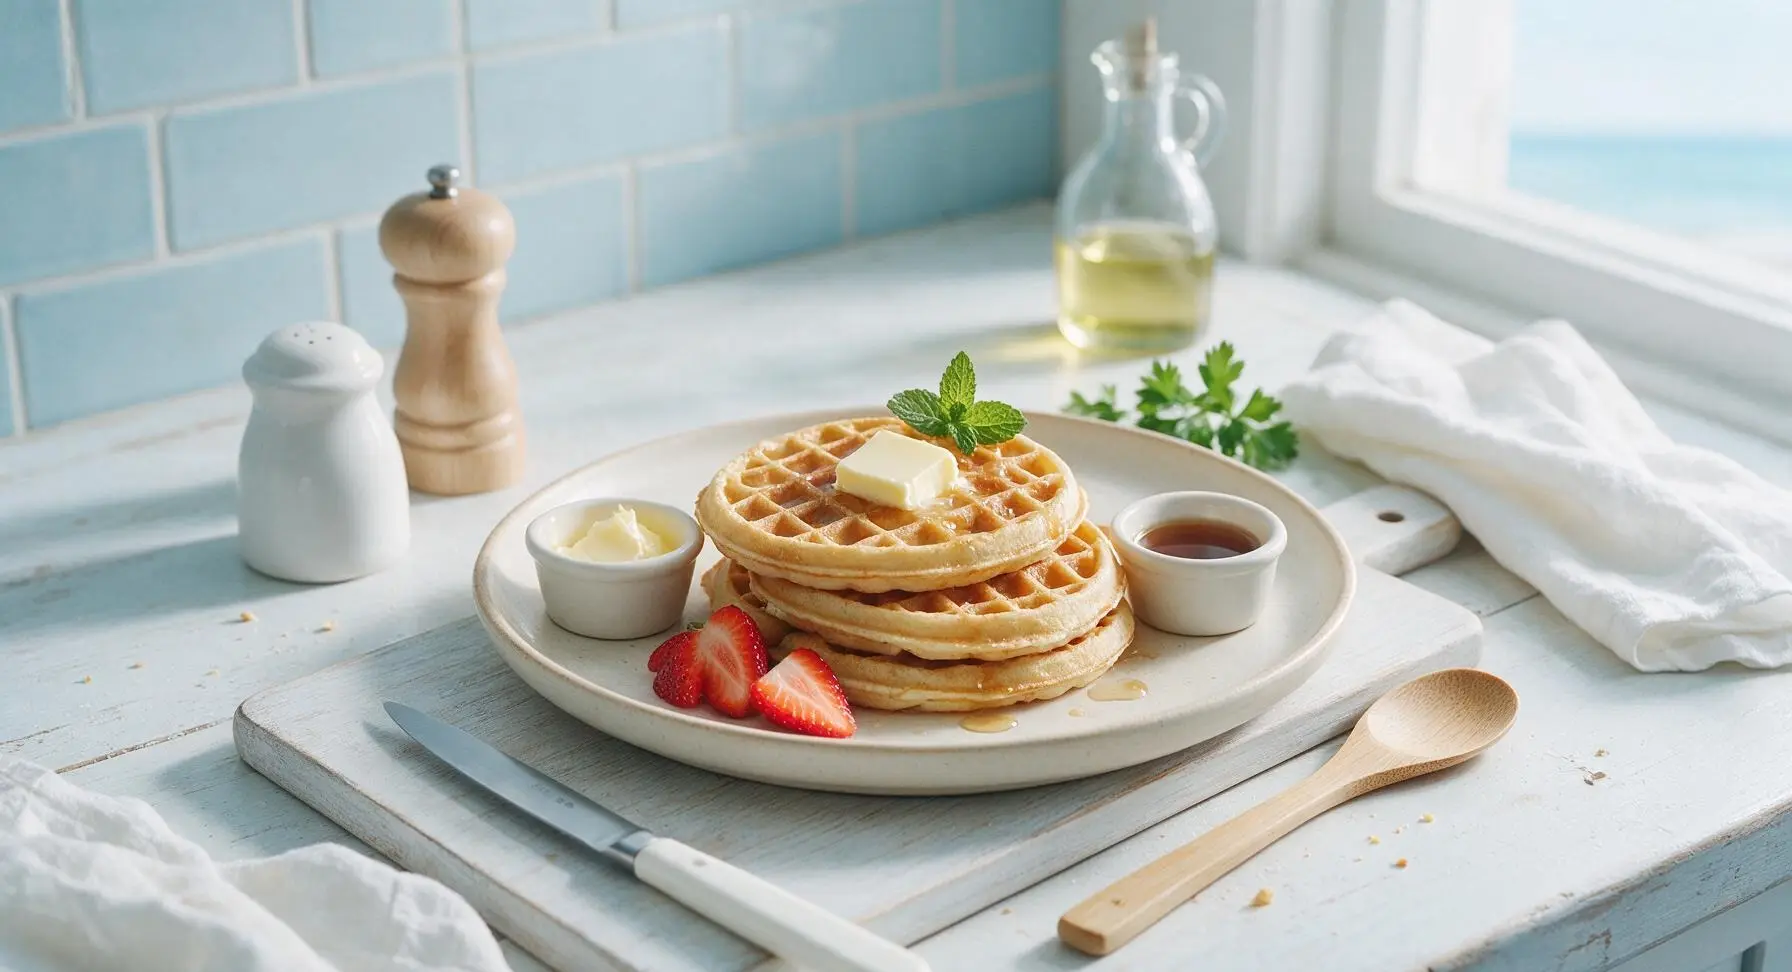
Step 8
step8:Plate and Serve Waffles

Tips

1.Resist the urge to overmix the batter: small lumps are ideal, as overmixing develops gluten in the baking mix and leads to tough, chewy waffles instead of light, fluffy ones with crisp edges.
2.For extra crisp waffles when cooking in batches, place finished waffles directly on a wire rack set over a baking sheet in a 200°F (95°C) oven instead of stacking them on a plate. Stacking traps steam and softens crisp waffle edges quickly.
3.If you don’t have whole milk, you can substitute 2% dairy milk or plain oat milk, but avoid skim milk: its lower fat content produces less rich, less crisp waffles that dry out much faster during cooking.


✨ You May Also Like

Breakfast
🍜 United States

Crisp-edged, fluffy lard griddle cakes are a nostalgic homestyle staple, with rich savoriness from rendered lard, perfect topped with maple syrup or savory gravy.

⏱️ 25 minuteBreakfast ★ 4.8
Breakfast
🍜 United States

Flaky, buttery homemade buttermilk biscuits smothered in creamy, peppery pork sausage gravy: a beloved, hearty Southern American comfort food classic.

⏱️ 35 minuteBreakfast ★ 4.8
Breakfast
🍜 United States

Golden, custardy brioche stuffed with sweet cream cheese and fresh berries, pan-fried to crisp perfection. An indulgent, cozy breakfast perfect for slow weekend mornings.

⏱️ 30 minuteBreakfast ★ 4.7
Breakfast
🍜 United States

Flaky, buttery Southern-style biscuits stuffed with savory salty country ham, a portable, satisfying classic perfect for casual on-the-go meals.

⏱️ 25 minuteBreakfast ★ 4.8
Breakfast
🍜 United States

Iconic puffy baked pancake popularized in Seattle, with crisp golden edges and soft custardy center, served warm with classic sweet toppings.

⏱️ 35 minuteBreakfast ★ 4.6
Breakfast
🍜 United States

Fluffy, golden pancakes studded with juicy peak-summer mixed berries, drizzled with maple syrup for a bright, comforting, crowd-pleasing family breakfast.

⏱️ 25 minuteBreakfast ★ 4.7

all purpose baking mix waffles:Frequently Asked Questions

1.Why do my waffles come out soggy instead of crisp on the edges? ▾
Sogginess usually stems from two easy-to-fix issues: opening your waffle iron too soon before steam stops releasing, or piling hot cooked waffles on a solid plate. For crisp edges, let waffles cook until steam slows to a wisp, then rest them on a wire rack in a 200°F oven until ready to serve.
2.Can I make this batter ahead of time for quick weekday breakfasts? ▾
You can prep dry and wet components separately and store them airtight in the fridge for up to 2 days, but don’t combine them until right before cooking. Pre-mixed batter gets dense and flat as the leavening in the baking mix activates early, leading to heavy, less fluffy waffles with minimal rise.
3.Do I have to add the granulated sugar, or can I leave it out? ▾
The small amount of sugar isn’t just for sweetness—it helps create that signature golden, crisp crust as waffles cook. You can cut it in half for less sweet waffles perfect for savory toppings like fried chicken, but leaving it out entirely leads to paler, softer edges that don’t crisp well.
4.Can I swap the neutral vegetable oil for melted butter? ▾
Absolutely! Melted, cooled unsalted butter makes an even richer, more flavorful waffle with a slightly deeper golden crust, and works as a direct 1:1 swap for vegetable oil. Just make sure the butter isn’t piping hot when you mix it in, or it will cook the eggs and create lumpy batter.
5.How do I keep cooked waffles warm if I’m making a big batch for a group? ▾
Skip stacking waffles directly on a plate, which traps steam and makes them soggy fast even if they were perfectly crisp off the iron. Instead, arrange cooked waffles in a single layer on a wire rack set over a rimmed baking sheet, and hold them in a 200°F oven for up to 30 minutes to keep edges crisp and centers fluffy.
6.Can these waffles be frozen for later meal prep? ▾
Definitely! Let cooked waffles cool completely to room temperature first, then stack them between sheets of parchment paper to prevent sticking, and store in a sealed freezer bag for up to 3 months. Reheat straight from frozen in a toaster or 350°F oven for 3 to 4 minutes until hot and crisp.
7.My waffles stick to the waffle iron—what am I doing wrong? ▾
Sticking usually happens if your iron isn’t fully preheated before adding batter, or if you skip greasing the plates even on non-stick models. Give your iron 3 to 5 minutes to fully heat up, then lightly coat plates with non-stick spray or a thin brush of oil before pouring your first batch.
8.How lumpy should the batter be? I don’t want to over-mix it. ▾
Your batter should be slightly lumpy, with a few small flecks of dry baking mix still visible when you’re done stirring. Over-mixing develops gluten in the flour, leading to tough, chewy waffles instead of tender, fluffy ones. Stop stirring as soon as you no longer see obvious large dry streaks.
9.Can I add mix-ins like chocolate chips or blueberries to this batter? ▾
Absolutely! Fold in up to ½ cup of mix-ins like mini chocolate chips, fresh blueberries, chopped pecans, or cinnamon right at the end, after mixing the base batter. If using frozen fruit, toss it in a pinch of extra baking mix first to keep it from sinking as waffles cook.
10.How much batter should I pour per waffle to avoid messy overflow? ▾
The exact amount depends on your waffle iron size, but a good rule of thumb is to pour ⅓ to ½ cup of batter per 4-inch waffle well, spreading it slightly toward the edges with a spatula. Too much batter causes burnt, messy overflow, while too little leads to thin, uneven waffles that don’t fill the grid.

Comments (5)

2 days ago

OMG these are SO good! I grabbed my generic all purpose baking mix on a lazy Sunday morning because I didn’t want to run to the store for fancy waffle mix, and this recipe was a total game changer. My kids loved it, devouring theirs with extra syrup and rainbow sprinkles—even my youngest who turns his nose up at 90% of breakfast foods. The 15 minute cook time is no joke too, perfect for chaotic school morning meal prep! Will absolutely be making these every weekend from now on.

yesterday

Wait do these freeze well? I’ve been trying to stock my freezer with quick breakfasts for my drive to work and these sound exactly like what I need!

yesterday

So glad your whole family enjoyed them! These freeze beautifully—just let them cool completely, tuck them into a sealed freezer bag with parchment paper between each waffle so they don’t stick, and reheat in the toaster for 2-3 minutes when you’re ready to eat. Works like a charm for busy mornings!

1 week ago

Took a batch of these to my friend’s potluck last weekend and people were practically begging for the recipe! I tossed a handful of fresh blueberries and a dash of cinnamon into the batter, and they came out crispy on the outside, fluffy on the inside exactly how waffles should be. Way easier than making waffles from scratch, no weird fancy ingredients required. Quick pro tip: make sure your waffle iron is fully preheated before pouring batter in, otherwise they stick a little.

5 days ago

Love the blueberry and cinnamon addition—that sounds absolutely delicious! Great tip about preheating the waffle iron too, that’s the real secret to getting that perfect crispy exterior without any sticking. Thanks so much for sharing your hack!

30 minutes ago

Okay I am notoriously terrible at baking—like, I burn toast half the time terrible—and these actually came out edible??? The easy difficulty rating is not lying, y’all. I used the cheap store brand baking mix I had left in my pantry from move-in, topped mine with peanut butter and banana slices, and it felt like a fancy cafe breakfast for a fraction of the cost. 10/10 for total beginner cooks like me.

3 days ago

These taste just like the waffles I made my kids back in the 70s, but so much faster! I love that you don’t need a million fancy ingredients, I already had all the baking mix, eggs, and milk in my pantry. Topped mine with homemade strawberry jam and a dollop of whipped cream, just like the old days. Wonderful, simple recipe that doesn’t overcomplicate things.

2 days ago

This makes me so happy to read! My own grandma used to make waffles almost exactly like this for Sunday brunch when I was little, I’m definitely going to add a dollop of jam on mine this weekend just like you did. Thanks for the sweet reminder!

yesterday

Has anyone tried making these with gluten free all purpose baking mix? I have Celiac so I can’t do regular wheat AP, but I’ve been craving waffles for weeks and this recipe looks so straightforward I don’t want to mess it up on the first try.

2 hours ago

I made these last week with gluten free all purpose baking mix (the Bob’s Red Mill one) and it worked perfectly! I just added an extra splash of oat milk because the GF batter was a little thicker than regular, and they came out just as fluffy as the wheat version. You’ve got this!

30 minutes ago

Such a great question! We’ve tested this recipe with several popular gluten free all purpose baking mixes and they work beautifully—just add an extra tablespoon of milk if your GF batter feels thicker than regular pancake batter, like Meg mentioned. No sad, crumbly waffles here, promise!



