
almond milk waffles

intro
Crisp golden edges, fluffy tender centers, and subtle nutty flavor make these almond milk waffles a fast, satisfying favorite for busy weeknights and lazy weekends alike.
Ingredients
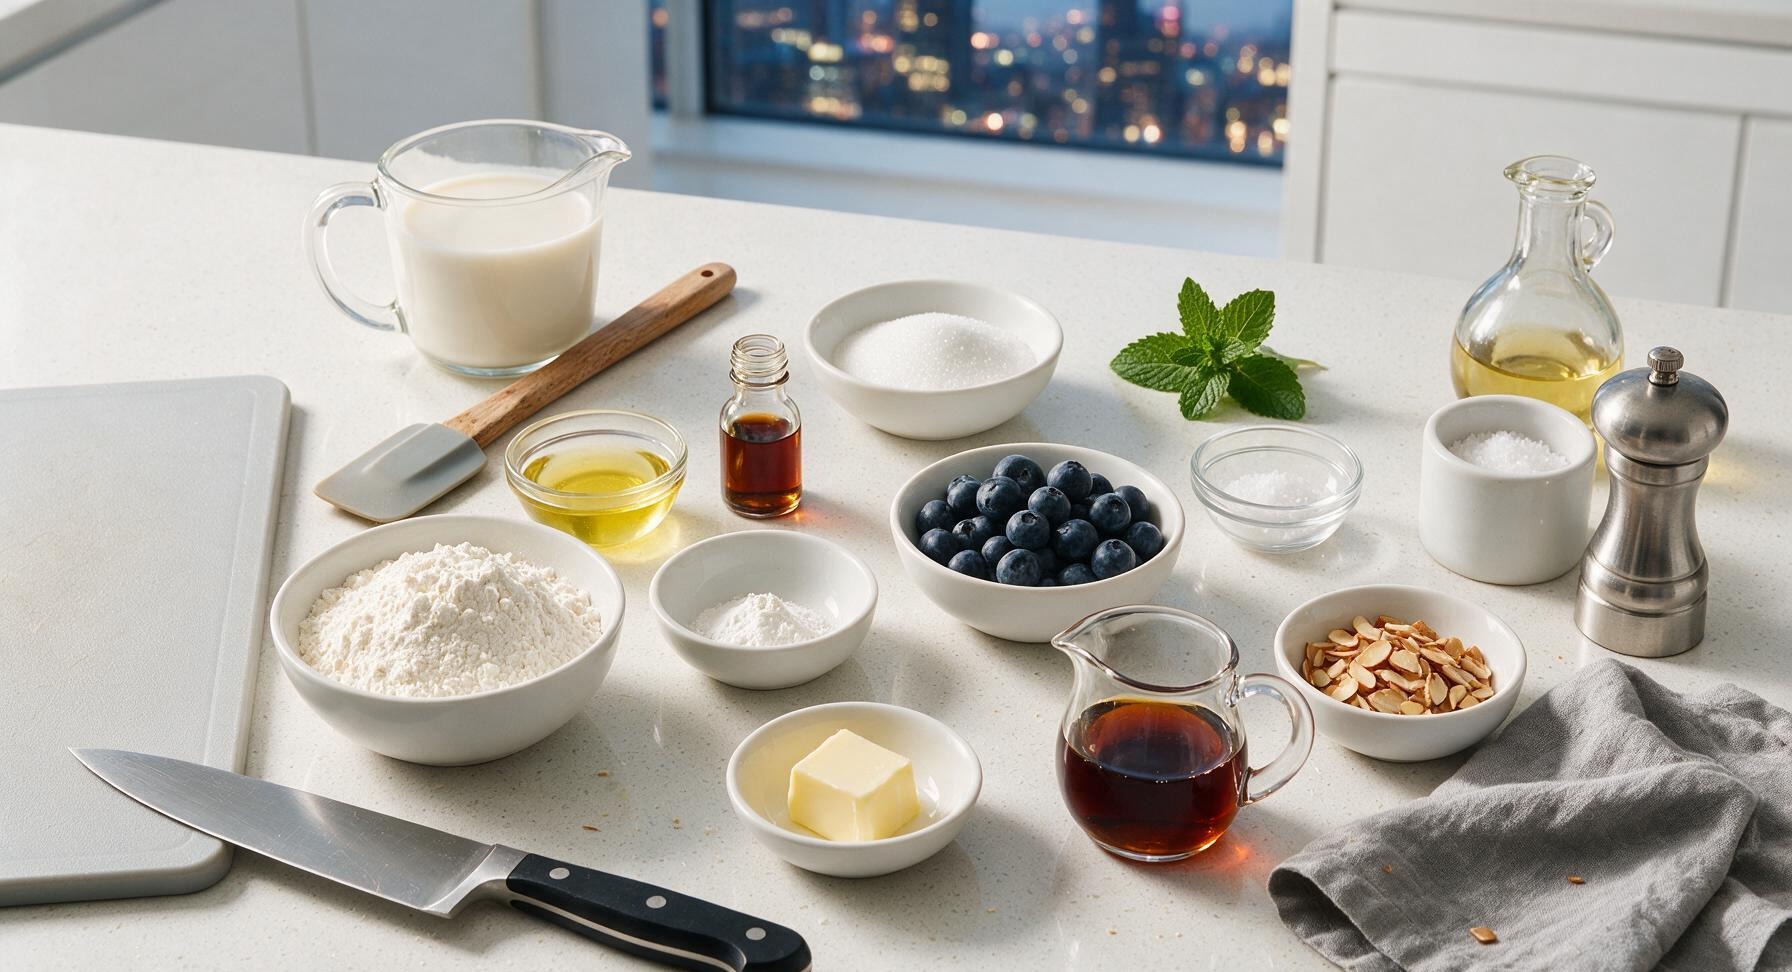
Steps
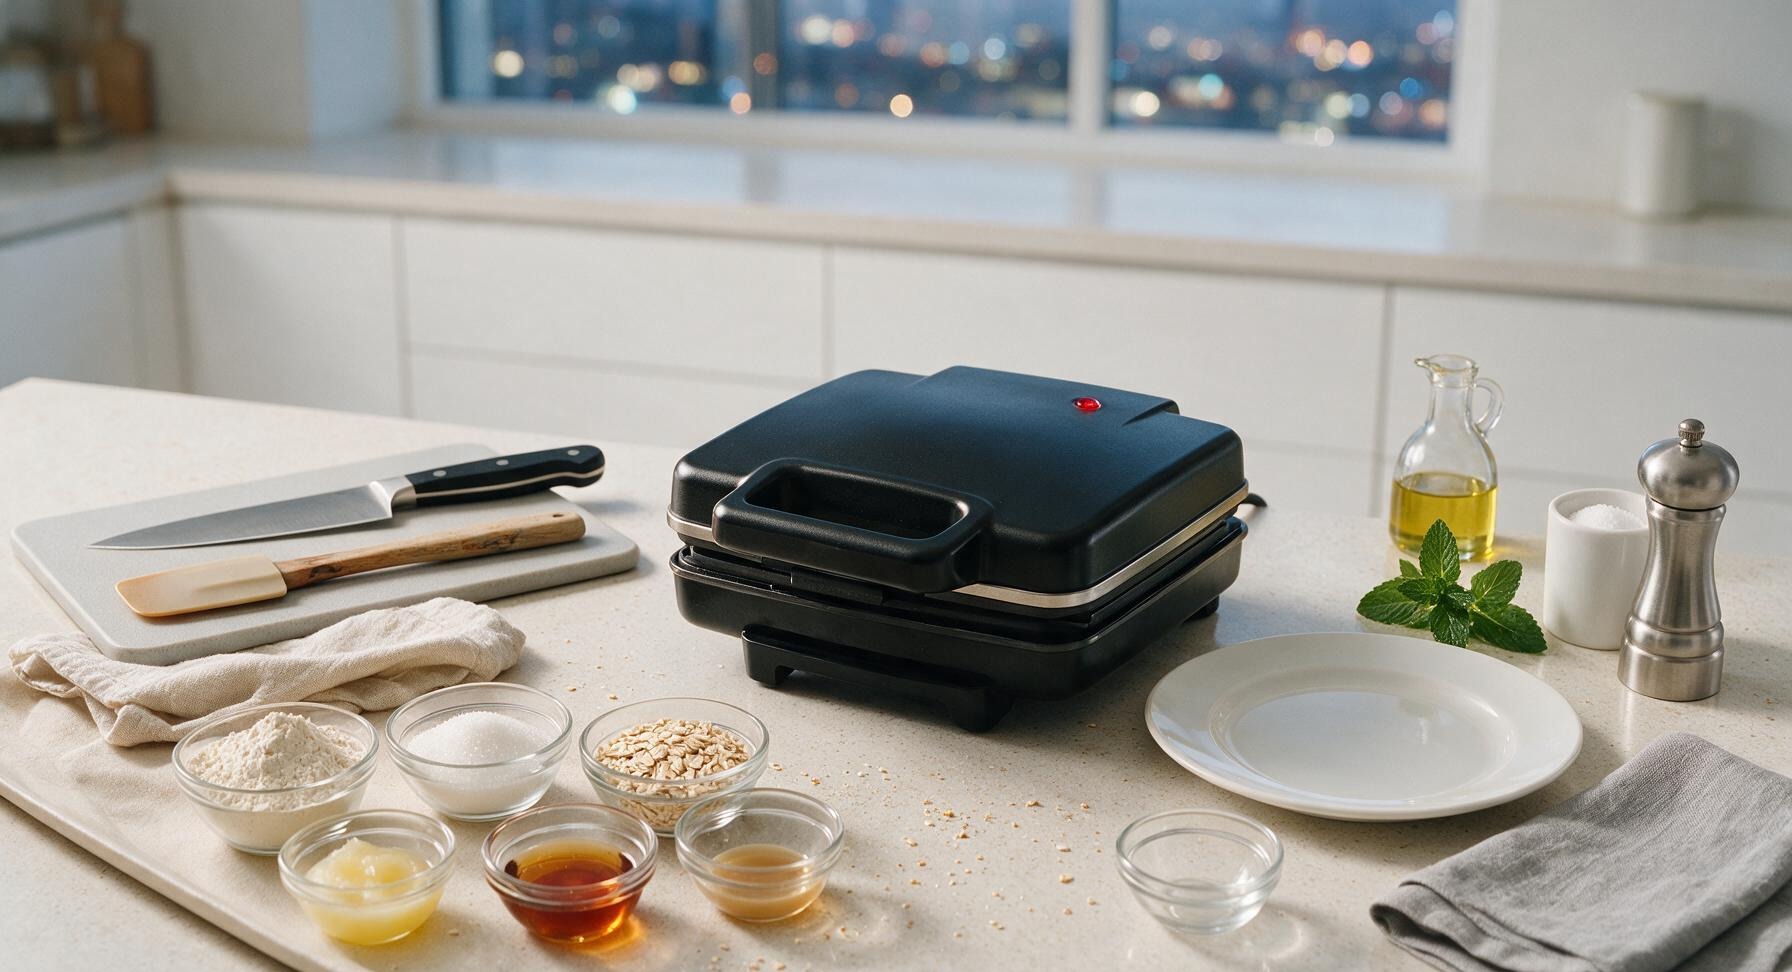
Preheat the Waffle Iron
Retrieve the matte black waffle iron from under-counter storage and set it in its fixed center counter position. Preheat to medium-high (375°F/190°C) while you prepare the batter; the iron is fully ready when a single drop of water sizzles and evaporates within 2 seconds of touching the plates, approximately 3 minutes after turning on. Lightly coat the non-stick plates with a thin brush of coconut oil only if your iron has a history of sticking.
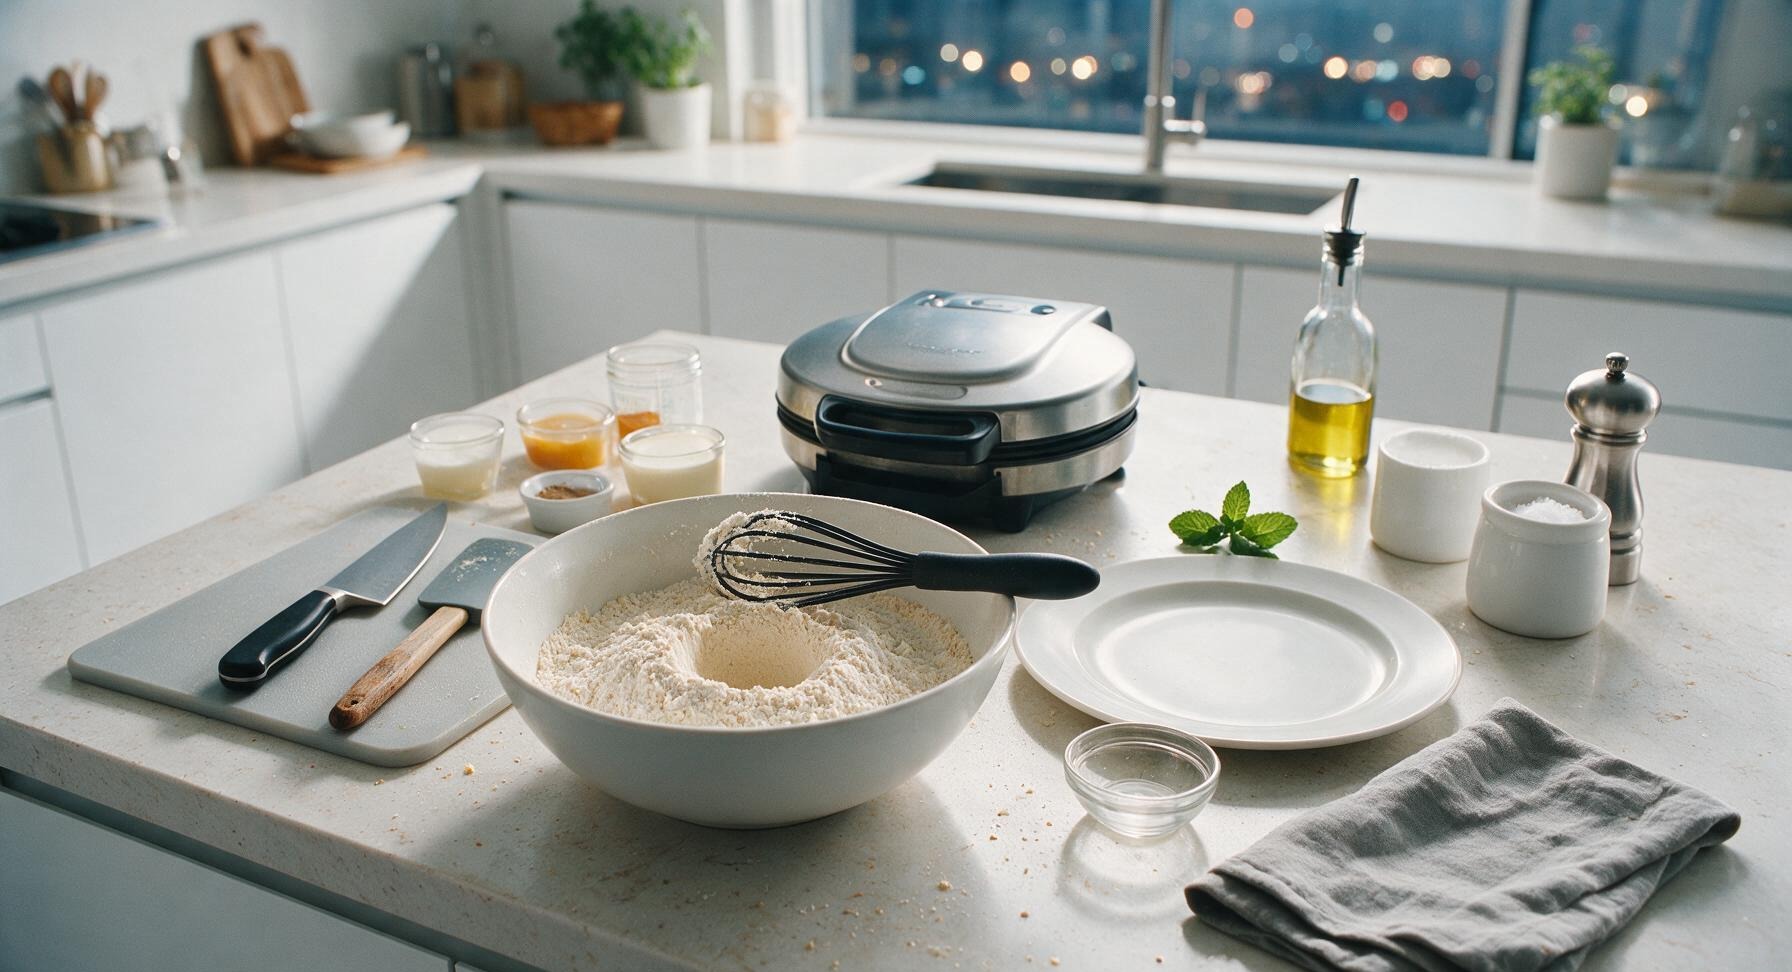
Combine Dry Ingredients
Set the large matte white ceramic mixing bowl in its fixed center-left counter position. Add the 2 cups all-purpose flour, 2 tablespoons granulated sugar, 2 teaspoons baking powder, and 1/2 teaspoon fine sea salt to the bowl. Use the black silicone whisk to stir the dry ingredients for 30 seconds until evenly blended, with no concentrated clumps of baking powder visible. Create a 3-inch wide well in the center of the dry mixture to hold wet ingredients.
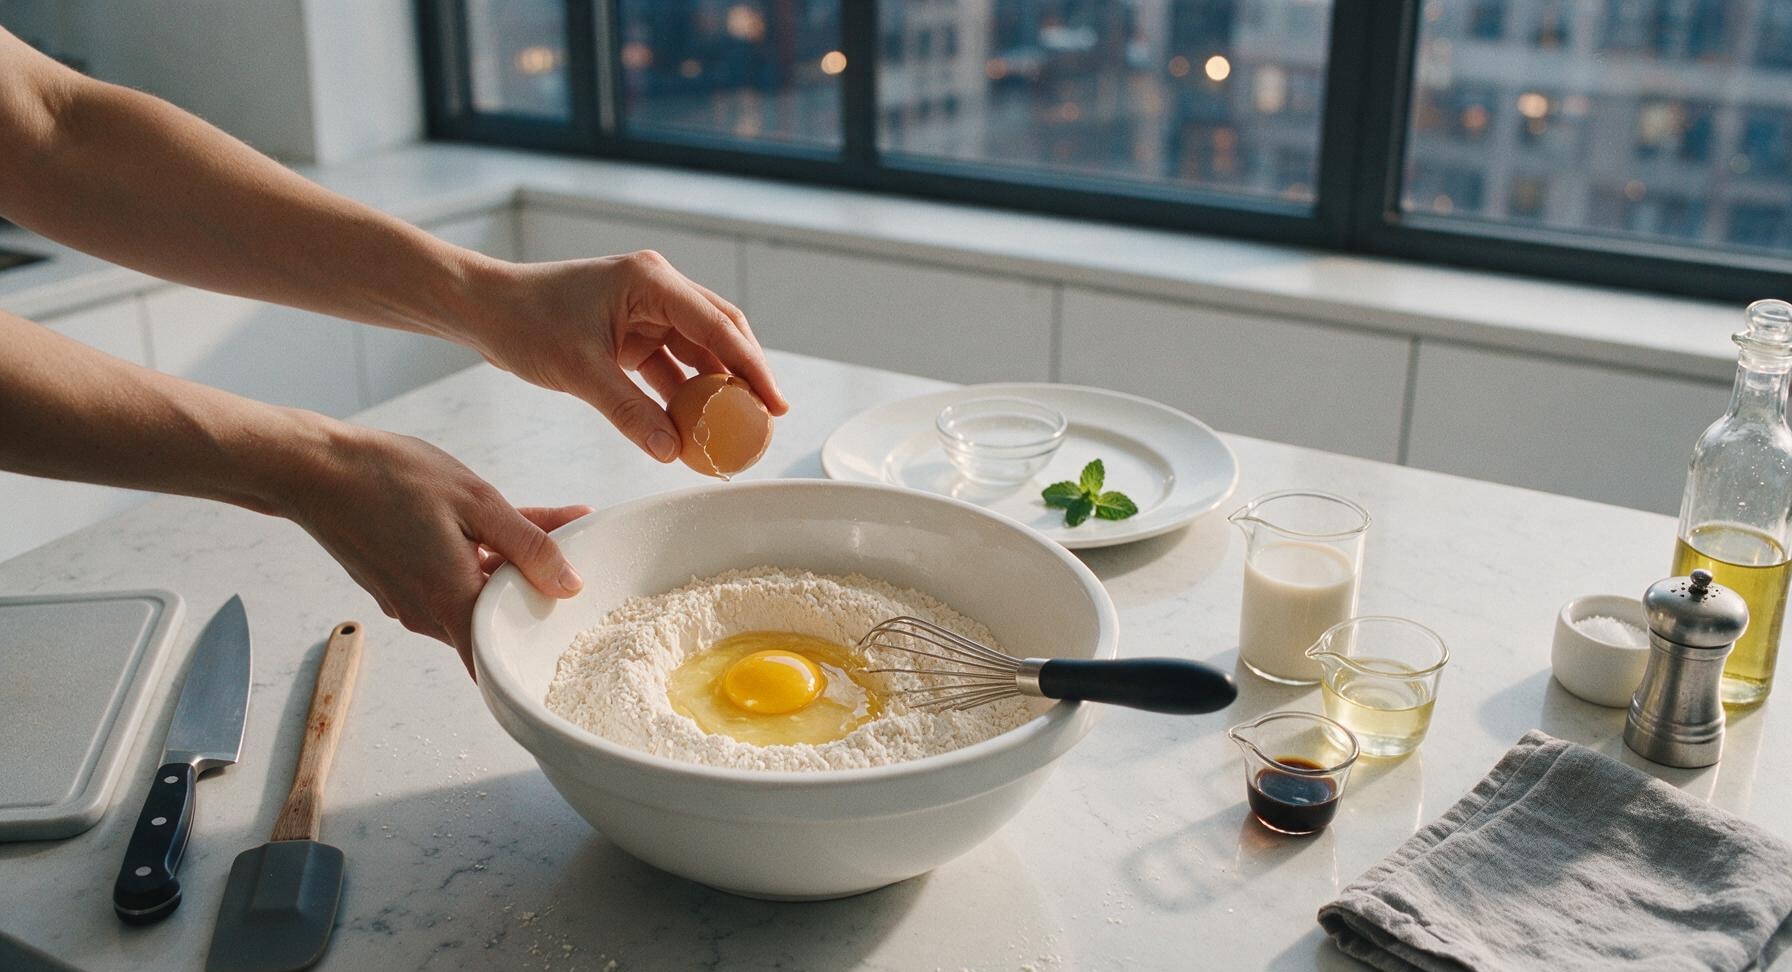
Whisk in Wet Ingredients
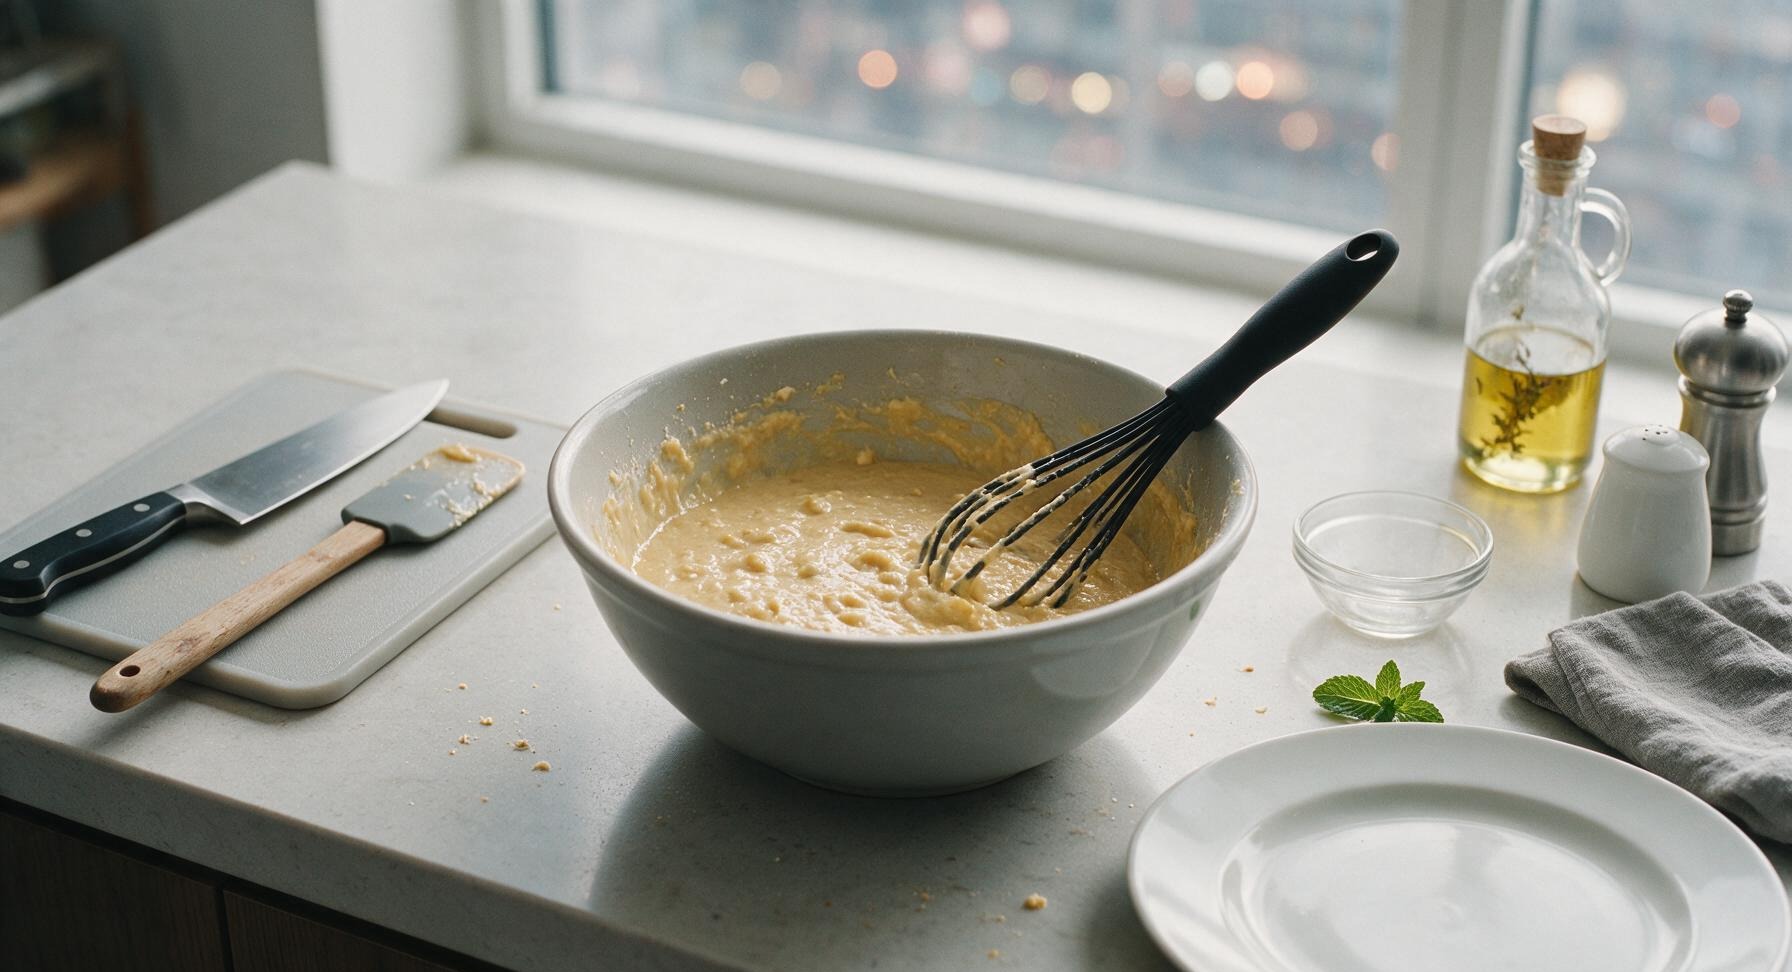
Crack the 2 large eggs into the well in the dry mixture, then pour in the 1.5 cups unsweetened almond milk, 3 tablespoons cooled melted coconut oil, and 1 teaspoon vanilla extract. Whisk slowly from the center outward, gradually pulling dry ingredients into the wet mixture, just until no large dry flour streaks remain. Stop mixing immediately once the batter comes together; small, pea-sized lumps are normal and desirable, as overmixing will develop gluten and create tough, dense waffles.
Rest the Batter
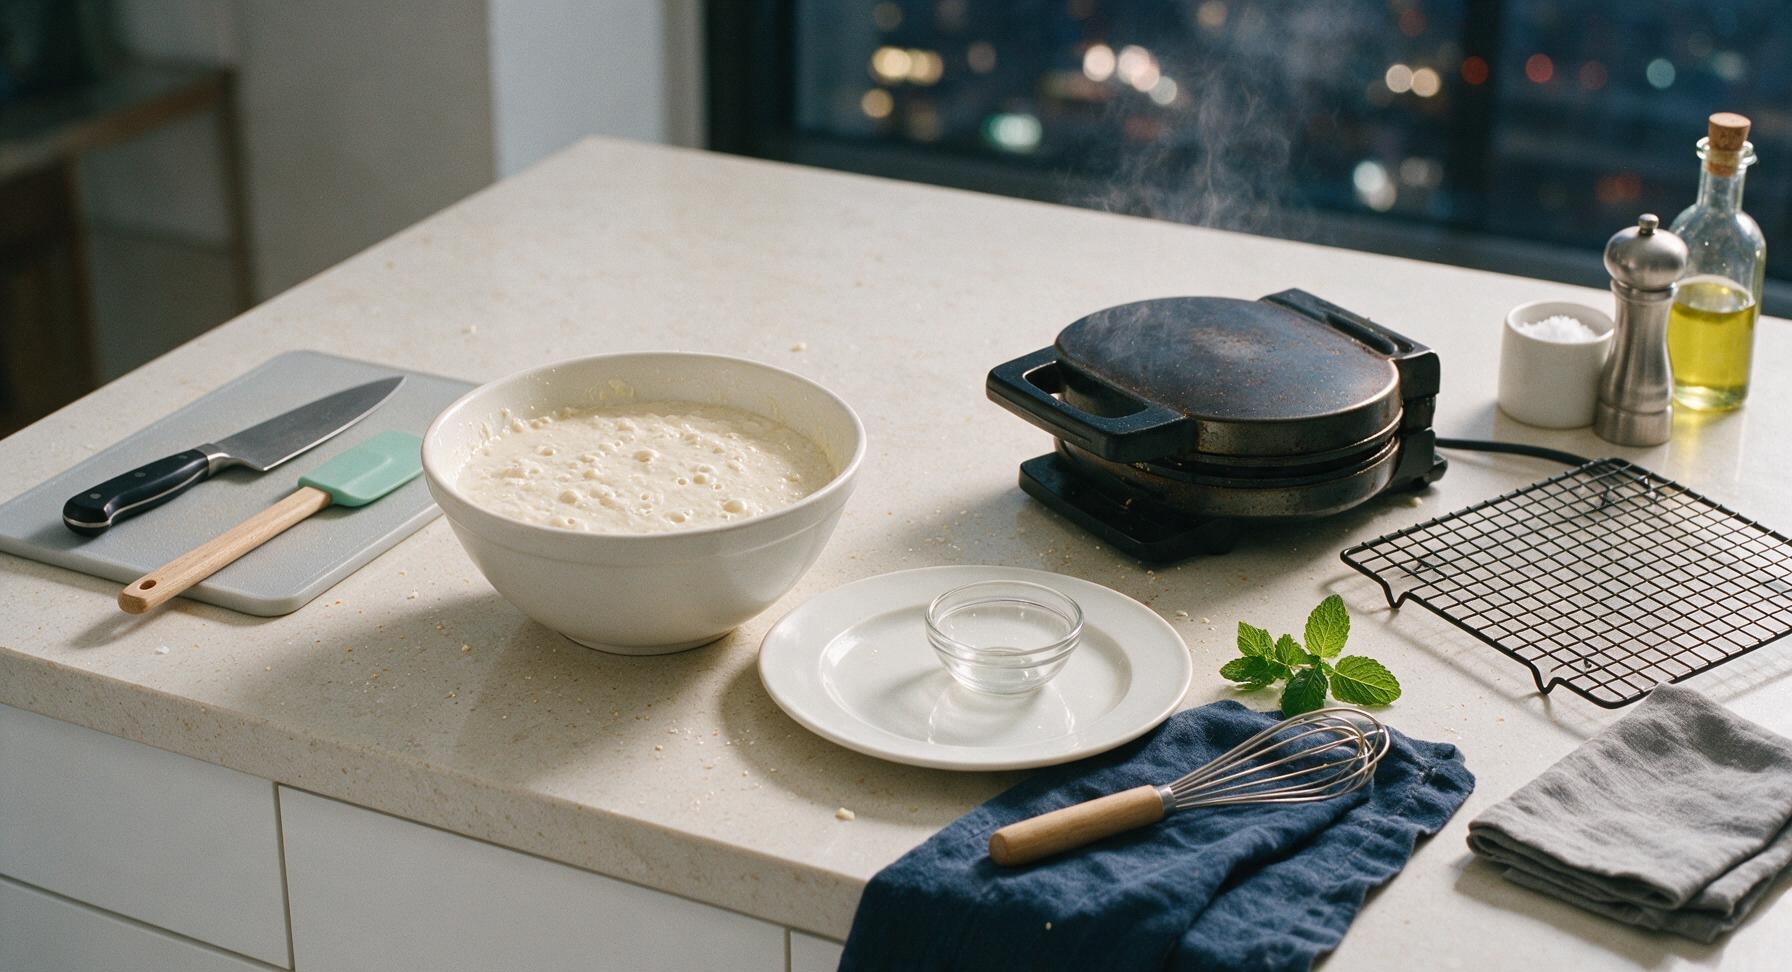
Let the mixed batter rest undisturbed for 5 full minutes at room temperature. This rest allows the baking powder to activate and the flour granules to absorb liquid, creating lighter, fluffier waffles with a crispier exterior. You will see tiny air bubbles start to form and pop on the batter surface as it rests; do not stir the batter again after this rest period.
Pour and Cook Waffles
Give the rested batter one single, gentle stir to pop any oversized air bubbles. Pour 1/2 cup of batter directly into the center of the preheated waffle iron plates, spreading it only slightly if needed to sit 1 inch from the plate edges (batter will spread naturally as the lid closes). Close the lid and cook for 3.5 to 4 minutes, until no more steam escapes from the iron edges and the waffle is a deep, even golden brown. Never open the lid before the 3-minute mark, as this will cause the partially set waffle to split and stick. Repeat the pouring and cooking process with remaining batter to make 8 total waffles.


Transfer Waffles to Rack
Once the waffle finishes cooking, open the lid and use the black silicone spatula to gently lift the waffle from the plates, taking care not to tear the crisp edges. Transfer the waffle directly to the wire cooling rack in a single layer; do not stack hot waffles, as trapped steam will turn crisp crusts soggy. Repeat the cooking and transfer process until all batter is used.
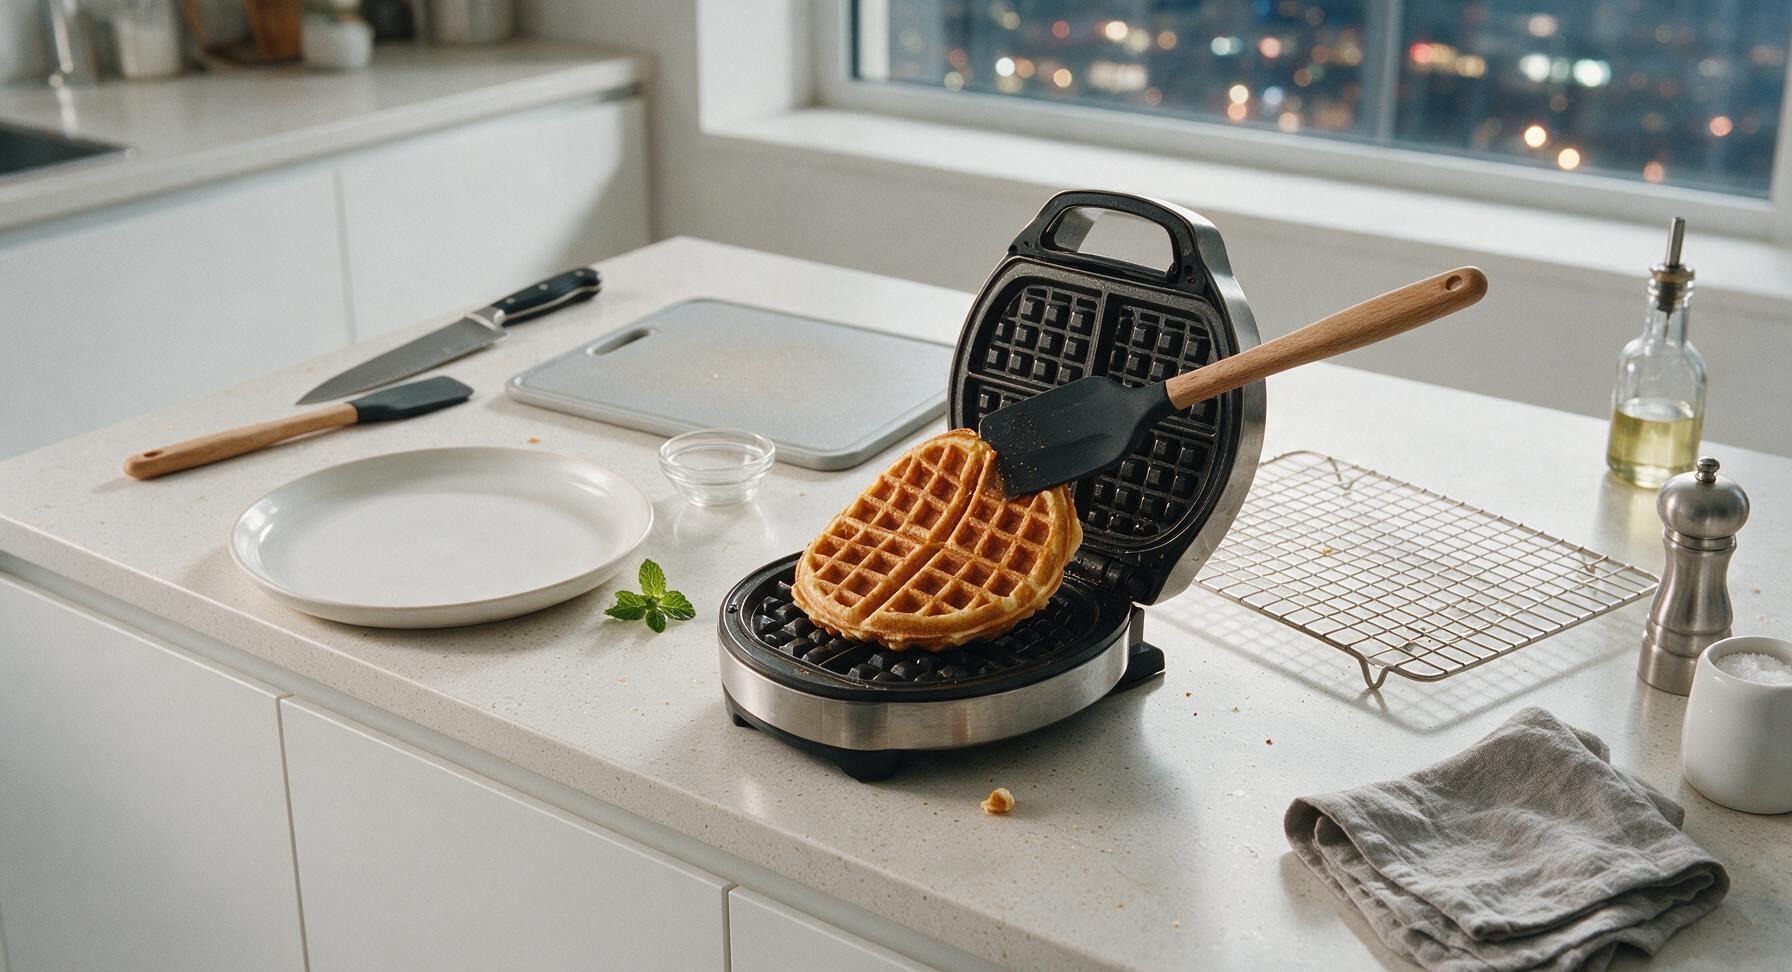
Plate Warm Waffles
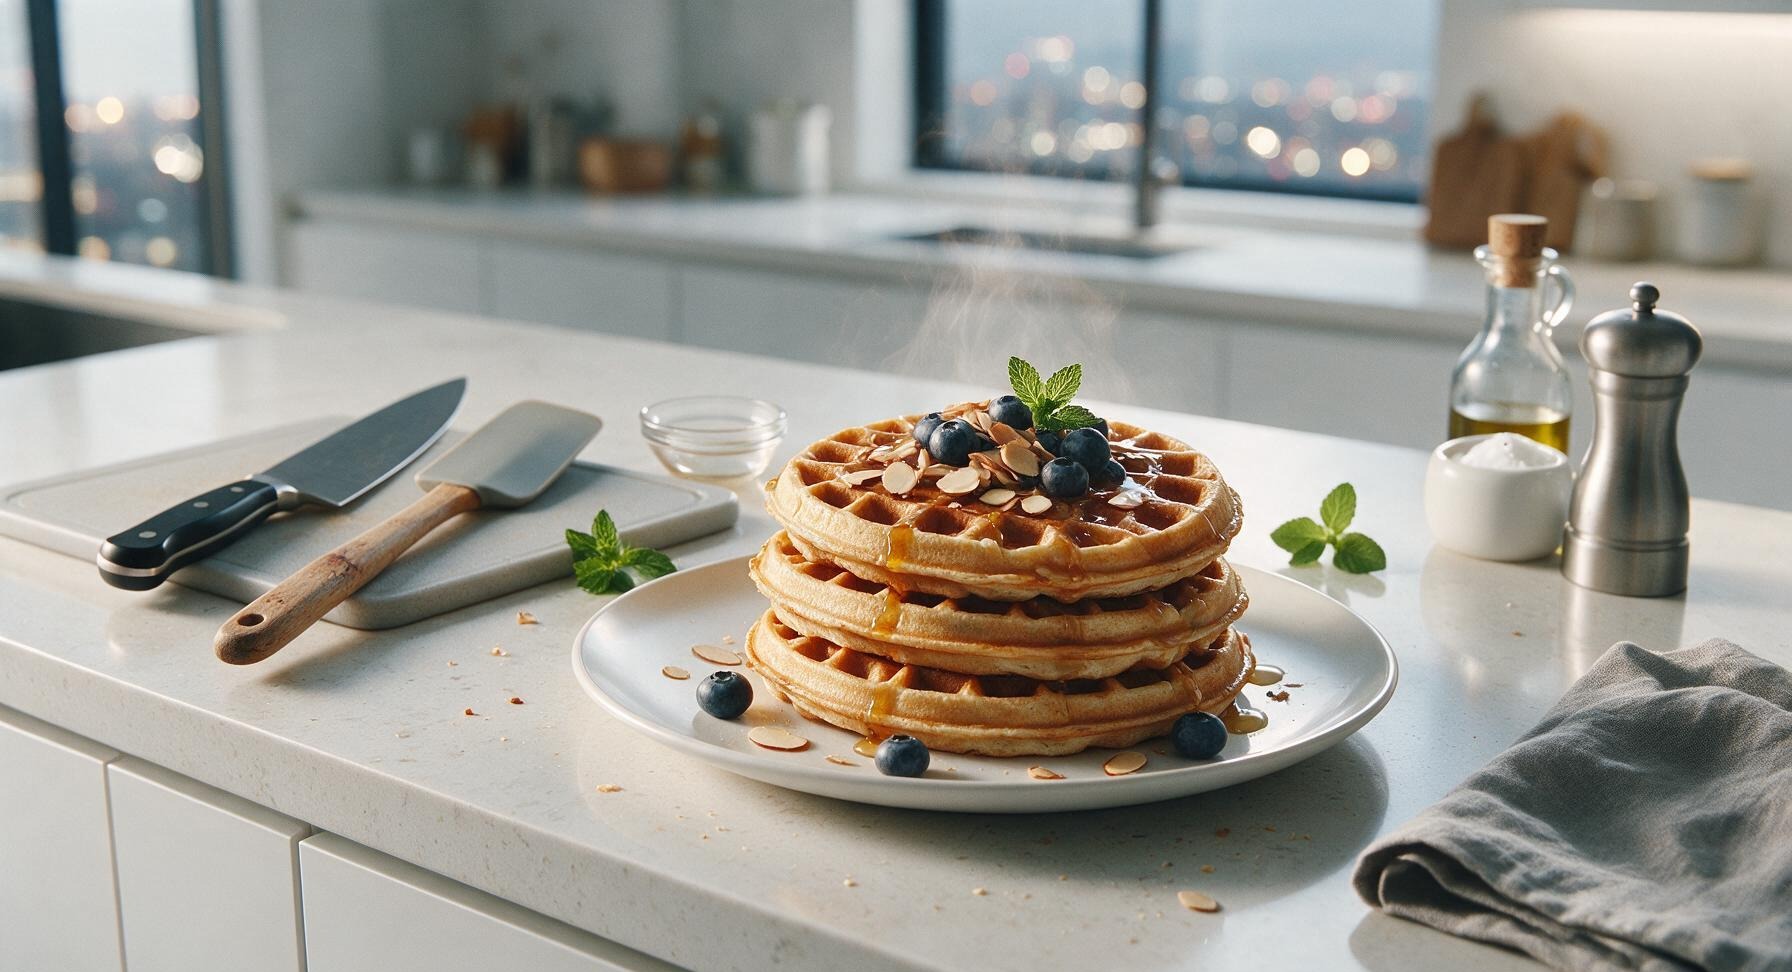
Once all waffles are cooked and have rested for 1 minute on the cooling rack to let excess steam escape, transfer two waffles to the matte cream ceramic dinner plate, stacking them slightly offset so the crisp grid lines on both waffles are visible. Top the center of the waffle stack with a thin 1/4 tablespoon pat of salted butter, letting it melt slightly into the warm grids.

Add Toppings and Serve
Drizzle 1 tablespoon of pure maple syrup over the waffle stack, letting it run slowly down the waffle sides and pool lightly in the plate well. Scatter 1/2 tablespoon of toasted sliced almonds and 2 tablespoons of fresh blueberries over the top, adding a tiny fresh mint sprig for color if desired. Serve immediately while waffles are warm and crisp.
Tips
2.Rest cooked waffles on a wire rack instead of a plate straight from the iron: placing hot waffles on a solid surface or stacking them traps steam against the crisp crust, turning it soggy in under 60 seconds. For extra crispness when cooking batches, hold waffles on the rack in a 200°F oven.
3.Freeze leftover waffles for quick future meals: let cooked waffles cool completely on the rack, then store in a zip-top freezer bag for up to 3 months. Reheat directly in a toaster from frozen for crisp, fresh-tasting waffles with no thawing required.






Made these for Sunday brunch last week and they were SO good! I was worried almond milk would make them watery or bland but nope, they were fluffy on the inside, crispy on the edges just like regular waffles. I added a teaspoon of cinnamon to the batter because I’m obsessed, highly recommend. Anyone tried freezing these for meal prep?
Super easy recipe, came together in like 10 minutes flat which is perfect for my chaotic weekday mornings. Only reason I’m not giving 5 stars is that my first batch stuck a little to my waffle iron even after spraying it. Might have overfilled the grids? Tasted amazing though, even with the slightly ragged edges I ate three straight off the iron.
My kids loved it!!! I’ve been searching for a dairy-free waffle recipe that doesn’t taste like cardboard for my youngest who has a milk allergy, and this is it. Brought a batch to my son’s soccer team potluck last weekend and all the moms were asking for the recipe. No one even guessed they were made with almond milk!
Wow, way better than I expected. I only had unsweetened vanilla almond milk on hand so I cut the added vanilla extract in half, and they turned out perfectly sweet. Made these before a morning hike and they kept me full for almost 4 hours, no mid-trail sugar crash. Will be making these every weekend from now on.
These were fine? I followed the recipe exactly but they came out a little denser than I like my waffles. Maybe my baking powder is old? Cook time was spot on for my waffle maker though, 20 minutes total for a full batch which is fast. Not bad, just not as fluffy as I hoped.
Made these for my husband for our first Saturday in our new house and he was obsessed! We topped them with sliced peaches, a dollop of coconut whip, and a drizzle of almond butter, and it felt like a fancy restaurant brunch but took almost no effort. The easy difficulty rating is no lie, even someone who burns toast like me can nail these.
Game changer for meal prep! I make a double batch every Sunday, eat one fresh, and freeze the rest for quick breakfasts before my early gym sessions. They’re way lower in calories than the frozen waffles I used to buy, and I know exactly what’s in them. 10/10, no notes.
Really solid recipe! I swapped the all purpose flour for a 1:1 gluten free blend to match my dietary needs, and they held up great. My only tiny complaint is that they were a little less crispy than I prefer, but that might be because of the GF flour swap. Dipped them in a little warm maple syrup and they still hit.
Made these for my teen daughter who’s been on an almond milk kick lately, and she said they’re “actually not mid, dad” which is the highest praise possible from a 16 year old. Didn’t change a single thing in the recipe, just served them with chocolate chips and whipped cream. 10/10, will make again to earn more cool dad points.
Hosted a little brunch for my roommates yesterday and made these, and everyone went back for seconds. We did a whole waffle bar with toppings: fresh berries, chocolate chips, Nutella, powdered sugar, even some fried chicken for the sweet and savory crowd. All of them were shocked when I said the waffles were made with almond milk, no dairy at all. So easy, so delicious, will be my go-to waffle recipe from now on.
Made these in my tiny RV waffle maker on our last camping trip and they worked like a charm! No fancy ingredients needed, just pantry staples and almond milk, which I always keep in the cooler because it doesn’t spoil as fast as regular milk. Only con is that the batch made a little more batter than my tiny iron could handle, but that just meant I got extra waffles, so not really a con at all!
I cannot tell you how happy I am to find this recipe! My son has both dairy and egg allergies, so I swapped the eggs for flax eggs and used unsweetened almond milk, and they came out perfectly. He ate two waffles for breakfast and asked if we can have them every Saturday. Thank you for a simple, adaptable recipe that doesn’t require weird specialty ingredients!
Let’s be real, I’m terrible at cooking. Most waffle recipes I’ve tried are either too complicated or turn out rubbery, but these? So easy. I literally dumped all the ingredients in a bowl, mixed them with a fork, poured them in my $10 thrift store waffle iron, and they came out perfect. Crispy edges, soft middle, no weird texture. 10/10, even people who can’t cook can nail this.
Really good base recipe! I don’t love super sweet breakfasts so I cut the sugar in half, added a pinch of garlic powder and a handful of shredded dairy-free cheddar to make savory almond milk waffles to go with my fried eggs. They turned out insane, the slightly sweet batter paired so well with the salty cheese and eggs. Will be messing around with more savory variations using this base for sure.