
American Scrambled Eggs
intro
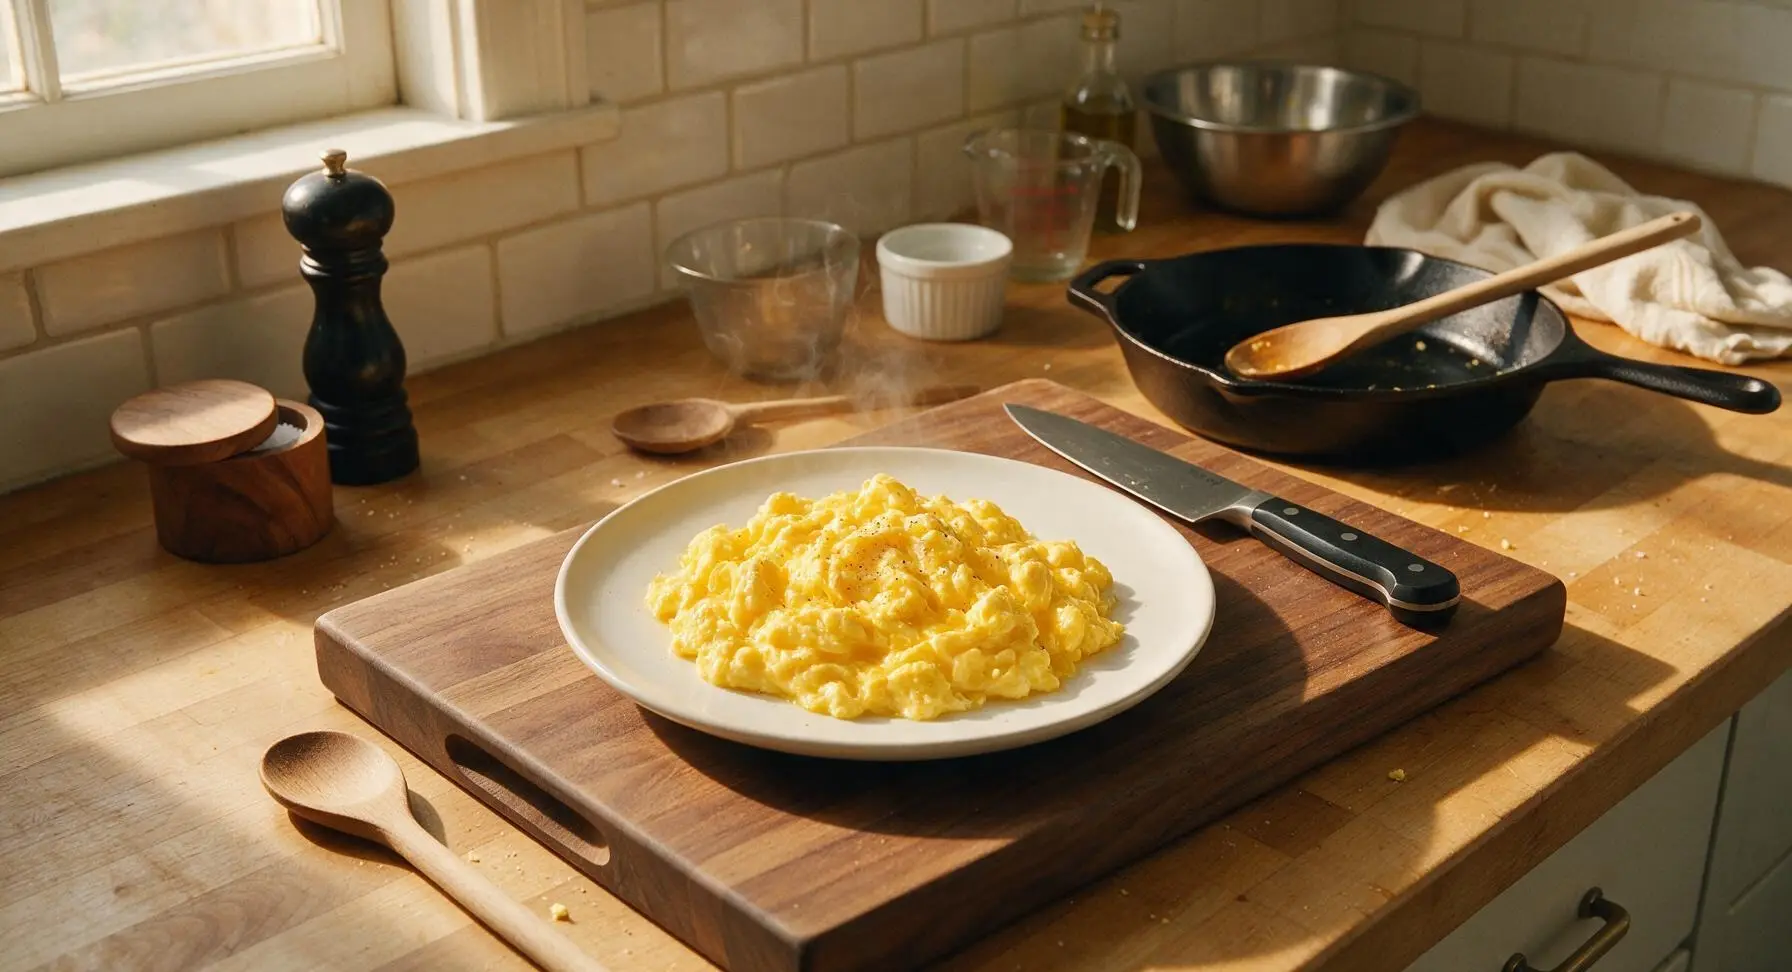
Fluffy, velvety soft-curd scrambled eggs rich with melted butter, seasoned simply, cooked low and slow for that iconic, comforting American diner-style texture.
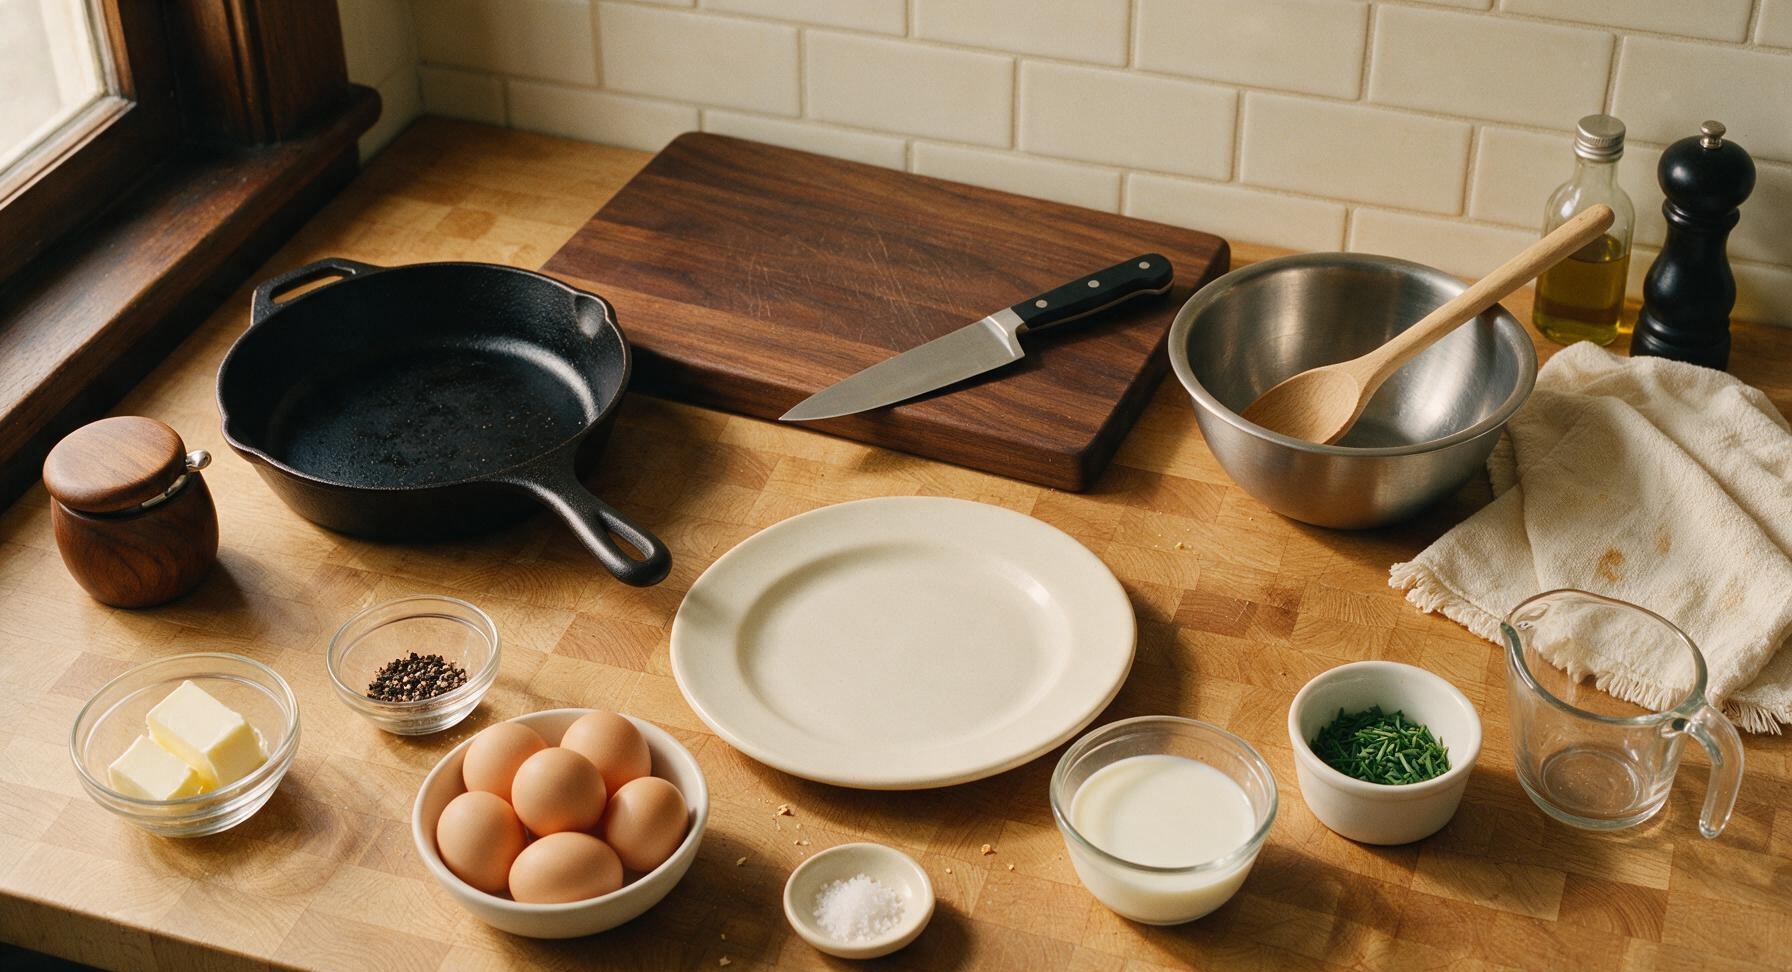
Ingredients
Steps
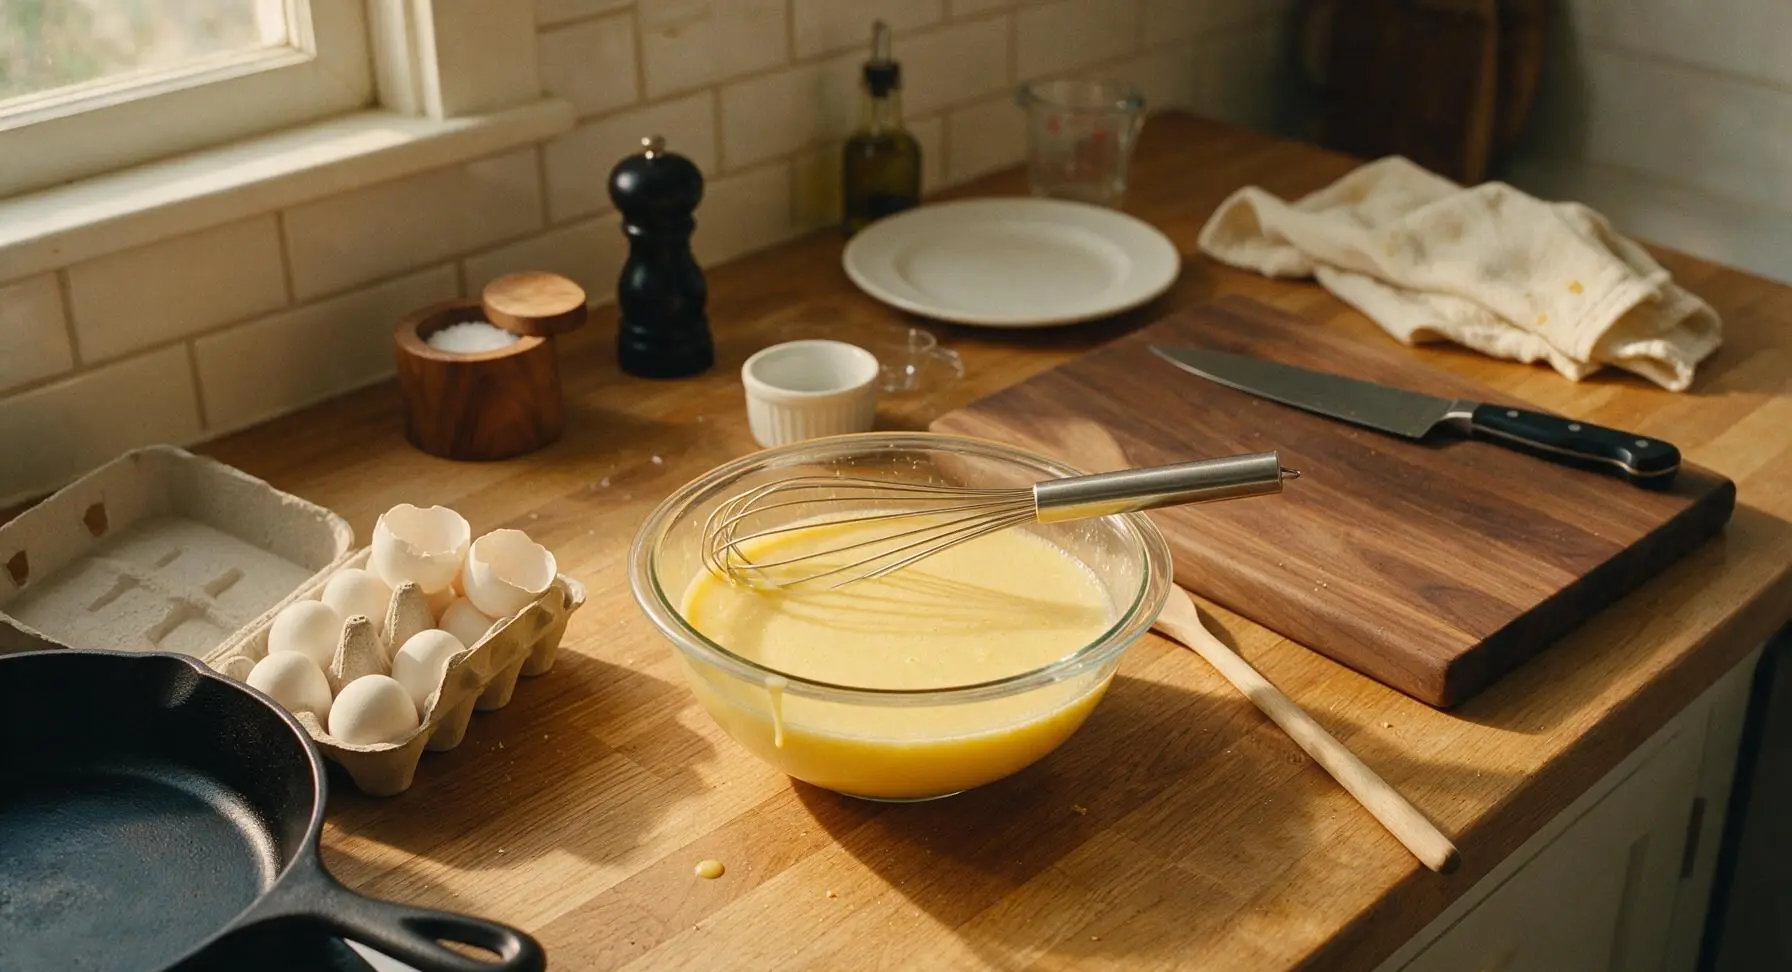
Crack and Whisk Eggs
Crack all 6 large eggs into the medium clear glass mixing bowl. Add 2 tablespoons whole milk and 1/8 teaspoon of the flaky sea salt. Use the stainless steel whisk to beat the eggs slowly for 30 seconds, until yolks and whites are fully combined with no streaks of clear egg white remaining. Do not over-whisk, as excess air will cause eggs to deflate and turn watery; the finished mixture should be a uniform pale yellow with a smooth, barely frothy surface.
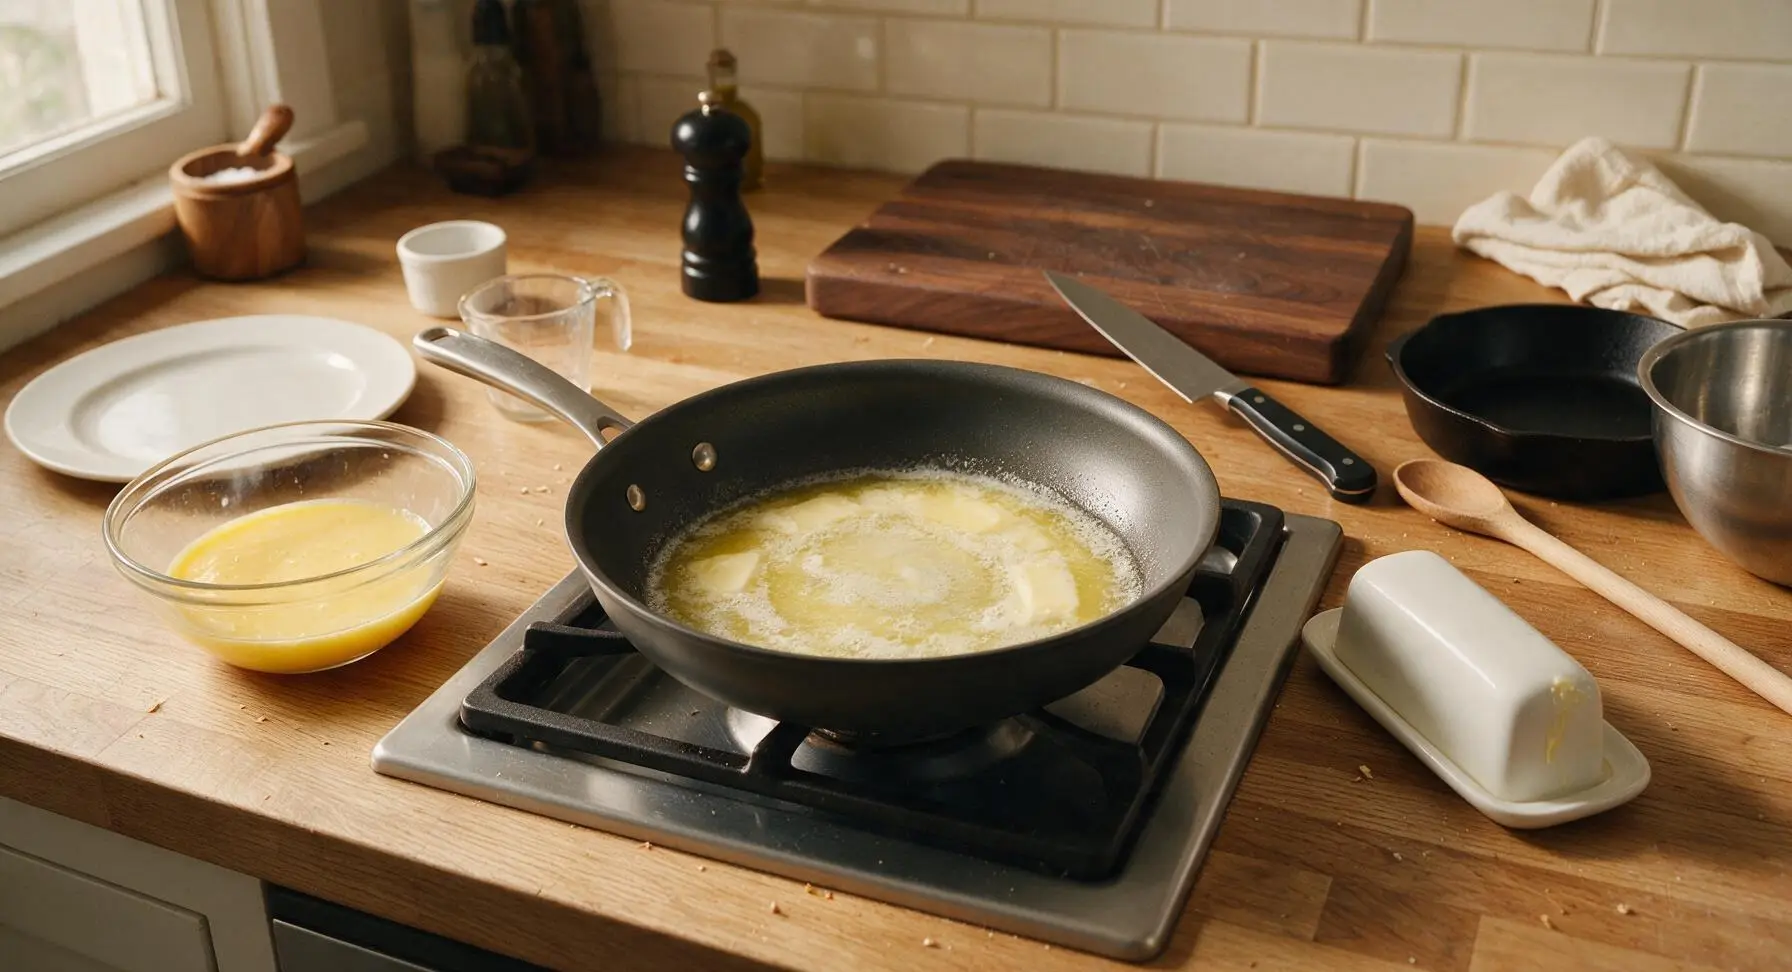
Melt Butter in Pan
Retrieve the 10-inch non-stick skillet from the lower drawer and place it on the central stovetop burner set to low heat (300°F / 150°C; do not use higher heat, as it causes rubbery eggs). Add 2 tablespoons of unsalted butter to the pan, and let it melt slowly for 1 minute, swirling occasionally, until fully liquid, foaming slightly, and not yet browned or nutty-smelling. The melted butter should coat the entire pan bottom evenly.
Add Eggs to Skillet
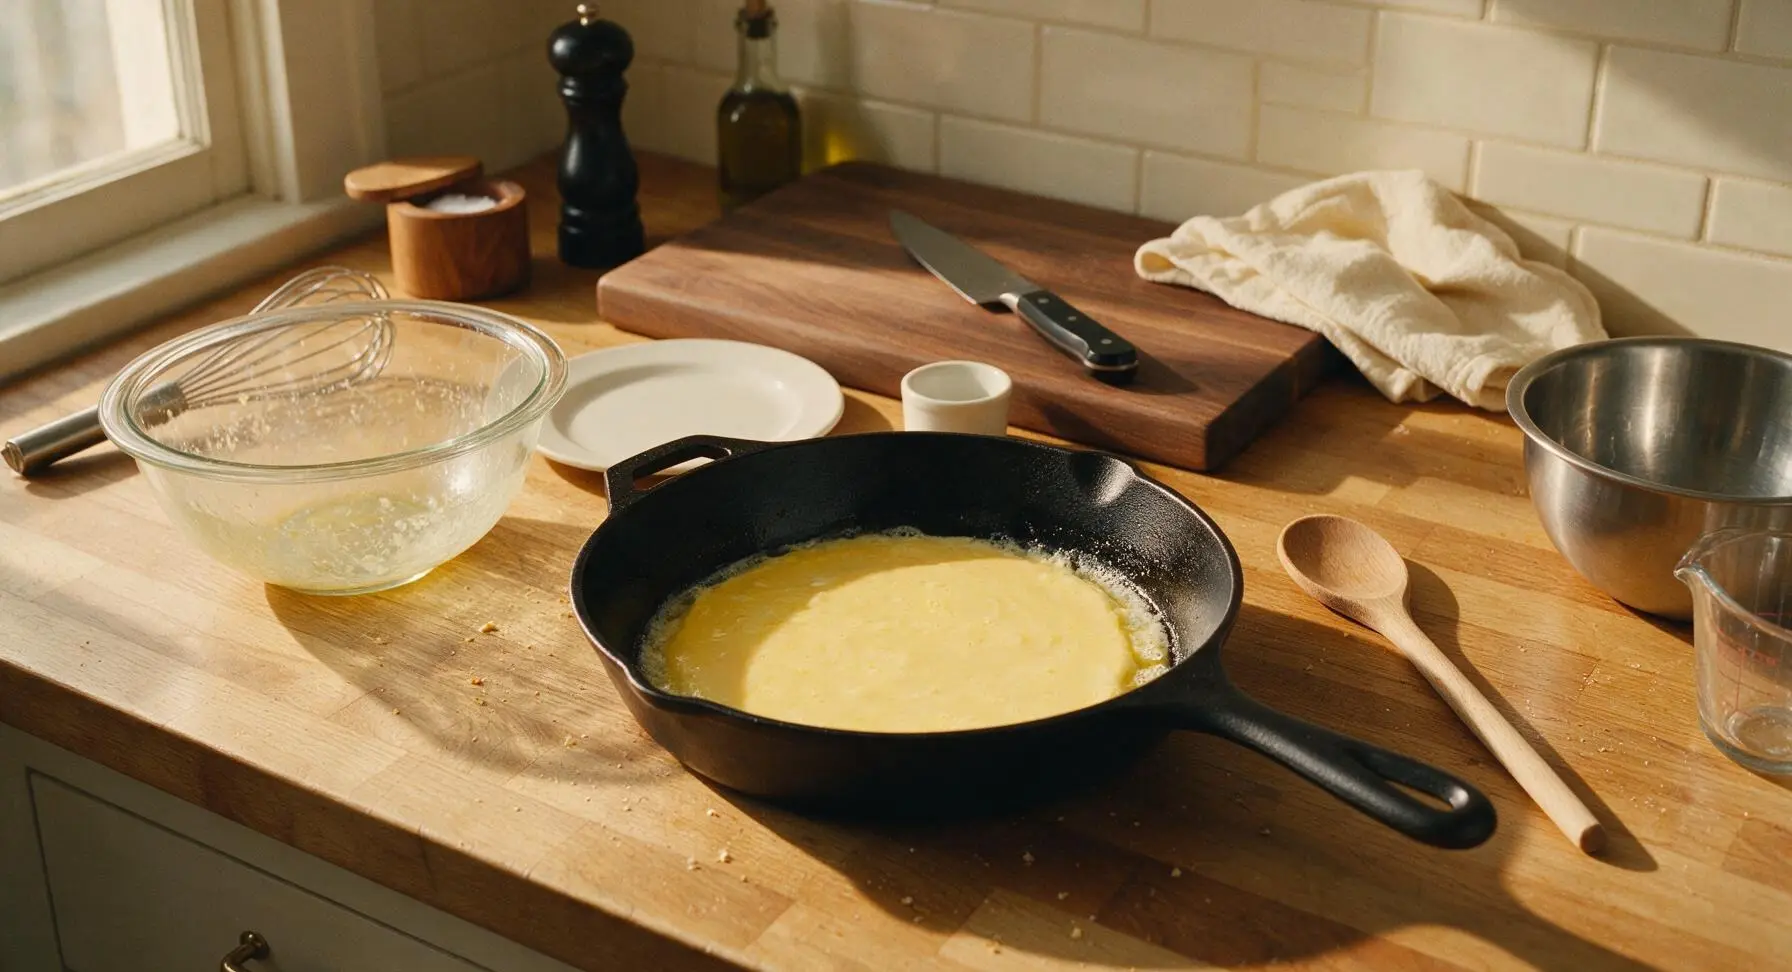
Pour the entire whisked egg mixture into the center of the buttered skillet in one slow, steady pour. Let the eggs sit undisturbed for 20 seconds to allow the thin bottom layer to set into a soft initial curd against the pan surface. Do not stir immediately, as this will break curds into tiny, dry pieces.
Stir to Form Curds
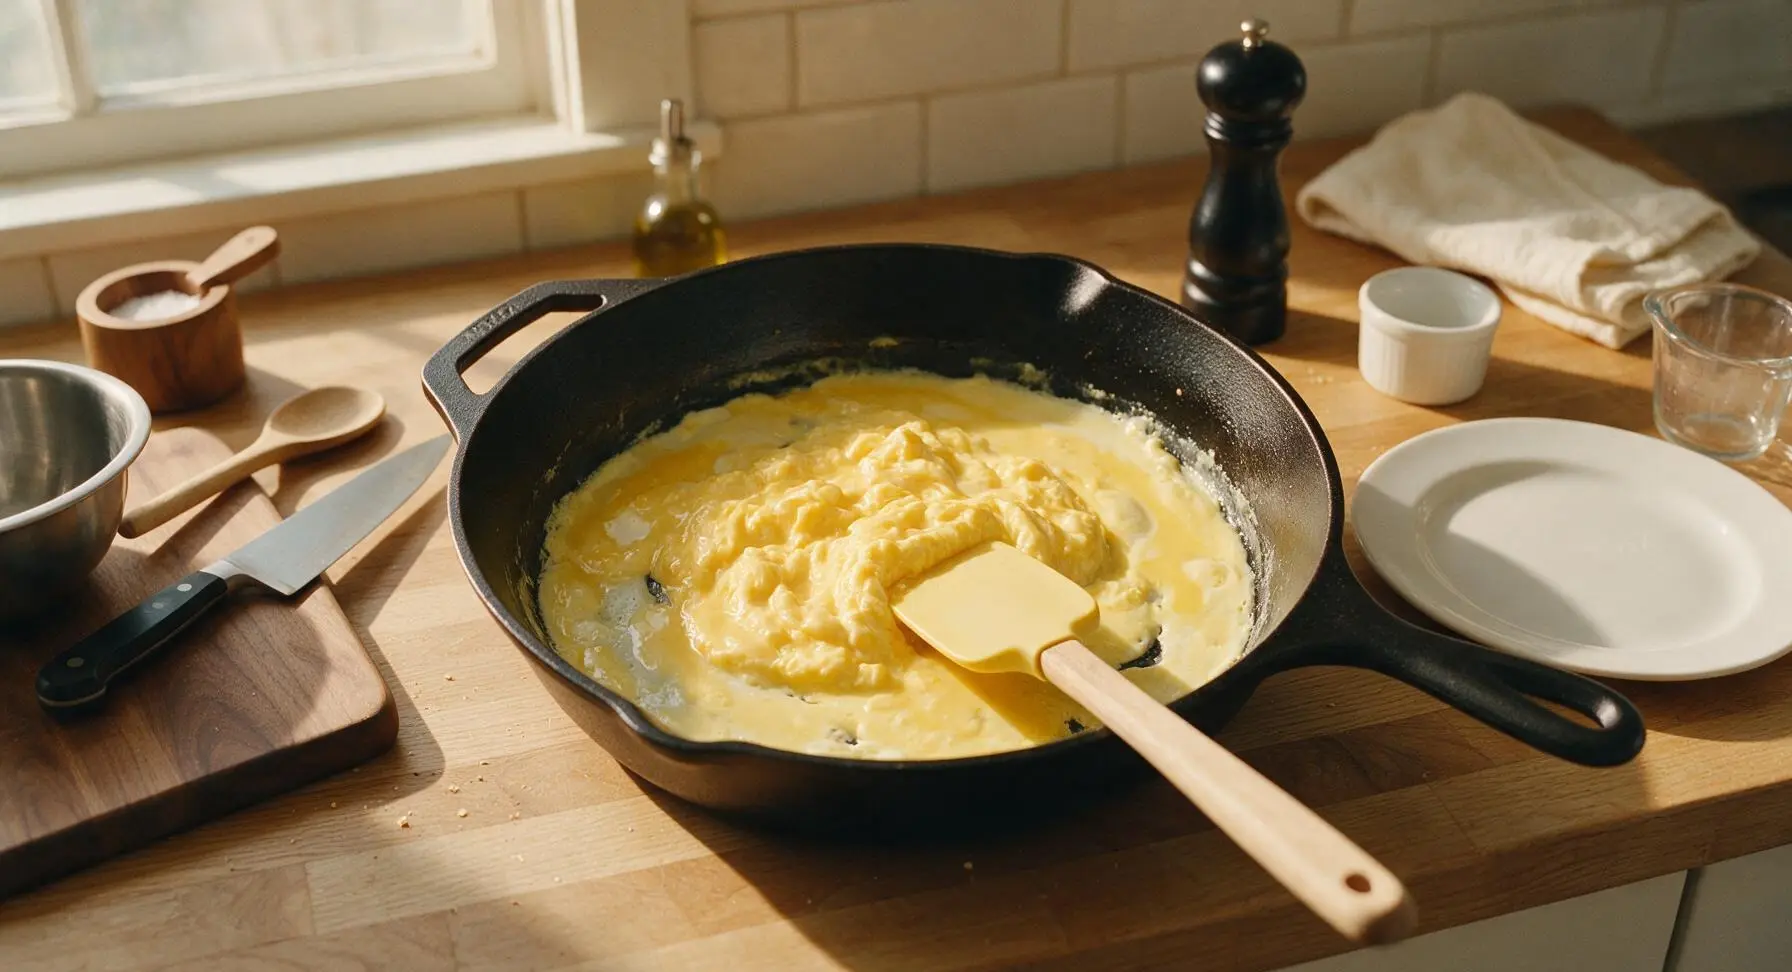
Retrieve the pale butter-yellow silicone spatula from the utensil crock. Use it to slowly push the set edges of the egg toward the center of the pan, tilting the pan slightly to let uncooked egg flow into the empty gaps left behind. Repeat this gentle pushing motion every 10-15 seconds for 3 full minutes, keeping heat on low the entire time. Large, pillowy soft curds will begin to form, with no crispy brown edges on any part of the eggs.
Cook to Just-Set Point
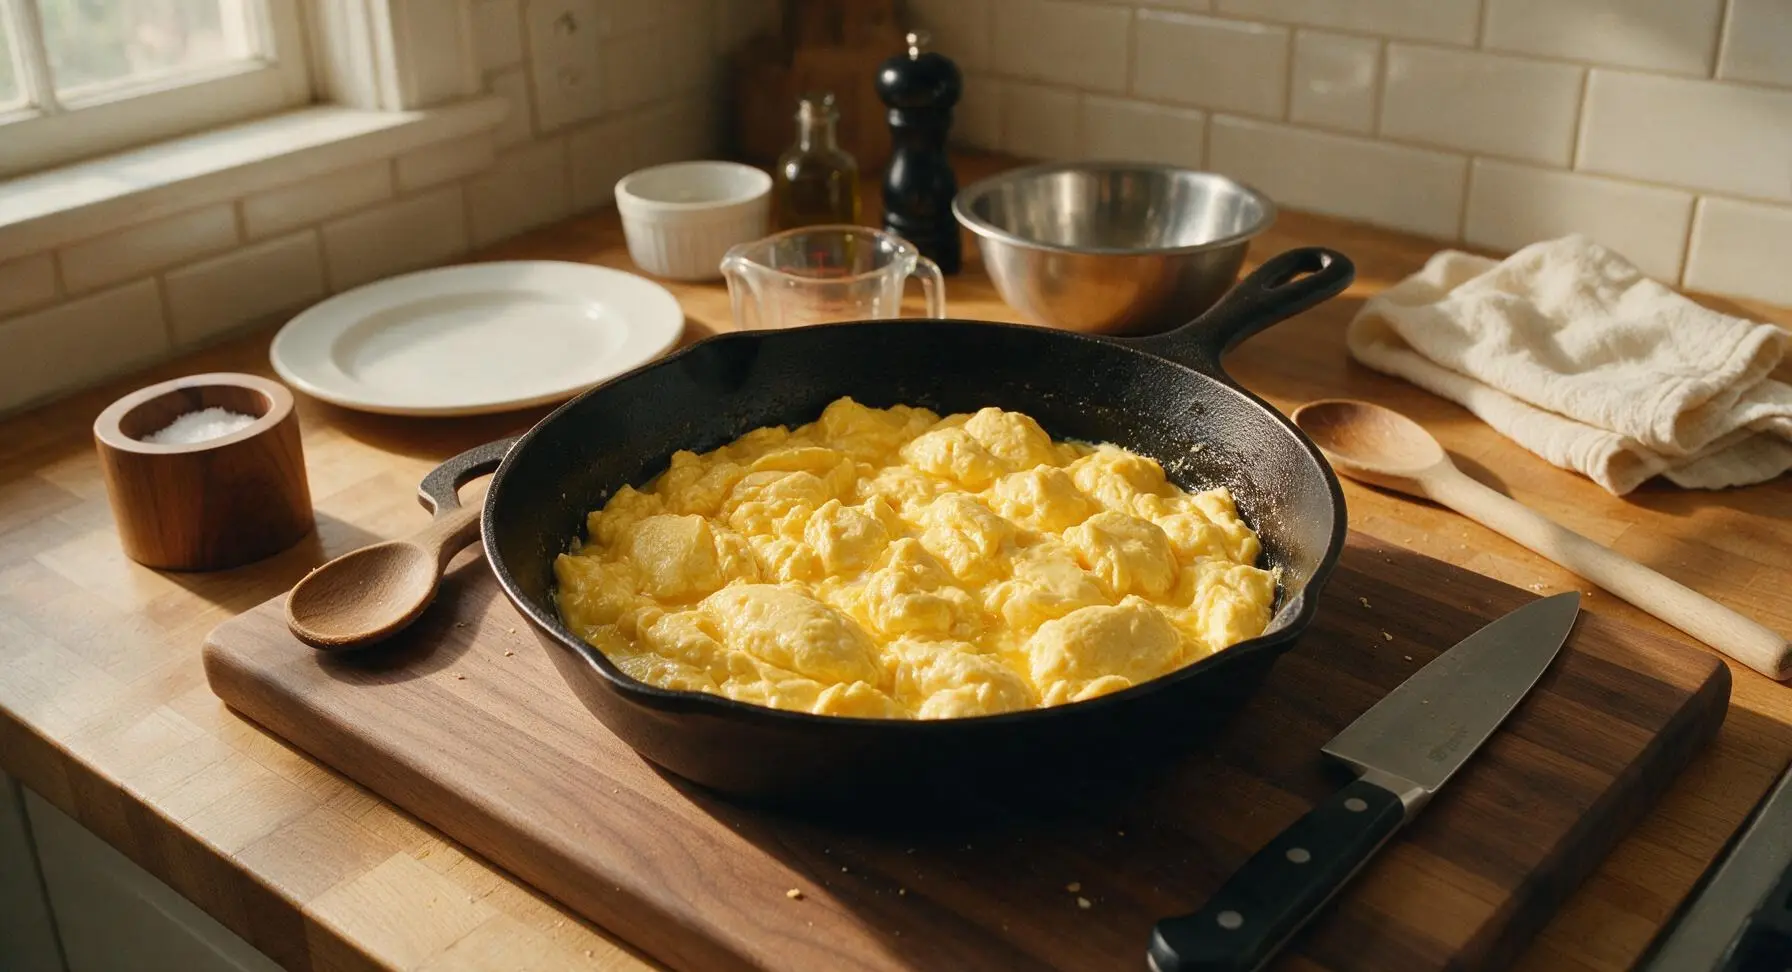
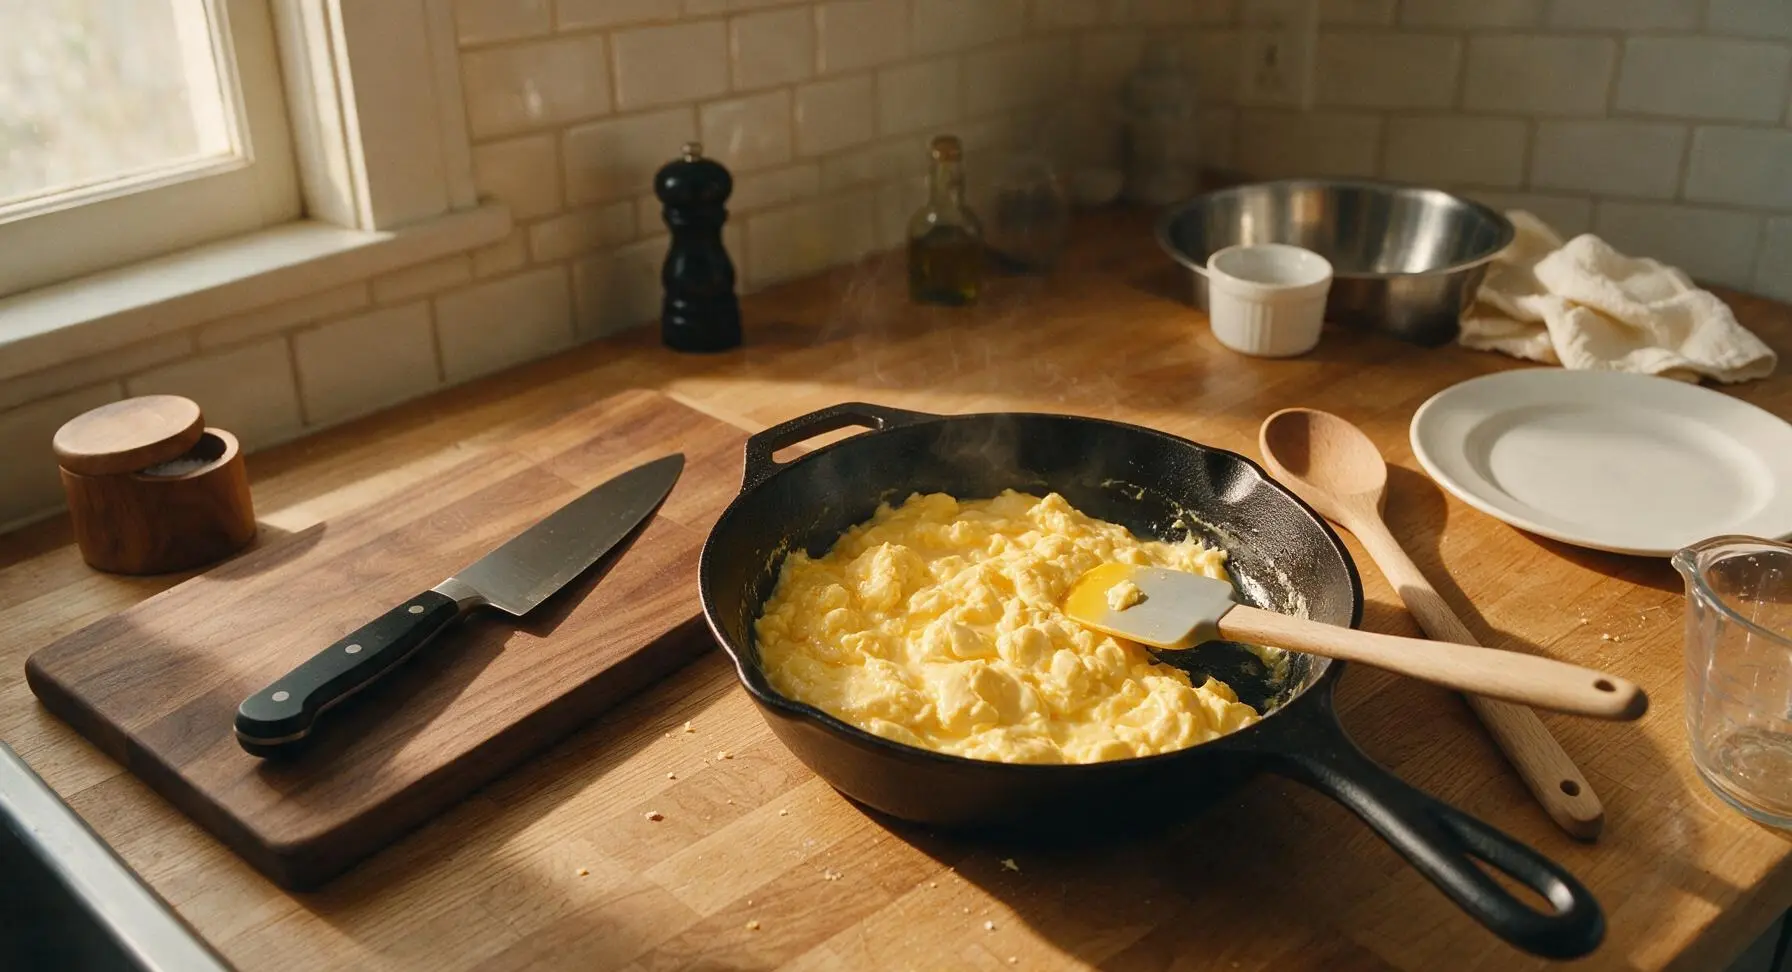
Continue the slow stirring and pushing motion for 1 additional minute, until the eggs are roughly 80% set, with soft moist curds and just a tiny amount of loose, wet egg remaining between curds. Turn off the heat immediately: residual heat in the non-stick pan will finish cooking the eggs over the next 30 seconds, and leaving heat on will result in dry, rubbery curds. The eggs will look slightly underdone when removed from heat.
Snip Fresh Chives
While the eggs rest in the warm pan for 30 seconds to finish cooking, retrieve the small kitchen scissors from the utensil drawer. Hold the bunch of fresh chives from the bud vase over the small clear glass ramekin, and snip the chives into 1/4-inch pieces to collect 1 tablespoon of chopped chives for garnish. Do not chop chives too early, as they will wilt and lose their bright, mild flavor.
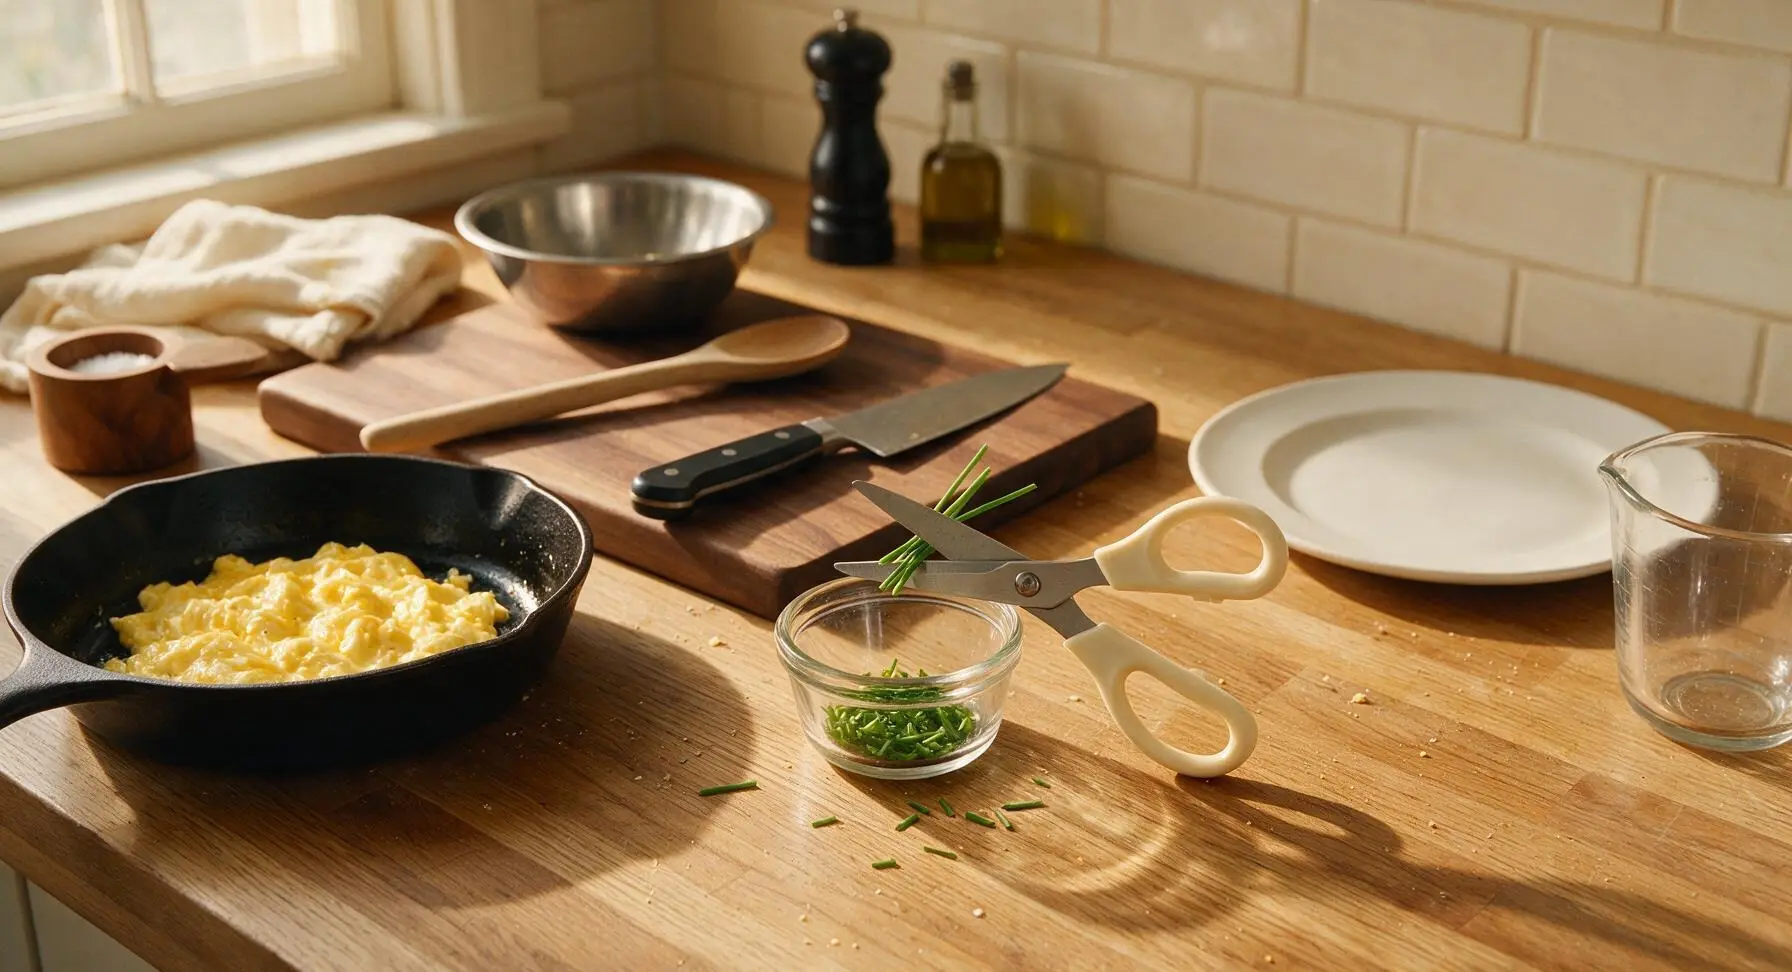
Plate and Garnish Eggs
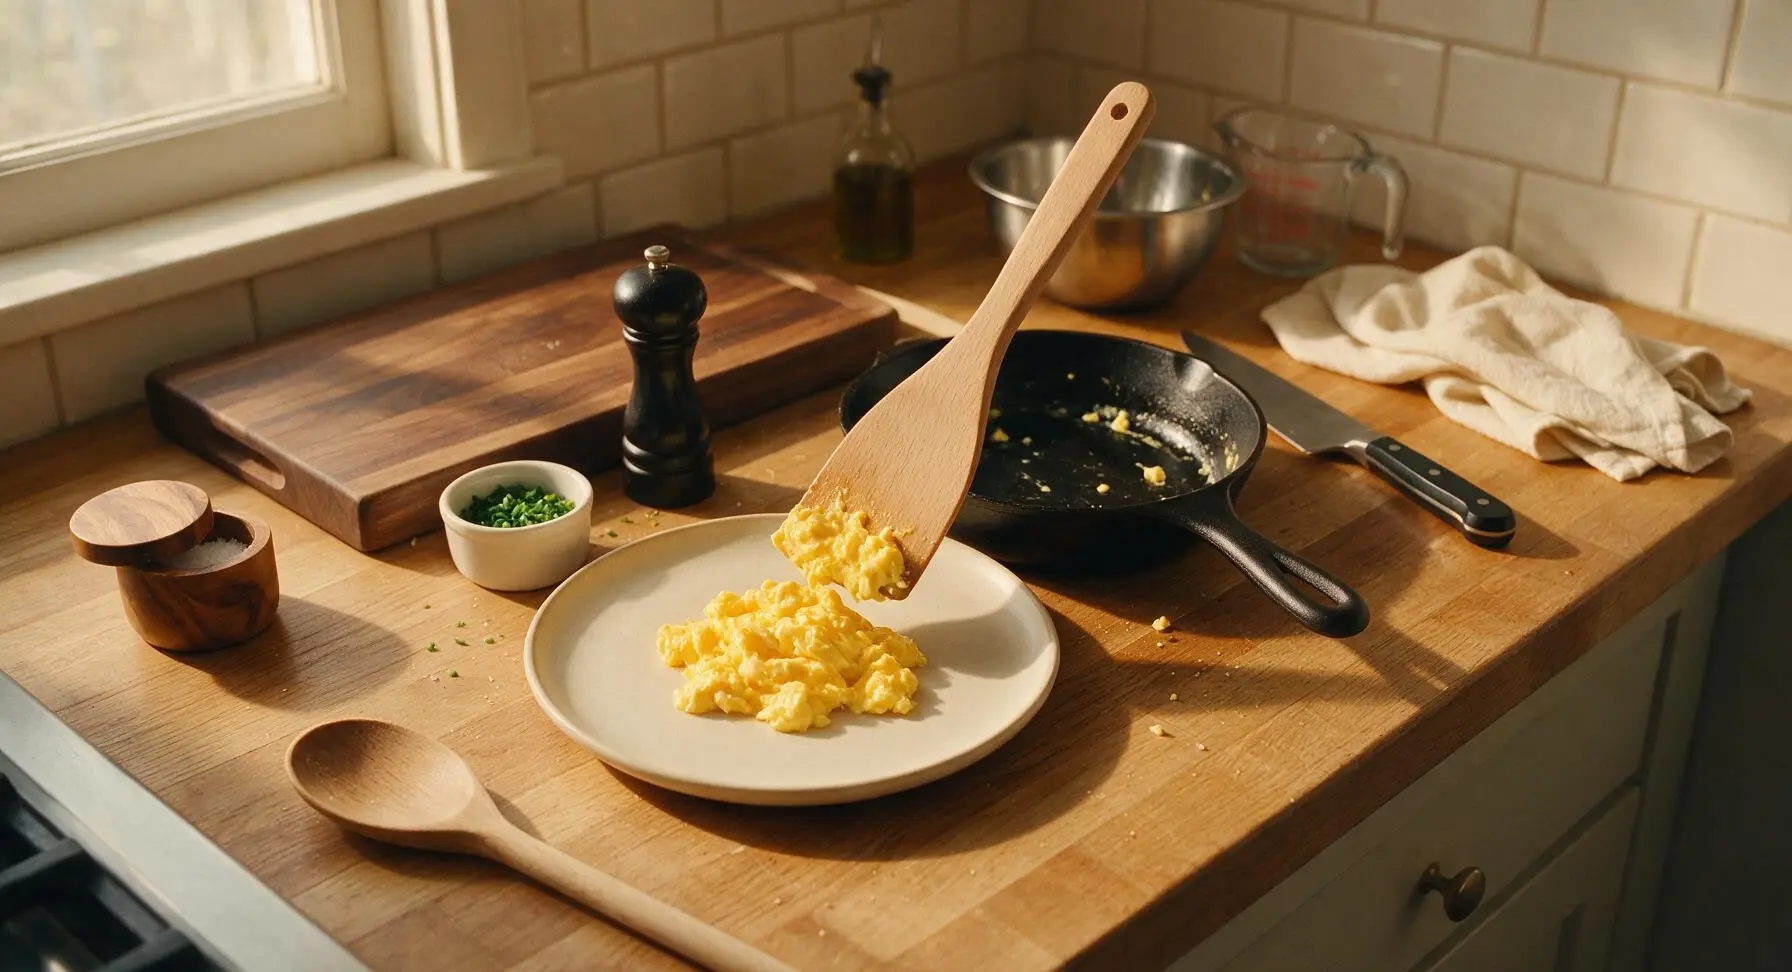
Use the silicone spatula to transfer the soft scrambled eggs in a gentle, loose mound to the center of the matte cream ceramic breakfast plate. Sprinkle the remaining 1/8 teaspoon flaky sea salt, 1/8 teaspoon freshly ground black pepper, and the chopped fresh chives evenly over the top of the eggs. Serve immediately, as scrambled eggs lose their soft, creamy texture quickly if left to sit.
Tips
2.Avoid over-whisking eggs: Beating eggs until they are very frothy incorporates excess air, which makes eggs look fluffy initially but causes them to deflate rapidly and turn watery within minutes of cooking; slow, gentle whisking just to combine yolks and whites creates a more stable, creamy curd.
3.Remove eggs from heat before they look fully done: The residual heat held by the pan and the egg curds themselves will continue to cook the eggs for 30 seconds after the burner is turned off, so pulling them when slightly underdone ensures they stay moist and tender, not dry, by the time they reach the table.






OMG these are SO good! I’ve been making sad, rubbery scrambled eggs my whole adult life and this 5 minute method is a total game changer. My three kids devoured theirs before I even got a second helping this morning. I added a tiny sprinkle of fresh chives on top per my oldest’s request and it was chef’s kiss.
Y’all, I was so skeptical about skipping the milk. I’ve added a splash of whole milk to my scrambled eggs for as long as I can cook, but I decided to follow the recipe exactly and wow. These are so much creamier than any eggs I’ve ever made. Who knew milk was the problem?!
Just whipped these up before my morning class and OMG, they’re SO good. I’ve been struggling to find quick breakfasts for my meal prep that don’t taste like cardboard, and these take literally 5 minutes. Total game changer!
Made these for my grandkids when they were visiting over the weekend and they all asked for seconds! I’ve been making scrambled eggs for almost 50 years and I never got them this fluffy and creamy before. The tip about pulling them off the heat right before they look fully done is pure genius — I always waited for them to set all the way and ended up with dry, crumbly eggs.
These are such a solid high-protein breakfast! I topped mine with a little feta and red pepper flakes, paired with turkey bacon, and it kept me full straight through my 6am workout and 3 hours of back-to-back meetings. Only knocked off a star because I wish there was a note about heat settings for electric stoves — my first batch got a little too crispy on the bottom before I turned the burner down.
Wait why did no one tell me cooking eggs low and slow makes them this good? I made these for my roommate and I after our late shift, and he said they’re better than the diner eggs we get on weekends. Will be making these every Sunday brunch from now on.
Quick question! I made these for the first time today and they came out great, but I used salted butter because that’s all I had in the fridge and they were a little saltier than I prefer. Should I adjust the added salt if I use salted butter next time?
Absolute game changer. My 4 year old has refused scrambled eggs for literal years, saying they’re ‘too squishy and gross’ — but he ate a full plate of these and asked if we can have ‘the soft eggs’ every morning before preschool. I could cry, no more fighting him to eat something with protein before we run out the door!
Dude, I only have a $10 hot plate in my college dorm and these still came out perfect! I’m so sick of eating protein bars and instant noodles for every meal, and these take 5 minutes and cost basically nothing. Best cheap breakfast hack I’ve found all semester.
Tested these out on my camp stove this morning before a hike and they came out perfectly creamy! No fancy equipment needed, just a pan, eggs, and butter. Way better than the freeze-dried breakfast meals I usually bring camping. 10/10.
These are really tasty, but my first batch was a little runny! I think I got nervous about overcooking them and pulled them off the heat way too early. Left them on a tiny bit longer the second time around and they were perfectly creamy, no rawness at all. Definitely worth the tiny bit of patience instead of cranking the heat to rush them.