
Annie's Mac and Cheese

title 1
Annie's Mac and Cheese
⏱️ cook time 15 minutes
🍽️ servings 4
⚡ Difficulty easy

intro

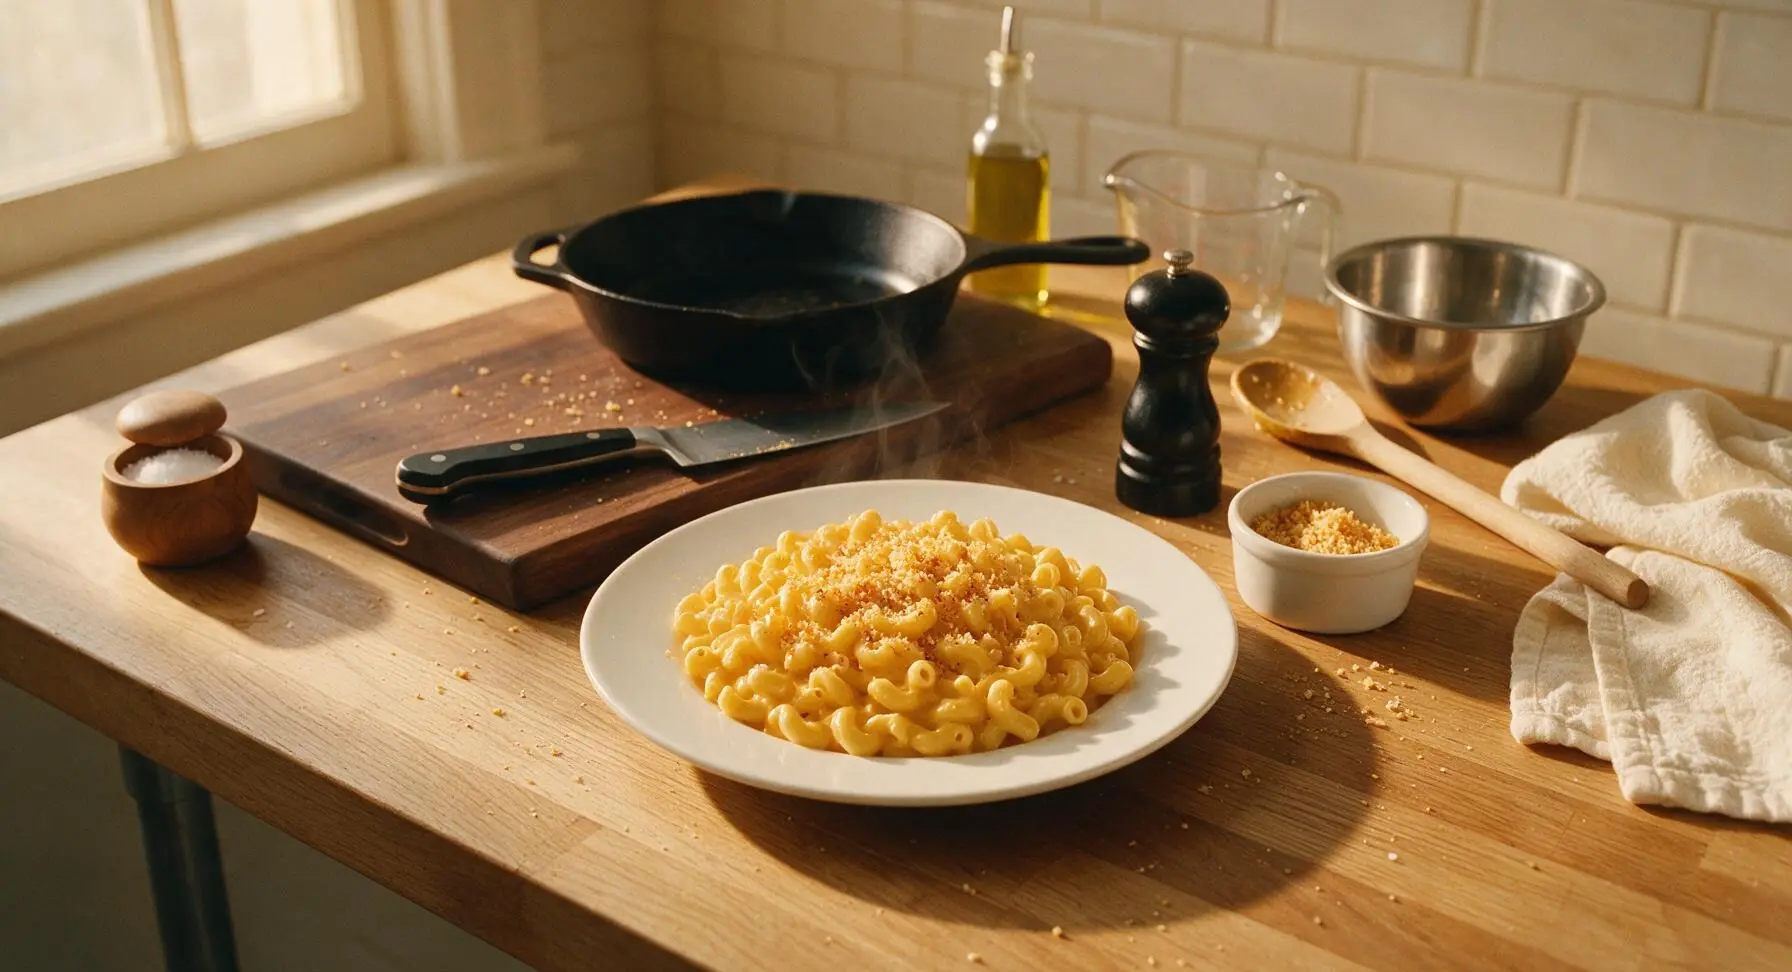
Creamy, nostalgic stovetop mac and cheese made with iconic Annie's organic cheddar, upgraded for extra richness without losing beloved childhood comfort flavor, ready in 20 minutes.

Ingredients
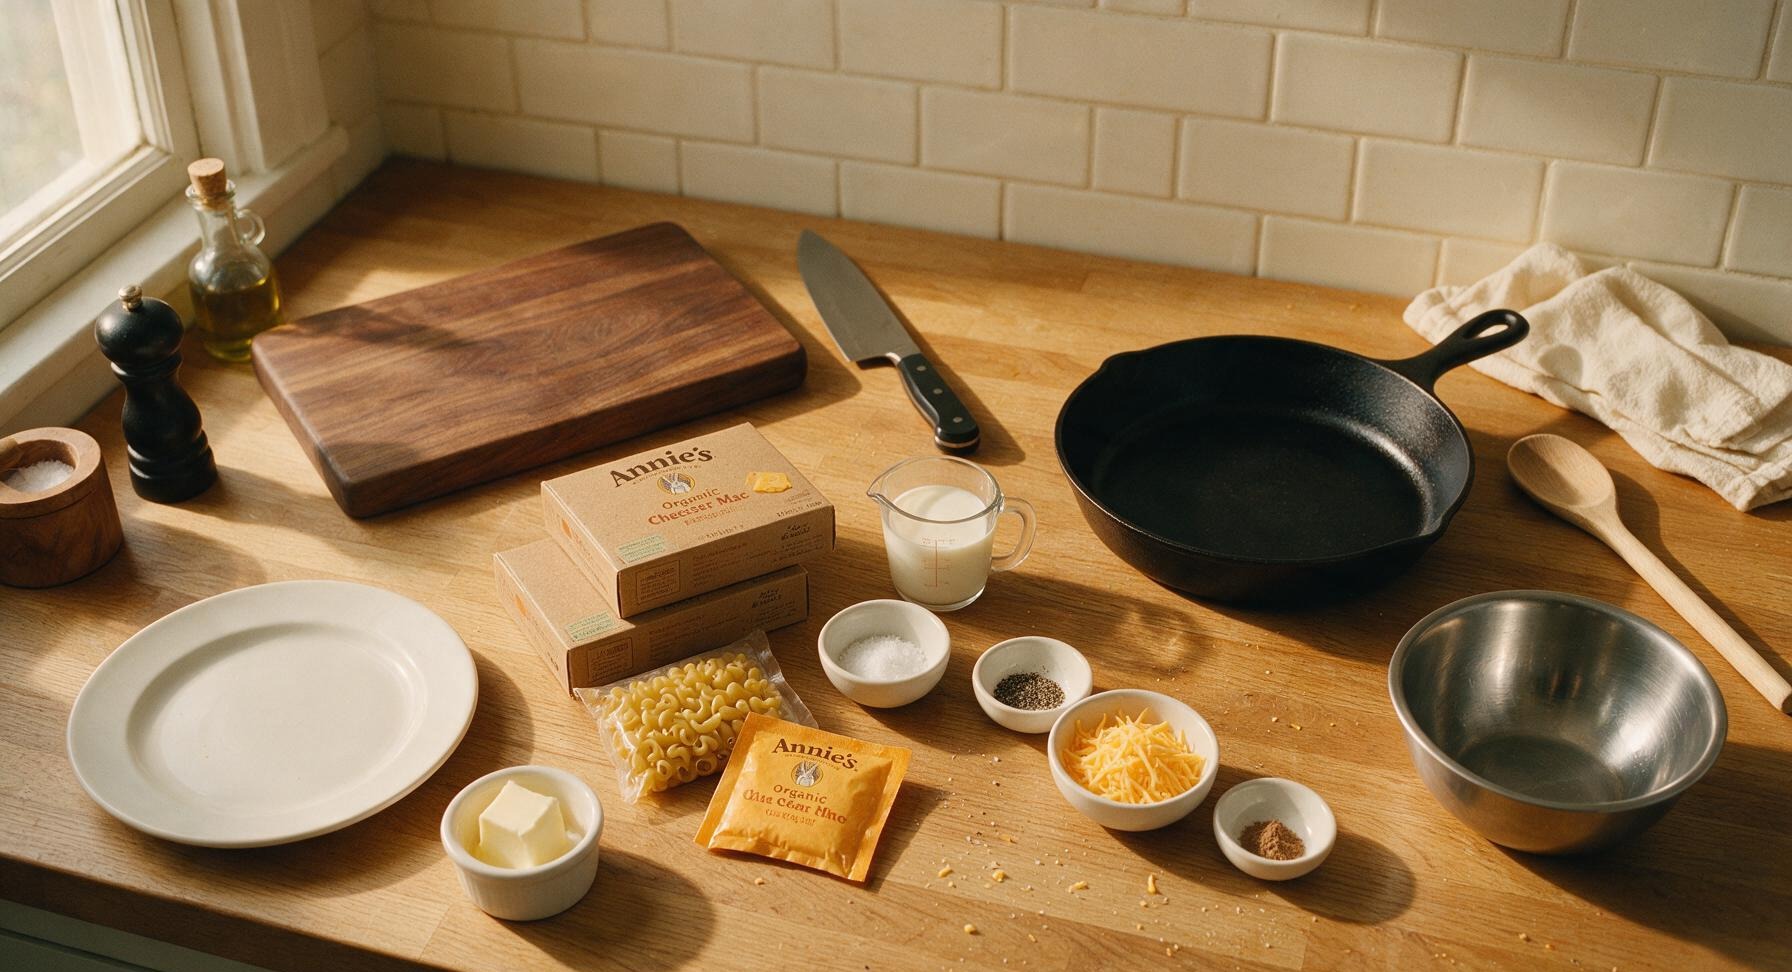
Annie's Organic Cheddar Mac & Cheese (boxed, with elbow pasta and cheddar cheese powder packets) 2 x 170g (6oz) boxes
Unsalted butter 4 tbsp (56g)
Whole milk 1/2 cup (120ml)
Kosher salt 1 tsp (for pasta water)
Freshly ground black pepper 1/4 tsp, plus extra for serving
Extra sharp shredded cheddar cheese (optional add-in) 1/4 cup (28g)
Ground nutmeg (optional flavor boost) 1/8 tsp

Steps

1

Boil Salted Water

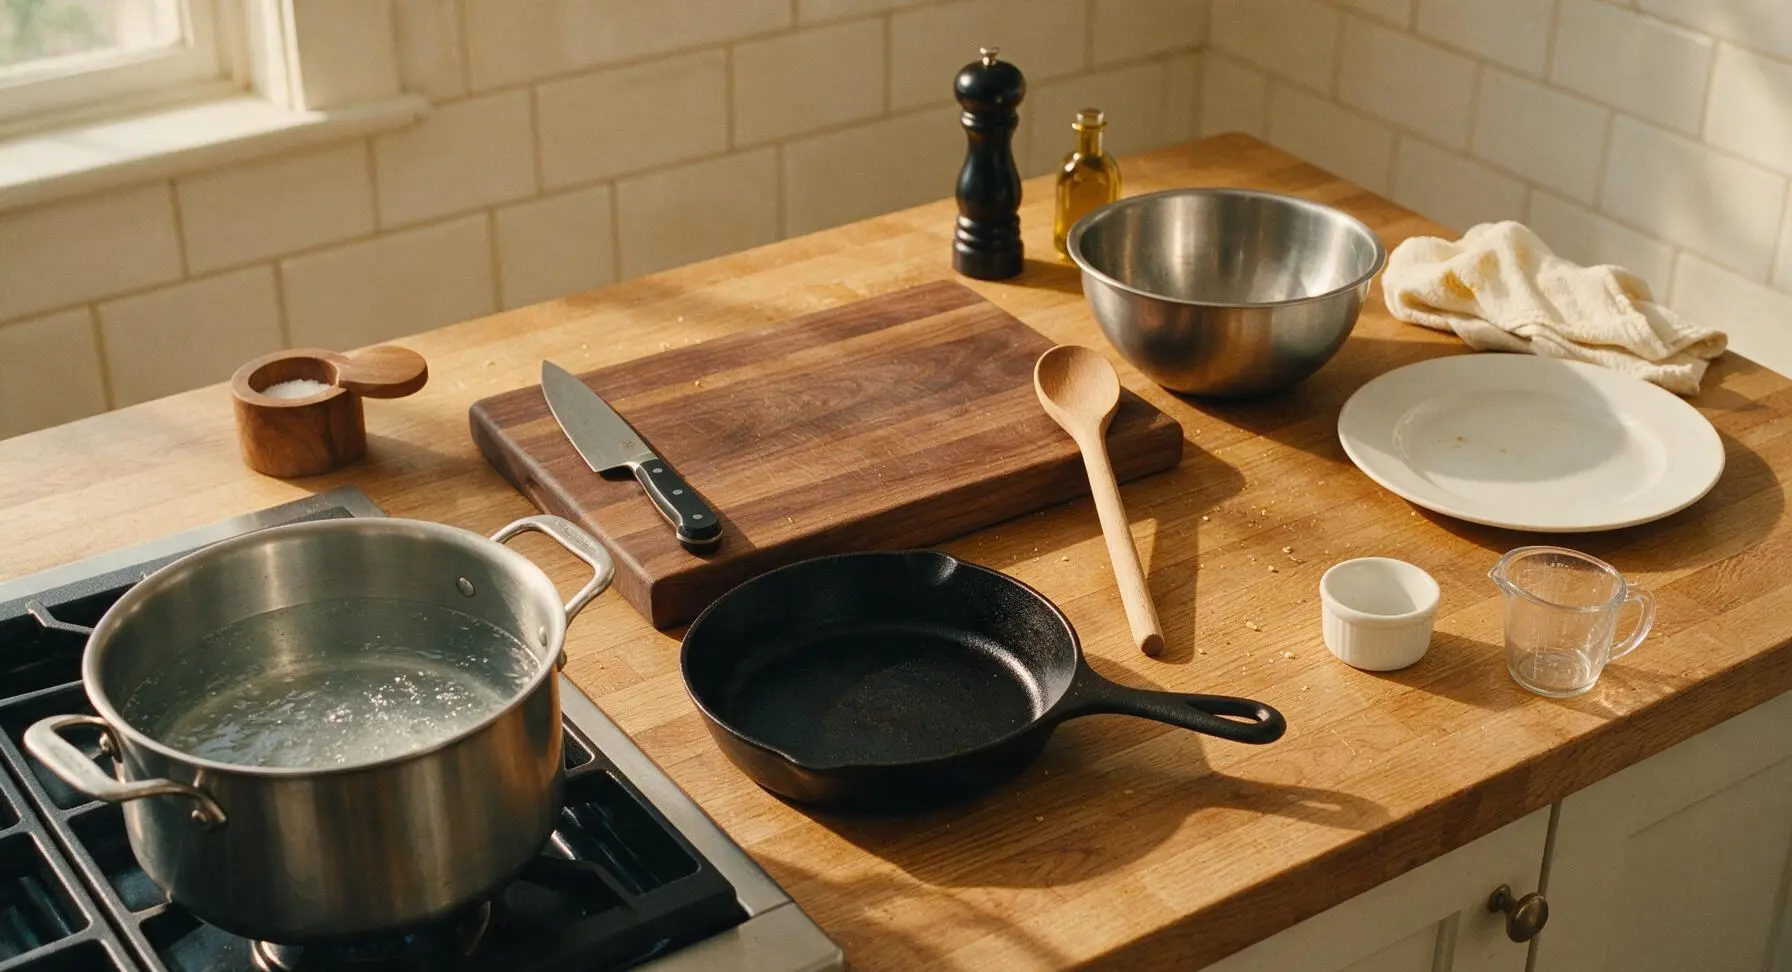
Fill the 4-quart brushed stainless steel stock pot with 6 cups cold tap water, stir in 1 teaspoon kosher salt, and set on the front left stovetop burner over high heat. Bring to a full rolling boil (approximately 8 minutes), where large bubbles break continuously across the water surface. Skip adding oil to the water, as it prevents cheese sauce from sticking to noodles later.
Step 1
step1:Boil Salted Water
2

Cook Elbow Pasta

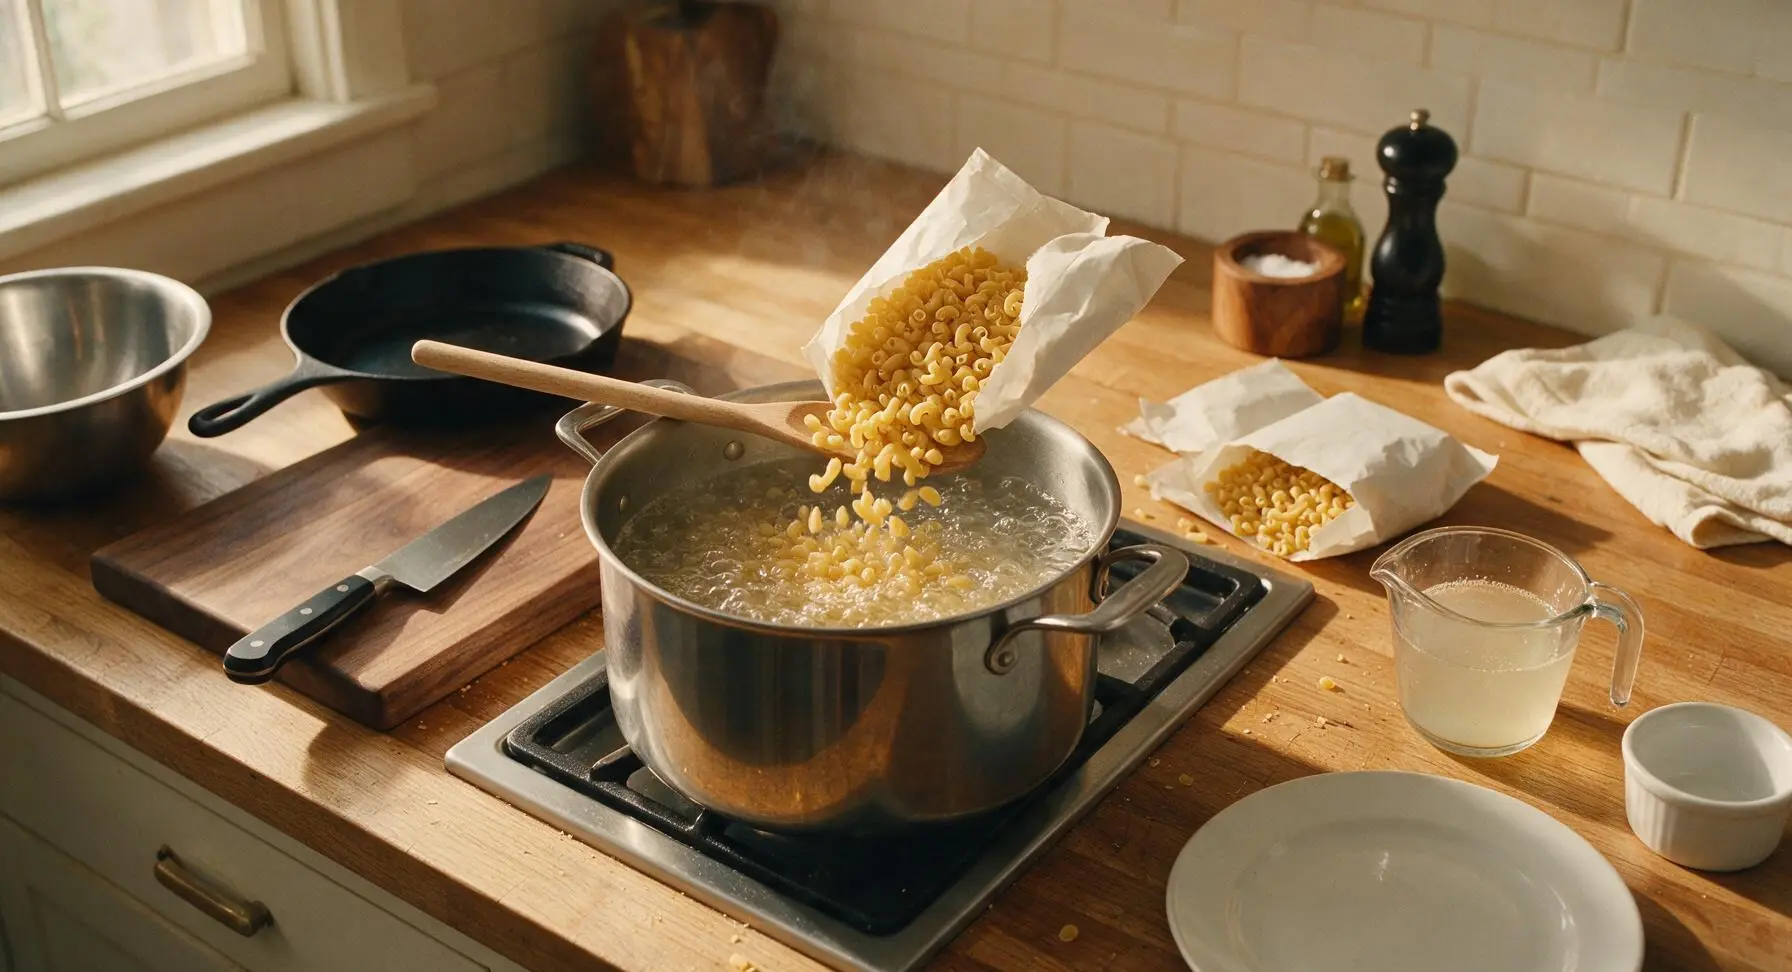
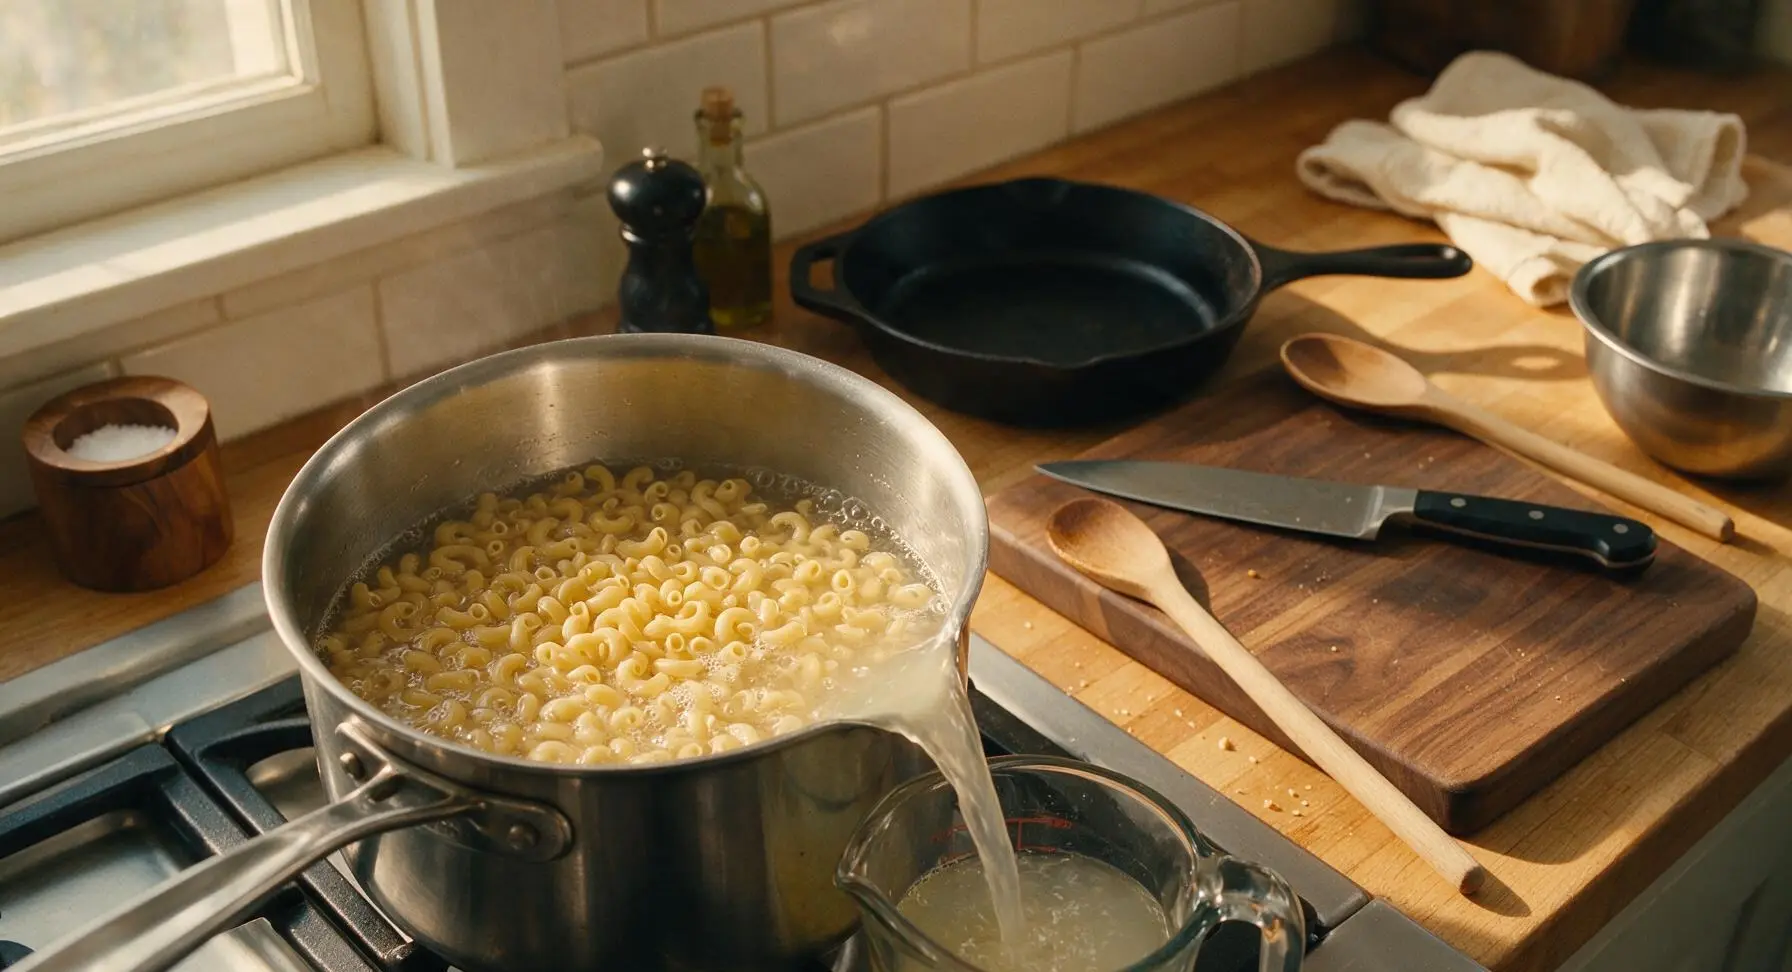
Tear open the dry elbow pasta packets from both mac and cheese boxes, pour all pasta into the boiling water. Stir immediately with the long beech wood stirring spoon to prevent noodles from sticking to the pot base. Cook for 8 minutes, stirring occasionally, until pasta is al dente: tender but with a slight firm bite at the center, not mushy. Before draining, carefully pour 1/4 cup of cloudy starchy pasta water into the clear glass measuring cup to reserve for sauce adjustment.
Step 2
step2:Cook Elbow Pasta
Step 2
step2:Cook Elbow Pasta
3

Drain Cooked Pasta

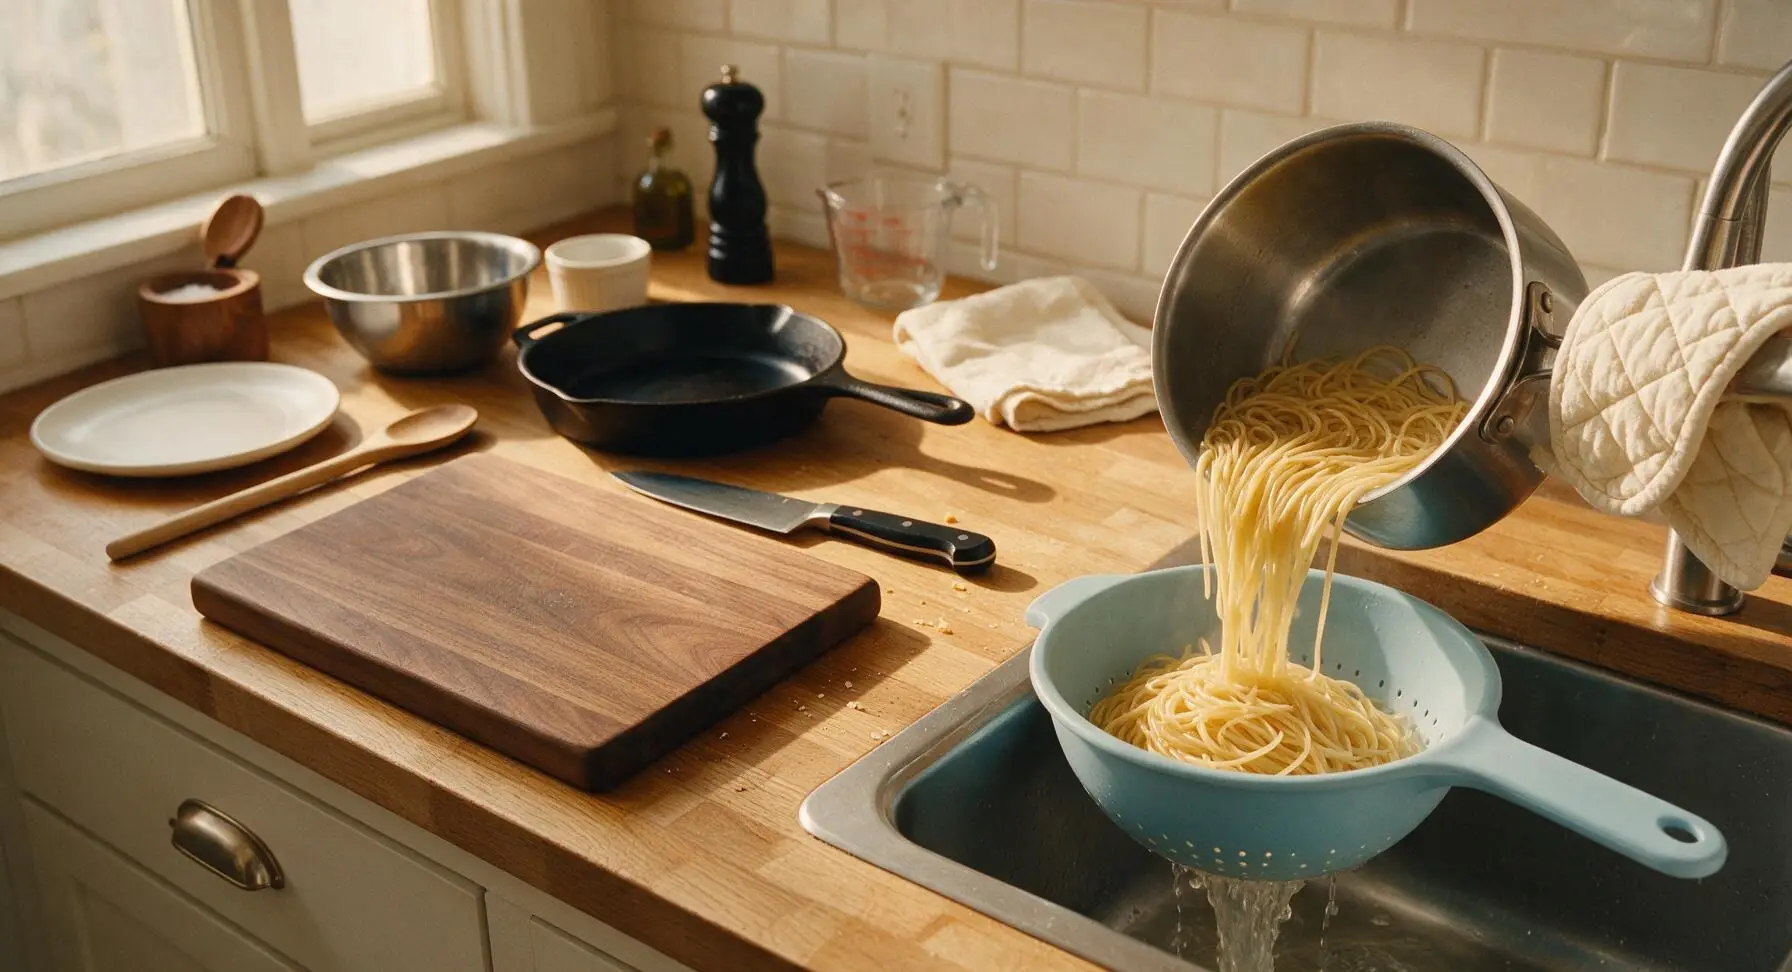
Turn off stovetop heat. Set the matte pastel blue silicone colander in the undermount stainless steel sink. Use the quilted cream cotton pot holder to grip the hot pot handle, and pour all pasta and water into the colander to drain fully. Do not rinse the pasta: the starchy outer coating helps cheese sauce cling smoothly to noodles. Shake the colander gently to remove all excess water.
Step 3
step3:Drain Cooked Pasta
4

Melt Butter for Sauce

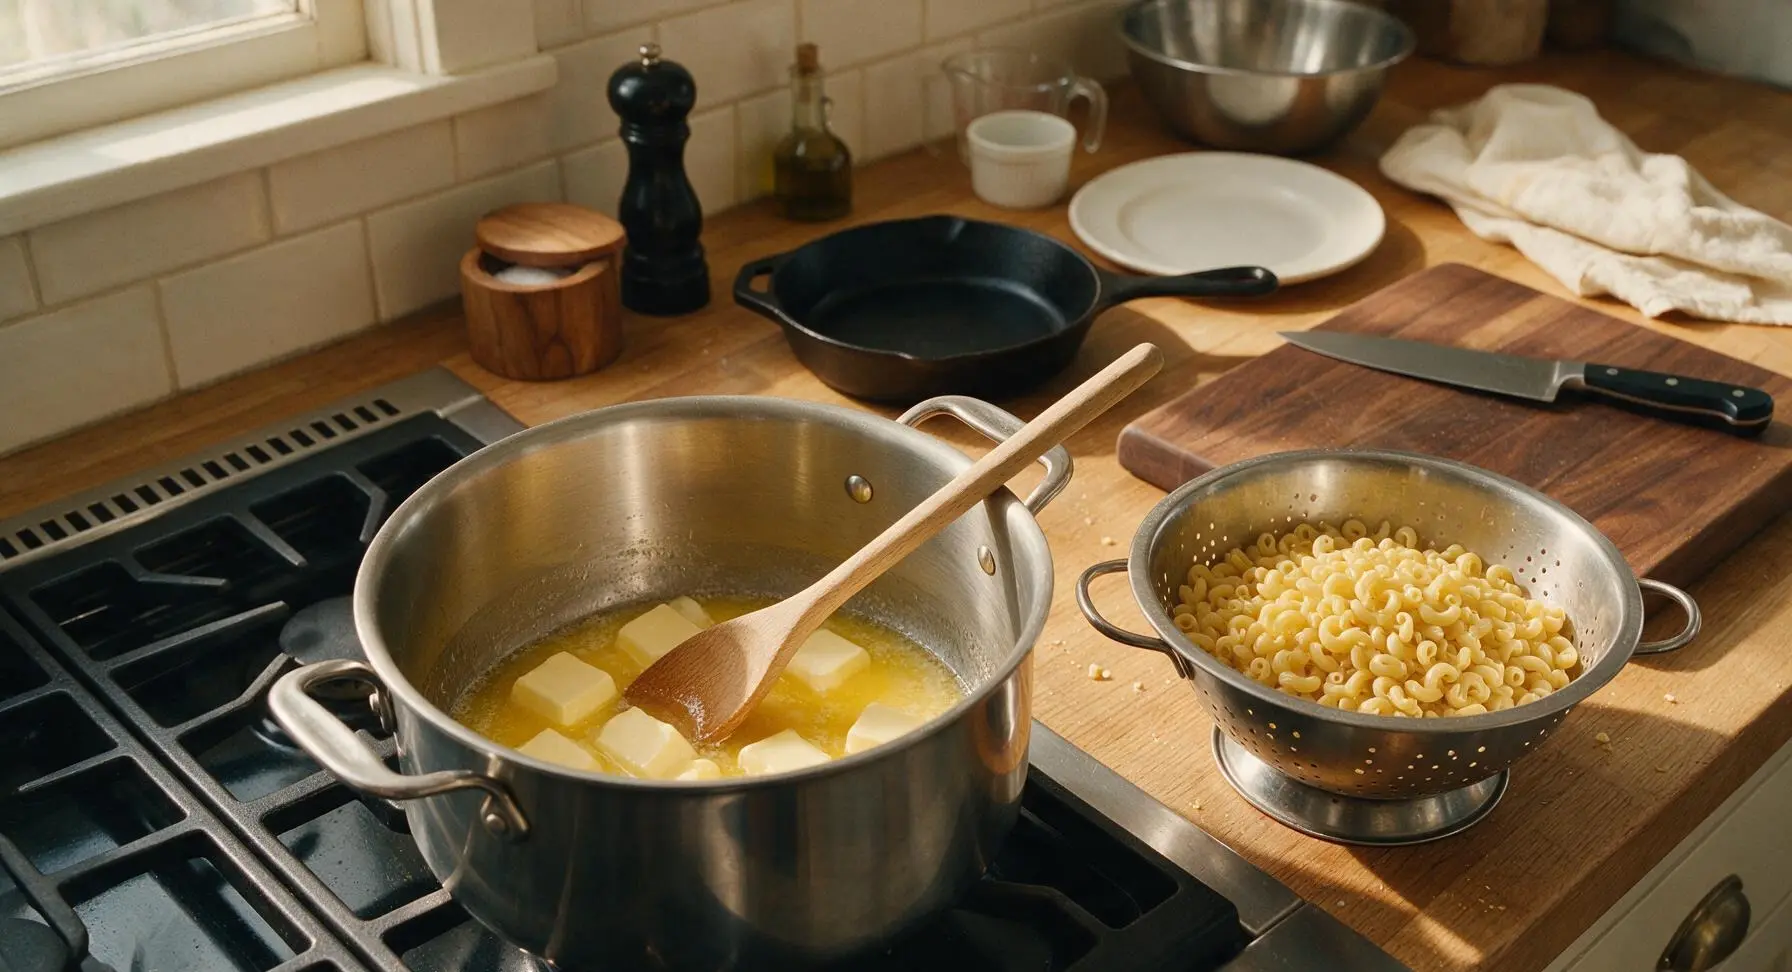
Return the empty stock pot to the stovetop over low heat. Add 4 tablespoons unsalted butter to the warm pot, stirring with the beech wood spoon until fully melted into a smooth golden liquid, about 1 minute. Do not let the butter brown, sizzle aggressively, or burn, as this will create a bitter off-flavor in the finished sauce.
Step 4
step4:Melt Butter for Sauce
5

Mix in Cheese Powder

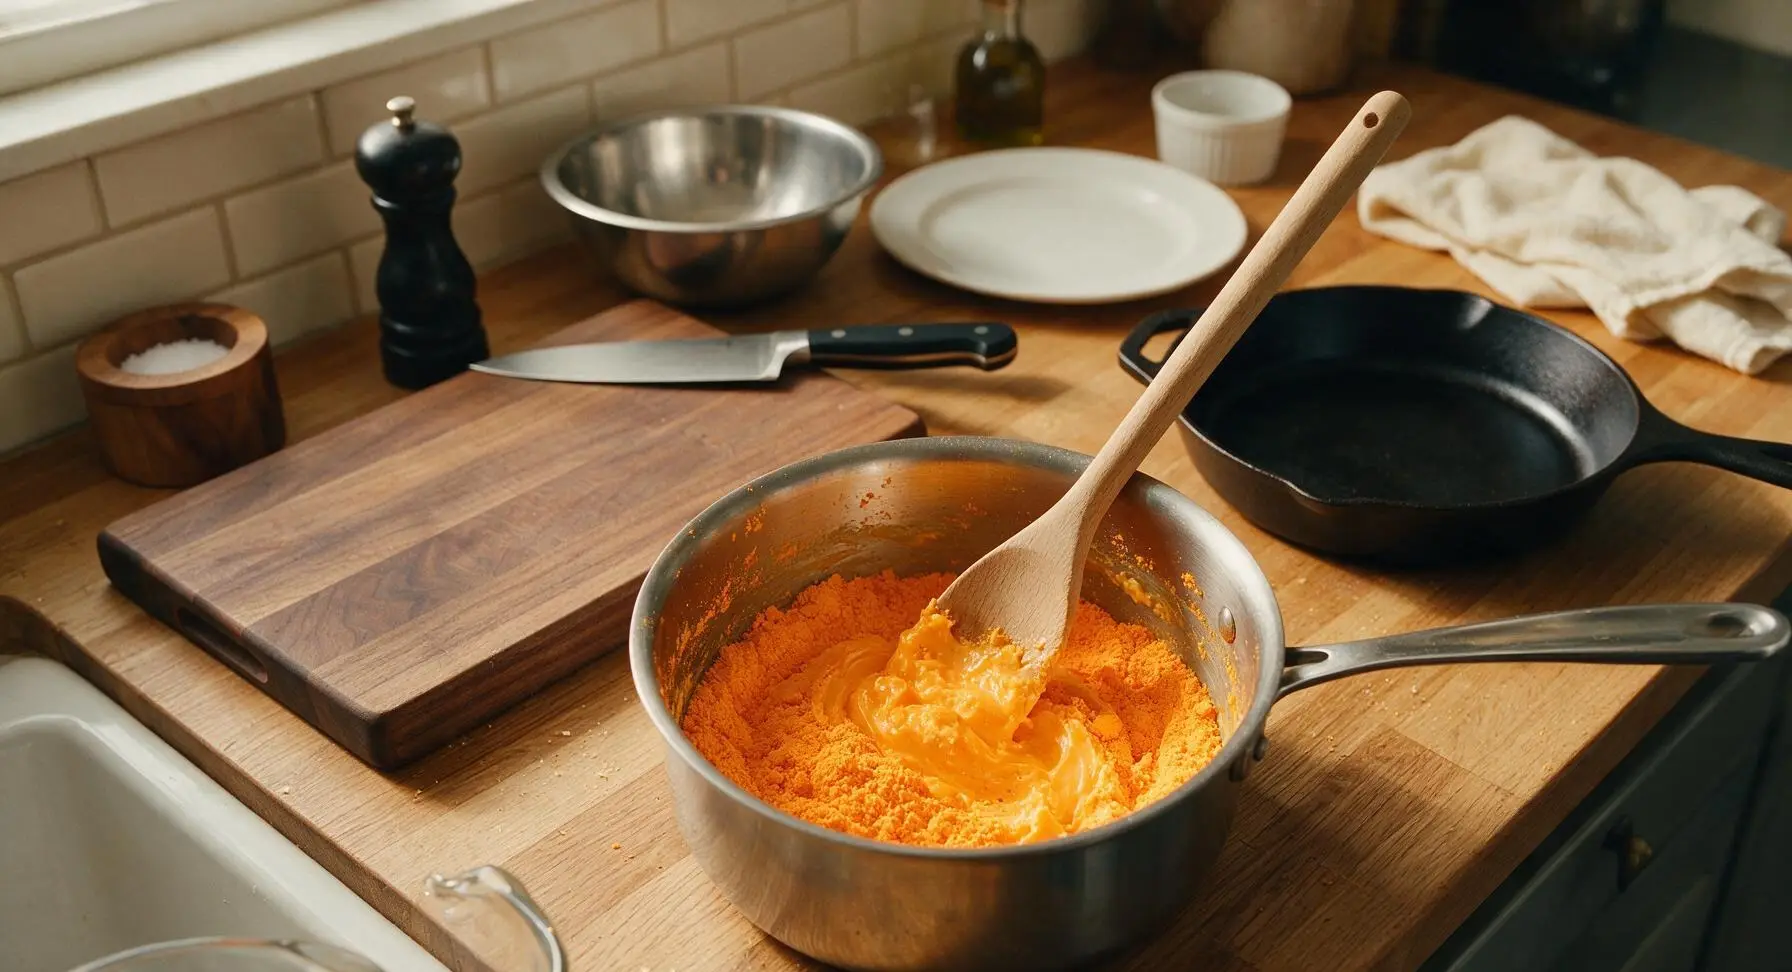
Tear open both cheddar cheese powder packets, pour all bright orange cheese powder into the melted butter. Stir constantly with the beech wood spoon for 30 seconds until a thick, smooth, lump-free orange paste forms, with no dry clumps of powder left on the pot bottom or sides.
Step 5
step5:Mix in Cheese Powder
6

Combine and Stir Sauce

Add all drained elbow pasta back into the pot with the cheese paste. Pour in 1/2 cup whole milk, the reserved 1/4 cup starchy pasta water, optional 1/4 cup shredded sharp cheddar, 1/4 teaspoon freshly ground black pepper, and pinch of ground nutmeg. Stir vigorously for 1-2 minutes, until every noodle is evenly coated in a glossy, creamy cheese sauce that coats the spoon when lifted. Adjust consistency as needed: add 1 tablespoon extra milk if too thick, or stir over low heat 1 minute if too thin.
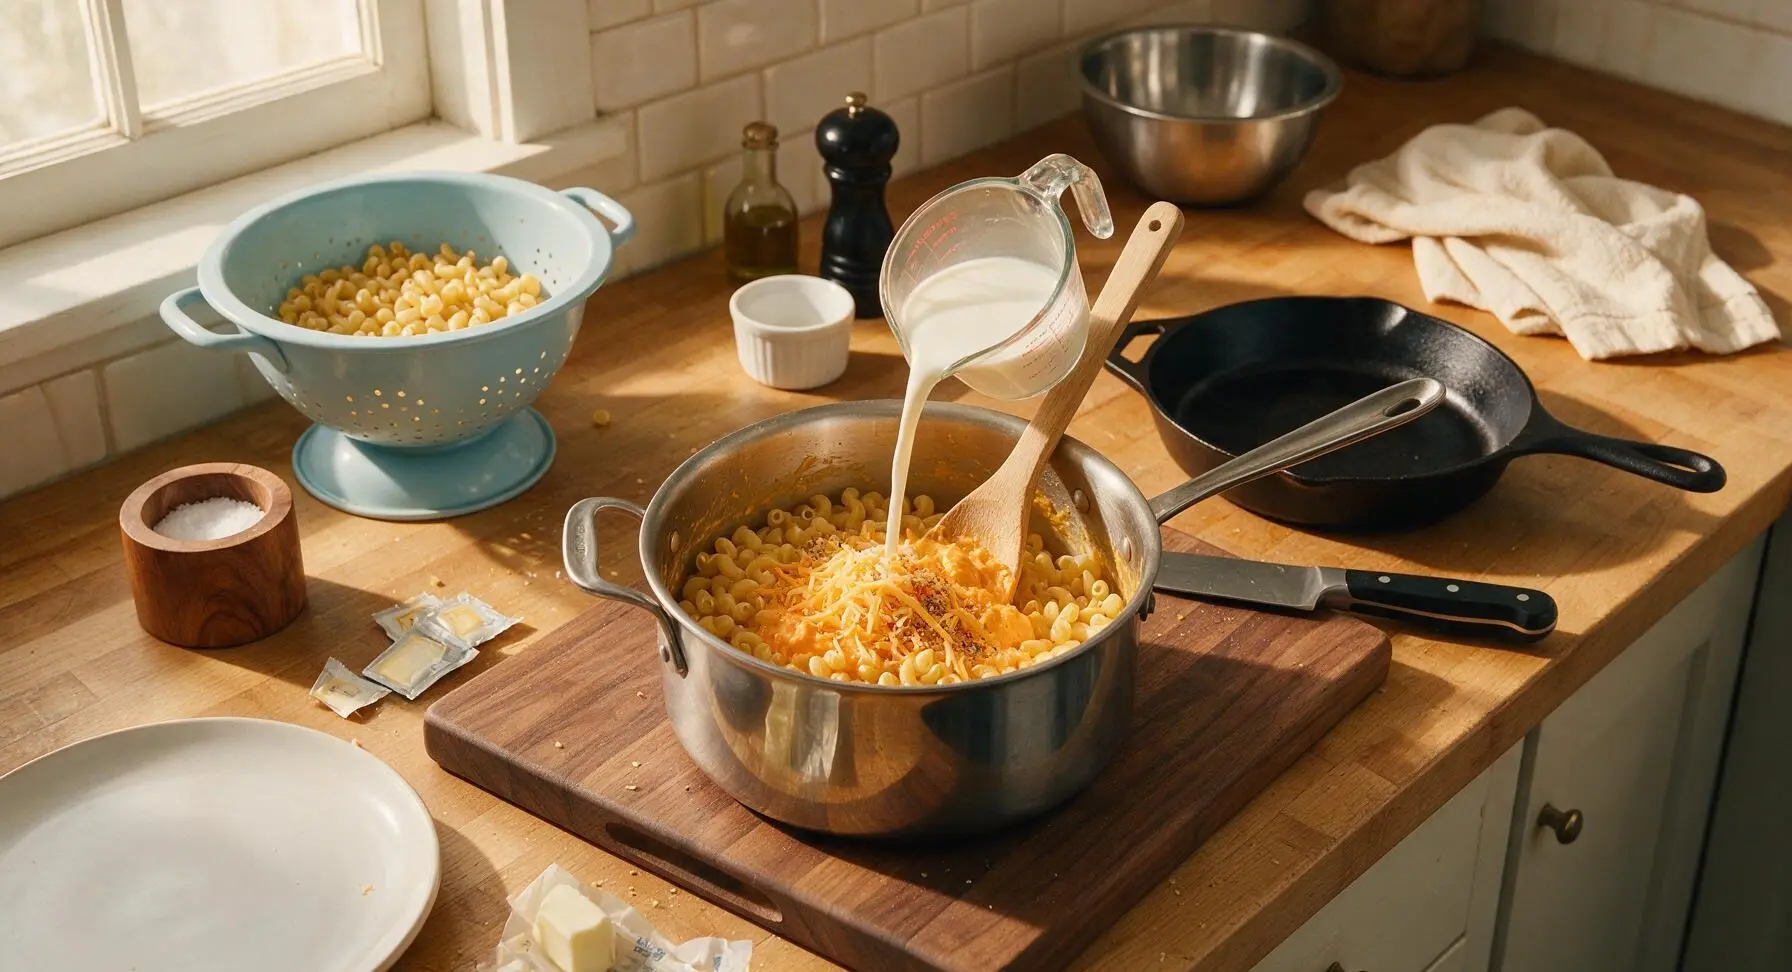
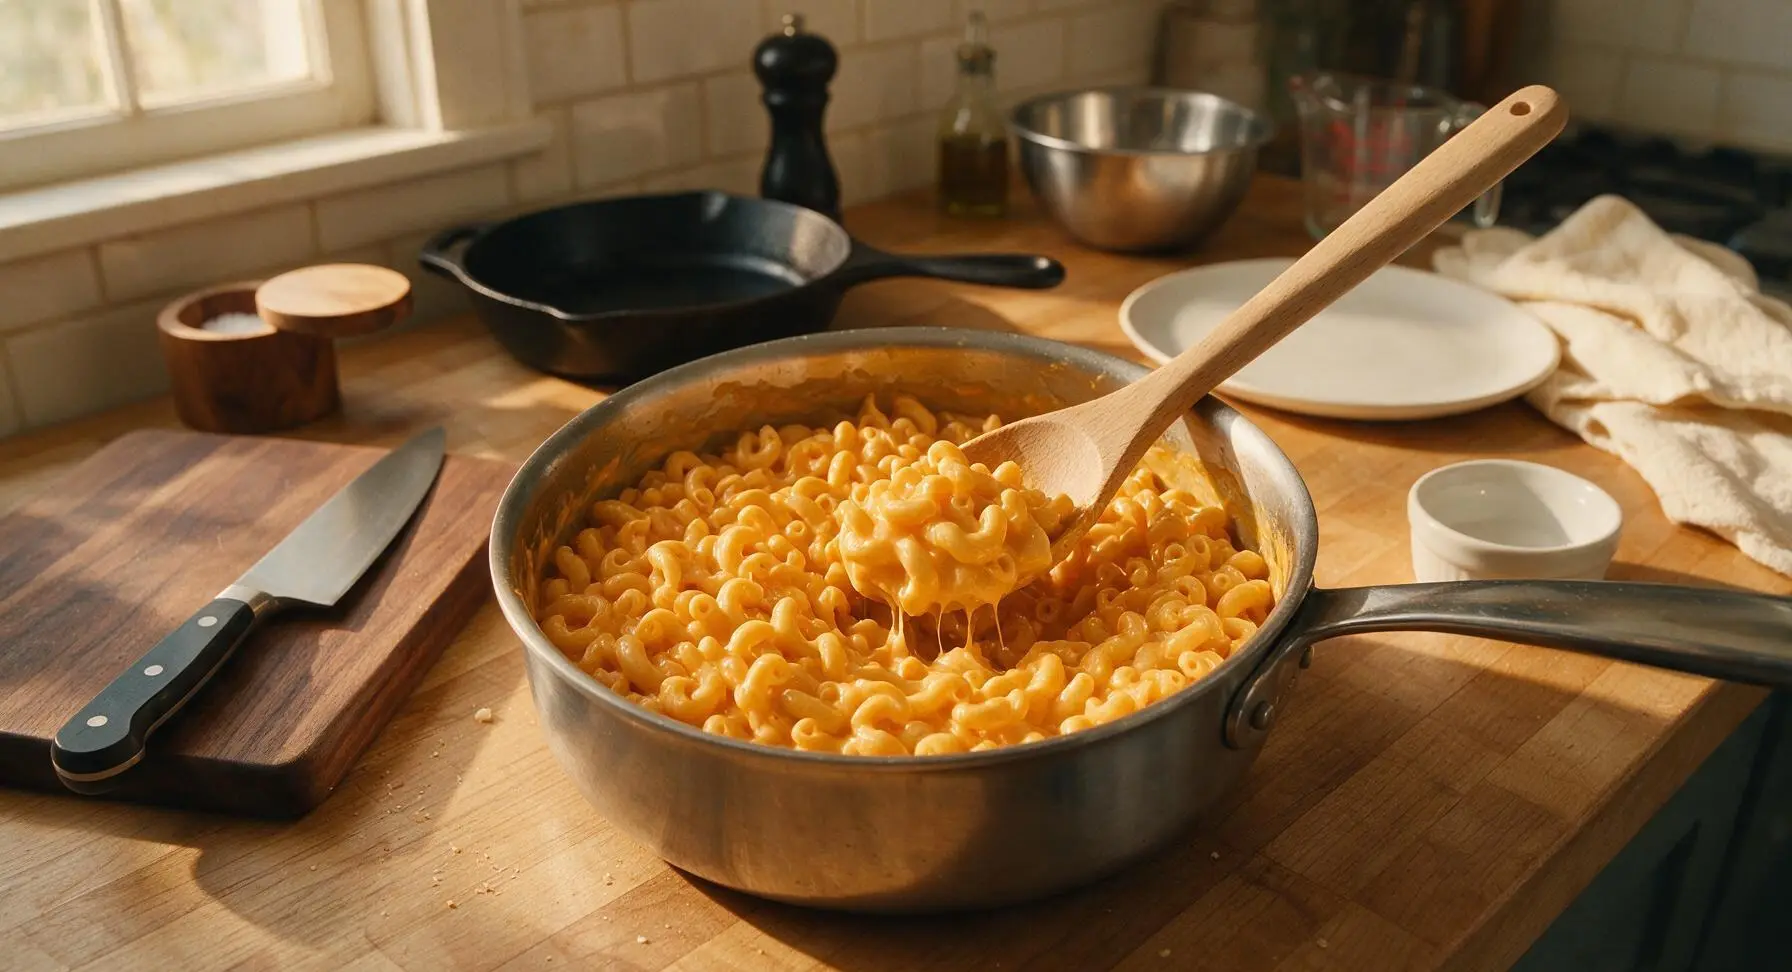
Step 6
step6:Combine and Stir Sauce
Step 6
step6:Combine and Stir Sauce
7

Plate and Serve

Scoop generous portions of the warm mac and cheese into the matte off-white ceramic shallow pasta bowls. Top each serving with a light extra sprinkle of black pepper, and serve immediately while hot and creamy.
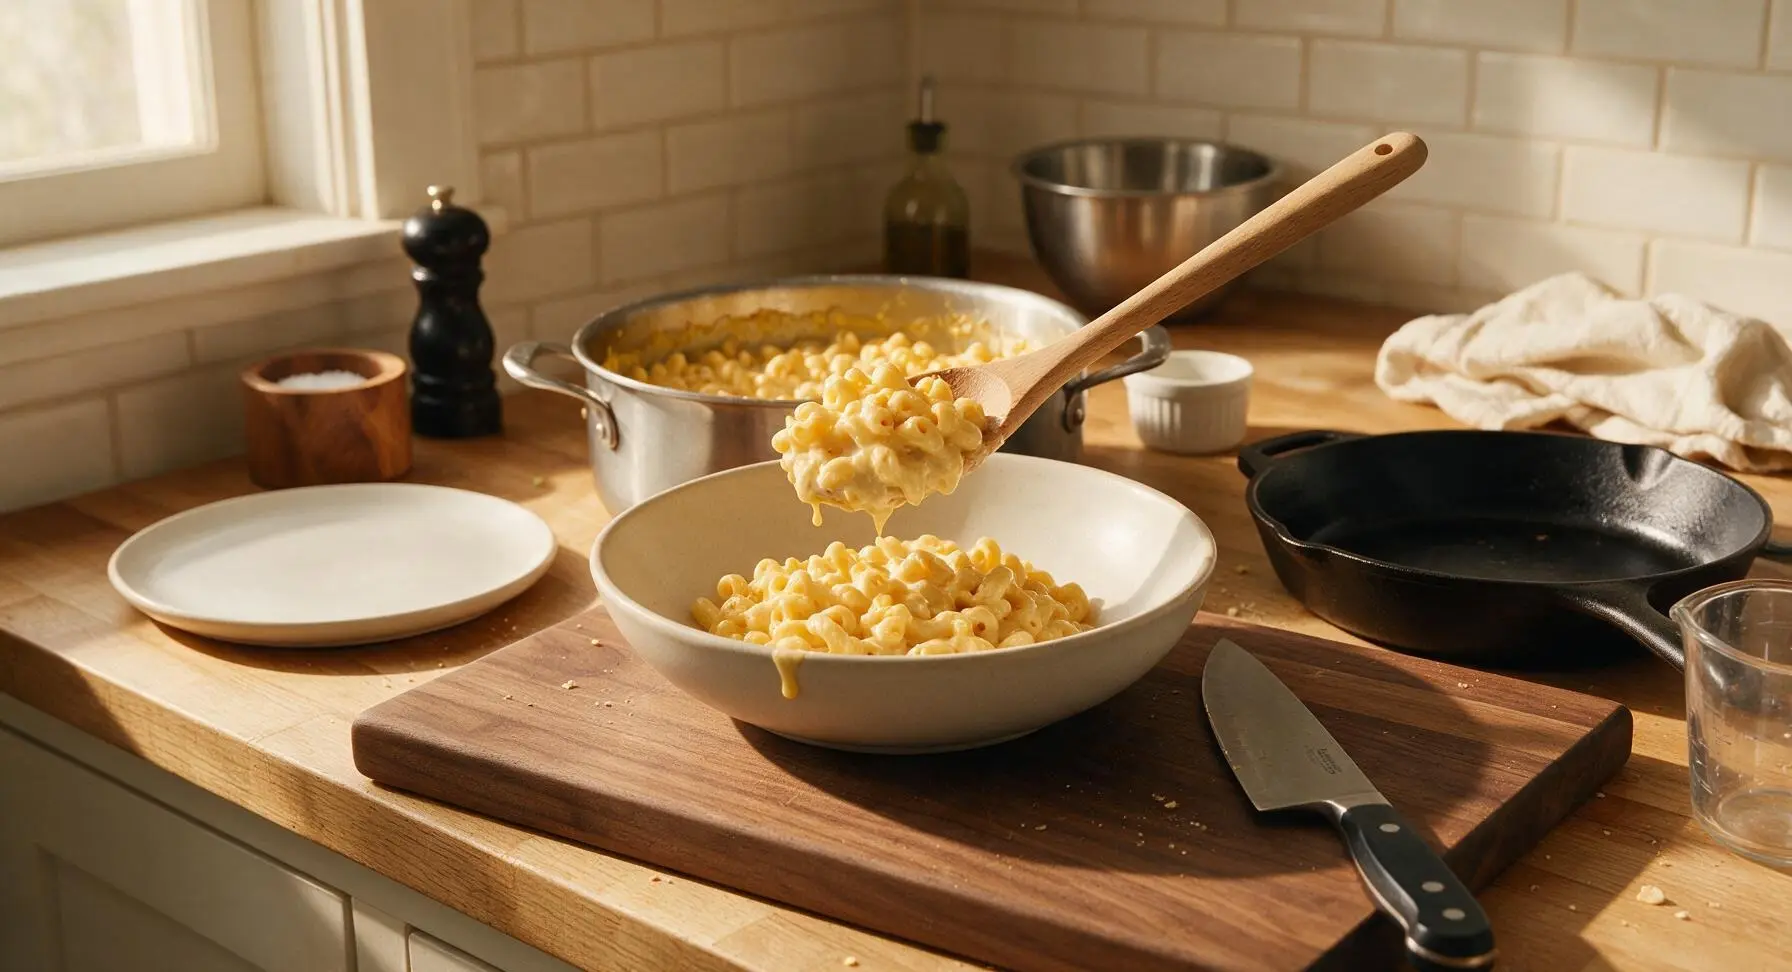
Step 7
step7:Plate and Serve

Tips

1.Always reserve starchy pasta water before draining: the salty, starch-rich water emulsifies with butter and cheese powder to create a silky, smooth sauce that won't separate or turn grainy, a result plain milk alone can't achieve.
2.Never rinse cooked pasta for mac and cheese: rinsing washes away the starchy outer coating on noodles that helps cheese sauce cling evenly, leading to watery, sliding sauce and bland flavor.
3.Add a tiny pinch of ground nutmeg to cheddar sauce: the warm spice doesn't taste like nutmeg in the final dish, but it amplifies the nutty, savory notes of cheddar for a deeper, more rounded cheese flavor with zero extra work.


✨ You May Also Like

Main Course
🍜 United Kingdom

A showstopping classic of tender seared beef, savory mushroom duxelles, and crisp prosciutto wrapped in flaky golden puff pastry, baked to juicy perfection.

⏱️ 2 hours 1Main Course ★ 4.7
Main Course
🍜 India

Tender charred marinated chicken simmered in a rich, spiced creamy tomato sauce, this iconic Anglo-Indian curry pairs perfectly with basmati rice or warm naan.

⏱️ 50 minuteMain Course ★ 4.6
Main Course
🍜 Thailand

Classic tangy, sweet, and savory Thai stir-fried rice noodles with shrimp, tofu, and crunchy garnishes, balancing all five core Thai flavor profiles.

⏱️ 30 minuteMain Course ★ 4.5
Main Course
🍜 United Kingdom

Crispy golden beer-battered cod and fluffy double-fried chips, served with tangy tartar sauce and malt vinegar: the timeless, beloved British pub comfort classic.

⏱️ 45 minuteMain Course ★ 4.7
Main Course
🍜 Mexico

Smoky, chile-marinated pork tacos with caramelized pineapple, fresh cilantro, and lime: a beloved classic Mexican street food perfect for casual summer gatherings.

⏱️ 1 hour 45Main Course ★ 4.8
Main Course
🍜 United States

Crunchy Fritos corn chips layered with savory beef chili and melted cheddar, topped with cool, zesty fixings for a beloved, cozy Tex-Mex comfort food.

⏱️ 35 minuteMain Course ★ 4.8

Annie's Mac and Cheese:Frequently Asked Questions

1.Can I substitute 2% or skim milk for whole milk to lighten this recipe up? ▾
You absolutely can, but you’ll lose a bit of that rich, velvety texture whole milk creates. To compensate, add 1 extra tablespoon of unsalted butter, and toss in a splash of half-and-half if you have it handy. This keeps the sauce from turning thin, watery, or missing that classic creamy, nostalgic mouthfeel.
2.Why does my cheese sauce turn out grainy instead of perfectly smooth? ▾
Grainy sauce almost always happens from overheating the milk and cheese powder mixture, or adding the powder when the pan is too hot. Turn your stovetop to low once you drain the pasta, melt the butter first, then whisk in milk and cheese powder slowly off direct heat for 30 seconds to get a silky, lump-free finish.
3.Do I really need to salt the pasta water if the Annie’s cheese powder is already salty? ▾
Yes, absolutely! Salting the pasta water seasons the noodles themselves from the inside out, so you don’t end up with bland pasta coated in salty cheese sauce. Use about 1 teaspoon of kosher salt per 4 cups of water, and taste a noodle before draining—it should have a mild, savory flavor on its own.
4.Can I make this mac and cheese ahead of time for weekly meal prep? ▾
You can, though it’s creamiest served fresh. If prepping ahead, undercook your pasta by 1 minute (it will soften as it sits), make the sauce slightly looser with an extra 2 tablespoons of milk, and store it in an airtight container in the fridge for up to 3 days before reheating.
5.What’s the best way to reheat leftovers so the mac and cheese stays creamy? ▾
Skip the microwave on high, which can make the sauce separate and turn rubbery. Instead, reheat portions in a small saucepan over low heat, stirring in 1 to 2 tablespoons of extra whole milk per serving as it warms. It will take 2 to 3 minutes, and you’ll get that same fresh, creamy texture as the night you made it.
6.Can I add mix-ins like veggies, protein, or extra cheese without ruining the sauce texture? ▾
Absolutely—this recipe is super flexible! Fold in cooked broccoli, crispy bacon, diced ham, or a handful of shredded sharp cheddar right after you mix the sauce and pasta together. Just make sure any wet add-ins (like steamed veggies) are well-drained first, so excess water doesn’t thin out your creamy sauce.
7.Can I use salted butter instead of unsalted if that’s what I have in my fridge? ▾
No problem at all! If you swap in salted butter, just cut back on the added kosher salt when seasoning at the end. Taste the finished mac and cheese first before adding any extra salt or freshly ground black pepper, since the salted butter and Annie’s cheese powder already carry a good amount of sodium to keep flavor balanced.
8.How do I keep the cheese powder from clumping up when I mix it into the sauce? ▾
Clumps happen when dry powder hits hot liquid too fast and seizes up. After melting the butter, remove the pan from direct heat, whisk the milk in first to warm it slightly, then sprinkle the cheese powder in a little at a time while whisking constantly. This breaks up clumps before they can form for a perfectly smooth sauce.
9.Is there an easy way to make this recipe gluten-free? ▾
Absolutely! Annie’s makes a gluten-free version of their organic cheddar mac and cheese that uses rice or corn elbow pasta, which works as a perfect 1:1 swap. Just follow the exact same recipe steps, and double-check that your butter and milk are unflavored and gluten-free (most standard grocery store options are!) for a safe, tasty batch.
10.My pasta always turns mushy when I make stovetop mac—how do I avoid that? ▾
Mushy pasta comes from overcooking the noodles, or letting them sit in hot sauce too long. Cook the elbows 1 minute less than the package directions for al dente (they’ll finish cooking slightly when you toss them in the warm sauce), and drain them immediately without rinsing, so the starch helps the sauce cling instead of turning soft.
11.Can I bake this stovetop recipe if I want a crispy, browned top? ▾
You totally can! After mixing the pasta and sauce on the stovetop, transfer it to a small baking dish, top with a sprinkle of extra cheddar and panko breadcrumbs if you have them, and bake at 375°F for 10 to 12 minutes until the top is crispy. It adds a nice textural contrast without losing that classic creamy, nostalgic core.
12.How long do leftovers keep in the fridge, and can I freeze this mac and cheese? ▾
Leftovers will stay fresh for 3 to 4 days in an airtight container in the fridge. Freezing is possible, though the sauce may separate slightly when thawed—stir in a splash of extra milk while reheating to bring the creaminess back. Use frozen mac and cheese within 2 months for the best flavor and texture.

Comments (7)

2 days ago

OMG this is the only stovetop mac and cheese recipe I will ever make from now on! 15 minutes total? Game changer for weeknight dinners when my two boys are screaming for food right after soccer practice. It’s so creamy, no grainy cheese sauce at all, even when I use a mix of sharp cheddar and a little colby jack I had leftover in the fridge. Took this to our neighborhood potluck last weekend and people were begging for the recipe! Wait quick question—can I make this ahead for meal prep and reheat it later in the week without the sauce breaking?

yesterday

I meal prepped this last week! Just added a tiny splash of whole milk when I reheated it in the microwave and it was just as creamy as night one, no weird broken sauce at all. Made 4 servings and ate it for lunch all week, so good!

yesterday

So happy this was a hit at the potluck, Jessie! Great call on the colby jack swap, that sounds delicious. As our friend mentioned, a splash of milk when reheating brings it right back to that perfect creamy texture—this stores great in the fridge for up to 4 days for easy meal prep!

5 days ago

Super easy recipe, tasted way better than the boxed stuff I grew up on. Only thing I did different was add a pinch of smoked paprika and a little handful of crispy breadcrumbs on top for a tiny crunch. My picky 7 year old ate two full servings and asked if we could have it again tomorrow. Total win for family dinner night.

3 days ago

Love the smoked paprika and breadcrumb addition, Ryan—what a perfect little upgrade to add depth and crunch! So stoked your picky eater loved it, that’s the best compliment we can get.

1 week ago

Made this in my dorm room on a little hot plate and it turned out perfect!!! No fancy equipment needed, ingredients are super cheap and easy to grab at the campus grocery store. Way better than paying $12 for sad cafe mac and cheese. 10/10 will be making this every week when I don’t feel like walking to the dining hall.

3 days ago

Wait why did I think making creamy mac and cheese from scratch was hard? This took literally 15 minutes like the recipe said, zero stress. I brought this to my friend’s game night and everyone thought I spent an hour on it. Only tiny note: I used pre-shredded cheese first and the sauce was a little thicker than I wanted, so next time I’ll shred my own like the recipe says.

2 days ago

Great tip about the pre-shredded cheese! It’s coated in anti-caking agents that can make the sauce a little thicker or grainier, so fresh shredded is always best if you have 2 extra minutes. So glad it was a hit at game night even with that small swap!

yesterday

Tried this last night for my daughter’s birthday dinner per her request (she is OBSESSED with mac and cheese) and she said it’s the best I’ve ever made. The sauce is so silky, no weird clumps even when I messed up and added the cheese a little too fast at first. Quick question for folks who have made this—has anyone added bacon or pulled pork to it to make it a little heartier? Thinking about making it again for our camping trip next weekend.

2 hours ago

I added crumbled crispy bacon and a little roasted broccoli to this last month when we went car camping! It held up so well over the camp stove, just keep the heat low when you reheat so the sauce doesn’t burn. The salty bacon pairs so perfectly with the creamy cheese, 10/10 recommend.

30 minutes ago

So happy this was birthday dinner approved! Adding crispy bacon or pulled pork is such a great call for a heartier meal—if you’re making it for camping, you can even prep the sauce at home and toss it with freshly cooked pasta over the camp stove to save time out in the woods!

30 minutes ago

SO good! I’m a terrible cook and I still pulled this off without burning anything or making a lumpy sauce. The recipe steps are so straightforward, no weird fancy ingredients I had to track down at a specialty store. Added a little hot sauce on top for a kick and it was chef’s kiss. My roommate walked in and thought I ordered takeout lmao

5 minutes ago

The hot sauce addition is genius! I drizzled a little sriracha on mine last week and it cut through the richness so nicely, I can’t go back to plain mac now. So glad you liked it, this recipe is foolproof even for people who barely cook!

2 weeks ago

I’ve been making mac and cheese for my grandkids for over 40 years and I have to say, this recipe is a keeper! It’s quick, it’s creamy, it doesn’t require baking in the oven for half an hour which is perfect when the little ones are running around the house and can’t wait for dinner. I added a tiny pinch of nutmeg like my mom used to and it gave the sauce such a warm, cozy flavor. Will definitely be adding this to my regular rotation.



