
Asiago Cheese Bagel
intro
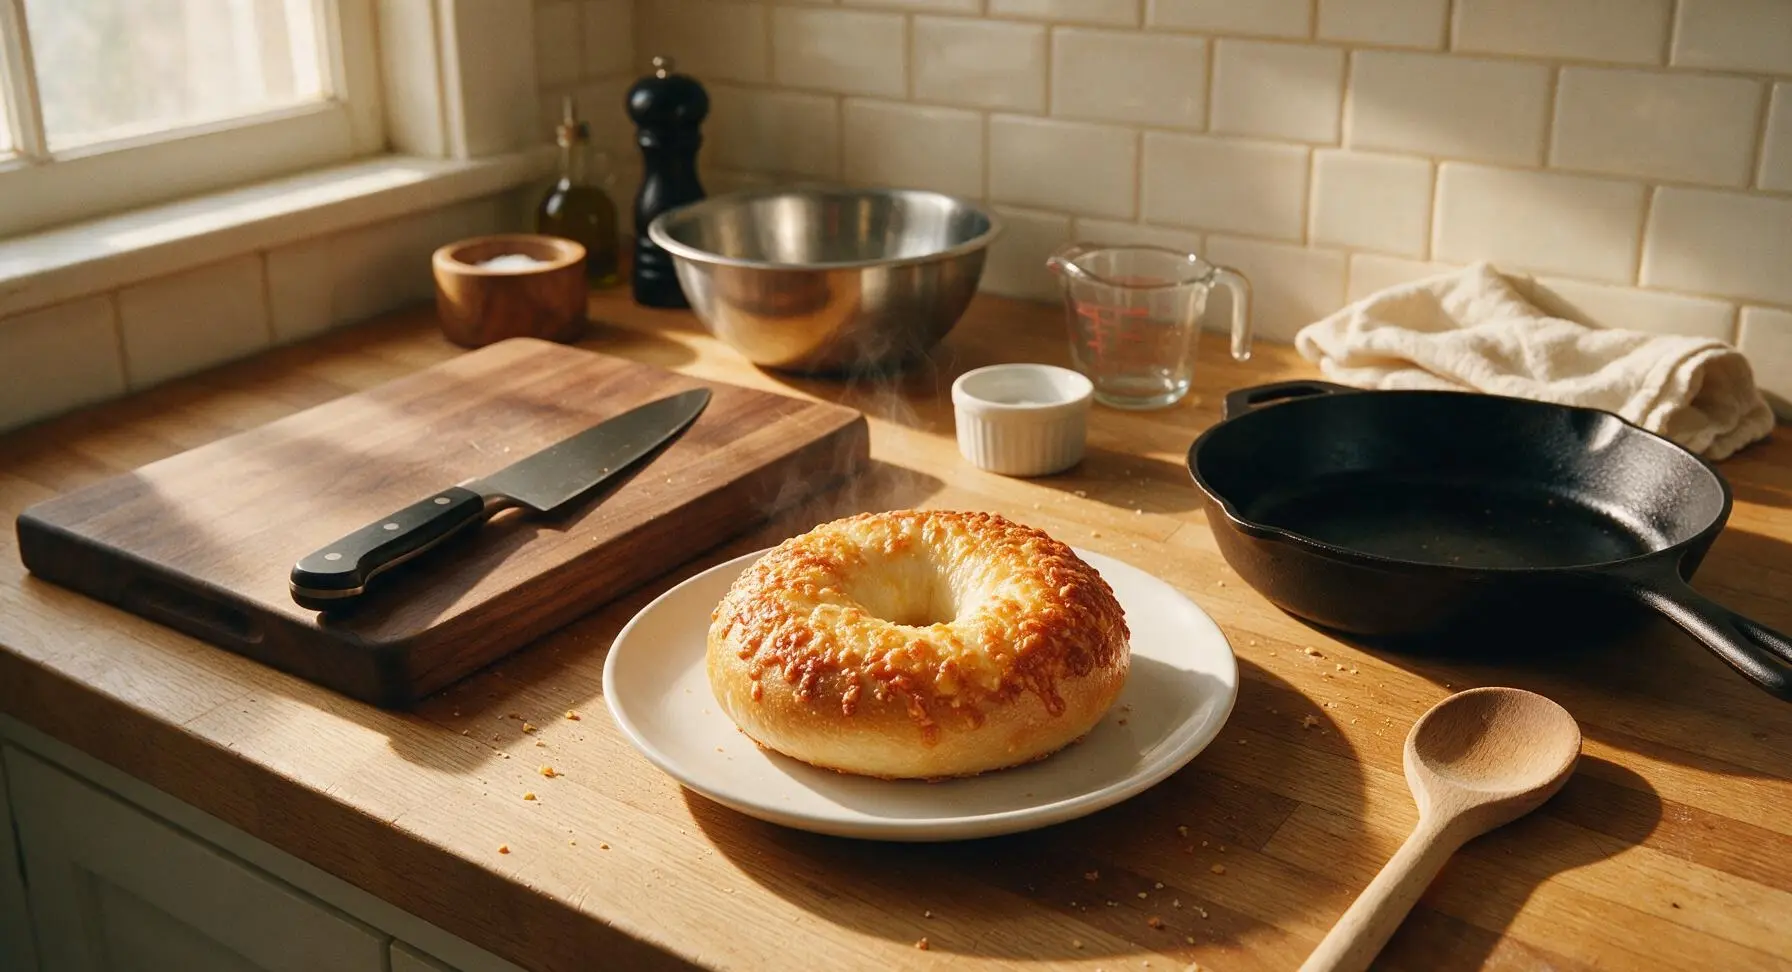
Chewy, golden artisan bagels crusted with nutty, melted aged asiago, with a soft tangy crumb perfect for toasting, spreading, or piling high with sandwich fillings.
Ingredients
Steps
Mix and Knead Dough
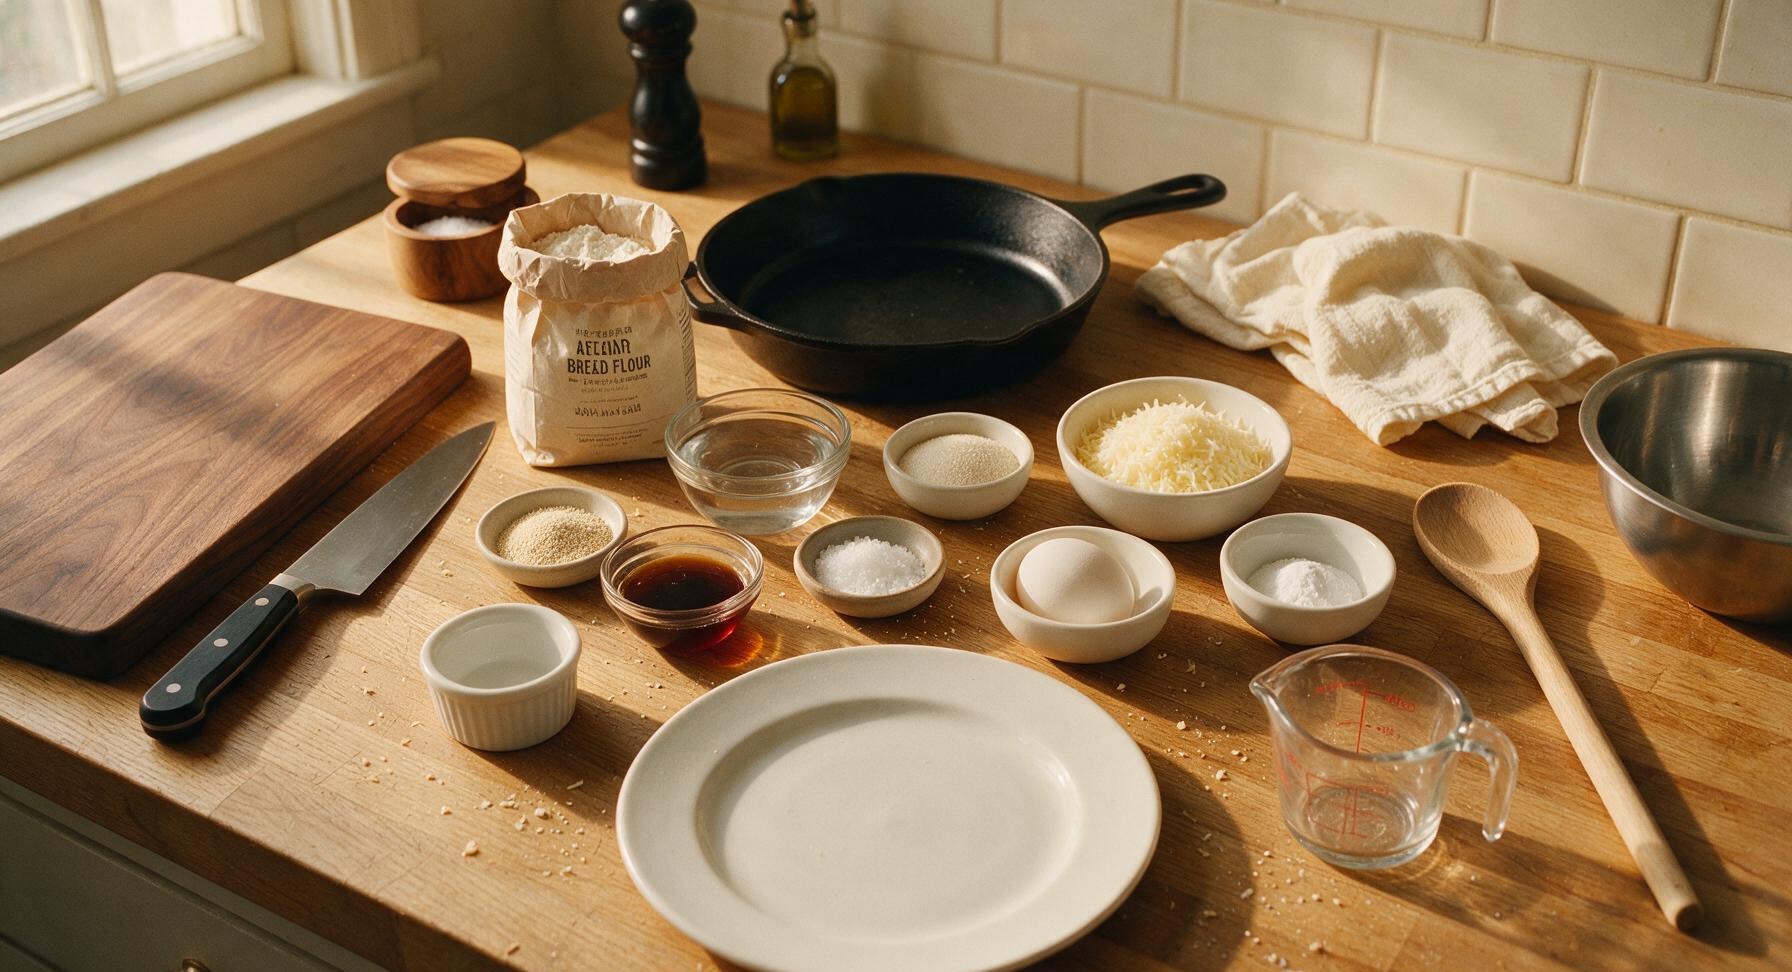
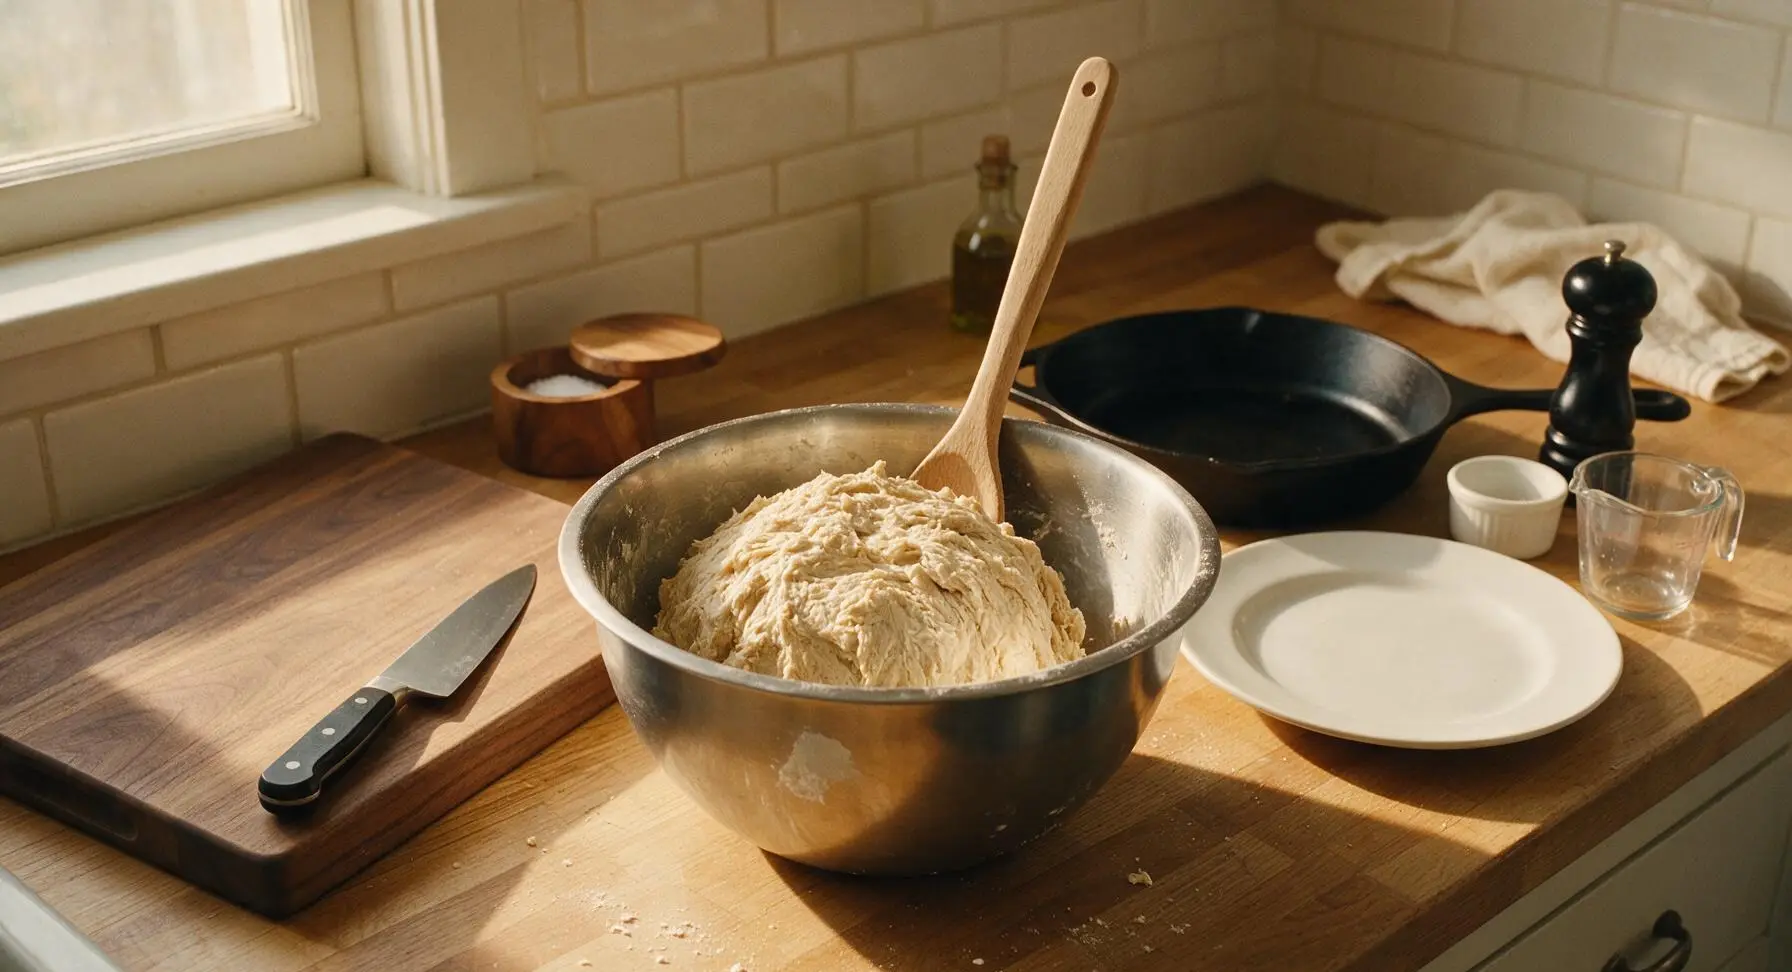
In the large clear glass mixing bowl, combine 300ml lukewarm water (105°F/40°C), 5g granulated sugar, and 7g active dry yeast. Let rest 5 minutes until a thin foamy layer forms on the surface to confirm yeast activity. Add 15ml barley malt syrup, 10g kosher salt, and 500g bread flour, stirring with the long beech wood mixing spoon until a shaggy, ragged dough forms. Turn the dough out onto the clean counter (no extra flour to start) and knead for 8–10 minutes, folding in 50g of grated asiago during the final 2 minutes of kneading, until the dough is smooth, firm, and elastic, pulling cleanly away from the counter with no sticky residue.
Proof the Dough
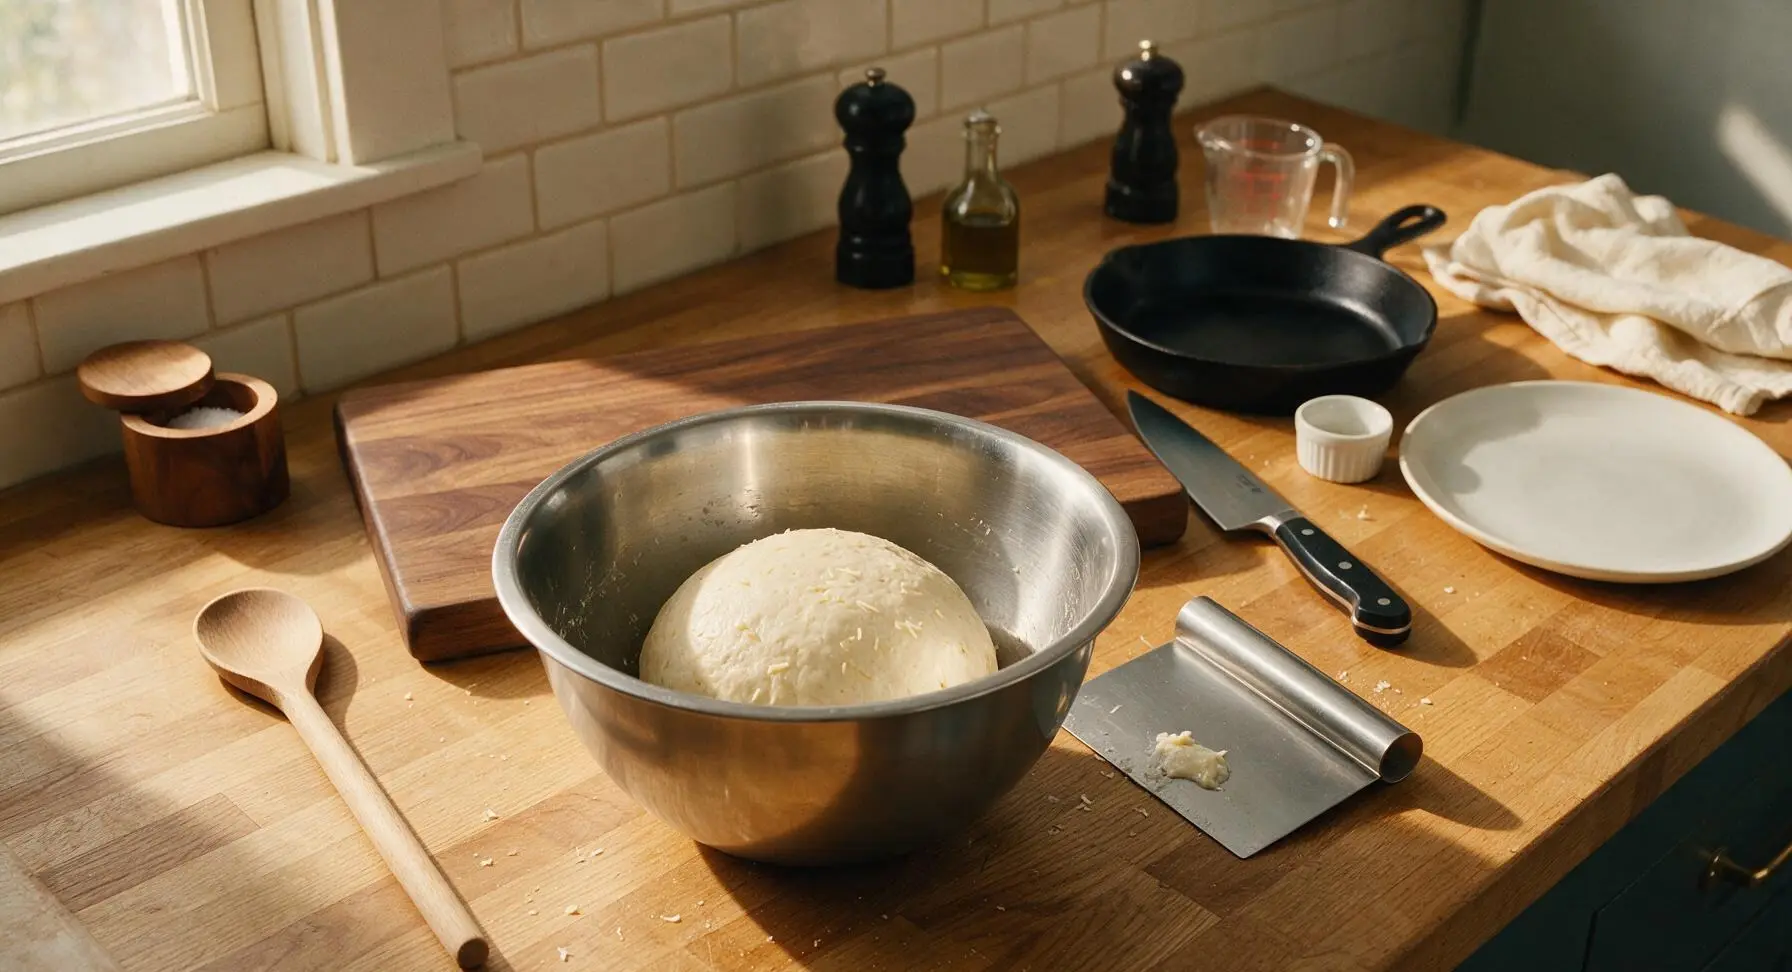
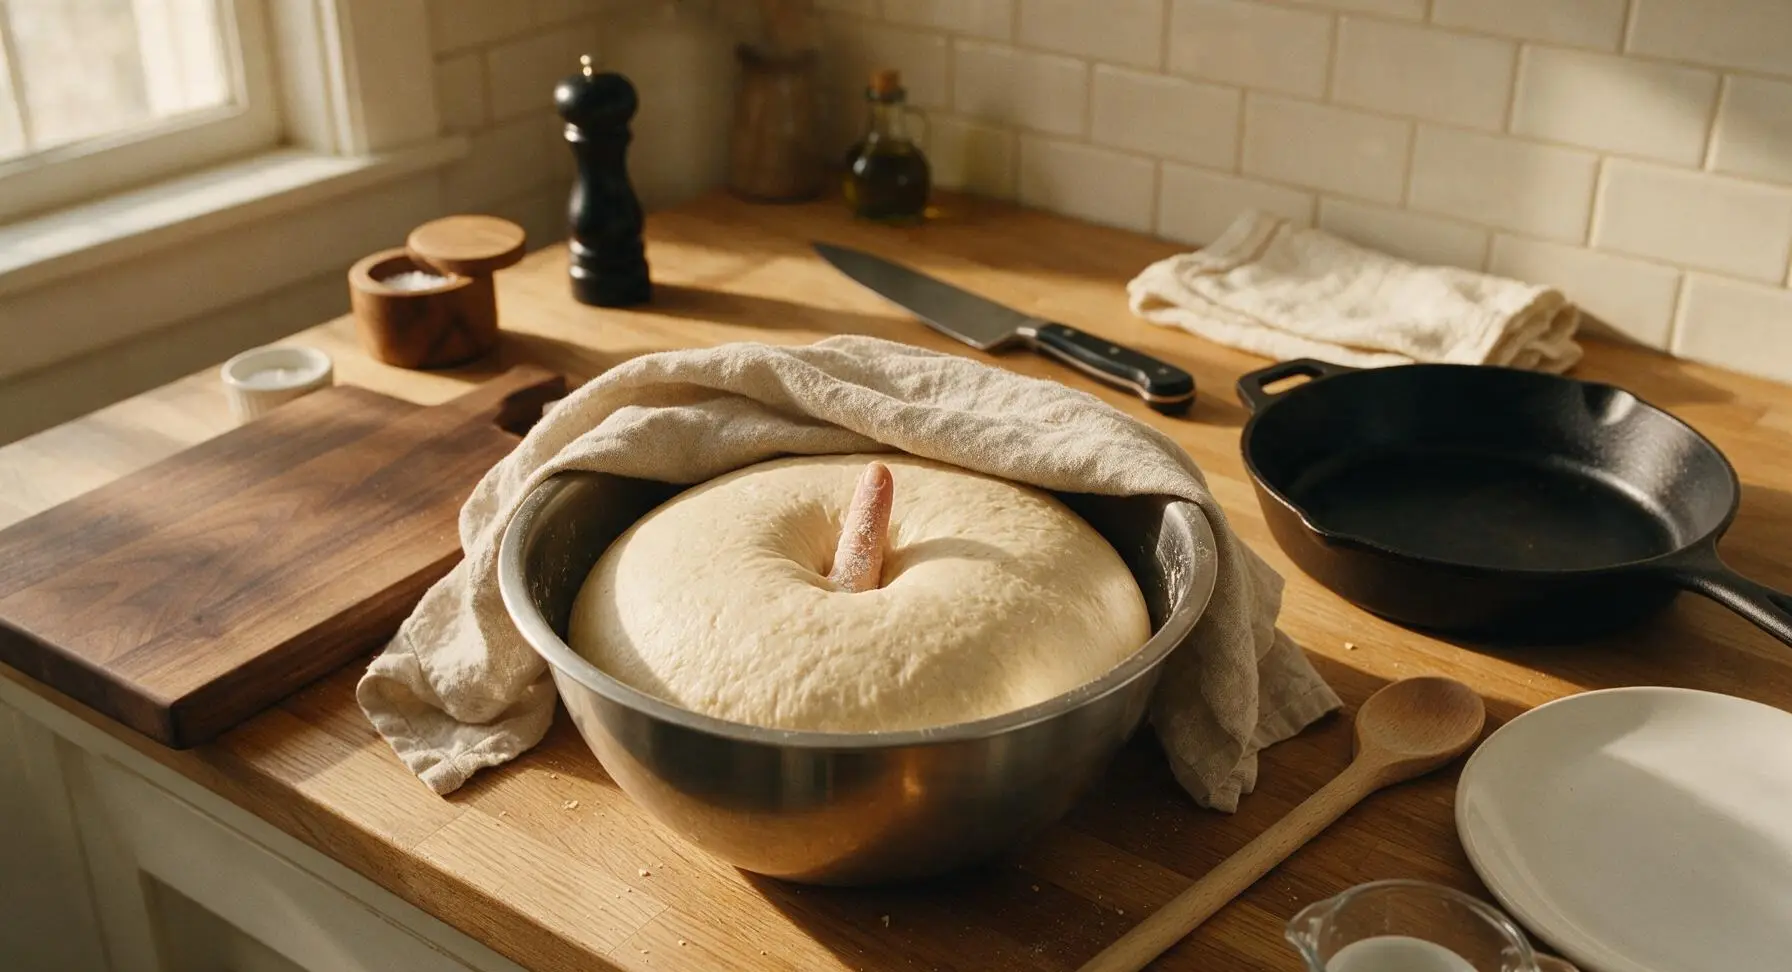
Cover the mixing bowl loosely with the oatmeal linen towel and let the dough rest in a warm, draft-free spot for 1 hour, until it doubles in size and leaves a slow-rebounding indent when pressed with a floured finger. Return the towel to its fixed top-right corner after checking the dough.
Shape Bagel Rounds
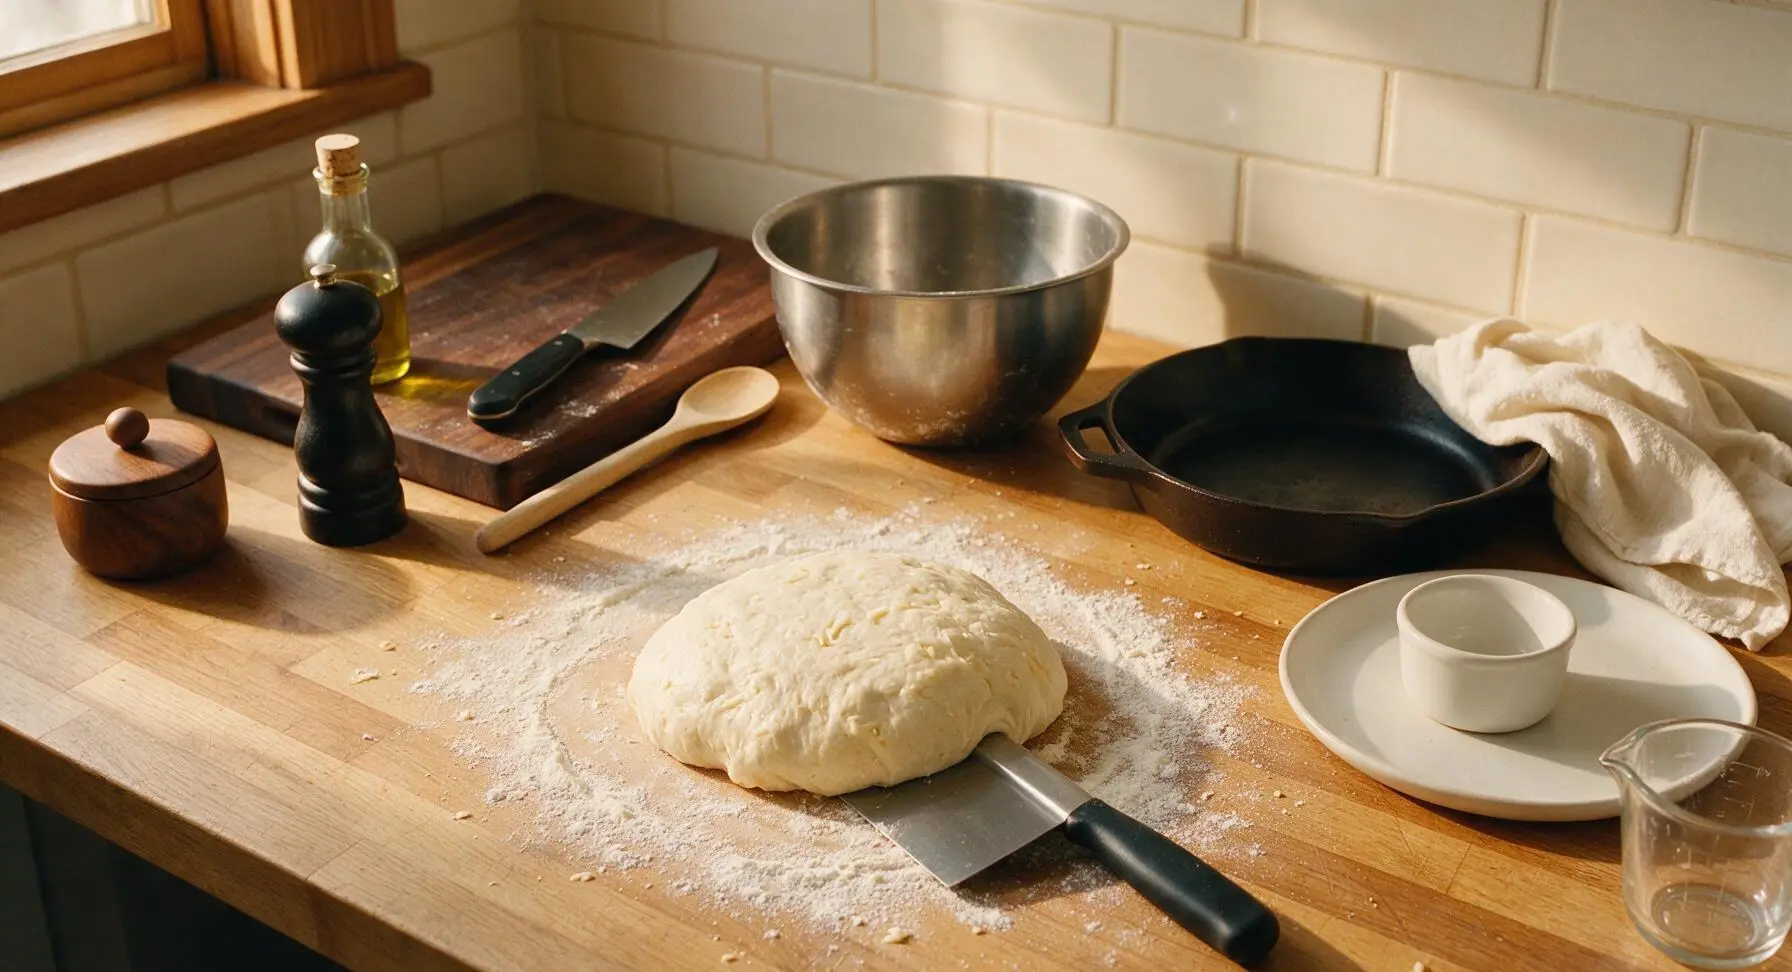
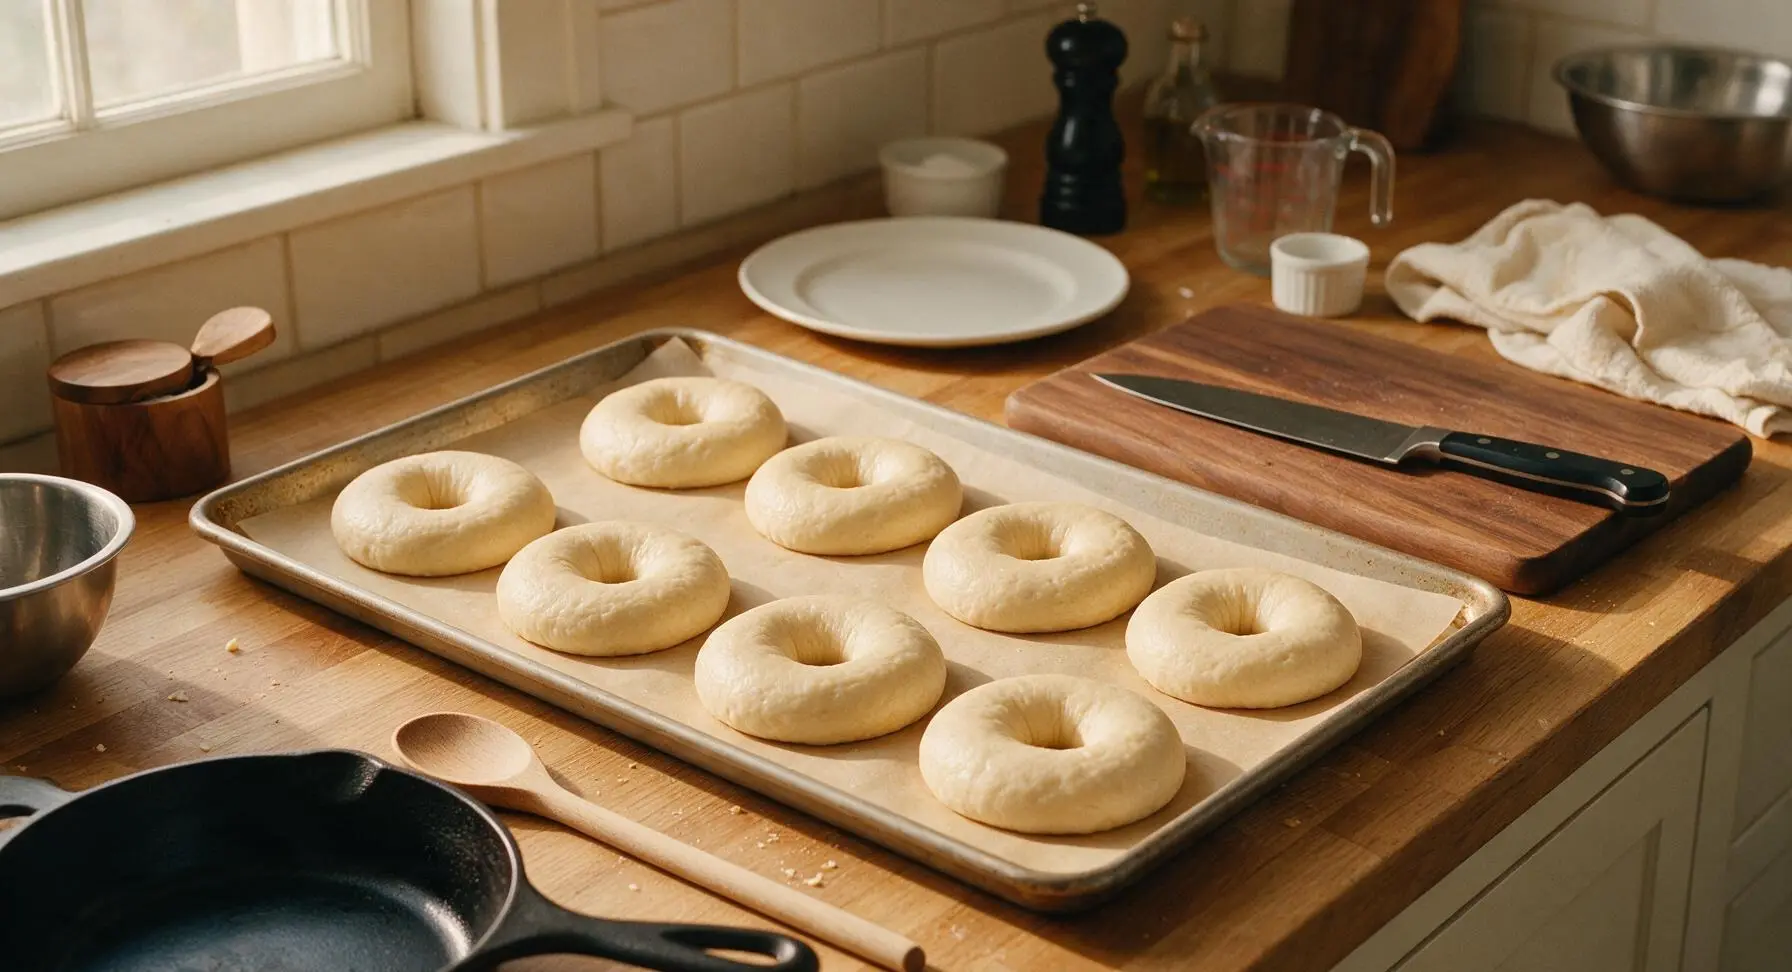
Once risen, turn the dough out onto the lightly floured counter and use the stainless steel dough scraper to divide it into 8 equal 100g pieces. Roll each piece into a tight, smooth ball, then poke a hole through the center with your floured thumb, stretching the hole to 5cm (2 inches) wide to form the classic bagel shape. Arrange shaped bagels on the parchment-lined rimmed baking sheet, cover loosely with the linen towel, and let rest for 20 minutes until slightly puffed.
Prep Boiling Bath
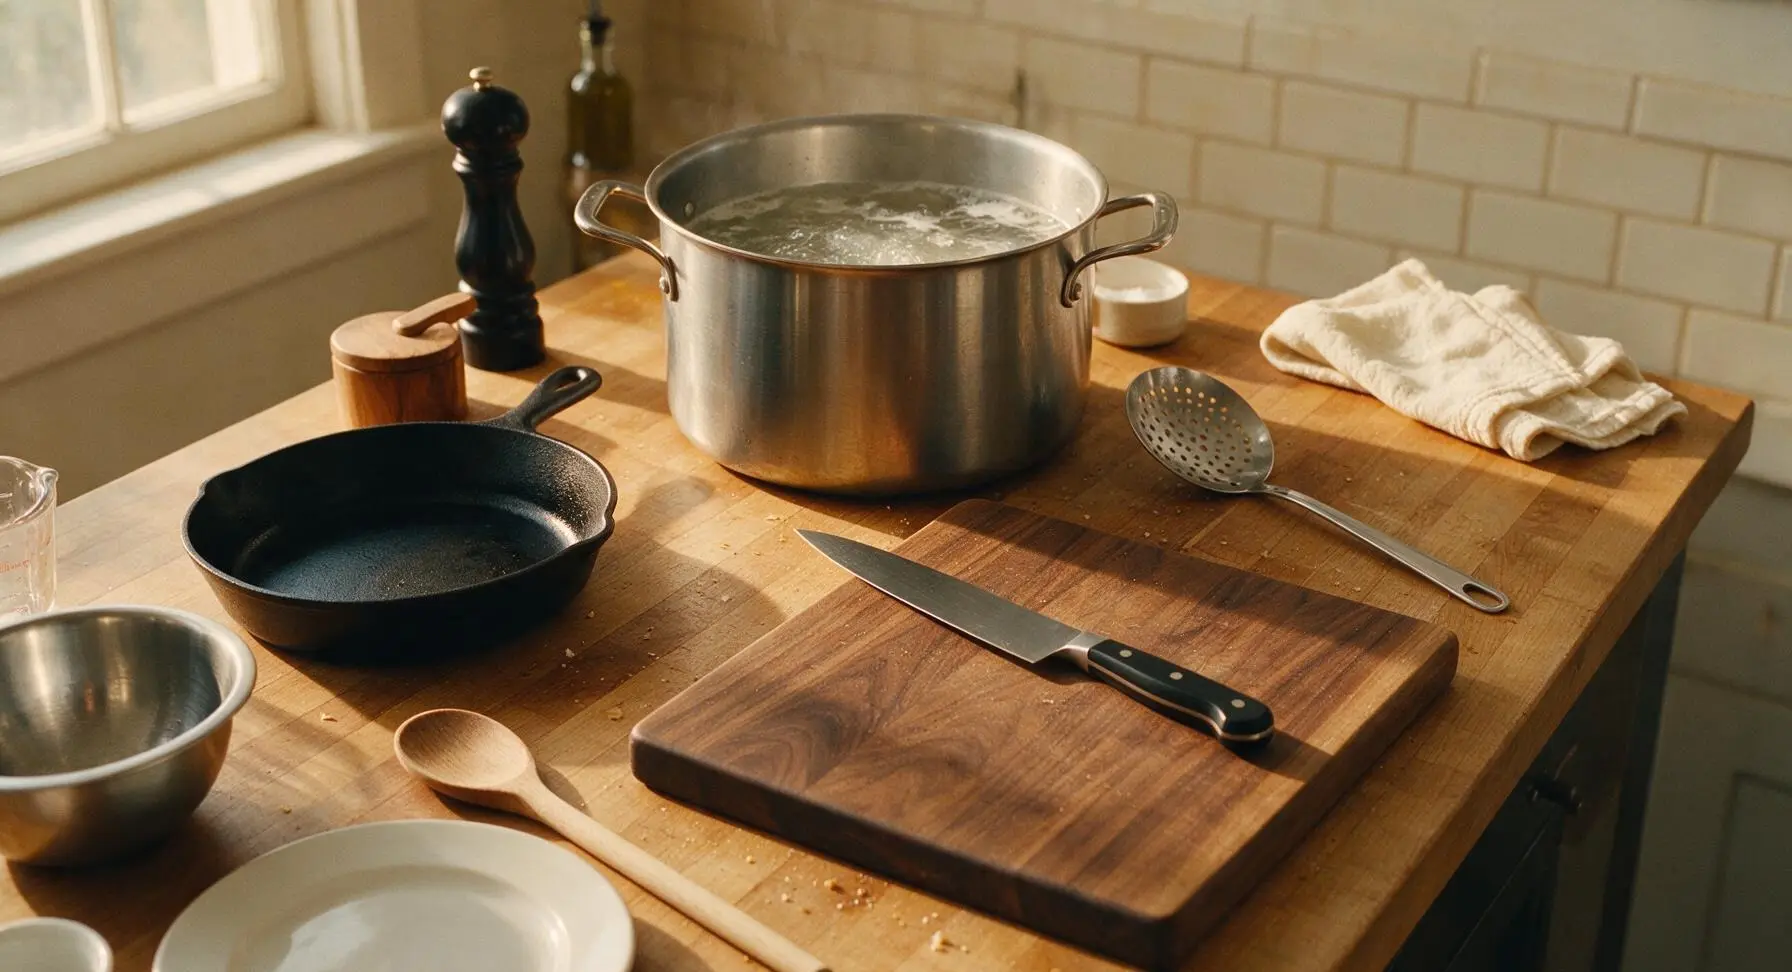
Fill the 8-quart stainless steel stock pot three-quarters full of water, bring to a rolling boil over high heat, then stir in 15g baking soda and the remaining 5g granulated sugar. The water will foam slightly when the baking soda is added—this alkaline bath creates the signature chewy, shiny bagel crust. Preheat oven to 425°F (220°C) while the water comes to a boil.
Boil Bagel Rounds
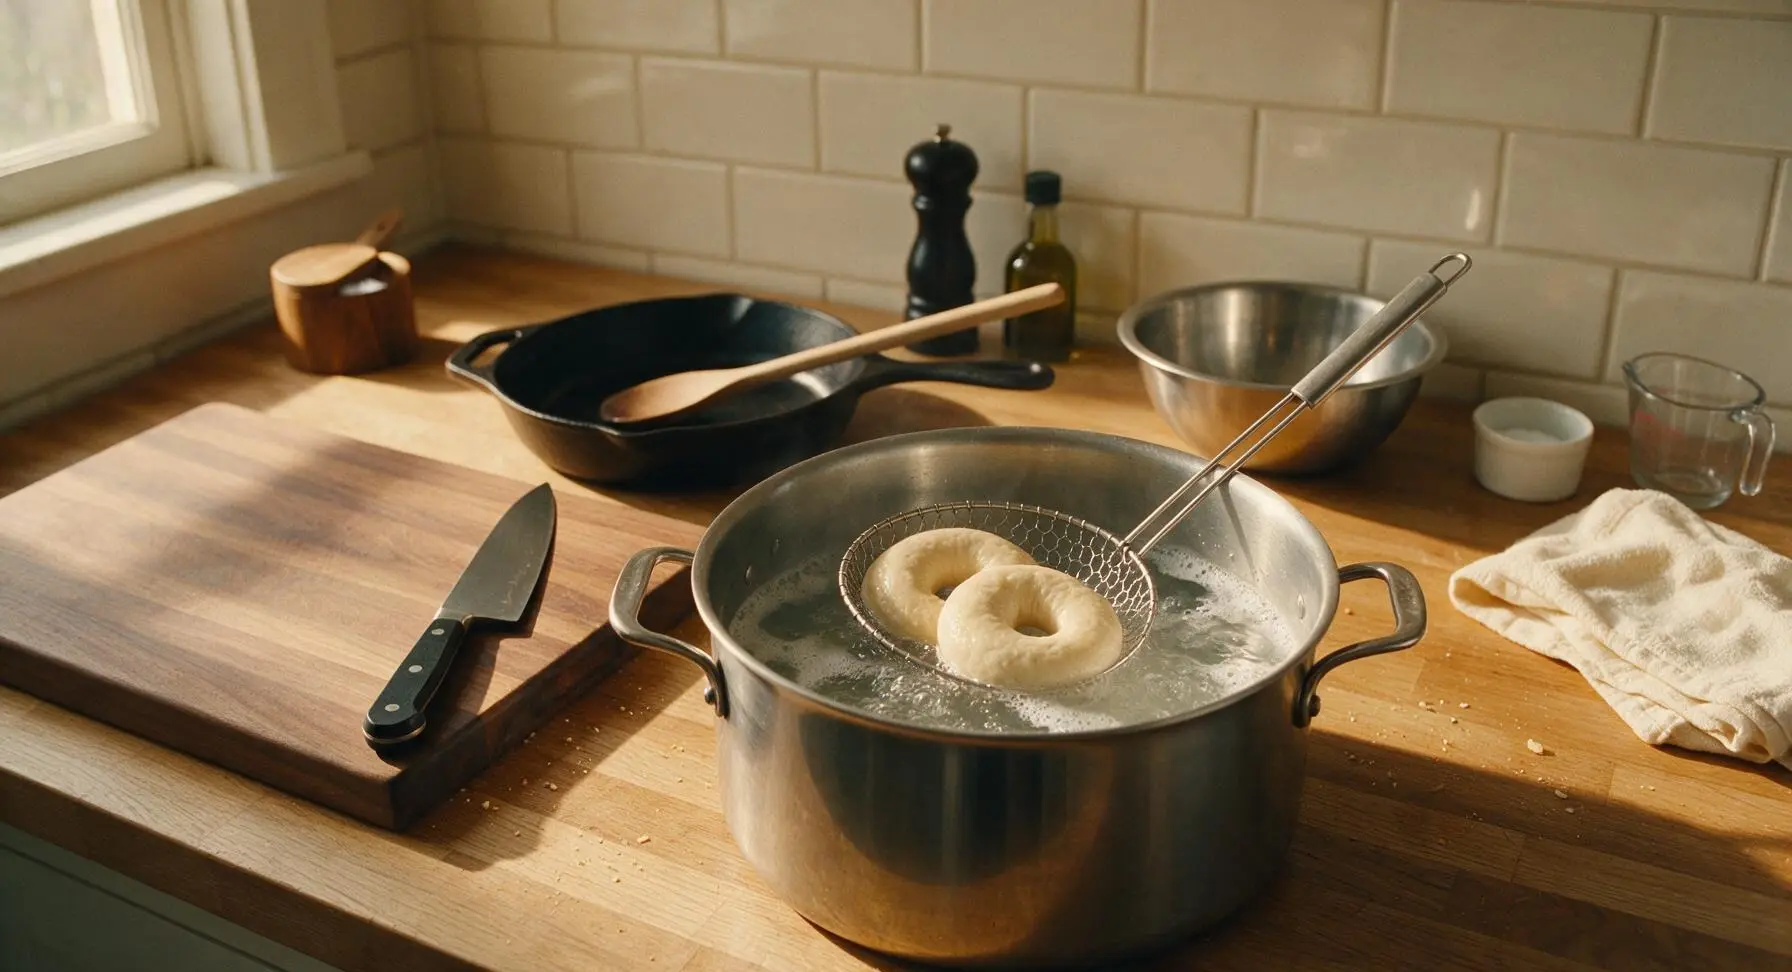
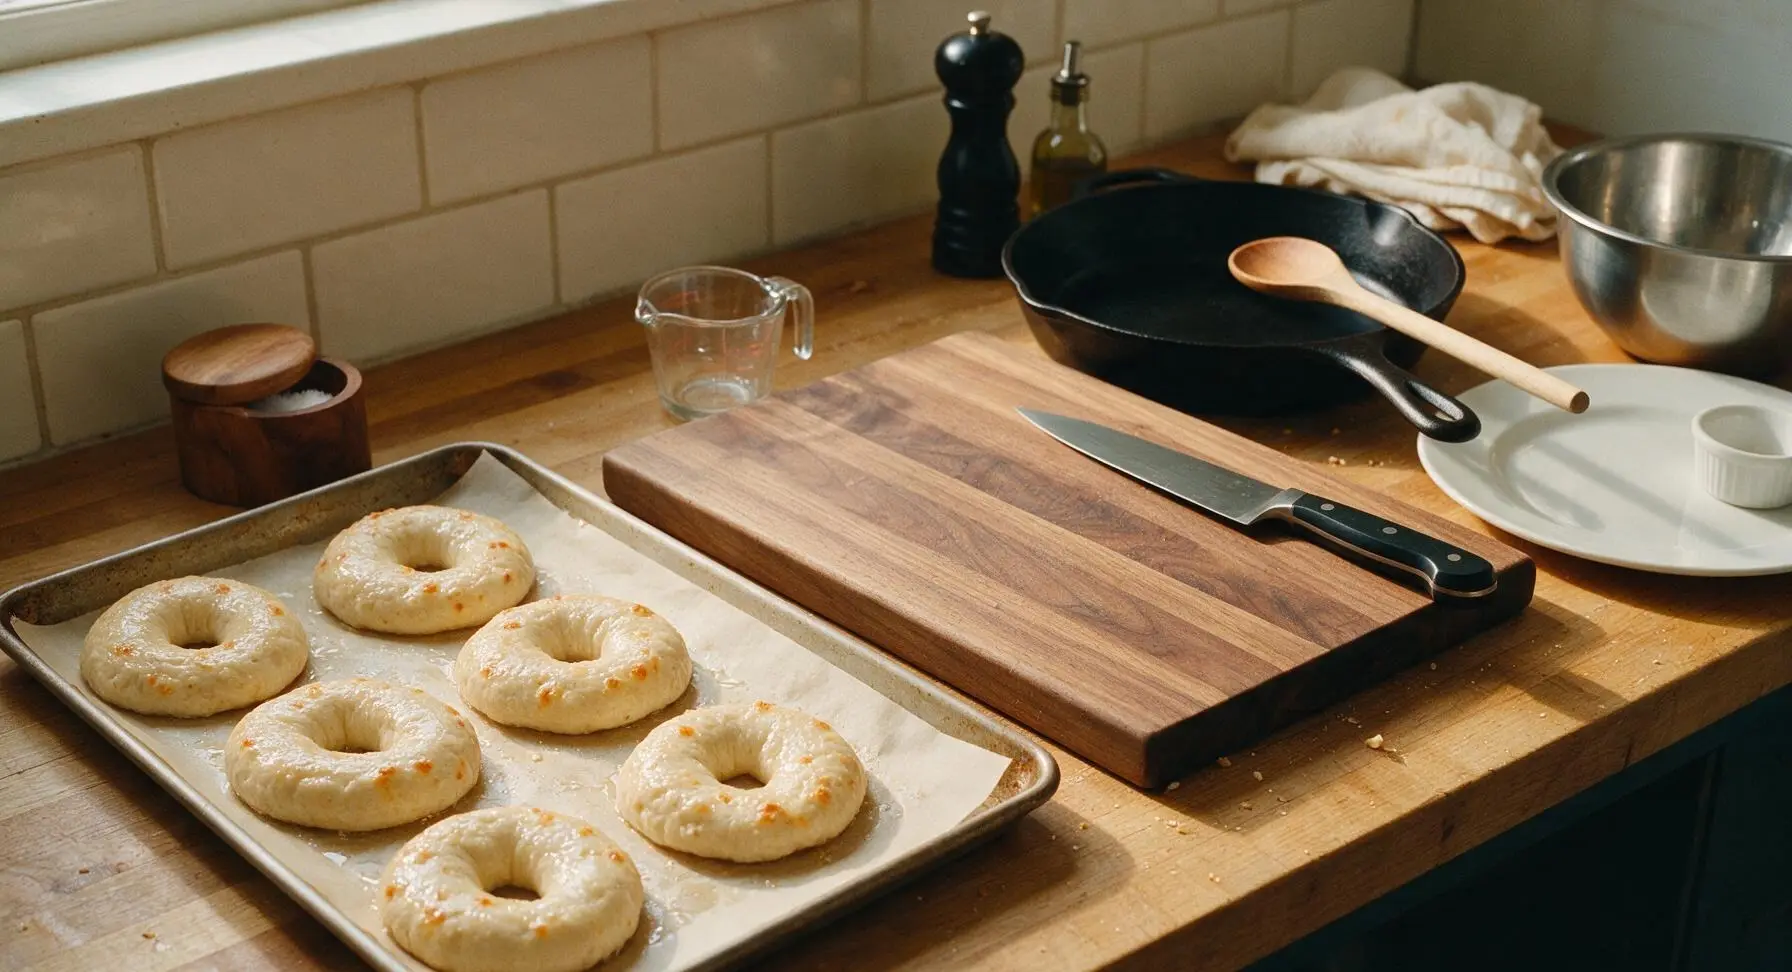
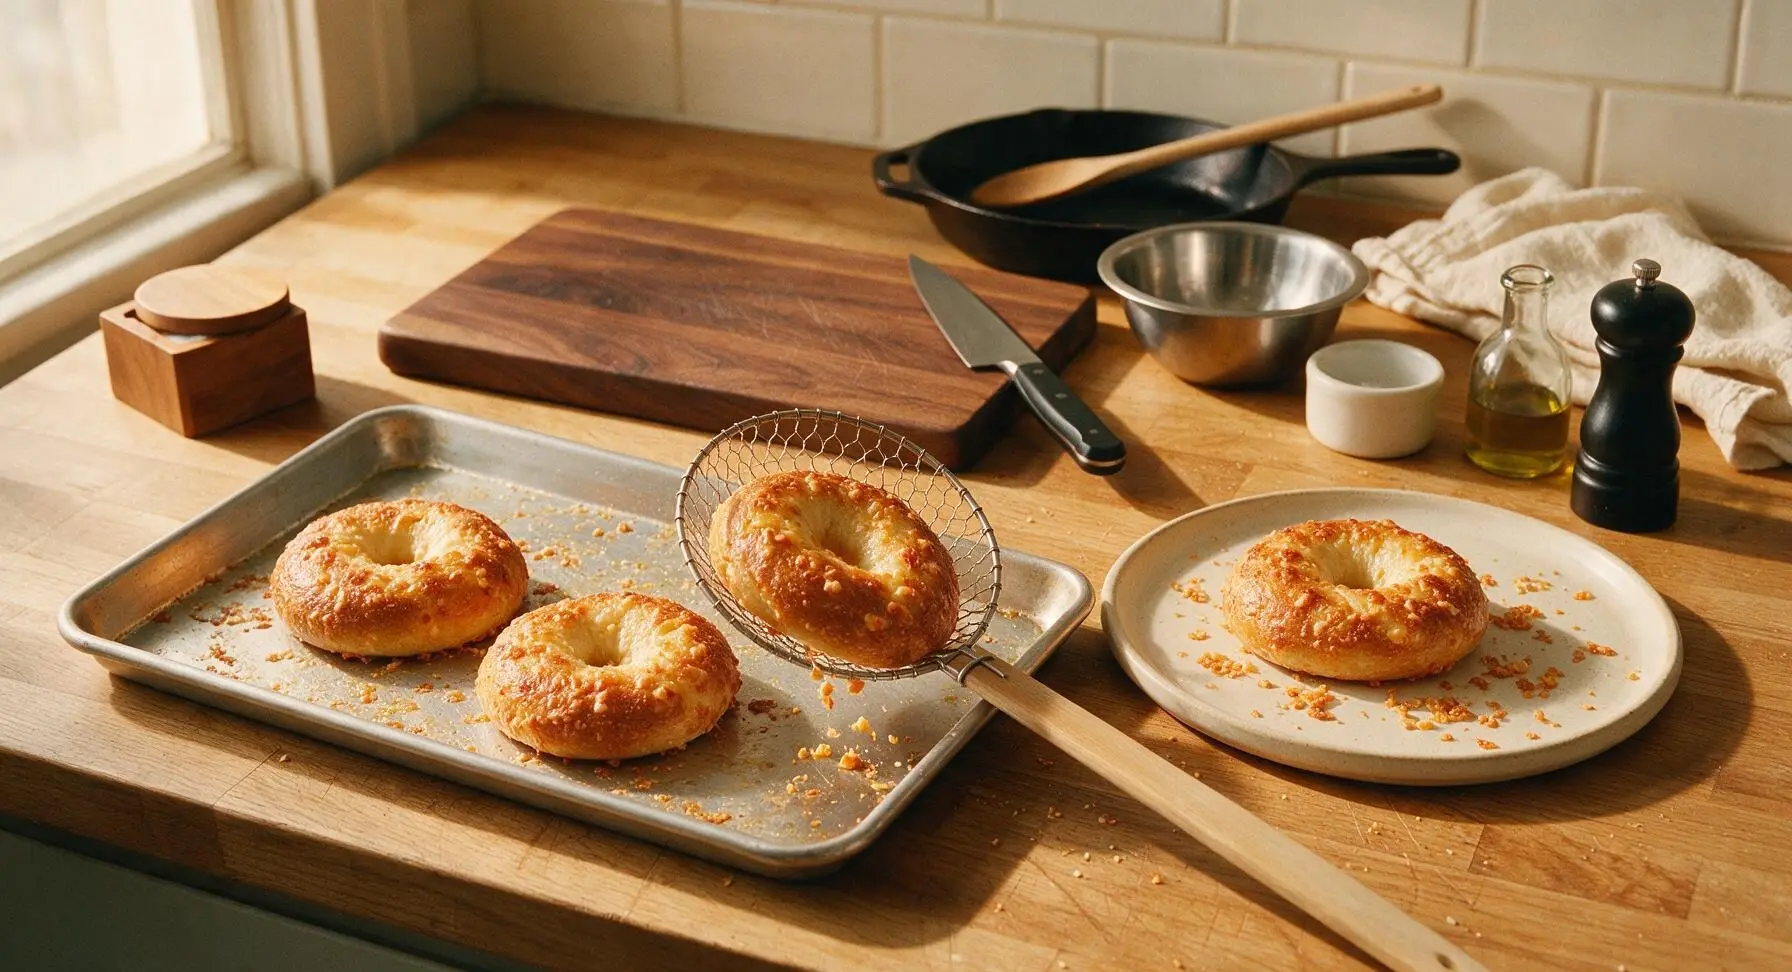
Working in batches of 2–3 bagels at a time to avoid crowding the pot, gently lower the rested bagels into the boiling water. Boil for 1 minute per side, using the slotted spider strainer to flip them halfway through. Boiled bagels will look slightly puffed and shiny on the surface; lift them from the water and let excess water drain off for 10 seconds before returning them to the parchment-lined baking sheet.
Add Cheese Topping
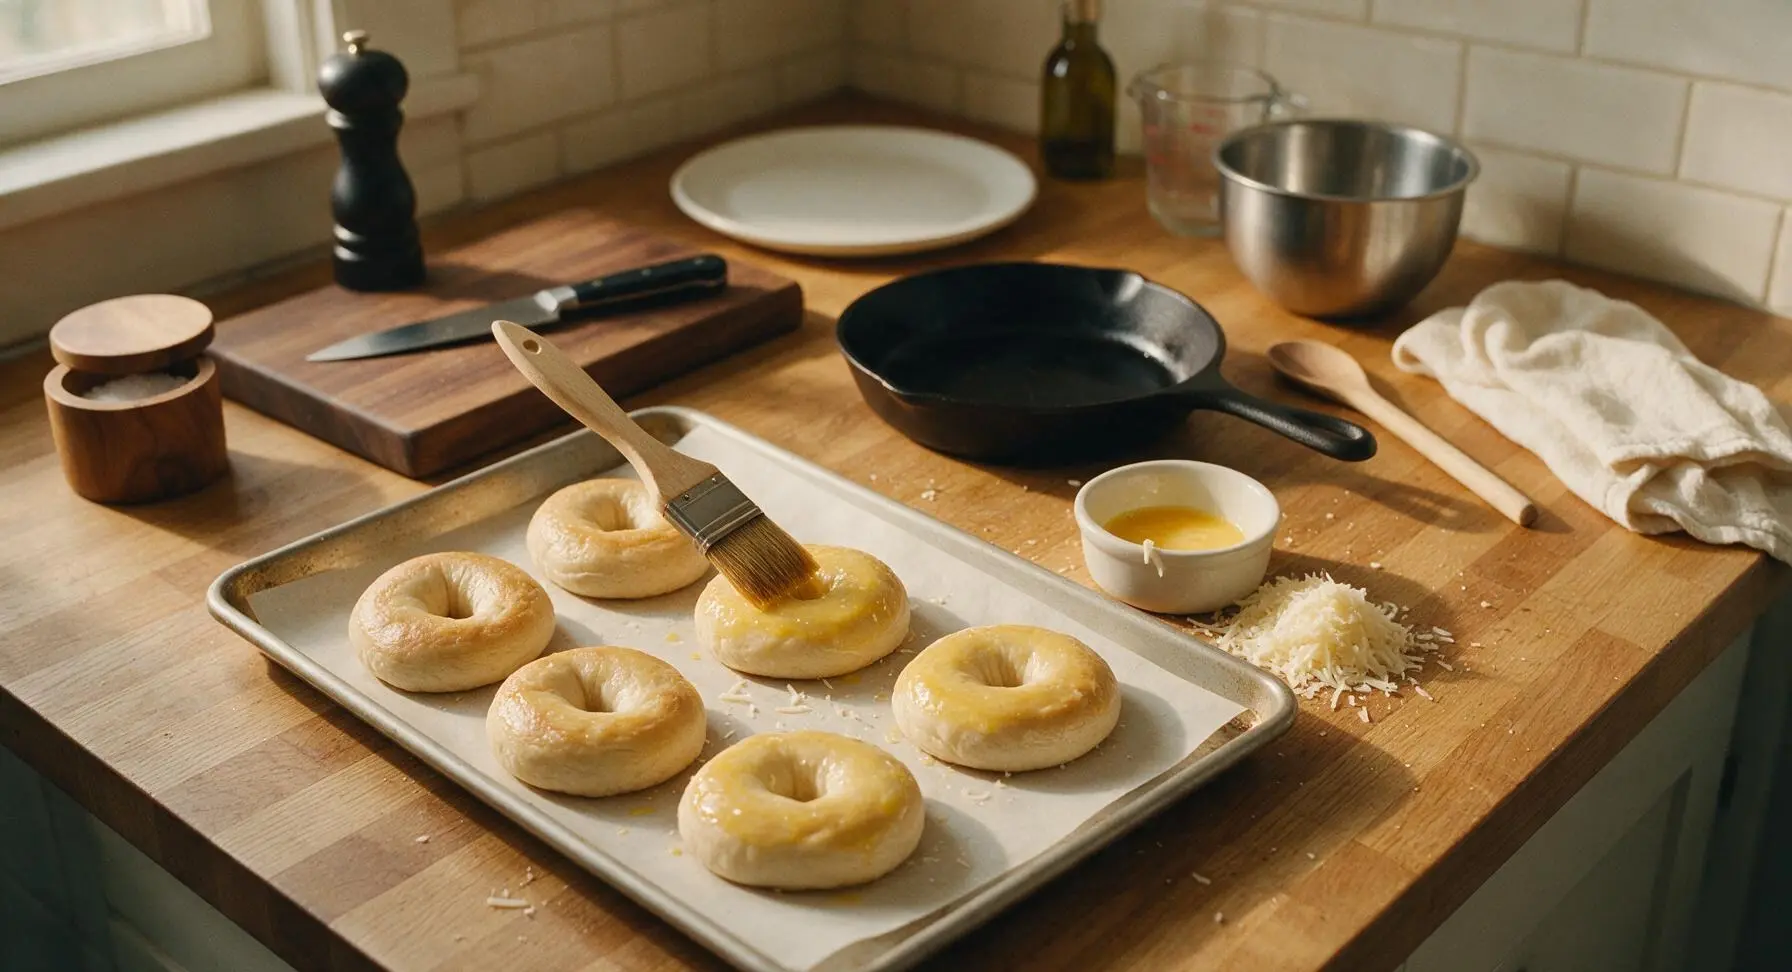
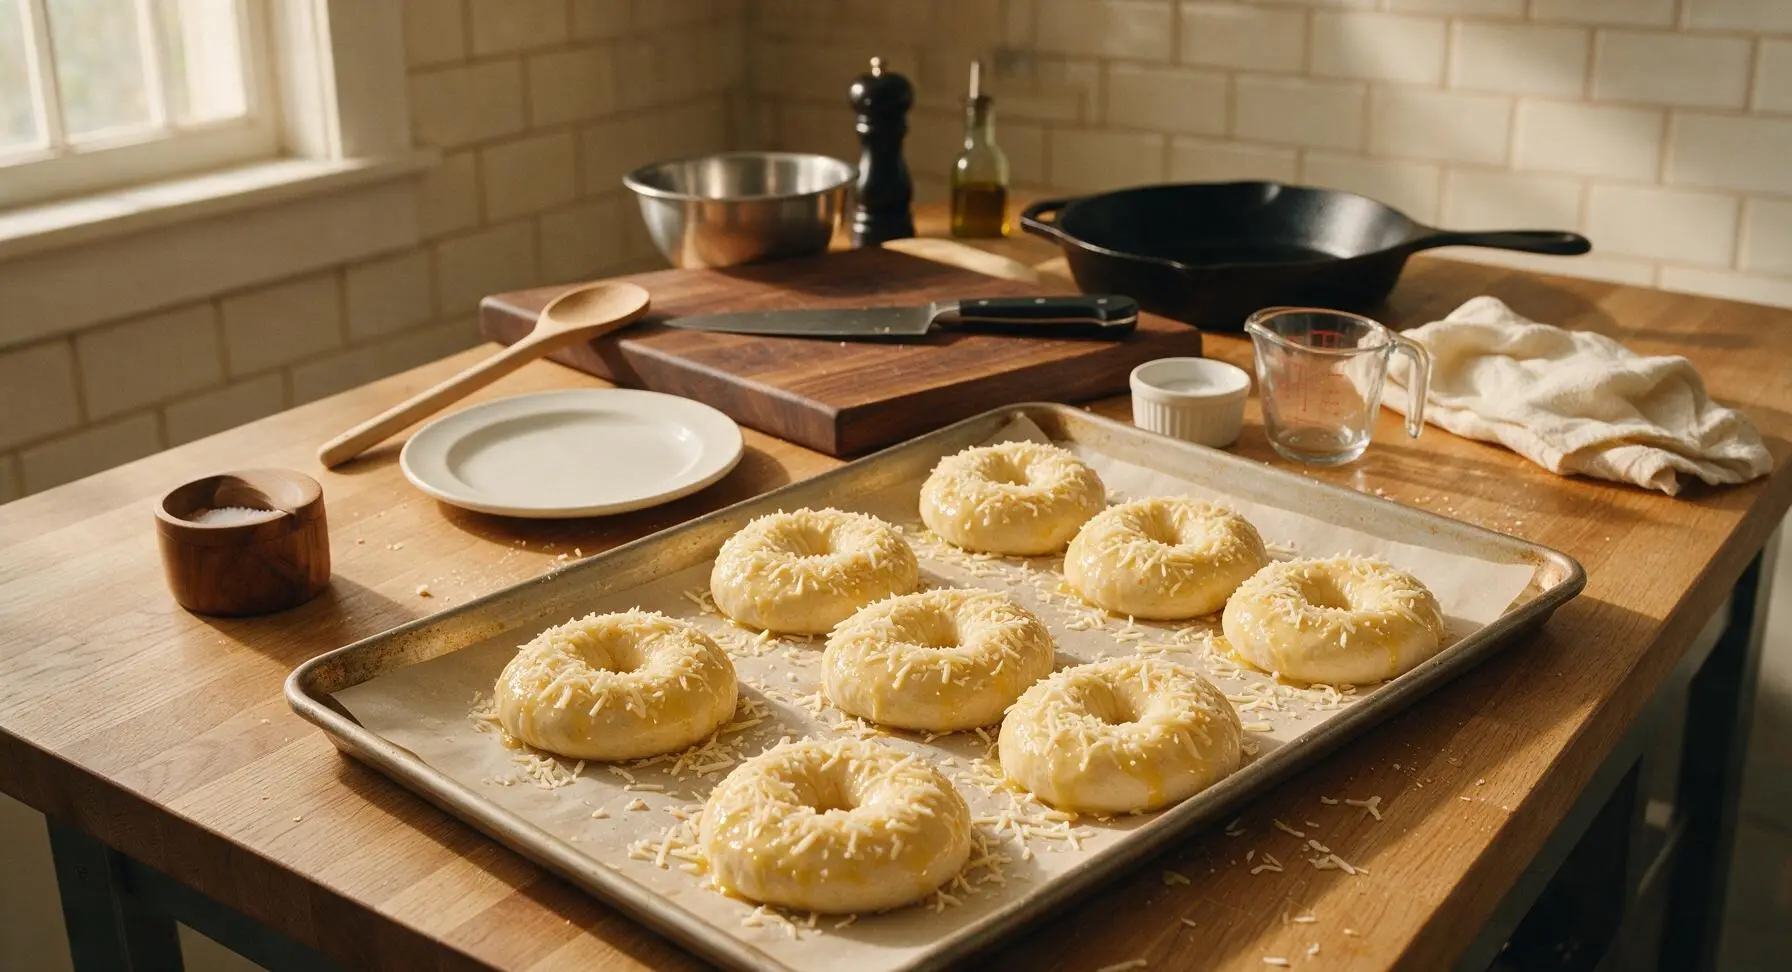
Crack the large egg into the small white ceramic ramekin, beat with 1 teaspoon of water to make a thin egg wash, then use the boar bristle pastry brush to lightly coat the top surface of each boiled bagel with egg wash. Generously sprinkle the remaining 130g of grated asiago cheese over the egg-washed tops, pressing lightly so the cheese adheres to the dough; a few shreds of cheese will fall onto the parchment paper around the bagels, which will crisp up into tasty cheese bits during baking.
Bake to Golden Brown
Place the baking sheet of topped bagels into the preheated 425°F (220°C) oven and bake for 20–22 minutes, rotating the sheet halfway through baking, until the bagels are deep golden brown and the asiago cheese on top is melted, bubbly, and dotted with crispy browned spots. Internal temperature of the bagels should reach 190°F (88°C) when fully baked.
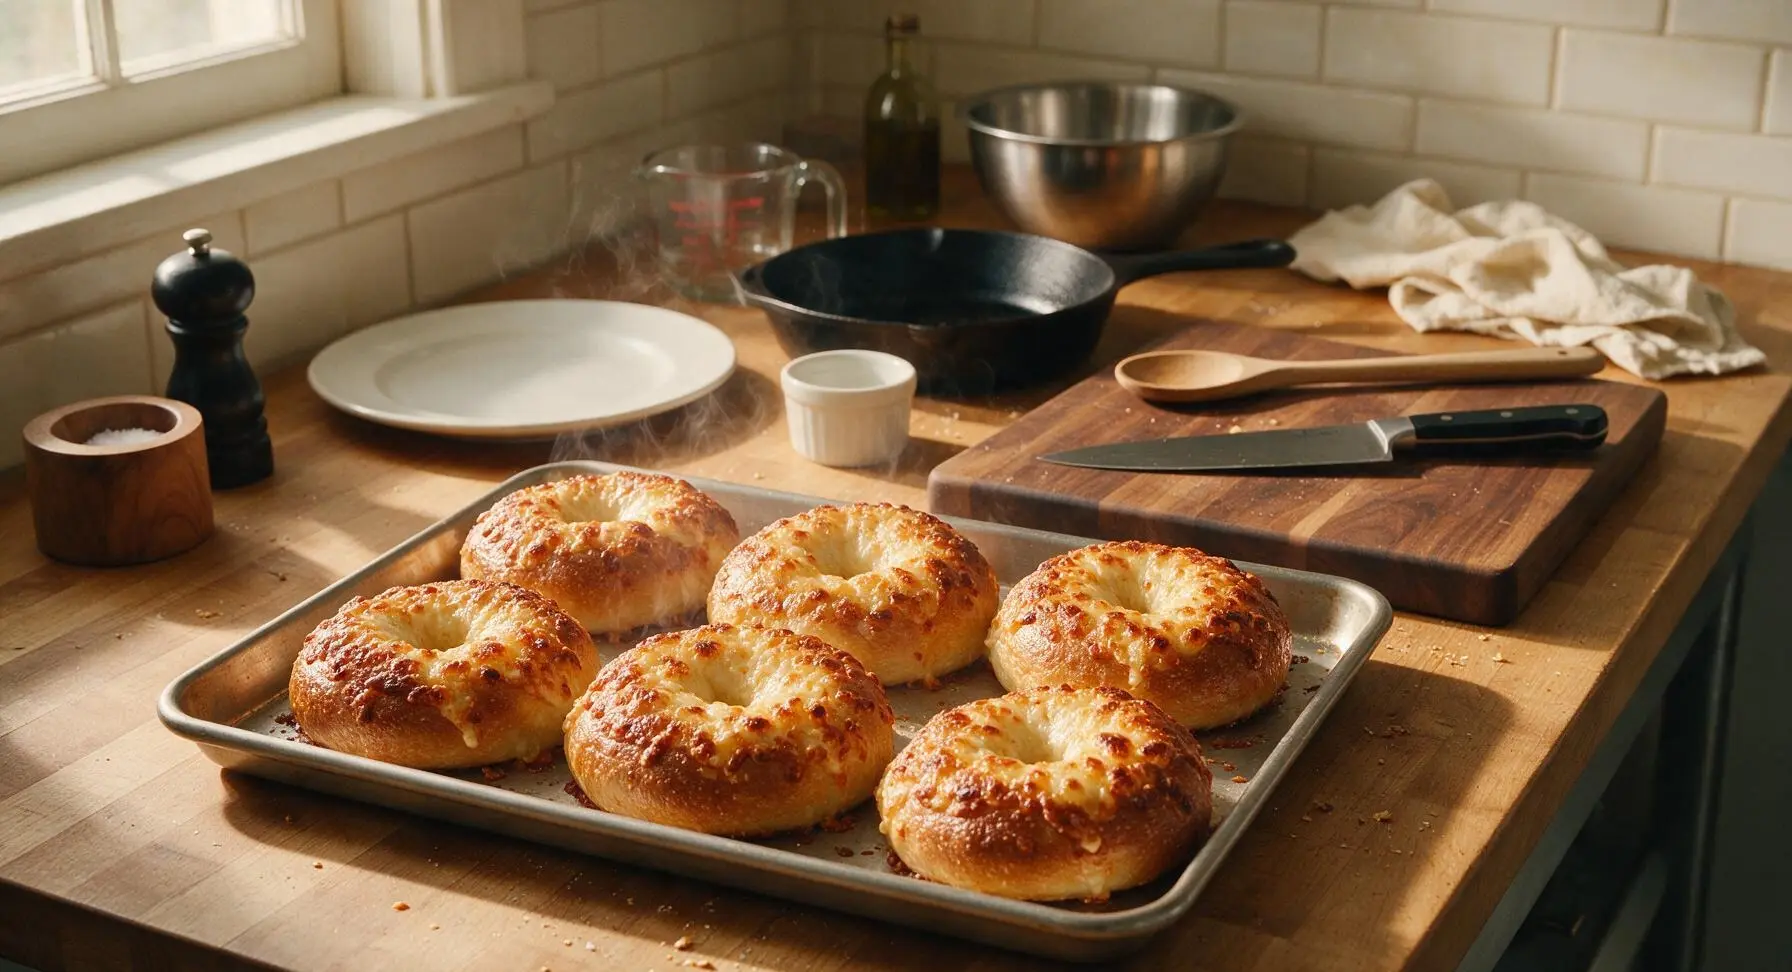
Cool and Serve
Let the baked bagels cool on the baking sheet for 5 minutes, then transfer them to the matte cream ceramic serving platter. Serve warm, or let cool completely before slicing and toasting, or storing in an airtight container at room temperature for up to 3 days.
Tips
2.Don’t overcrowd the pot when boiling bagels: cooking 2-3 bagels per batch keeps the water temperature consistently boiling to set the crust quickly, preventing misshapen bagels and ensuring a uniform shiny, chewy exterior.
3.Grate asiago cheese fresh right before topping, and choose aged (not soft fresh) asiago: pre-shredded cheese is coated in anti-caking agents that prevent smooth melting, while soft fresh asiago has excess moisture that can make the bagel top soggy instead of crisp and nutty.






OMG these asiago bagels are SO good! I made them for my family’s Sunday brunch last weekend and everyone was begging for the recipe before they even left. The crispy cheese crust on top is a total game changer — way better than the stale ones I grab at the grocery store bakery! I did add a little extra garlic powder to the dough and *chef’s kiss*
Took a stab at these for meal prep this week, and they turned out pretty solid! I will say the shaping step was trickier than I expected for a medium difficulty recipe — my first two bagels looked a little lopsided, but they still tasted great. My kids devoured them with cream cheese for breakfast this morning, so that’s a win in my book.
Just pulled these out of the oven and my entire dorm hall smells like asiago cheese heaven. Way cheaper than buying bagels every morning from the campus cafe, and they taste 10x better. Already planning to make a double batch next Sunday for the week ahead.
I was so excited to try these, but I swapped in all-purpose gluten free flour and they came out a little dense. The flavor was on point, though! The asiago on top got all crispy and nutty, which was exactly what I was craving. Wondering if anyone else has tried making these gluten free with better results?
Brought these to my neighborhood potluck last night and they were the first thing gone! People kept asking if I bought them from the fancy bagel shop downtown. I topped half with extra asiago and half with everything bagel seasoning for folks who like a little more kick, and both versions were hits.
As a born and raised New Yorker, I’m super picky about bagels, and these absolutely deliver. Chewy inside, crispy cheesy crust outside, perfect texture after the boil. I will be making these every single weekend from now on, no more early morning runs to the bagel shop for me!
First time ever making bagels from scratch, and I was shocked how well these turned out! My only note is that I burned the cheese on the bottom of a couple of them because my oven runs a little hot. Next time I’ll put a baking sheet under the parchment to catch any drips. Otherwise, fantastic recipe, super easy to follow even for a total newbie.
These are my new go-to meal prep breakfast! I slice them up, pop them in the freezer, and toast one every morning on my way out the door. They hold up so well in the freezer, and the asiago flavor doesn’t get dull at all even after a week frozen. Total time saver for busy school mornings with my three kids.
Made these to take on my day hike up Mount Rainier this weekend and they were the perfect trail snack. Hearty, cheesy, and way more filling than the granola bars I usually pack. My hiking buddy already asked for the recipe so he can make them for his next trip.
I doubled the asiago (no shame, cheese is life) and these were absolutely insane. I ate two fresh out of the oven with a schmear of chive cream cheese and I think I found my new comfort food. 10/10, will be making these for my fantasy football draft party this fall.
I’ve been making bagels for over 30 years, and this asiago recipe is one of the better ones I’ve tried online! My only tweak is that I use a mix of asiago and a little parmesan for the topping for extra depth of flavor. The boil time was spot on, no gummy texture like a lot of web recipes give you.
Made these for a date night in with my partner last night, paired with homemade tomato soup, and we both agreed it was better than our favorite local deli’s bagel and soup special. They were so impressed they asked if I’d been hiding secret baking skills this whole time! Total win.
Y’all, I added a sprinkle of red pepper flakes to the cheese topping and it gave these bagels the most perfect little kick. If you love a little heat with your savory bagels, do not sleep on this hack! I’ve already had three of them since I baked them yesterday, no regrets.
These came out great! My only small issue was that the cheese slid off a couple of the bagels while they were boiling, so I had less cheesy topping than I wanted. Flavor was still amazing though, my golden retriever was very hopeful I’d drop a piece the whole time I was baking (I didn’t, don’t worry).
Baked these for the office break room snack table this morning and I’ve already had four coworkers stop by my desk to ask for the recipe. One person said it’s the best homemade baked good anyone has brought in all year. Total office hero move, 10/10 would recommend.