
bacon air fryer ninja
intro
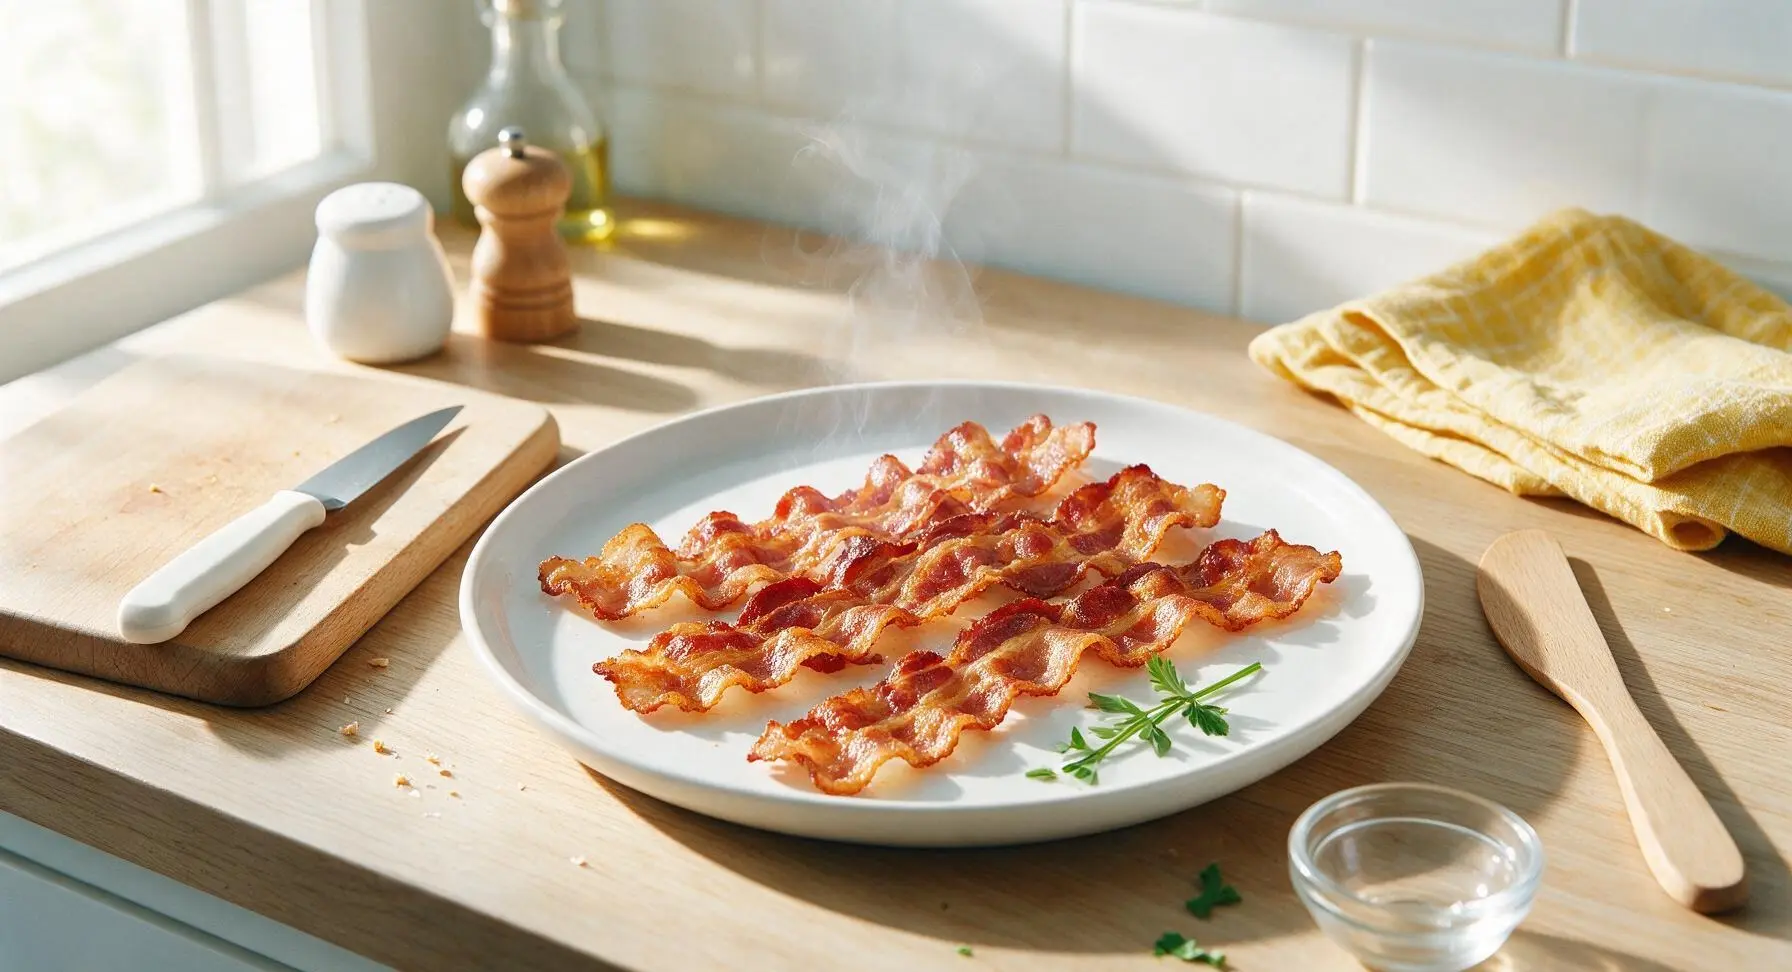
Crispy, evenly rendered Ninja air fryer bacon with zero stovetop splatter, ready in minutes for breakfast, sandwiches, or salad toppings.
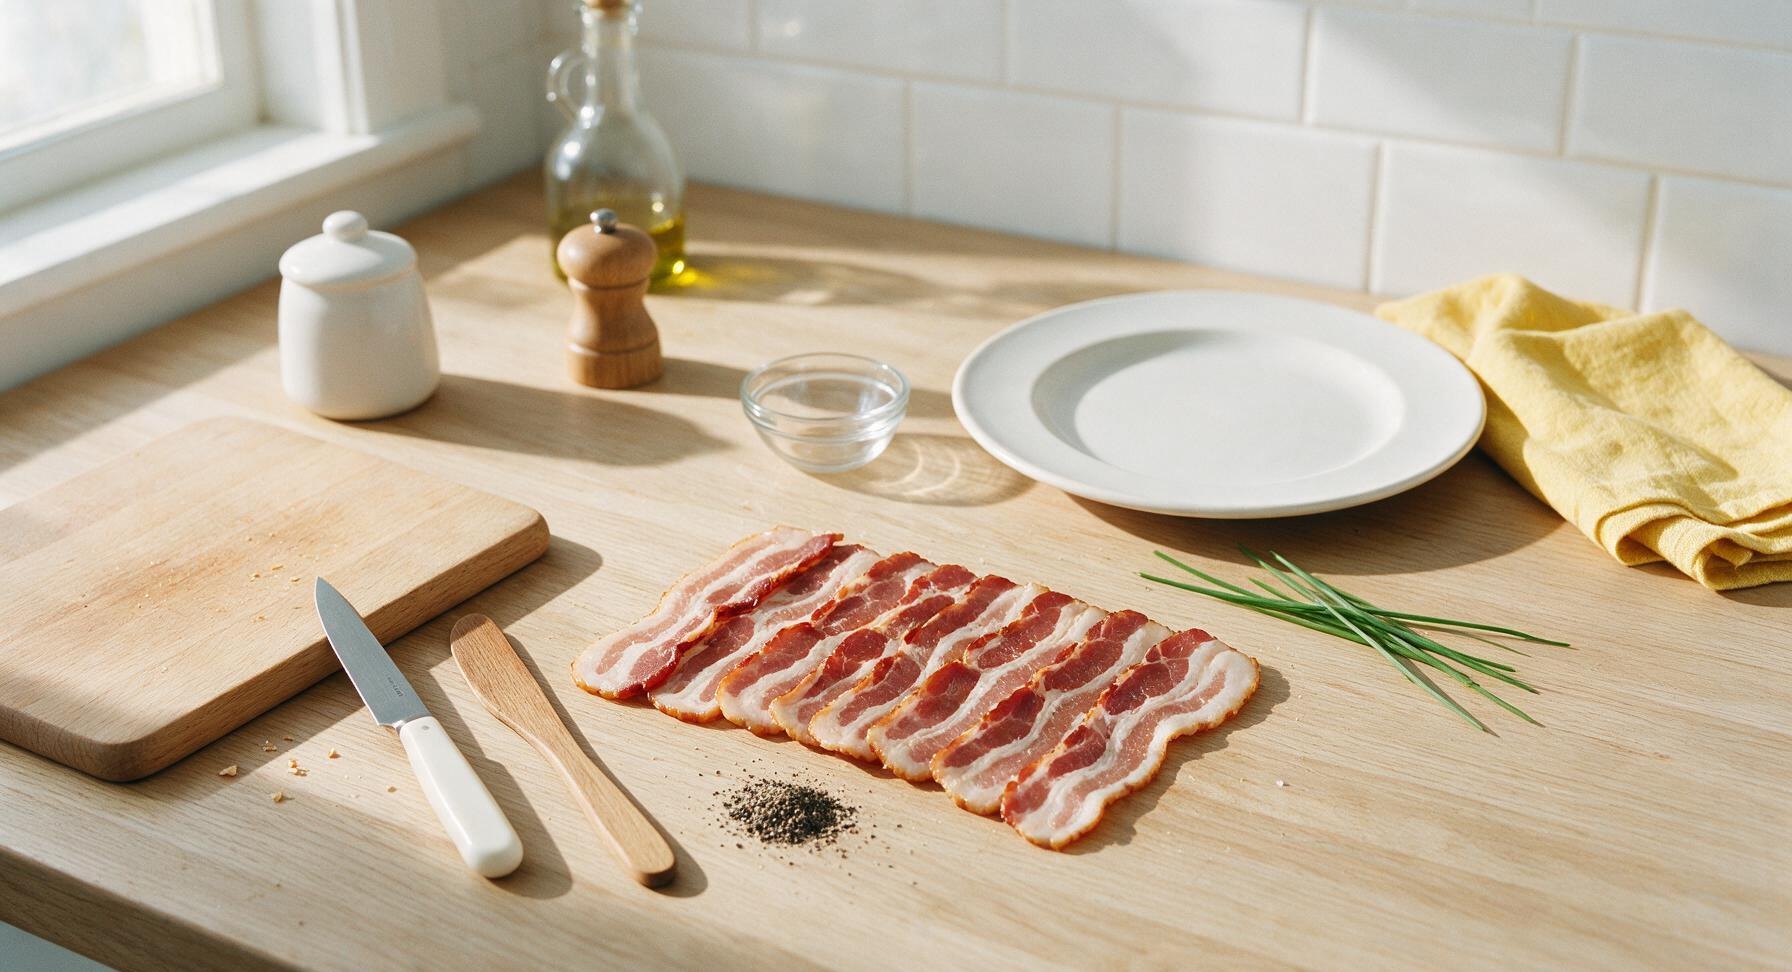
Ingredients
Steps
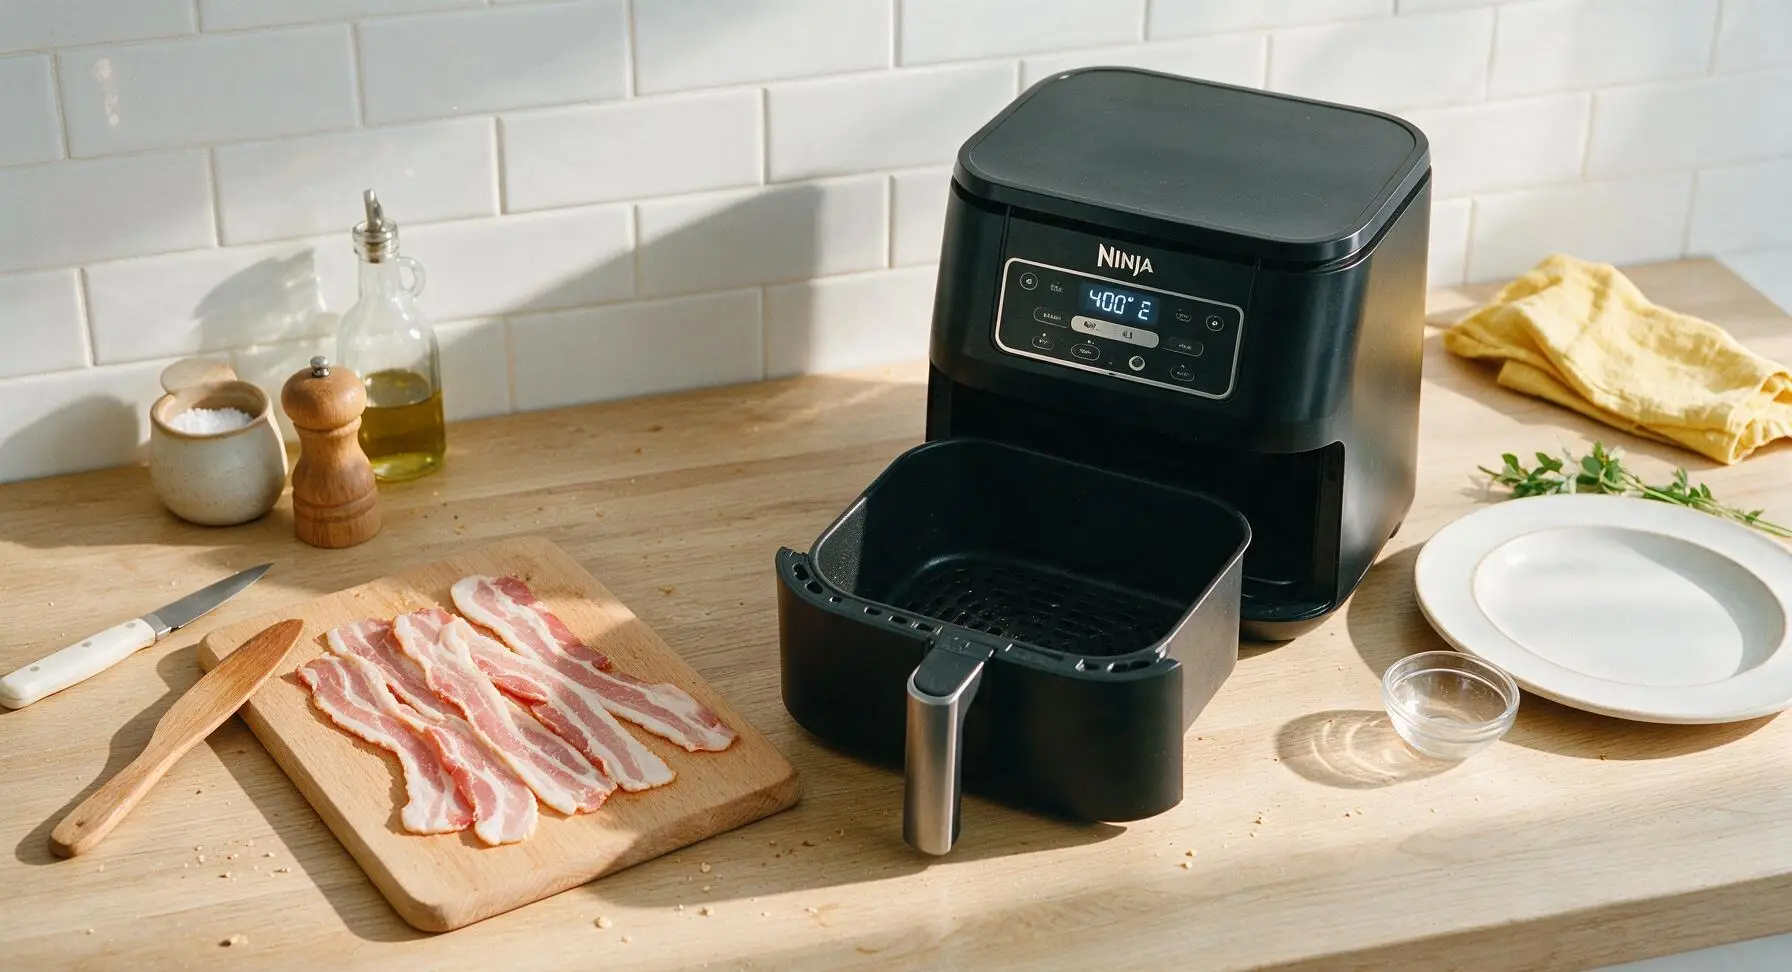
Preheat the Air Fryer
Remove the air fryer basket from the Ninja unit, close the unit, and preheat to 400°F (200°C) for 2 minutes. Do not add any oil or cooking spray, as the bacon will render enough fat to prevent sticking. Wait for the preheat indicator chime before moving to the next step.
Line Air Fryer Basket
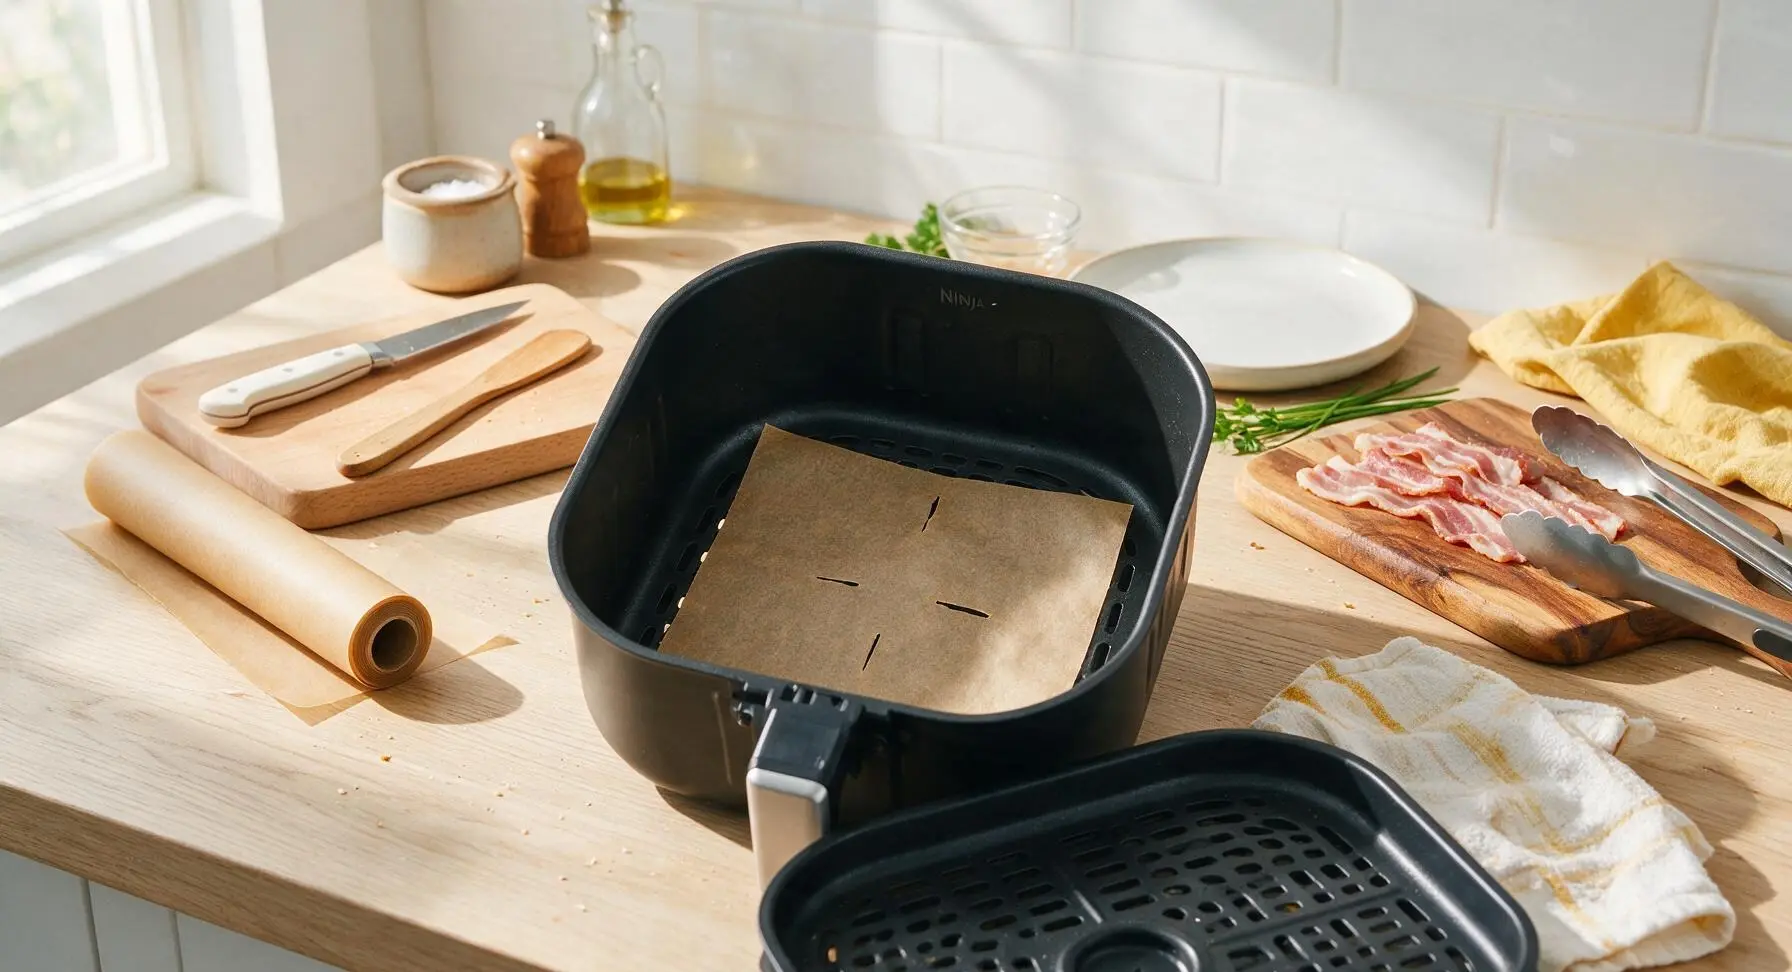
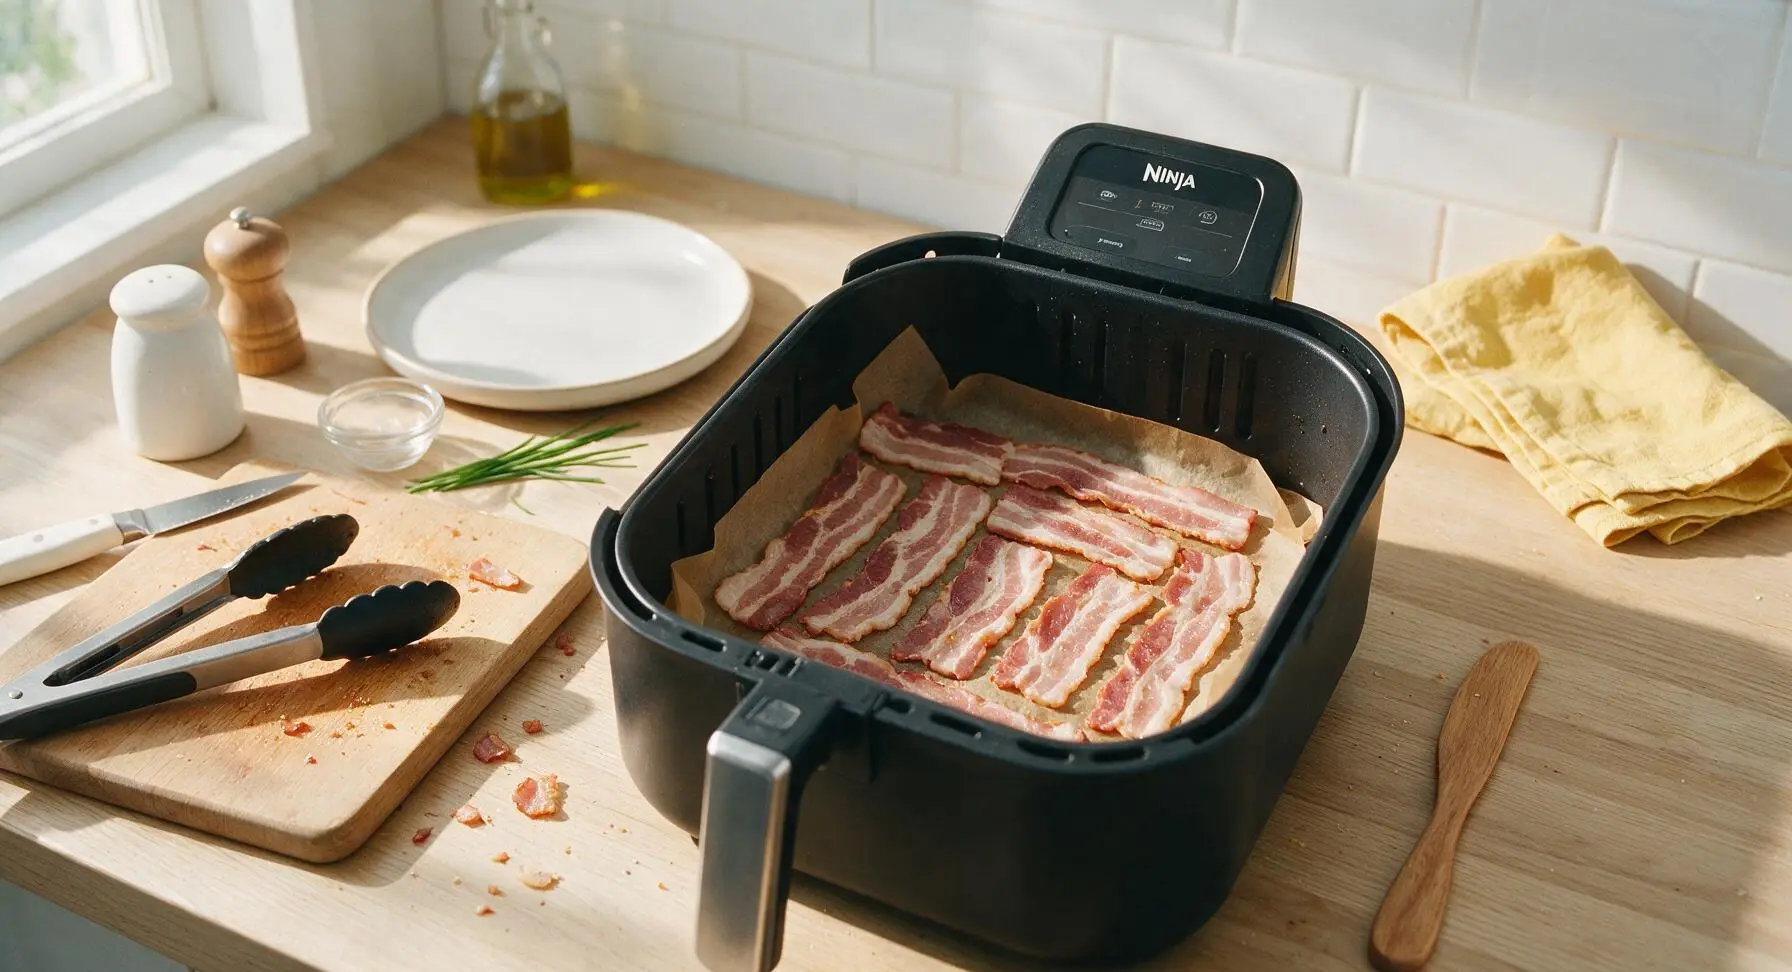
Tear a 20cm square of unbleached parchment paper from the roll, and press it into the bottom of the Ninja air fryer basket. Cut 3 small 1cm slits in the parchment to allow air flow and fat drainage, which prevents soggy bacon. Do not let parchment extend up the sides of the basket, as it can block air circulation or get caught in the unit’s fan.
Arrange Bacon in Basket
Lay the raw bacon strips in a single layer on top of the parchment-lined basket, leaving 1cm gaps between each strip to allow air flow. Do not overlap the bacon, as overlapping sections will cook unevenly and stay chewy. For smaller 5-quart Ninja models, cook in 2 batches of 4 slices each; the 8-quart Ninja basket fits 8 slices comfortably in a single layer.
Season with Black Pepper
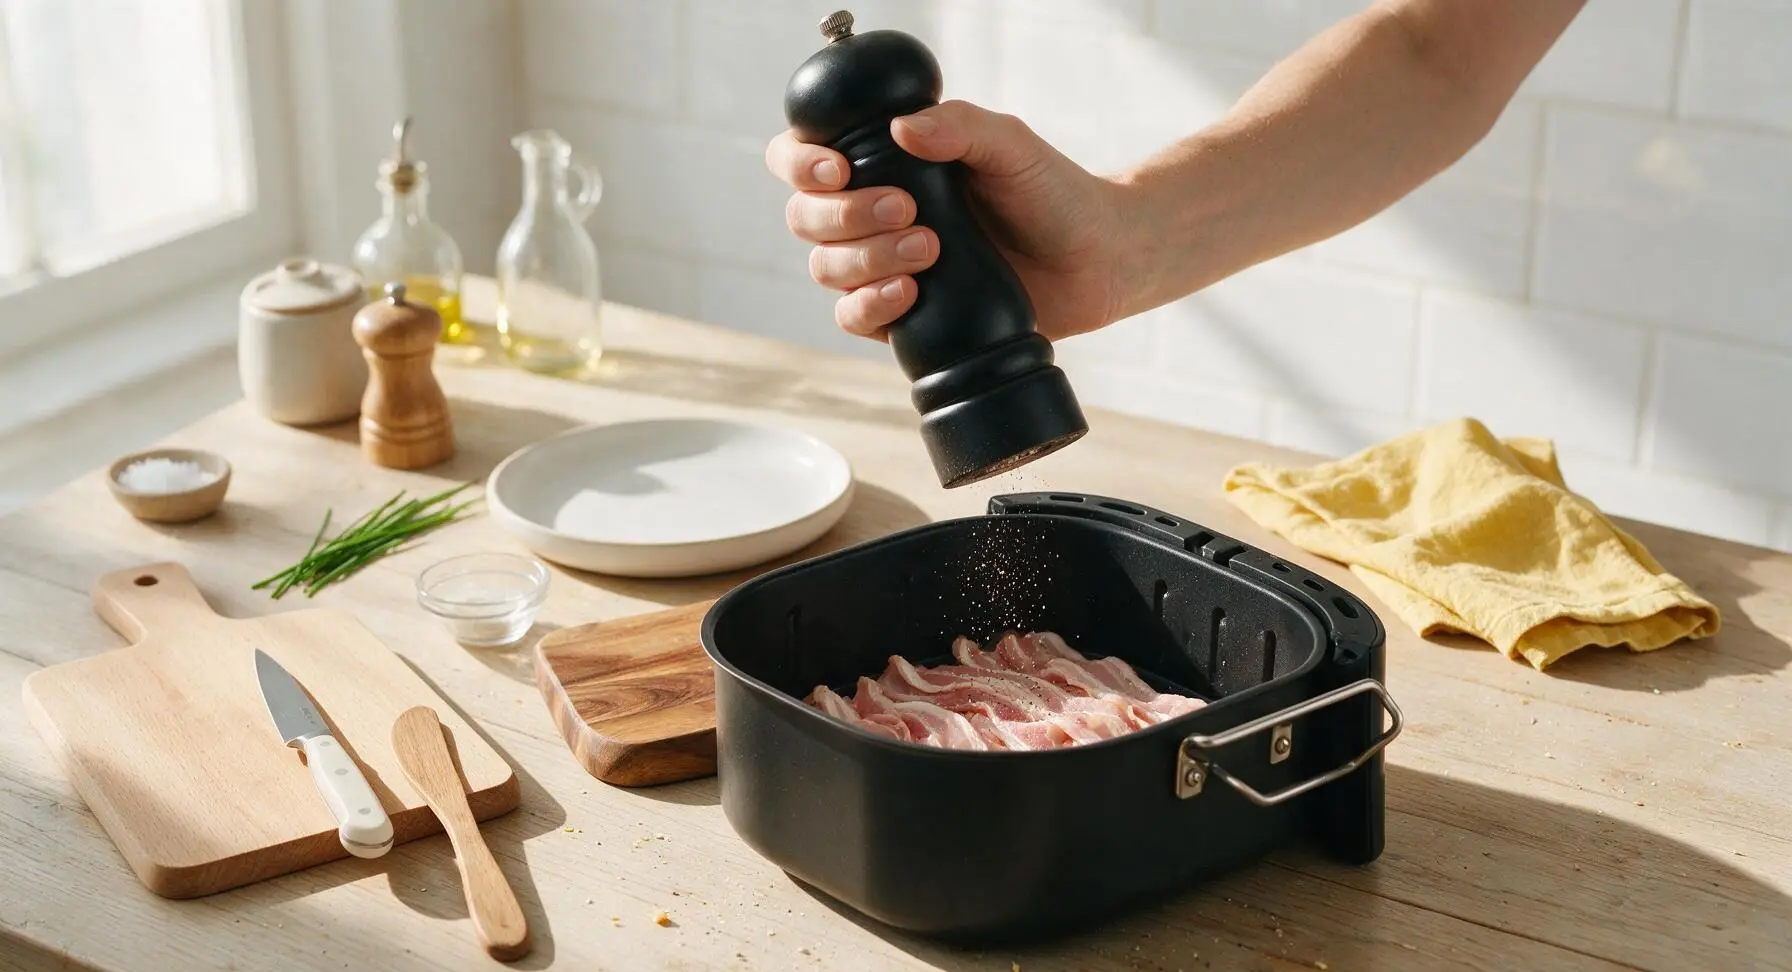
Grind the 1/4 teaspoon of freshly cracked black pepper evenly over the top surface of the arranged bacon strips. Do not add salt at this stage, as cured bacon already contains high enough sodium content to season the dish fully.
Air Fry Bacon Evenly
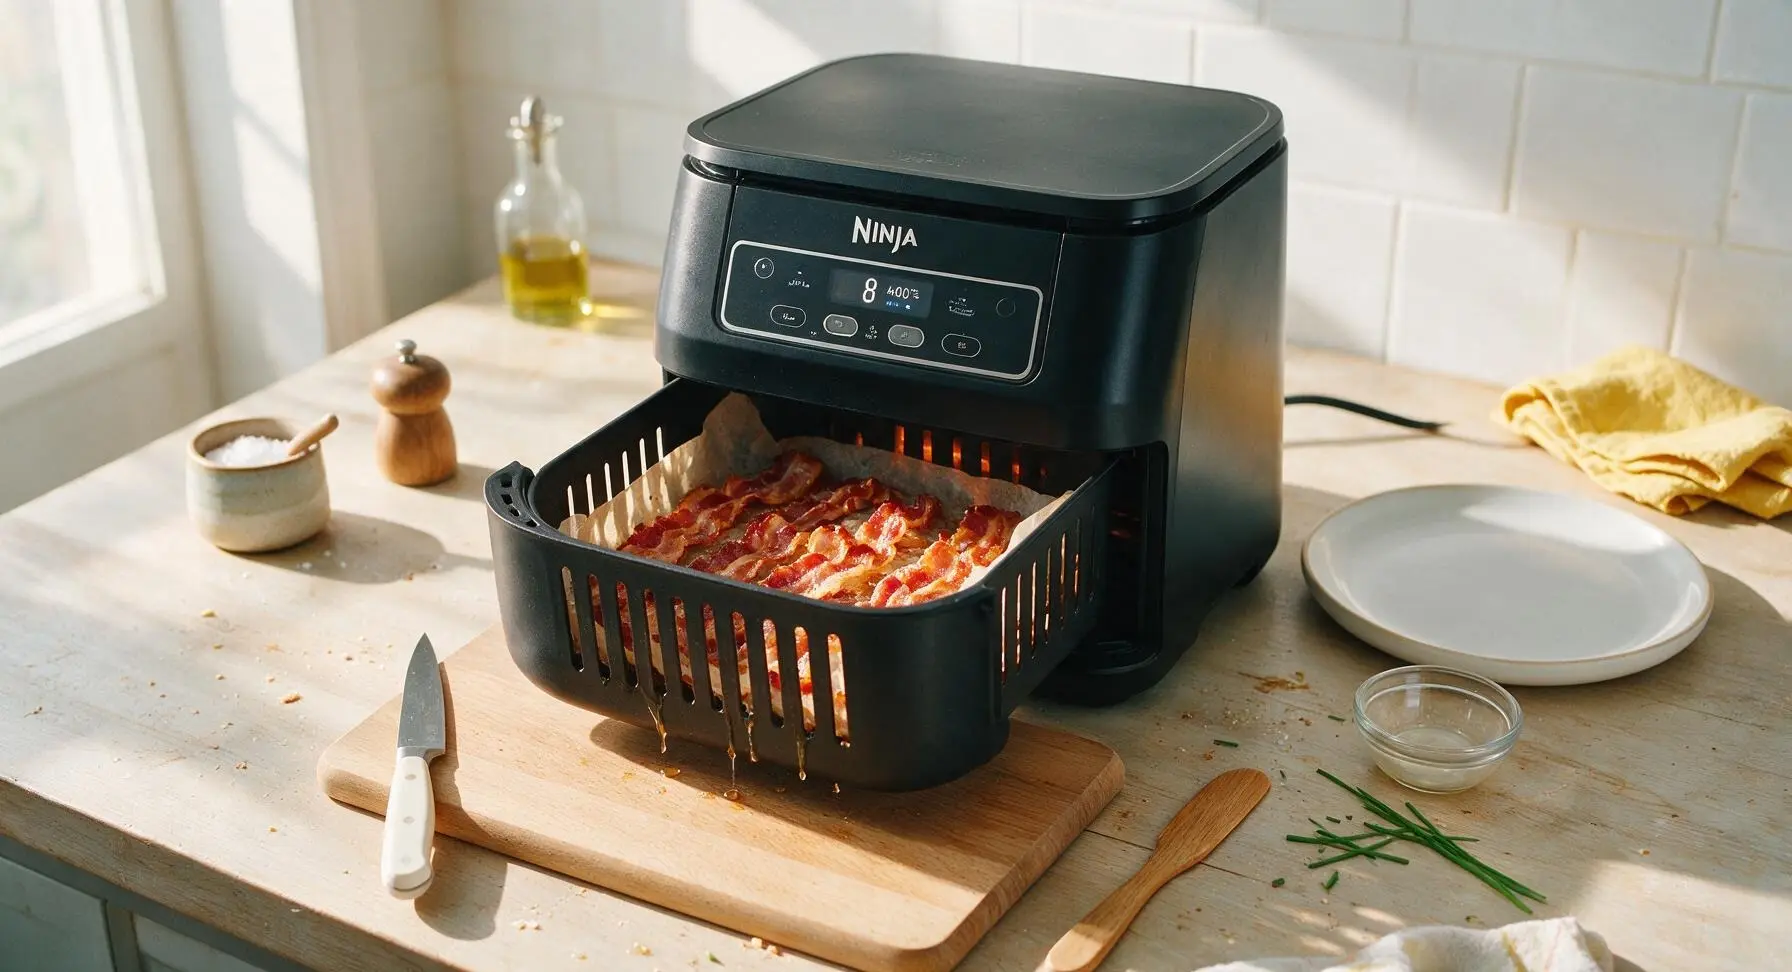
Slide the basket back into the preheated Ninja air fryer, and cook at 400°F (200°C) for 8 minutes total. Pause the cooking at the 4-minute mark to flip the bacon strips with the stainless steel tongs for even browning on both sides. There is no need to drain fat mid-cook, as the parchment slits will let fat drip to the basket bottom below.
Drain Excess Fat
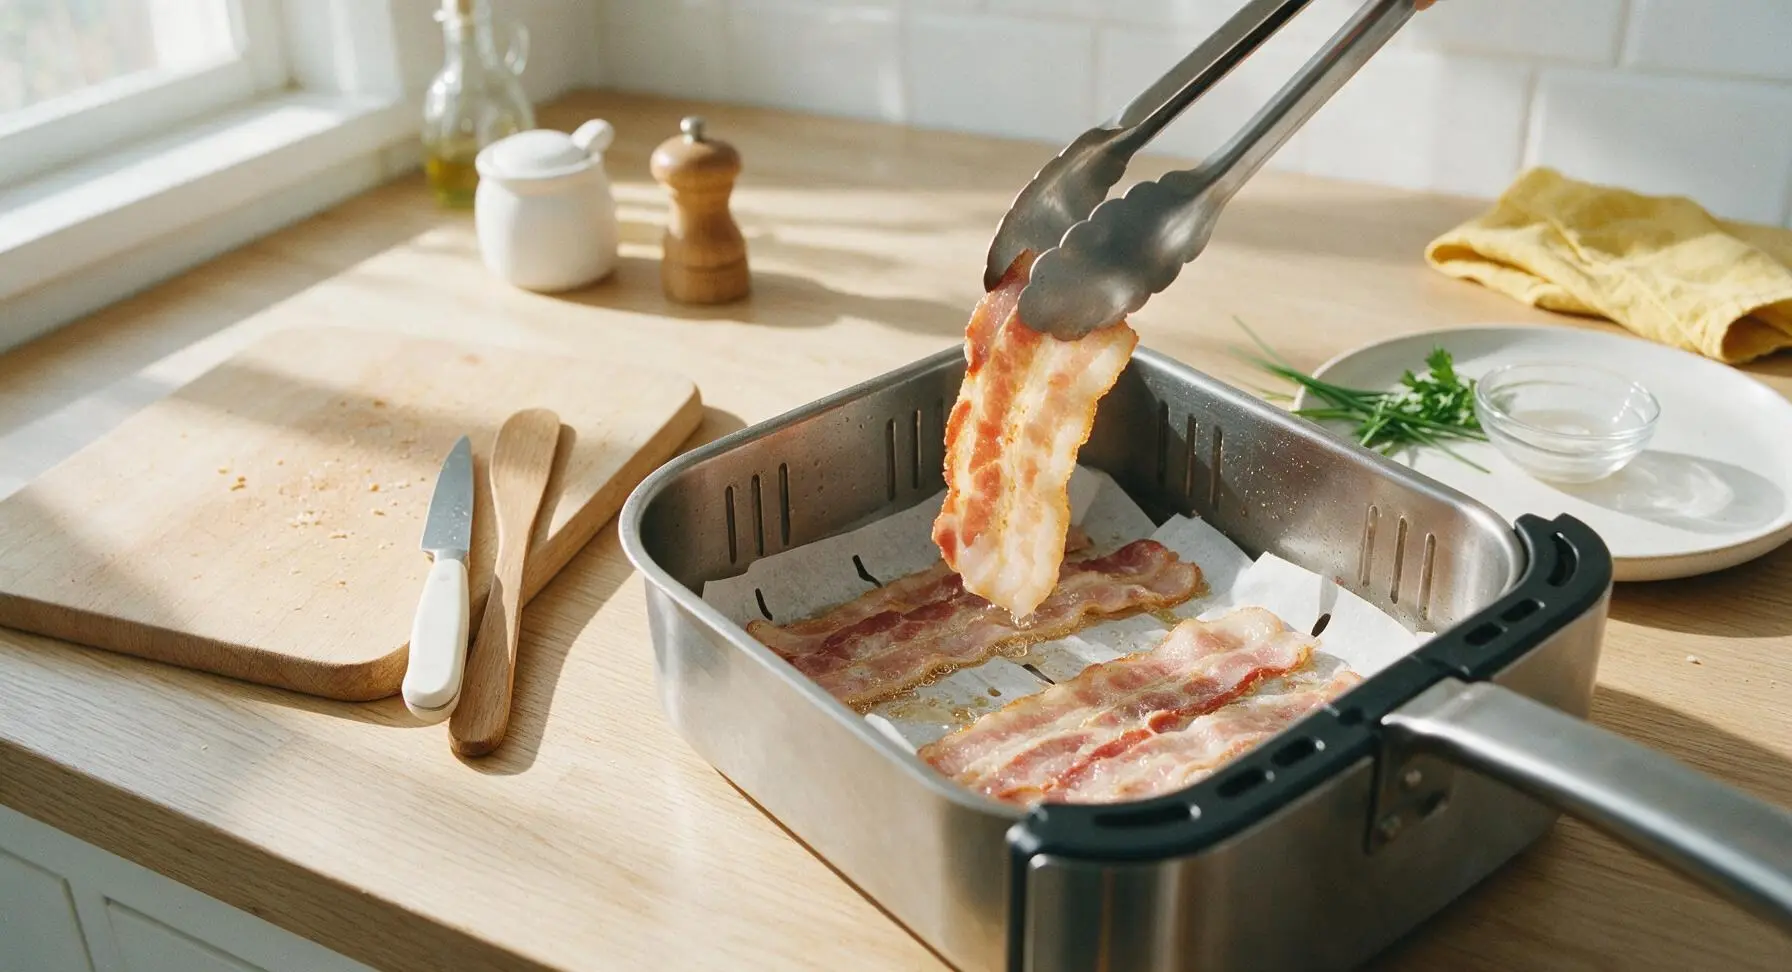
Once the 8-minute cook time ends and the unit chimes, use the tongs to transfer the hot bacon strips from the air fryer basket to the stack of white paper towels. Let the bacon rest for 1 minute to allow excess rendered fat to absorb into the paper towels, which keeps the bacon crispy instead of greasy.
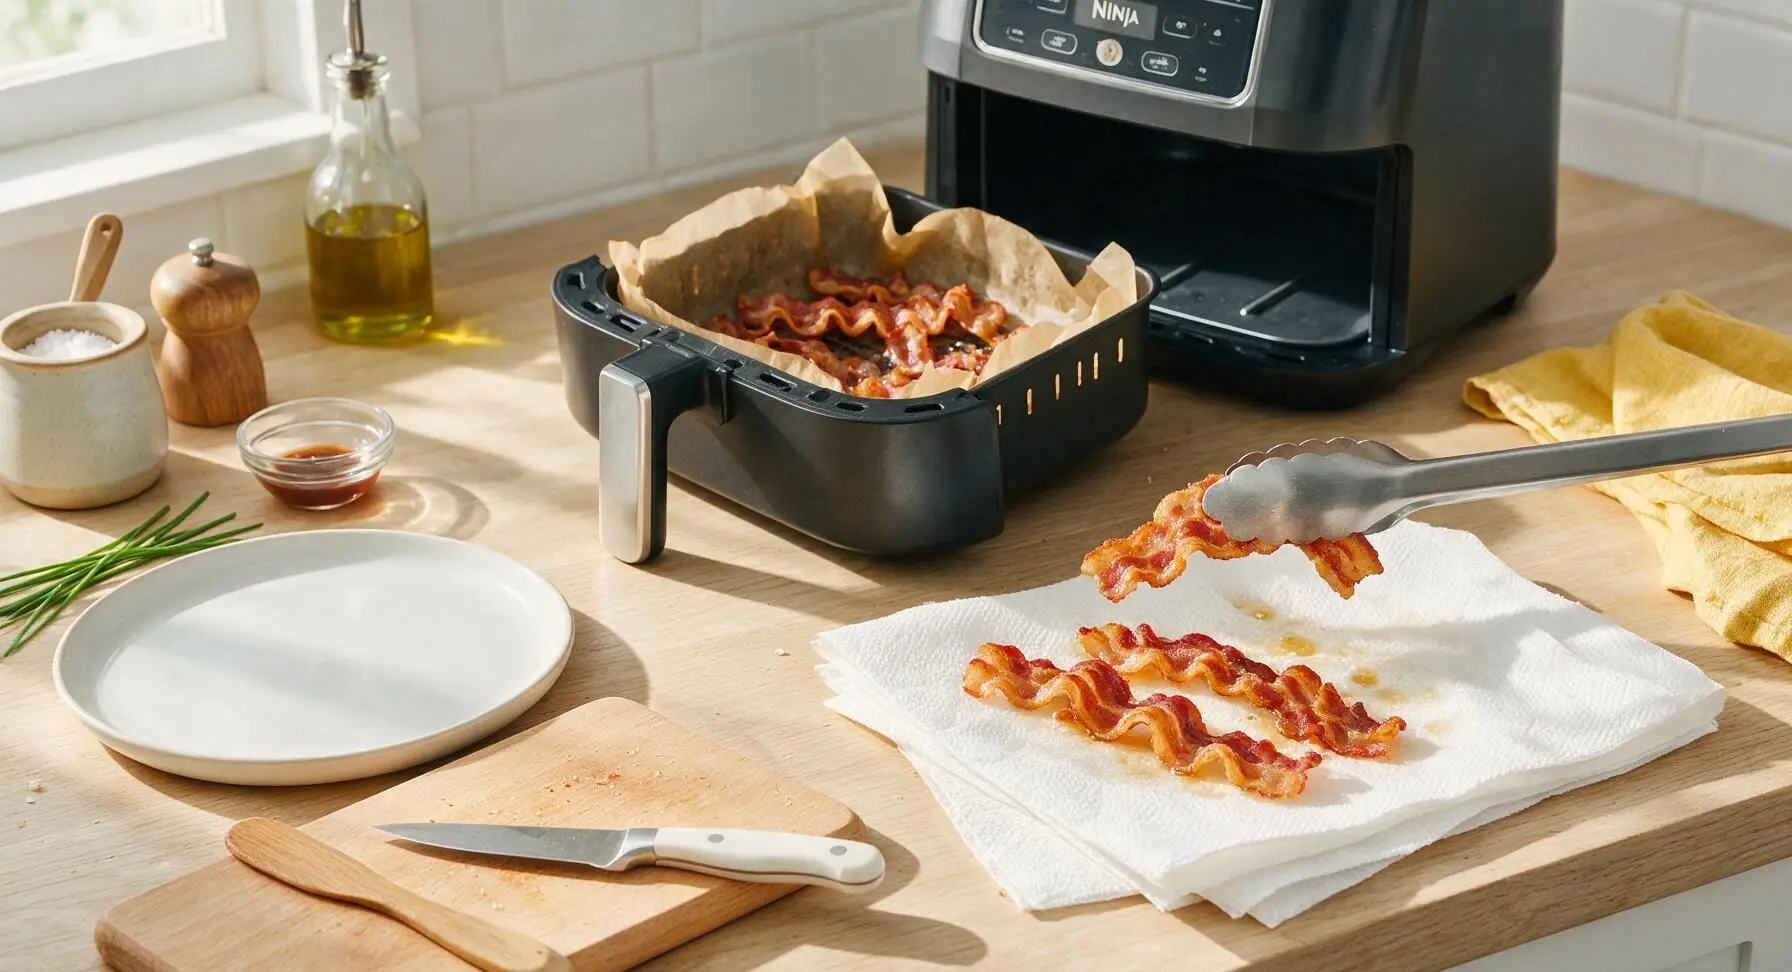
Plate and Serve
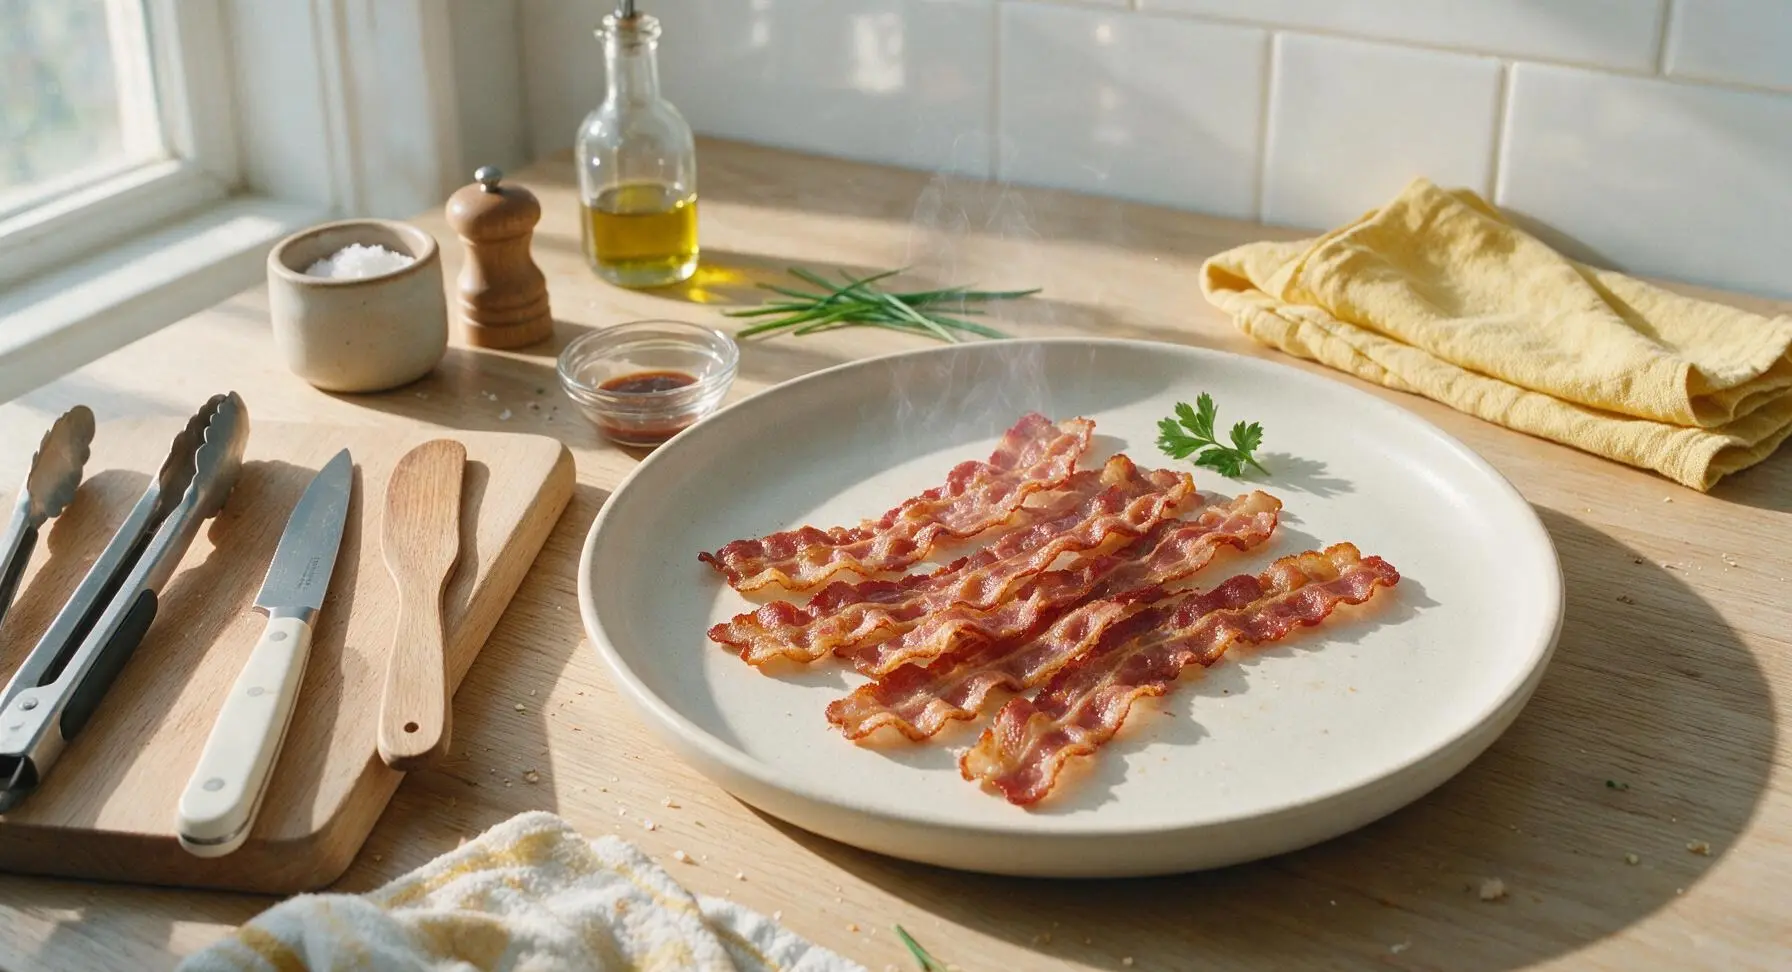
Transfer the drained bacon strips from the paper towels to the fixed matte warm white ceramic dinner plate, arranging them in a loose fan. Tuck the reserved parsley sprig at the edge of the plate for a pop of color. Serve immediately while hot, with maple syrup on the side for dipping if desired.
Tips
2.Adjust cook time and cut for your Ninja’s high-speed fan: Thin-cut bacon can be blown around by the Ninja’s powerful convection fan, leading to uneven cooking or burning, so always use thick-cut bacon. Cook 6 minutes total (flipping at 3 minutes) for chewy bacon, 8 minutes for classic crispy, and 10 minutes for extra-crispy bacon ideal for crumbling.
3.Save rendered bacon fat and avoid clogs: Let the fat that dripped below the parchment cool for 10 minutes, then pour it into a sealed glass jar and refrigerate for up to 3 months to use for frying eggs or roasting potatoes. Never pour hot bacon fat down your drain, as it solidifies as it cools and will cause pipe clogs.






OMG this recipe is an absolute game changer!!! I’ve hated making bacon on the stovetop for years because of the constant grease splatters all over my arms and having to babysit every strip so it doesn’t burn. Tossed it in my Ninja for 8 minutes like the recipe said and it came out perfectly crispy, zero mess, no flipping needed! My husband and two kids went crazy for it, we even used the leftovers on BLTs for lunch later that day. Total win for weekend breakfast and weekday meal prep!
Super easy recipe, turned out SO good! I added a tiny sprinkle of cracked black pepper and a light brush of maple syrup during the last minute for that sweet-savory vibe, and it was chef’s kiss. Cook time was totally spot on for my Ninja, no adjustments needed at all. I brought a big platter of this to our neighborhood block party potluck last weekend and people were hounding me for the recipe left and right. Quick pro tip: if you like your bacon extra chewy instead of shatteringly crispy, pull it out at 6 minutes instead of 8!
No cap, this is SO good and stupid easy!!! I’m a total newbie in the kitchen and I didn’t mess this up at all, which is saying something because I burn toast half the time. I used thick cut bacon because that’s all the corner bodega had, added an extra 2 minutes, and it came out perfect. Way better than the sad microwave bacon I’ve been surviving on since the semester started. Will be making this at least once a week to add to my meal prep rotation.