
Bacon Bits Mac and Cheese

title 1
Bacon Bits Mac and Cheese
⏱️ cook time 25 minutes
🍽️ servings 4
⚡ Difficulty easy

intro

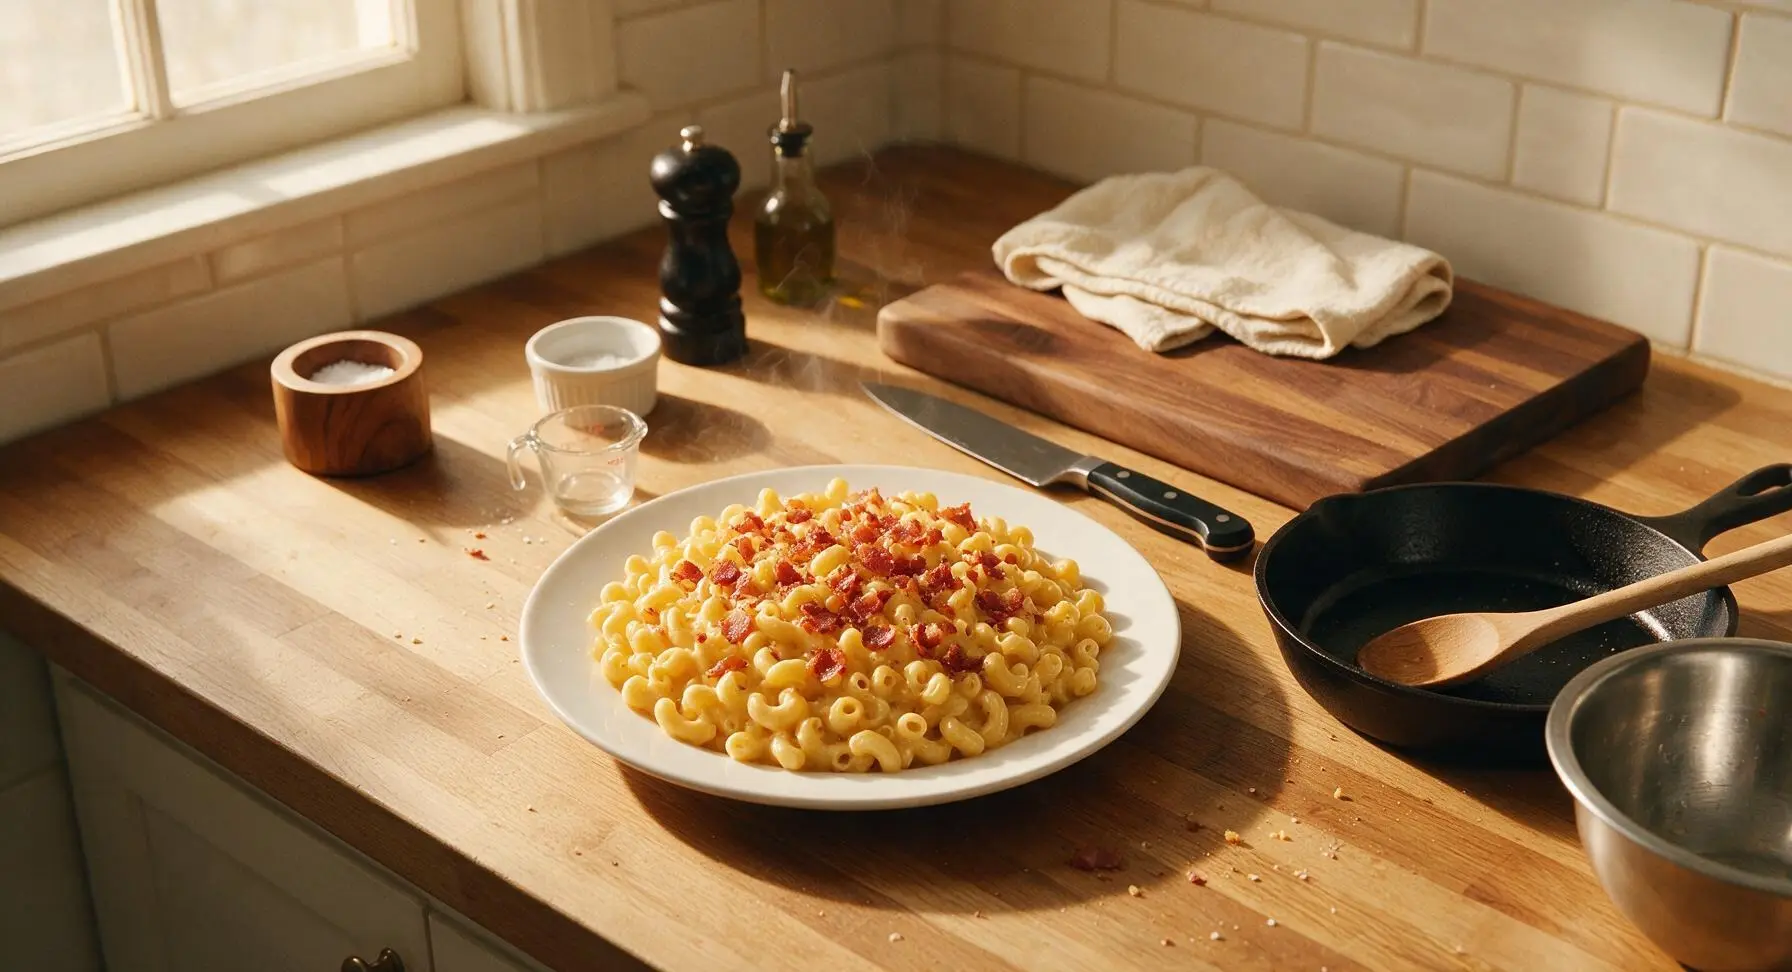
Creamy, glossy cheese sauce clinging to tender elbow macaroni, topped with salty, crisp homemade bacon bits. This 35-minute cozy classic is the ultimate satisfying, no-fuss weeknight dinner.

Ingredients
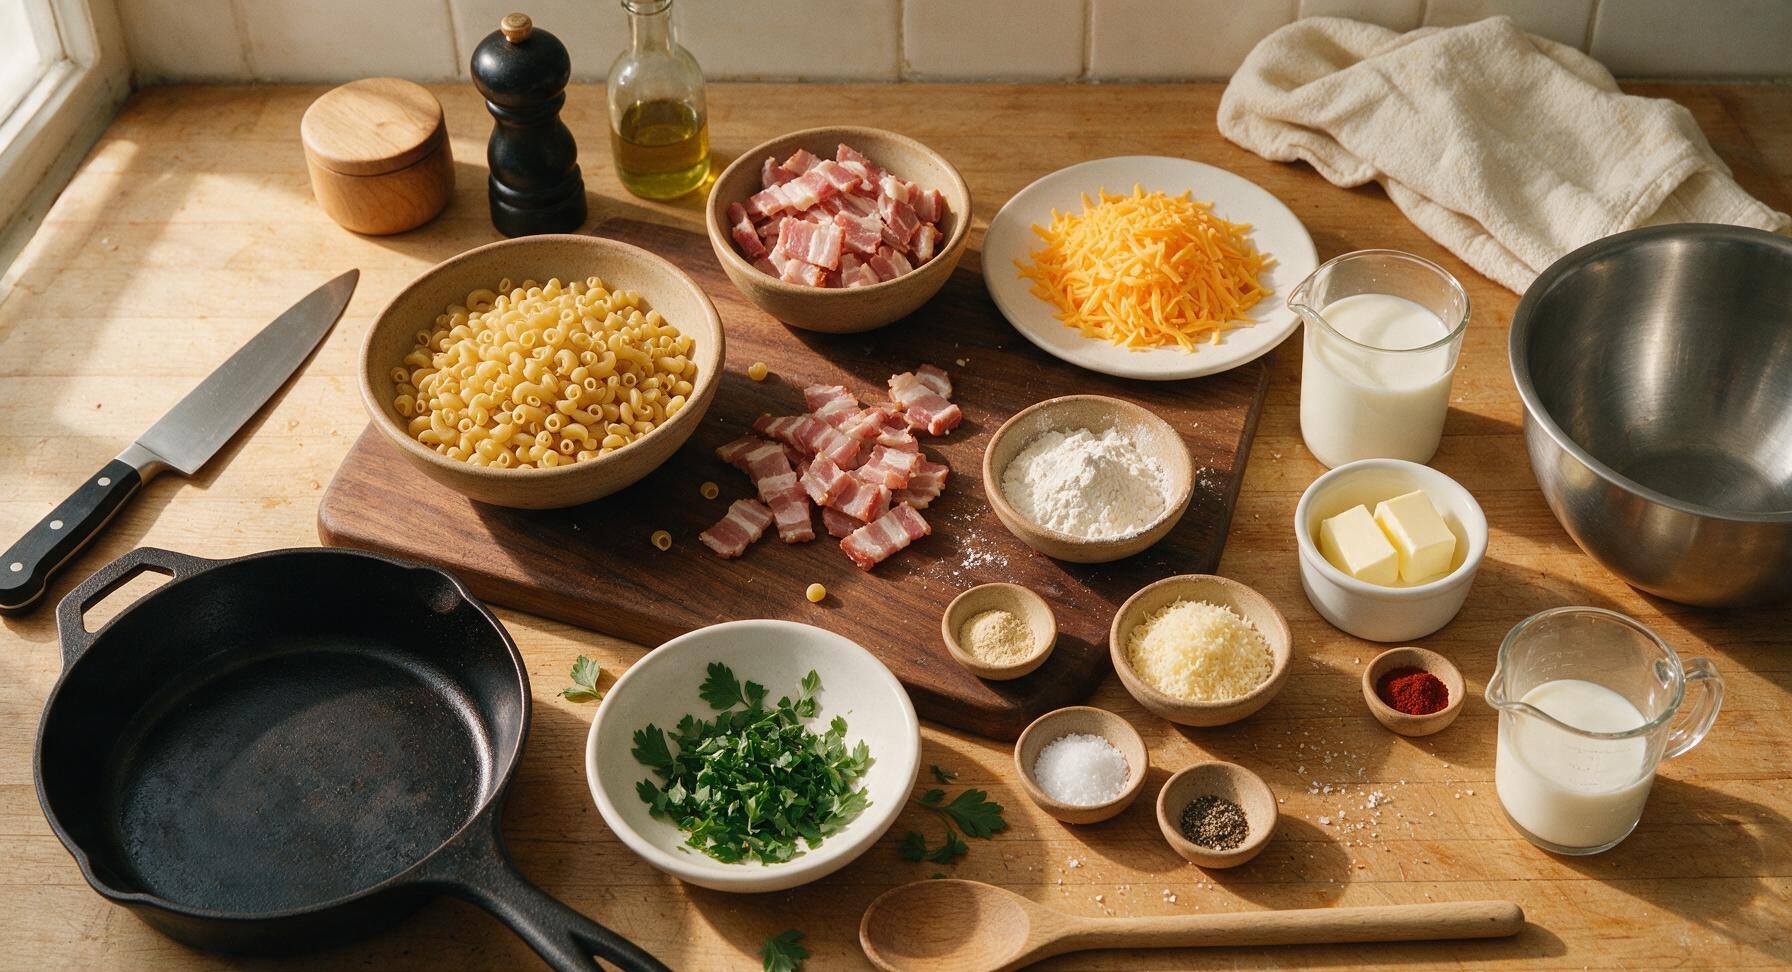
Dry elbow macaroni 200g
Thick-cut bacon 150g
Sharp cheddar cheese 150g, freshly grated
Whole milk 350ml
Unsalted butter 2 tbsp (28g)
All-purpose flour 2 tbsp (16g)
Grated parmesan cheese 30g
Garlic powder 1 tsp
Smoked paprika 1/2 tsp
Kosher salt 1 tsp
Freshly ground black pepper 1/4 tsp
Fresh flat-leaf parsley 2 tbsp, chopped

Steps

1

Crisp the Bacon Bits

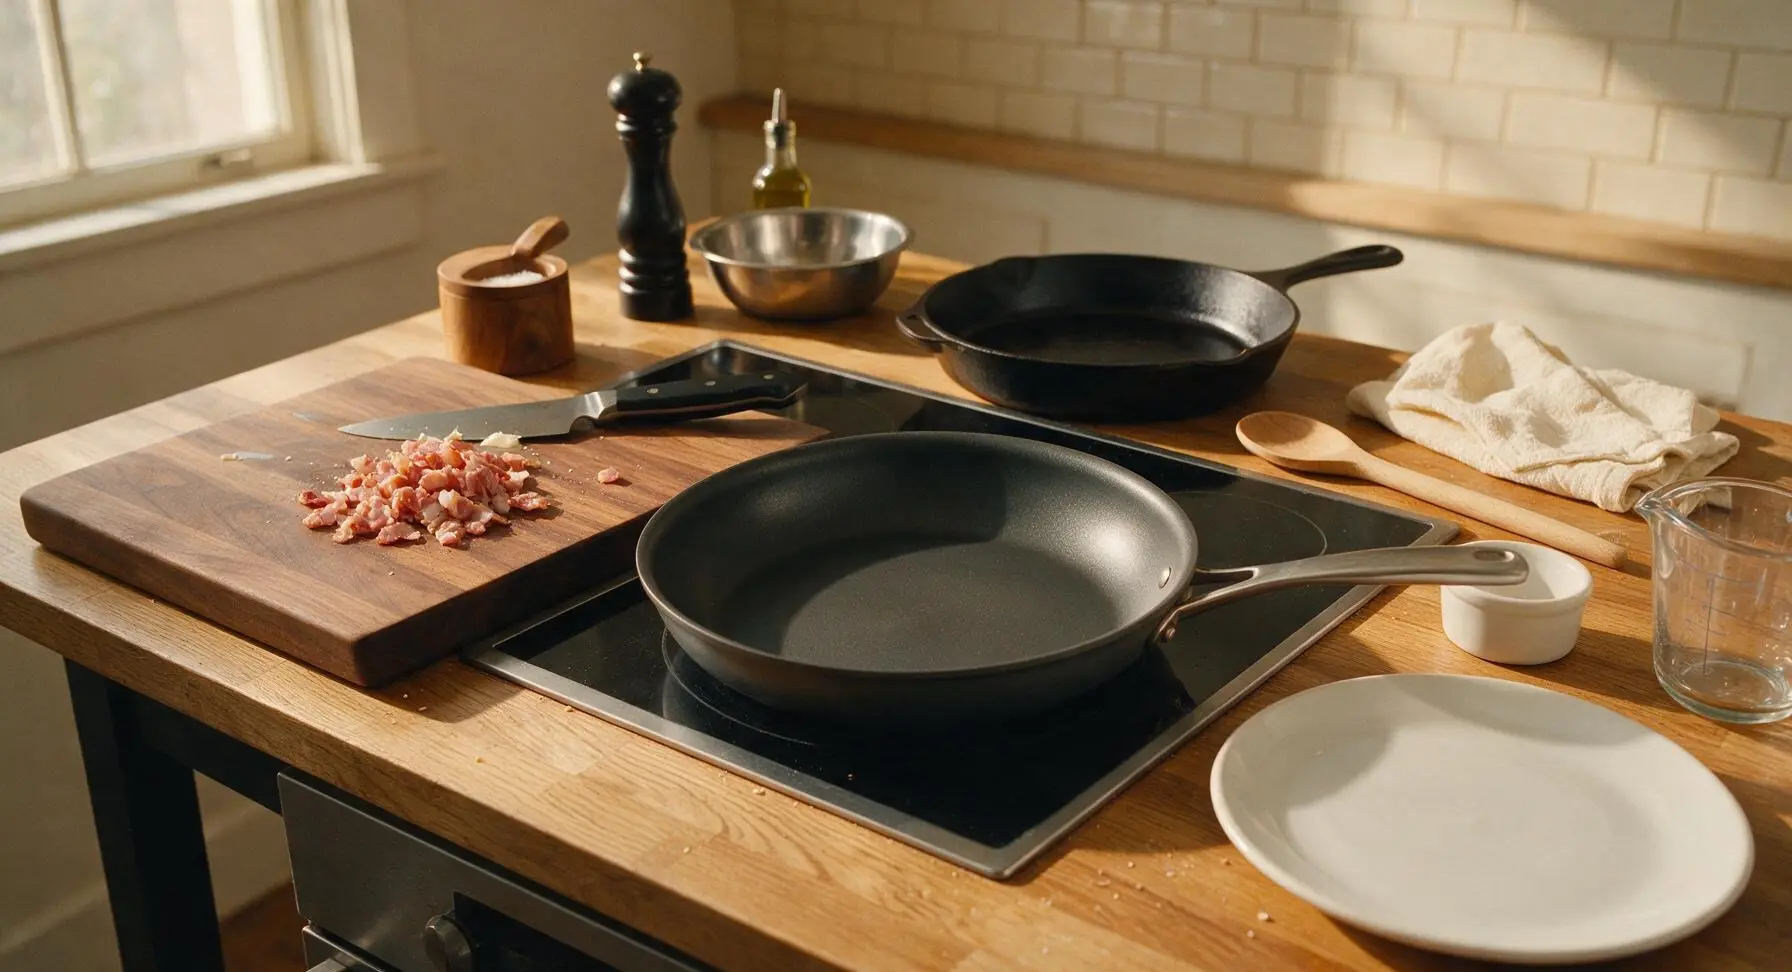
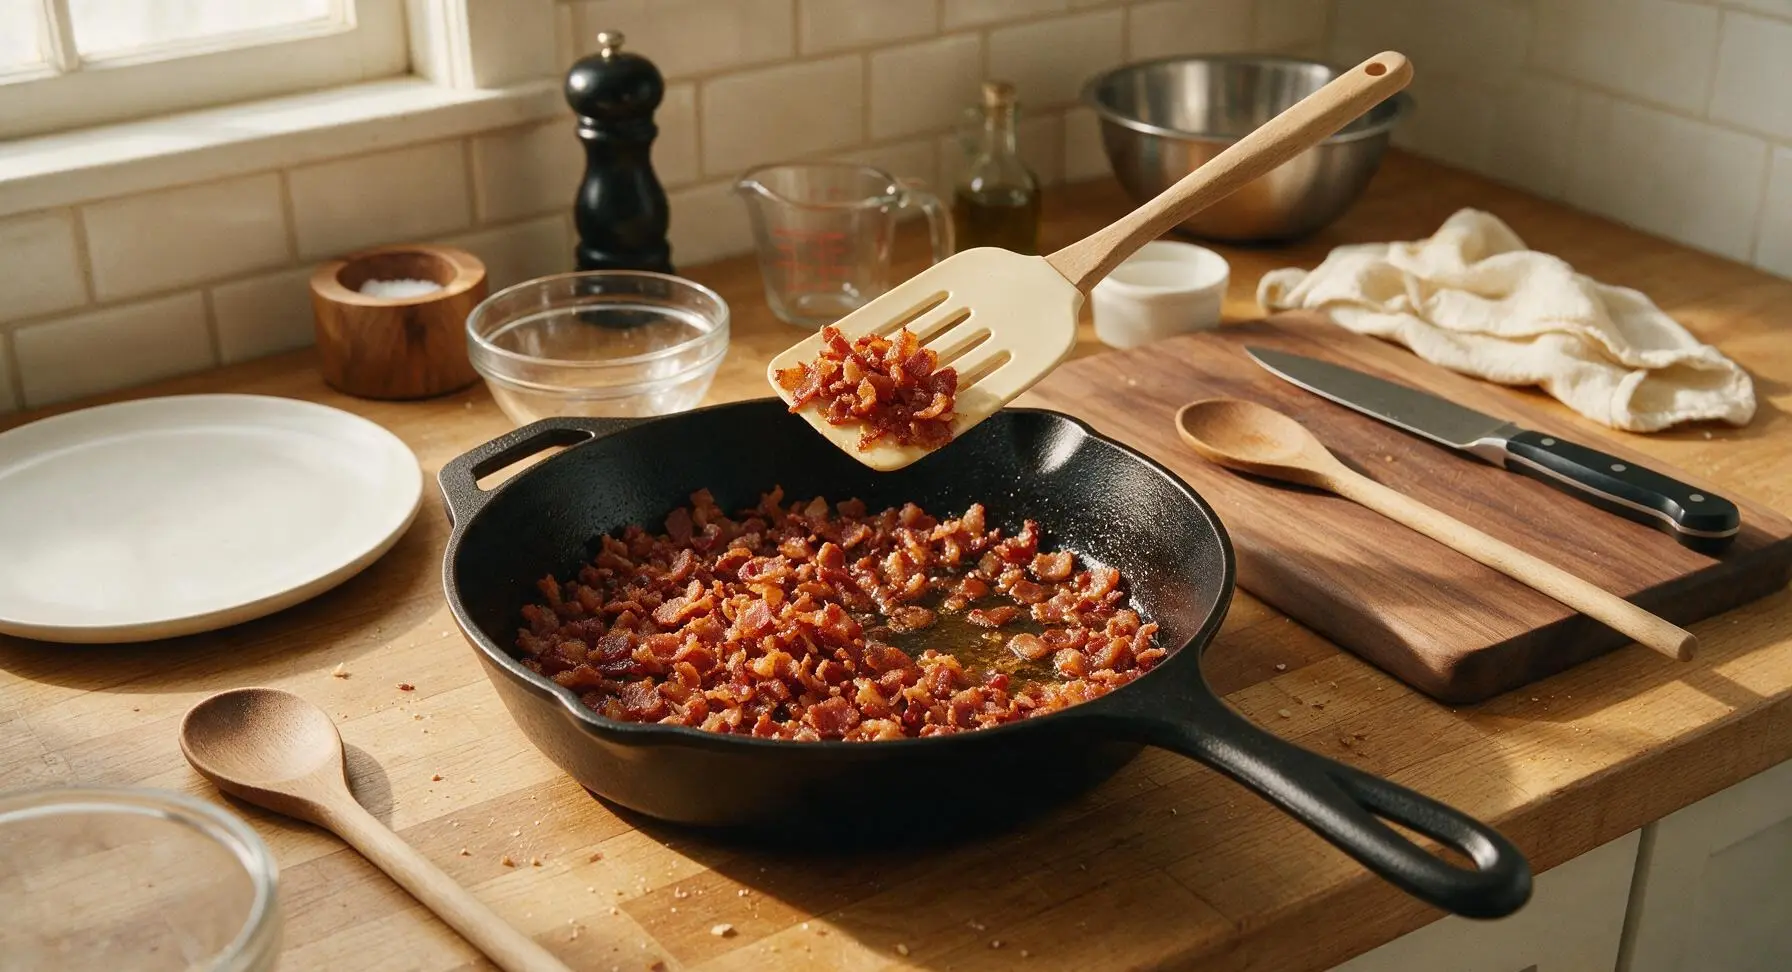
Place the 10-inch matte charcoal non-stick skillet on the center induction zone over medium heat. Chop the 150g thick-cut bacon into 1cm pieces using the 7-inch chef knife on the acacia cutting board. Add chopped bacon to the preheated skillet and cook 6-8 minutes, stirring occasionally with the cream slotted silicone spatula, until bacon is deep golden and fully crisp with no remaining soft white fat. Use the slotted spatula to transfer cooked bacon bits to one of the clear glass prep bowls, set aside, and pour off all but 1 teaspoon of rendered bacon fat (discard excess or save for future cooking) for extra savory depth.
Step 1
step1:Crisp the Bacon Bits
Step 1
step1:Crisp the Bacon Bits
2

Boil Elbow Macaroni

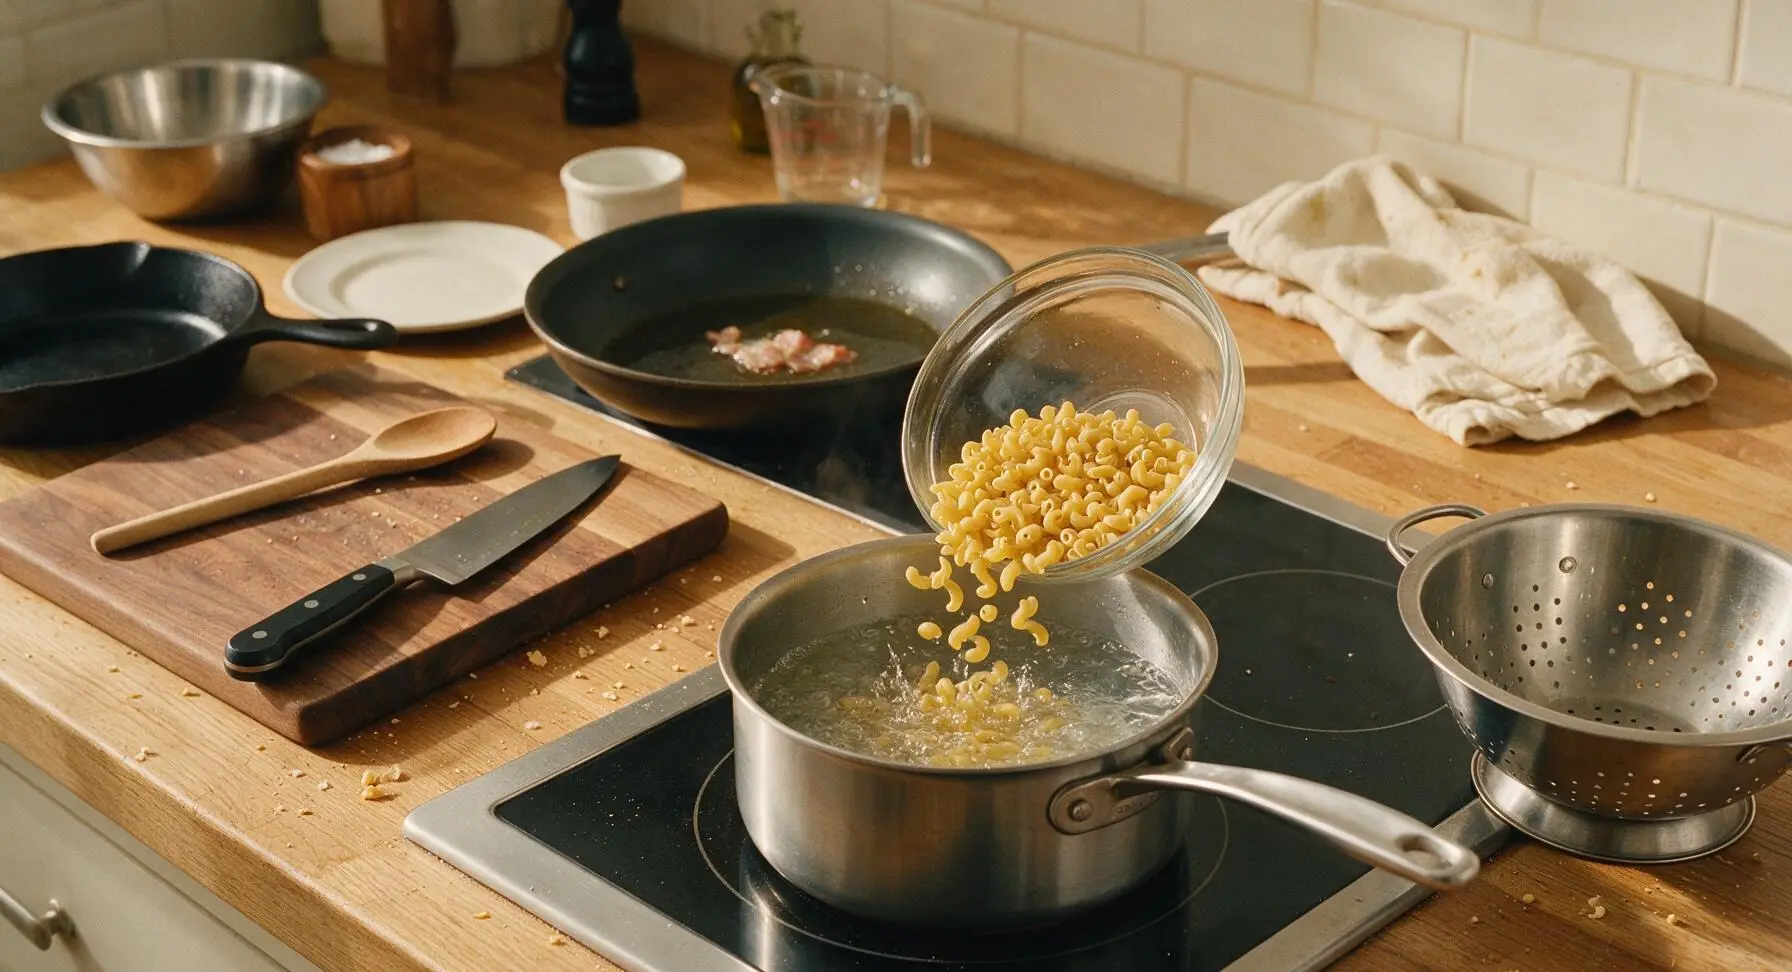
Fill the 3-quart brushed stainless steel saucepan 3/4 full with cold tap water, add 1/2 teaspoon of kosher salt, and place on the induction cooktop over high heat to bring to a rolling boil. Add the 200g dry elbow macaroni, stir once with the silicone spatula, and cook for 8 minutes until al dente (tender but with a slight firm bite at the center, no raw white core). Do not overcook, as mushy noodles will break down in the cheese sauce. Once cooked, pour pasta and water into the stainless steel colander set on the right counter edge to drain fully; do not rinse the pasta, as surface starch helps the cheese sauce cling evenly.
Step 2
step2:Boil Elbow Macaroni
3

Cook the Roux Base

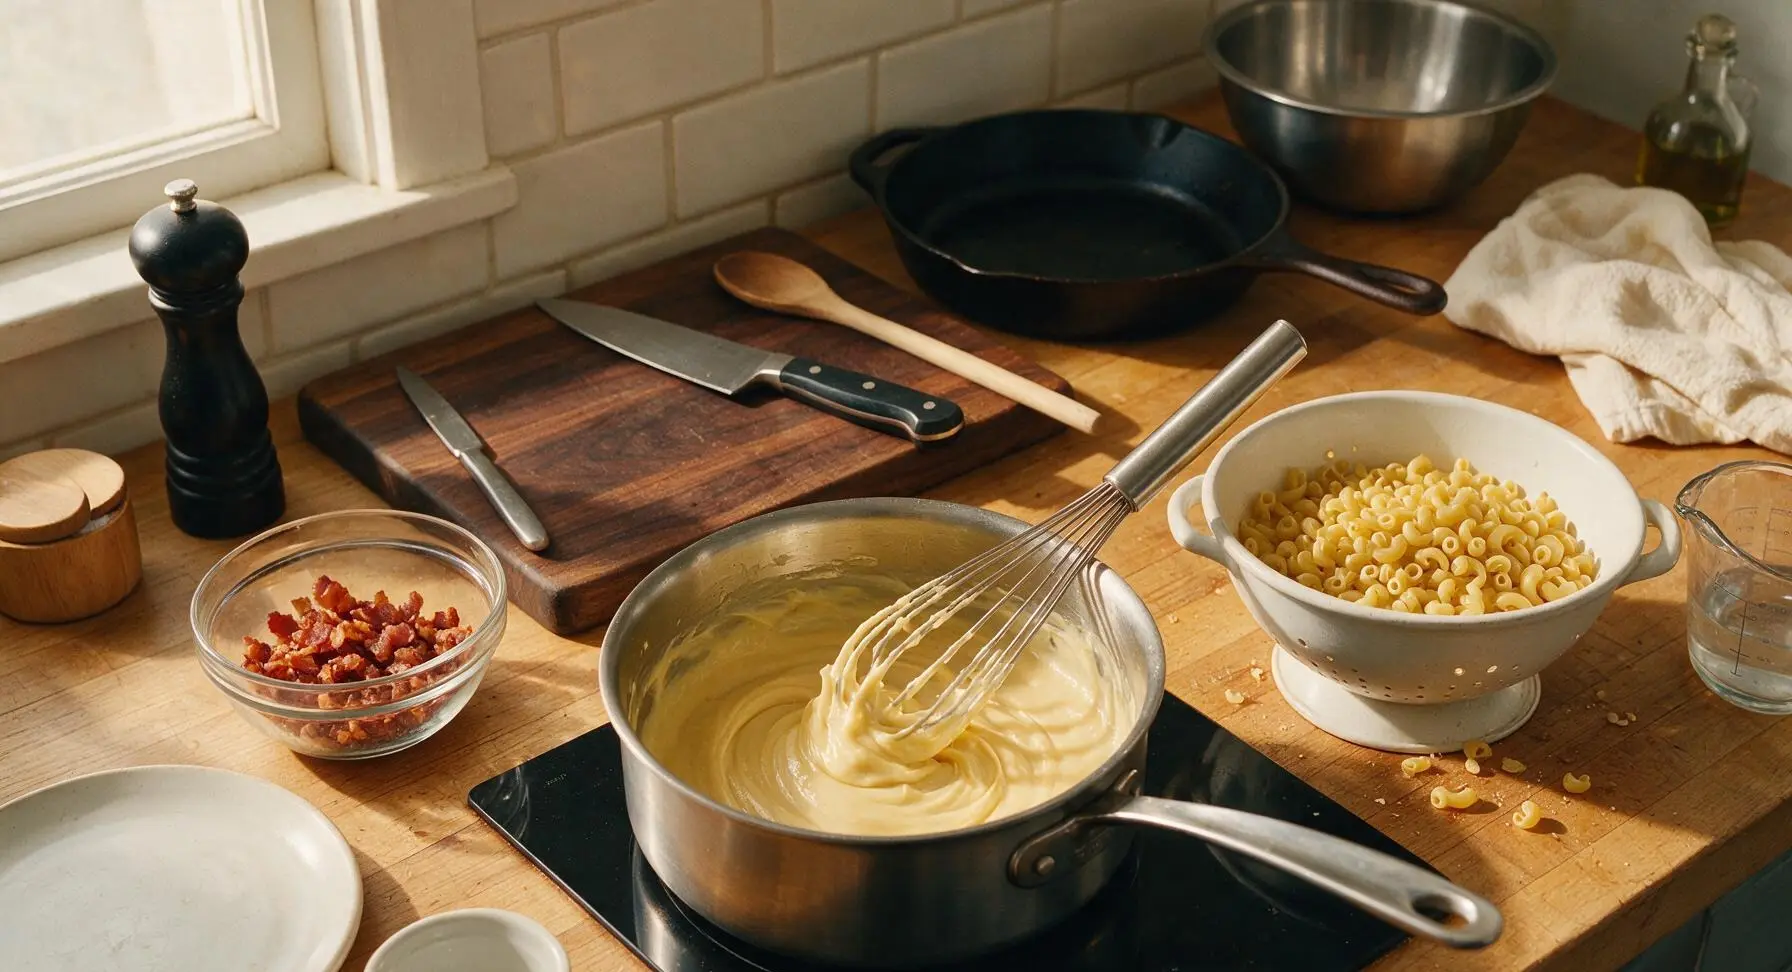
Once pasta is drained, return the empty stainless steel saucepan to medium-low heat on the front induction zone. Add 2 tablespoons unsalted butter to the pan along with the reserved 1 teaspoon bacon fat from the skillet, swirling until fully melted. Add 2 tablespoons all-purpose flour, whisking constantly with the stainless steel wire whisk for 2 minutes, until the mixture forms a smooth, pale golden paste (roux) that smells faintly nutty, with no raw flour aftertaste. Do not let the roux turn dark brown, as this will create a bitter, off-flavor in the final sauce.
Step 3
step3:Cook the Roux Base
4

Whisk in Seasoned Milk

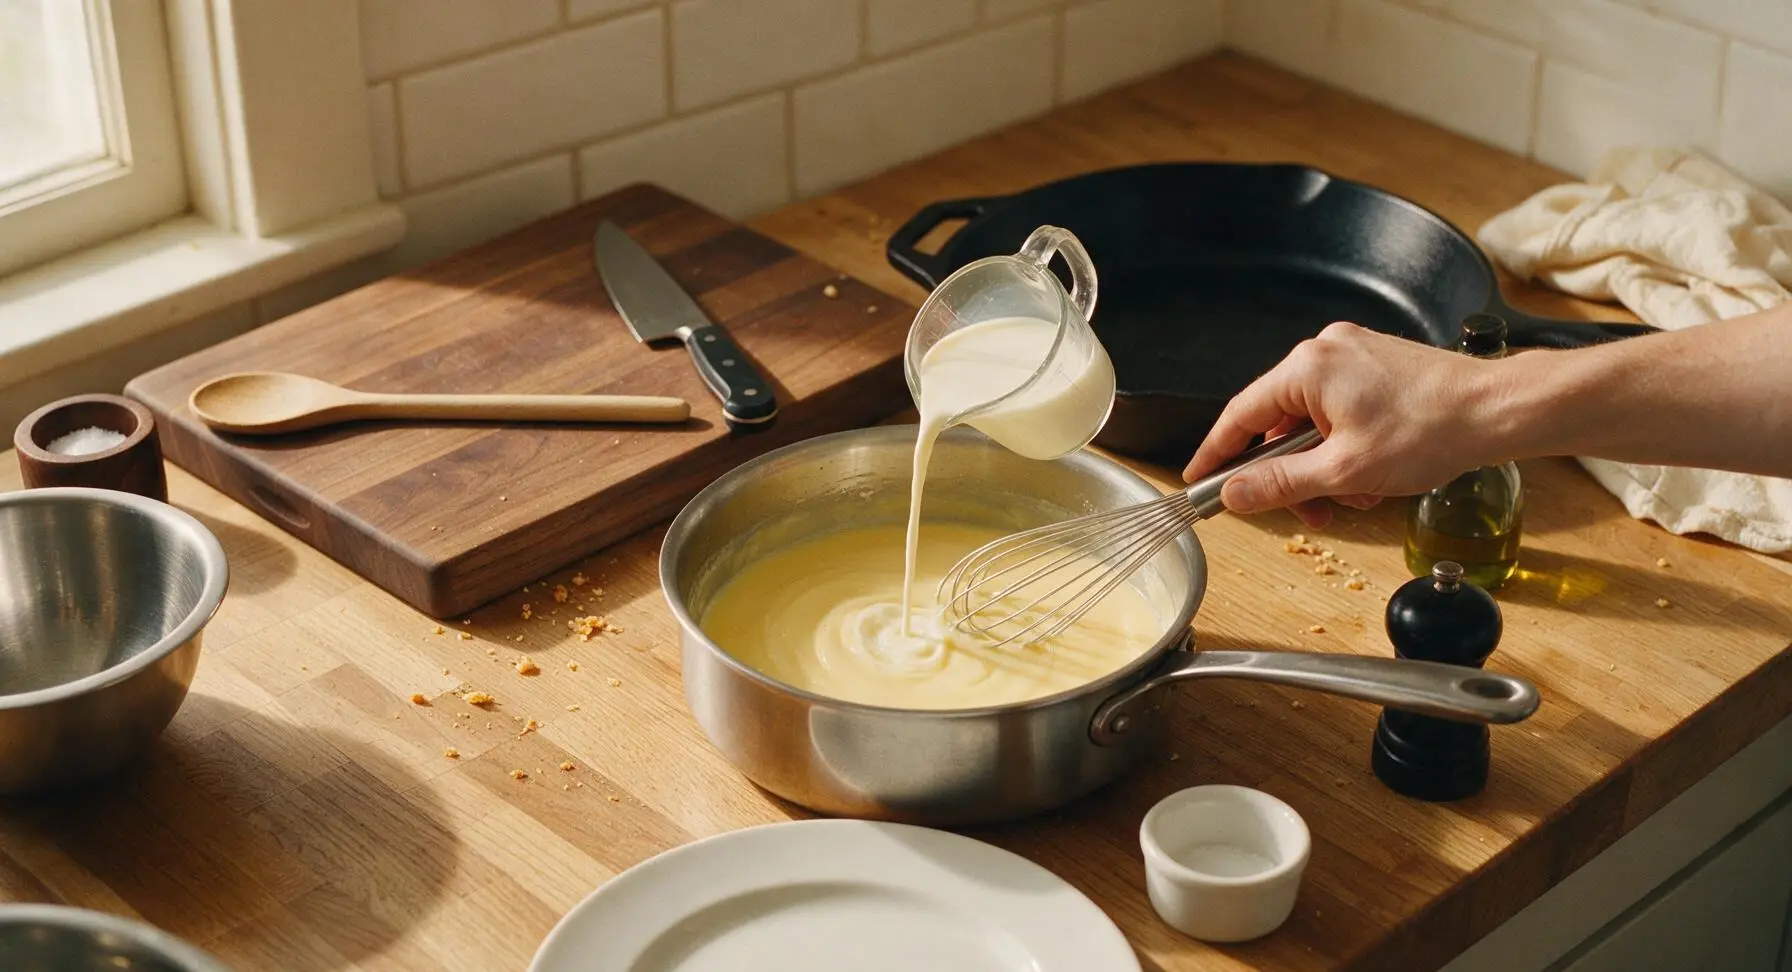
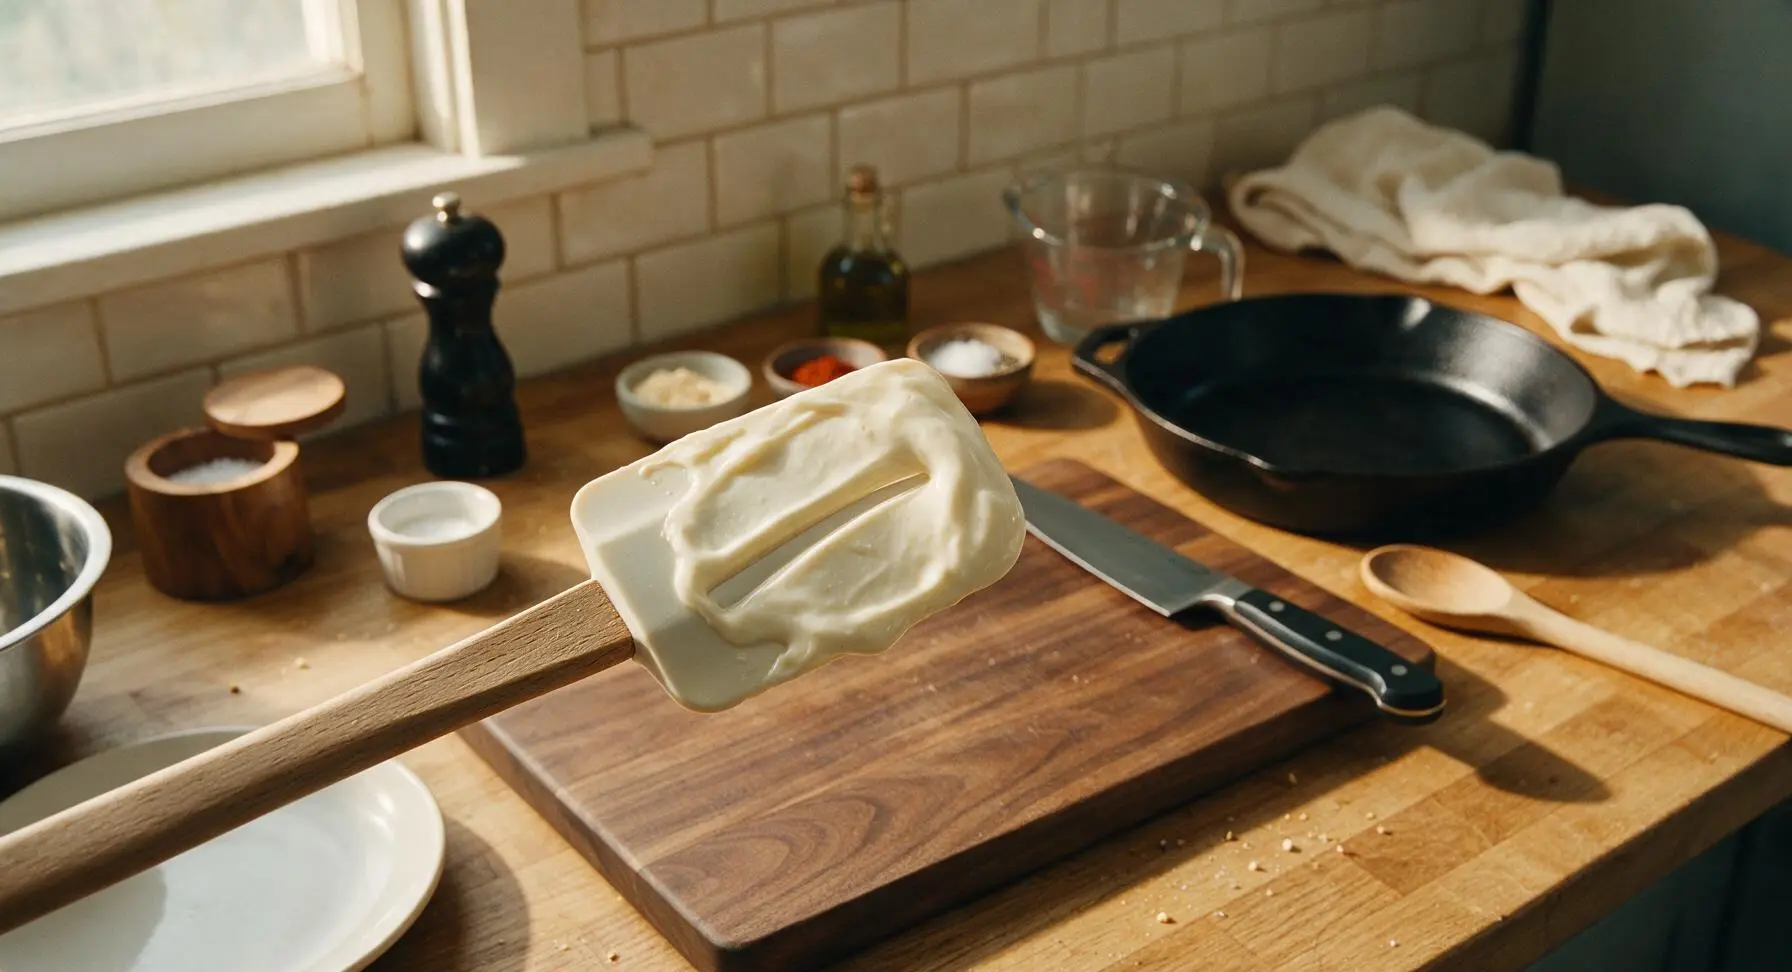
Slowly pour 350ml whole milk into the roux, 60ml at a time, whisking constantly after each addition to eliminate lumps. Once all milk is added, continue cooking for 3-4 minutes, whisking occasionally, until the sauce thickens to a nappé consistency (it will coat the back of a spoon, and a line drawn with a finger through the coating will hold cleanly without running). Stir in 1 teaspoon garlic powder, 1/2 teaspoon smoked paprika, remaining 1/2 teaspoon kosher salt, and 1/4 teaspoon freshly ground black pepper.
Step 4
step4:Whisk in Seasoned Milk
Step 4
step4:Whisk in Seasoned Milk
5

Melt Grated Cheeses

Remove the saucepan from heat immediately to prevent the cheese from separating and turning grainy. Add 130g of freshly grated sharp cheddar and all 30g of grated parmesan to the thickened sauce, stirring slowly with the silicone spatula until the cheese is fully melted and the sauce is smooth, glossy, and free of lumps. Reserve the remaining 20g of grated sharp cheddar for top garnish.
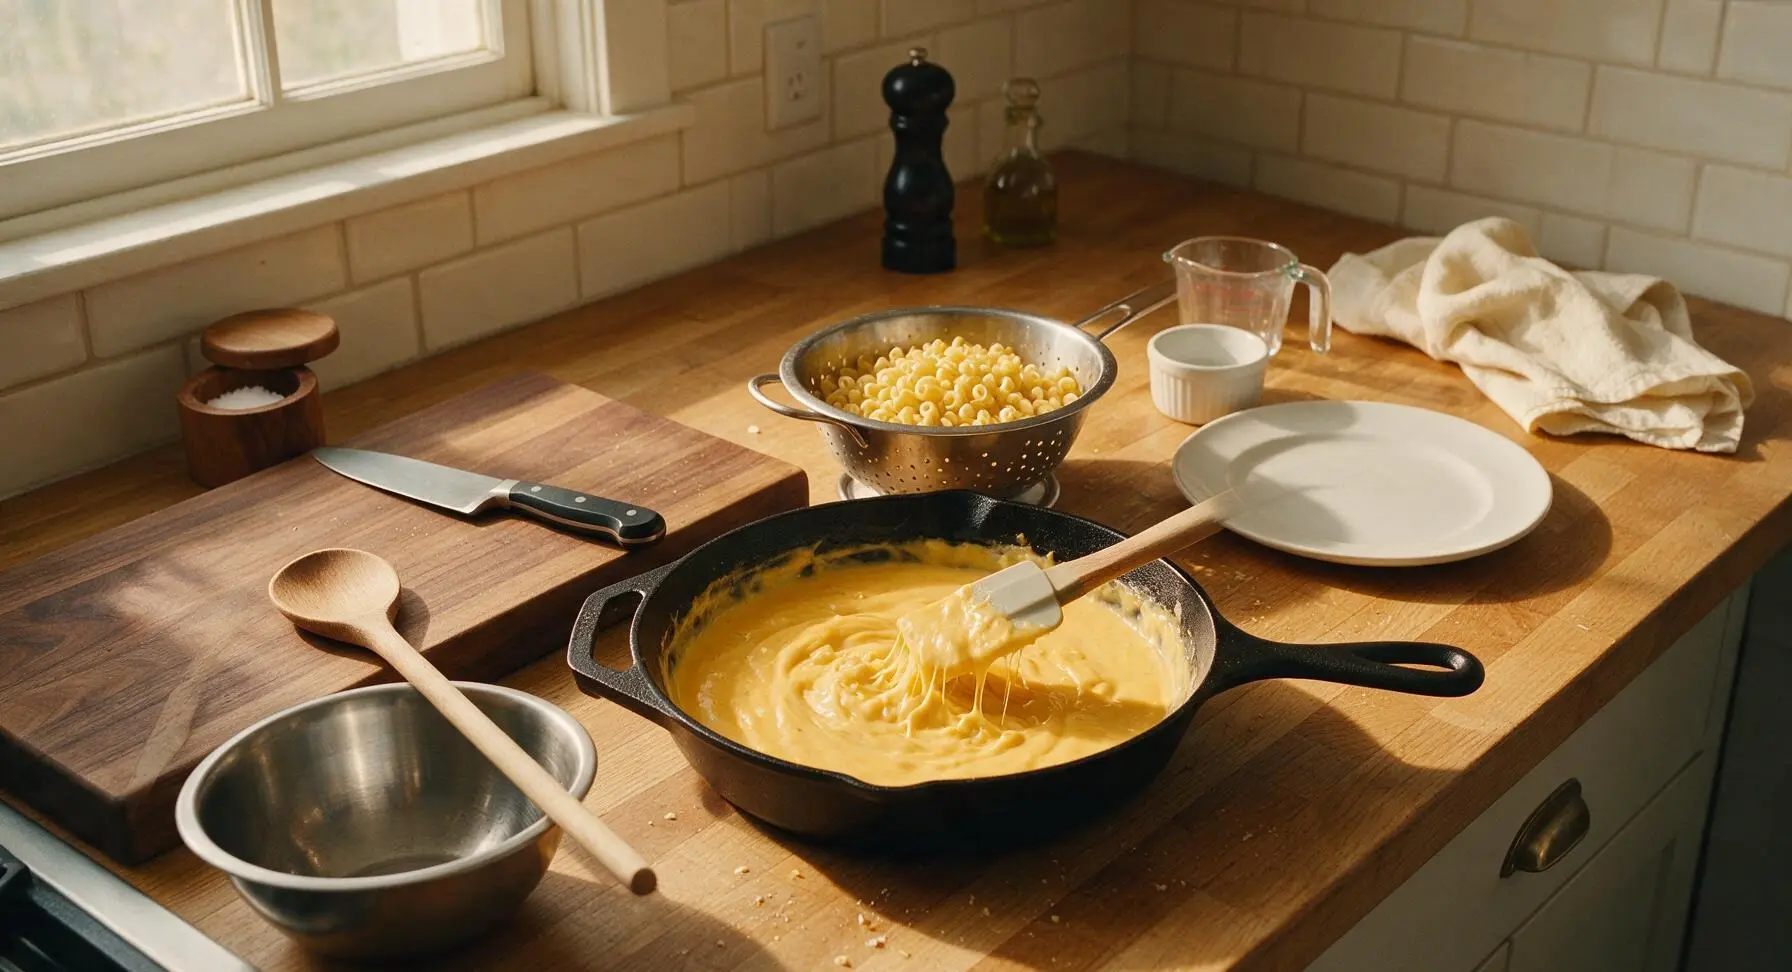
Step 5
step5:Melt Grated Cheeses
6

Fold in Pasta and Bacon

Add the fully drained elbow macaroni to the cheese sauce, stirring gently with the silicone spatula to coat every noodle evenly, taking care not to break the tender pasta. Fold in 3/4 of the crispy bacon bits, reserving the remaining 1/4 in the small matte black ramekin for garnish. Stir for 1-2 minutes until all ingredients are evenly distributed, with thick cheese sauce clinging to every noodle.
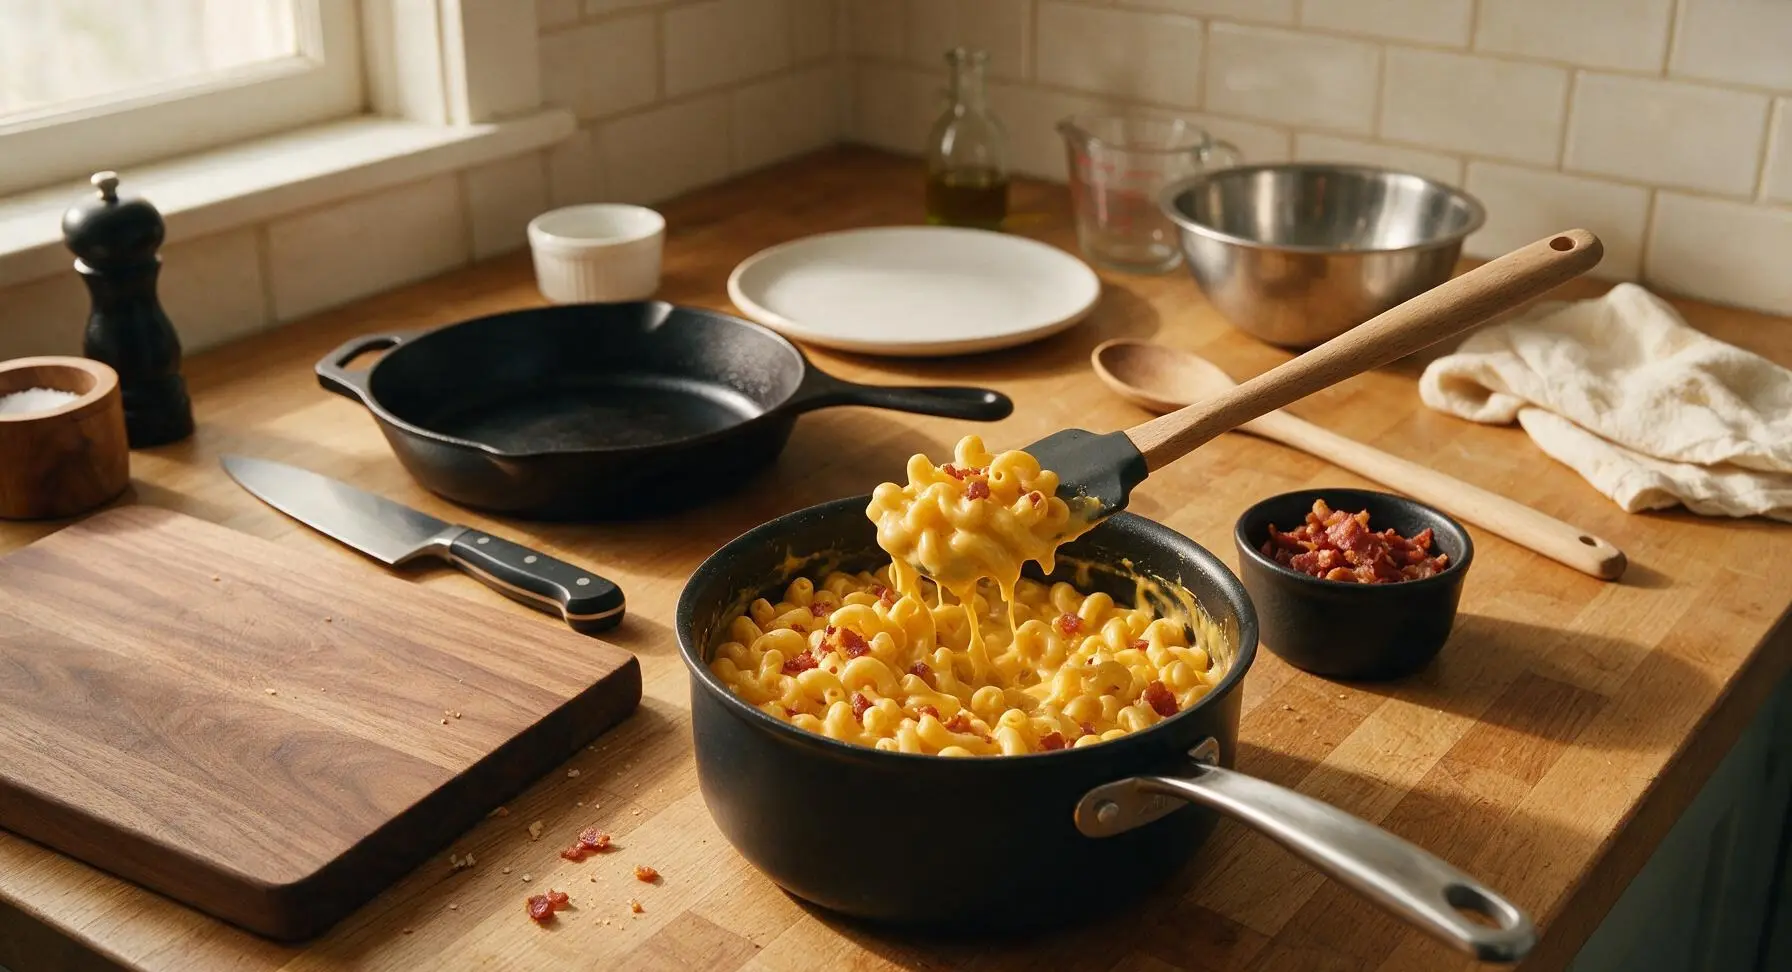
Step 6
step6:Fold in Pasta and Bacon
7

Plate and Add Garnishes

Use the large stainless steel serving spoon to scoop the finished mac and cheese into the matte off-white ceramic pasta bowl, mounding it slightly in the center. Sprinkle the reserved 20g of grated sharp cheddar across the top (it will melt slightly from the residual heat of the pasta), followed by the reserved crispy bacon bits, and a light sprinkle of chopped fresh flat-leaf parsley. Add one light crack of fresh black pepper over the top to finish.
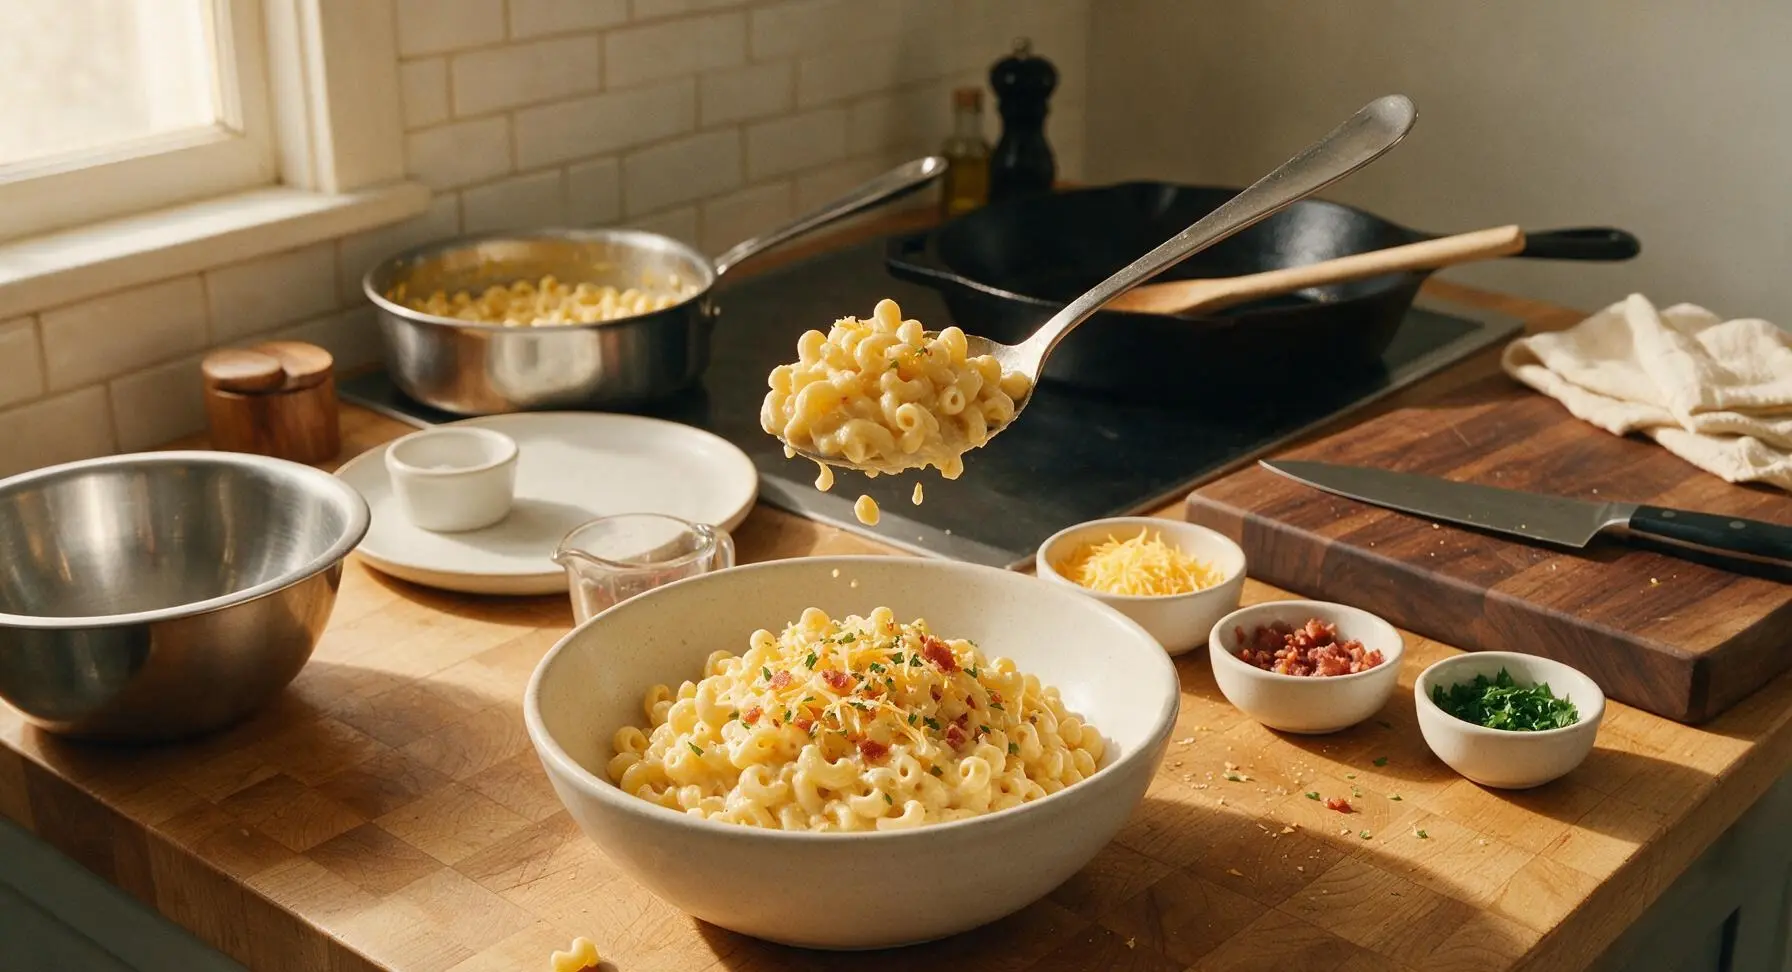
Step 7
step7:Plate and Add Garnishes

Tips

1.Grate your own cheese instead of using pre-shredded store-bought cheese: pre-shredded cheese is coated in anti-caking potato starch and natamycin that prevent it from melting smoothly, leading to a grainy, lumpy cheese sauce instead of the glossy, creamy texture this recipe is known for.
2.Do not rinse your cooked pasta: the starchy coating on drained, unrinsed noodles acts as a natural binder that helps the cheese sauce cling tightly to every noodle, instead of sliding off and pooling at the bottom of the bowl.
3.Remove the sauce from heat before adding cheese: boiling or overheating cheese sauce causes milk proteins to separate and cheese oils to leach out, resulting in a greasy, curdled texture. The residual heat of the thickened milk base is more than enough to fully melt grated cheese into a smooth sauce.


✨ You May Also Like

Main Course
🍜 United Kingdom

A showstopping classic of tender seared beef, savory mushroom duxelles, and crisp prosciutto wrapped in flaky golden puff pastry, baked to juicy perfection.

⏱️ 2 hours 1Main Course ★ 4.7
Main Course
🍜 India

Tender charred marinated chicken simmered in a rich, spiced creamy tomato sauce, this iconic Anglo-Indian curry pairs perfectly with basmati rice or warm naan.

⏱️ 50 minuteMain Course ★ 4.6
Main Course
🍜 Thailand

Classic tangy, sweet, and savory Thai stir-fried rice noodles with shrimp, tofu, and crunchy garnishes, balancing all five core Thai flavor profiles.

⏱️ 30 minuteMain Course ★ 4.5
Main Course
🍜 United Kingdom

Crispy golden beer-battered cod and fluffy double-fried chips, served with tangy tartar sauce and malt vinegar: the timeless, beloved British pub comfort classic.

⏱️ 45 minuteMain Course ★ 4.7
Main Course
🍜 Mexico

Smoky, chile-marinated pork tacos with caramelized pineapple, fresh cilantro, and lime: a beloved classic Mexican street food perfect for casual summer gatherings.

⏱️ 1 hour 45Main Course ★ 4.8
Main Course
🍜 United States

Crunchy Fritos corn chips layered with savory beef chili and melted cheddar, topped with cool, zesty fixings for a beloved, cozy Tex-Mex comfort food.

⏱️ 35 minuteMain Course ★ 4.8

Bacon Bits Mac and Cheese:Frequently Asked Questions

1.Can I use pre-shredded cheddar instead of shredding my own block cheese for this recipe? ▾
I strongly recommend shredding your own block sharp cheddar for the silkiest, glossiest sauce. Pre-shredded cheese is coated in potato starch and anti-caking agents that prevent smooth melting, leading to a grainy, lumpy final texture. If you’re in a total pinch, toss pre-shredded cheese with ¼ teaspoon of cornstarch before adding it to help smooth the sauce out.
2.How do I make perfectly crisp bacon bits without burning them? ▾
Cook thick-cut bacon over medium-low heat in a cold skillet, flipping every 2 to 3 minutes, for 8 to 10 minutes total. Don’t crank the heat to speed things up—that burns the bacon edges before the fat fully renders. Once crisp, transfer to a paper-towel lined plate, cool 2 minutes, then crumble into uniform bits for topping.
3.Can I make this mac and cheese ahead of time for weekly meal prep? ▾
Absolutely! Store the mixed cooked pasta and cheese sauce in an airtight container in the fridge for up to 3 days, but keep your cooked bacon bits stored separately. When reheating, stir in a splash of whole milk to loosen the thickened sauce, then top with the bacon bits right before eating to keep them crisp.
4.My cheese sauce turned out lumpy and grainy—what did I do wrong? ▾
Grainy sauce almost always comes from overheating the cheese or adding it too quickly. Make sure you turn the heat all the way down before stirring in shredded cheddar, adding one handful at a time and stirring constantly until fully melted. Never let the sauce come to a rolling boil after adding cheese, as high heat curdles milk proteins for that gritty texture.
5.Can I use a different pasta shape if I don’t have elbow macaroni? ▾
Definitely! Elbow macaroni is classic because its ridges and hollow center hold thick cheese sauce perfectly, but any short, ridged pasta shape works great. Try cavatappi, rotini, small shells, or campanelle as easy swaps—just cook to al dente per package directions, and reserve ¼ cup starchy pasta water to thin sauce if needed.
6.Do I have to use whole milk, or can I swap in lower-fat milk? ▾
Whole milk creates the richest, creamiest, most stable cheese sauce thanks to its higher fat content. You can use 2% milk in a pinch, but skip skim or low-fat non-dairy milks—they lead to thin, watery sauce that separates easily, and won’t give you that luxe, glossy texture this recipe is known for.
7.How do I keep the bacon bits from getting soggy on top of the mac and cheese? ▾
The number one trick to avoid soggy bacon bits is to add them right before serving, not before storing or baking. If you opt to broil the mac and cheese for a crispy top (a fun optional step!), leave the bacon off until after you pull it out of the oven, then sprinkle the crumbles over for perfect salty crunch.
8.Can I add extra mix-ins to make this mac and cheese heartier? ▾
Of course! This no-fuss recipe is super customizable for weeknight meals. Try stirring in well-drained steamed broccoli, diced cooked chicken, caramelized onions, or a pinch of smoked paprika or cayenne for subtle heat. Just make sure wet add-ins are fully drained so they don’t thin out your glossy cheese sauce.
9.Why is my cheese sauce so thick and gummy instead of smooth and pourable? ▾
Over-thickening the roux, or skimping on liquid, is usually the culprit. Start with equal parts unsalted butter and flour for your roux, cook it 1 to 2 minutes until it smells nutty, then whisk in milk slowly to avoid lumps. If sauce gets too thick after adding cheese, stir in 1 tablespoon of warm milk or starchy pasta water at a time to adjust consistency.
10.Can I freeze leftover Bacon Bits Mac and Cheese for later? ▾
You can, though the cheese sauce texture may shift slightly when thawed. Freeze the pasta and sauce mixture (without the bacon bits) in a freezer-safe airtight container for up to 2 months. Thaw in the fridge overnight, reheat low and slow on the stovetop with a splash of milk to re-emulsify the sauce, then top with fresh bacon bits before serving.

Comments (10)

3 days ago

OMG this was SO good! I made this for my kid’s post-game potluck last weekend and people were begging me for the recipe! 25 minute cook time is no joke, I had it done and in the crockpot to keep warm before the first car pulled up to the field. The smoky bacon bits cut through the creamy cheese so well, total game changer— I will never make boxed mac again.

2 days ago

So glad it was a potluck hit, Jen! A quick pro tip: if you’re making it ahead for an event, reserve a handful of bacon bits to sprinkle right before serving to keep them extra crispy!

1 week ago

Dude this is so easy even I didn’t mess it up! I live in a tiny dorm with just a hot plate and a microwave, swapped the stovetop steps for microwaveable pasta and pre-cooked bacon bits, and it came out insane. Way better than the dining hall mac, 10/10.

5 days ago

Wait that hot plate hack is genius! Did you use pre-shredded cheese too or did you shred your own? I only have a mini fridge so storage is tight lol

3 days ago

Love the dorm-friendly modification! Pre-shredded cheese works totally fine here if that’s what you have on hand, just give it a good stir while the pasta is hot to melt it evenly.

5 days ago

Added this to my Sunday meal prep lineup and it held up all week in the fridge! I portioned it out into 5 containers, added a little extra milk when reheating, and the bacon bits still had a nice crunch even on day 4. Perfect easy lunch for work, no sad desk salad for me this week!

yesterday

Y’all, I was skeptical about how quick this was but it did NOT disappoint. I used thick cut hickory bacon instead of the pre-made bits I had in the pantry, and tossed in a pinch of paprika for a little extra kick. Served it with fried chicken for Sunday dinner and my husband went back for thirds.

2 hours ago

The paprika addition sounds chef’s kiss! I’m gonna try that next time I make it, maybe even a dash of hot sauce on top for serving

2 weeks ago

I have celiac so I swapped the regular pasta for gluten free elbow pasta and it turned out absolutely perfect! I was worried the cheese sauce would be grainy but it was so smooth and creamy, the bacon bits added that savoriness I’ve been missing from GF mac and cheese recipes. My whole family (none of whom are GF) ate seconds!

1 week ago

Oh thank you for sharing the GF swap! My son has a wheat allergy and I’ve been struggling to find a mac and cheese he actually likes, can’t wait to try this with GF pasta

1 week ago

So happy the GF swap worked for you, Gabi! We’ve tested this with chickpea pasta too and it holds up great in the cheese sauce, if you ever want an extra protein boost.

30 minutes ago

25 minutes is not an exaggeration folks, I timed it! Got home late from work, had zero plan for dinner, pulled the ingredients out of my fridge and pantry, and had a hot, filling meal on the table before my delivery app even would have dropped off takeout. The salty bacon makes it feel way fancier than it is.

5 minutes ago

That’s exactly what we love to hear! Quick, no-fuss meals that taste like you spent hours in the kitchen are what this recipe is all about.

2 hours ago

Made this for our office potluck today and the whole pan was gone in 10 minutes! Multiple people asked if I made it from scratch, they couldn’t believe how simple the ingredient list was. I topped mine with a little panko breadcrumb and extra bacon for crunch, chef’s kiss.

1 week ago

My 8 year old has turned up his nose at every mac and cheese I’ve made since he was 5, said they’re ‘too cheesy’ or ‘too mushy’? This one? He ate two bowls and asked if we could have it for his birthday dinner. The bacon bits were the selling point for him, said it ‘tastes like restaurant food’. Total dad win!

5 days ago

This gives me so much hope! My 7 year old is the exact same way, he only will eat that weird neon blue box mac. I’m making this tonight to test it out!

3 days ago

There’s no better win than a kid who cleans their plate! If he loves extra crunch, try tossing a few more bacon bits on top of his serving before you set it down, it always goes over big with the little ones.

2 days ago

Total cost for all ingredients was under $10 for me, and it fed 4 people with leftovers! I used store brand cheese, store brand pasta, and the cheap bacon bits from the salad dressing aisle, and it was still so rich and tasty. Perfect for anyone trying to cut down on grocery costs without sacrificing good food.

1 day ago

Great call on the salad dressing aisle bacon bits! I always overpay for the fancy packaged bacon in the meat section, I’m gonna grab the cheap ones next time to save a few bucks

just now

Made this for my partner for our casual at-home date night last night, paired it with a cheap bottle of red wine and some roasted broccoli, and they said it was the best meal I’ve ever cooked for them. Who knew fancy date night could be 25 minute mac and cheese? 10/10 will be making this again for movie nights too.



