
bacon cheeseburger tater tot bake

title 1
bacon cheeseburger tater tot bake
⏱️ cook time 45 minutes
🍽️ servings 6
⚡ Difficulty easy

intro

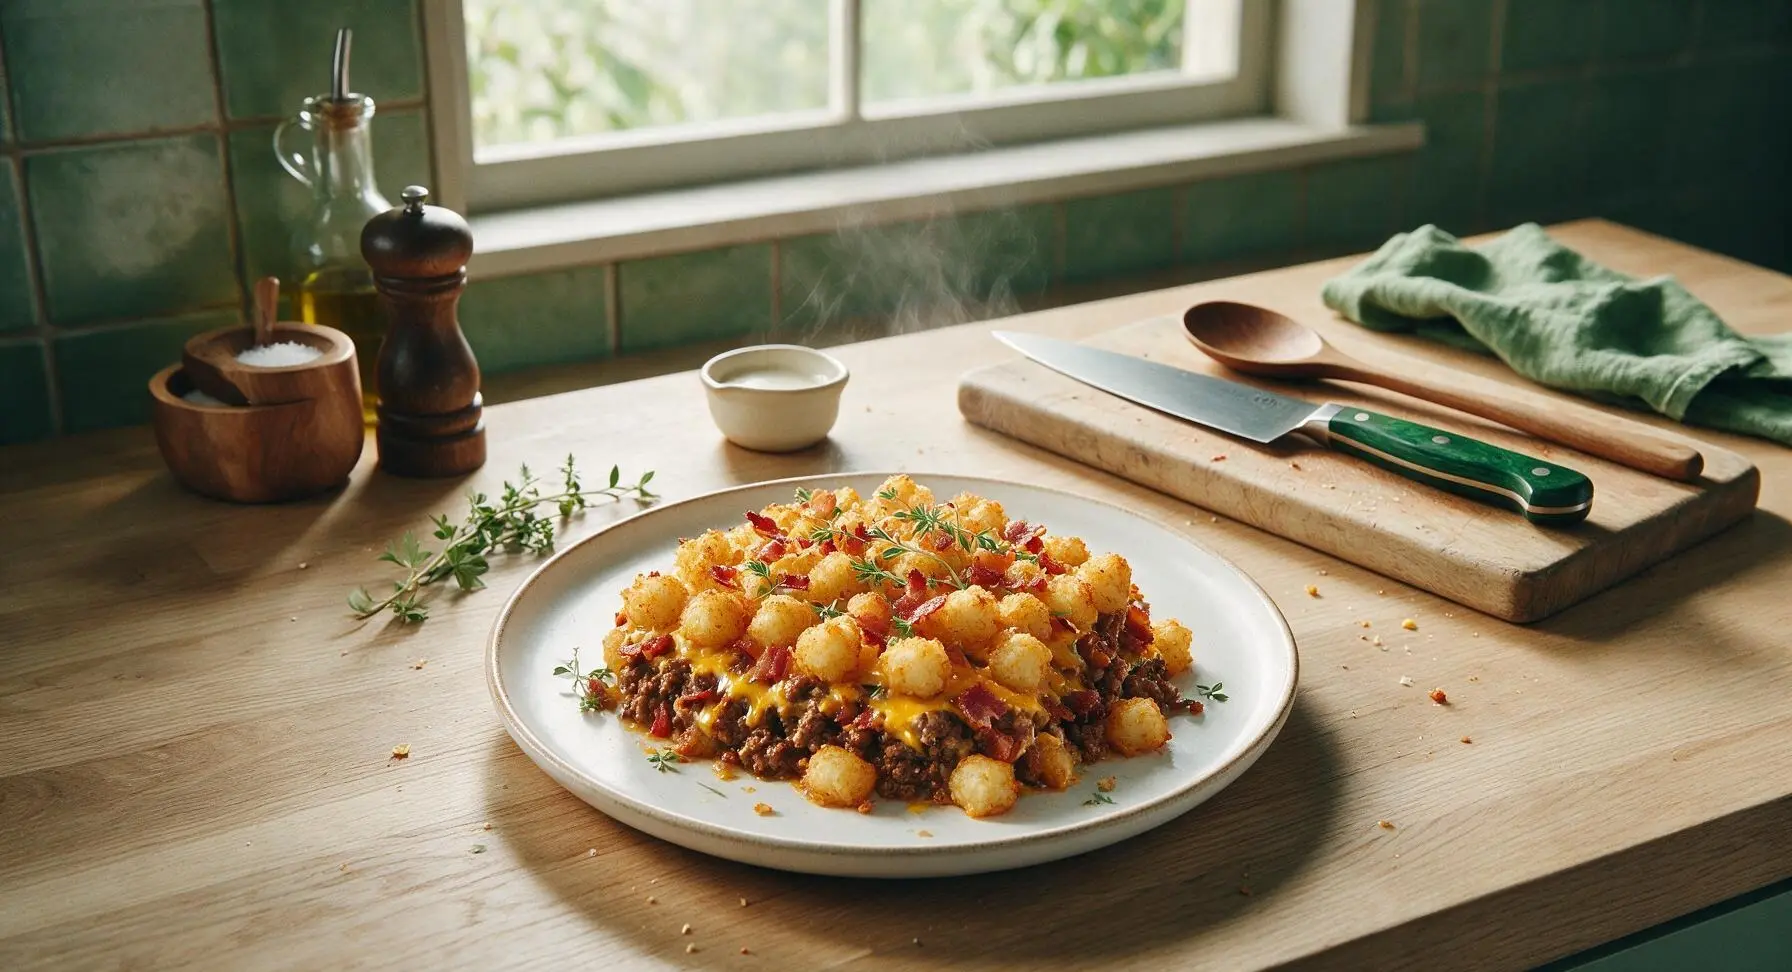
Crispy golden tater tots top layers of savory ground beef, smoky bacon, and melted cheddar, packed with classic cheeseburger flavor. This fuss-free, crowd-pleasing bake delivers cozy comfort with minimal prep.

Ingredients
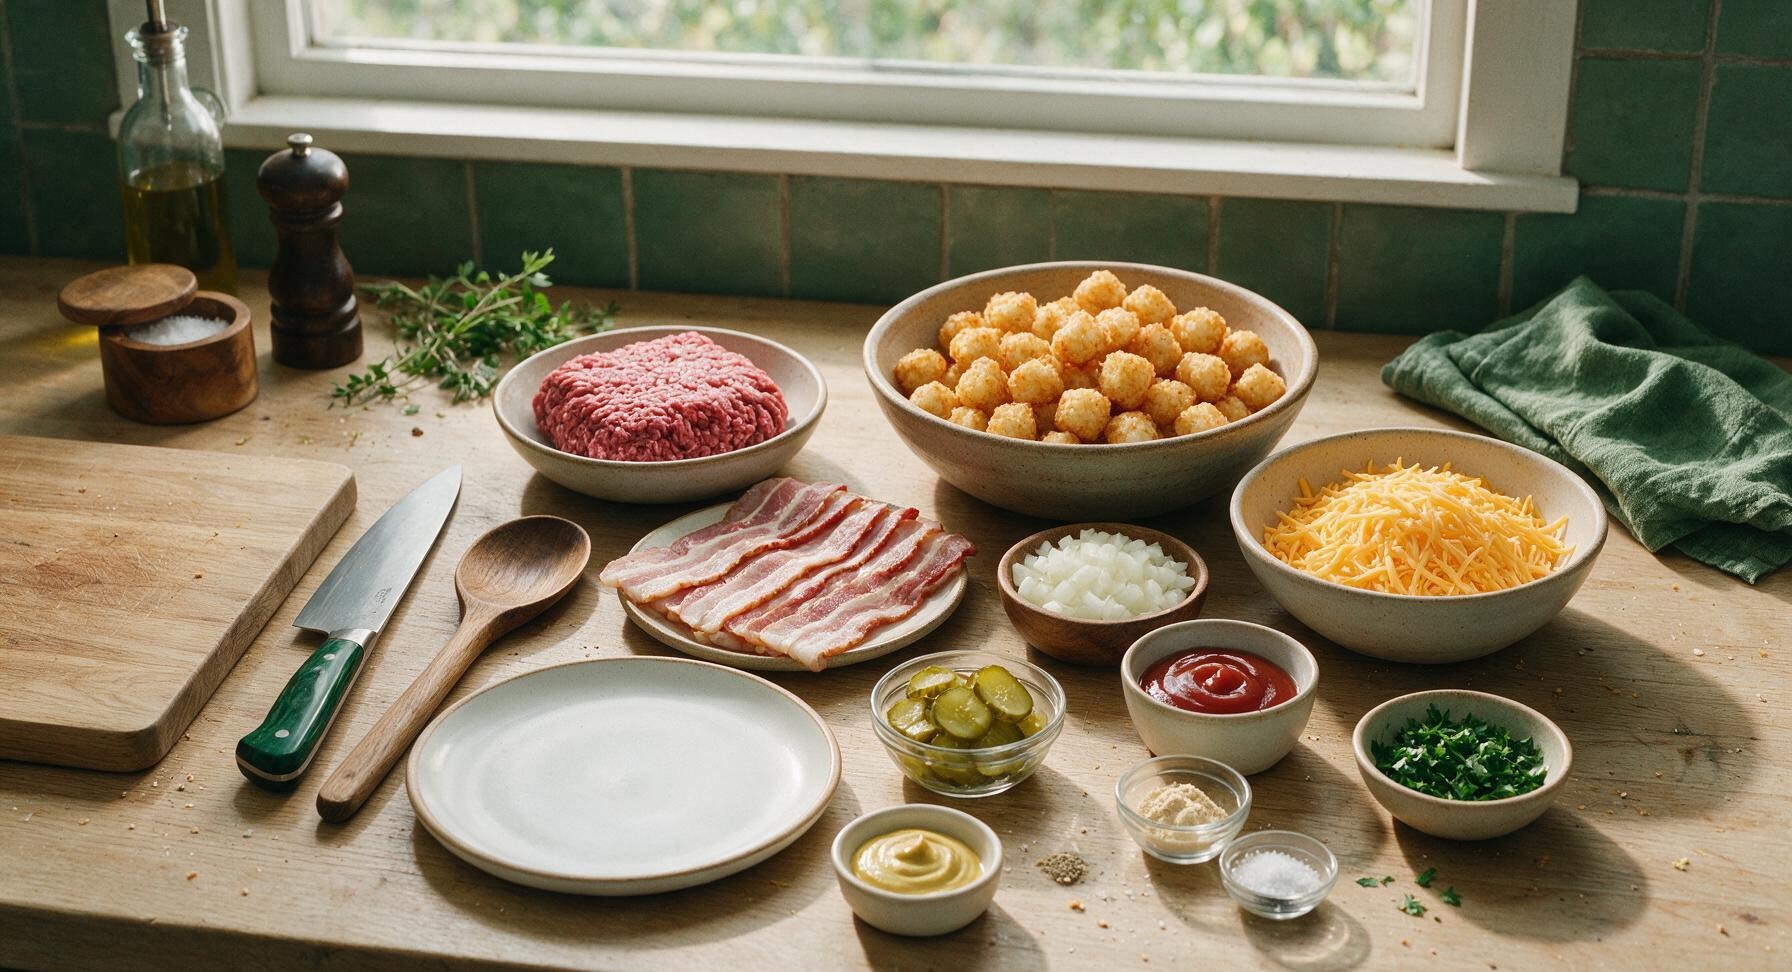
80/20 ground beef 1 lb (450g)
Thick-cut bacon 8 slices (225g)
Frozen tater tots 2 lbs (900g)
Shredded sharp cheddar cheese 2 cups (225g)
Yellow onion, diced 1/2 cup (75g)
Dill pickle slices 1/4 cup (40g)
Ketchup 1/4 cup (60ml)
Yellow mustard 2 tbsp (30ml)
Garlic powder 1 tsp
Kosher salt 1 tsp
Black pepper 1/2 tsp
Fresh parsley, chopped 2 tbsp

Steps

1

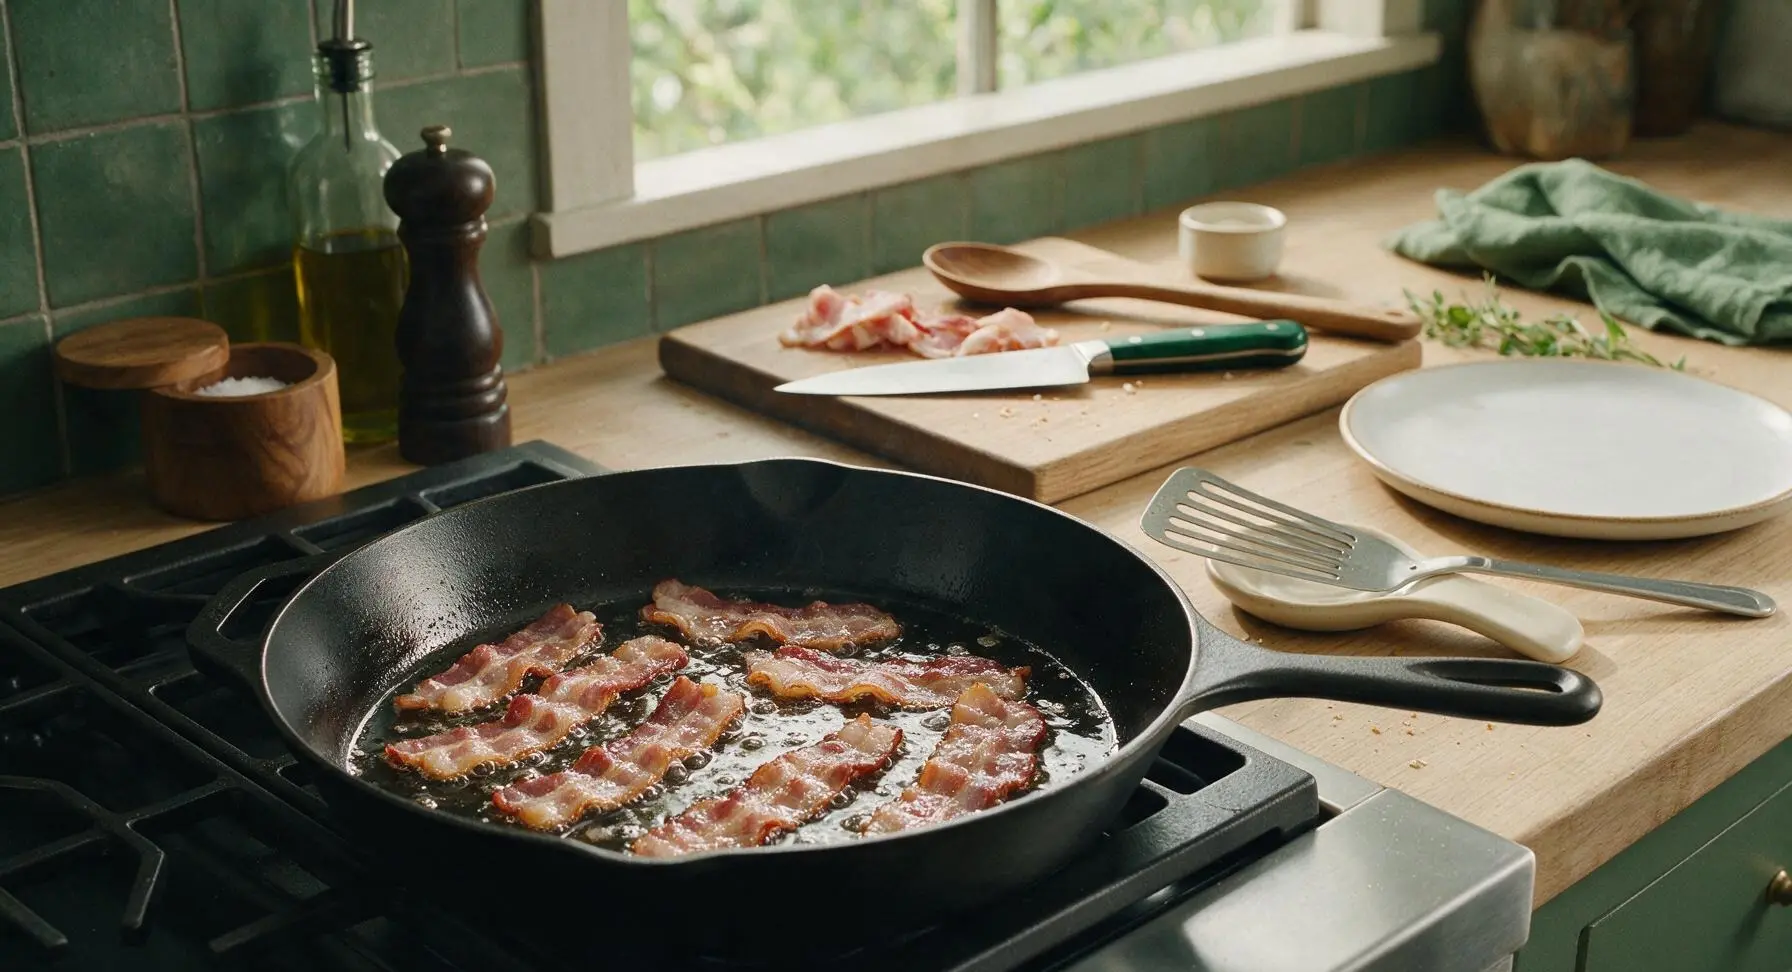
Cook Crispy Bacon

Place the 8 slices of thick-cut bacon in the 12-inch matte black carbon steel skillet set over medium heat. Cook for 8-10 minutes, flipping occasionally with the slotted stainless steel turner, until bacon is deep golden and crispy on all edges with rendered fat bubbling around the slices. Transfer cooked bacon to a paper-towel lined plate set next to the stove, leaving 1 tablespoon of bacon grease in the skillet to cook the beef.
Step 1
step1:Cook Crispy Bacon
2

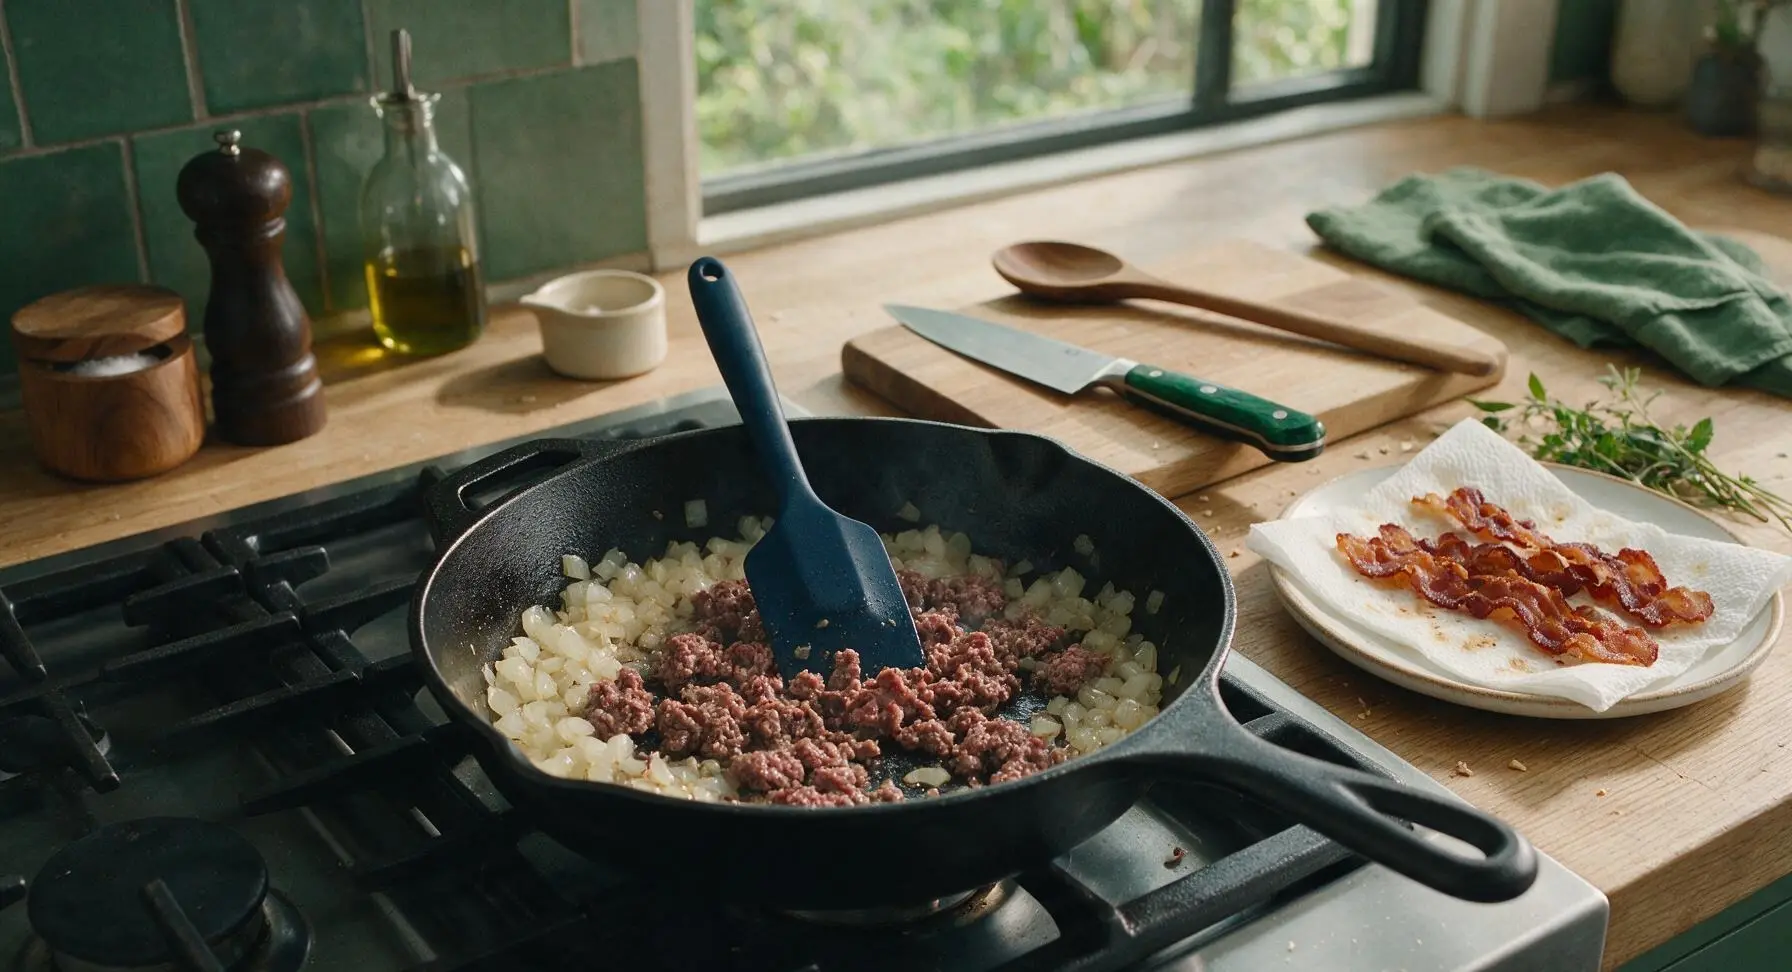
Brown Ground Beef

Add the diced yellow onion to the remaining bacon grease in the skillet, cooking over medium heat for 2 minutes until soft and translucent. Add the 1lb ground beef to the skillet, breaking it apart into small, bite-sized crumbles with the navy silicone spatula as it cooks. Season with garlic powder, kosher salt, and black pepper. Cook for 7-8 minutes until the beef is fully browned with no pink remaining, then carefully drain any excess rendered grease from the pan.
Step 2
step2:Brown Ground Beef
3

Mix Cheeseburger Base

Reduce stovetop heat to low. Stir the ketchup and yellow mustard into the cooked ground beef mixture until fully combined, creating a glossy, evenly sauce-coated beef layer. Crumble 6 of the cooked bacon slices into small pieces and fold them into the beef mixture, reserving 2 whole slices for final garnish. Turn off the stovetop heat.
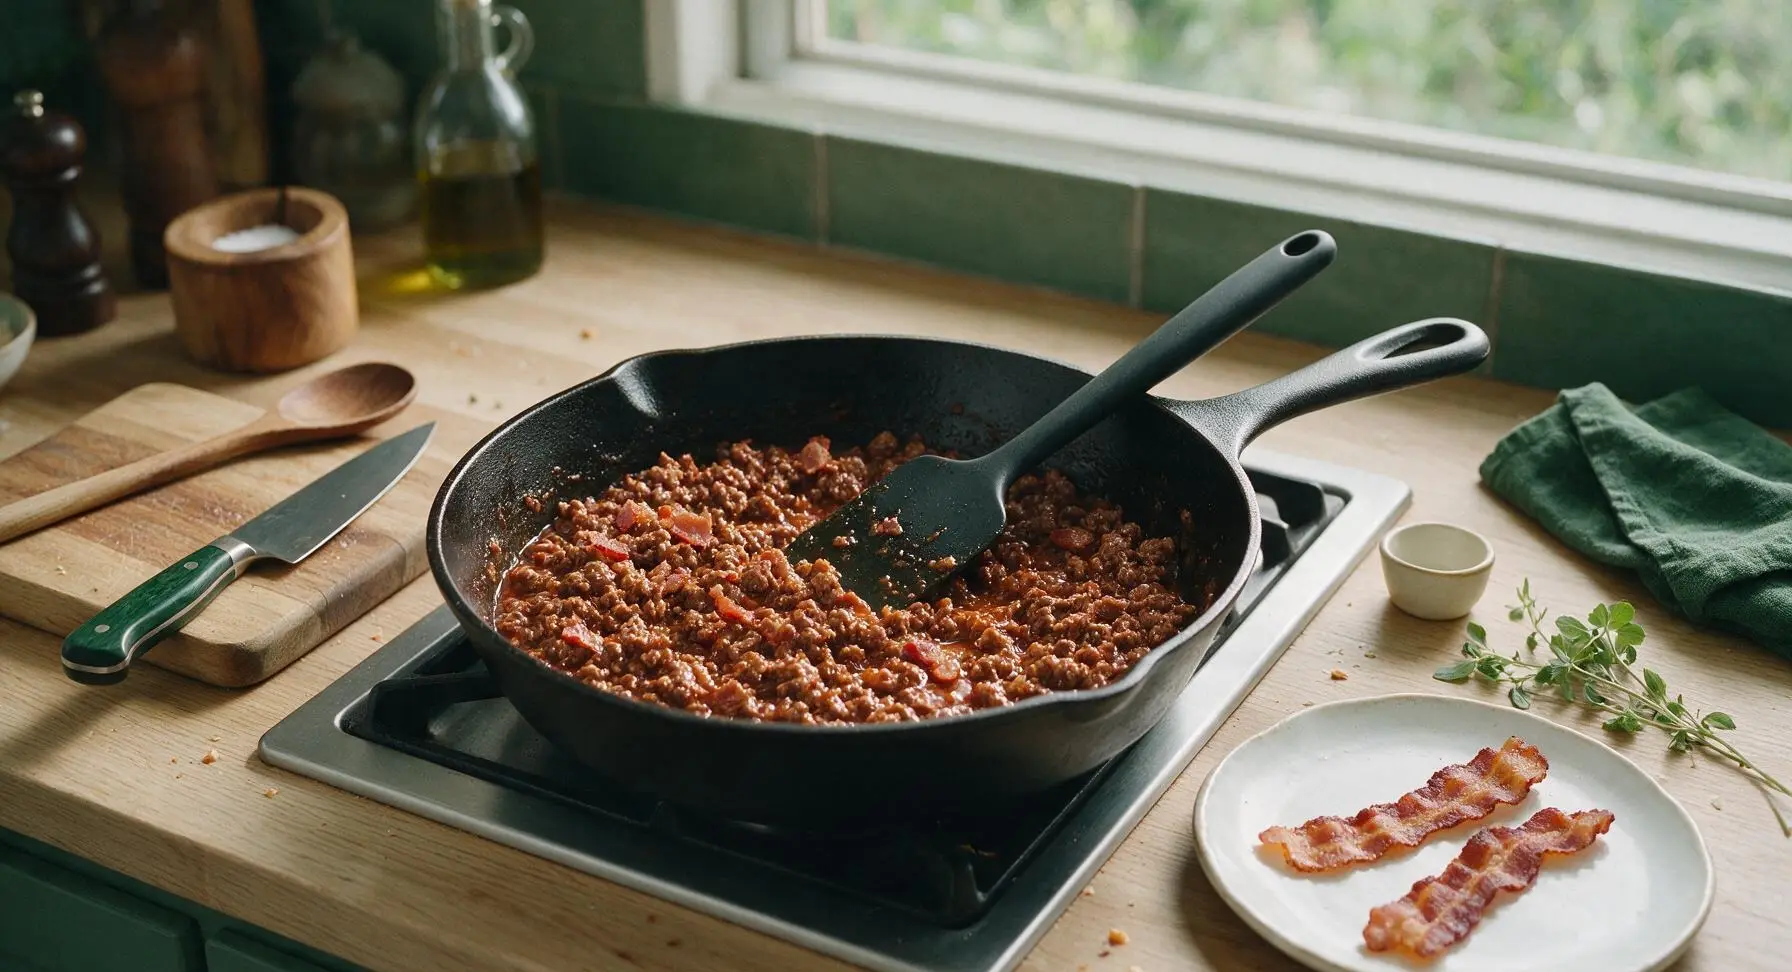
Step 3
step3:Mix Cheeseburger Base
4

Assemble Casserole Base

Transfer the entire sauced beef and bacon mixture into the 9x13 inch clear tempered glass baking dish, spreading it in a smooth, even, flat layer across the bottom of the dish with the silicone spatula. Sprinkle 1.5 cups of the shredded sharp cheddar cheese evenly over the top of the beef layer, leaving the remaining 1/2 cup of cheese for the tater tot topping.
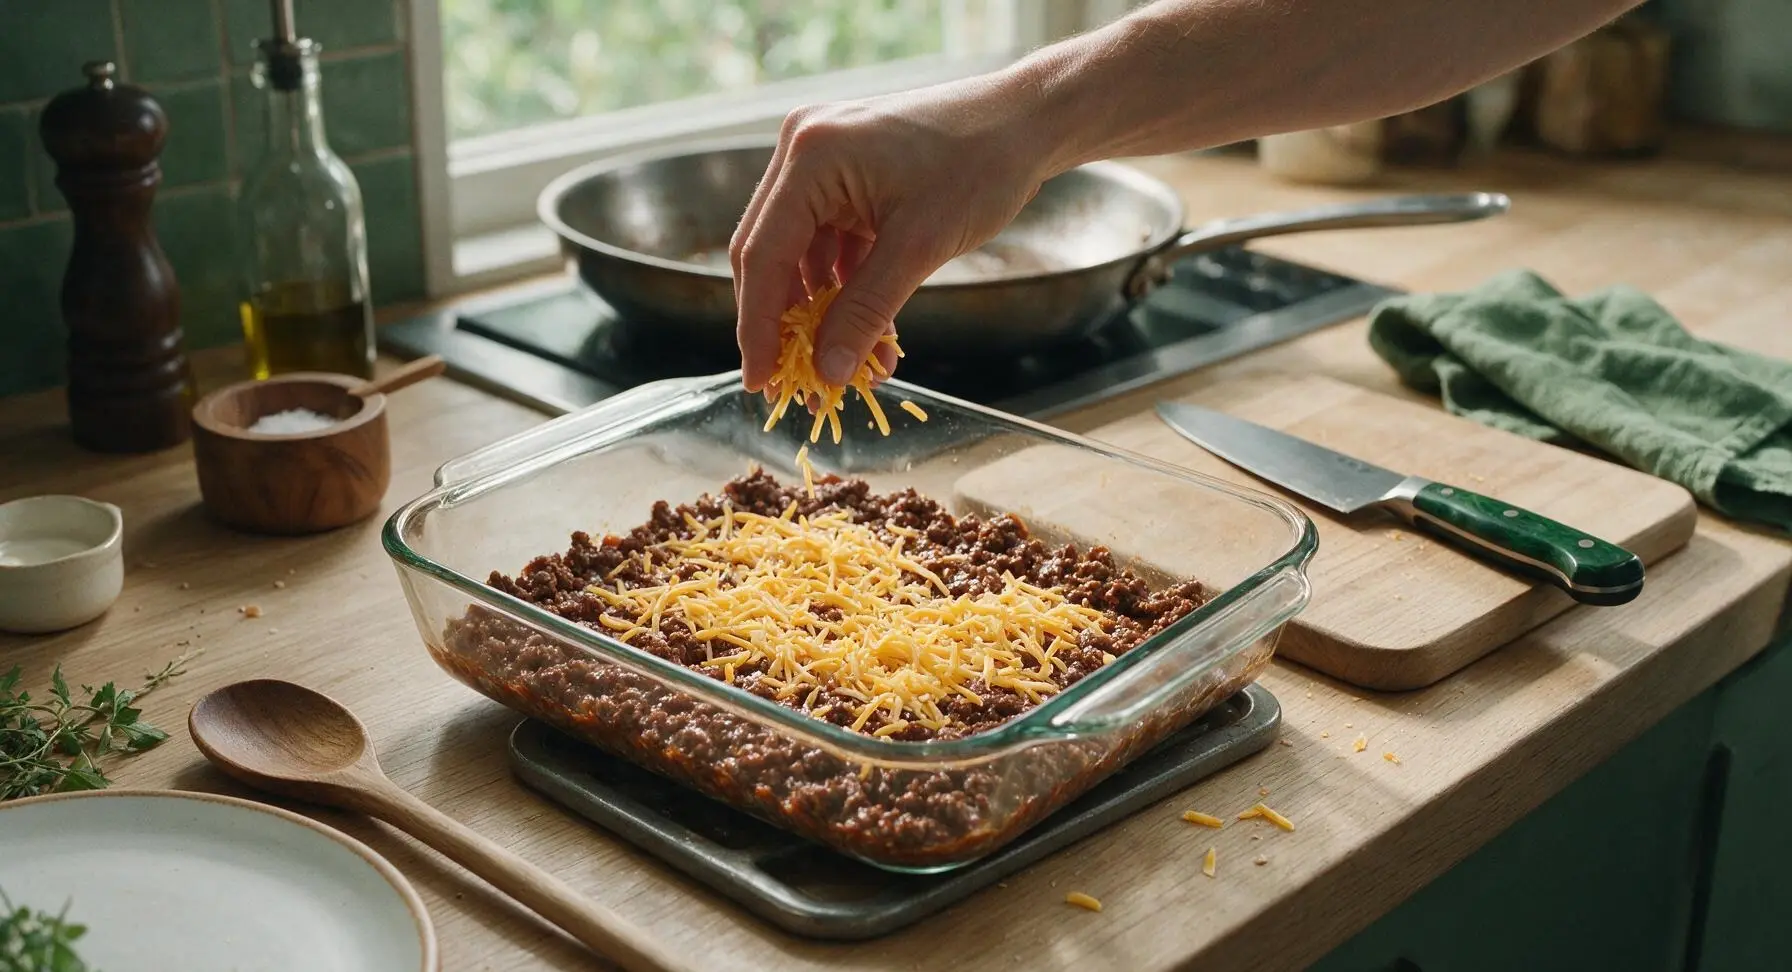
Step 4
step4:Assemble Casserole Base
5

Top with Tater Tots

Arrange the frozen tater tots in a single, tightly packed, even layer across the top of the cheese and beef base, placing each tot flat-side down to maximize crispiness during baking. Do not thaw the tots first, as frozen tots develop a crisp exterior without releasing excess sogginess-causing moisture. Sprinkle the remaining 1/2 cup of shredded cheddar evenly over the top of the arranged tater tots.
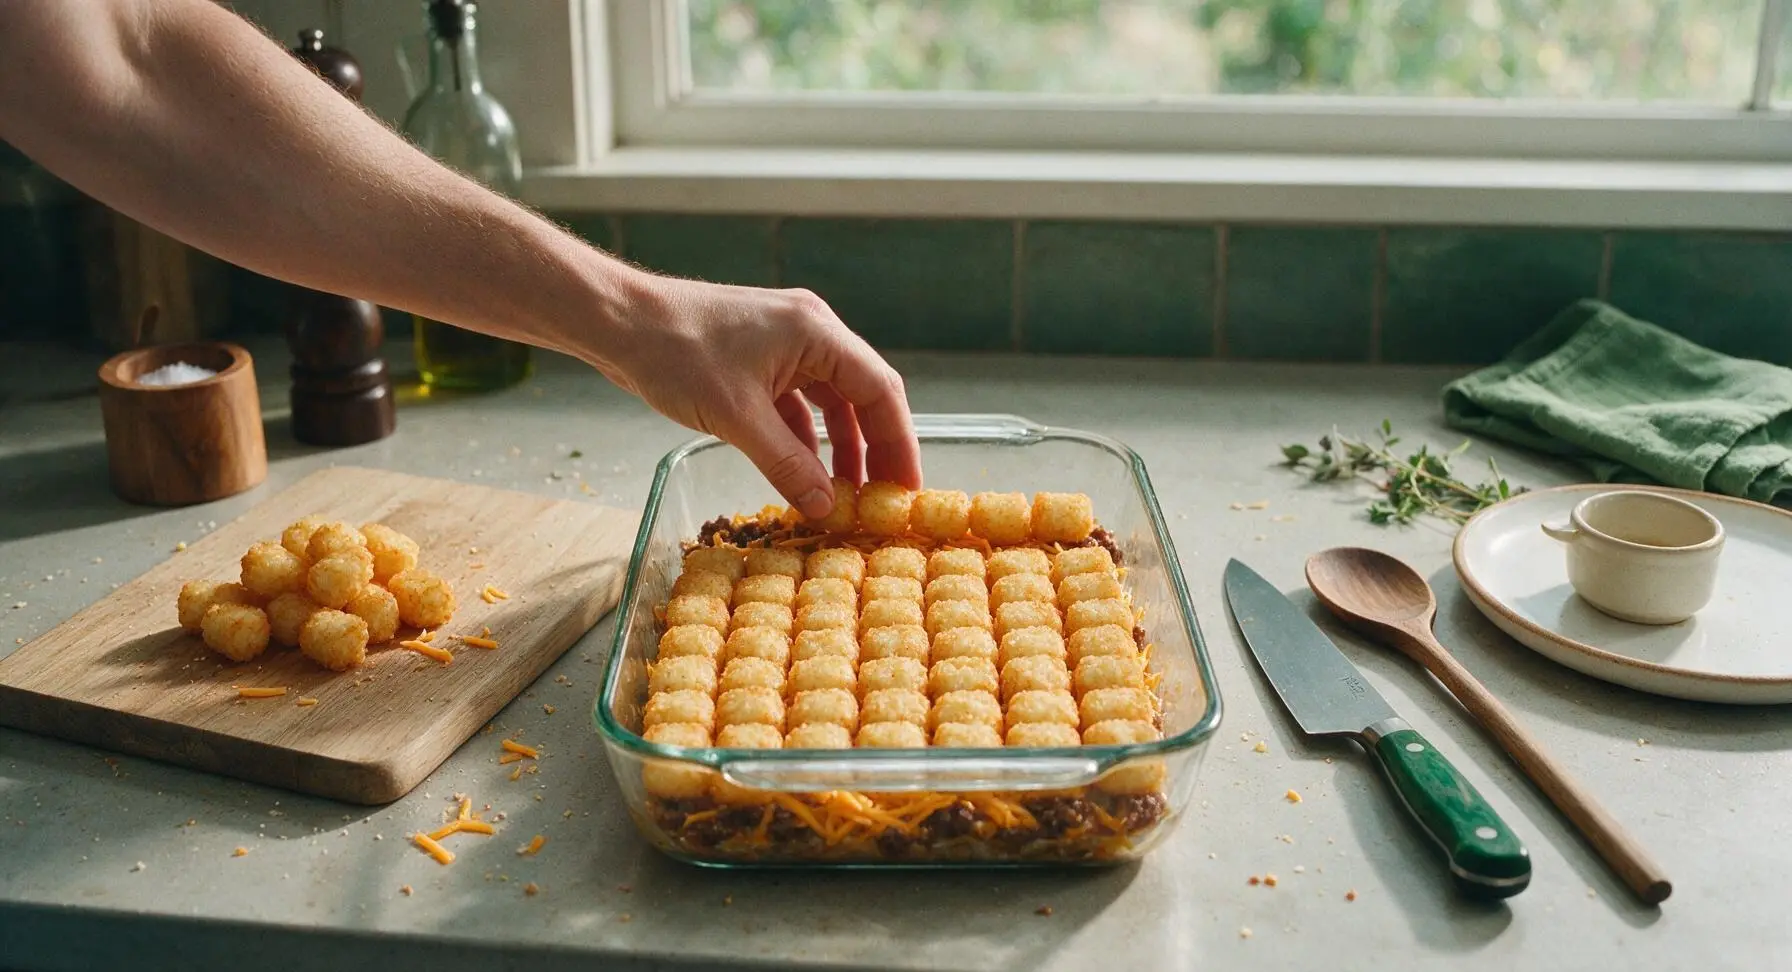
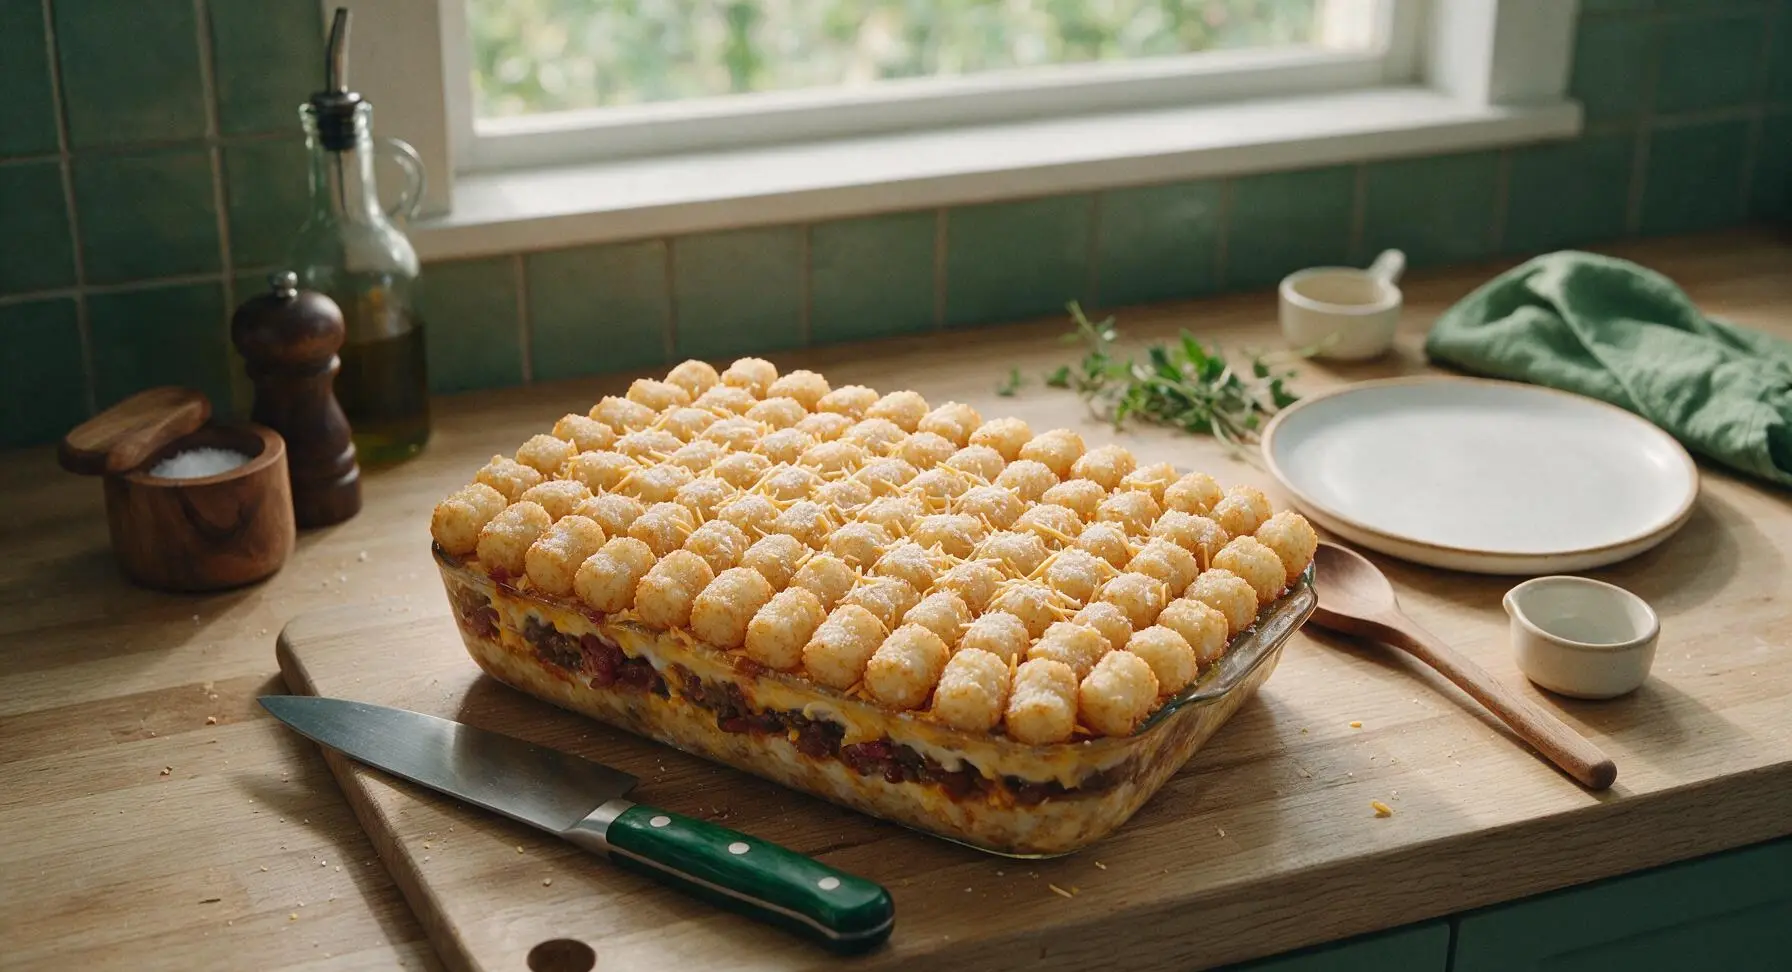
Step 5
step5:Top with Tater Tots
Step 5
step5:Top with Tater Tots
6

Bake the Casserole

Carefully place the assembled baking dish in a preheated 400°F (200°C) oven, uncovered. Bake for 28-32 minutes, until the tater tots are deep golden and crispy on their raised edges, the cheese is fully melted and bubbling around the sides of the dish, and the beef mixture is heated all the way through. Remove from the oven and set back on the gunmetal trivet to rest for 5 minutes.
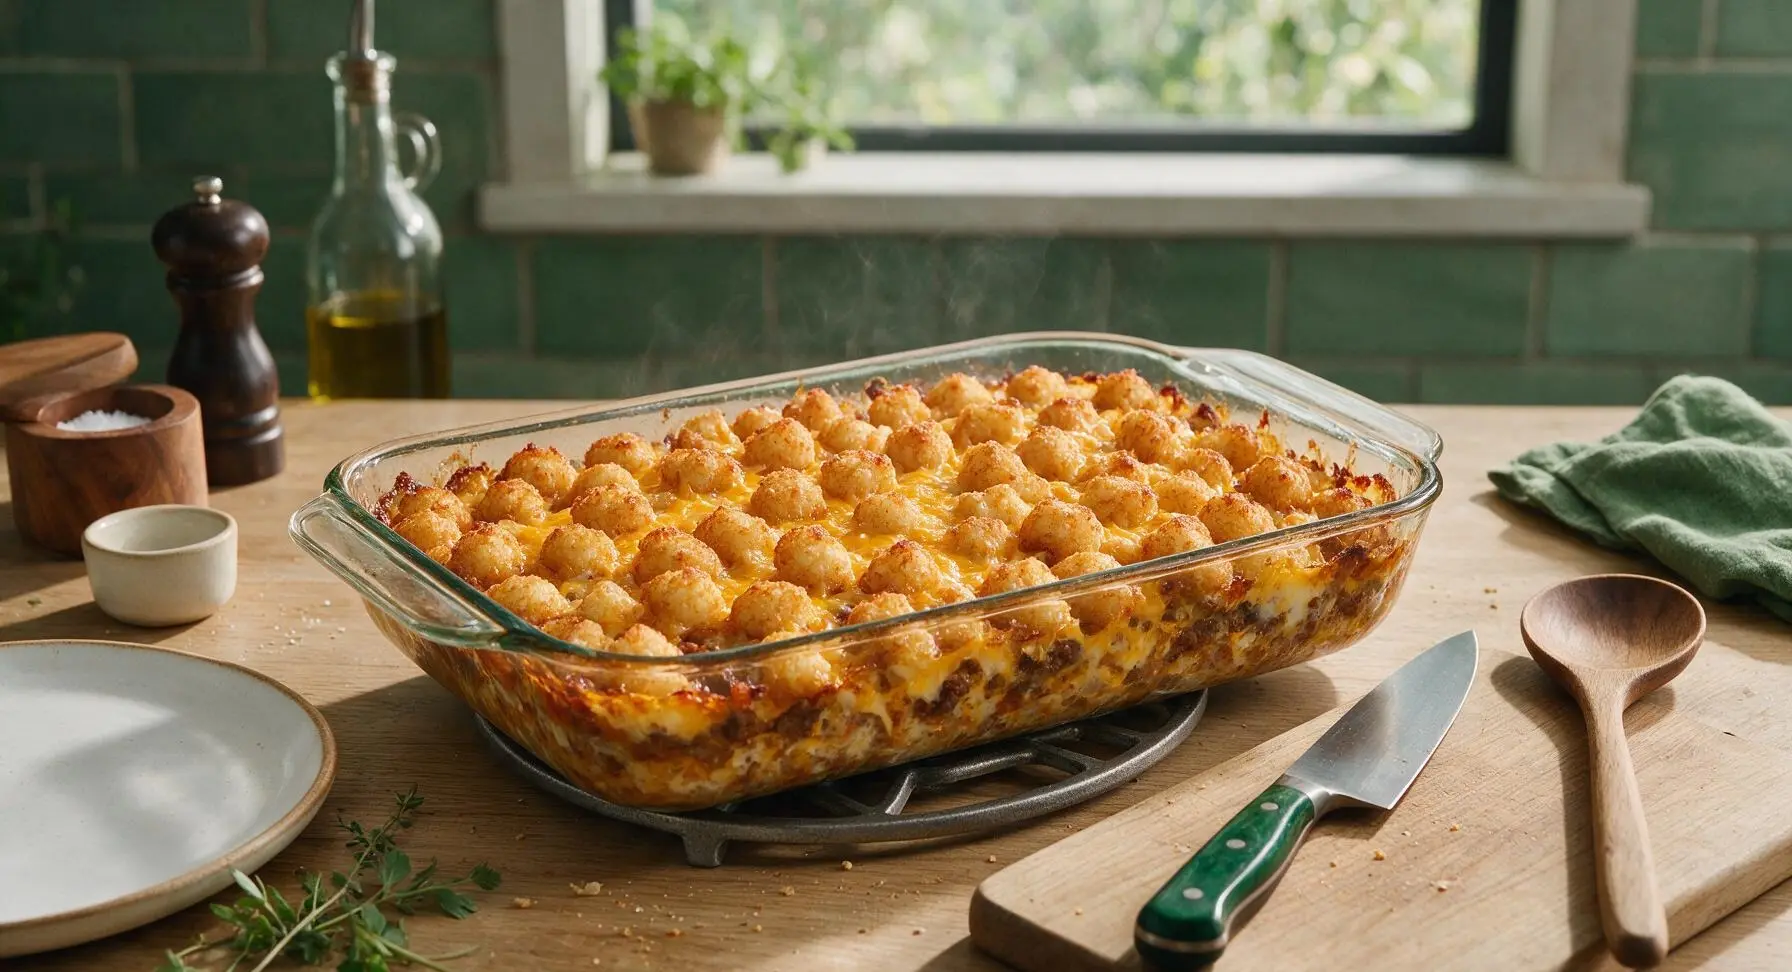
Step 6
step6:Bake the Casserole
7

Garnish and Serve

Crumble the 2 reserved cooked bacon slices and sprinkle them evenly over the top of the hot bake. Scatter the dill pickle slices across the surface, then sprinkle with the chopped fresh parsley. Use the slotted stainless steel turner to scoop into 6 equal square portions, serving hot with extra ketchup and mustard in the small black ramekins if desired.
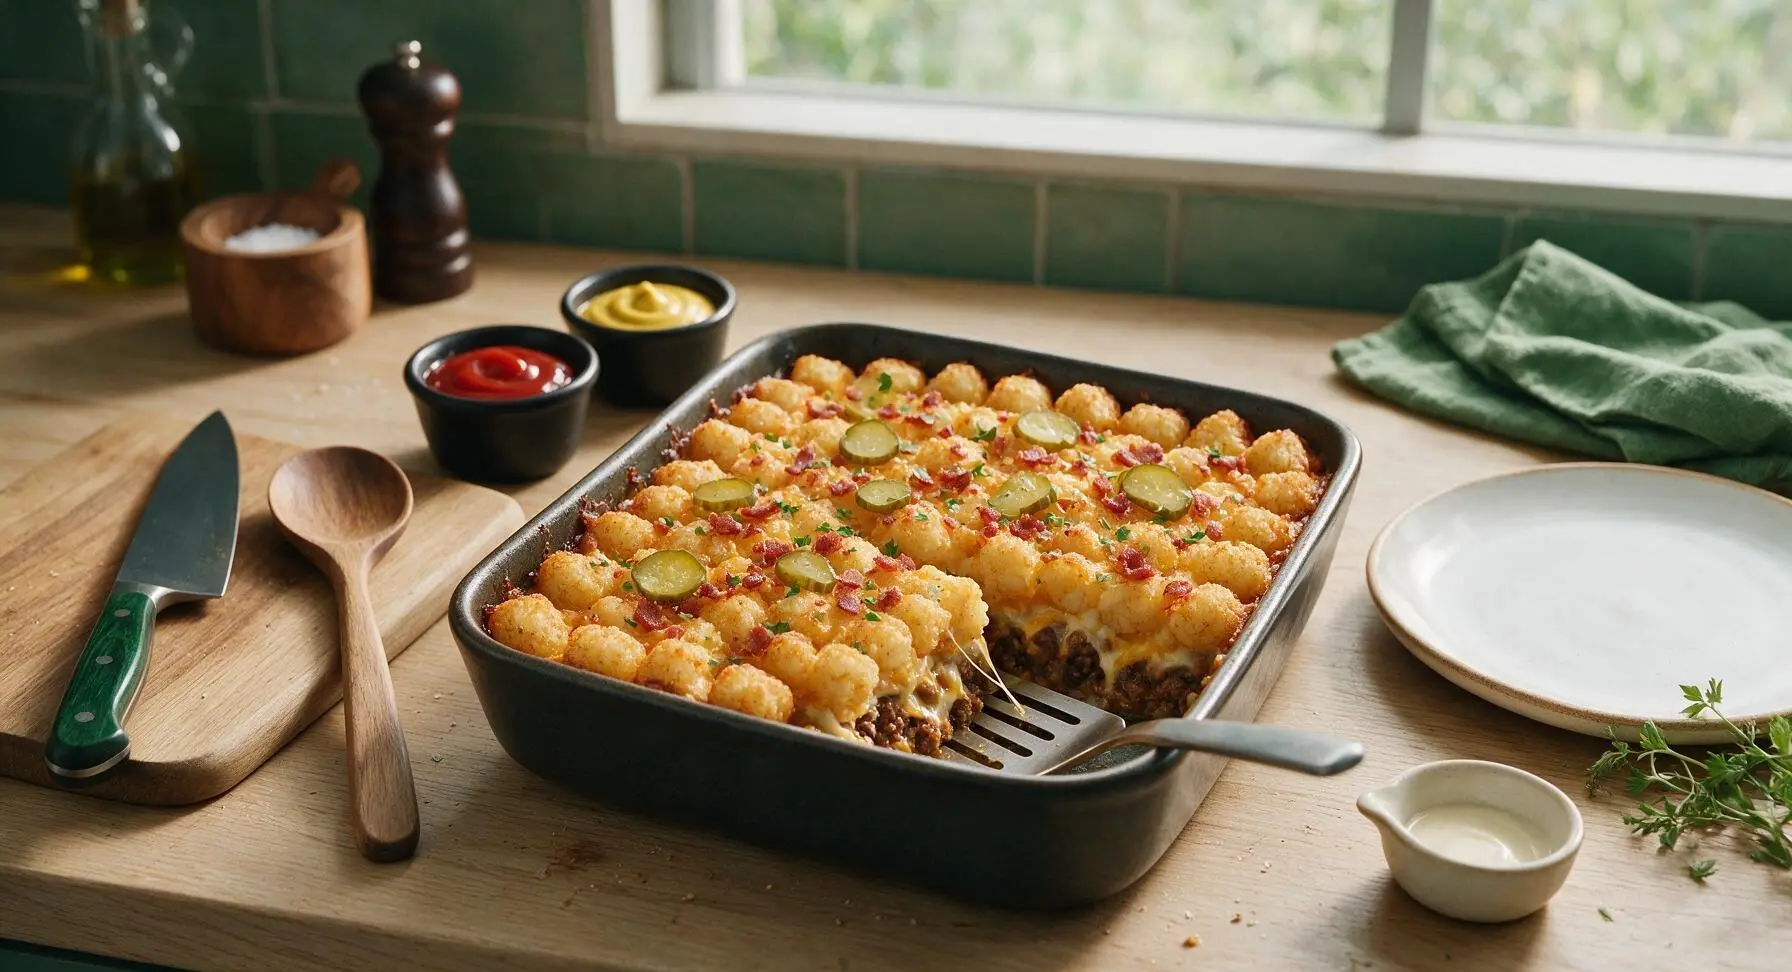
Step 7
step7:Garnish and Serve

Tips

1.Keep tater tots fully frozen until you are ready to arrange them on the casserole: thawed tots release excess starch and moisture as they bake, leading to a soggy, mushy topping instead of the desired crisp, golden potato crust.
2.Drain excess grease from the browned ground beef before adding sauce: too much leftover fat will make the casserole greasy and cause the cheese layer to slide off the beef when serving, rather than holding together in clean portions.
3.Don’t skip the 5-minute rest time after baking: this short wait allows the melted cheese and beef layers to set slightly, so portions lift out cleanly with the turner instead of falling apart when served.


✨ You May Also Like

Main Course
🍜 United Kingdom

A showstopping classic of tender seared beef, savory mushroom duxelles, and crisp prosciutto wrapped in flaky golden puff pastry, baked to juicy perfection.

⏱️ 2 hours 1Main Course ★ 4.7
Main Course
🍜 India

Tender charred marinated chicken simmered in a rich, spiced creamy tomato sauce, this iconic Anglo-Indian curry pairs perfectly with basmati rice or warm naan.

⏱️ 50 minuteMain Course ★ 4.6
Main Course
🍜 Thailand

Classic tangy, sweet, and savory Thai stir-fried rice noodles with shrimp, tofu, and crunchy garnishes, balancing all five core Thai flavor profiles.

⏱️ 30 minuteMain Course ★ 4.5
Main Course
🍜 United Kingdom

Crispy golden beer-battered cod and fluffy double-fried chips, served with tangy tartar sauce and malt vinegar: the timeless, beloved British pub comfort classic.

⏱️ 45 minuteMain Course ★ 4.7
Main Course
🍜 Mexico

Smoky, chile-marinated pork tacos with caramelized pineapple, fresh cilantro, and lime: a beloved classic Mexican street food perfect for casual summer gatherings.

⏱️ 1 hour 45Main Course ★ 4.8
Main Course
🍜 United States

Crunchy Fritos corn chips layered with savory beef chili and melted cheddar, topped with cool, zesty fixings for a beloved, cozy Tex-Mex comfort food.

⏱️ 35 minuteMain Course ★ 4.8

bacon cheeseburger tater tot bake:Frequently Asked Questions

1.Can I use lean ground beef instead of the recommended 80/20 blend for this bake? ▾
You can, but I don’t recommend going leaner than 90/10 to avoid dry, bland filling. The 20% fat in the recommended blend adds rich, classic burger flavor and keeps the beef moist as it bakes. If you do use a leaner grind, stir in 1 tablespoon of reserved bacon grease to boost moisture and savoriness before layering.
2.Do I need to thaw frozen tater tots before adding them to the bake? ▾
Nope—no thawing required, and thawing actually leads to soggy, mushy tots instead of that crispy golden top. Arrange them straight from the bag in a single, even layer over the filling, and make sure your oven is fully preheated before popping the dish in to help them crisp up fast as they cook.
3.Should I cook the bacon before adding it to the bake layers? ▾
Absolutely—raw bacon won’t fully crisp up in the time the bake takes to cook, and it will leave excess unrendered fat pooling in your filling. Cook thick-cut bacon until it’s just chewy (not fully crispy) first, chop it, and reserve a small amount of grease to cook your diced onion for extra smoky flavor.
4.Can I prep this bake the night before to cook the next day? ▾
You can, with one small caveat: wait to add the frozen tater tots until right before you put it in the oven. Cook and layer the beef, bacon, onion, and cheese in your baking dish, cover tightly, and refrigerate for up to 24 hours. Top with frozen tots when you’re ready to bake, and add 5-7 minutes to the cook time for cold filling.
5.Why do my tater tots turn out soggy instead of crispy on top? ▾
Soggy tots usually come from three common mistakes: thawing tots before baking, piling them in a thick double layer, or not preheating your oven fully. Stick to a single even layer of straight-from-the-freezer tots, and give them a light spritz of cooking spray before baking to encourage extra crispness if you’d like.
6.Can I use a different cheese instead of sharp cheddar? ▾
Of course! Sharp cheddar gives that classic cheeseburger tang, but you can swap in up to half the cheese for pepper jack for a little heat, American for ultra-gooey melt, or smoked gouda for extra smoky depth. Just avoid pre-shredded cheese with anti-caking coatings, as those don’t melt as smoothly as freshly shredded cheese.
7.What temperature should I bake this at, and how do I know it’s done? ▾
Bake at 400°F (200°C) for 35-40 minutes total. You’ll know it’s ready when the tater tots are deep golden and crispy on top, the cheese is fully melted and bubbly around the edges, and the beef filling hits 165°F on an instant-read thermometer to meet food safety standards.
8.Can I add classic burger toppings like pickles or mustard to the layers? ▾
Absolutely—those add-ins make it taste even more like a loaded cheeseburger! Stir drained dill pickle slices, a squirt of ketchup and yellow mustard, or diced cooked mushrooms into the beef layer before adding cheese and tots. Just make sure any wet add-ins are well-drained to keep the filling from getting watery.
9.How do I store leftovers, and how long will they keep? ▾
Let leftover bake cool completely, then cover the baking dish tightly with foil, or portion it into airtight containers. It will keep well in the refrigerator for 3-4 days. I don’t recommend freezing the fully assembled bake, as the tater tots will turn mushy and grainy once thawed and reheated.
10.What’s the best way to reheat leftovers so the tots stay crispy? ▾
Skip the microwave, which turns tots rubbery and soft. Reheat portions in a 375°F oven or toaster oven for 10-12 minutes, or in an air fryer at 350°F for 5-7 minutes, until the filling is heated through and the tots crisp back up. The microwave works in a pinch, but you’ll get softer tots.
11.Do I need to drain the grease from the cooked ground beef? ▾
Yes, drain off excess grease after browning the 80/20 beef so your filling doesn’t turn out greasy and heavy. You don’t need to blot every last drop—leave about a teaspoon of fat for flavor—but pour off any large pools of grease before layering, especially if you’re using extra bacon.
12.Can I scale this recipe up to feed a larger crowd for potlucks or game day? ▾
Absolutely—this bake is made for crowds. Double all the ingredients and use a 9x13 inch baking dish (or two 9x9 inch dishes) instead of a standard casserole dish. Keep the oven temperature at 400°F, and add 10-15 minutes to the bake time, checking for crispy tots and bubbly cheese to confirm doneness.
13.Is there a way to make this recipe gluten-free? ▾
It’s super easy to make this gluten-free with one simple check: make sure your frozen tater tots are certified gluten-free, as some brands use wheat-based coatings or seasonings. All the other core ingredients are naturally gluten-free; just double check any added condiments for hidden gluten if you use them.
14.Can I cook the diced onion raw in the bake instead of sautéing it first? ▾
I don’t recommend it—raw onion will stay crunchy and sharp-tasting in the time the bake takes to cook, and it will release extra water that can make your filling watery. Sauté diced onion in a little reserved bacon grease for 3-4 minutes until soft and translucent before adding it to the beef layer for the best flavor.
15.Can I make this in a slow cooker instead of the oven? ▾
You can, but you won’t get the same crispy tater tot top without an extra step. Layer the cooked beef, bacon, onion, and cheese in the slow cooker, top with frozen tots, and cook on low for 3-4 hours. Pop the finished bake under the broiler for 2-3 minutes before serving to crisp the tots, watching closely to avoid burning.
16.Should I cover the bake with foil while it’s in the oven? ▾
Cover it for the first 20 minutes of baking to help the filling heat through evenly without the tots burning on top, then remove the foil for the last 15-20 minutes to let the tots crisp up and turn golden. If you leave foil on the whole time, the tots will steam instead of crisp, leading to soggy results.
17.Can I use turkey bacon or ground turkey as a lighter swap? ▾
You can, but you’ll need to add a little extra fat to make up for the lower fat content. If using ground turkey, choose a 93/7 blend and add 1 tablespoon of olive oil when browning; if using turkey bacon, cook it in a little oil to crisp it, since it doesn’t render much fat on its own. The flavor will be milder but still tasty.
18.What sides pair well with this bake for a full weeknight meal? ▾
This rich, savory bake pairs perfectly with bright, fresh sides to cut through the heaviness. Try a simple crisp green salad with tangy vinaigrette, steamed broccoli, creamy coleslaw, or buttered corn on the cob. Set out small bowls of ketchup, mustard, and diced tomato for people to top servings like a classic burger.
19.Why is my bake watery at the bottom after cooking? ▾
Watery filling usually comes from skipping draining excess grease from the beef and bacon, adding undrained wet ingredients like pickles or fresh tomatoes, or using thawed tater tots that release excess moisture as they cook. Drain all cooked meats, pat wet add-ins dry, and use frozen, unthawed tots to avoid this issue.
20.Can I add condensed soup to make the filling extra creamy? ▾
You can stir in one 10.5-oz can of condensed cheddar soup (mixed with ¼ cup of milk) into the cooked beef if you want a richer, creamier filling—this is a popular fan twist on the classic recipe. Just skip adding extra salt if you use condensed soup, as it’s already high in sodium, and keep the same bake time and temperature.

Comments (19)

2 days ago

OMG this was such a game changer for our weeknight family dinner! I was scrambling for something quick after soccer practice and this came together in no time, total cook time was right at 45 minutes just like the recipe says. My kids devoured half the pan before I even got a second serving, 10/10 will be making this every other week for sure.

yesterday

Same! I made this for my teen son’s post-football practice meal last week and he asked for it again before he even finished his first plate. Crazy how such simple ingredients hit so hard.

yesterday

So glad it was a hit for your busy weeknight! It’s such a great go-to for those chaotic after-sports evenings when no one has the energy for a complicated meal.

1 week ago

Brought this to our neighborhood block party potluck last weekend and people were lining up for seconds! I added a little extra pickles on top before baking because my family loves that dill kick, and it was chef’s kiss. Only thing is I should’ve made two pans because it was gone in 10 minutes flat.

5 days ago

The extra pickle addition sounds incredible! I’m definitely going to test that topping next time I make it, such a fun twist on the classic cheeseburger flavor. So happy it was a potluck hit!

3 days ago

SO good, I made a big pan of this on Sunday for my weekly meal prep and it reheats perfectly in the microwave for lunch all week. No sad desk lunch here! I swapped the regular bacon for turkey bacon to cut a little fat and you couldn’t even tell the difference.

2 hours ago

Wait, is there a way to make this without the cream of mushroom soup? I have a texture thing with condensed soups and I’d love to make this for my partner’s birthday dinner next week, it looks so good!

30 minutes ago

I used a homemade cheese sauce instead last time! 2 tbsp butter, 2 tbsp flour, 1 cup milk, 1 cup shredded cheddar, a little garlic powder, works perfect as a substitute and tastes even better imo.

5 minutes ago

Great question! You can absolutely swap the condensed soup for a homemade roux-based cheese sauce like Hannah mentioned, or even use sour cream mixed with a little half and half if you want something richer. Either swap works beautifully!

yesterday

Y’all. I thought my regular tater tot casserole was good but adding the bacon cheeseburger flavors? Next level. I did add a drizzle of special sauce (ketchup + mayo + relish) on top after it came out of the oven and it tasted exactly like my favorite fast food burger, no cap.

2 hours ago

That special sauce drizzle is such a smart call! It adds that perfect tangy fast-food vibe that takes this bake from great to unforgettable. I’ll have to add that as a serving suggestion in the recipe notes!

2 weeks ago

Made this a couple weeks back when I had all three kids plus two of their friends over for a movie night and there were zero complaints. No weird fancy ingredients, super easy to throw together even when you’re juggling 100 things at once. 5 stars easy.

5 minutes ago

Quick question—can I make this gluten free? My youngest has celiac so I have to be careful with cross contamination, but this looks like something the whole family would love.

just now

Absolutely! Just use gluten-free crispy tater tots, gluten-free bacon, and make sure any condiments or shredded cheese you use are labeled gluten-free (to avoid hidden thickeners). It turns out exactly the same, I’ve tested it for my gluten-free niece!

1 week ago

Made this in my tiny dorm oven last week and it turned out perfect??? I was worried I’d mess it up because I barely know how to boil pasta but it was so easy, my roommates are still begging me to make it again. 10/10 no notes.

5 days ago

Wait no way I’ve been making frozen pizza every night, I need to try this! Do you think I can add jalapeños to it for a little heat?

3 days ago

Love that this works even in a dorm kitchen! Jalapeños would be an amazing add for a little spicy kick—just dice them up and mix them in with the beef layer before adding the tots on top.

3 days ago

I added a layer of caramelized onions between the beef and the cheese and oh my word, it was so decadent. My husband said it’s the best thing I’ve made all year, which is saying something because I make a lot of good food, y’all. Will be in our regular rotation for sure.

5 days ago

How well does this freeze? I love making freezer meals ahead of time for when we have a new baby coming next month, and this seems like the perfect hearty meal to pull out on tired days.

3 days ago

It freezes beautifully! Assemble the whole pan (don’t bake it first) and cover tightly with two layers of foil, it’ll keep for up to 3 months in the freezer. When you’re ready to eat, just bake it covered for 30 minutes at 400F then uncover for the last 15 minutes to crisp up the tots—no thawing needed!

2 days ago

Tried this earlier this week and honestly? Better than a lot of the burgers I’ve paid $15 for at local restaurants. The crispy tots on top instead of a bun? Genius. I used a mix of cheddar and pepper jack for the cheese layer and it had the perfect little kick.

yesterday

The pepper jack swap is genius! I’m always looking for ways to add a little heat to my casseroles, I’m definitely doing that when I make this this weekend.

2 weeks ago

This is our new go-to Sunday supper when the grandkids come over. They love helping sprinkle the cheese and arrange the tater tots on top, it’s such a fun easy recipe to get kids involved in cooking too. No fancy steps, just good comfort food.

yesterday

Help! I think I messed up? My tater tots were soggy on the bottom instead of crispy, does anyone know what I did wrong? I followed the directions exactly I think :(

2 hours ago

Don’t worry, that happened to me the first time too! I was putting the tots on too early and covering the pan the whole time. Make sure you arrange the tots in a single layer on top, don’t overlap them, and leave the foil off for the last 20 minutes of bake time so they crisp up. Also don’t thaw the tots first! Use them straight from the freezer.

30 minutes ago

Great tips from CasseroleQueen45! The #1 culprit for soggy tots is thawing them before baking, or piling them too thick on top. Keep them frozen, arrange in a loose single layer, and bake uncovered for the final half and they’ll get perfectly crispy every time.

1 week ago

Made this for our football tailgate last weekend and it was a total touchdown. I kept it warm in the crockpot after baking and people were going back for thirds. Way easier than grilling burgers for 20 people, that’s for sure.

5 days ago

Dude I need this for our next tailgate! Did you pre-bake it at home then keep it warm in the crockpot, or assemble it there? I’m trying to cut down on prep time at the lot.

3 days ago

This is so budget friendly! I already had most of the ingredients in my fridge and pantry, total cost for the whole pan was like $12 which feeds 6 people. Way cheaper than takeout for our family of four, and way tastier too. Will be making this at least twice a month.

2 days ago

I swapped the ground beef for plant-based crumbles for my vegetarian sister when she came to visit, and even the meat eaters in my family loved it! It’s so versatile, you can tweak it to fit almost any diet.

yesterday

That’s such a fantastic swap! I’ve tried it with plant-based crumbles too and the seasoning from the beef layer mixes right in so you barely notice the difference. So happy it worked for your family gathering!

yesterday

Okay but how much bacon is too much bacon? I doubled the bacon amount when I made this and I regret nothing. It was smoky, cheesy, crispy, everything you want in a comfort food bake. 10/10, no ragrets.

2 hours ago

There is no such thing as too much bacon, you are speaking my language. I added candied bacon bits on top last time I made it and it was life changing.

30 minutes ago

We fully support doubling (or even tripling) the bacon around here! The candied bacon topping idea sounds absolutely insane in the best way, I need to try that immediately.

5 days ago

I was worried 45 minutes was too long for a weeknight meal but most of that is bake time where you don’t have to do anything! I threw it together in 10 minutes after work, popped it in the oven, and had time to help my kid with homework while it cooked. Total lifesaver.

3 days ago

That’s exactly why we love this recipe! The hands-on time is super minimal, so you can tackle other things while it bakes instead of being stuck at the stove the whole time. So glad it made your weeknight a little easier!

just now

Just pulled this out of the oven and it smells insane! Can already tell this is going to be a new cold weather staple in our house, the bacon and cheese smell is wafting through the whole apartment. SO excited to dig in.



