1.Why should I use freshly shredded sharp cheddar instead of pre-shredded cheese for this recipe?
▾
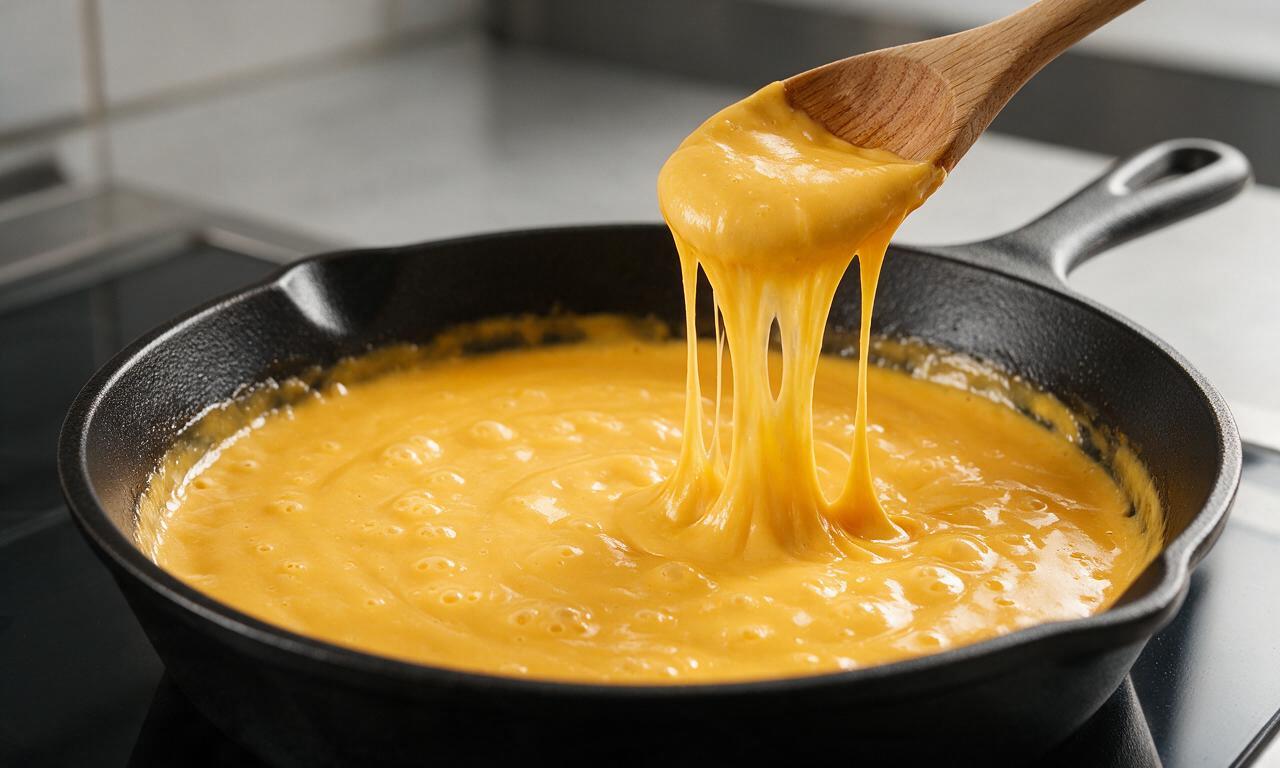
Pre-shredded cheddar is coated in potato starch and anti-caking agents that melt unevenly, leading to a grainy, dull-tasting sauce. Freshly shredded sharp cheddar melts smoothly into a velvety, tangy coating that clings to every pasta bite, with none of the weird, gritty texture pre-shredded cheese often leaves in creamy baked dishes.
2.Can I use thin-cut bacon instead of thick-cut bacon here?
▾
You can, but thick-cut bacon is ideal because it holds its satisfying smoky, crisp bite even after being mixed into creamy sauce and baked. Thin-cut bacon tends to turn soft, greasy, and overly crumbly during baking, losing that key textural contrast. If you use thin-cut, cook it extra crispy first to help it hold up better.
3.How done should my elbow macaroni be before I bake it?
▾
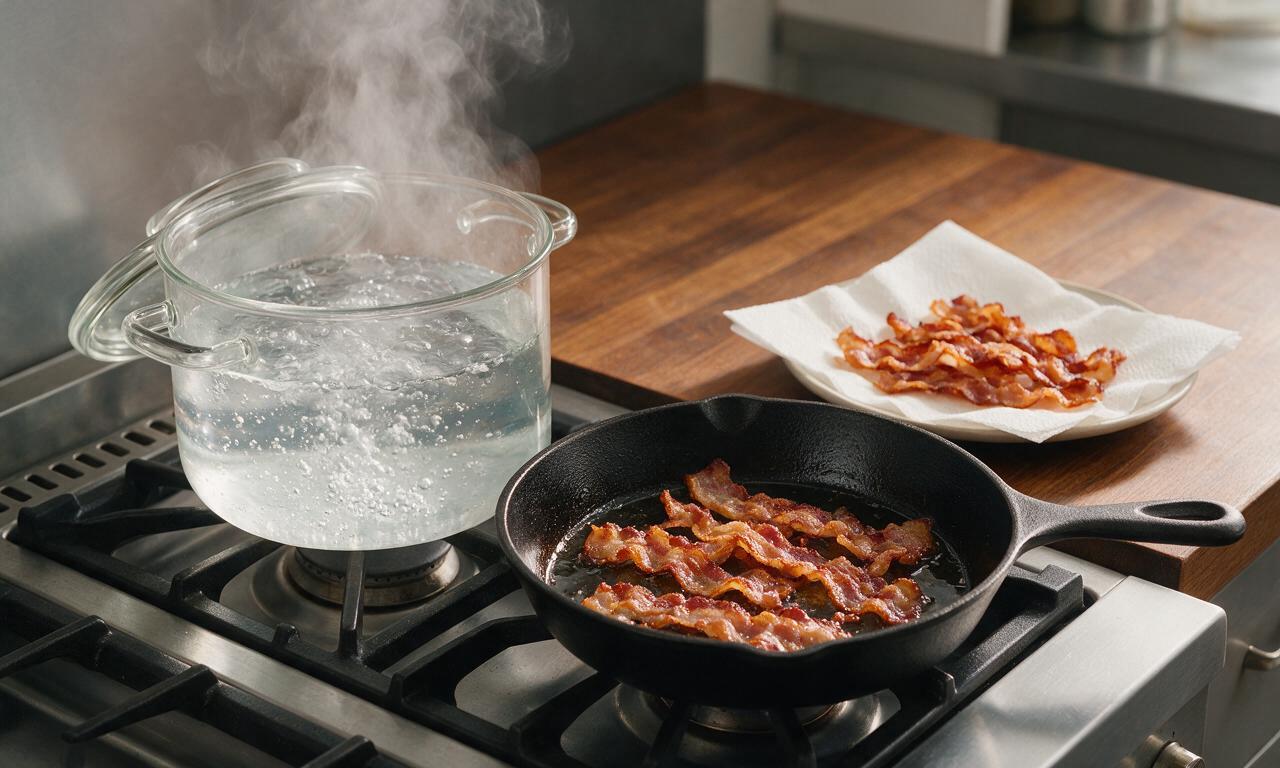
Cook dry elbow macaroni 2 minutes less than the package’s al dente recommendation, so it’s firm with a tiny, tough bite in the center. It will keep cooking as it bakes in the hot cheese sauce, so boiling it fully tender first will lead to mushy, overcooked pasta by the time the top is golden and bubbly. Always salt your pasta water heavily for depth of flavor.
4.Why does my cheese sauce sometimes turn out grainy instead of smooth?
▾
Grainy sauce almost always stems from overheating your cheese or adding it too quickly to a too-hot base. Once you’ve cooked your butter and flour roux and warmed your milk, take the pan off heat for a minute, then stir in shredded cheddar a handful at a time, stirring constantly. Never boil the sauce once cheese is added, as high heat curdles cheese proteins and creates grit.
5.Do I have to bake this mac and cheese, or can I serve it straight from the stovetop?
▾
You can absolutely serve it stovetop if you’re short on time, but baking creates that iconic bubbly, slightly crisp golden top edge and melds the smoky bacon flavor evenly through the dish. If you skip baking, crisp your bacon extra well, toss it with the warm cheese sauce and pasta, and serve immediately for a faster, still rich weeknight meal.
6.What ratio of butter to flour should I use for the roux to get a perfectly creamy sauce?
▾
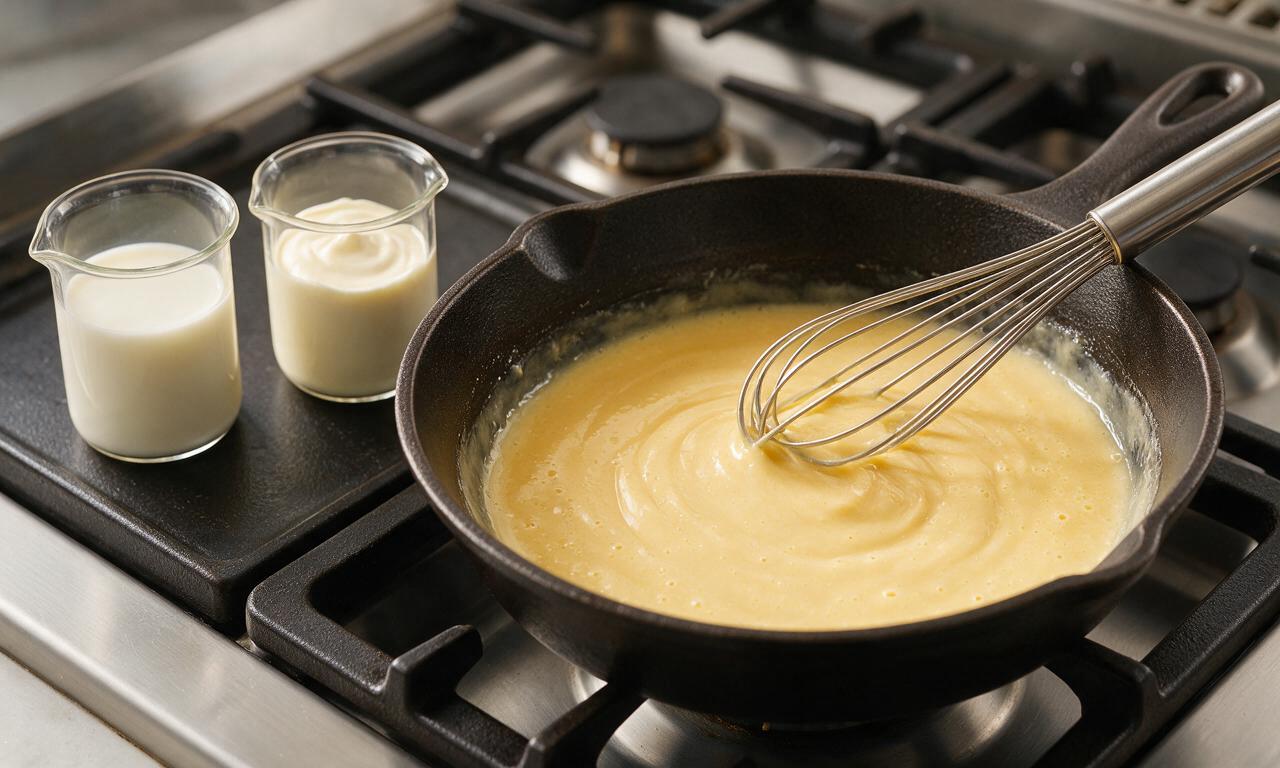
Use equal parts unsalted butter and all-purpose flour by volume (4 tablespoons butter to ¼ cup flour for a standard 8-serving batch) to make a blonde roux. Cook the roux for 2 to 3 minutes over medium heat to cook out the raw flour taste, then slowly whisk in warm milk to avoid lumps. This ratio creates a thick but not gummy base that holds melted cheese beautifully.
7.How do I keep the top of my mac and cheese from burning before the center is bubbly?
▾
If your oven runs hot, cover the baking dish tightly with aluminum foil for the first 20 minutes of baking, then remove the foil for the last 10 to 15 minutes to let the top turn golden. Sprinkle any extra cheese or reserved crispy bacon bits on top right when you remove the foil, so they melt without scorching under prolonged direct heat.
8.Can I mix in other ingredients besides bacon for extra flavor?
▾
This base recipe is super customizable! Try stirring in caramelized onions, patted-dry roasted broccoli, diced pickled jalapeños for a little heat, or a pinch of smoked paprika to amp up the bacon’s smoky note. Just pat any wet mix-ins dry first, so they don’t thin out your velvety cheese sauce or make the final dish watery.
9.How long should I let the mac and cheese rest after taking it out of the oven?
▾
Let it rest for 5 to 10 minutes before scooping, even though it’s tempting to dig in right away! This short rest lets the hot cheese sauce set slightly so it doesn’t run all over your plate, and gives the flavors time to meld. If you serve it immediately out of the oven, the thin sauce will slide right off the pasta instead of clinging to each bite.
10.Can I make this mac and cheese ahead of time for meal prep or a potluck?
▾
It’s a fantastic make-ahead dish! Assemble the sauced pasta and bacon in your baking dish, let it cool completely, cover tightly, and refrigerate for up to 3 days before baking. Add 5 to 10 minutes to the stated baking time since it will go into the oven cold, and wait to add the top bacon garnish until right before baking to keep it crisp.
11.What’s the best way to reheat leftovers so the mac and cheese stays creamy?
▾
Reheat portions in a 325°F oven, covered with foil, for 15 to 20 minutes, stirring in 1 to 2 tablespoons of whole milk per serving to loosen the sauce as it warms. If you’re short on time, microwave portions in 30-second bursts, stirring between each, and add a splash of milk to bring back that velvety texture, since pasta absorbs sauce as it chills.
12.Do I need to add eggs to this baked mac and cheese like some recipes call for?
▾
Eggs create a denser, custard-style, sliceable mac and cheese, which is totally a matter of preference! This recipe is designed to be silky and creamy rather than firm, so eggs are not required. If you prefer that firmer texture, whisk one beaten egg into a small amount of warm sauce before mixing it in to avoid curdling.
13.Should I save the bacon grease after cooking bacon, and can I use it in this recipe?
▾
Absolutely save that smoky, flavorful bacon grease! You can replace 1 to 2 tablespoons of the unsalted butter in your roux with strained bacon grease to add an extra deep, smoky note that infuses the whole sauce. Don’t replace all the butter, though—straight bacon grease makes the sauce overly heavy, and cut back on added salt since bacon grease is naturally salty.
14.What kind of baking dish works best for this recipe?
▾
A 9x13 inch glass or ceramic baking dish is ideal, because it distributes heat evenly so the pasta cooks through without burning the edges, and offers plenty of surface area for that perfect crispy golden top. Skip thin metal baking pans if you can, as they heat too fast and often over-crisp the bottom pasta layer before the center is bubbly.
15.How do I prevent lumps from forming in my cheese sauce?
▾
The key to lump-free sauce is to whisk constantly as you slowly add warm (not ice-cold!) milk to your cooked butter and flour roux. Add milk a few tablespoons at a time at first, stirring until completely smooth before adding more, and make sure your roux has no dry flour clumps before adding liquid. If lumps do form, pour the sauce through a fine mesh sieve before adding cheese.
16.Can I add a crispy breadcrumb topping without making the mac and cheese soggy?
▾
Of course! Mix ½ cup panko breadcrumbs with 1 tablespoon melted unsalted butter and a pinch of salt, then sprinkle the mixture over the top during the last 10 minutes of baking. Adding the crumbs late prevents them from absorbing too much sauce and turning soggy, so they toast up to a perfect golden crunch that contrasts beautifully with the creamy pasta and bacon.

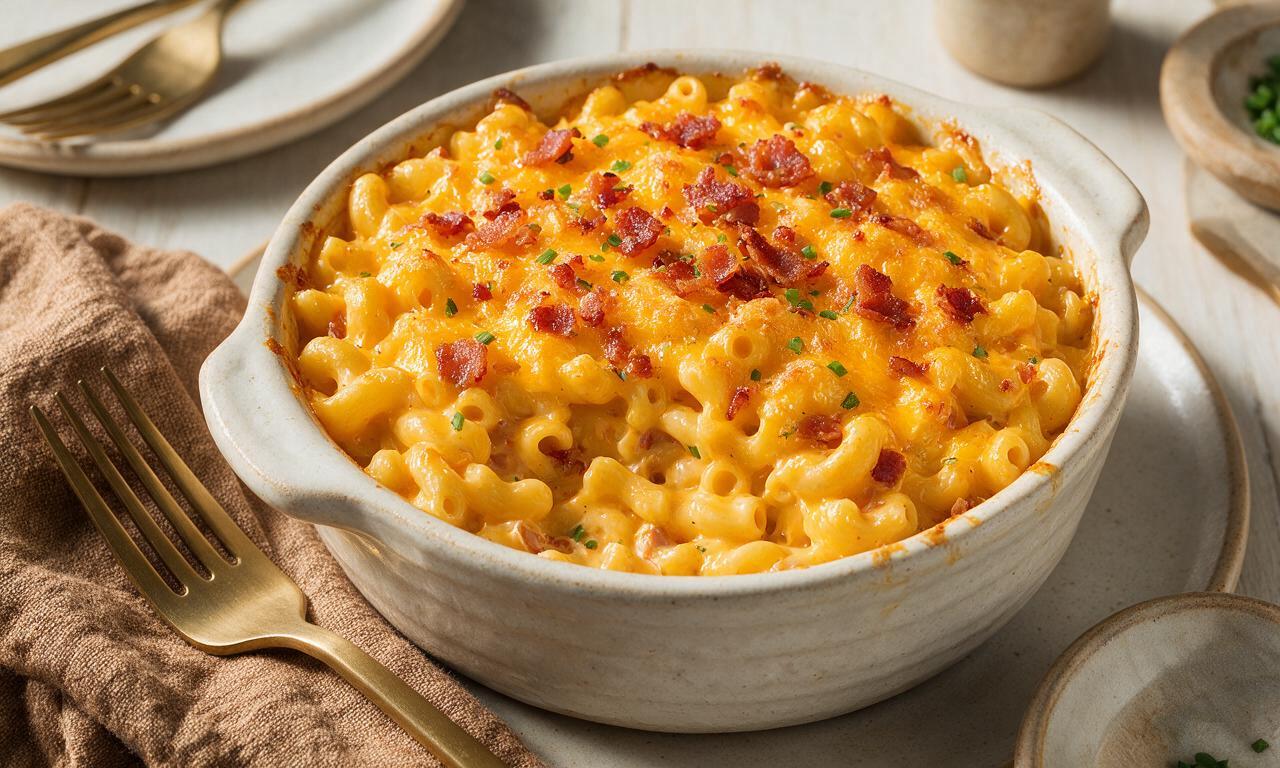
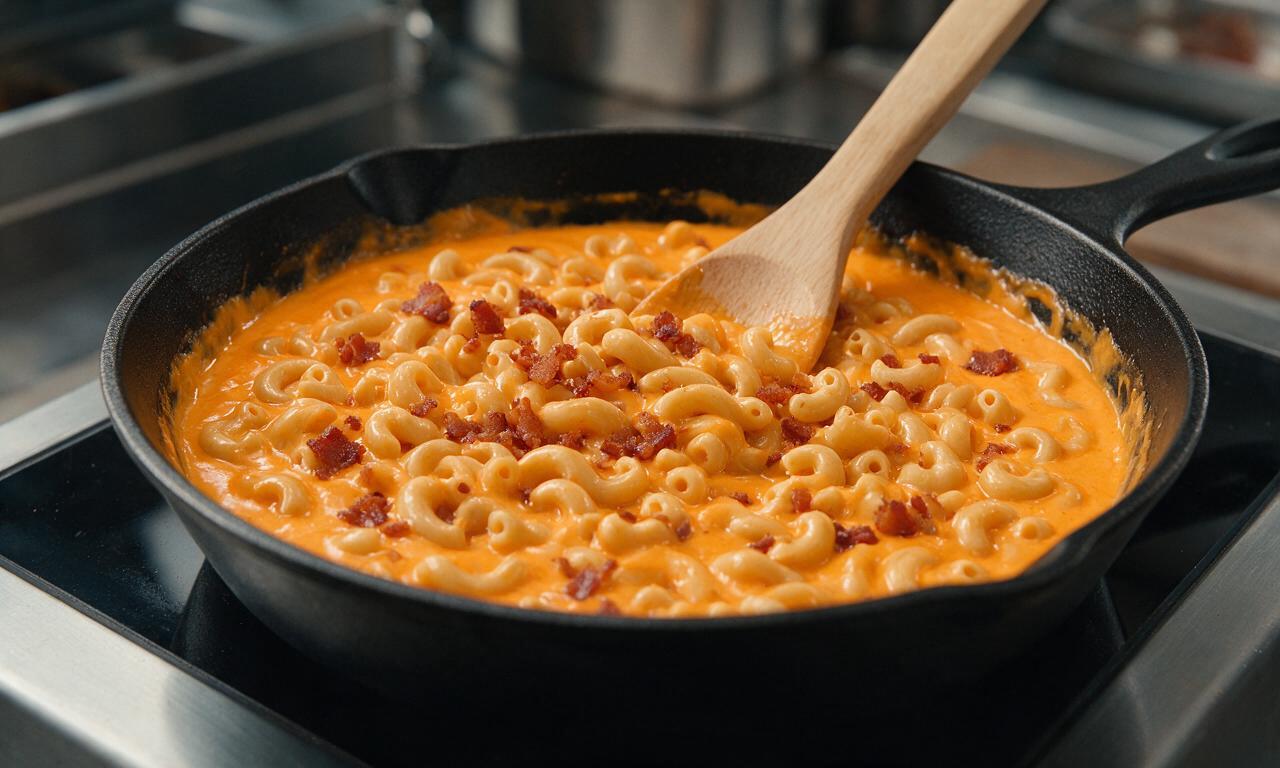
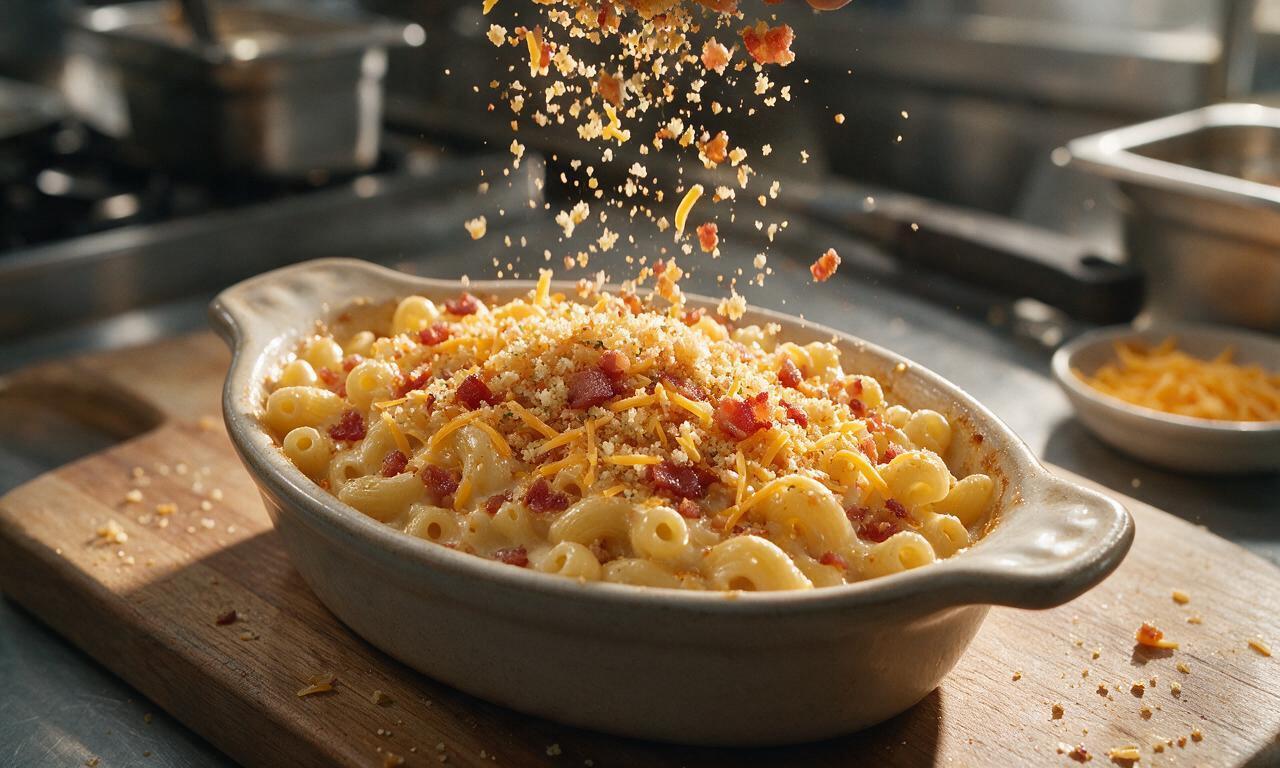
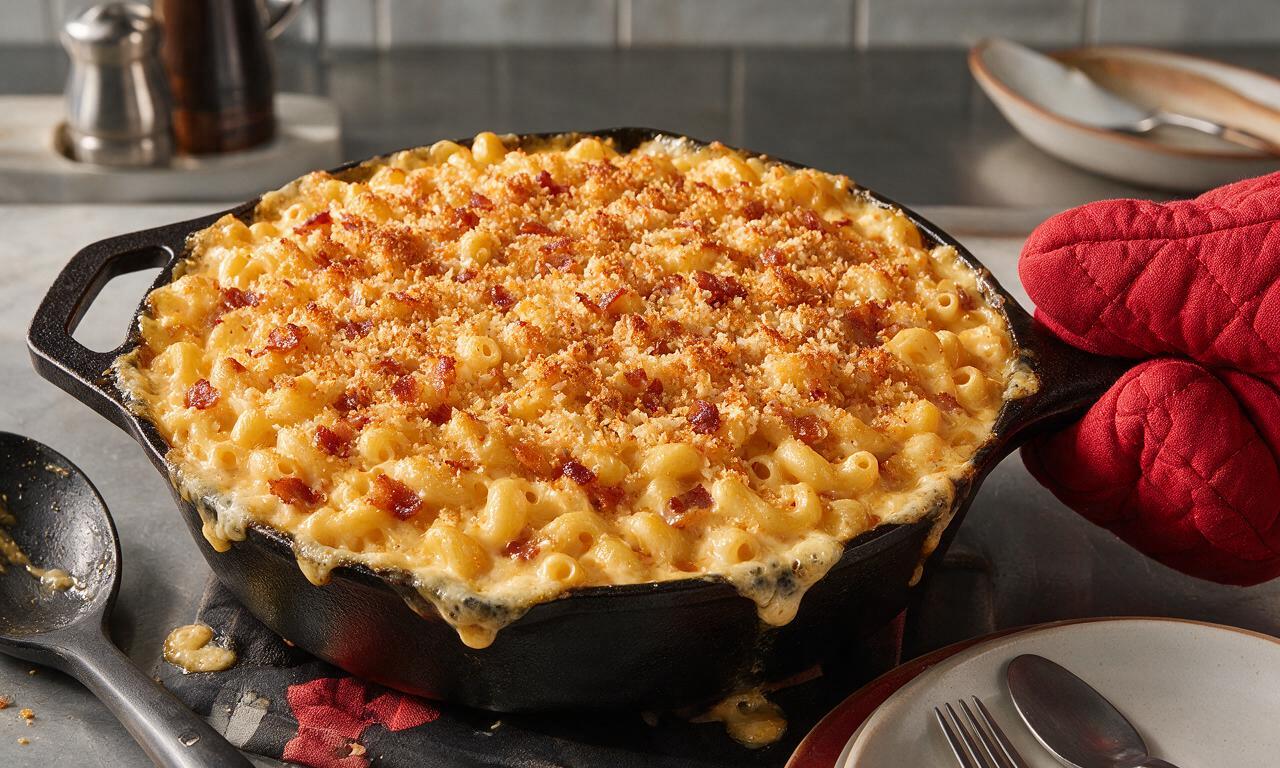






OMG this creamy baked bacon mac and cheese was an absolute game changer for our Sunday family dinner! I was worried my kids would turn their noses up since they’re super fussy about cheese sauces, but they went back for SECONDS — even my 7 year old who only eats chicken nuggets half the time. The 40 minute cook time was so doable even on a busy school night, no slaving over the stove for hours! 10/10 will be making this for our next neighborhood potluck for sure.
SO good, I whipped this up on Sunday for my weekly meal prep and it held up amazing all week for work lunches. The sauce didn’t get that weird grainy, clumpy texture that a lot of baked mac recipes get when you reheat them in the microwave, and the crispy bacon bits on top add the perfect salty crunch. Difficulty was totally easy like the recipe said, even for someone who burns toast half the time lmao. Only tiny tweak I made was adding a little pinch of smoked paprika on top before baking, chef’s kiss.
Made this last night when my partner’s friends came over to watch the football game and everyone was raving about it! I was a little nervous because I’ve never made a baked mac that didn’t come out dry and crumbly, but the sauce was so rich and velvety, exactly what I wanted. The 40 minute cook time meant I didn’t miss kickoff, which was a total win. Only tiny thing is I wish I’d made a double batch, it was gone in 10 minutes flat. Will absolutely be adding this to my regular rotation.