
Bacon Patty Melt
intro
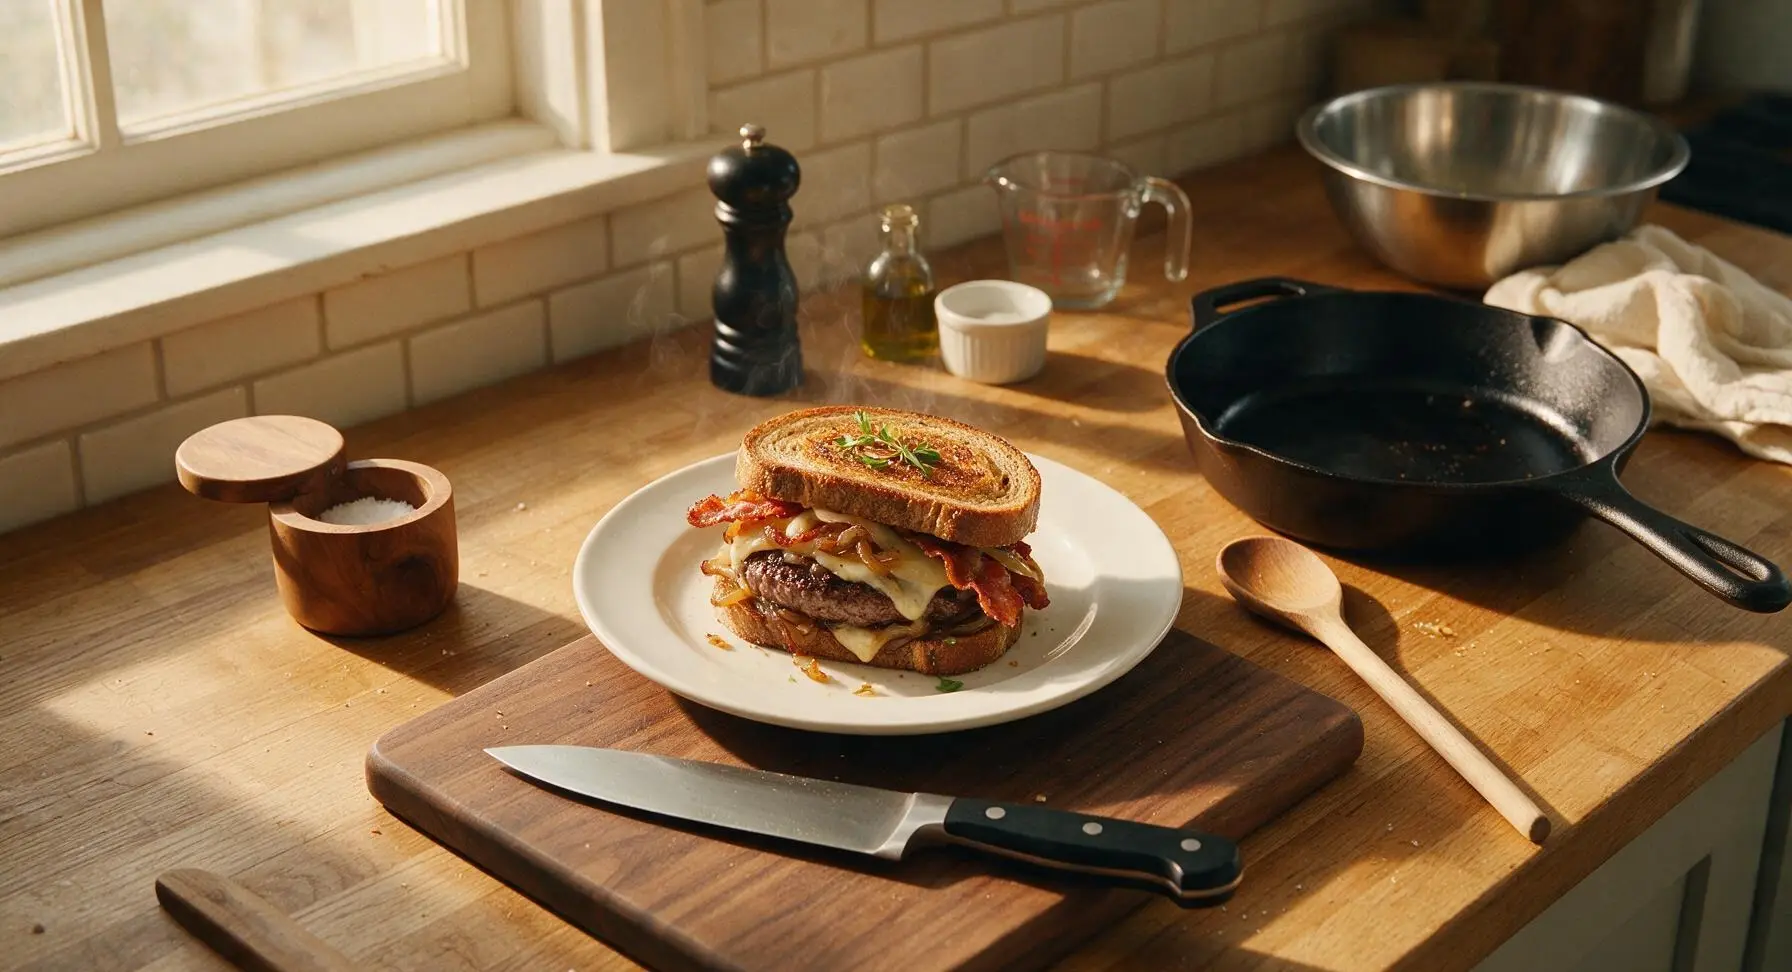
Juicy seared beef, crispy bacon, melted Swiss, and caramelized onions on buttery toasted rye—this classic diner patty melt is quick, cozy, and packed with nostalgic comfort.
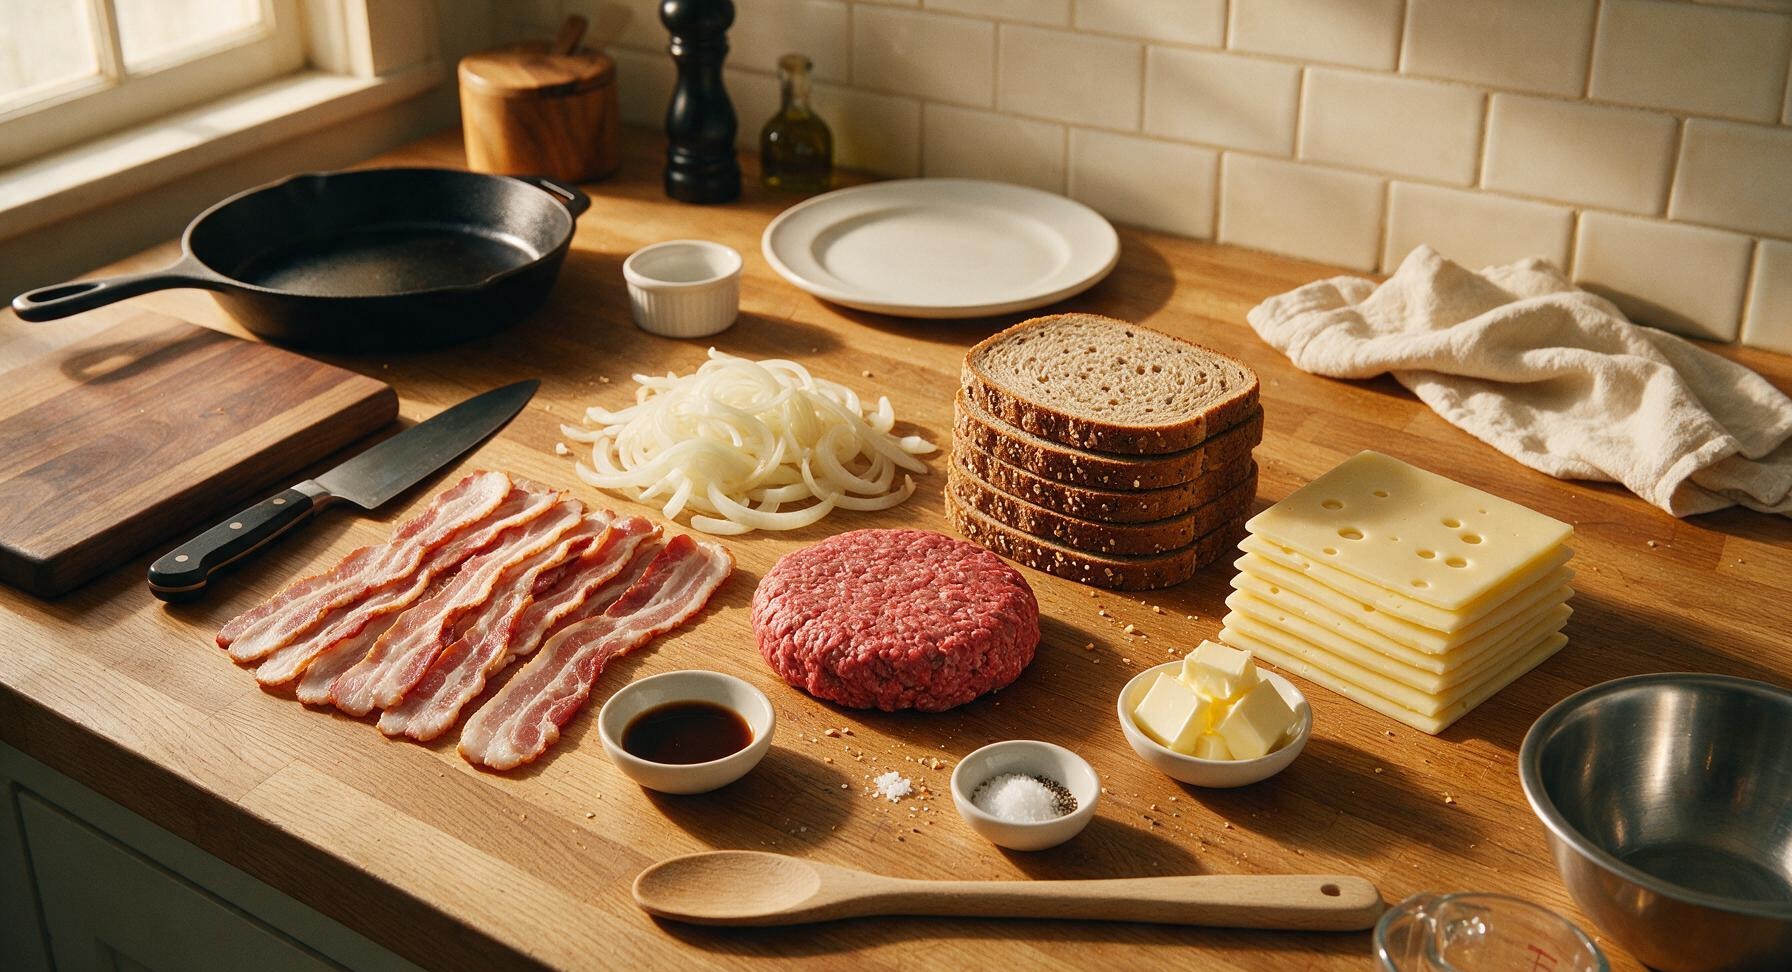
Ingredients
Steps
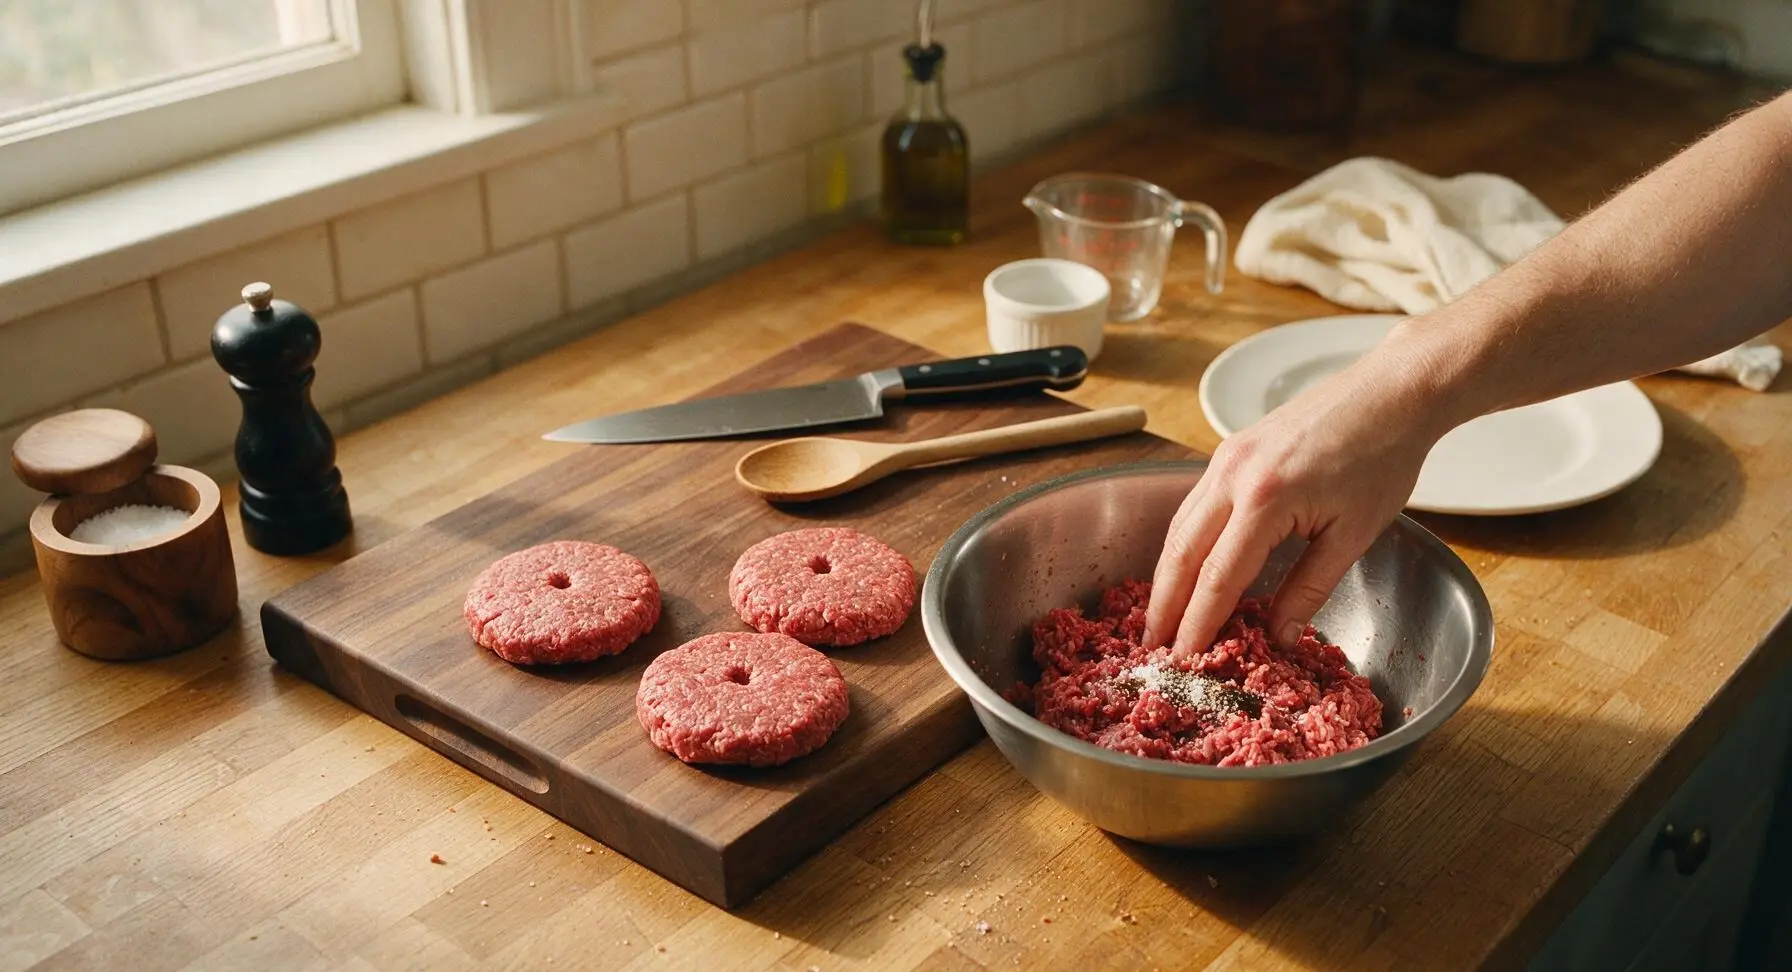
Form Beef Patties
Place 450g 80/20 ground beef in the medium brushed stainless steel mixing bowl. Add 1 tsp Worcestershire sauce, 1/2 tsp kosher salt, and 1/4 tsp freshly ground black pepper. Gently mix with your hands just until combined—do not overwork the meat, as this will create tough, dense patties. Divide the meat into 4 equal portions, then form each into a thin 10cm wide patty (slightly wider than your rye bread slices, to account for shrinkage during cooking). Press a small 1cm dimple in the center of each patty to prevent bulging as it sears.
Cook Crispy Bacon
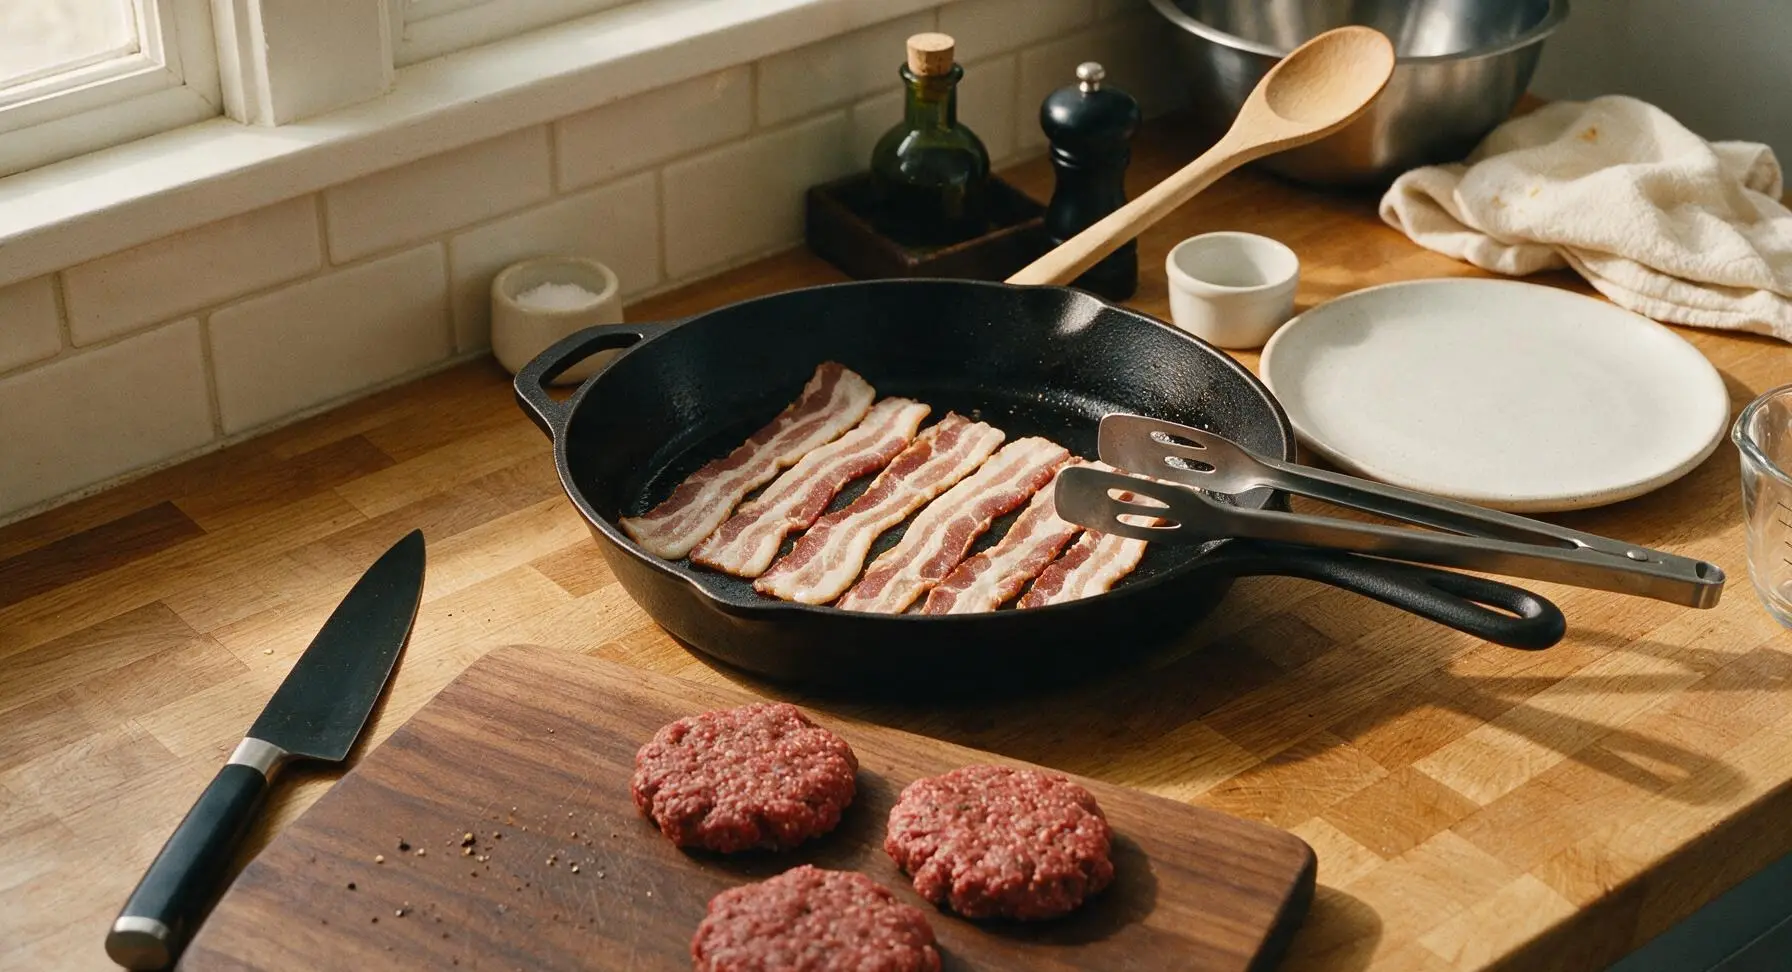
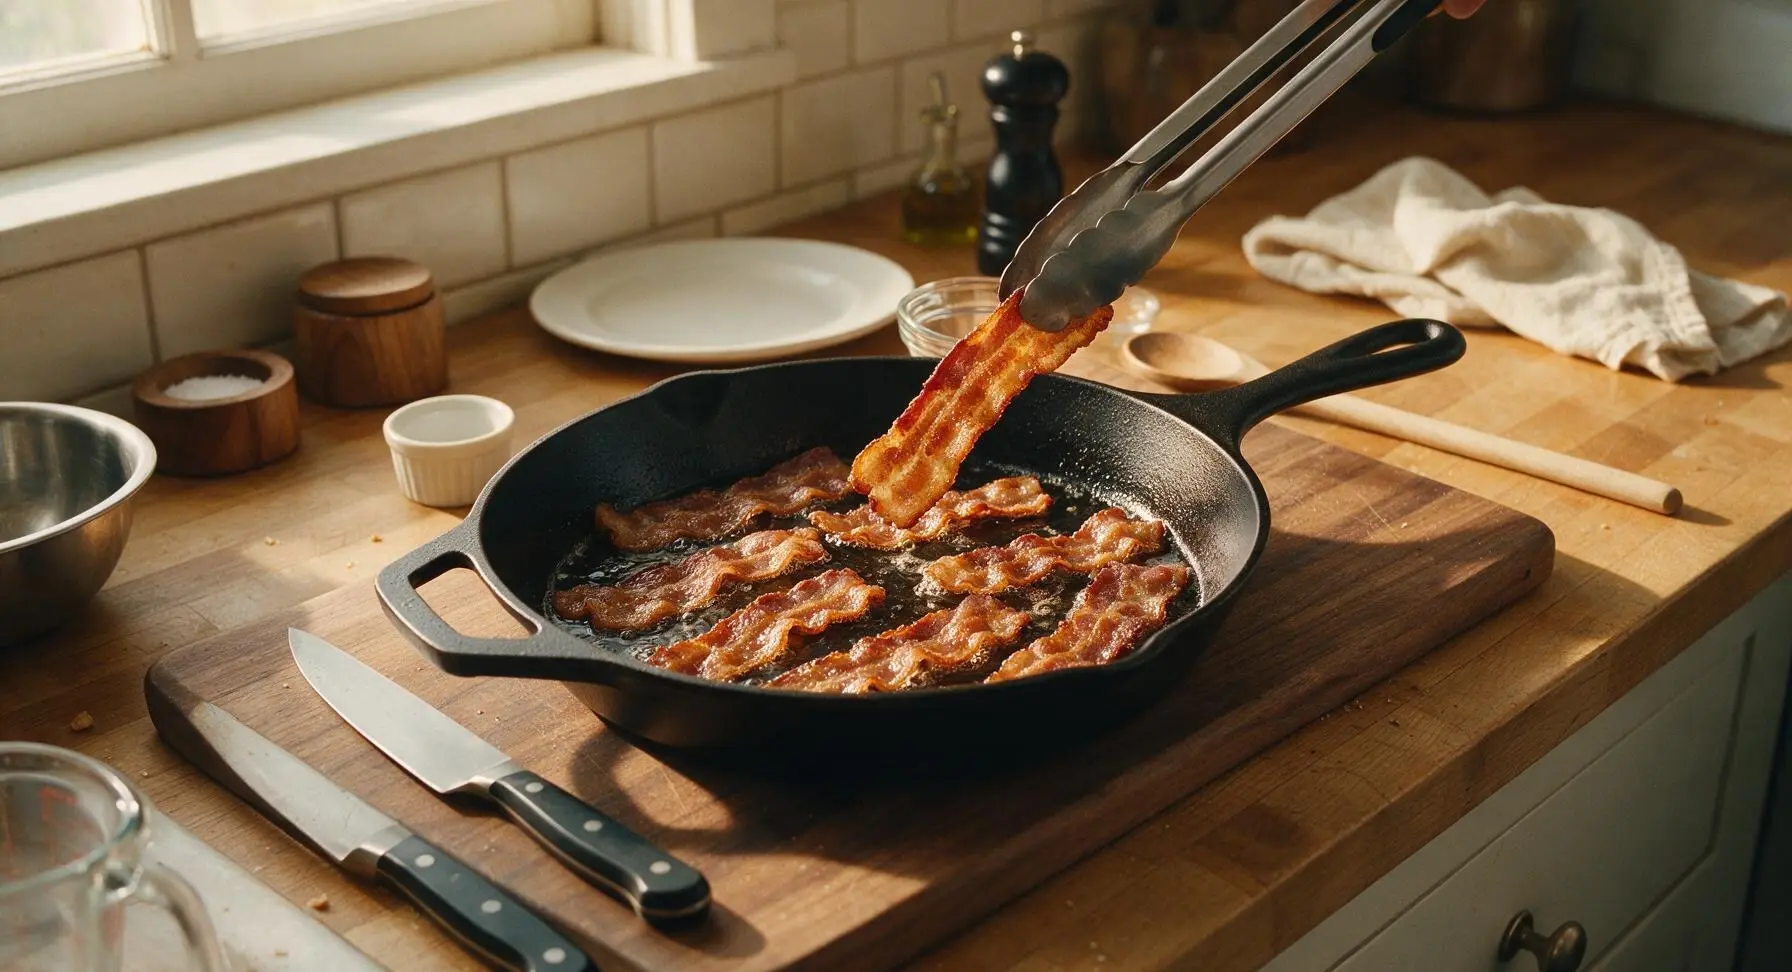
Place the 12-inch cast iron skillet on the cooking surface over medium heat. Lay all 8 bacon slices in a single layer in the cold skillet (starting in a cold pan renders fat more evenly for crisp, not burnt, bacon). Cook for 8-10 minutes total, flipping once with the spring-loaded stainless steel tongs, until bacon is deep golden with crispy, slightly curled edges. Transfer cooked bacon to the small clear glass ramekin to drain, leaving all rendered bacon fat in the skillet for subsequent cooking steps.
Caramelize Sliced Onions
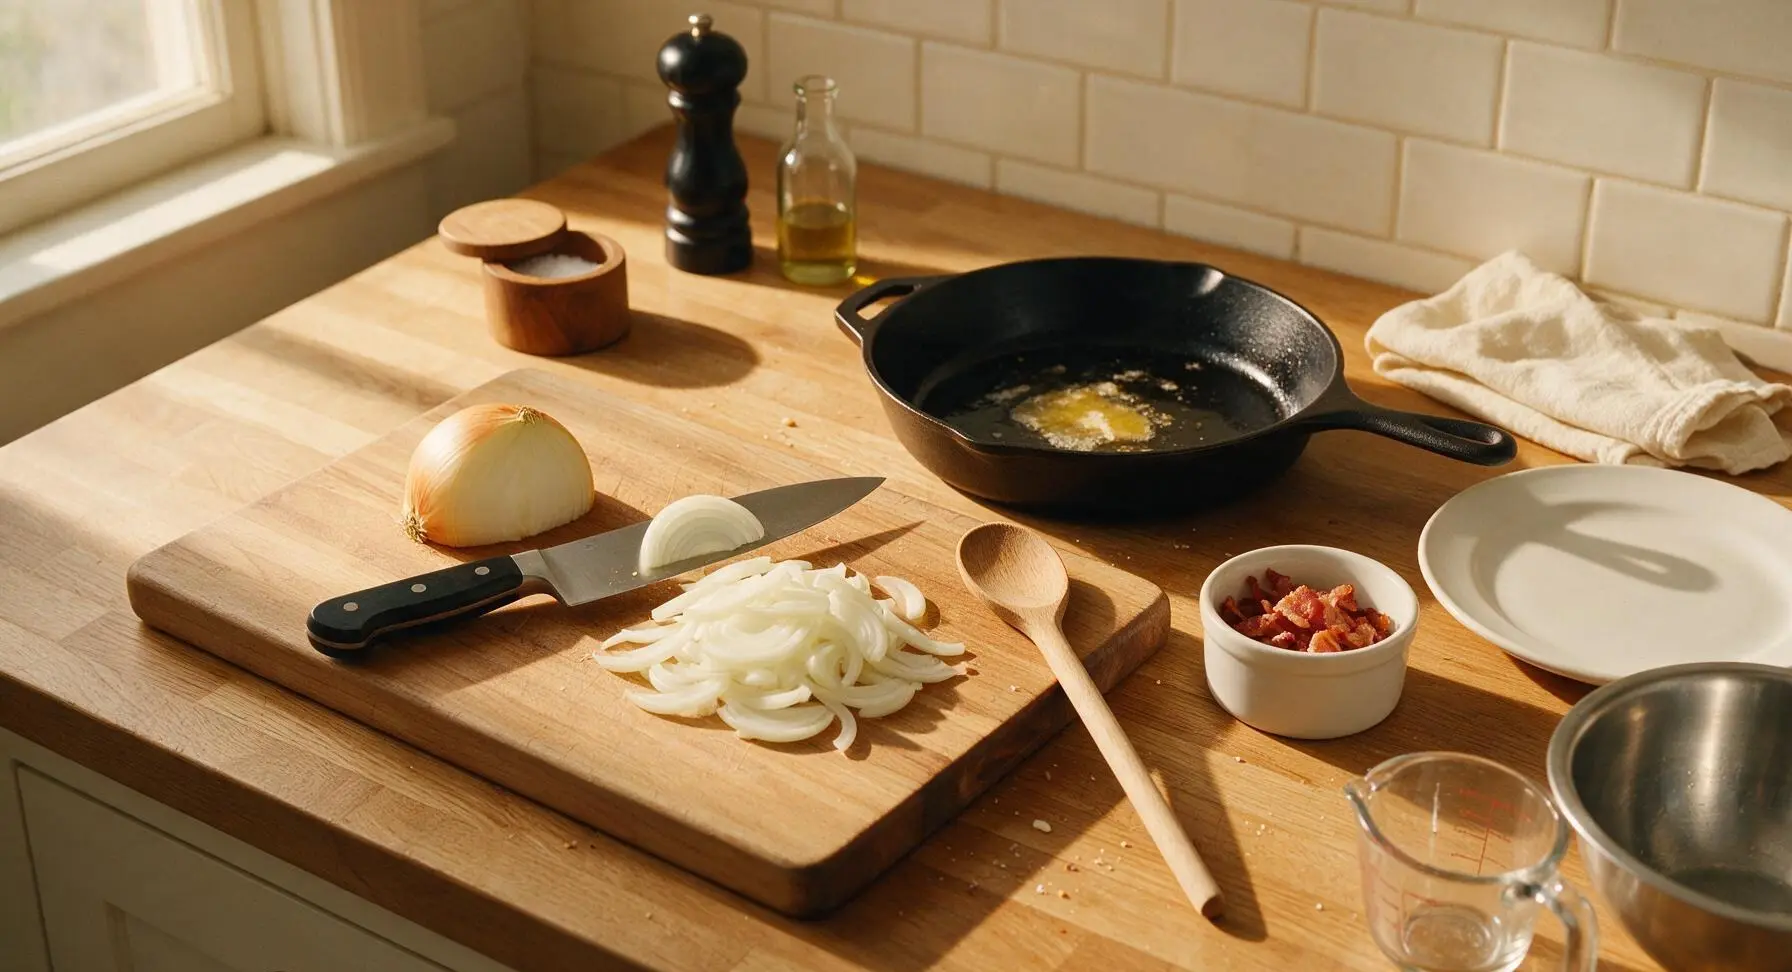
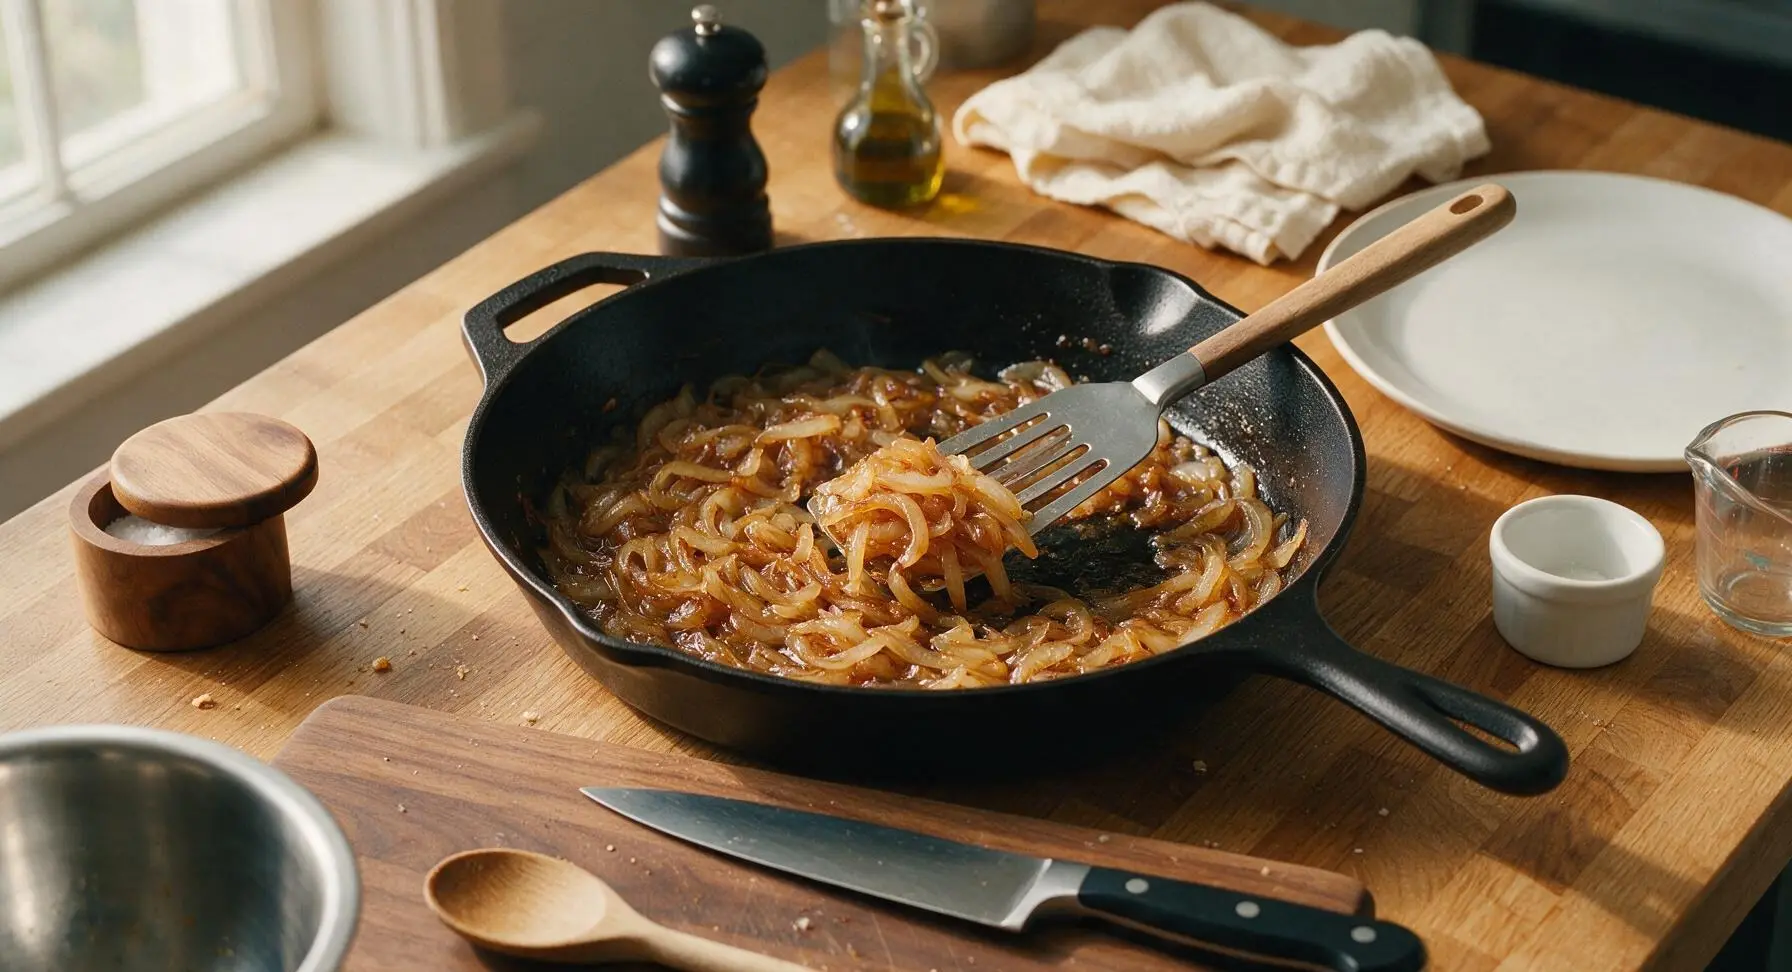
Use the 8-inch chef knife to thinly slice the whole yellow onion into 3mm thick half-moons. Once bacon is removed from the skillet, add the sliced onions to the hot bacon fat, season with the remaining 1/2 tsp kosher salt and 1/4 tsp black pepper. Reduce heat to medium-low, cook for 10-12 minutes, stirring occasionally with the slotted turner spatula, until onions are soft, deep golden brown, and sweetly aromatic. Avoid high heat, which will burn the onion edges before they soften and caramelize. Transfer finished caramelized onions to the glass ramekin with the cooked bacon, leaving 1 tbsp of bacon fat in the skillet for searing patties.
Sear Beef Patties
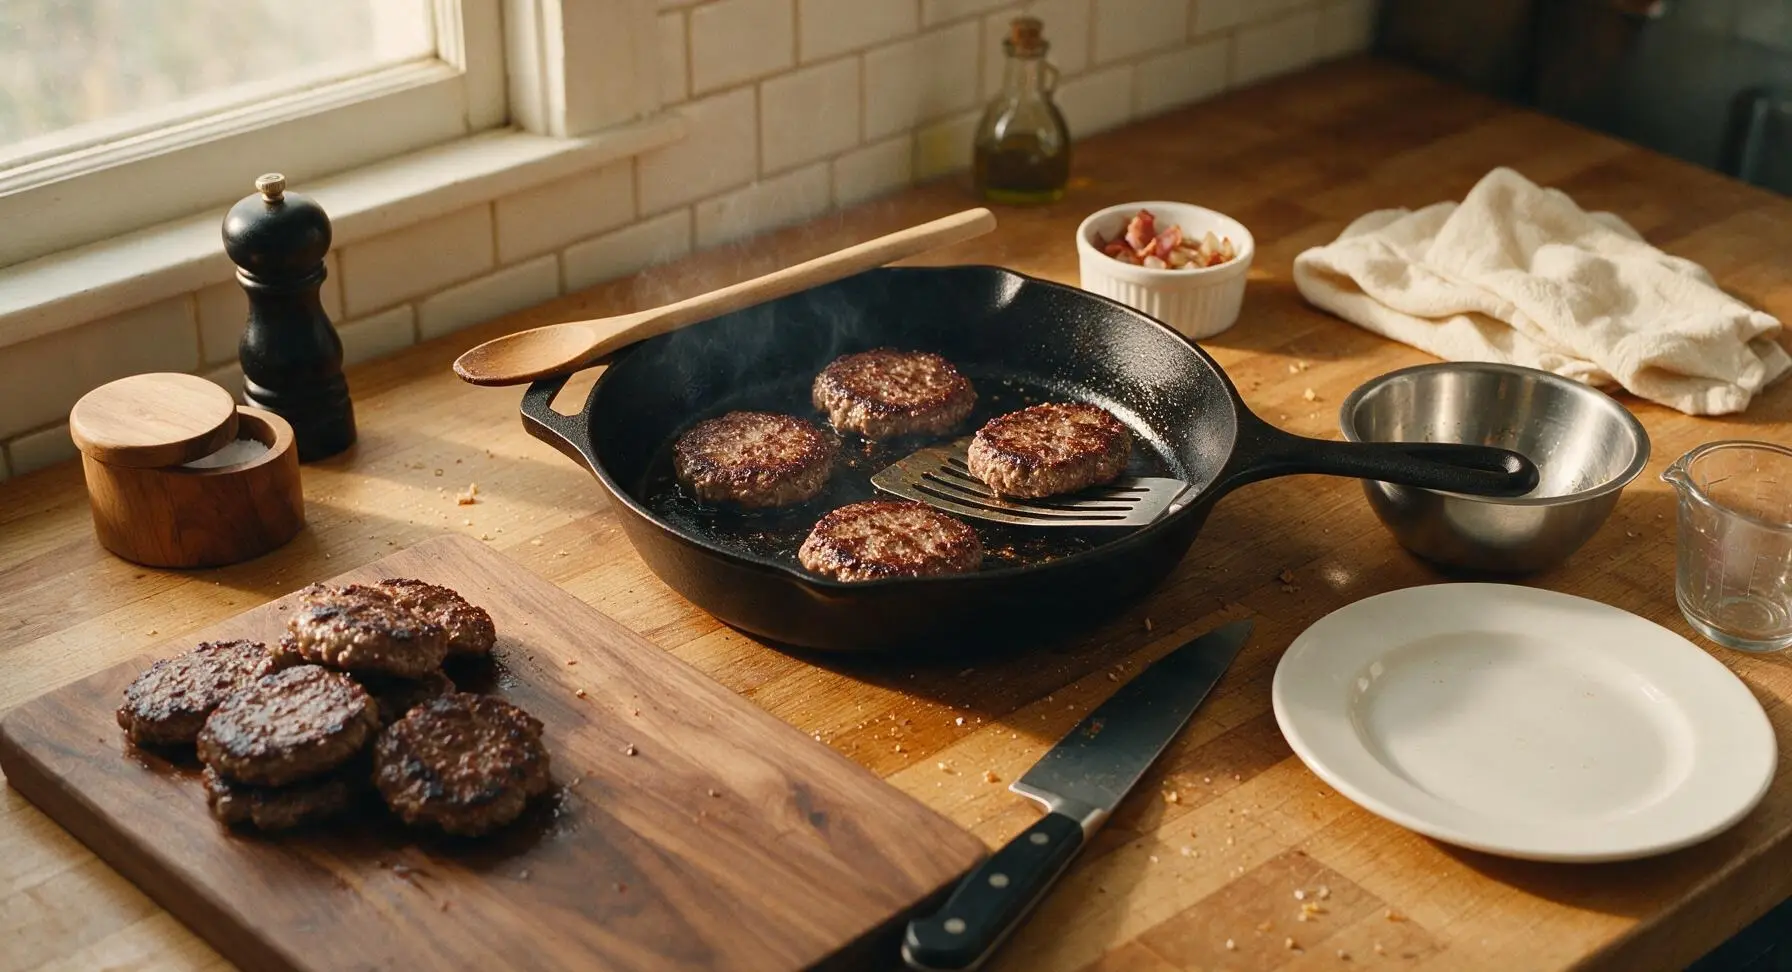
Turn skillet heat back to medium. Carefully place the 4 formed beef patties into the hot reserved bacon fat. Cook for 3 minutes on the first side, without moving, until a deep crispy mahogany crust forms on the bottom. Flip each patty with the slotted turner spatula, cook for another 2 minutes for medium doneness (internal temperature 71°C/160°F). Patties will have crisp, dark edges and juicy, tender centers. Transfer cooked patties to the empty edge of the maple cutting board to rest temporarily.
Butter Rye Bread Slices
While patties rest, spread 1/2 tbsp of softened unsalted butter evenly over one side of each of the 8 rye bread slices. Spread butter all the way to the bread edges to ensure even toasting and eliminate dry, burnt spots. Lay 4 slices butter-side down on the maple cutting board to begin assembling sandwiches.
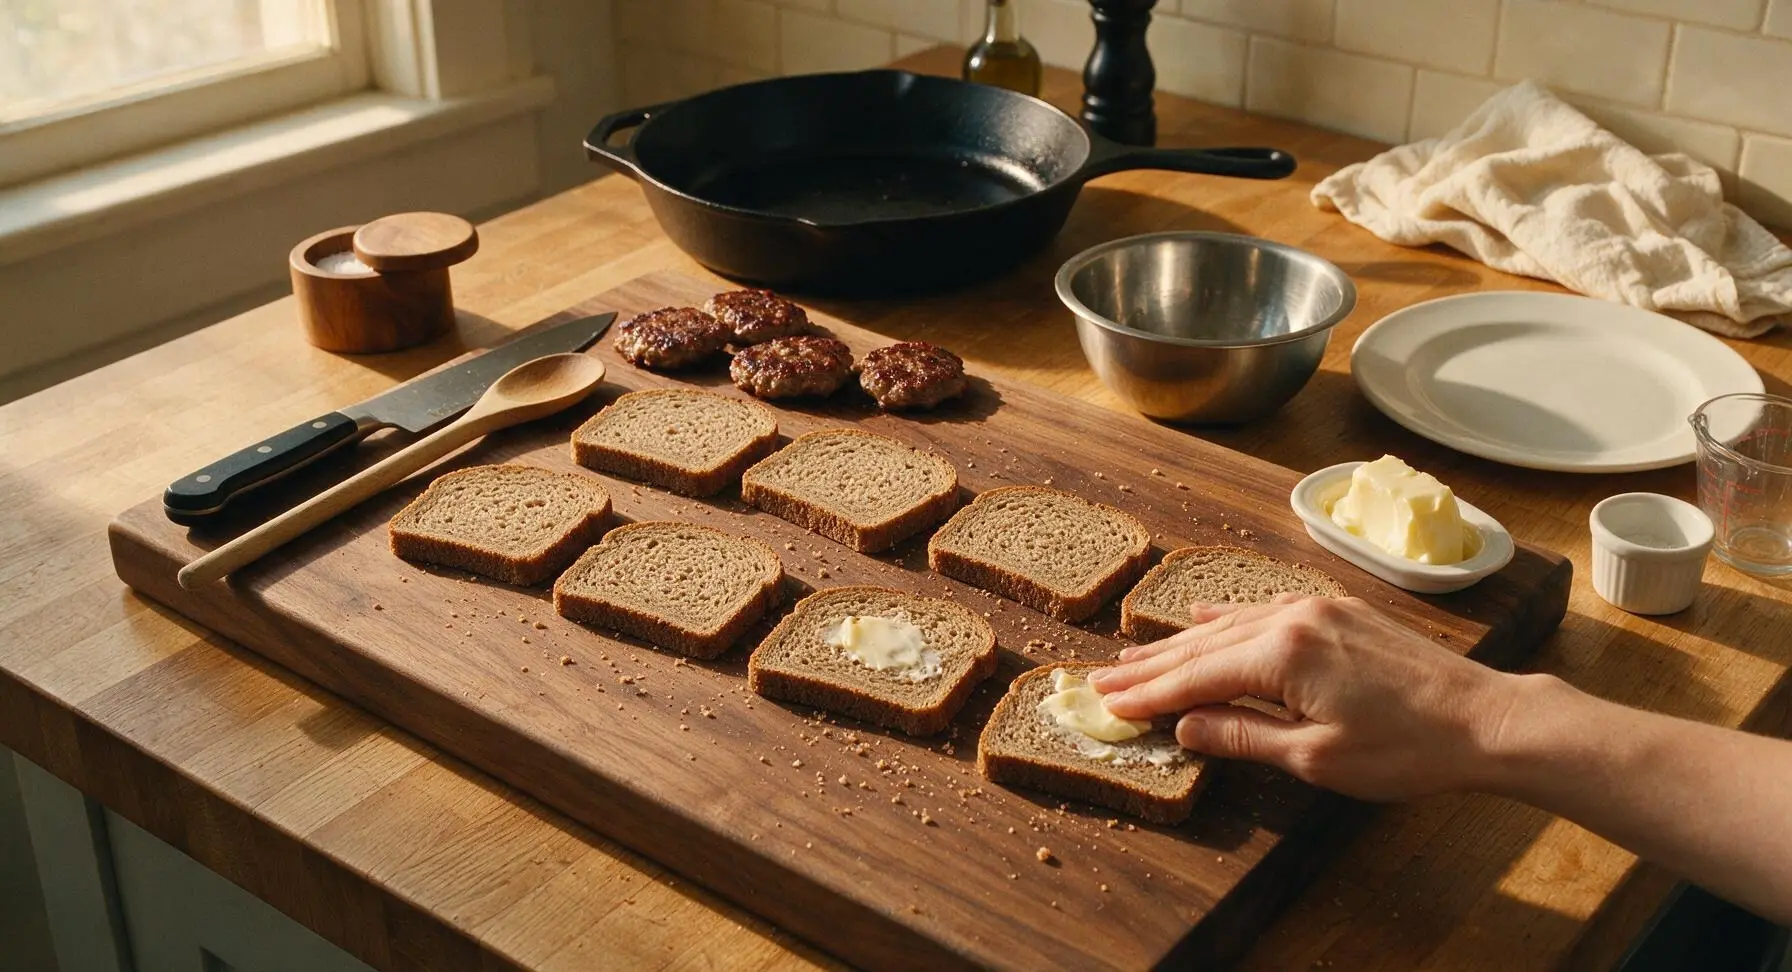
Layer Sandwich Fillings
On top of the 4 butter-side-down bread slices, layer ingredients in this even order: 1 slice Swiss cheese, 1 cooked beef patty, 2 slices crispy bacon (broken to fit the bread shape), 1/4 of the caramelized onions, a second slice of Swiss cheese, then top with the remaining rye bread slices, buttered-side facing out. Press each assembled sandwich gently with the palm of your hand to help layers adhere and prevent sliding during toasting.
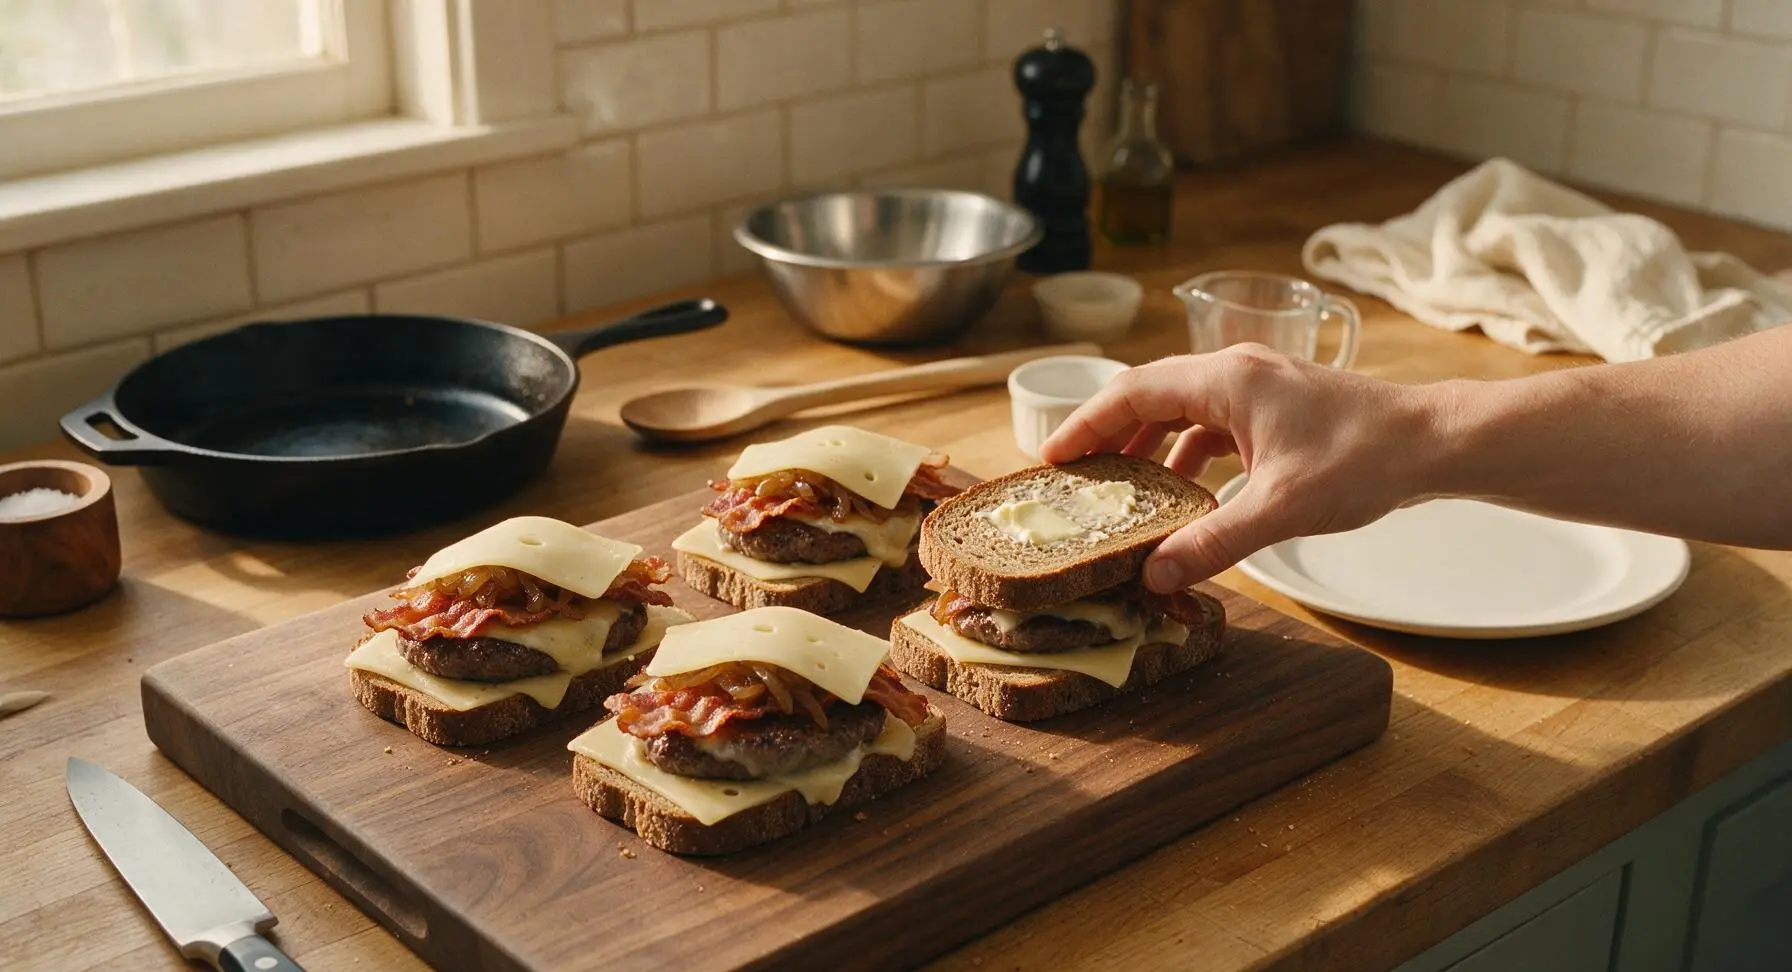
Toast Melts Until Golden
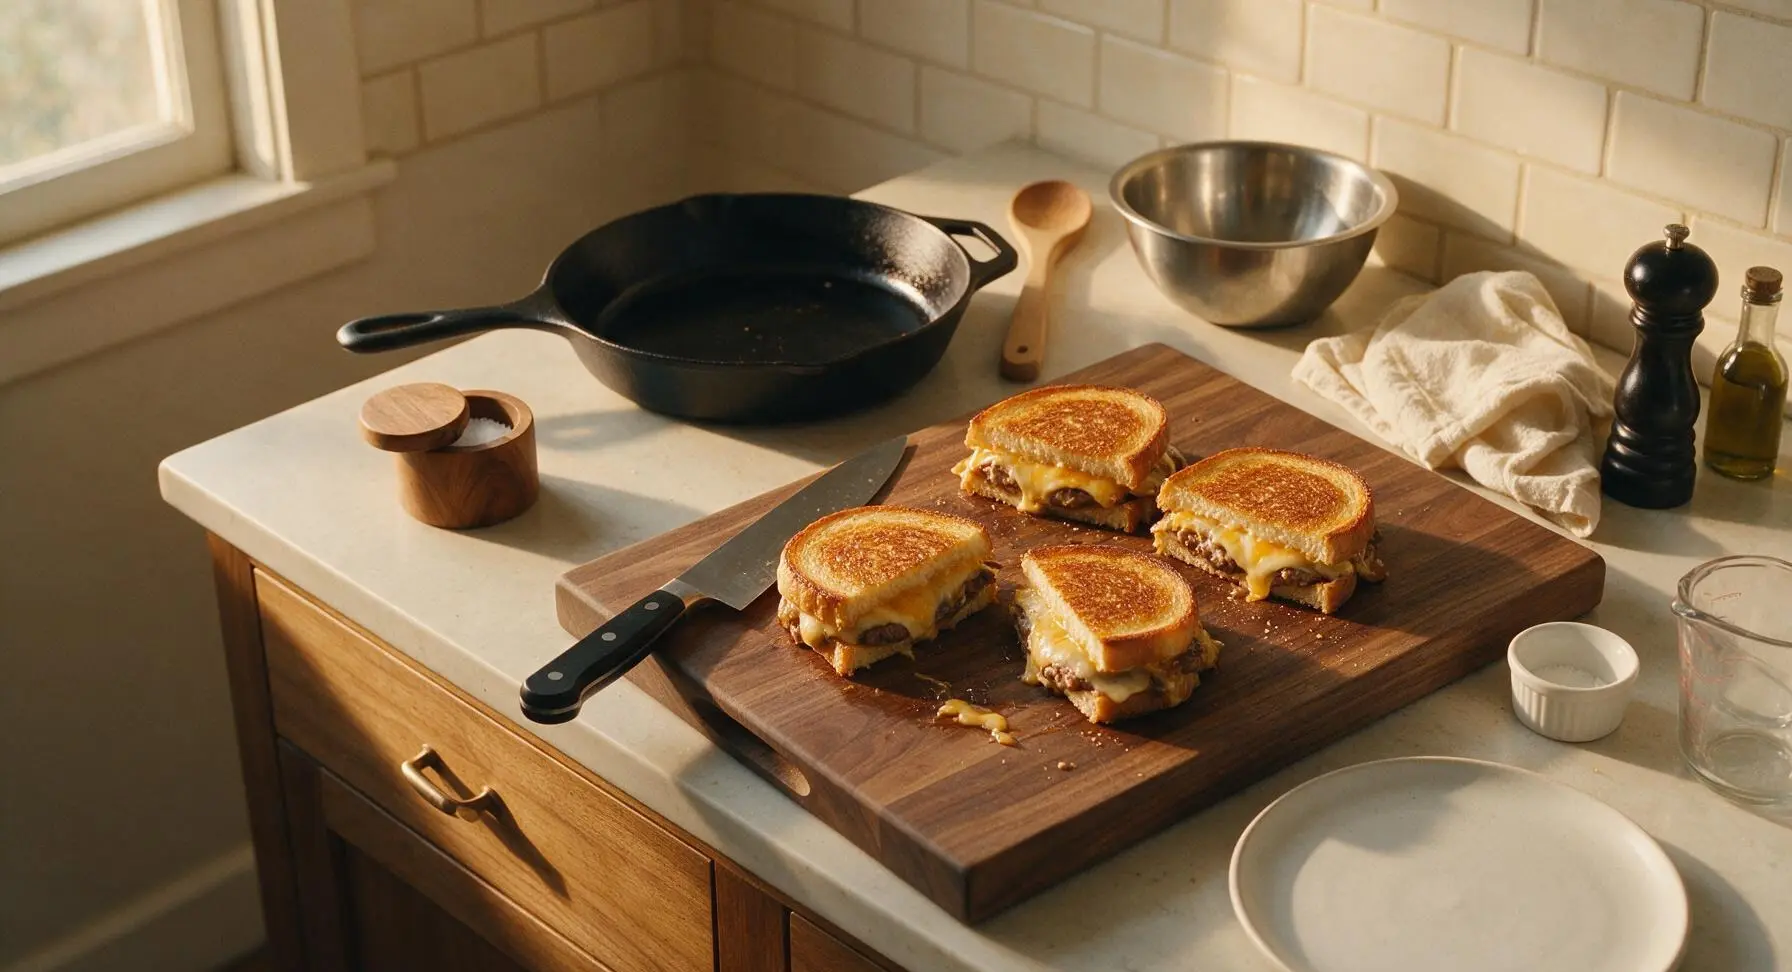
Wipe the cast iron skillet lightly with a corner of the linen towel to remove any burnt bits, then return to medium-low heat. Place 2 assembled sandwiches in the skillet at a time, cook for 3-4 minutes per side, pressing gently with the slotted turner spatula, until the bread is deep golden brown and crispy on the outside, and the Swiss cheese is fully melted and oozing slightly from the sandwich edges. If bread browns too quickly before cheese melts, reduce heat slightly to avoid burning. Repeat cooking process with the remaining 2 sandwiches.
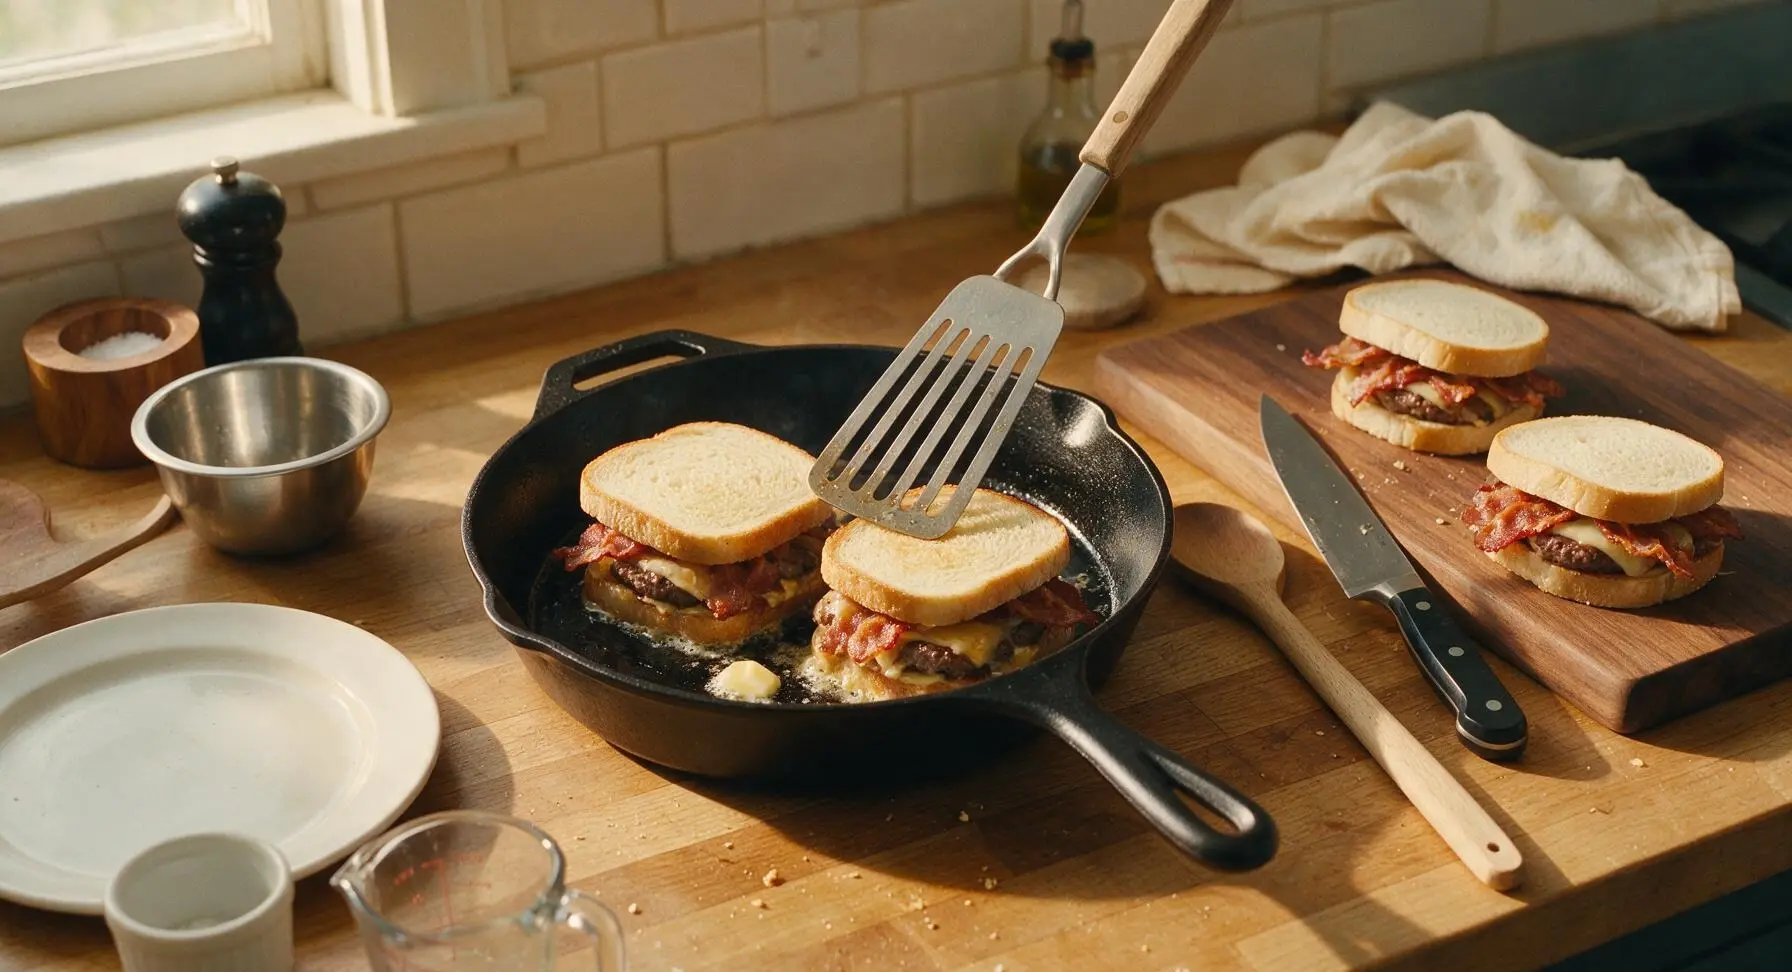
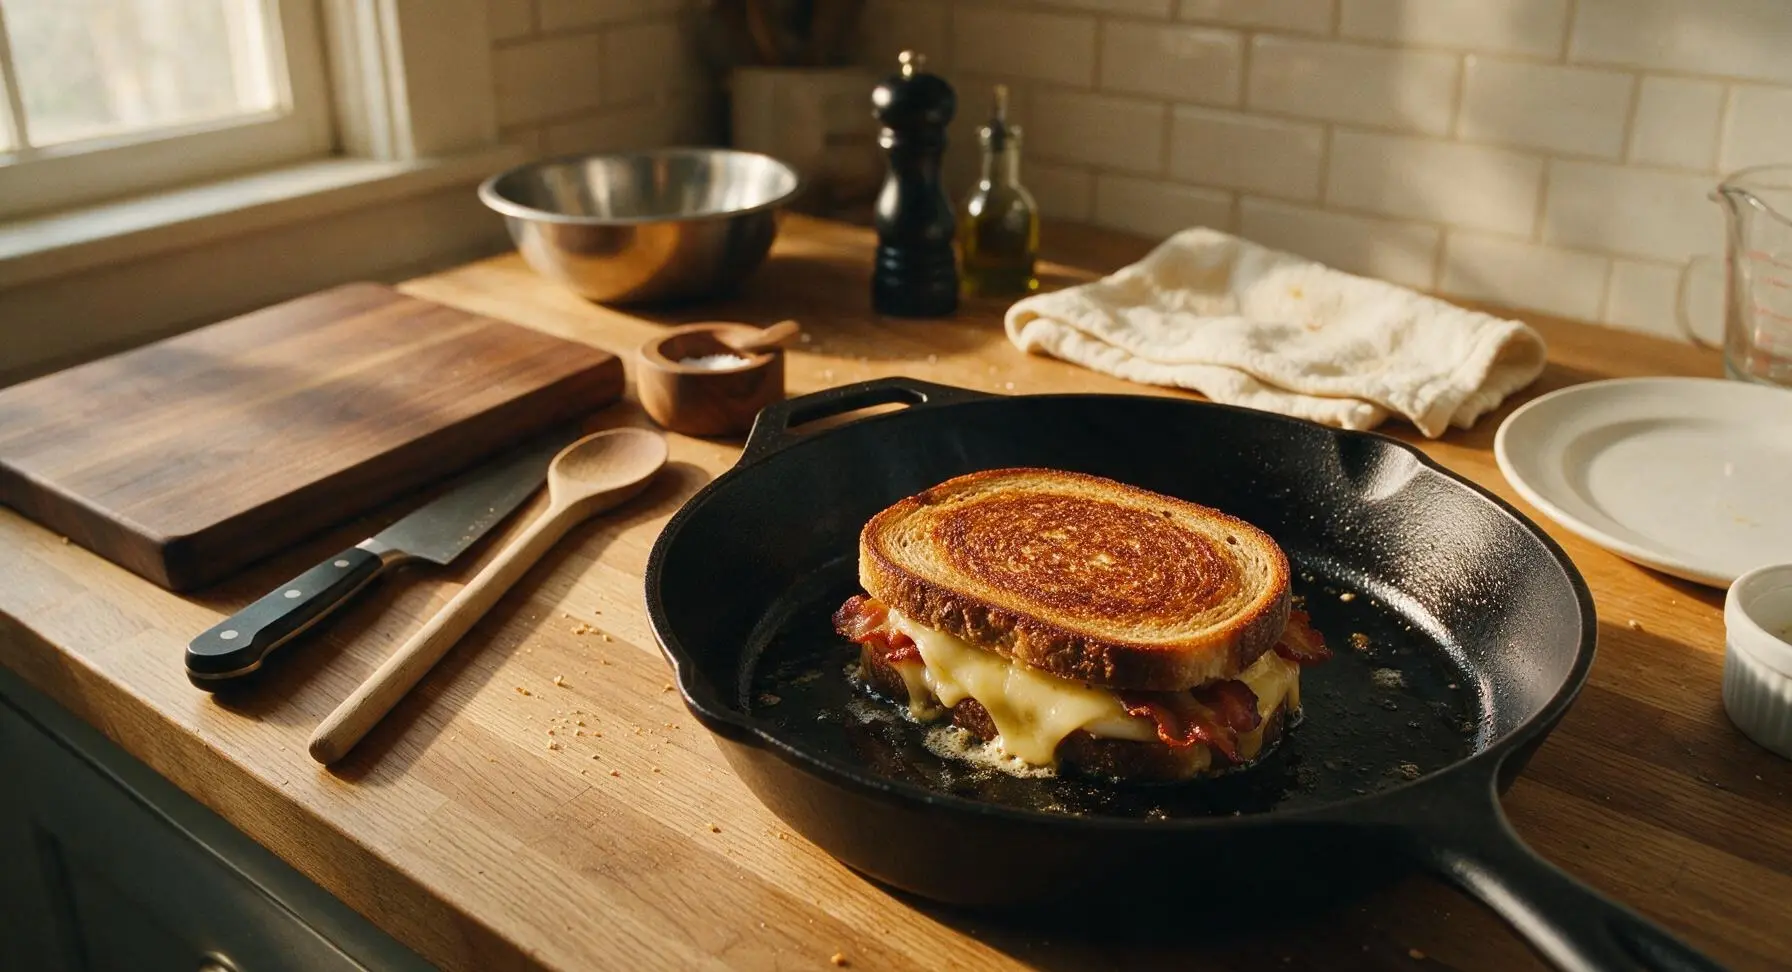
Rest and Plate Melts
Transfer all cooked patty melts back to the maple cutting board, let rest for 2 minutes to allow cheese to set and meat juices to redistribute (this prevents fillings from sliding out when cut). Cut each sandwich diagonally into two equal triangles, then arrange on the matte cream ceramic dinner plate for serving.
Tips
2.Start bacon in a cold skillet: Placing bacon in a cold pan allows fat to render slowly as the pan heats, producing evenly crispy bacon without charred edges or chewy, undercooked sections, and leaves flavorful rendered fat for cooking onions and patties.
3.Toast sandwiches on medium-low heat: High heat will burn the rye bread crust before the cheese fully melts, while low, slow toasting ensures evenly crisp, buttery bread all the way through and gooey, fully melted cheese that binds all sandwich layers together.






OMG this bacon patty melt is a total game changer! Threw it together for last night’s family dinner and even my super picky 10 year old asked for seconds. The crispy bacon mixed with melted Swiss and that perfect toasty rye? *Chef’s kiss* Only took me 20 minutes like the recipe said, no fancy ingredients needed, will absolutely be adding this to our weekly rotation. SO good!
Wow, this was so easy to whip up after my long commute home! I swapped the Swiss for pepper jack because that’s what I had in the fridge and added a little extra caramelized onion, and it turned out perfect. Great quick weeknight meal, no stress, minimal cleanup.
Brought a platter of these cut into sliders for our neighborhood block party potluck this weekend and they were the first thing gone! People were hovering around the table asking who made them, I must have passed the recipe link out to at least 8 neighbors. Only complaint is I didn’t make enough! Worth every single bite.
As a broke college student with basically zero cooking skills, this was so doable! I didn’t burn anything, the bacon came out crispy, my roommate said it was better than the greasy diner version down the street. 10/10, no fancy equipment needed, just a beat up cast iron skillet I found at a thrift store for $5. Already texted the recipe to my mom, she’s making it for my little brother’s birthday dinner this weekend.
Made these for dinner last night and the flavor was insane! Quick question though – has anyone tried making these ahead for meal prep? I’m wondering if they reheat well in the air fryer or if the bread gets soggy? I’d love to prep a batch for busy work days so I don’t blow my budget on takeout every week!