
bacon without nitrates
intro
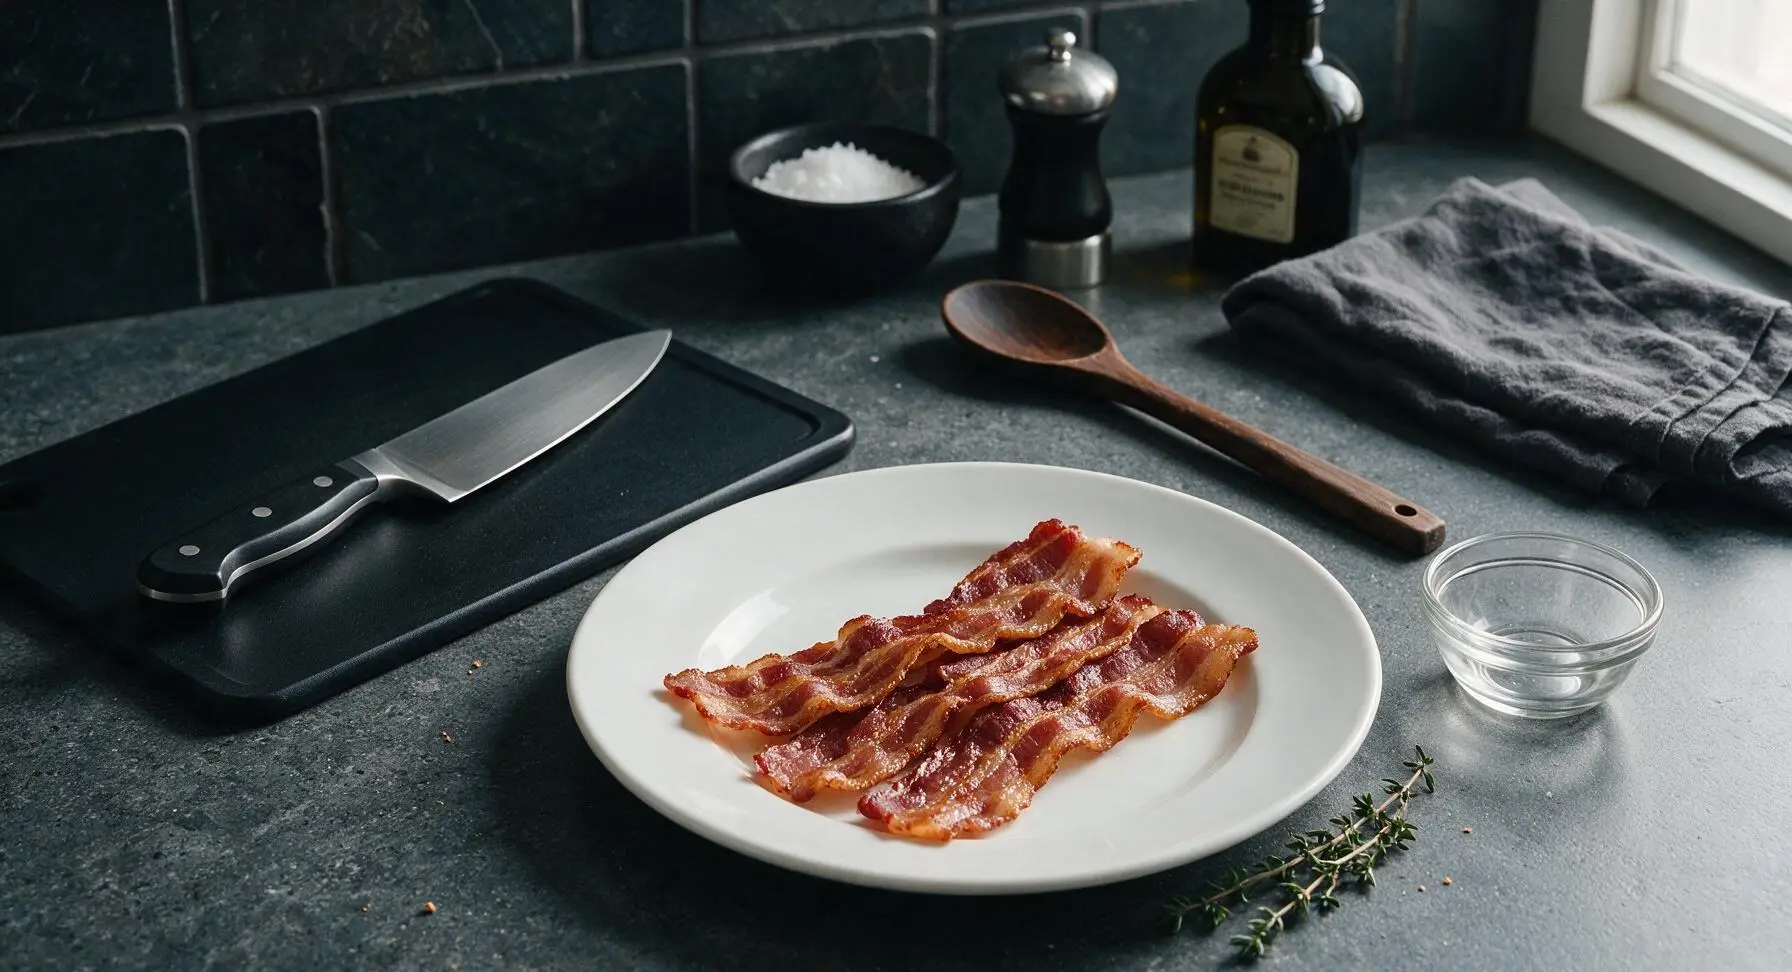
Rich, smoky homemade bacon cured without synthetic nitrates or artificial preservatives, with balanced salty-sweet flavor, perfect for breakfast, sandwiches, and quick weeknight meals.
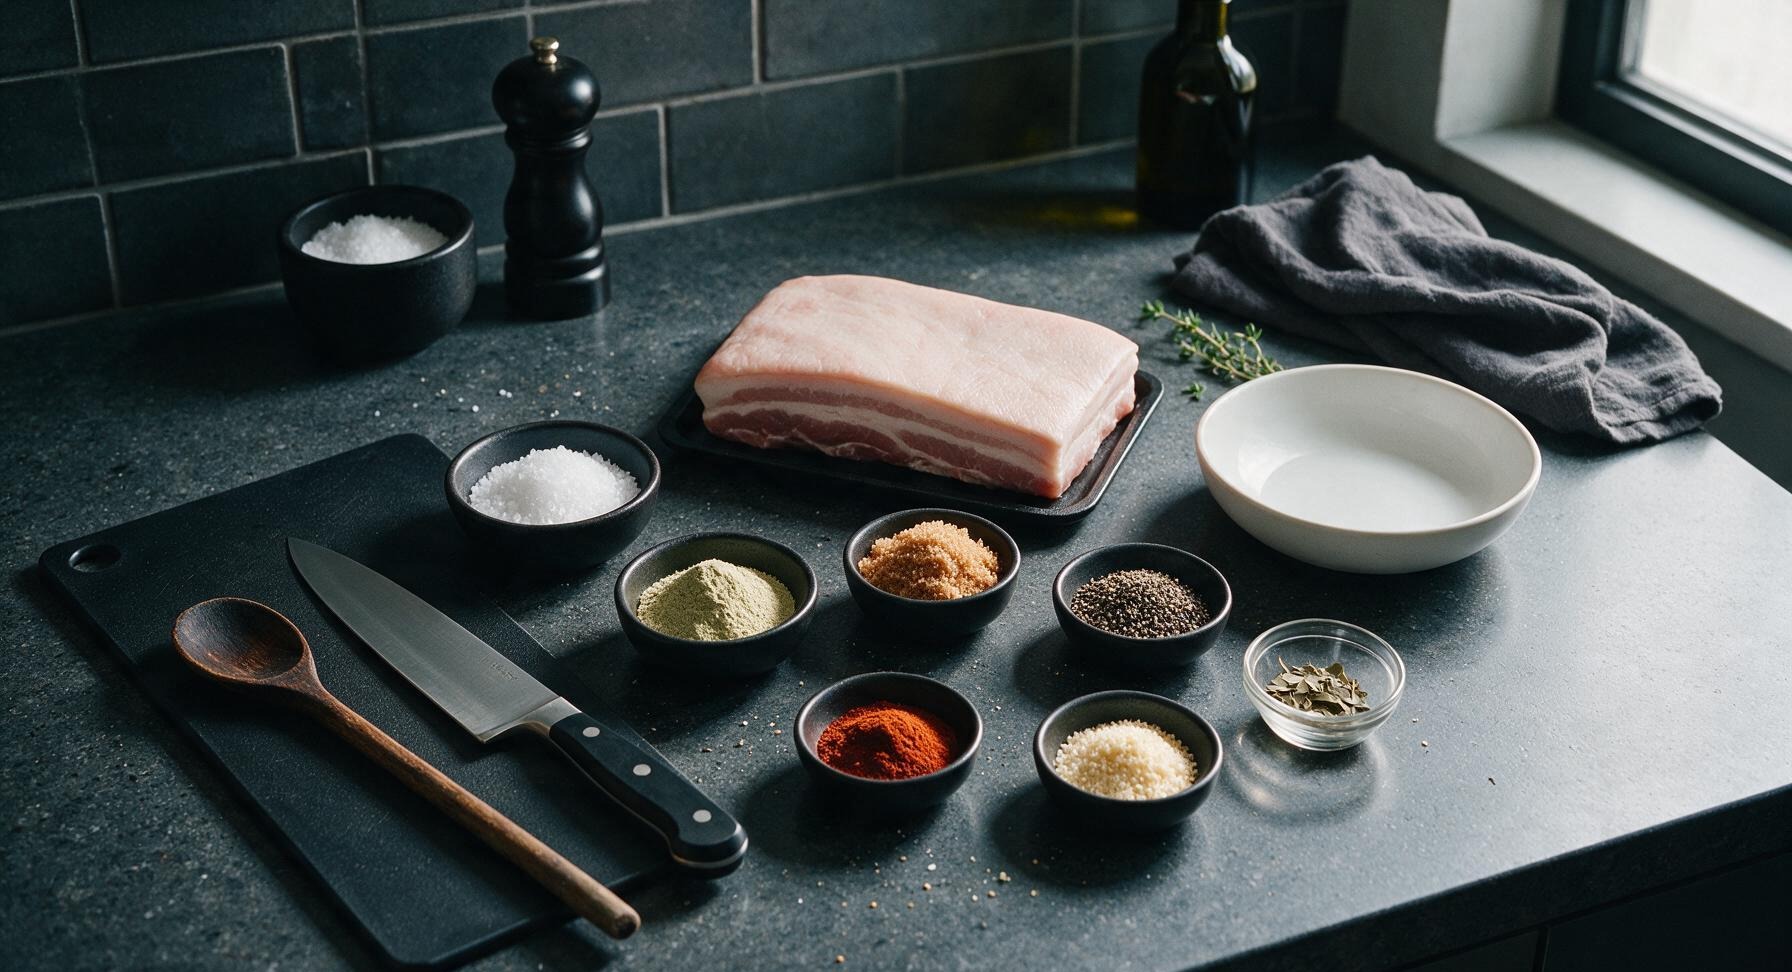
Ingredients
Steps
Trim Pork Belly
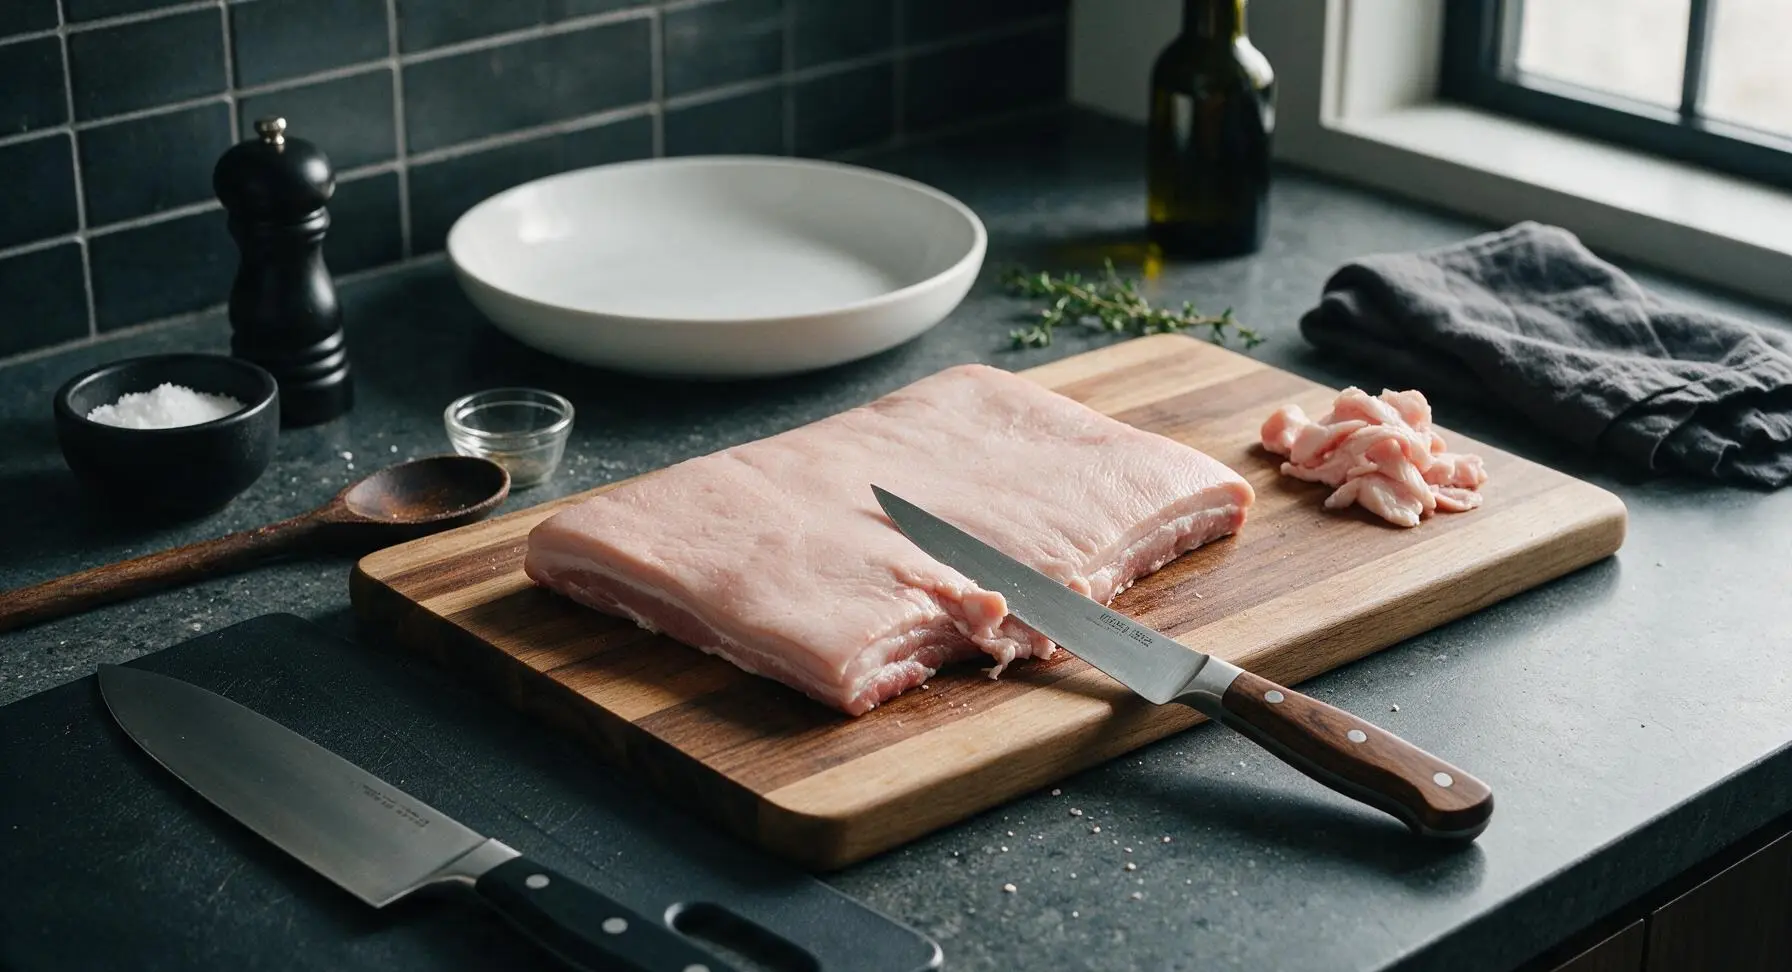
Place the 1kg skinless pork belly on the center of the large maple cutting board. Use the 8-inch boning knife to trim any uneven edges, loose fat, or remaining silver skin from the meat. Aim for a uniform 2.5cm (1 inch) thickness across the entire slab, so it cures and cooks evenly. Pat the entire surface completely dry with paper towels before moving to the next step.
Mix Cure Blend
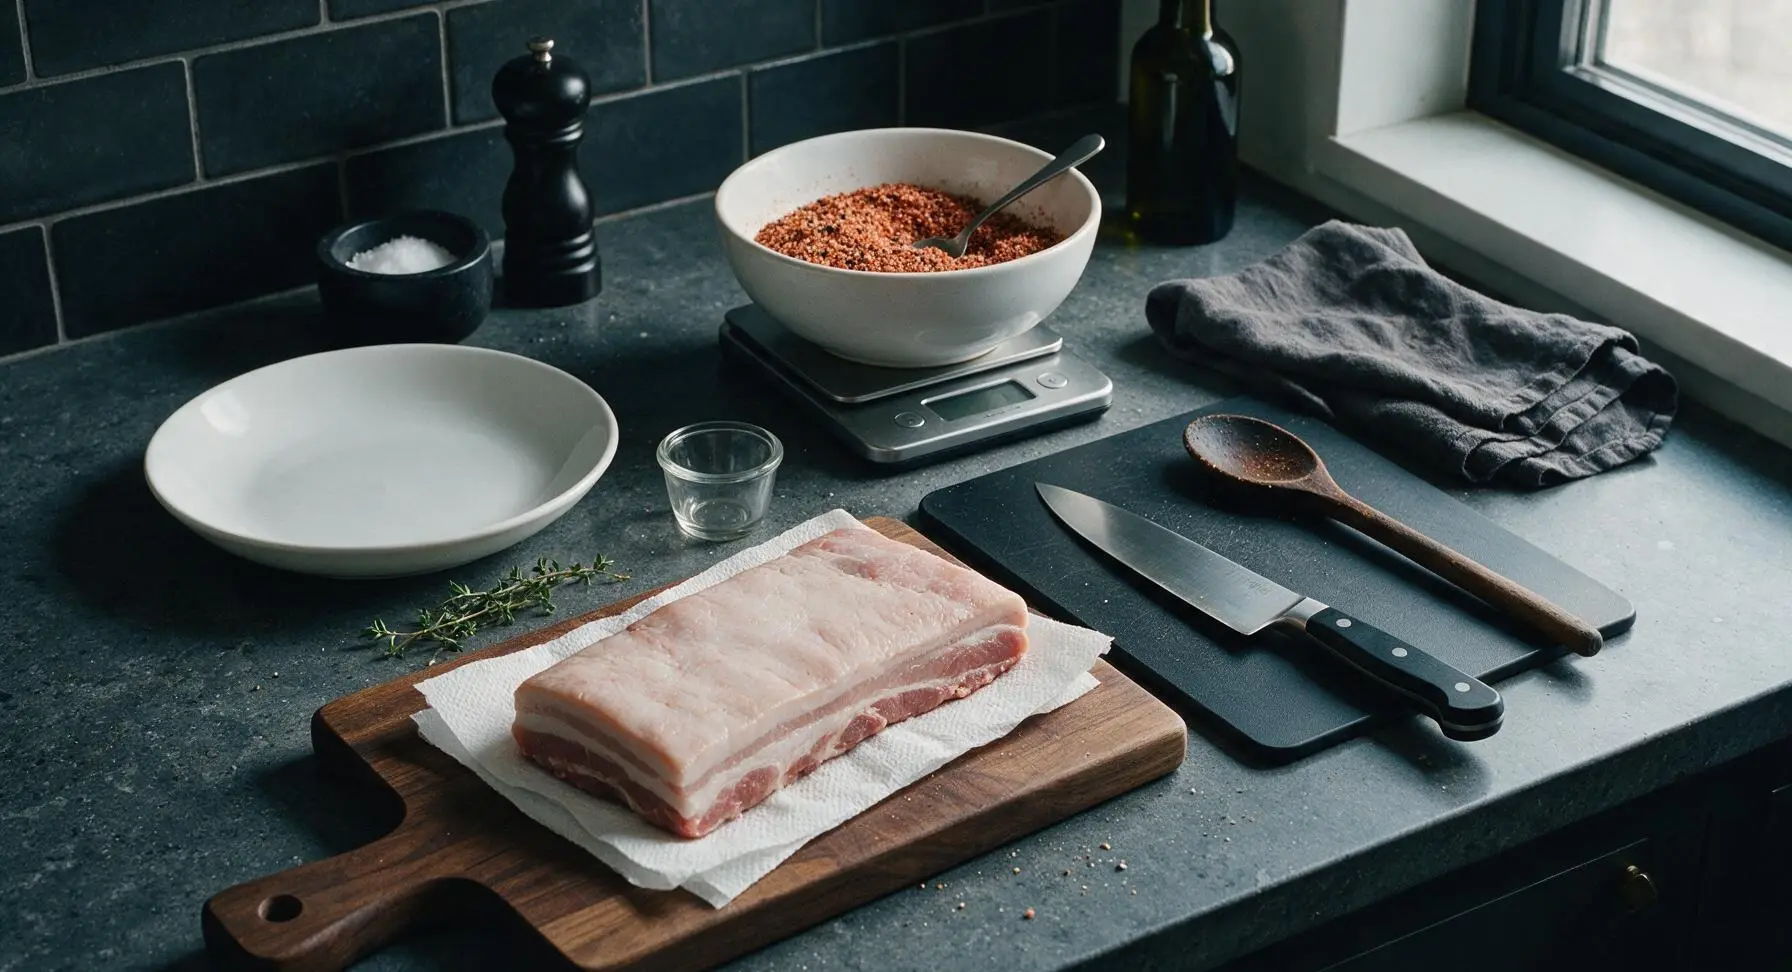
Place the 15cm matte white ceramic mixing bowl on the scale, and tare to zero. Add 3 tbsp kosher salt, 1 tsp celery powder, 2 tbsp coconut sugar, 1 tbsp coarse black pepper, 1 tsp smoked paprika, 1 tsp granulated garlic, and 1/2 tsp crushed bay leaf to the bowl. Stir thoroughly with a small spoon until all spices are evenly combined, with no clumps of sugar or celery powder remaining. The blend will be a warm reddish-brown color with visible black pepper flecks.
Coat Pork With Cure
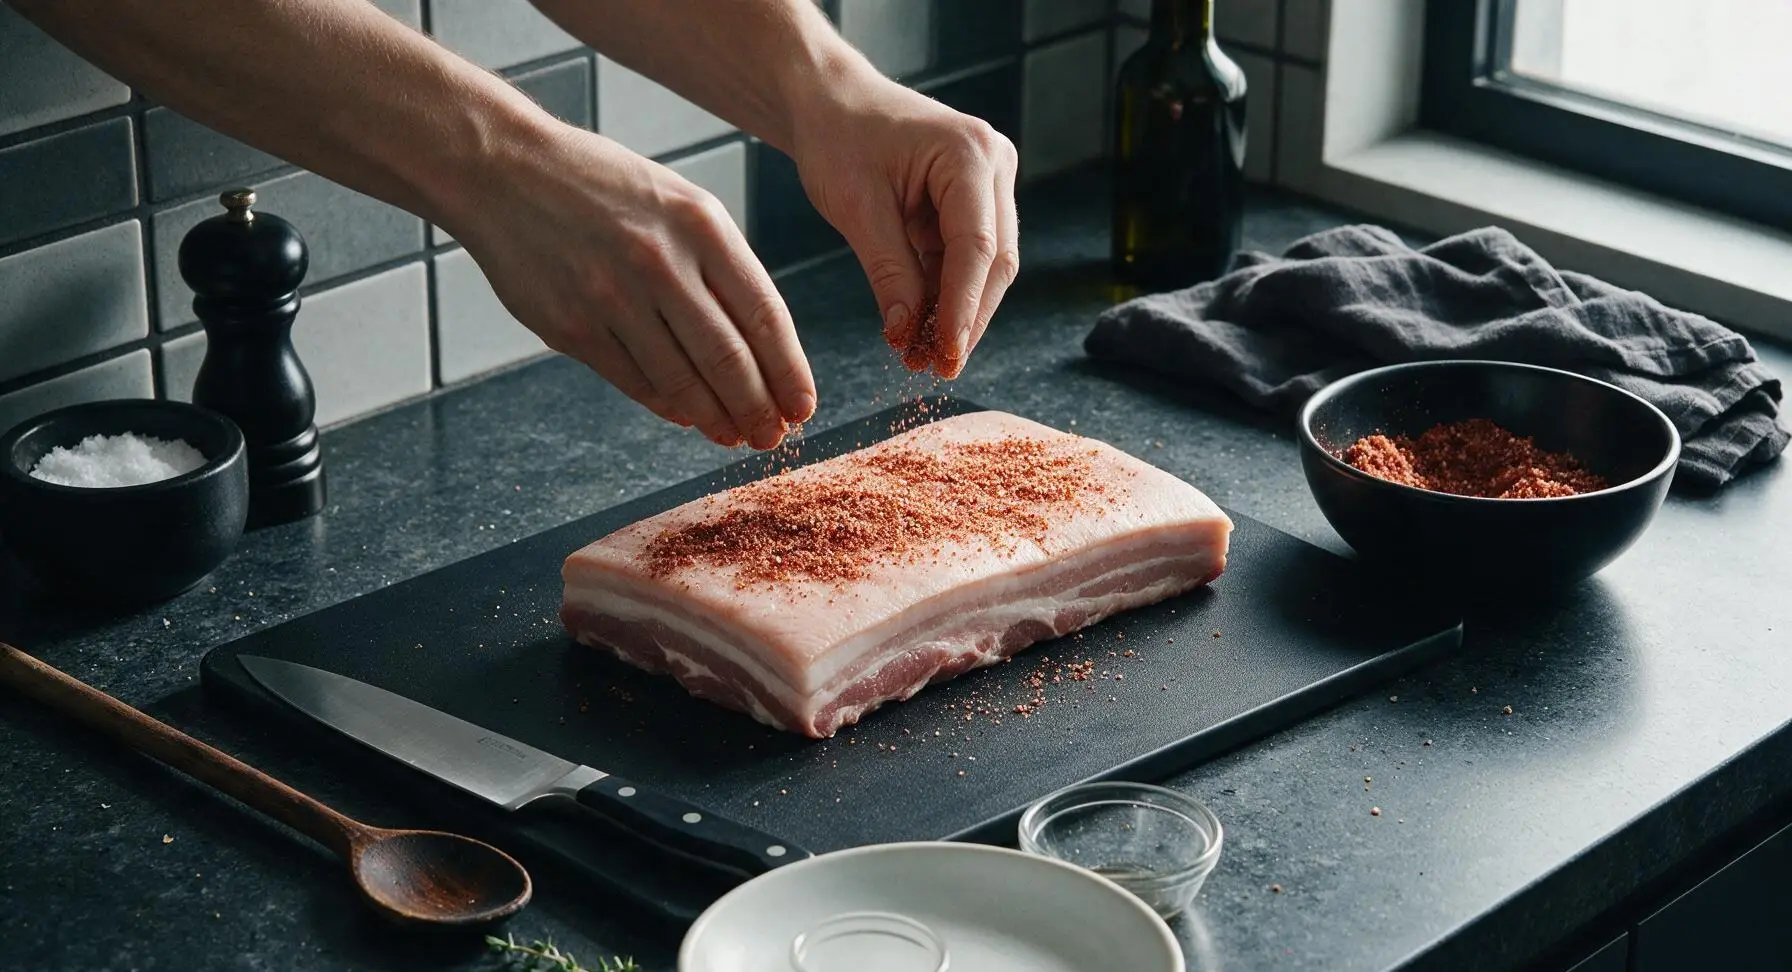
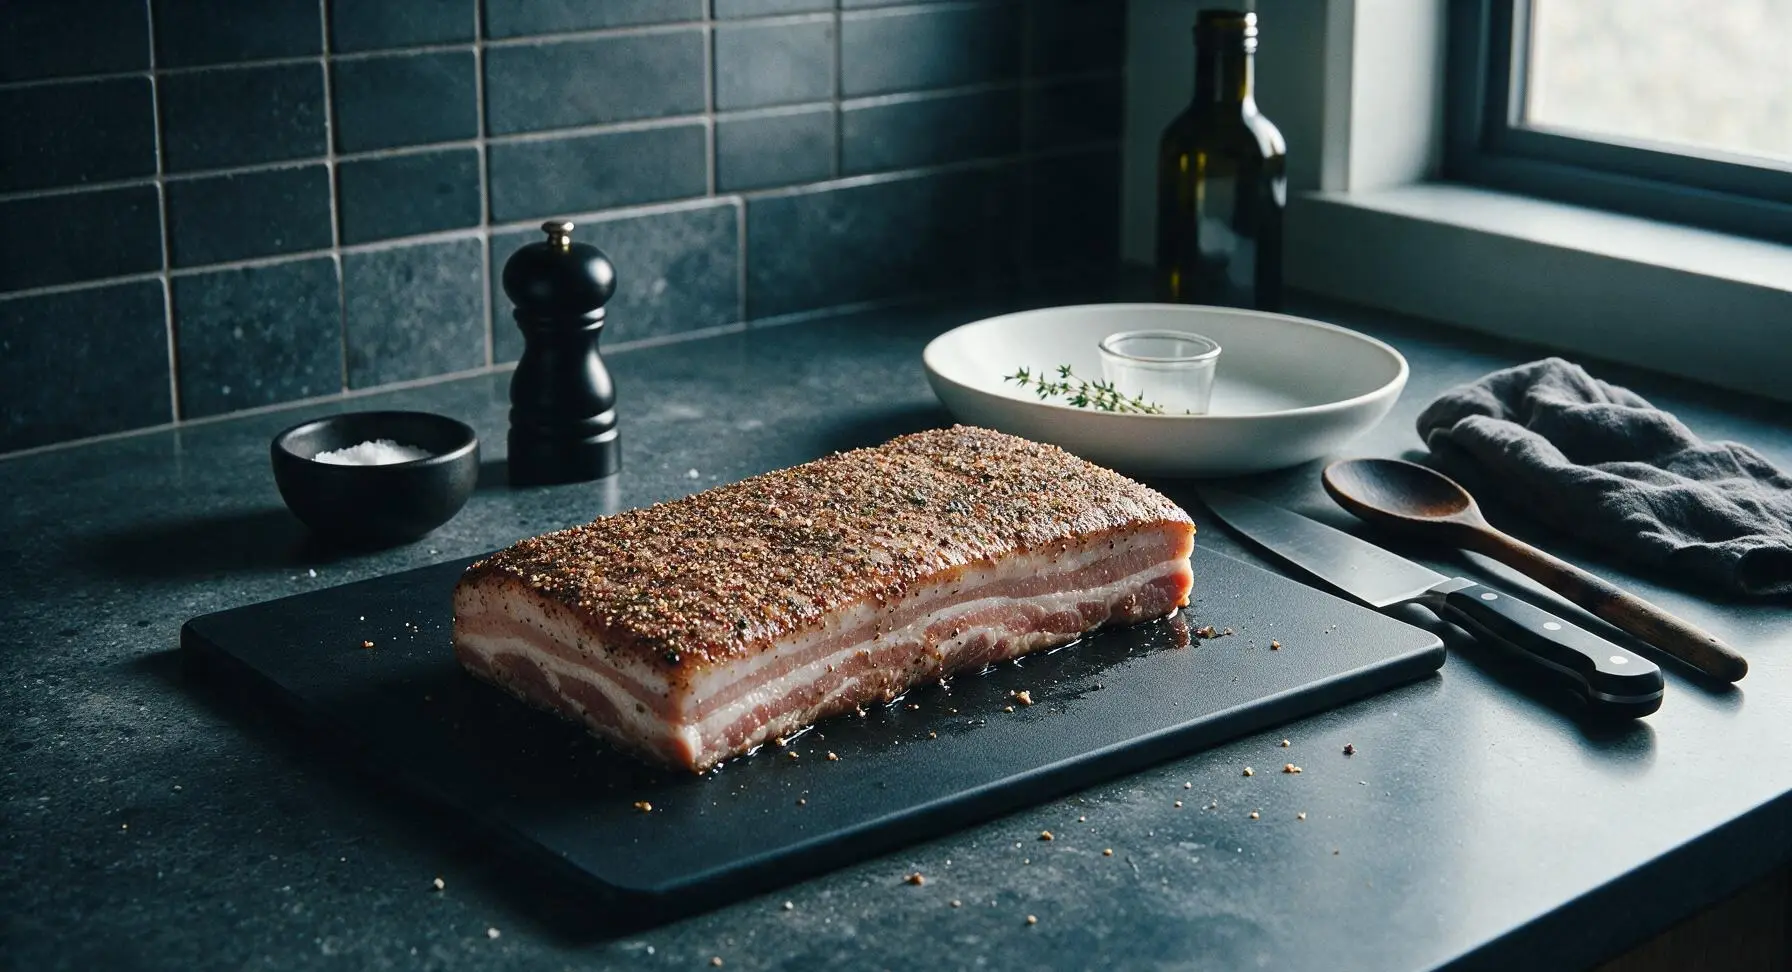
Sprinkle half of the cure blend evenly over the top (fat side) of the pork belly, rubbing firmly into the surface with clean hands to ensure full adhesion. Flip the pork belly over, and apply the remaining half of the cure to the meat side, rubbing into every crevice and edge. No patches of bare pork should be visible once the cure is applied; the entire slab will be coated in a thin, even layer of spice blend.
Seal For Curing
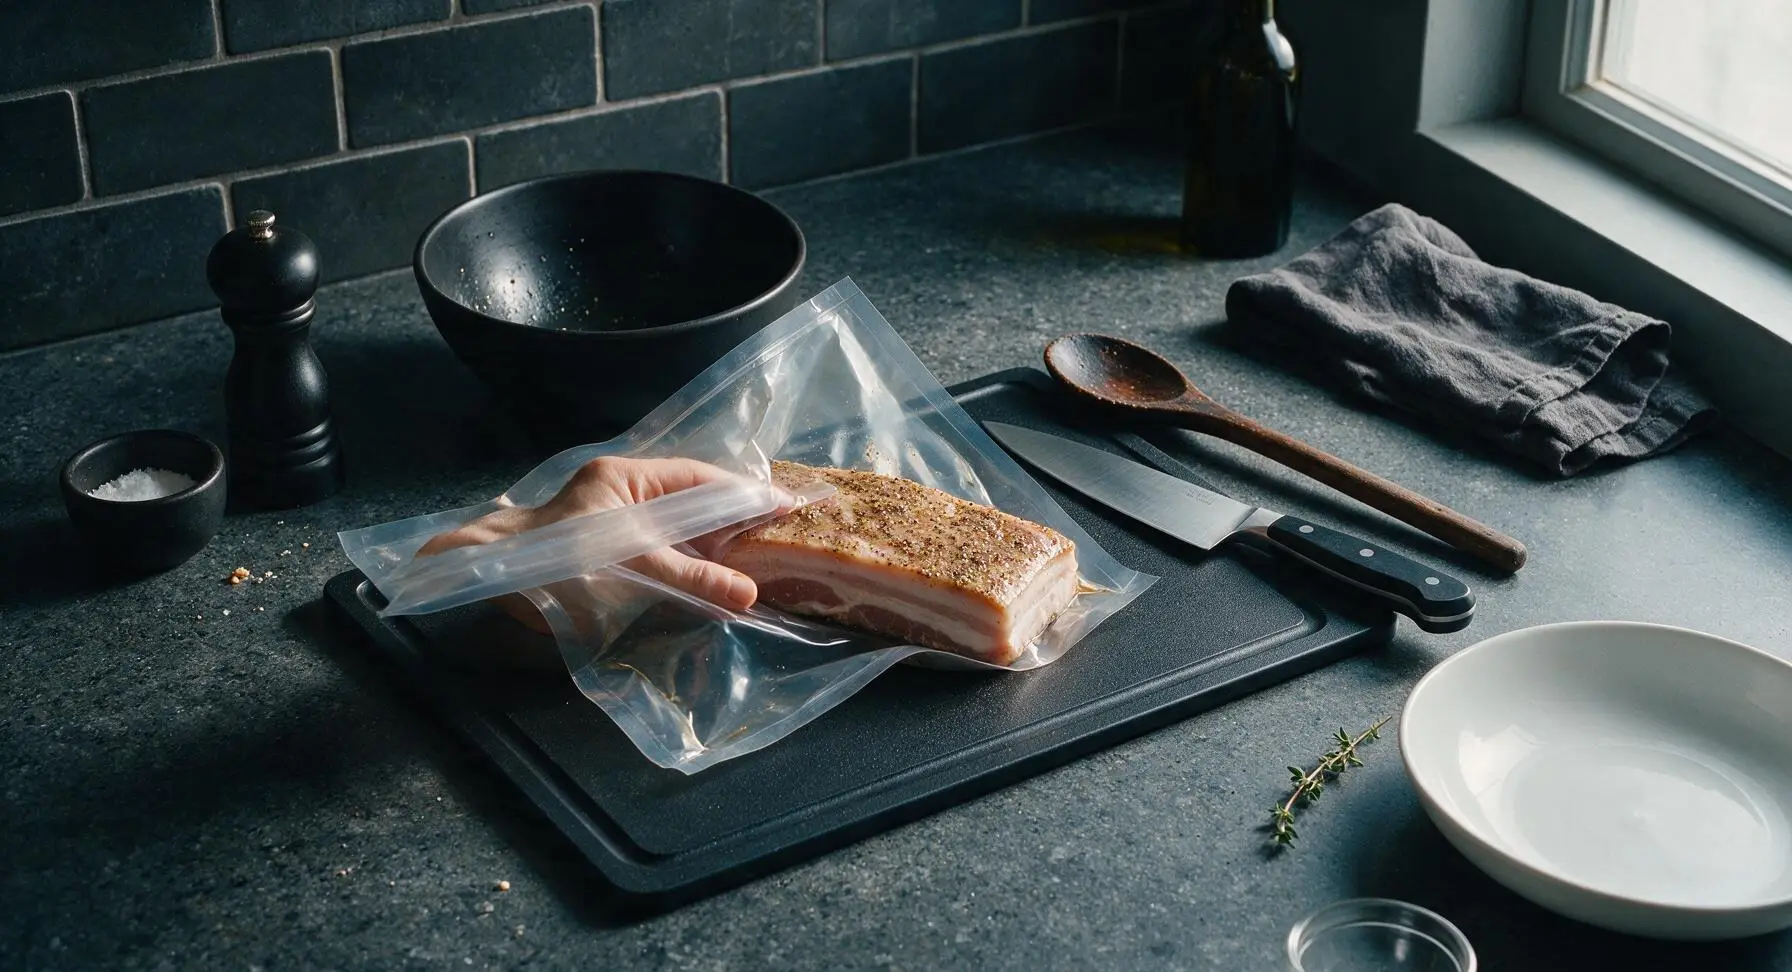
Slide the fully cure-coated pork belly into the clear vacuum seal bag, pressing out as much air as possible before sealing tightly (if you do not have a vacuum sealer, use a heavy-duty zip-top bag, pressing out all excess air). Place the sealed bag on a small rimmed tray in the refrigerator, and cure for 5 full days, flipping the bag over once every 24 hours to redistribute the released brine. The pork will feel firmer to the touch once curing is complete, with no soft squishy spots.
Rinse And Dry Cured Belly
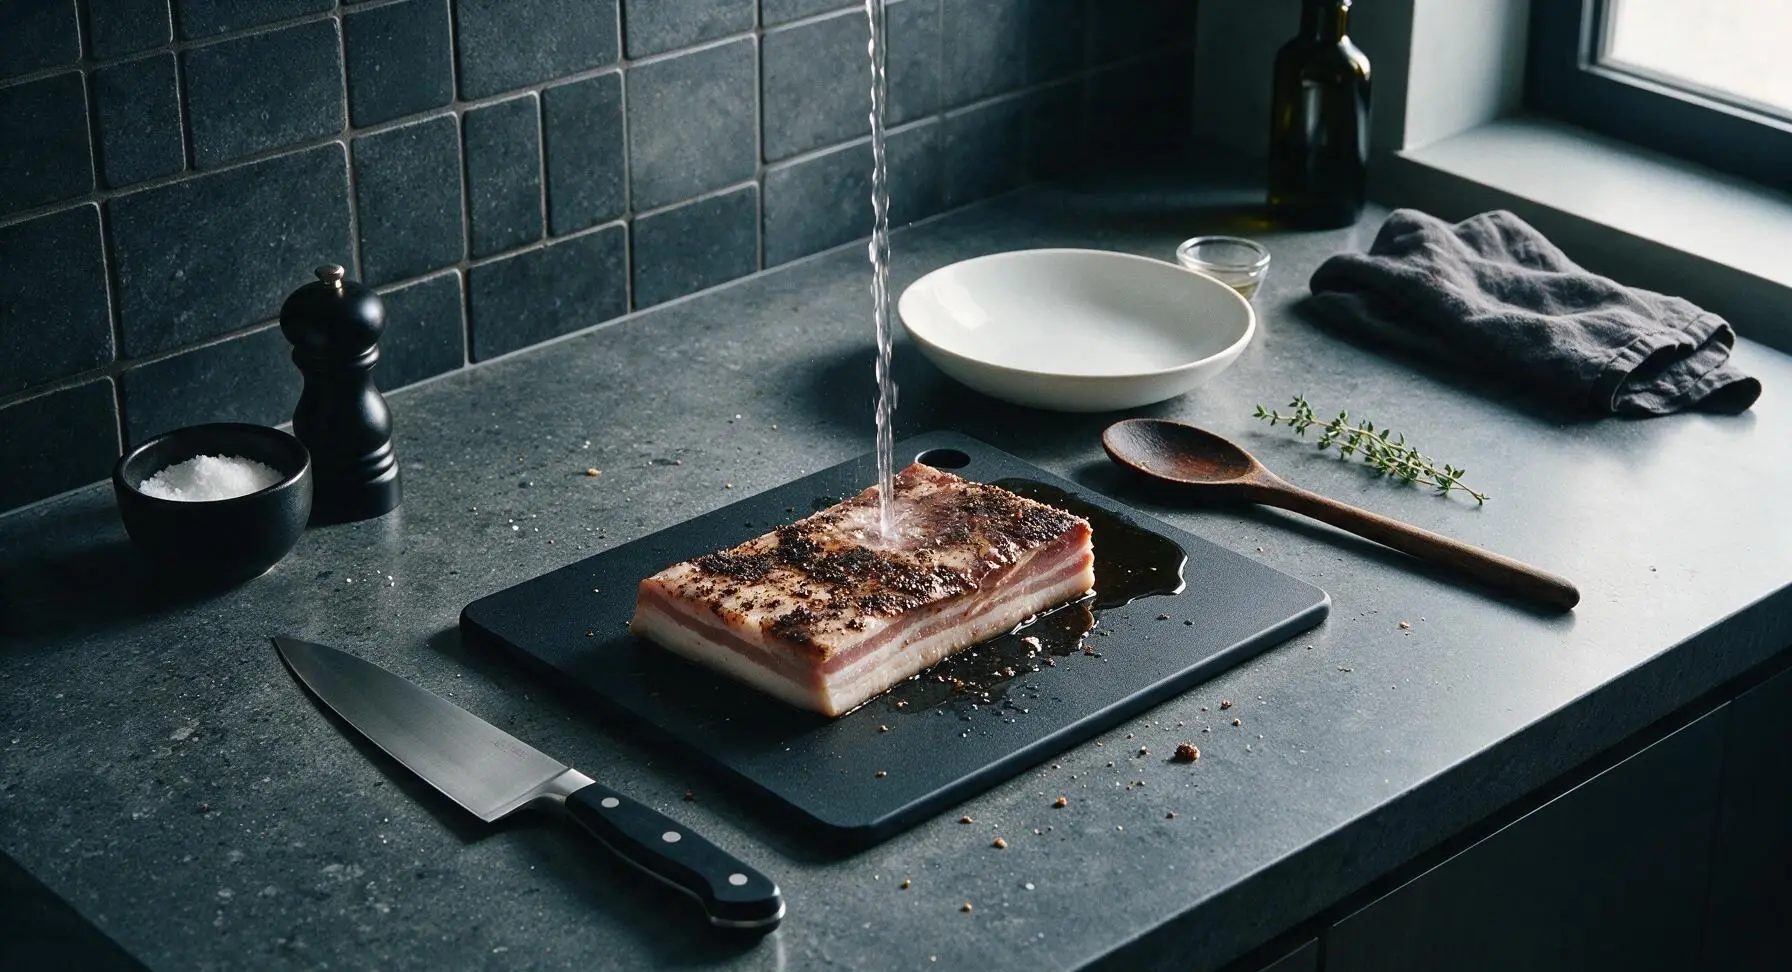
After 5 days of curing, remove the pork belly from the bag (it will be firm, with dark, concentrated spice color across the surface). Rinse all cure residue off completely under cool running water, then pat completely dry with paper towels. Place the rinsed, dried belly on a wire rack set over a plate, and return it to the refrigerator uncovered for 12 hours (or overnight) to form a dry, slightly tacky pellicle on the surface – this helps the bacon develop a nice, even roast color.
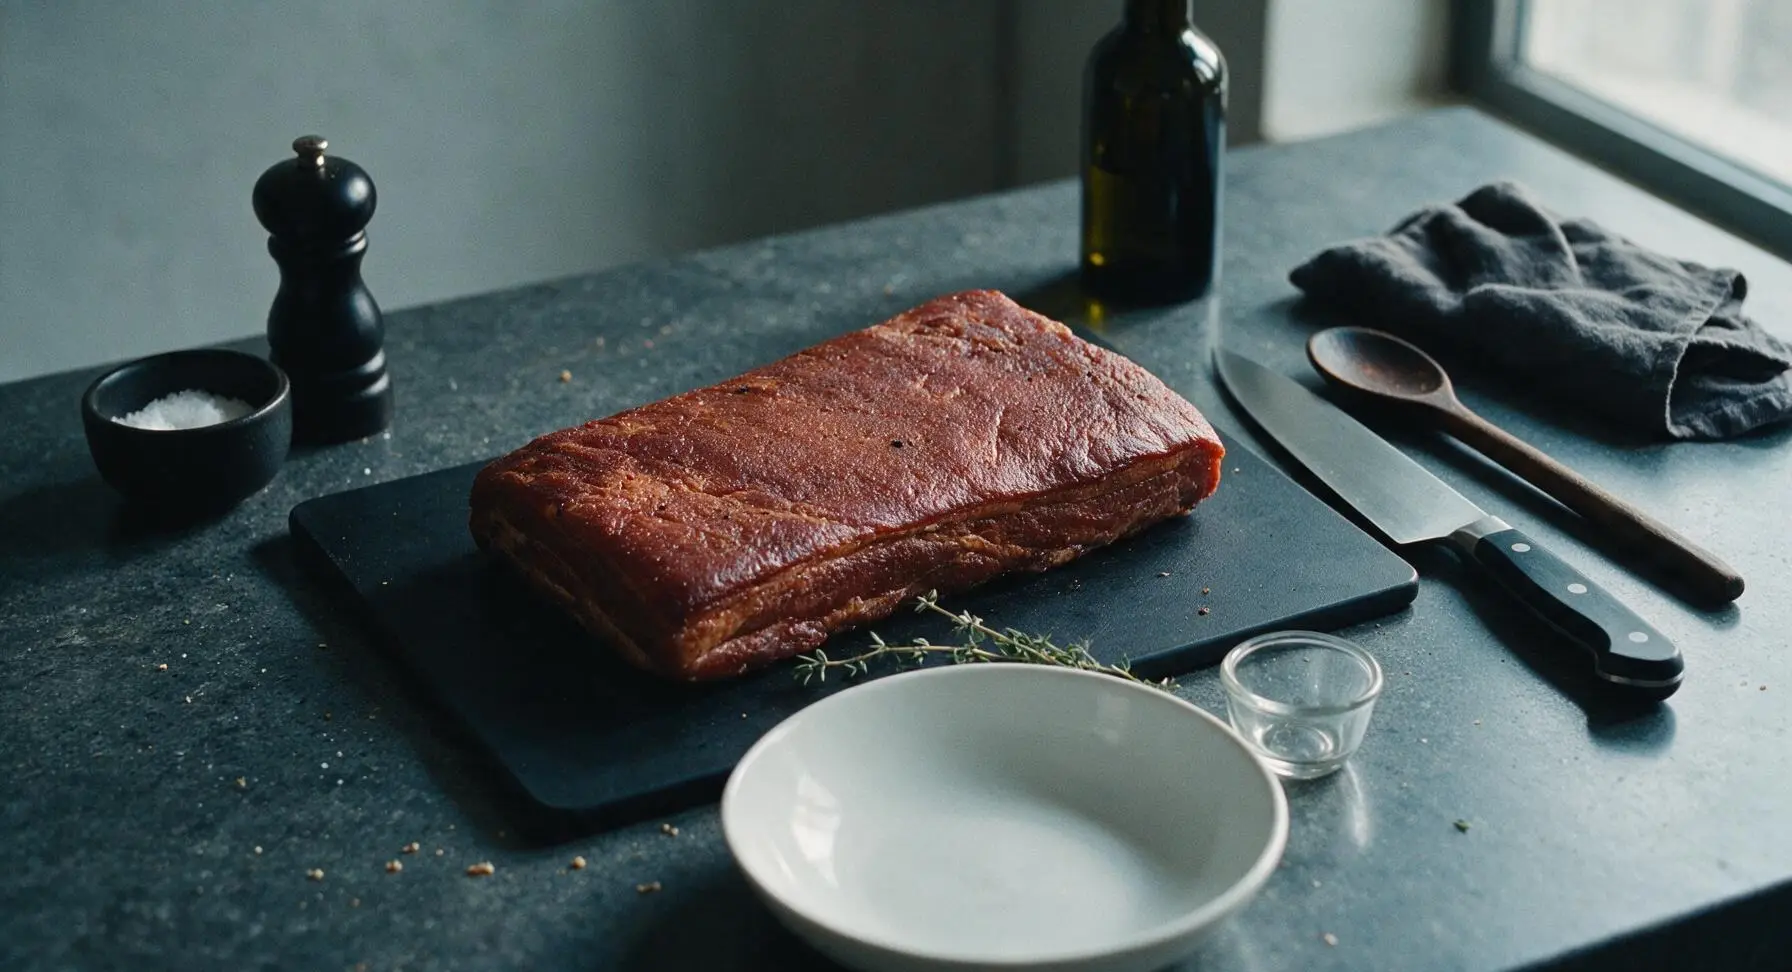
Slow Roast Bacon Slab
Preheat your oven to 200°F (95°C). Set the wire cooling rack inside the parchment-lined stainless steel baking sheet, then place the dried cured pork belly fat-side up on the rack. Roast for 1 hour 15 minutes to 1 hour 30 minutes, until the internal temperature of the thickest part of the slab reaches 150°F (66°C) measured with an instant-read thermometer. The bacon will be firm, with a slight golden color on the fat cap, and will render a small amount of fat onto the baking sheet below.
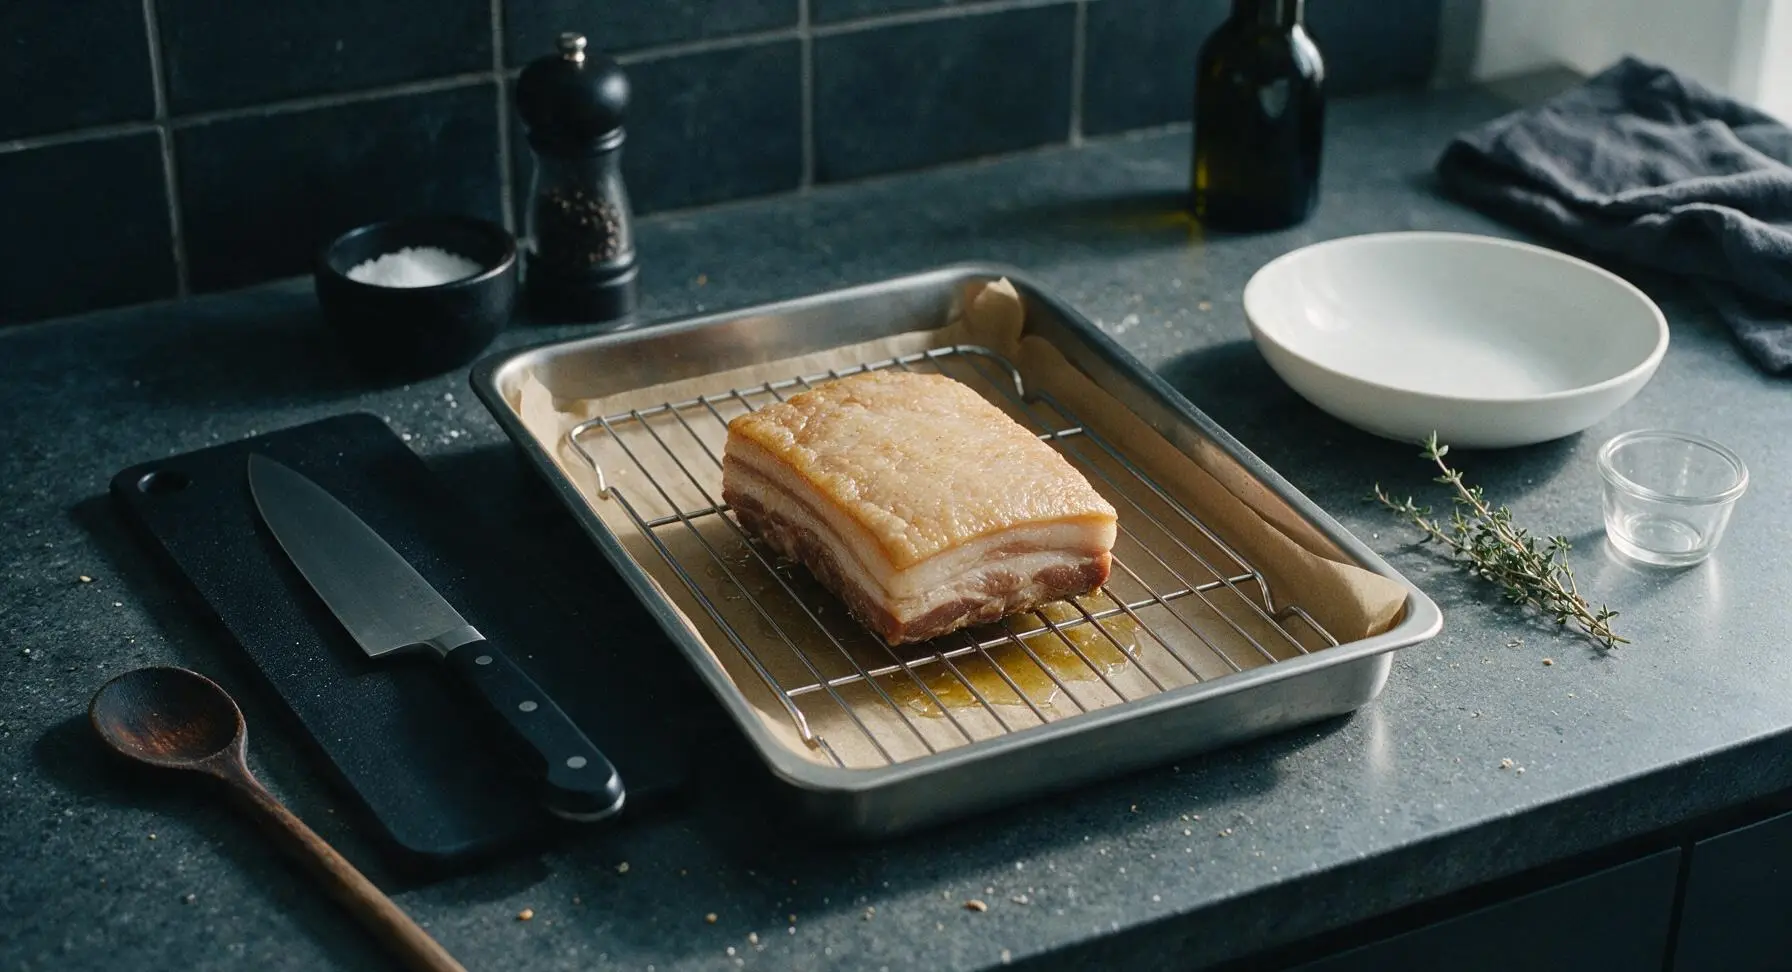
Chill And Slice Bacon
Remove the roasted bacon slab from the oven, and let it cool completely to room temperature, then wrap tightly in plastic wrap and chill in the refrigerator for at least 4 hours (or overnight) – cold bacon slices cleanly without crumbling. Once fully chilled, use a sharp knife to cut the slab into 3mm (1/8 inch) thick slices, cutting against the grain for the most tender bite. Slices will be uniform, deep pinkish-brown with a distinct white fat layer along one edge.
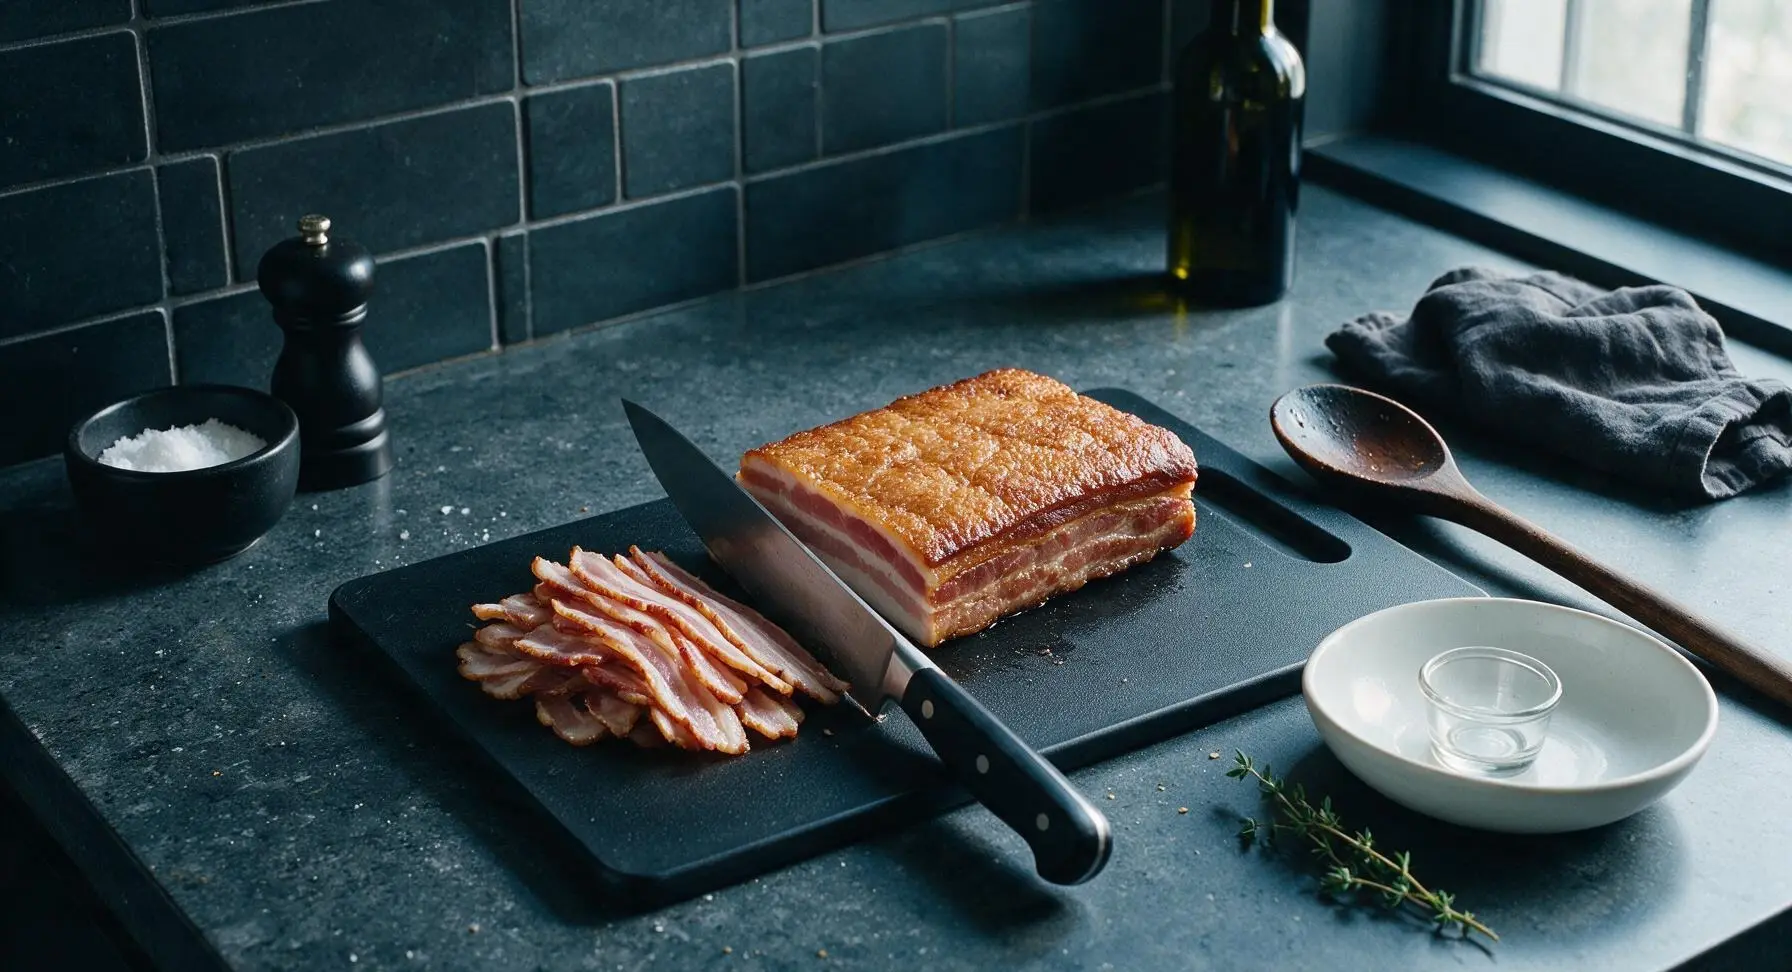
Crisp Bacon To Serve
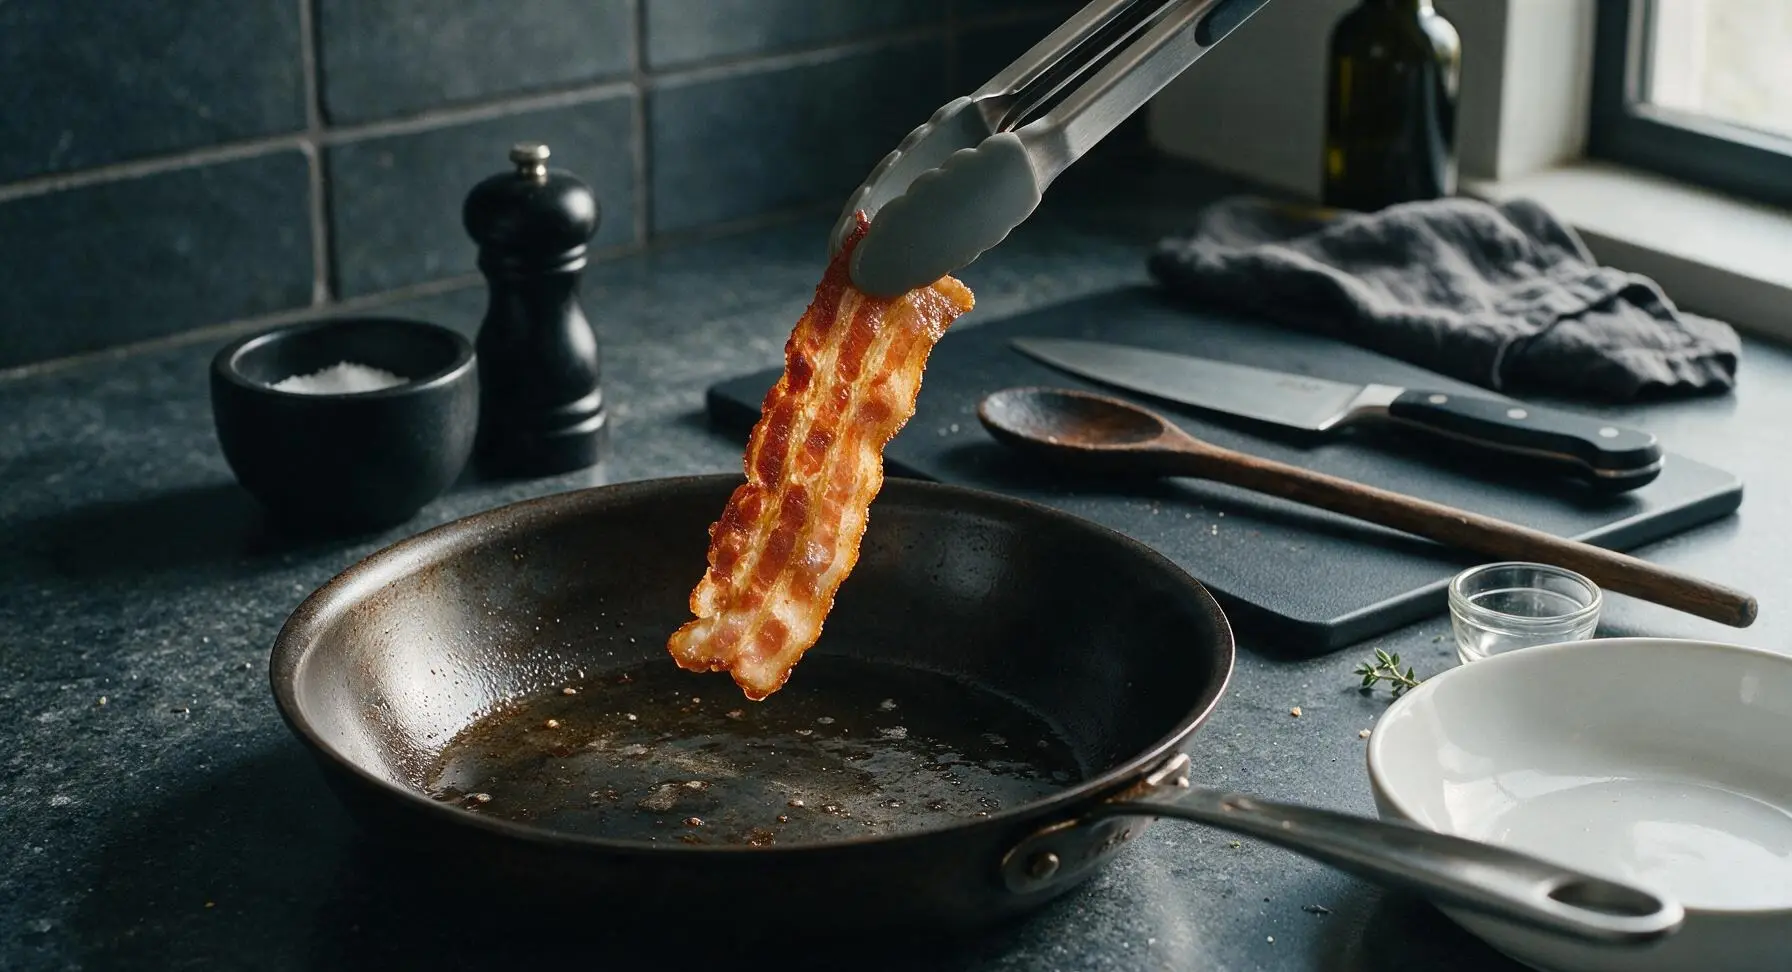
Heat the seasoned carbon steel skillet over medium-low heat. Add the sliced bacon in a single layer, cooking 3-4 minutes per side, until the edges are golden and curled, the fat is rendered, and the bacon reaches your desired crispness. Use the silicone-tipped tongs to flip slices halfway through cooking, and transfer cooked bacon to a paper-towel lined plate for 1 minute to drain excess fat before serving.
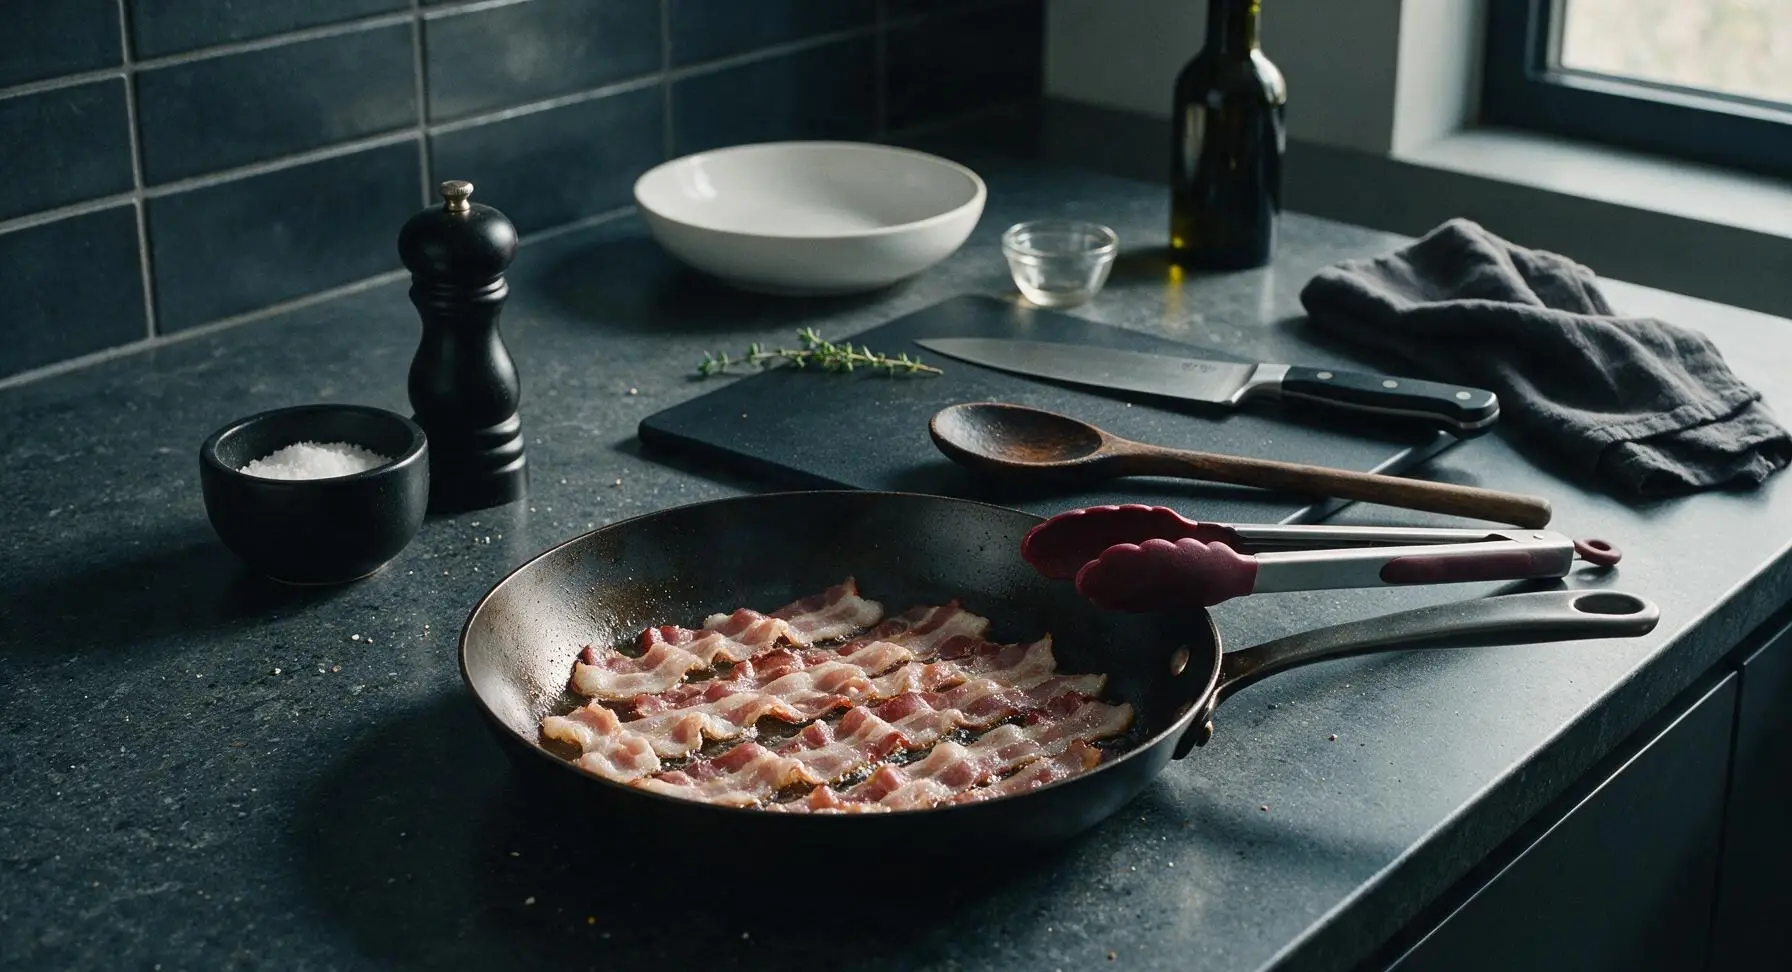
Tips
2.Chill the fully roasted bacon slab for a minimum of 4 hours (preferably overnight) before slicing: warm or room-temperature bacon will tear, crumble, and slice unevenly, leading to ragged strips that cook at different rates. For paper-thin deli-style slices, use a manual meat slicer on the thinnest setting once the slab is fully chilled.
3.Cook sliced bacon over medium-low heat rather than high heat: the small amount of coconut sugar in the cure will burn quickly at high temperatures, creating bitter, charred edges before the fat has time to fully render and crisp. Low, slow rendering produces evenly golden, crispy bacon with no burnt aftertaste.






OMG, this homemade nitrate-free bacon is a total game changer! I’ve been shelling out for the overpriced pre-made nitrate-free packs at Whole Foods for years because my oldest gets migraines from added nitrates, and this version tastes SO much better. Made a big batch for our Saturday family breakfast and both kids begged for extra pieces to crumble on their after-school salads next week. Already added this to my regular Sunday meal prep rotation!
Went into this thinking medium difficulty meant I’d definitely mess it up, but the instructions were so clear! I smoked mine with a little apple wood per a friend’s tip and it came out perfectly crispy, no weird artificial aftertaste like the store-bought stuff. Brought a pack to my neighborhood potluck last weekend and everyone was asking for the recipe.
Really solid recipe! I cut the salt just a tiny bit to fit my low-sodium goals and it still turned out amazing. Love that I know exactly what’s going into my food instead of reading a mile-long ingredient list on the package. Used it for breakfast sandwiches all week and didn’t get bored once.
Wait, hold up — no nitrates at all? I thought you needed curing salt to make bacon safe? I’ve been wanting to try homemade bacon forever but I’m paranoid about making myself sick. Can someone break down how this works without the usual curing stuff?
Made this for my boyfriend’s birthday brunch and he said it’s the best bacon he’s ever had, even better than the fancy diner stuff downtown. I added a tiny bit of maple syrup to the cure and *chefs kiss* — the balance of sweet and salty is unbeatable.
Worked out to be way cheaper than buying the premium nitrate-free bacon at the grocery store, which is a huge win for my grocery budget right now. I made a double batch and froze half, so I’ve got bacon ready for the next month. Only note is that the cook time ran about 10 minutes longer for me than the recipe said, probably because my oven runs a little cool.
So glad I found this recipe! My kid has multiple food sensitivities and it’s impossible to find pre-made bacon that doesn’t have hidden additives or cross-contamination warnings for his allergens. This was so straightforward to make, and he ate three strips straight off the baking sheet, no tummy troubles afterward. Total win for our house.
Okay, full transparency: I’ve never cured any kind of meat before, ever. I was convinced I’d ruin a whole pork belly and waste money, but this recipe walked me through every single step. My only mistake was not making a bigger batch — my roommates demolished half of it in 10 minutes when it came out of the oven.
Tried this recipe last weekend and it was good, but I think I over-smoked it a little with hickory so it had a pretty bitter aftertaste. The cure itself was perfect though, so I’m gonna dial back the smoke time on my next go-round and I know it’ll be perfect.
Perfect for meal prep! I chop up the cooked bacon bits and store them in little glass containers to toss on salads, eggs, even loaded baked potatoes throughout the week. It saves me so much time on busy weekday mornings when I’m running out the door for work. Will 100% be making this on repeat.
I was skeptical that nitrate-free bacon could actually taste like the real deal, but wow — this is even better. No weird chemical aftertaste, just that perfect salty, savory bacon flavor I’ve been missing since I cut out processed meats. Made BLTs for dinner last night and my partner said he’d never go back to store-bought again.