
Bagel
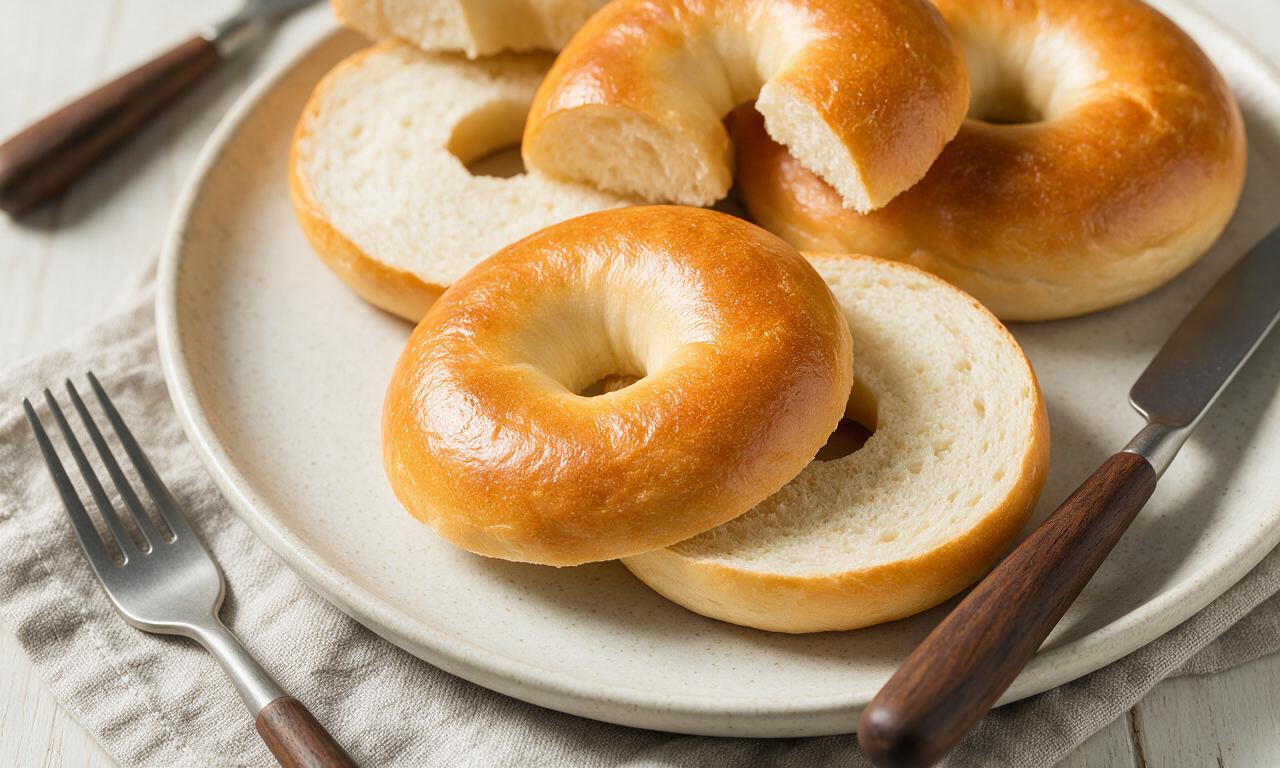
intro
Chewy, glossy golden-crusted bagels with a dense, soft interior, the iconic handheld staple perfect for spreading, stacking, and enjoying on the go.
Ingredients
Steps
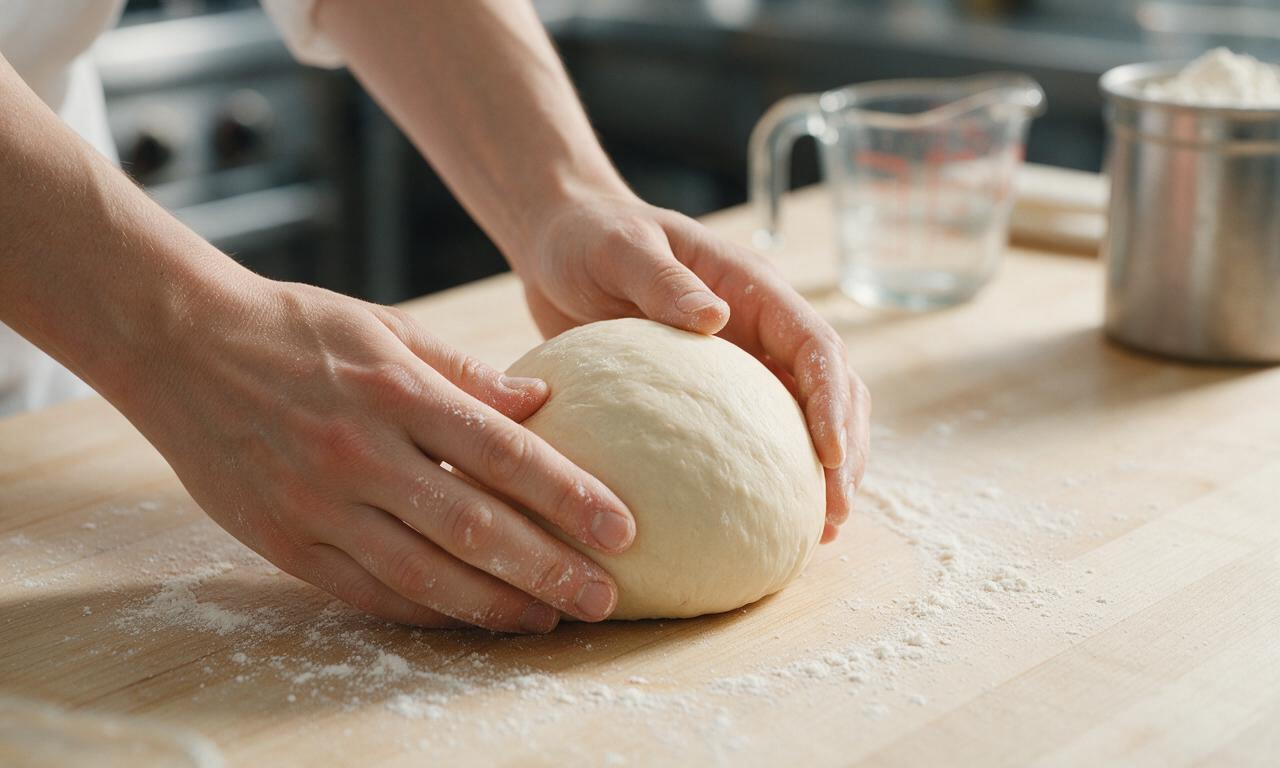
Mix and knead dough
In a large mixing bowl, combine 500g bread flour, 7g instant dry yeast, 12g fine sea salt, 15ml (1 tbsp) barley malt syrup, and 320ml warm (40°C/105°F) water. Stir until a shaggy, lumpy dough forms, then turn out onto a lightly floured work surface. Knead steadily for 10 minutes until the dough is smooth, tight, and elastic, and does not stick to your hands when pressed lightly.
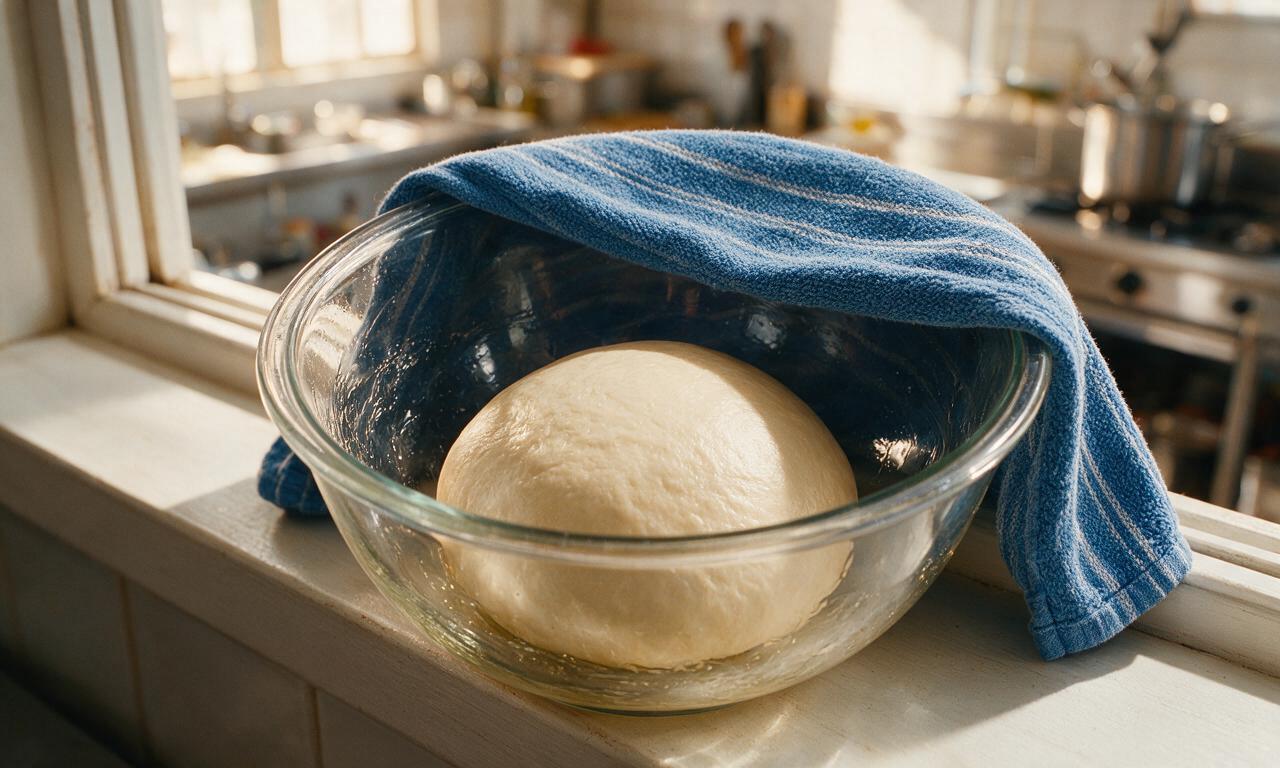
First dough rise
Coat the inside of a clean large bowl with 5ml neutral oil, form the kneaded dough into a tight ball, and place it in the bowl. Cover with a damp cotton kitchen towel, and let rest in a warm (24°C/75°F) draft-free spot for 1 hour, until the dough doubles in volume and springs back slowly when poked with a floured finger.
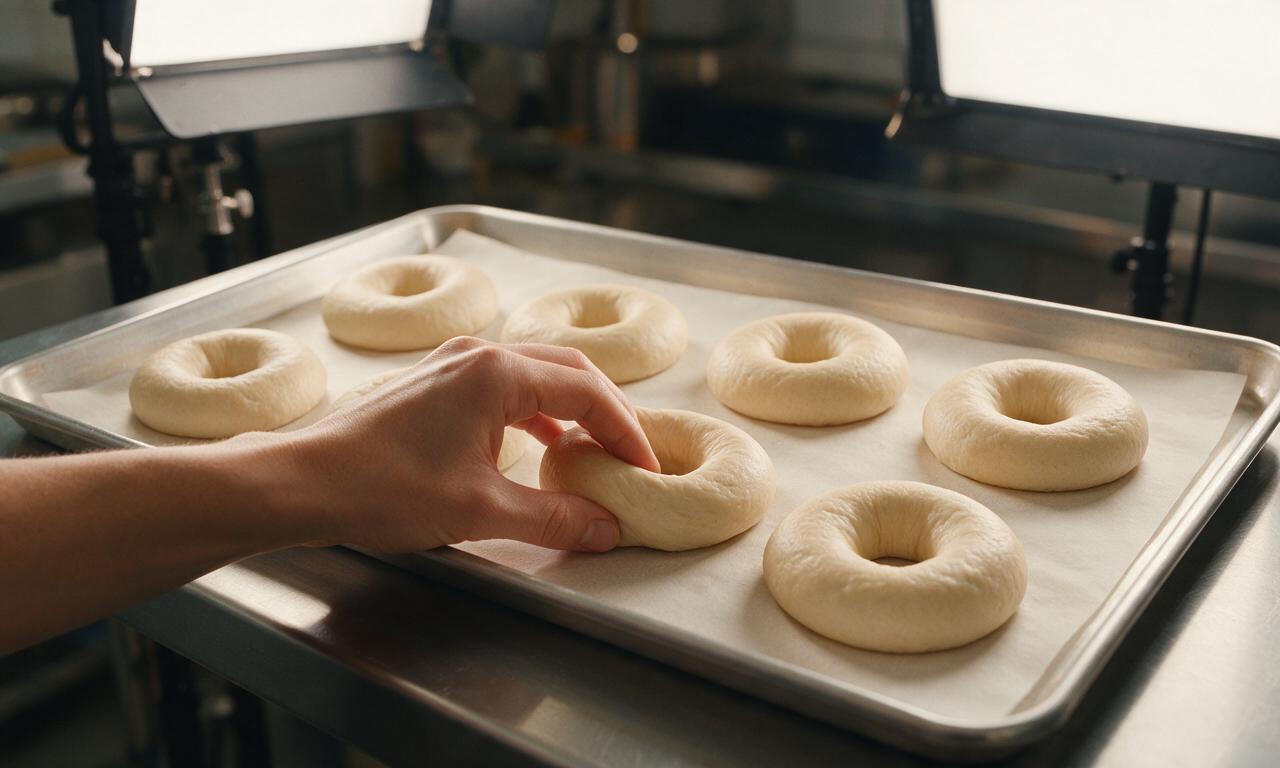
Shape individual bagels
Punch down the risen dough firmly to release all trapped air, then divide it into 8 equal 105g pieces. Roll each piece into a tight, smooth 10cm/4in ball, then poke a hole through the center with your thumb, stretching the hole to 5cm/2in wide to prevent it from closing during cooking. Arrange shaped bagels on a parchment-lined baking sheet, cover with a damp towel, and rest for 20 minutes at room temperature.
Boil the bagel dough
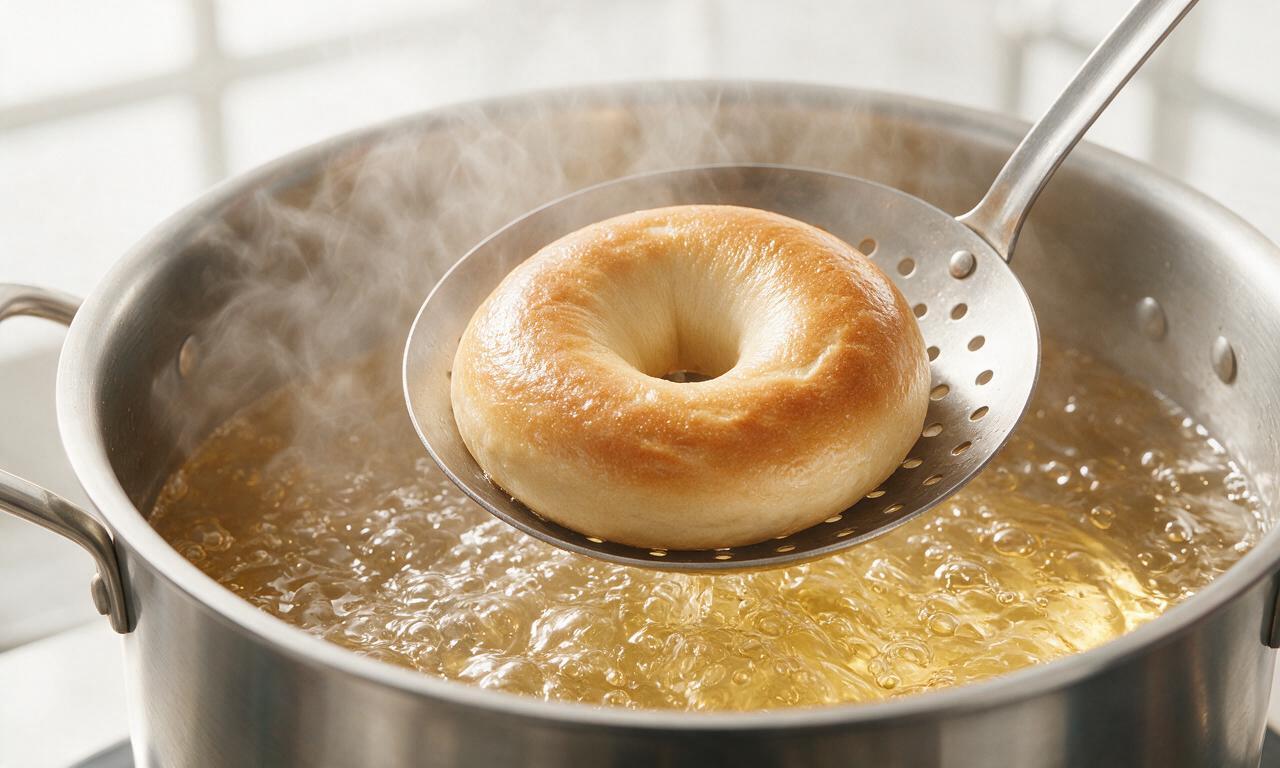
Preheat your oven to 220°C/425°F. Bring 4 liters (1 gallon) of water to a rolling boil over high heat, then stir in the remaining 30ml (2 tbsp) barley malt syrup and 14g baking soda until dissolved. Cook 2-3 bagels at a time (do not crowd the pot) for 1 minute per side, flipping with a slotted spoon. Remove boiled bagels back to the parchment sheet, and sprinkle with optional sesame seeds immediately while the surface is sticky.
Bake to golden brown
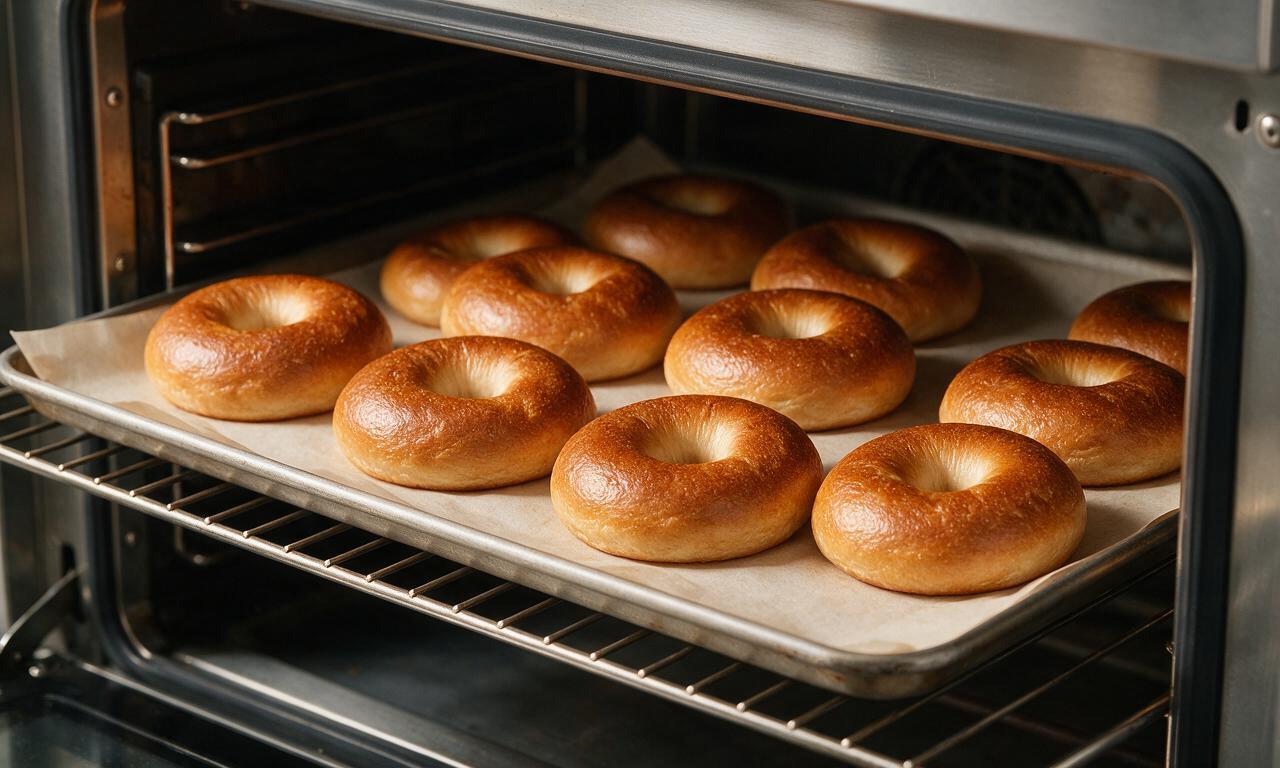
Place the baking sheet of boiled bagels on the middle oven rack. Bake for 20-22 minutes, rotating the sheet 180 degrees at the 11-minute mark to ensure even browning, until bagels are a deep glossy golden brown, with crisp crusts that sound hollow when tapped on the bottom.
Cool and serve
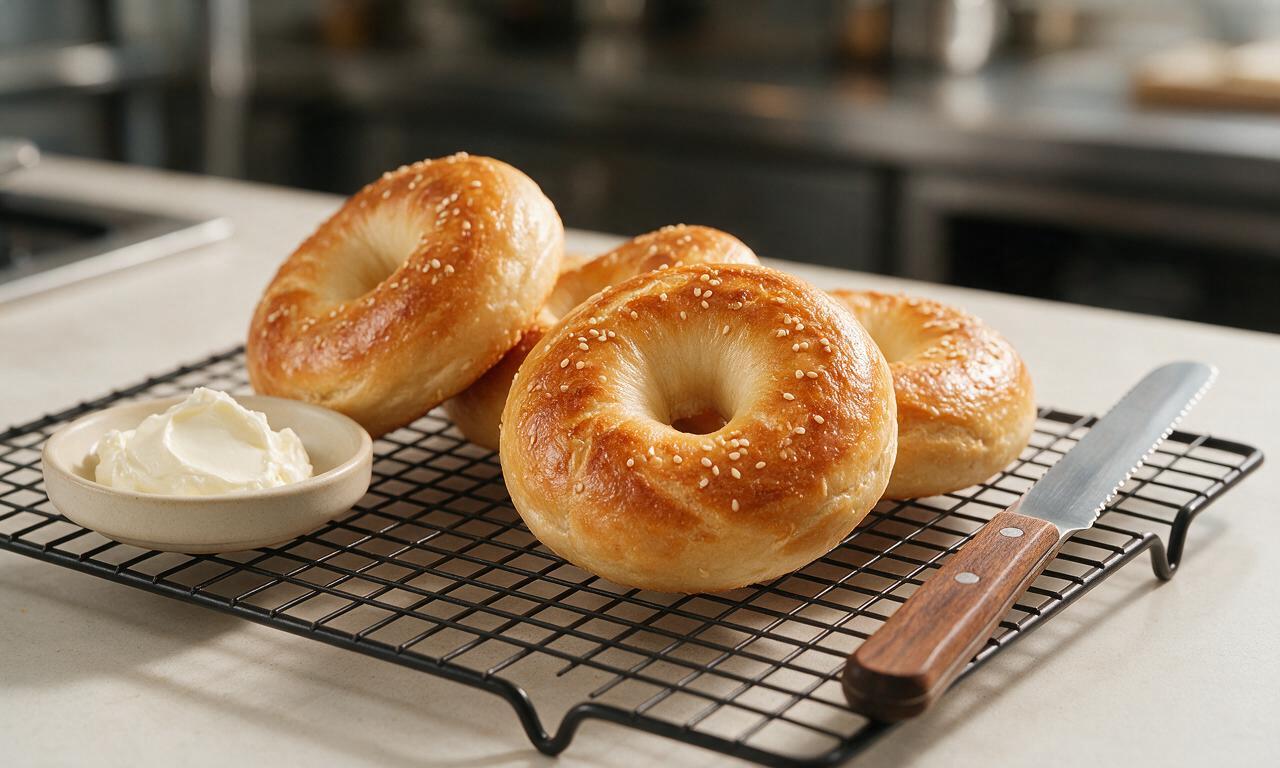
Transfer freshly baked bagels to a wire cooling rack, and let them cool for at least 15 minutes before slicing, to allow the chewy interior crumb to set fully. Serve sliced and topped with cream cheese, smoked salmon, avocado, or your favorite sandwich fillings.
Tips
2.Stretch the center hole of each shaped bagel to a full 5cm/2in wide; the dough puffs dramatically during proofing and boiling, and small holes will seal shut as the bagel cooks.
3.Cooled bagels stay fresh in an airtight container for 3 days at room temperature, or can be frozen for up to 3 months; toast frozen bagels directly without thawing for best texture.
OMG these are SO good! I’ve been chasing that perfect chewy NYC bagel texture since I moved to Texas 3 years ago, and this recipe nailed it. I did everything bagel seasoning on half and plain sesame on the other half, my husband ate 3 straight out of the boiling pot before I even got them in the oven lmao. 10/10 will be making these every Sunday for meal prep from now on.
Solid recipe, but I found the rise time was way longer than listed for me? My kitchen is pretty chilly in the winter, so it took almost an extra hour for the dough to double before shaping. Ended up with great texture anyway, just wish I’d budgeted extra time so I didn’t miss my brunch potluck window oops. Flavor was spot on though, everyone who got a leftover bagel raved about it.
Game changer!!! I was so intimidated to try homemade bagels because I thought they’d be way too fussy for my skill level, but the step-by-step instructions were so easy to follow. My kids loved it when I did a cinnamon raisin variation with a third of the dough, they’ve been begging me to make another batch already for their school breakfasts. Only note: I didn’t have barley malt syrup so I used honey in the boiling water, worked like a charm!
I’ve been making bagels for over 40 years, and this recipe is the closest I’ve found to the old-school bakery bagels I grew up eating in Queens. The chew is perfect, the crust has that nice snap when you bite into it, and the dough is forgiving enough for new bakers to get right on the first try. I added a little bit of onion powder to my dough for extra savoriness, highly recommend that tweak.
These hold up so well in the freezer! I sliced a whole batch after they cooled, popped them in freezer bags, and they toast up perfectly for quick breakfasts all week. The texture is way better than any grocery store bagel I’ve bought, and I love that I can control how much salt goes in. 10/10, adding this to my regular rotation.
Tried these for my dorm floor potluck last weekend and they were gone in 10 minutes flat. I didn’t have a stand mixer so I kneaded the dough by hand for about 15 minutes, and it still worked! My only mistake was forgetting to salt the boiling water, so they were a little bland on the outside, but I’ll fix that next time. So chewy, so good, can’t wait to make them again.
Made these for my weekly Sunday brunch and everyone thought I bought them from a fancy local bagel shop. I set up a toppings bar with cream cheese, lox, capers, tomato, and red onion, and people were going back for seconds and thirds. The 2.5 hour cook time is totally worth it for how good these turn out, don’t let the medium difficulty scare you off!