
bake toast
intro
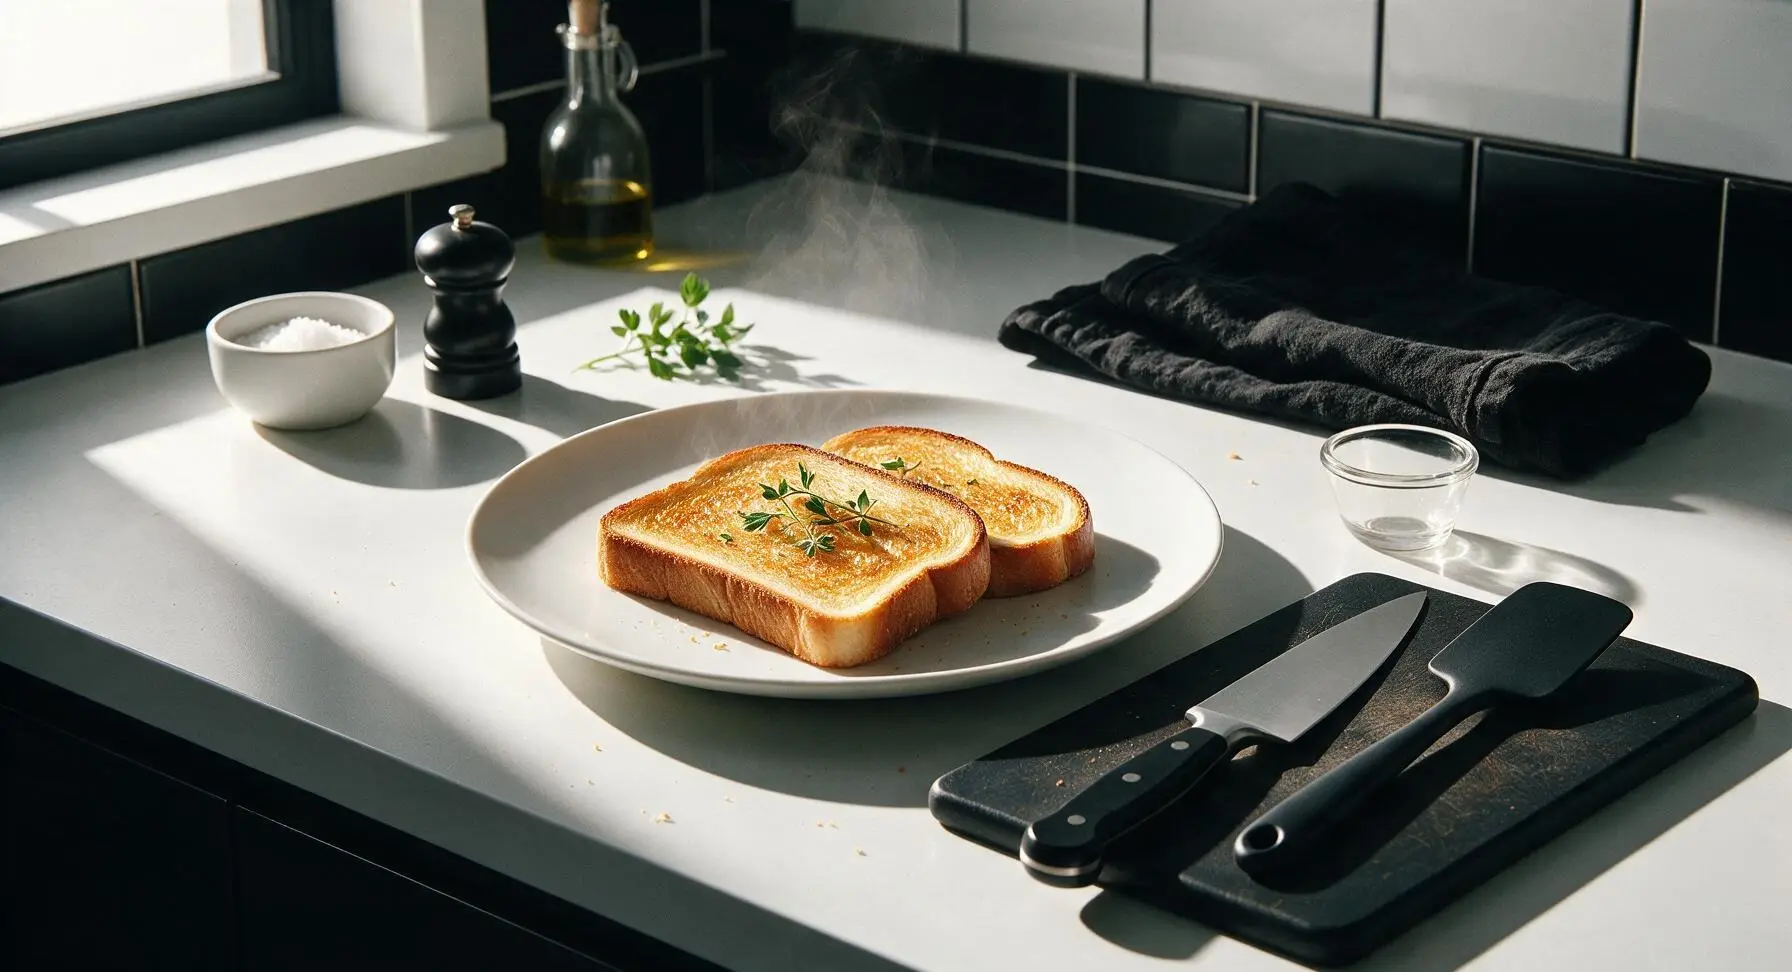
Crispy, golden-edged oven-baked toast with an even buttery crunch, no burnt spots, perfect for pairing with jam, eggs, or soup for a fast, cozy meal.
Ingredients
Steps
Preheat Oven, Prep Pan
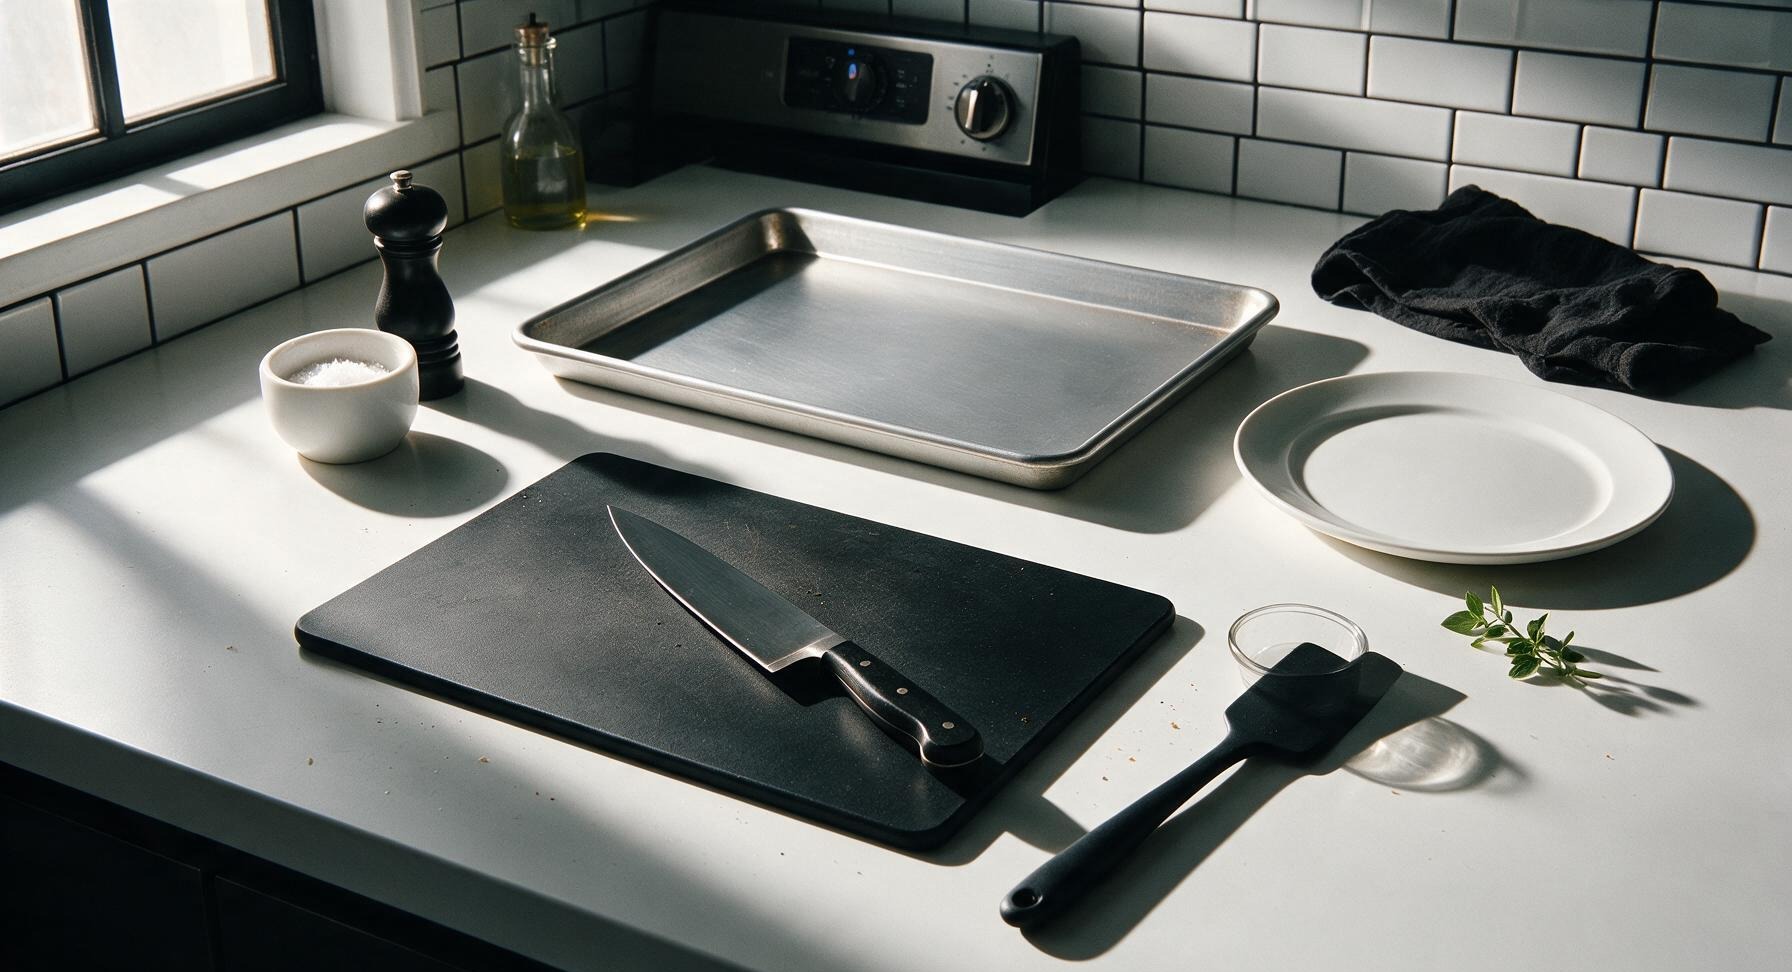
Adjust oven rack to the middle position, preheat oven to 375°F (190°C). Place the 13x18 inch matte aluminized steel half-sheet pan on the counter to bring it to room temperature; do not line it with parchment or foil for maximum crispness.
Melt Unsalted Butter
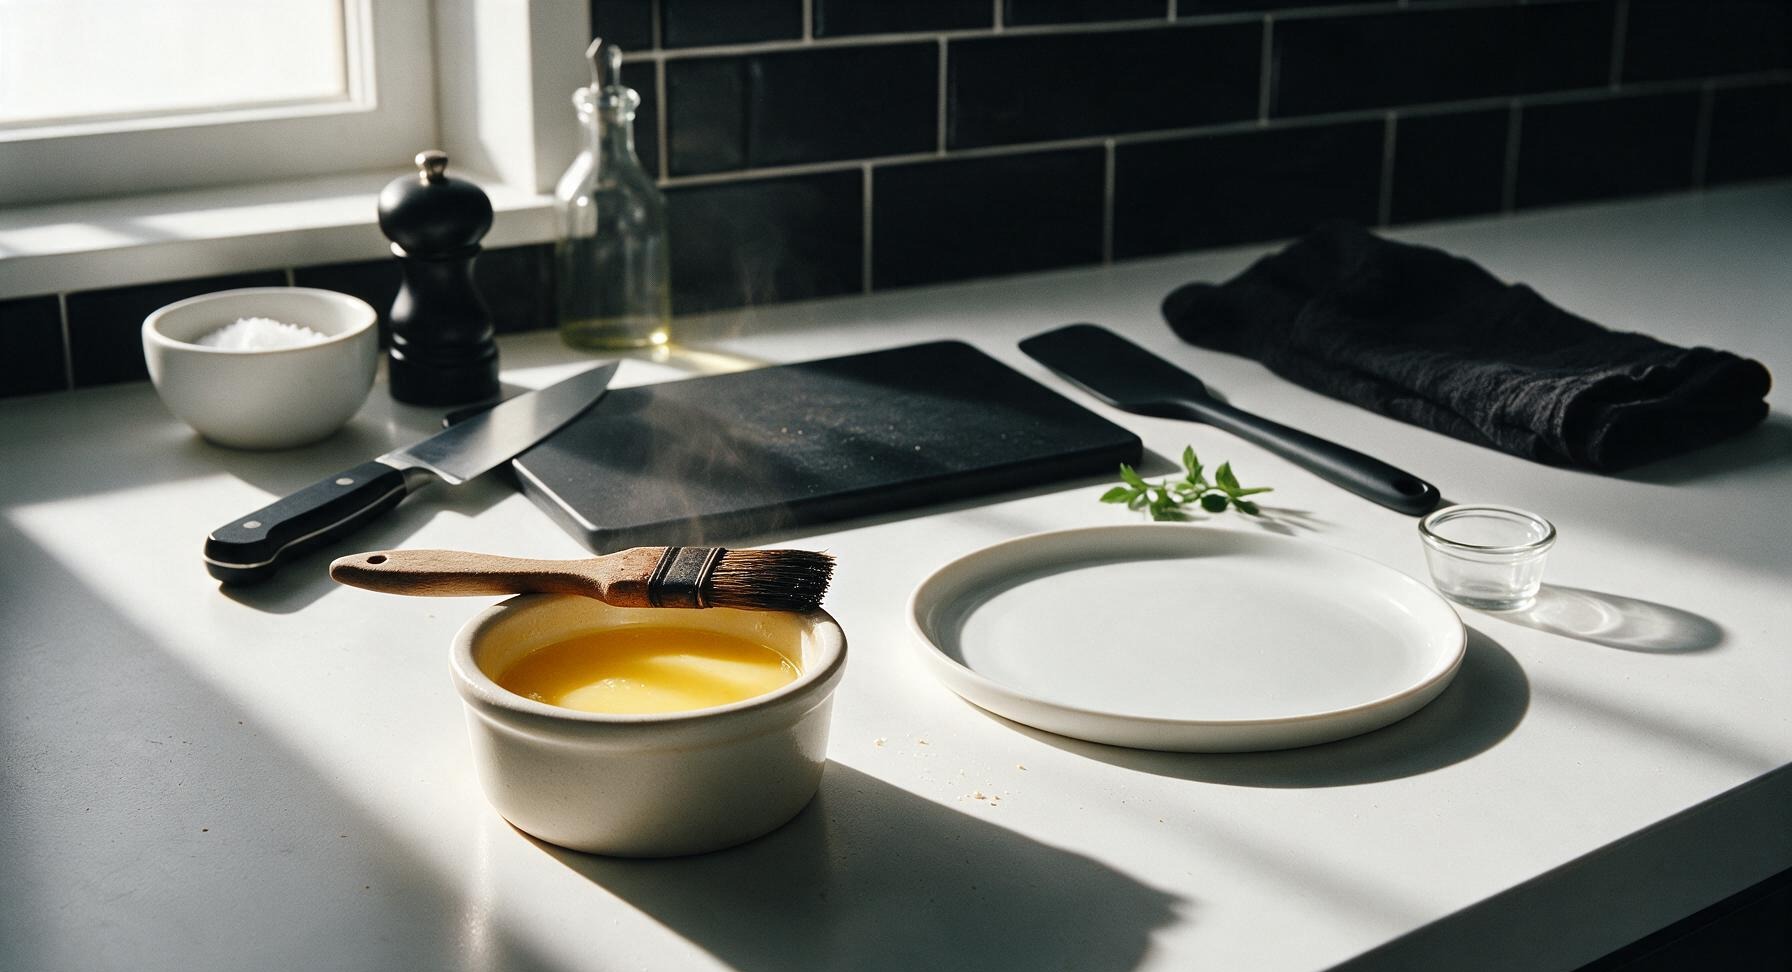
Place 2 tablespoons of unsalted butter in the small matte cream ceramic ramekin. Microwave for 20 seconds until fully melted and pale golden, with no solid lumps remaining. Set the ramekin back in its fixed position left of the serving platter.
Slice Bread Evenly
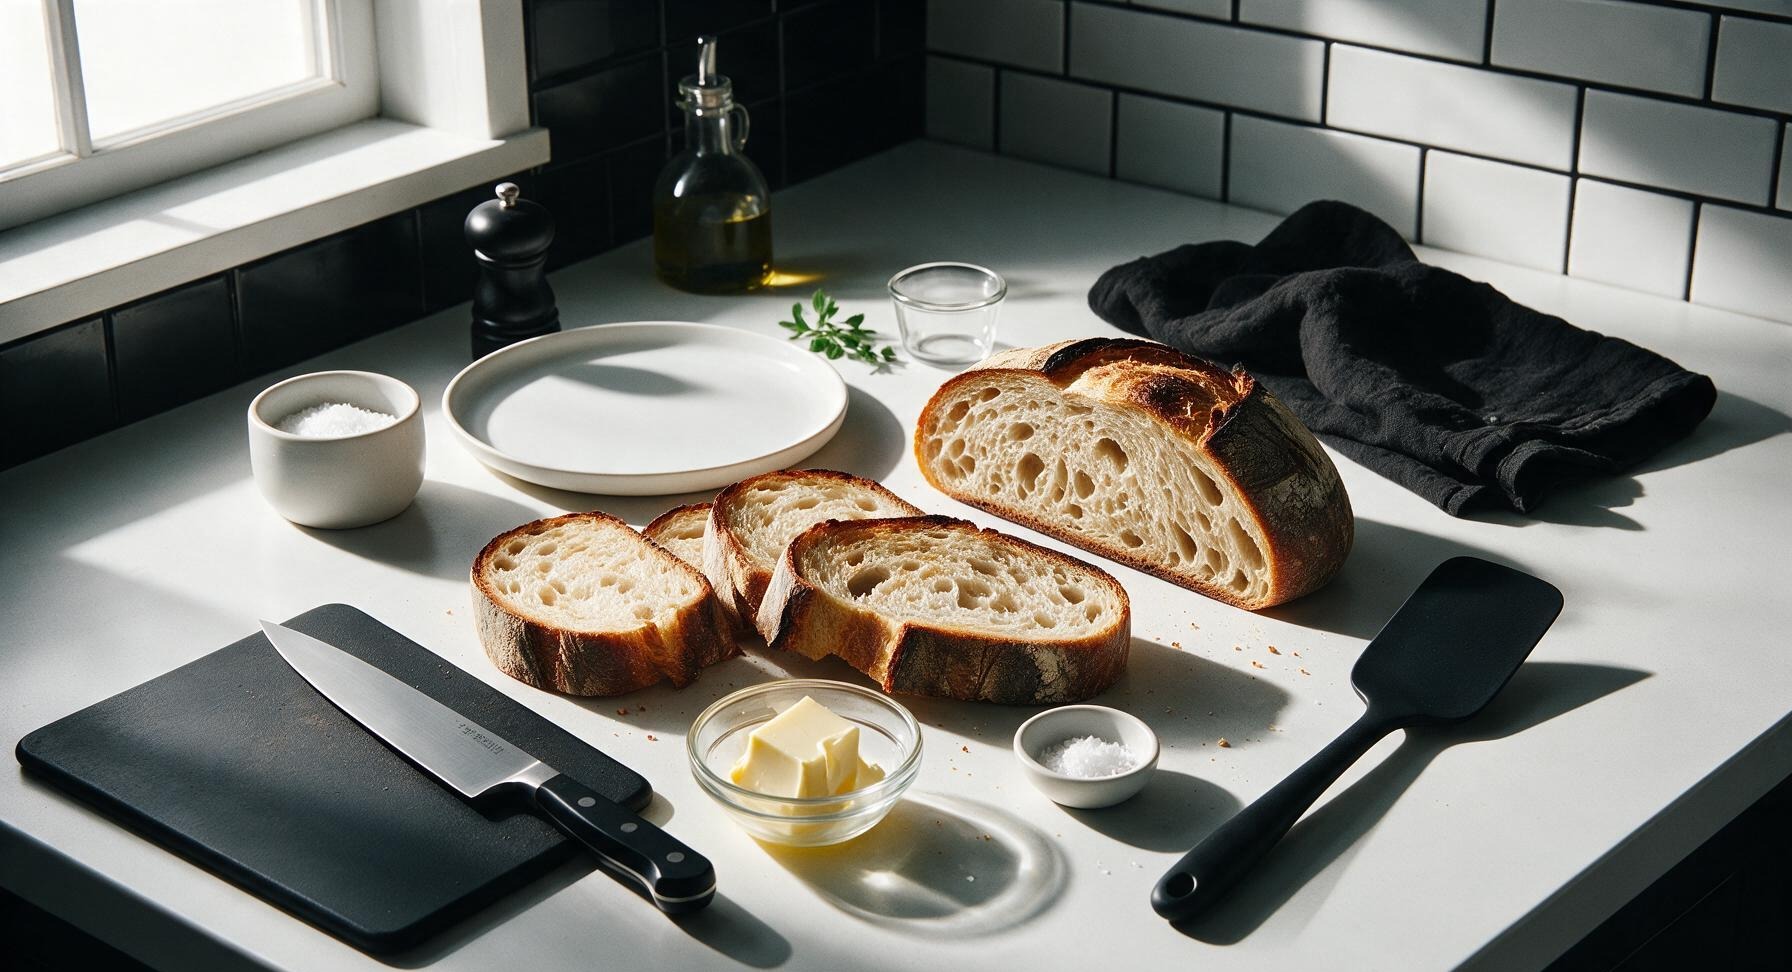
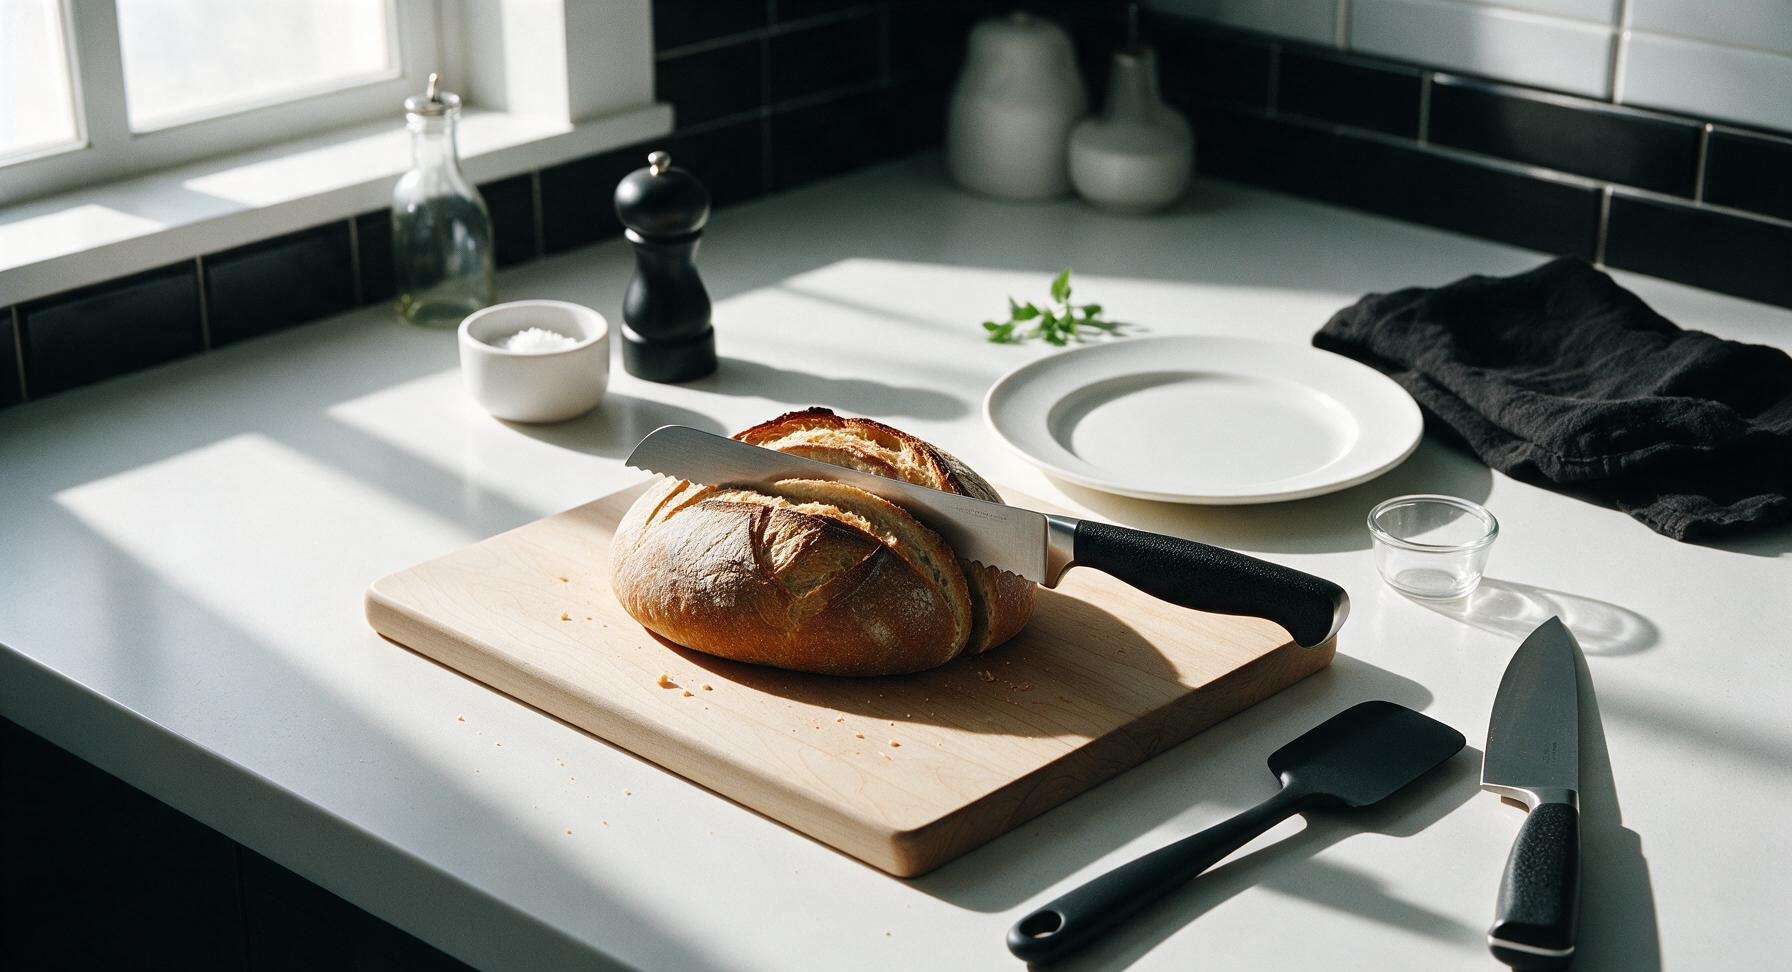
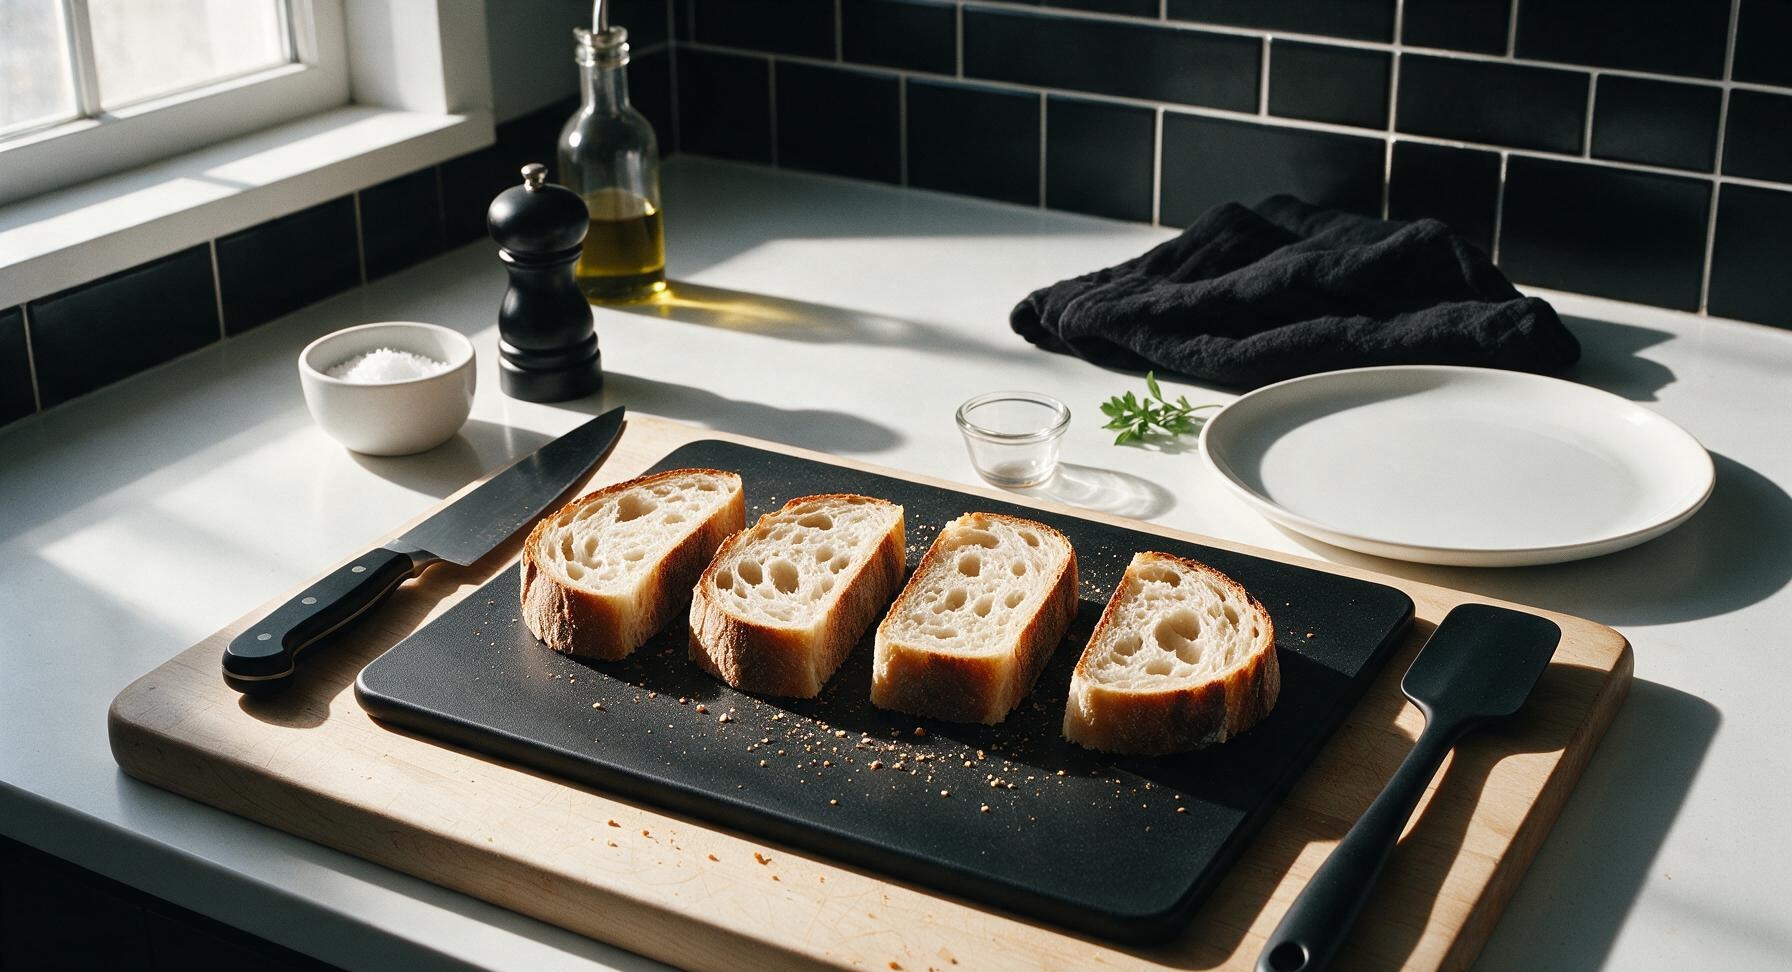
Place the whole sourdough loaf on the light maple cutting board. Using the serrated bread knife, cut 4 even slices each 1.5 inches thick, with clean, straight edges. Avoid compressing the bread crumb as you cut to keep the interior light and airy.
Coat Slices with Butter
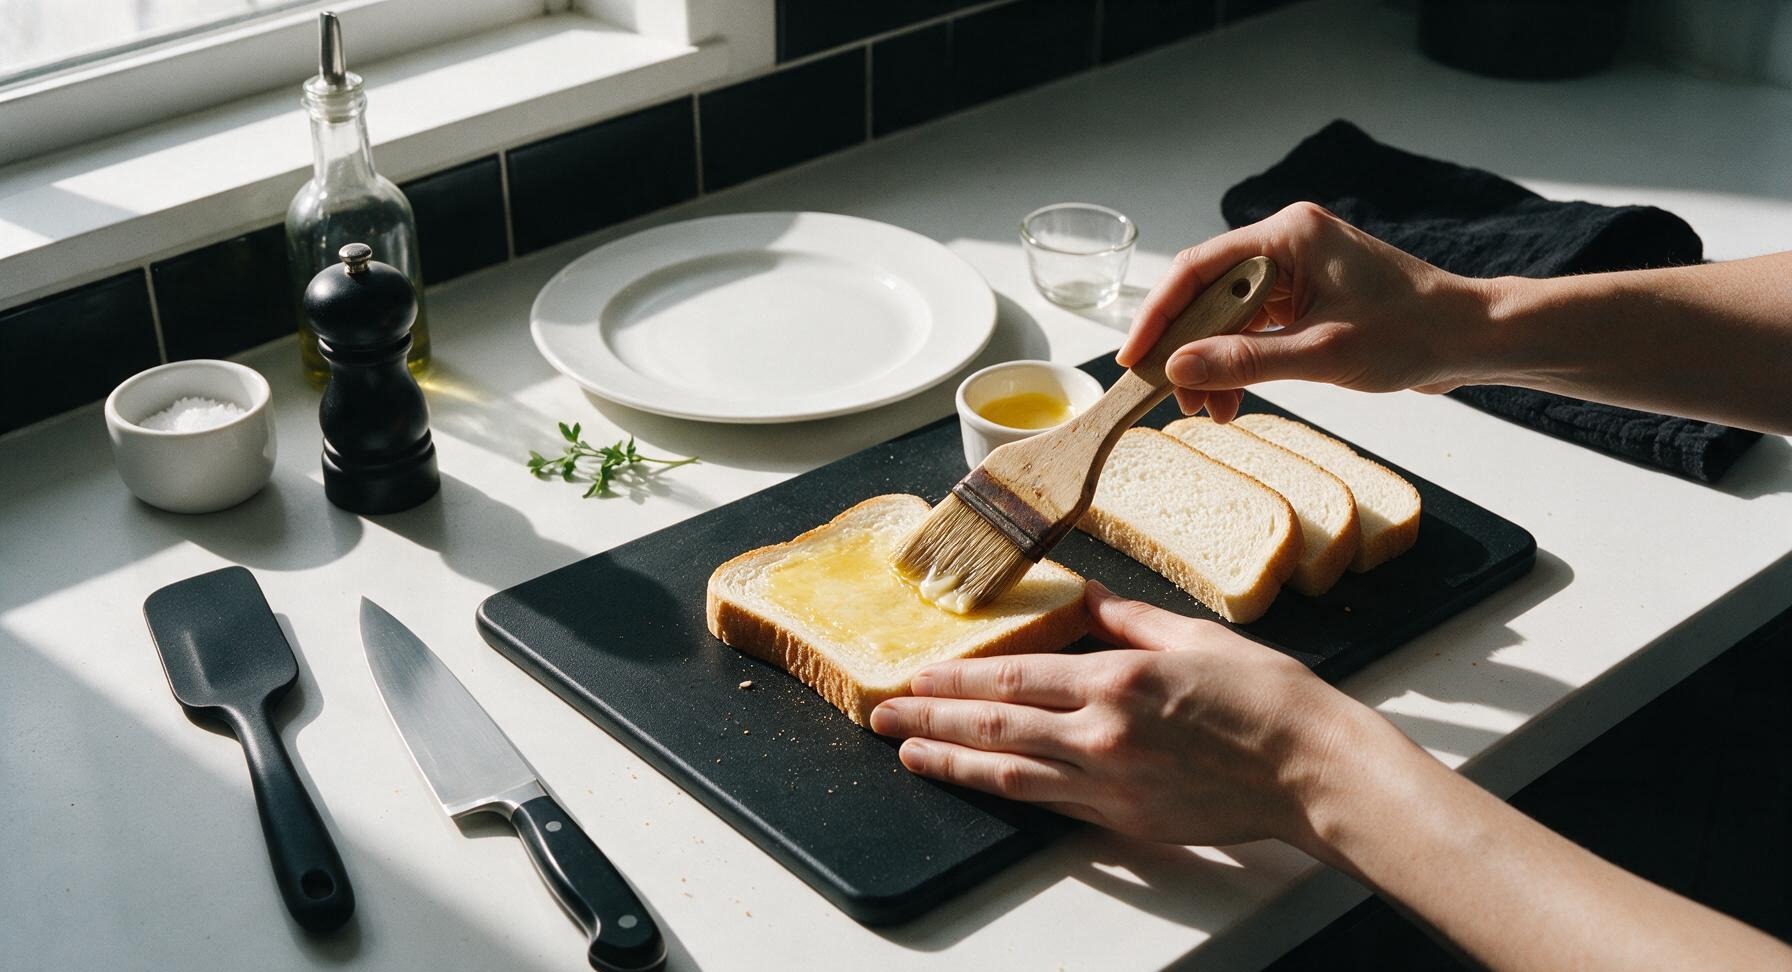
Pick up the pastry brush from the ramekin rim, dip it into the melted butter, and brush a thin, even layer of butter across both sides of each bread slice. Make sure to cover the cut edges of the bread to prevent them from drying out and burning during baking. Do not drench the bread, as this will make it soggy instead of crisp.
Arrange on Baking Sheet
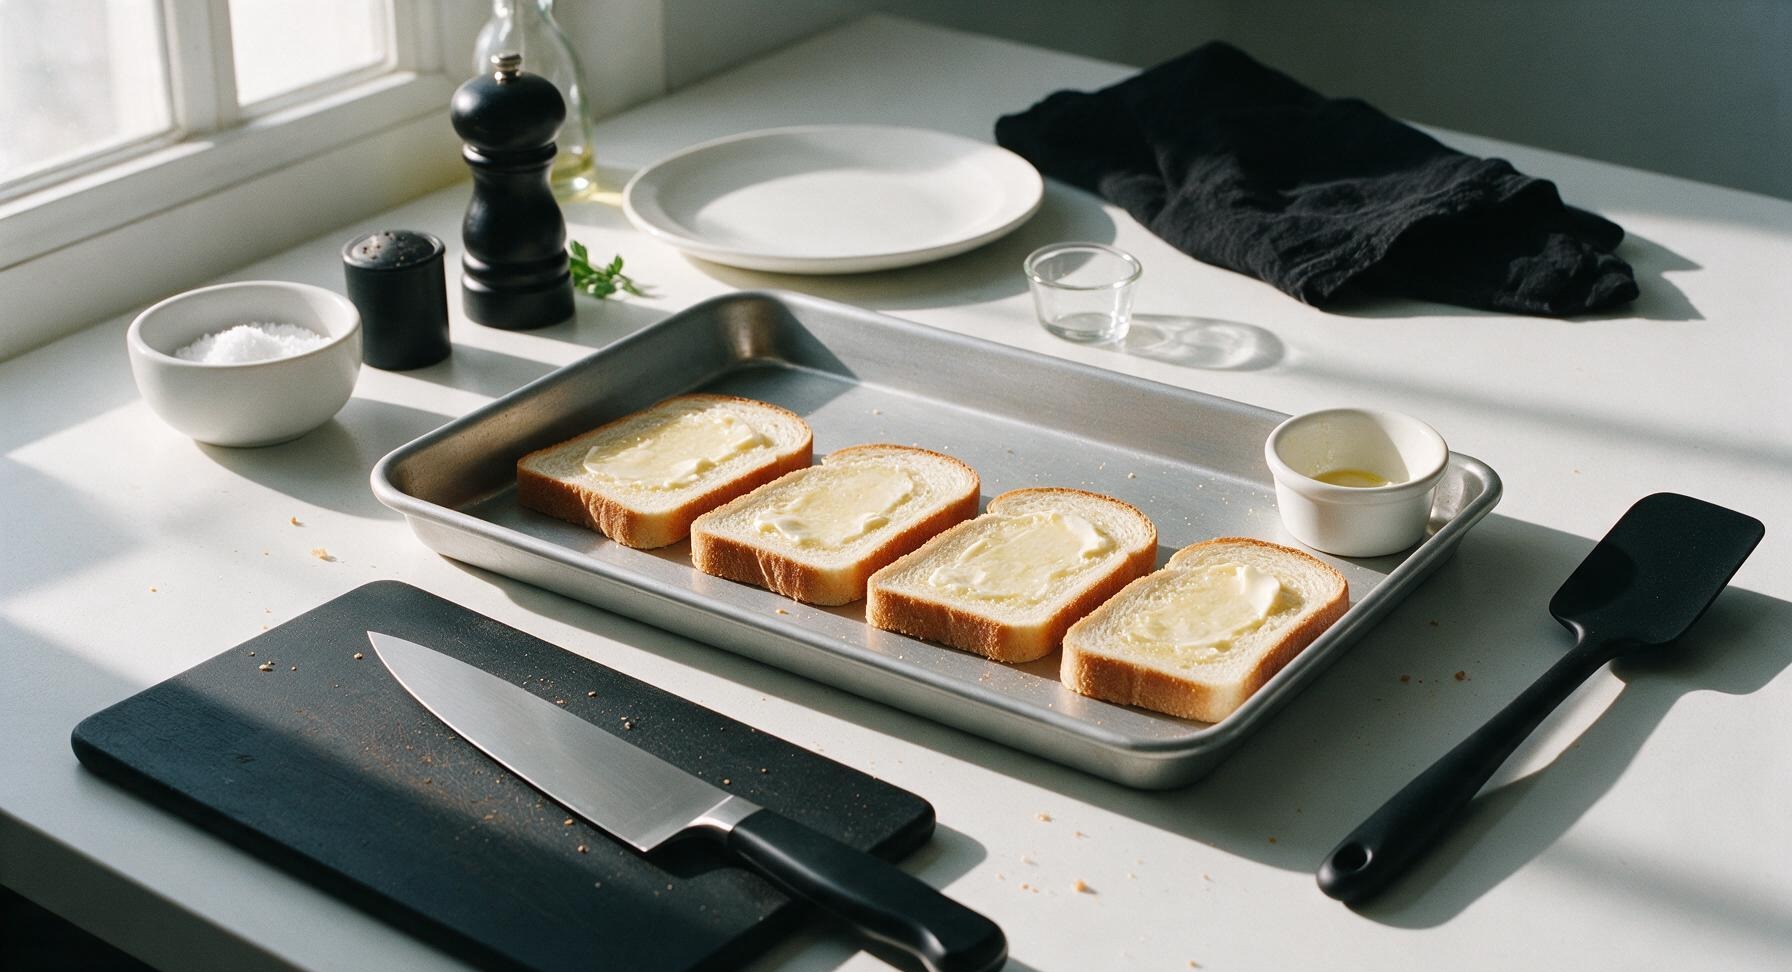
Lay the buttered bread slices in a single, even layer on the half-sheet pan, leaving 1/2 inch of space between each slice to allow hot air to circulate. Do not overlap slices, as this will create soft, under-toasted spots.
Bake to Golden Perfection
Place the baking sheet on the middle oven rack. Bake for 7 minutes total, flipping the slices halfway through at the 3.5 minute mark using the offset metal spatula. The toast is done when both sides are deep golden brown, edges are crisp, and there are no pale, soft spots remaining. Watch closely during the last minute to avoid burning.
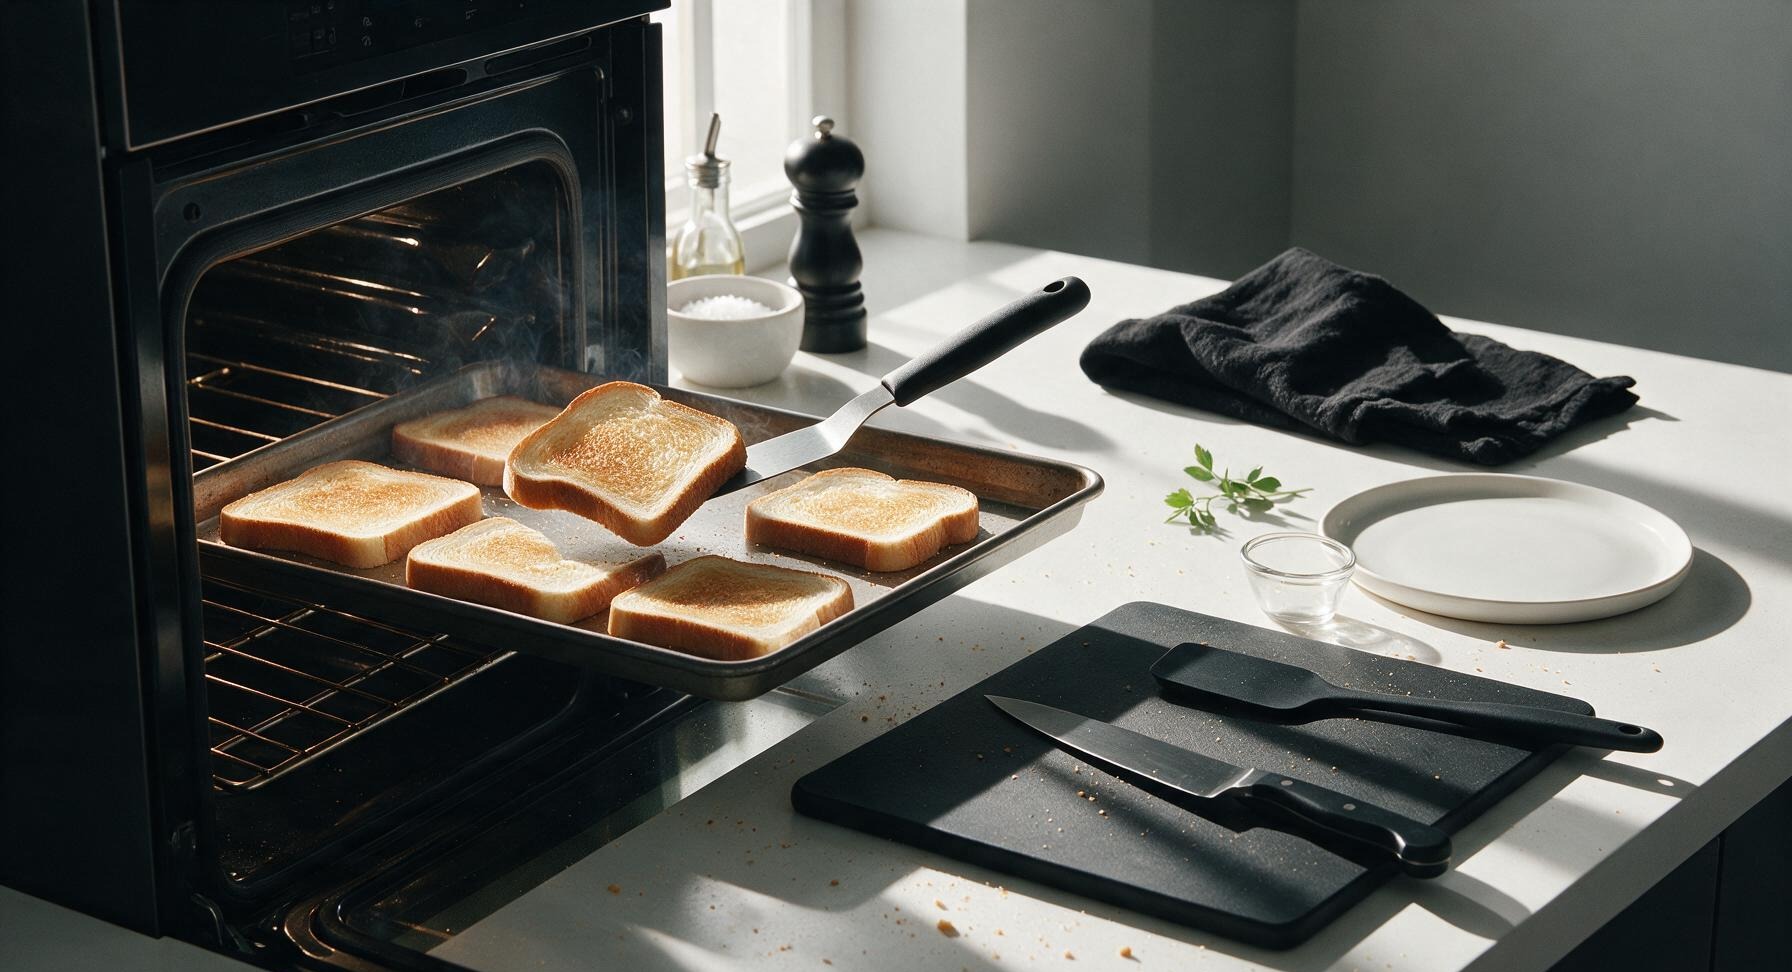
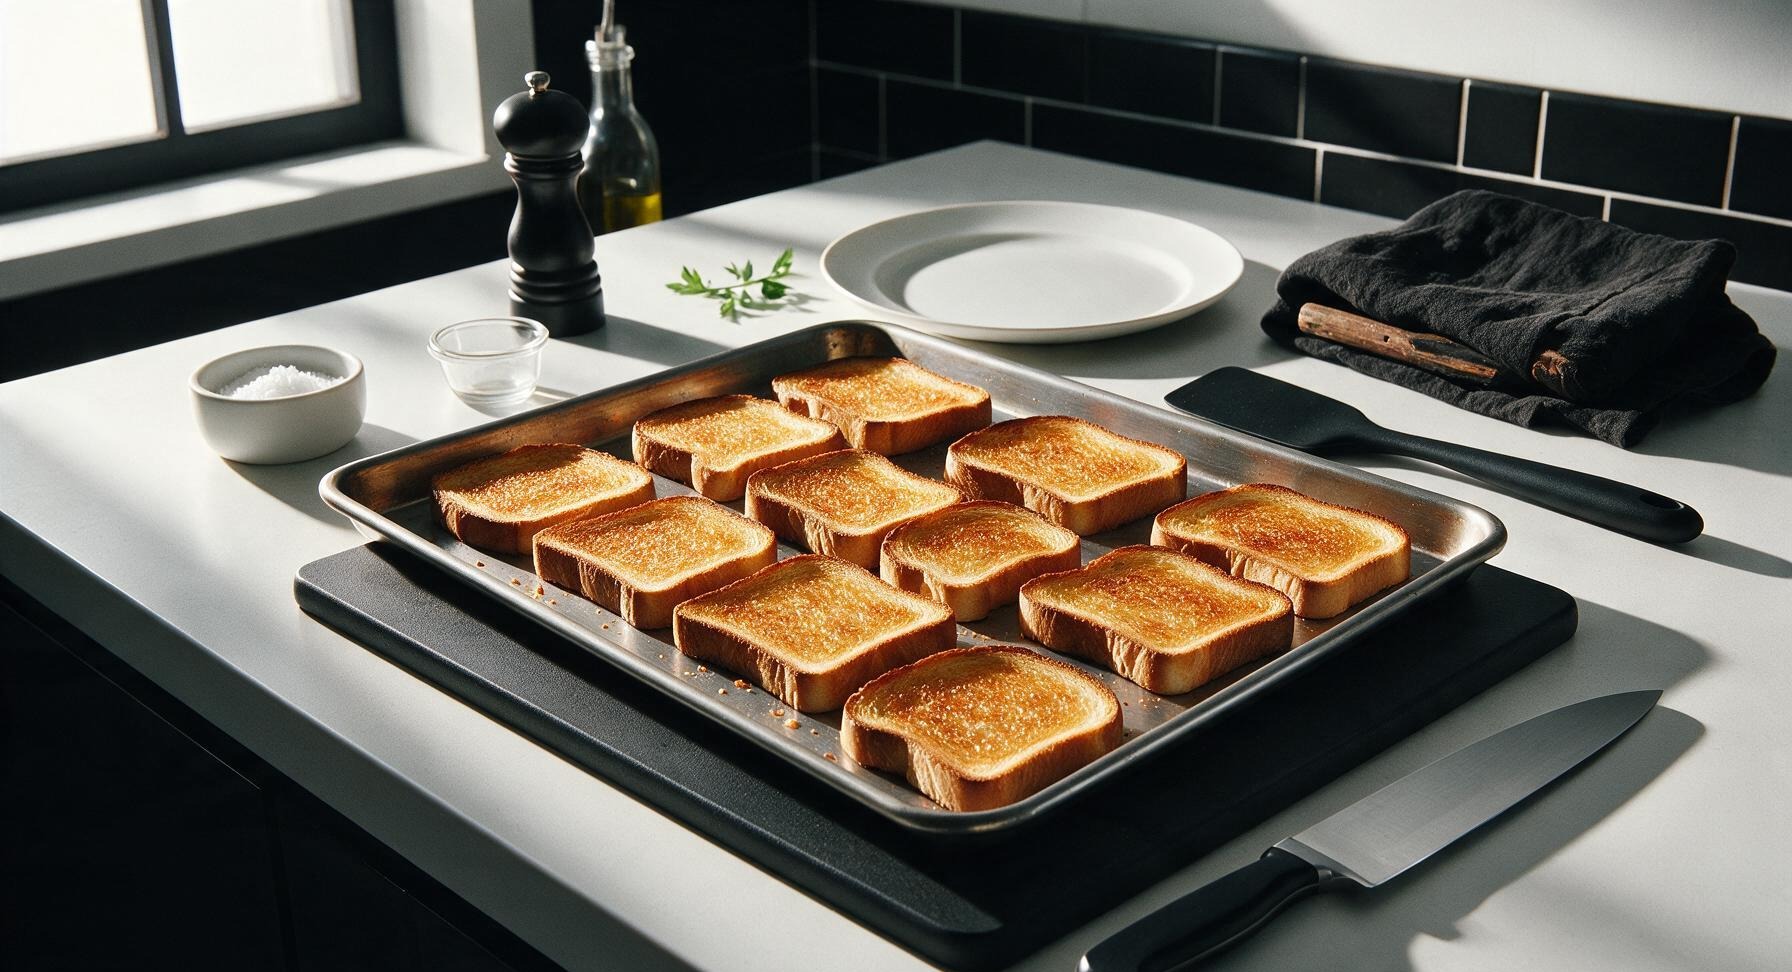
Season and Plate Toast
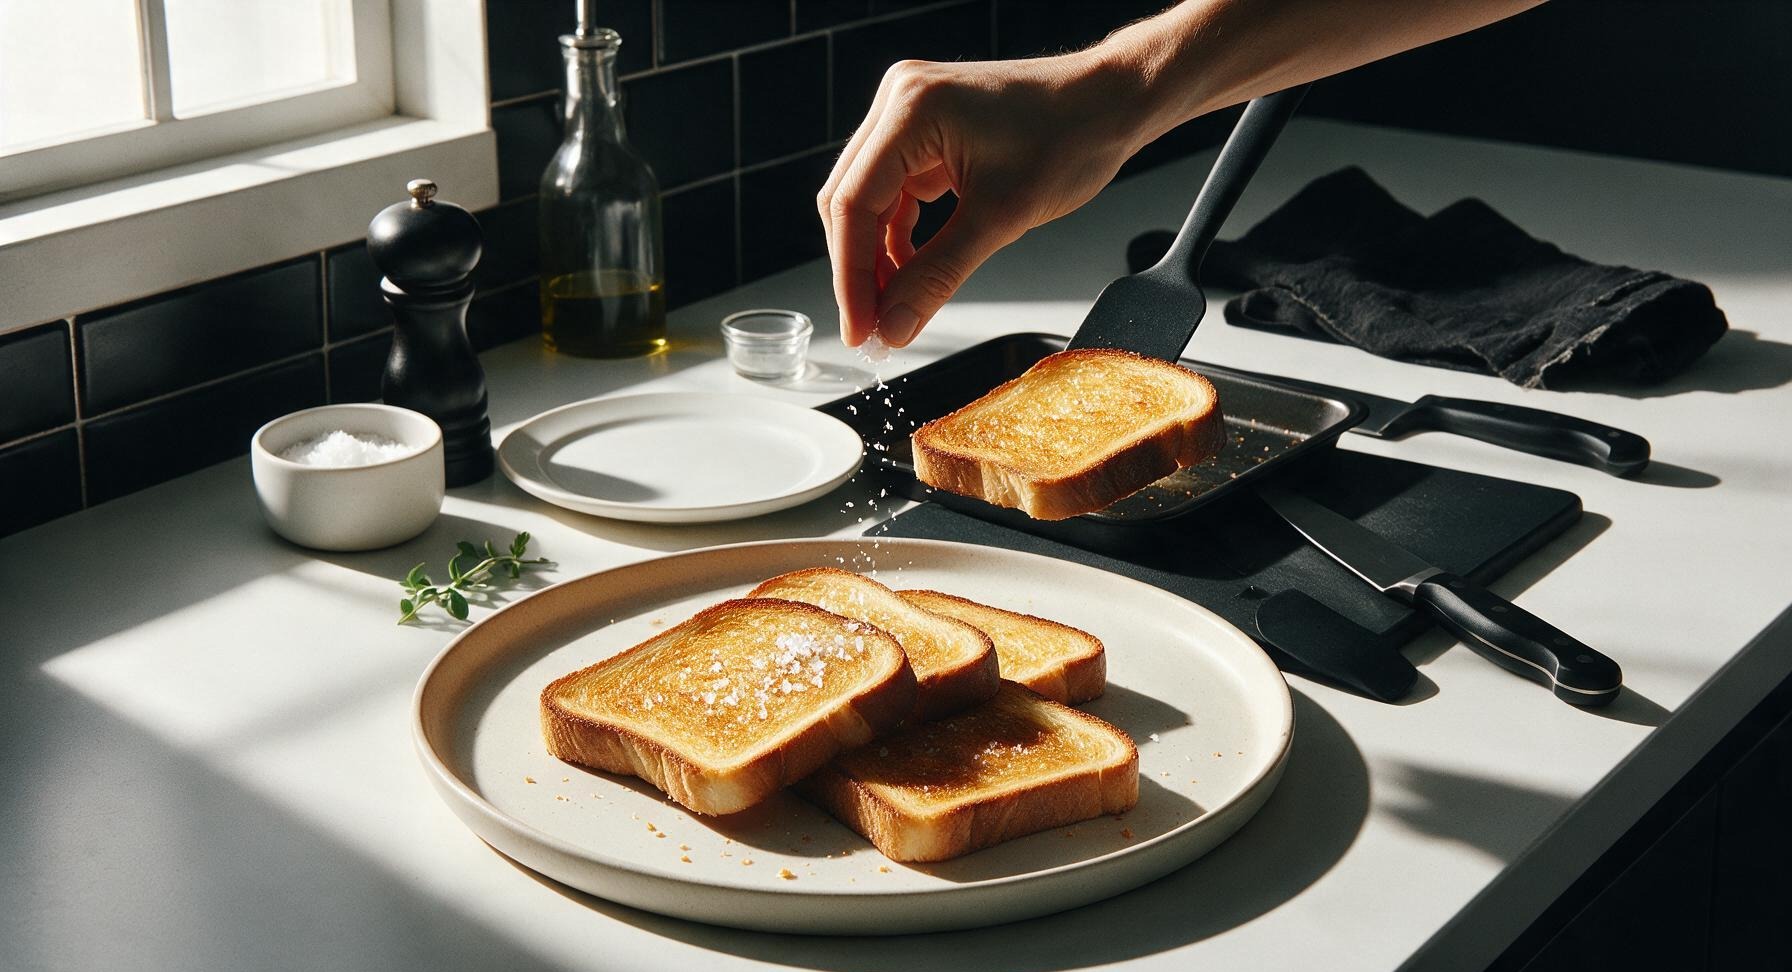
Remove the baking sheet from the oven using oven mitts. Transfer the hot toast slices to the matte cream ceramic serving platter using the offset spatula. Sprinkle lightly with 1/4 teaspoon flaky sea salt while the toast is still hot, so the salt sticks to the buttery surface. Serve immediately.
Tips
2.Cut bread to a consistent 1.5-inch thickness: Thinner slices will burn quickly before the center crisps, while thicker slices will remain dense and soft in the middle even after edges brown.
3.Flip toast exactly halfway through the 7-minute bake time: This ensures hot air circulates around both sides evenly, eliminating the common issue of one dark, overdone side and one pale, under-toasted side.






OMG this is such a game changer! I’ve been burning toast in my toaster for literal years because it’s so finicky, but 7 minutes in the oven and it comes out perfectly crisp every single time? Slathered that butter on right when it came out and my husband ate three slices before I even got the eggs on the plate for breakfast. SO good.
Pretty solid! I left mine in for an extra minute because I like my toast extra dark and crunchy, turned out great. Only reason it’s not 5 stars is I wish the recipe specified what rack position to use in the oven? I used the middle rack and it worked, but just curious if top is better.
My kids loved it!!! I make a big sheet pan of this every Sunday for meal prep for the week, it holds up so well for quick breakfasts before school. I do a mix of salted butter and a little cinnamon sugar on half the batch for my youngest who has a sweet tooth, and it comes out perfect every single time. No more standing over the toaster for 20 minutes making slice after slice!
Made this to go with my potluck chili last night and people were asking left and right how I got the toast so perfectly buttery and crisp. I thought oven toast would be a hassle but it’s literally so easy, I’ll never go back to popping slices in the toaster one by one when I’m cooking for a crowd. 10/10.
It was fine? I feel like maybe my oven runs hot because mine got a little too brown on the bottom at 7 minutes. Tasted good with butter, just not as life changing as everyone says. Maybe I’ll try 6 minutes next time and see if that works better.
Dude. Why did no one tell me oven toast was this easy? I’ve been wasting so much time with my stupid toaster that only toasts one side evenly. Used salted European style butter and it came out tasting like the fancy toast they charge $7 for at the brunch spot downtown. Unreal.
This saved my chaotic school morning routine! I can pop a whole tray of 8 slices in the oven while I pack lunches and get backpacks ready, no babysitting required. All three of my boys devour it, even my pickiest eater who turns his nose up at regular toaster toast for some reason. Will be making this every single weekday from now on.
Tasty! I used whole wheat bread and it turned out great, though I did flip the slices halfway through like I do with regular oven baked stuff. Not sure if that’s necessary, but both sides came out evenly crisp so I’ll keep doing it. Would be great with a little jam on top too.
7 minutes exactly is the magic number, don’t mess with it! I tested this against my toaster, toaster oven, and air fryer and this oven method is by far the most consistent, especially if you’re making more than two slices. Buttery, crisp, no weird burnt edges, perfect every time.
Brought this to my family dinner last weekend to serve with the spaghetti and meatballs, everyone raved about it! I brushed a little melted garlic butter on top and sprinkled parmesan the last minute in the oven, it tasted just like the garlic bread from our favorite Italian place. So easy even I can’t mess it up, and I burn water half the time.