
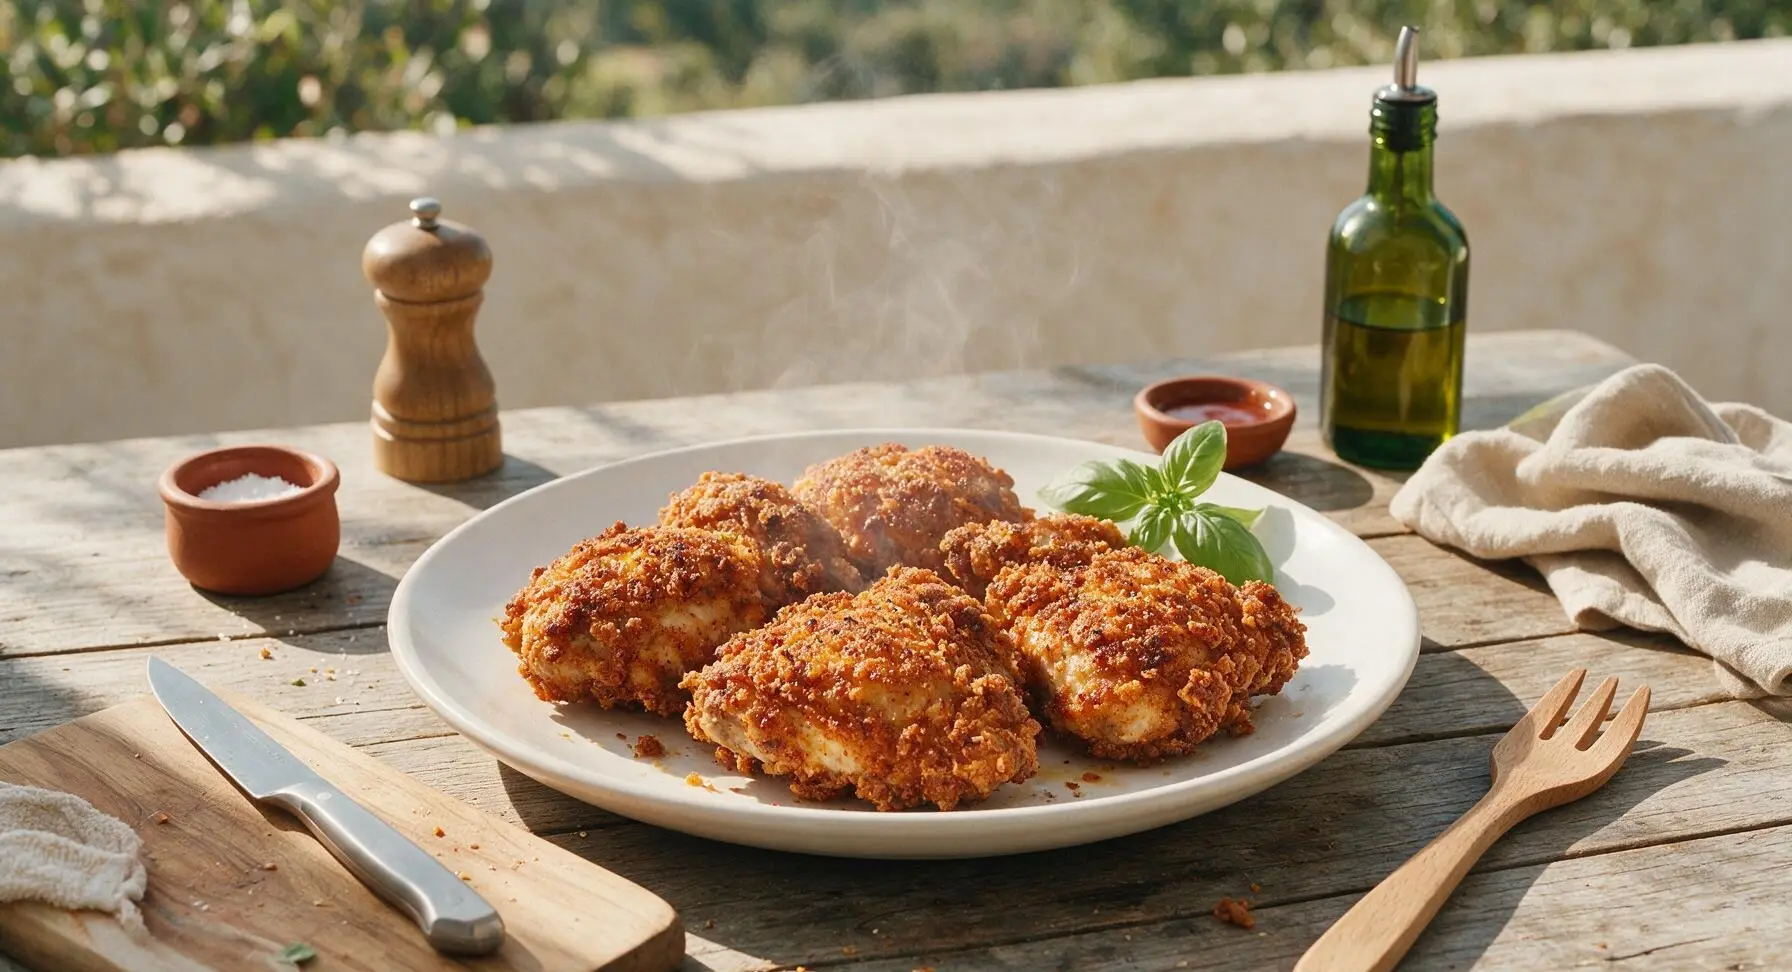
baked and fried

title 1
baked and fried
⏱️ cook time 50 minutes
🍽️ servings 4
⚡ Difficulty medium

intro

Shatteringly crisp spiced crust surrounds juicy, evenly cooked chicken, using a two-step baked-then-fried method that eliminates raw centers and burnt breading for perfect results every time.

Ingredients
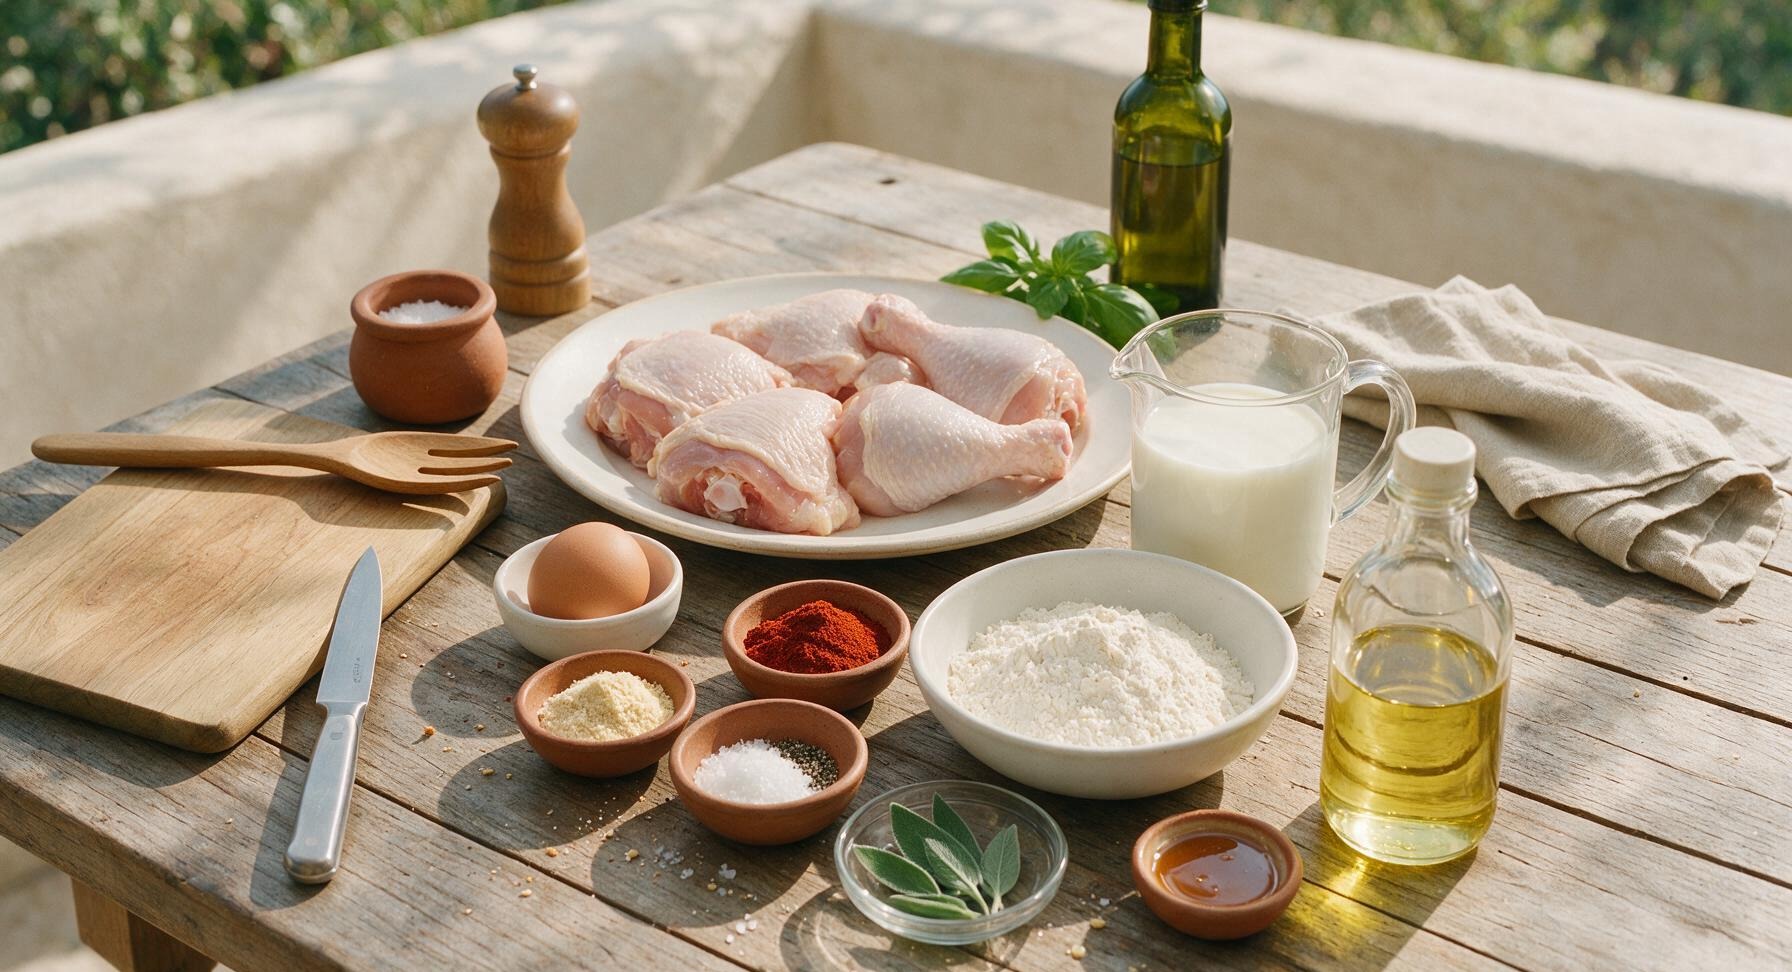
Bone-in, skin-on chicken thighs and drumsticks 900g (2 thighs, 2 drumsticks)
Full-fat buttermilk 2 cups (480ml)
All-purpose flour 1.5 cups (180g)
Smoked paprika 2 tbsp
Garlic powder 1 tbsp
Cayenne pepper 1 tsp
Kosher salt 1.5 tbsp
Freshly ground black pepper 1 tsp
Large egg 1
Neutral frying oil (peanut or canola) 4 cups (960ml)
Fresh sage leaves 6 leaves
Flaky sea salt 1 tsp
Hot honey 2 tbsp (for serving)

Steps

1

Brine the Chicken

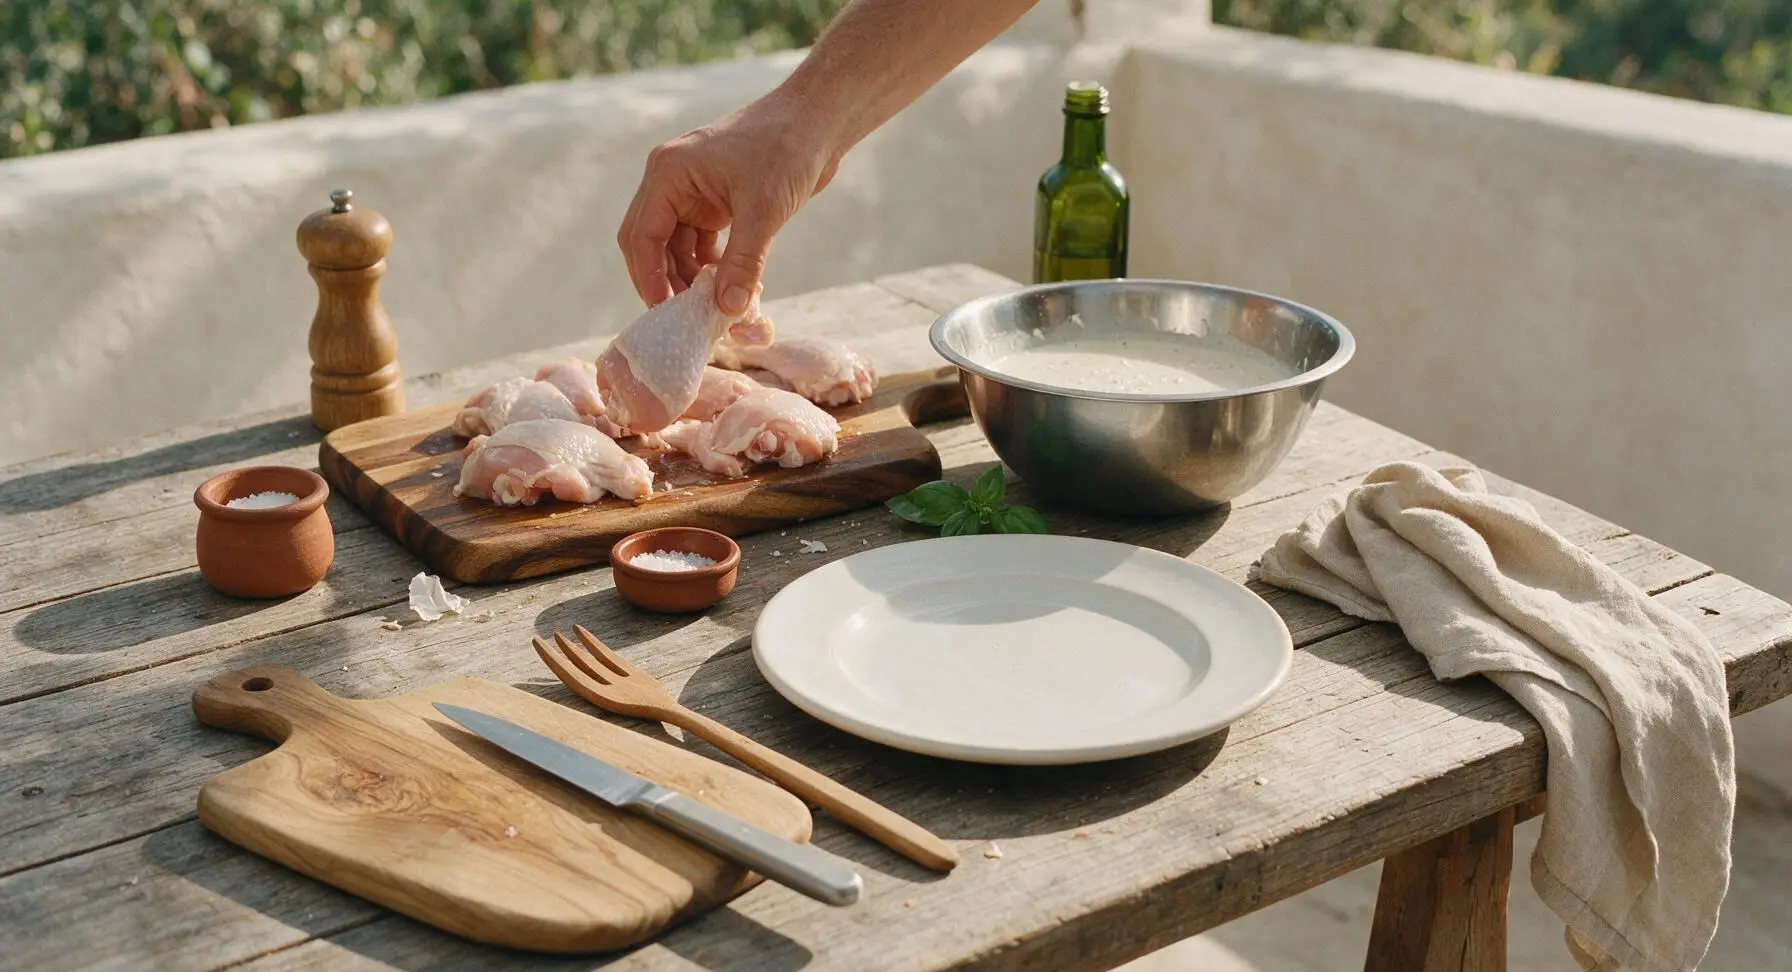
Pat chicken pieces dry with a paper towel, then place on the acacia cutting board. Pour 2 cups buttermilk into the stainless steel mixing bowl, add 1 tsp kosher salt, and stir gently to dissolve. Submerge all chicken pieces fully in the buttermilk, and let rest 30 minutes at room temperature (or 4 hours, chilled, for deeper tenderness) before breading.
Step 1
step1:Brine the Chicken
2

Mix Spiced Breading

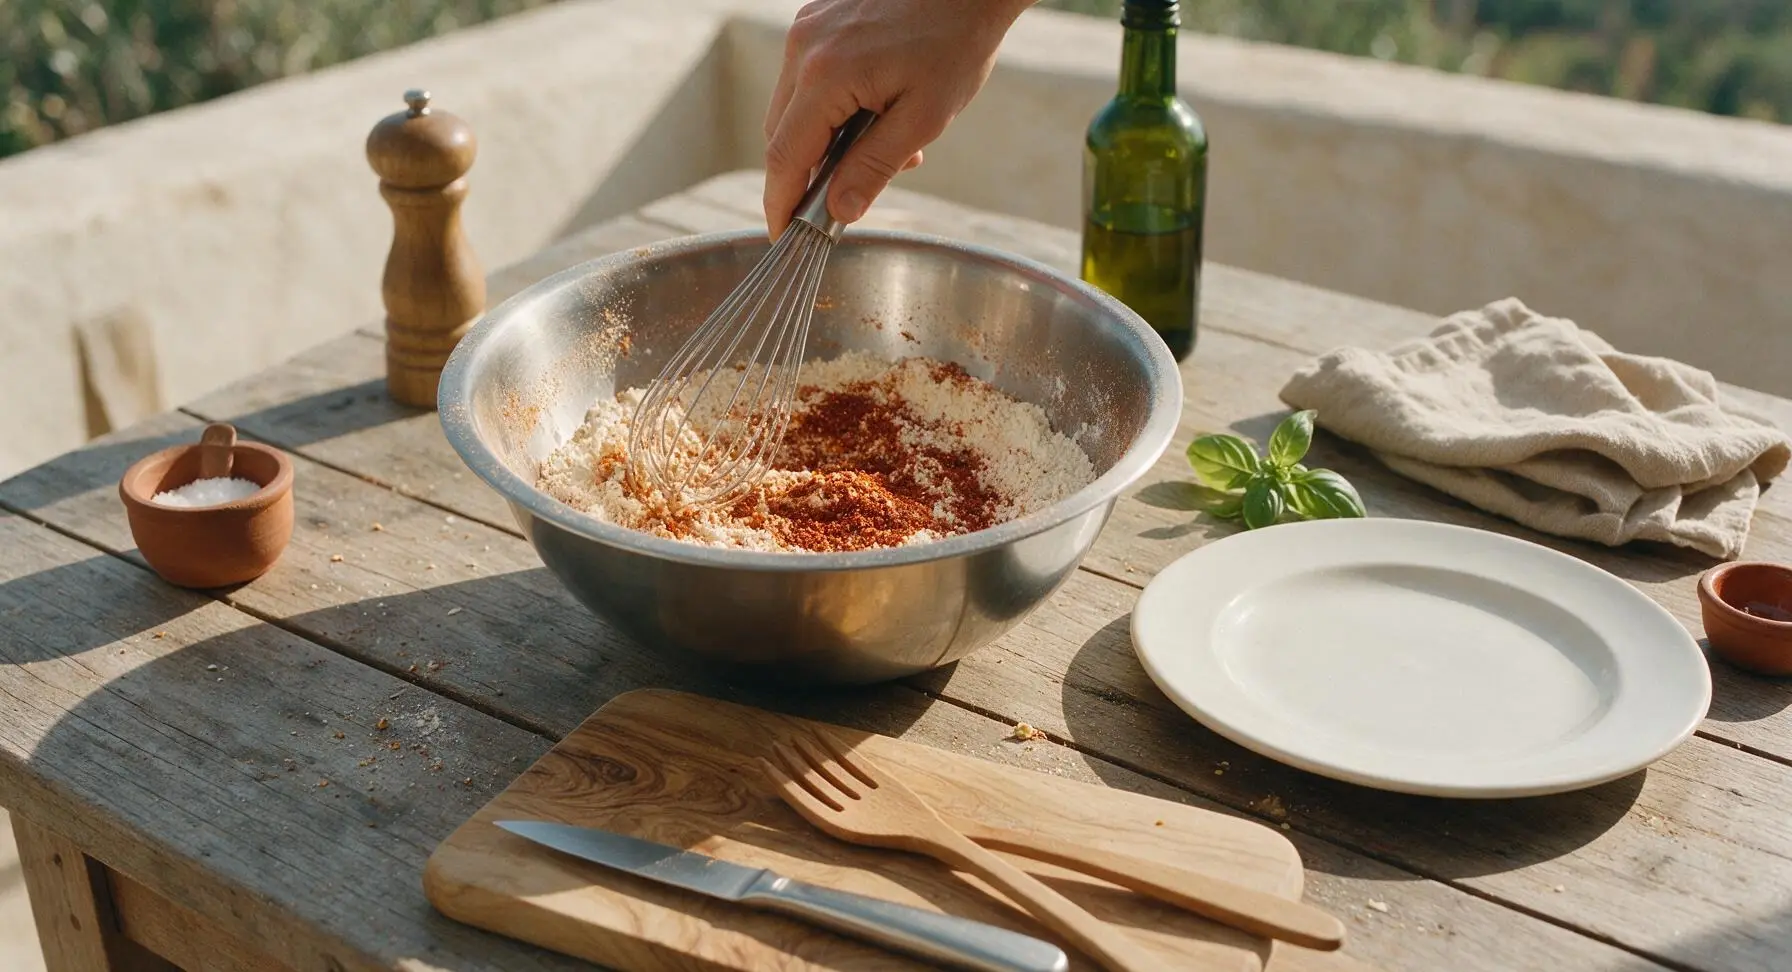
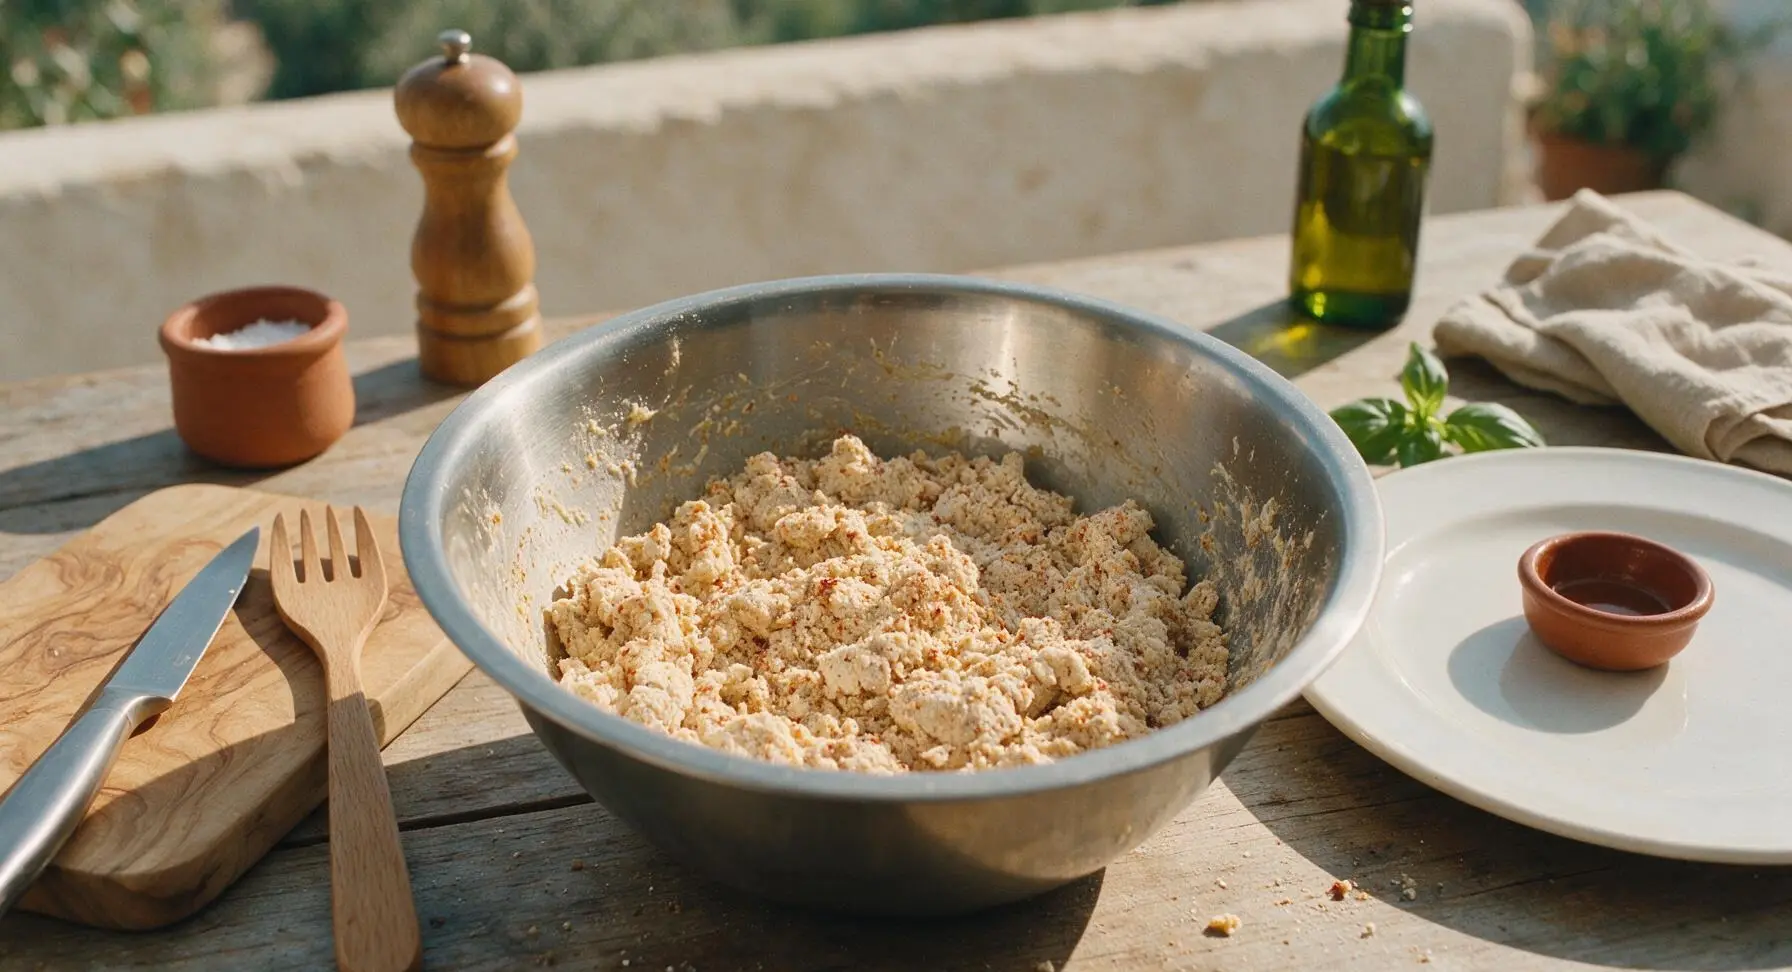
Wipe residual buttermilk from the stainless steel mixing bowl, then combine 1.5 cups all-purpose flour, remaining 2 tsp kosher salt, 2 tbsp smoked paprika, 1 tbsp garlic powder, 1 tsp black pepper, and 1 tsp cayenne in the bowl. Whisk to evenly distribute spices, then whisk 1 large egg with 1/4 cup reserved buttermilk and stir into the flour mixture until small, pea-sized shaggy clumps form—these create the signature craggy, crisp crust.
Step 2
step2:Mix Spiced Breading
Step 2
step2:Mix Spiced Breading
3

Coat Chicken Evenly

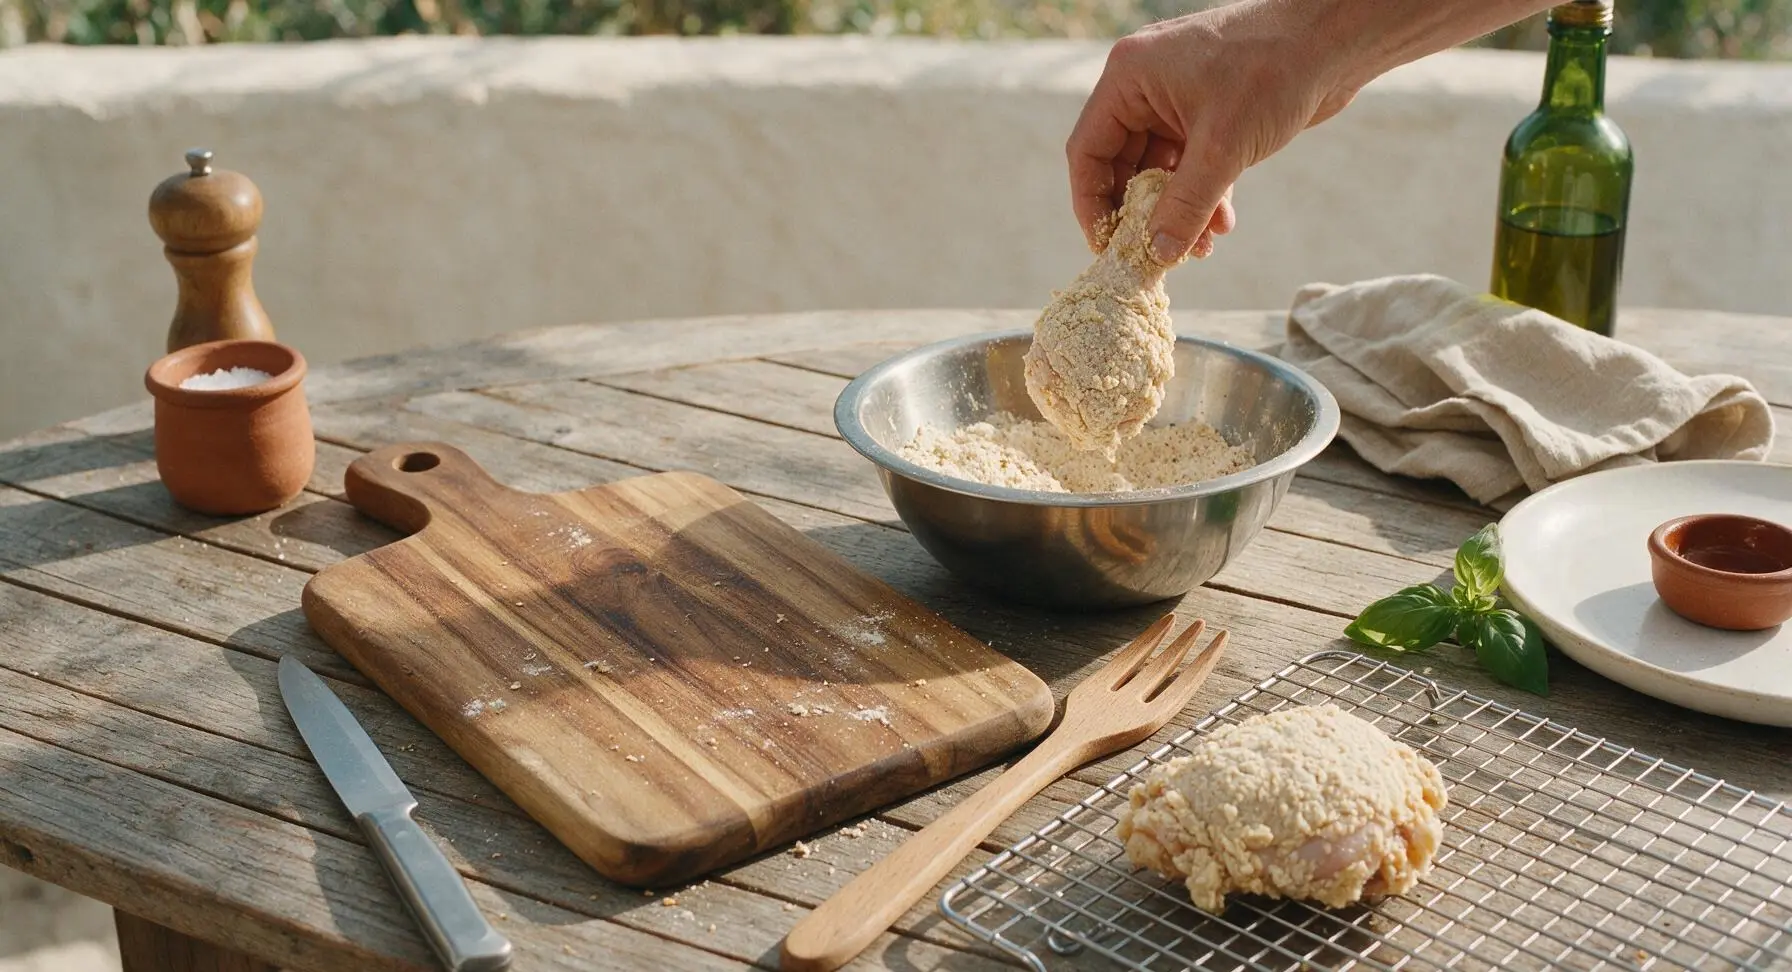
Working one piece at a time, lift chicken from the buttermilk brine, let excess drip off for 3 seconds, then press firmly into the spiced flour mixture on all sides. Press breading into the skin to build a thick, even coat, ensuring no bare chicken skin shows through. Pull the chrome wire cooling rack and aluminum baking sheet from their back-right storage spot, set the rack over the sheet, and place coated pieces on the rack to rest for 10 minutes, so the breading adheres fully and does not slip during cooking.
Step 3
step3:Coat Chicken Evenly
4

Bake Chicken Through

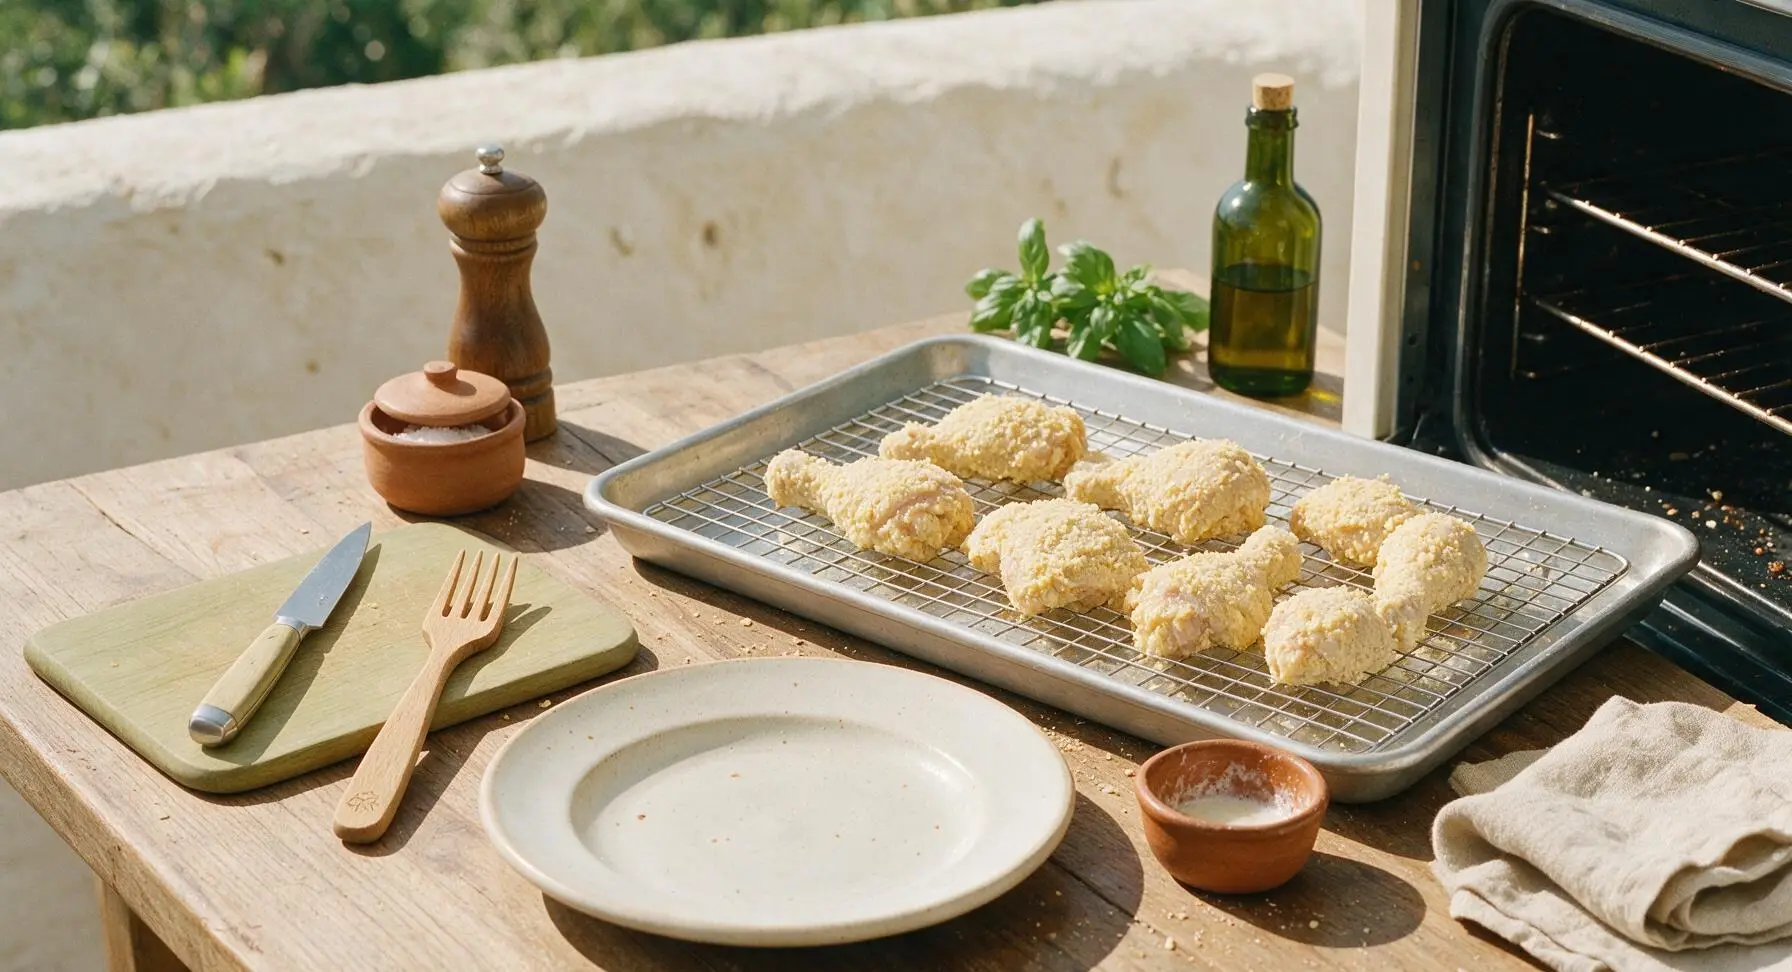
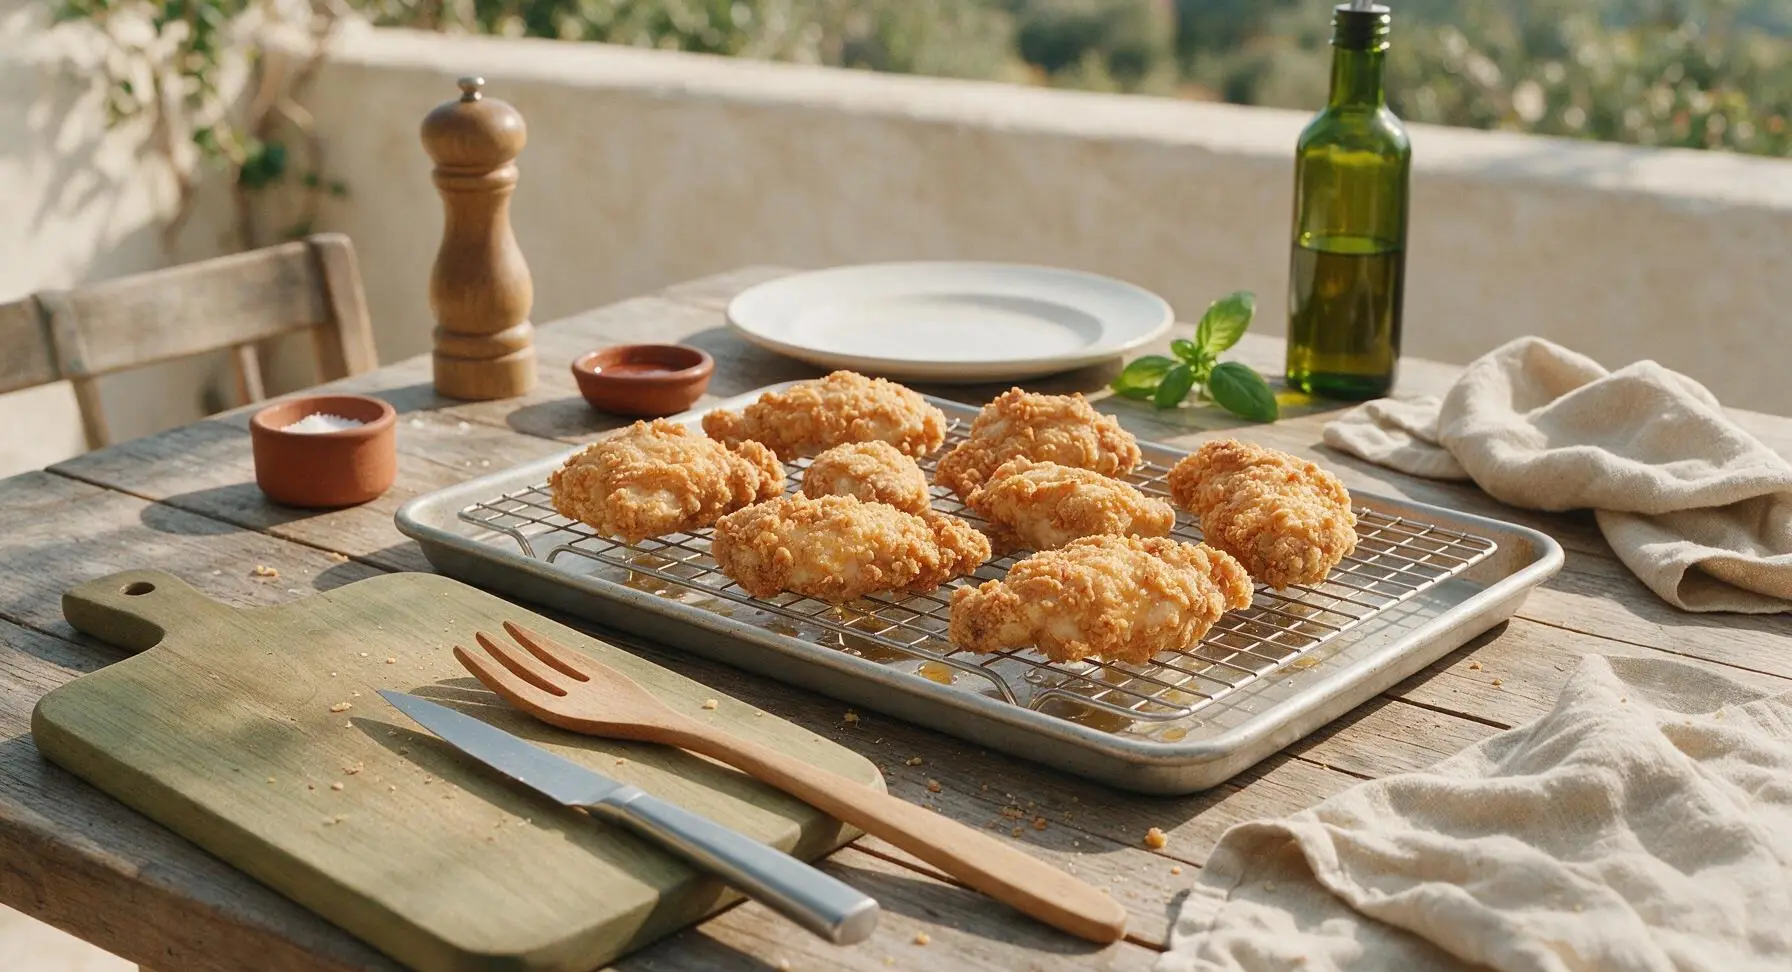
Preheat oven to 190C (375F). Transfer the aluminum baking sheet with the rack of breaded chicken directly to the middle oven rack. Bake for 35 minutes, until chicken reaches an internal temperature of 74C (165F) at the thickest part (away from bone), and the breading is pale golden and fully set, not dark brown. Remove from oven and let rest 5 minutes on the rack.
Step 4
step4:Bake Chicken Through
Step 4
step4:Bake Chicken Through
5

Heat Frying Oil

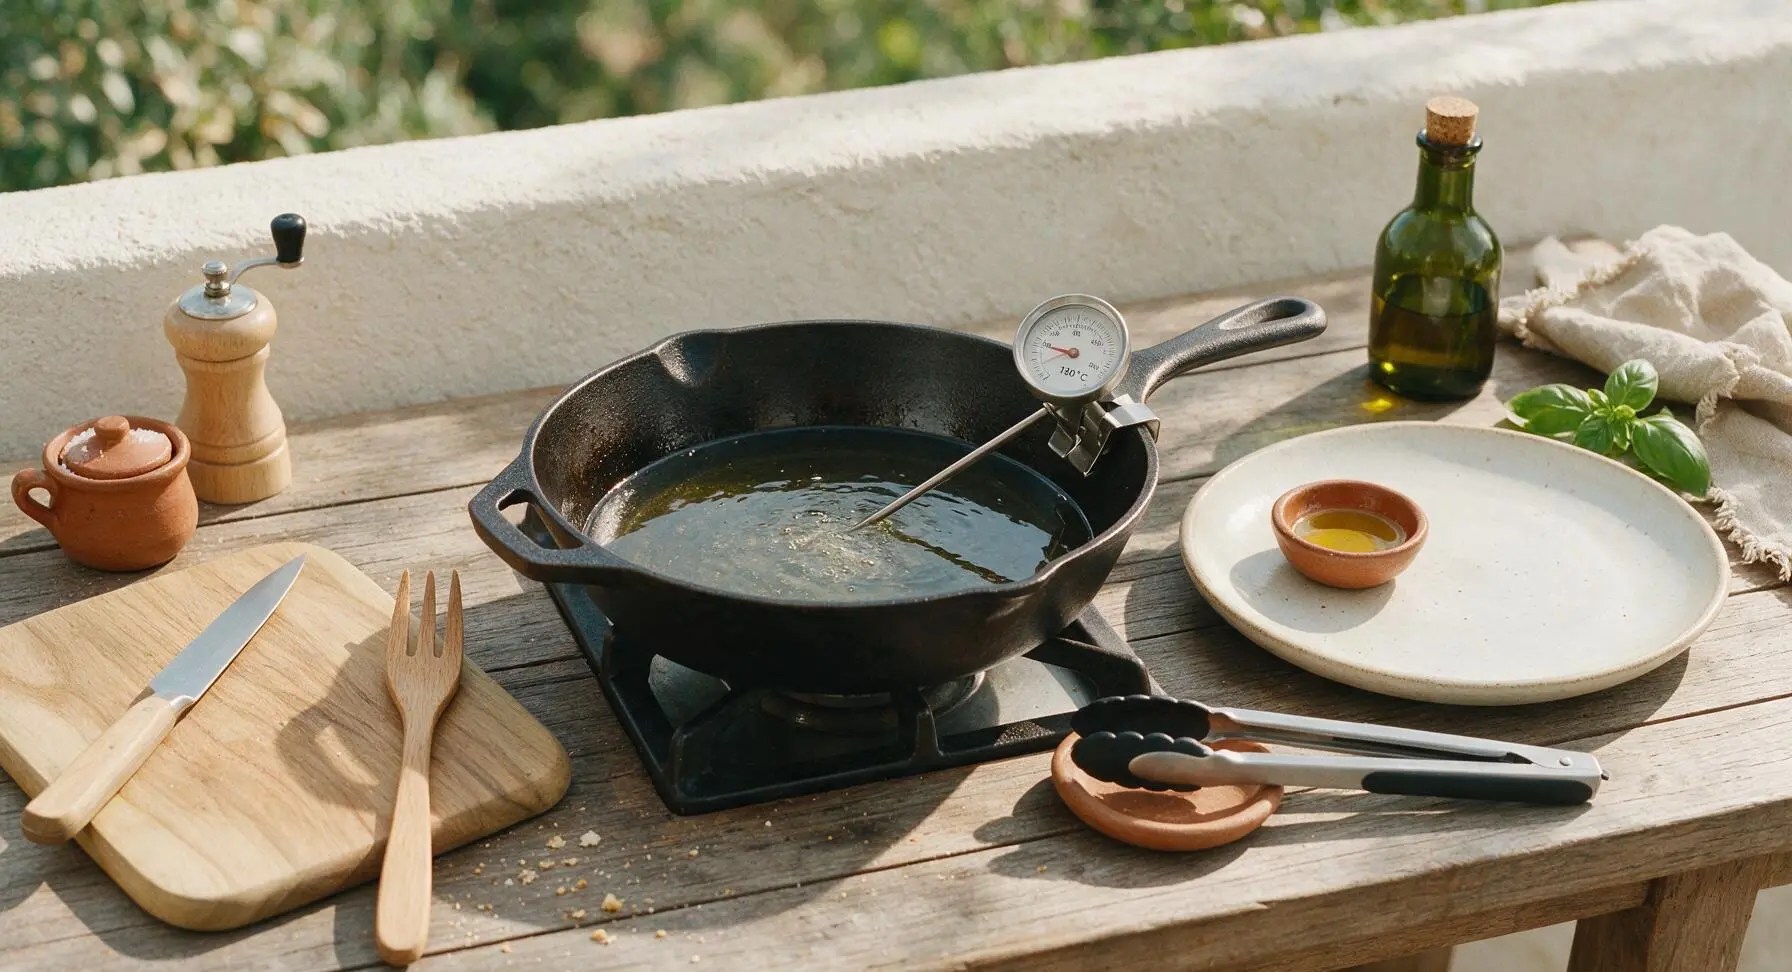
While chicken bakes, pull the 12-inch cast iron skillet from its back burner storage spot to the front stovetop burner. Pour in 4 cups neutral frying oil, clip the candy/deep fry thermometer to the skillet edge, and heat oil to a steady 180C (350F) over medium heat. Adjust burner as needed to hold temperature, avoiding overheating that will burn the crust.
Step 5
step5:Heat Frying Oil
6

Fry to Crisp Perfection

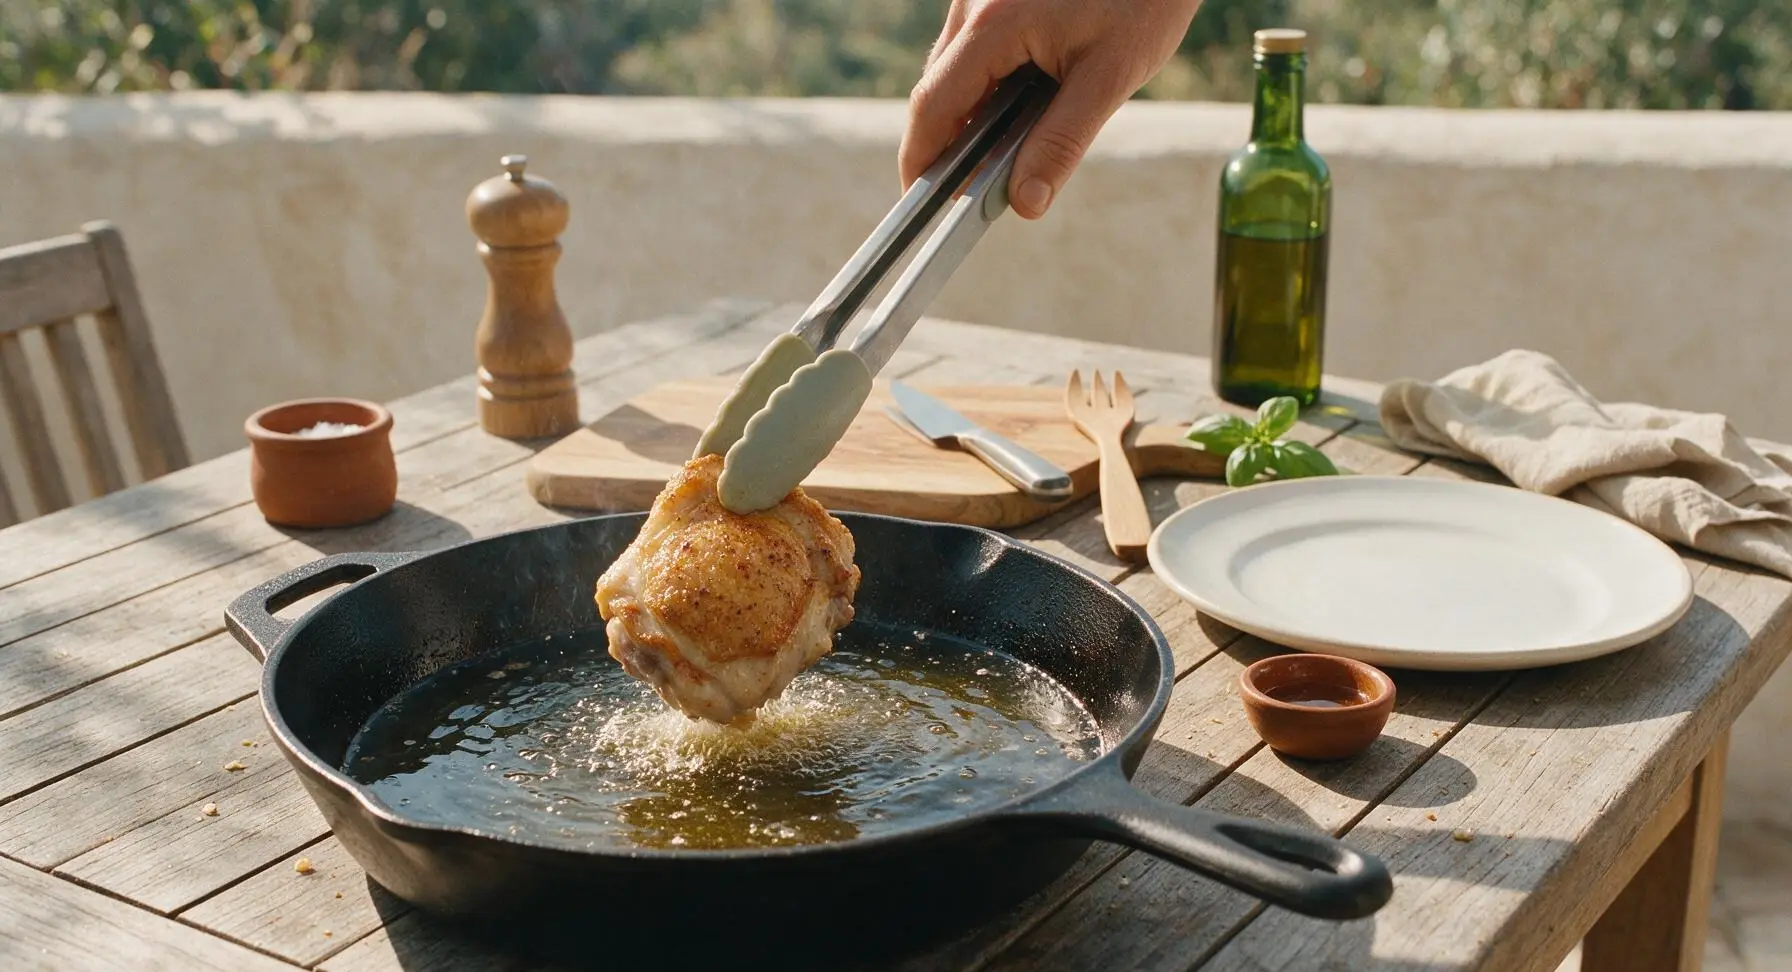
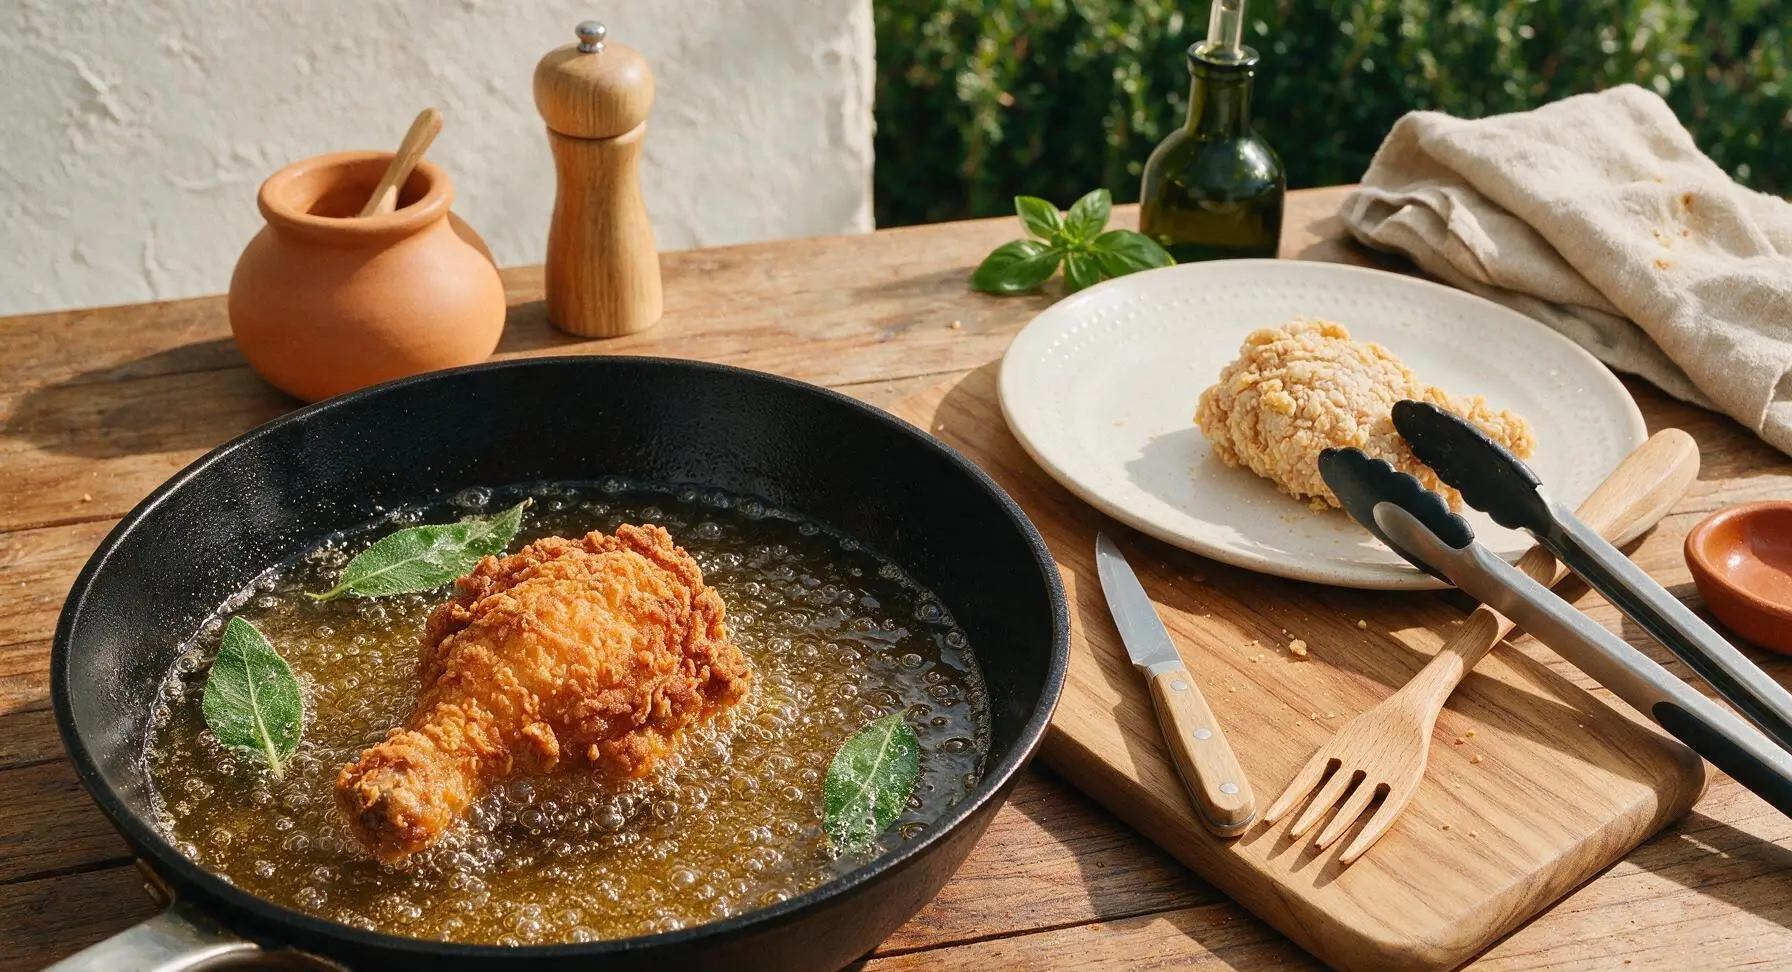
Working in 2 batches to avoid dropping oil temperature, use the silicone-tipped tongs to lower baked chicken pieces gently into the hot oil. Fry for 3-4 minutes per side, until crust is deep golden brown and shatteringly crisp. Add sage leaves to the oil for the last 30 seconds of frying per batch, until they are bright green and crisp. Let oil return to 180C (350F) between batches.
Step 6
step6:Fry to Crisp Perfection
Step 6
step6:Fry to Crisp Perfection
7

Drain and Season

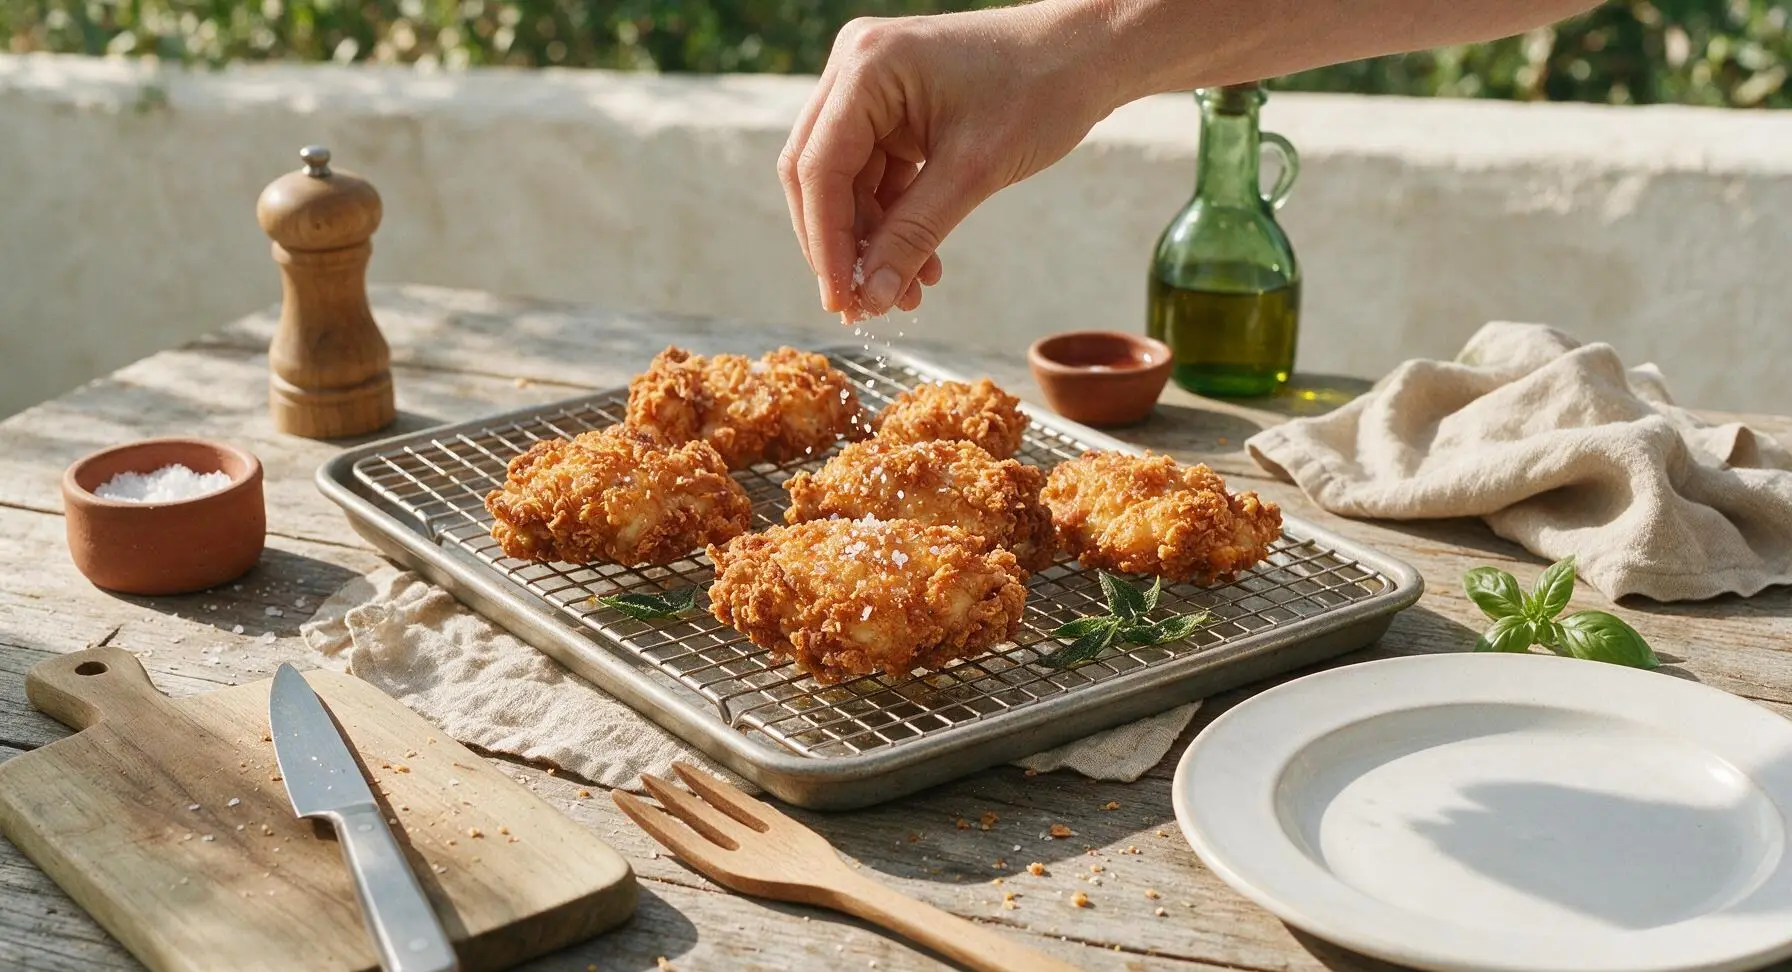
Use tongs to lift fried chicken pieces from the oil, letting excess oil drip back into the skillet for 2 seconds, then return them to the wire cooling rack set over the baking sheet. Immediately sprinkle lightly with flaky sea salt while the crust is hot and oil is still glistening, so the salt crystals adhere properly. Let rest 3 minutes before plating.
Step 7
step7:Drain and Season
8

Plate and Serve

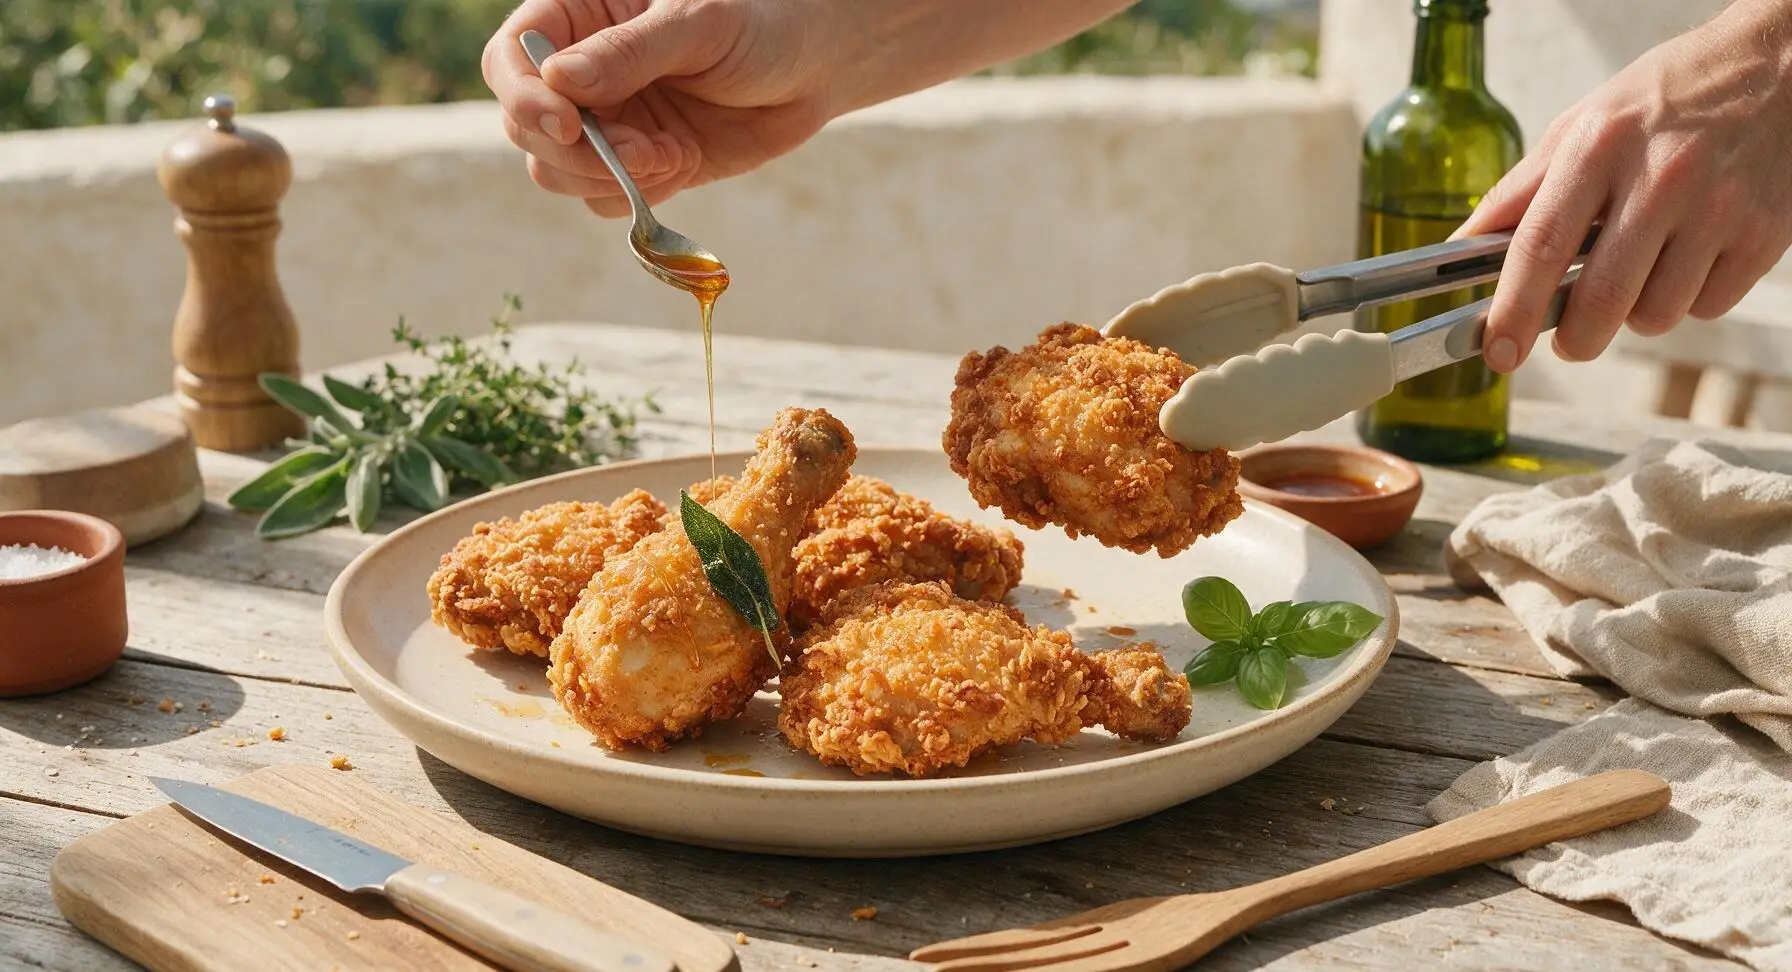
Arrange the crisp chicken pieces on the cream stoneware dinner plate, tuck fried sage leaves between pieces, drizzle lightly with hot honey, and serve immediately while the crust is shatteringly crisp and chicken is juicy.
Step 8
step8:Plate and Serve

Tips

1.Rest breaded chicken for 10 minutes before baking: this resting period allows the flour to fully hydrate and bond to the chicken skin, preventing breading from sliding off during frying and ensuring an intact, crisp crust across every bite.
2.Do not skip the initial 35-minute bake: this step cooks the chicken evenly all the way to the bone at a low, gentle temperature, so the final hot fry only needs to crisp the crust (3-4 minutes per side) — eliminating the common pitfalls of raw chicken near the bone or burnt, over-darkened breading from long fry times.
3.Fry in small 2-piece batches: adding too many chicken pieces at once drops the oil temperature below 180C (350F), causing the crust to absorb excess oil and turn soggy instead of crisp. Wait 1-2 minutes between batches to let the oil return to the correct target temperature.


✨ You May Also Like

Main Course
🍜 United Kingdom

A showstopping classic of tender seared beef, savory mushroom duxelles, and crisp prosciutto wrapped in flaky golden puff pastry, baked to juicy perfection.

⏱️ 2 hours 1Main Course ★ 4.7
Main Course
🍜 India

Tender charred marinated chicken simmered in a rich, spiced creamy tomato sauce, this iconic Anglo-Indian curry pairs perfectly with basmati rice or warm naan.

⏱️ 50 minuteMain Course ★ 4.6
Main Course
🍜 Thailand

Classic tangy, sweet, and savory Thai stir-fried rice noodles with shrimp, tofu, and crunchy garnishes, balancing all five core Thai flavor profiles.

⏱️ 30 minuteMain Course ★ 4.5
Main Course
🍜 United Kingdom

Crispy golden beer-battered cod and fluffy double-fried chips, served with tangy tartar sauce and malt vinegar: the timeless, beloved British pub comfort classic.

⏱️ 45 minuteMain Course ★ 4.7
Main Course
🍜 Mexico

Smoky, chile-marinated pork tacos with caramelized pineapple, fresh cilantro, and lime: a beloved classic Mexican street food perfect for casual summer gatherings.

⏱️ 1 hour 45Main Course ★ 4.8
Main Course
🍜 United States

Crunchy Fritos corn chips layered with savory beef chili and melted cheddar, topped with cool, zesty fixings for a beloved, cozy Tex-Mex comfort food.

⏱️ 35 minuteMain Course ★ 4.8

baked and fried:Frequently Asked Questions

1.Why do you use a two-step baked-then-fry method instead of frying the raw marinated chicken directly? ▾
This method fixes the two most common fried chicken fails: burnt breading before the chicken cooks through, and raw, underdone spots near the bone. Baking brings the chicken to a safe 155°F internal temp evenly, so the final fry only takes 2–3 minutes per side to crisp the crust without overcooking the meat.
2.Can I use boneless, skinless chicken cuts instead of the called-for bone-in thighs and drumsticks? ▾
You can, but you’ll need to cut the initial bake time by 8–10 minutes to avoid dry, tough meat, since boneless cuts cook much faster. Keep in mind bone-in, skin-on cuts deliver extra juicy, rich flavor, and the skin helps the spiced flour crust adhere far better than bare, skinless meat.
3.Do I have to use full-fat buttermilk, or can I use low-fat buttermilk or a homemade substitute? ▾
Full-fat buttermilk is ideal because its thick, creamy texture and higher fat content tenderizes chicken deeply and helps the flour coating stick for a craggy, crisp crust. If you’re in a pinch, stir 1 tablespoon of white vinegar into 1 cup of whole milk, let it curdle 5 minutes, and use that—skip low-fat milk, it won’t deliver the same results.
4.How long should I marinate the chicken in buttermilk before I start the baking step? ▾
For the juiciest, most evenly seasoned chicken, marinate in the spiced buttermilk for a minimum of 4 hours, and up to 24 hours, covered in the fridge. Don’t marinate longer than 24 hours, though—the acid in buttermilk will break down muscle fibers too much, leading to mushy, stringy meat instead of tender, juicy bites.
5.Why does my breading sometimes fall off during the final frying step? ▾
Breading usually slips off for two easy-to-fix reasons: either you didn’t let the all-purpose flour-coated chicken rest 10–15 minutes before baking to let the coating set, or your fry oil wasn’t held at a steady 350°F. Press the spiced flour firmly onto every surface, and don’t overcrowd the fry pot, which drops oil temp fast and loosens coating.
6.What type of oil should I use for the final frying step? ▾
Reach for a neutral, high-smoke-point oil for the best results: canola, vegetable, peanut, or avocado oil all work beautifully. Avoid olive oil, butter, or toasted sesame oil, which have low smoke points that burn quickly at frying temps, leave bitter off-flavors, and create excess kitchen smoke. Fill your pot no more than halfway with oil to prevent messy boilovers.
7.Can I make this chicken ahead of time for a party or potluck? ▾
You can prep the chicken through the initial baking step up to 2 days ahead, stored tightly covered in the fridge, then do the quick final fry right before serving for maximum crispness. Store fully cooked leftovers in an airtight fridge container for up to 3 days, and reheat on a wire rack in a 400°F oven for 10 minutes to re-crisp, skipping the microwave.
8.How do I get that signature shatteringly crisp crust instead of a soggy, soft coating? ▾
First, don’t pack the smoked paprika and garlic powder-spiked flour too tight when dredging—toss lightly to create craggy, uneven bits that crisp up best. Second, set fried chicken on a wire rack (not paper towels) after frying, since trapping chicken against a damp surface will steam the crust and make it soggy within minutes.

Comments (20)

1 week ago

OMG this chicken is so good! I made it for my kid’s soccer team potluck last weekend and every single piece was gone before I even got a plate for myself! The buttermilk brine makes the chicken so juicy, no dry bites at all. I was skeptical about baking then frying but it cut down so much on the splatter mess I usually deal with when frying raw chicken. Worth every minute of prep!

5 days ago

So glad it was a hit at the potluck! The pre-bake step is a total game changer for reducing fry time and kitchen mess, we love hearing that it worked for you 😊

3 days ago

Really good flavor, but my crust didn’t stay as crispy as I hoped when I pulled it out of the fryer. Did I overbake it first? I followed the temp but maybe left it in 5 minutes too long? Still way juicier than regular fried chicken I’ve made before, just wish the crunch held up better.

2 days ago

I had that issue the first time too! I started making sure I pat the baked chicken really dry right before dropping it in the oil, and that fixed the crunch problem for me. Don’t skip letting the excess buttermilk drip off before the flour coating either!

2 days ago

Great tip from MidwestMama2020! You’ll also want to make sure your fry oil is holding steady at 350°F before adding the chicken—if the oil is too cool, the crust will get soggy instead of crispy. Hope that helps for your next batch!

5 days ago

Meal prepped this on Sunday and ate it all week for lunch, even cold straight out of the fridge the crust still had a little crunch! I tossed half the batch in hot honey after frying and that combo is unreal. 10/10, added to my permanent weekly rotation.

yesterday

Made this for our casual family dinner last night, and it took me a minute to get the hang of the two-step cook method but holy cow this is better than the fried chicken I get at my favorite local diner. My partner who swears he hates baked chicken went back for three thighs. No notes, perfect recipe.

2 hours ago

That’s such high praise! We love competing with local diner favorites—so glad your partner enjoyed it too!

2 weeks ago

Taste was great but this felt like way more work than regular fried chicken for me? I don’t know if I’ll do the bake step again, it felt like extra dishes for minimal payoff. Also my chicken strips cooked way faster than the thighs so I had to pull them out early, wish the recipe noted cook time differences for different cuts!

1 week ago

Total fair call! I only make this on weekends when I have extra time, it’s not a quick weeknight meal for sure. I do boneless thighs usually so they all cook at the same rate, cuts down on the timing hassle.

1 week ago

Thanks for the honest feedback! You’re totally right that this is more of a weekend recipe, not a quick weeknight pick. We’ll add a note about cook time variations for different cuts and bone-in vs boneless pieces to the recipe card this week, appreciate you flagging that!

30 minutes ago

Just pulled a batch out for my friend’s birthday cookout and the smell alone is making my mouth water. I added a little paprika and garlic powder extra to the flour dredge like my grandma used to, and the color is perfect golden brown. Already got three people asking for the recipe before anyone even took a bite!

2 days ago

Made this for a post-hike dinner with friends and everyone loved it, but I wish there was a note about how long to let the chicken rest after brining? I brined it for 24 hours like the recipe said but didn’t let it sit after dredging so some of the coating fell off when I fried it.

yesterday

Great catch! We recommend letting the dredged chicken rest on a wire rack for 10-15 minutes before baking so the coating adheres properly, we’ll add that tip to the instructions right away. Glad your crew still enjoyed it!

1 week ago

Game. Changer. I’ve tried so many crispy baked chicken recipes that never deliver that crunch, and fried chicken recipes that leave my stove covered in oil for days. This middle ground is perfect. My kids loved it, my wife loved it, even my super picky golden retriever was begging under the table for a bite.

5 days ago

Wait did you give your dog a bite? I gave my pup a tiny plain piece and he’s been staring at the oven every time I open it since, lmao

3 days ago

LMAO I caved and gave him a tiny, unseasoned piece off the edge, don’t tell my wife. Now he sits at my feet every time I pull out the buttermilk carton, total little menace.

5 days ago

SO good. I was worried the medium difficulty rating meant I’d mess it up, but the instructions were so straightforward even my teen kid was able to help bread the chicken without making a huge mess. We served it with waffles for brunch last Saturday and it’s now our go-to brunch meal.

3 days ago

Oh serving it with waffles is genius! I’ve only made it for dinner with mac and cheese but I’m absolutely doing the chicken and waffles vibe for my next brunch, thanks for the idea!

just now

Third time making this tonight and I swear it gets better every time. I use bone-in skin-on thighs exclusively because they stay the juiciest, and I toss a little cayenne in the dredge for a tiny kick. If you’re on the fence about making this, stop scrolling and go get the buttermilk right now.

2 weeks ago

Flavor was top tier, but I used regular milk instead of buttermilk because my store was out, and it was just a little less juicy than I hoped. Don’t make my mistake and swap the buttermilk, y’all. It’s non-negotiable.

1 week ago

Great note! If you ever run out of buttermilk last minute, you can make a quick substitute by adding 1 tablespoon of white vinegar or lemon juice to a cup of regular milk and letting it sit 5 minutes, but real buttermilk does give the best tang and juiciness!

2 days ago

Made this last night for date night and my boyfriend said it’s better than his mom’s fried chicken, which is the highest possible compliment I could ever get. The bake first method meant we didn’t have a bunch of oil splatters all over our nice kitchen, which was a huge win for us since we’re still getting the hang of frying at home.

yesterday

Girl if he said that you better hold onto him AND this recipe! My husband still says his mom’s is better but I swear he’s just being loyal, this recipe blows hers out of the water.

2 hours ago

That’s the ultimate seal of approval! So glad the two-step method saved your kitchen from oil splatters—date night win all around.

1 week ago

I’ve been making fried chicken for over 40 years and I have to say, this baked-then-fried method is something I never thought to try. It cuts the fry time so much I don’t have to stand over the hot oil for 20 minutes per batch, which is great for my old knees that can’t stand that long. The crust is crispier than my old recipe too! Who says you can’t teach an old dog new tricks?

5 days ago

Bob, this comment made our whole day! We love hearing that long-time home cooks are enjoying the method—nothing beats a recipe that’s easier on the joints and tastes better, right? Thanks for giving it a try!

3 days ago

Made a double batch on Sunday, portioned it out with roasted broccoli and mac and cheese for my work lunches all week. Even after reheating in the air fryer for 5 minutes the crust is still crispy, no soggy sad chicken here. Will definitely be making this monthly for meal prep.

5 days ago

Loved the texture and juiciness! I coated half the batch in Nashville hot oil after frying and it was perfect, just the right amount of crunch to hold up to the sauce. Only note is that I had to bake it 10 minutes longer than the recipe said because my oven runs cold, so make sure you check your chicken temp with a thermometer!

3 days ago

Thanks for the oven temp tip! My apartment oven is super old and runs cold too, I always forget to add extra time and end up with undercooked food. Can’t wait to try the hot oil toss too, that sounds amazing.

2 weeks ago

Made this for my son’s hockey team dinner after practice and those teen boys ate 12 pieces of chicken in 5 minutes flat. I was worried I made too much, nope, should’ve made a triple batch. The crispy crust didn’t get soggy even when we ate off paper plates in the rink parking lot, that’s how you know it’s good.

1 week ago

LMAO that is so relatable. I made 10 pounds of wings for my son’s team last week and they were gone before I even set the tray down. Gotta try this recipe for our next dinner, parking lot friendly food is a must.

1 week ago

Seriously! No sad soggy chicken even when it’s 40 degrees out and we’re eating off folding chairs. 10/10 for sports team meals.

2 hours ago

Paired this with a cold hazy IPA last night and it was the perfect weekend dinner. I used a mix of drumsticks and wings because those are my favorite cuts, and they turned out so crispy I could hear the crunch across the table. 10/10, will be making this for my next game watch party.

yesterday

I don’t have a deep fryer so I used my cast iron skillet with about an inch of oil, and it turned out perfectly! I was worried I wouldn’t get the same crisp without a full fryer, but the pre-bake step made it so easy. My two toddlers ate two drumsticks each, which never happens with new recipes.

2 hours ago

So great to hear it works well in a cast iron with shallow oil! That’s our go-to at home too when we don’t want to pull out the deep fryer. Win for toddler dinner wins!

3 days ago

I bring this to every food tour potluck with my coworkers and everyone always asks me for the recipe. The buttermilk tang is perfect, not too overpowering, and the crunch is unbeatable. I’ve tried making it with panko in the dredge before and it’s even crispier if you want an extra crunch hack!

2 days ago

Wait panko is such a good idea! I have a half box in my pantry I’ve been needing to use up, I’ll have to swap half the regular flour for panko next time I make this.

yesterday

Love that panko hack! We’ve tried it too and it adds such a great extra crispy texture, especially if you’re serving the chicken for a crowd where it might sit out a little bit before eating. Thanks for sharing!

5 minutes ago

Just finished making this for my family’s Fourth of July cookout prep and it tastes exactly like the crispy fried chicken they sell at the theme parks, but way cheaper and juicier. Already know this is going to be the star of the spread tomorrow. 10/10 no notes!



