
baked boneless chicken breast
intro
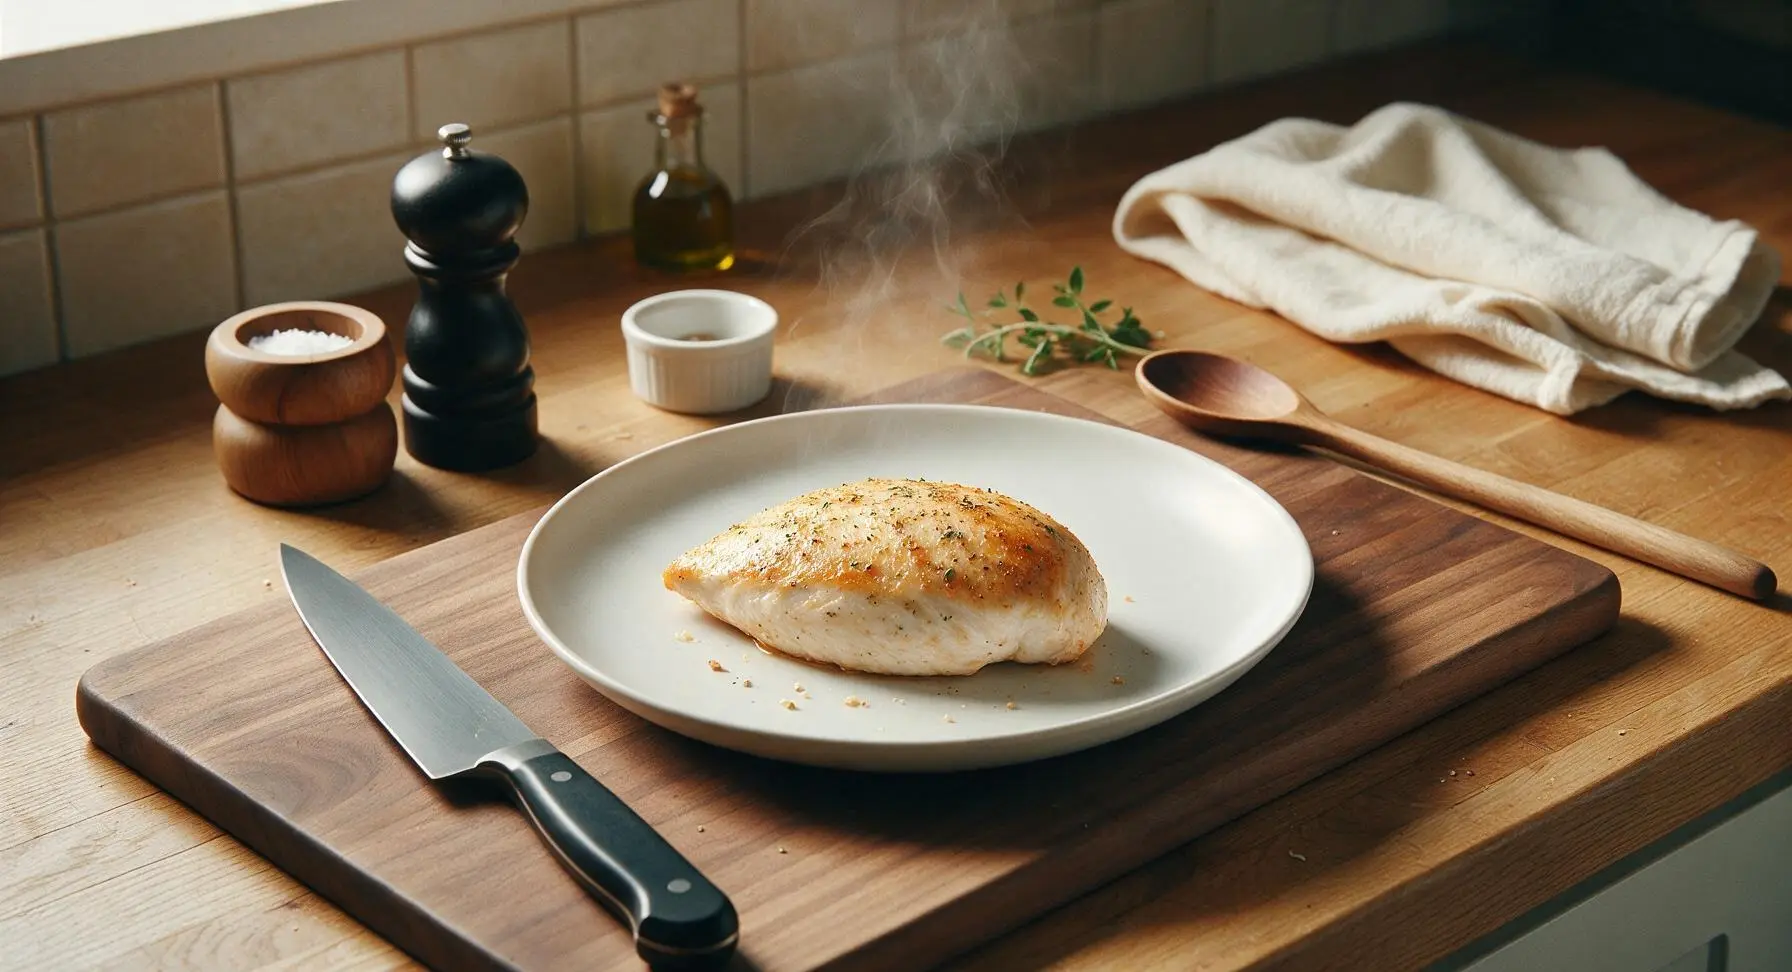
Juicy, evenly herbed baked boneless chicken breast with a subtle crisp golden exterior—fast, versatile, and perfect for weeknight dinners or weekly meal prep.
Ingredients
Steps
Preheat Oven, Trim Chicken
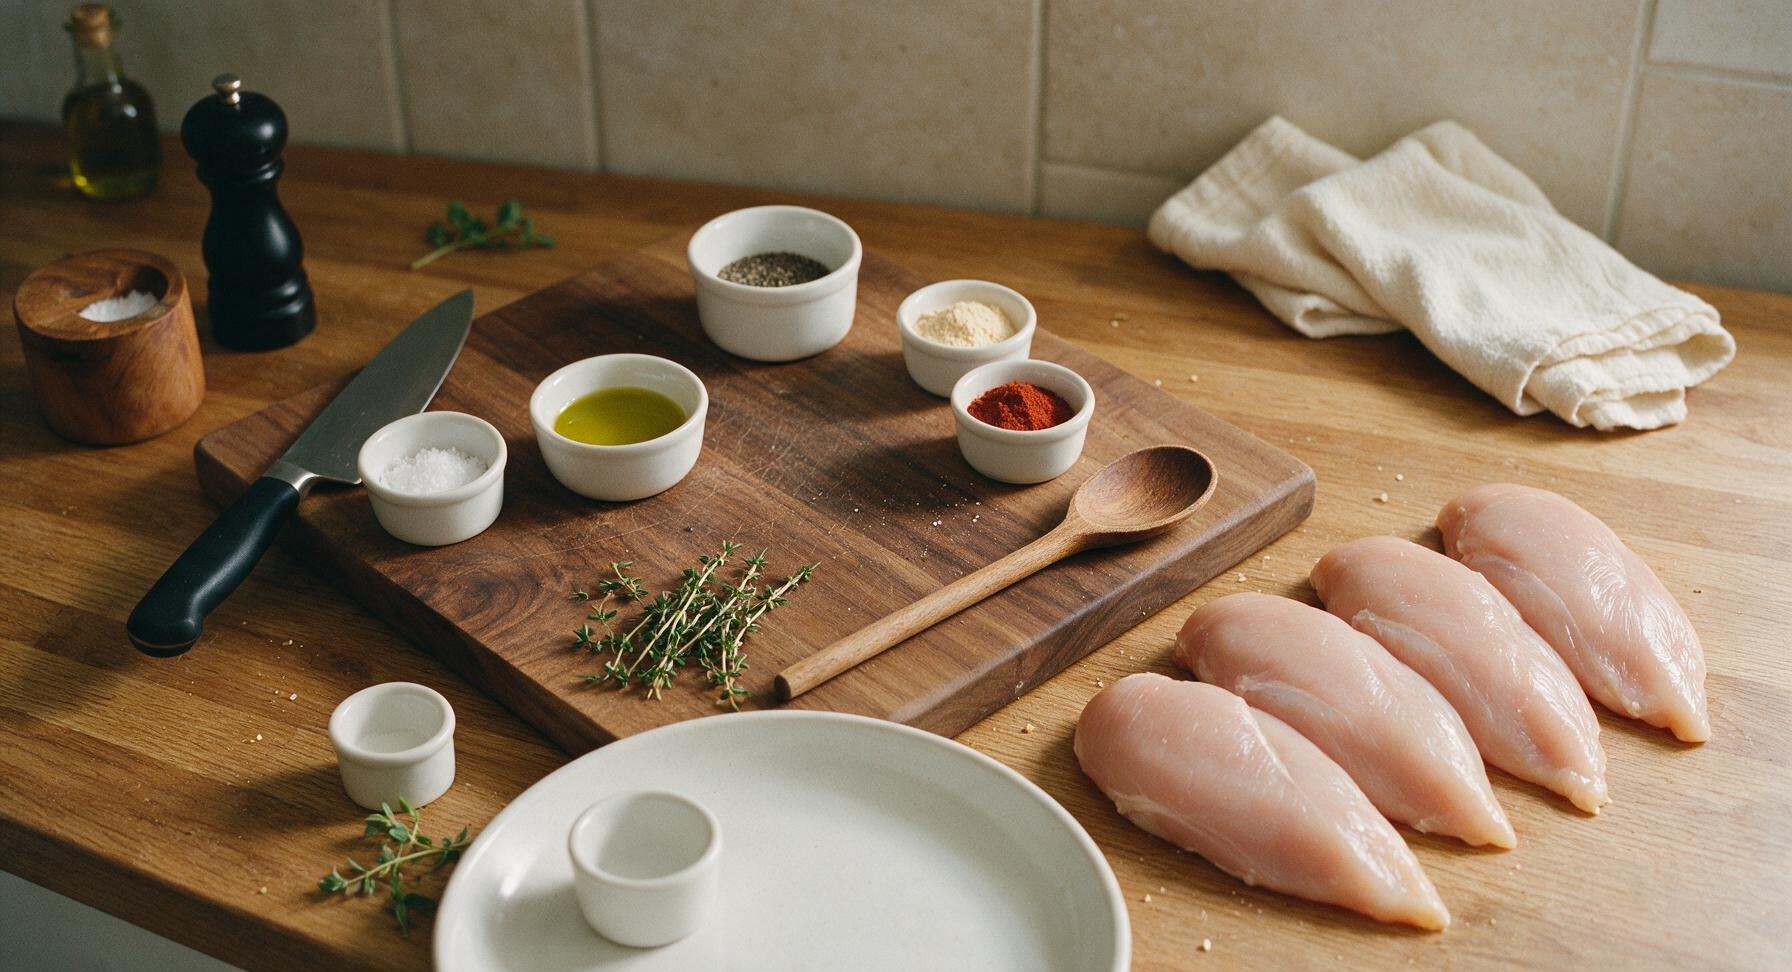
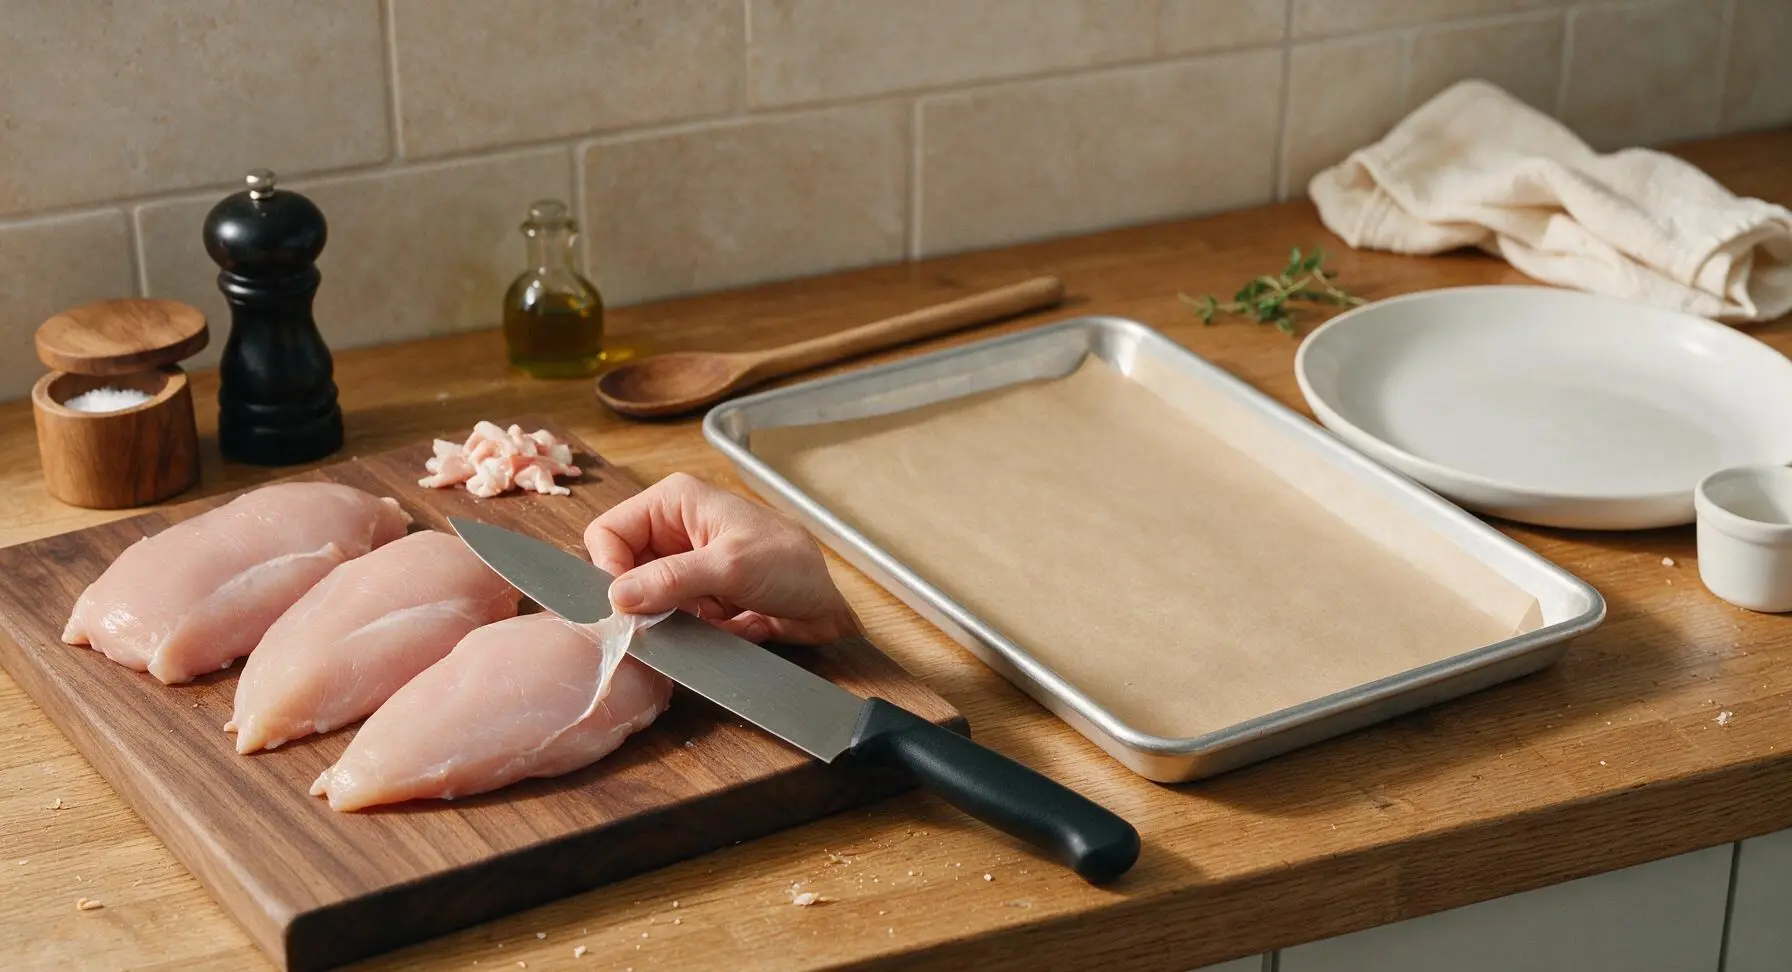
Adjust your oven rack to the middle position, then preheat the oven to 425°F (220°C). Place the 4 boneless, skinless chicken breasts on the matte black cutting board. Use the 8-inch chef knife to trim any excess loose fat, silver skin, or ragged edges from the breasts. If any breast is thicker than 1.5 inches at its widest point, gently pound the thick end with the flat of the knife to create a uniform 1.5-inch thickness across all pieces, which ensures even cooking without dry edges.
Mix Seasoning Blend
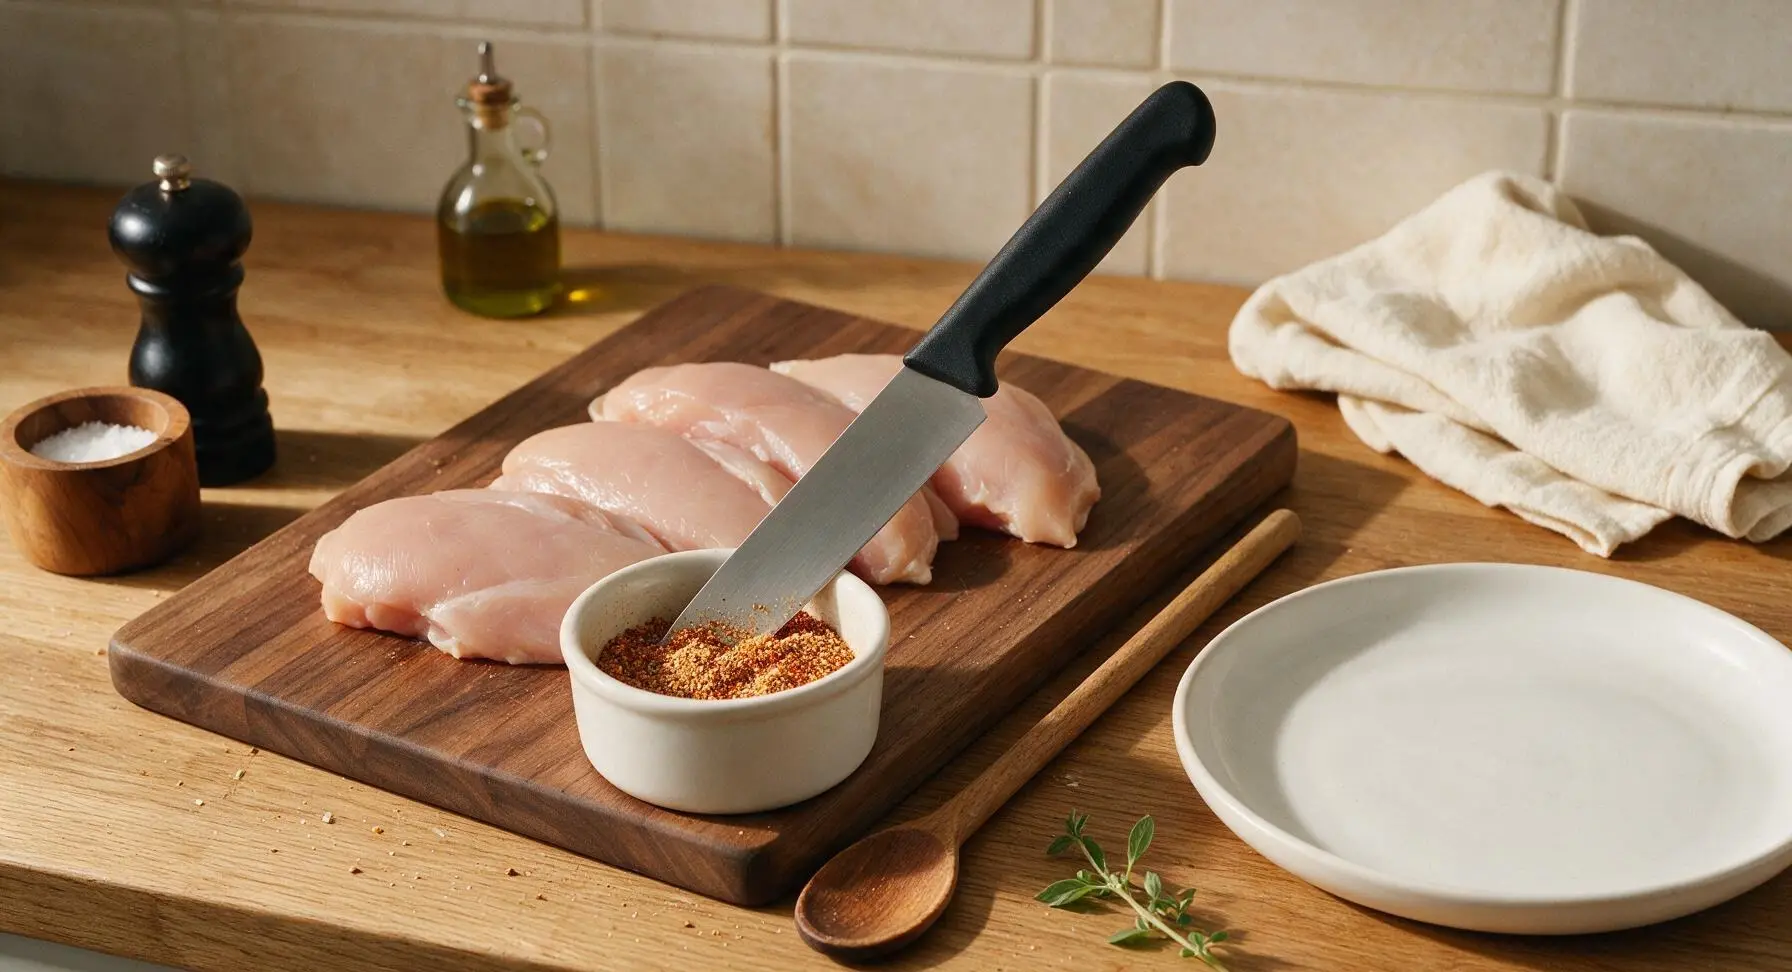
In the small matte white ceramic ramekin, combine 1 teaspoon coarse kosher salt, 1 teaspoon freshly ground black pepper, 1 teaspoon garlic powder, and 1/2 teaspoon smoked paprika. Stir with the tip of the chef knife to blend the spices evenly, breaking up any small clumps of paprika or garlic powder so the mixture is consistent.
Coat Chicken with Oil
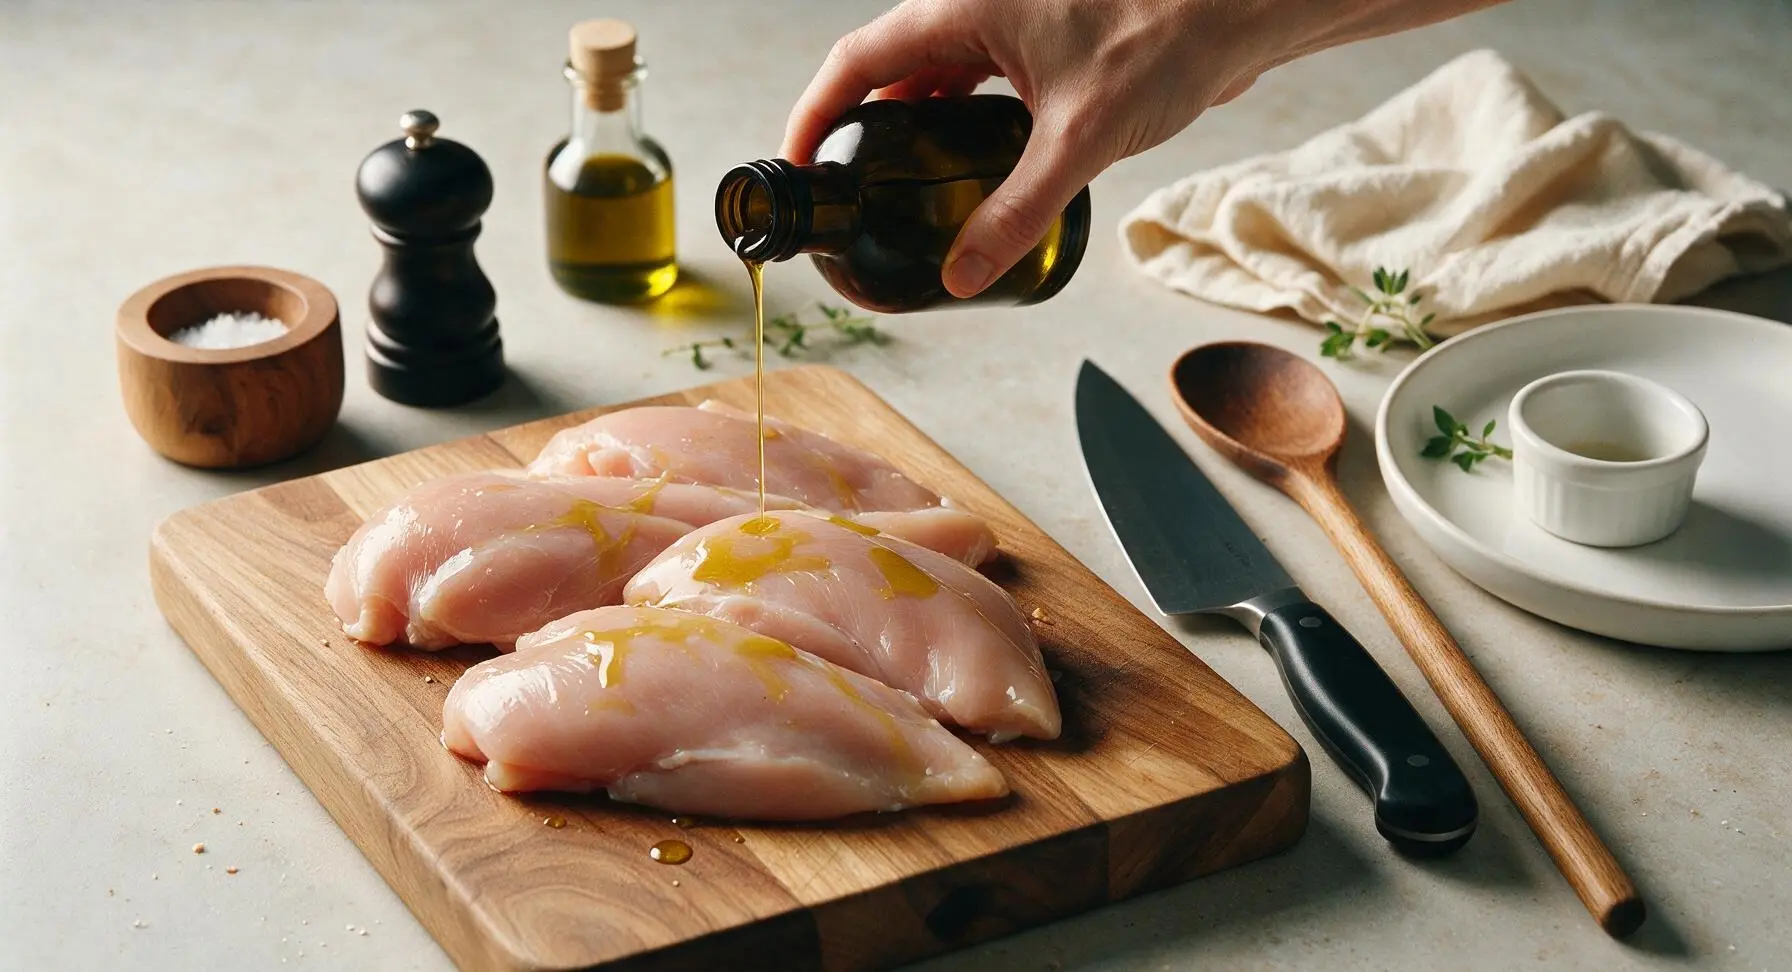
Drizzle 2 tablespoons of extra-virgin olive oil over all sides of the trimmed chicken breasts on the cutting board. Use clean hands to rub the oil evenly over every surface of the chicken, creating a thin, glossy coating that helps seasoning adhere and promotes a crisp, golden exterior during baking.
Season Chicken Evenly
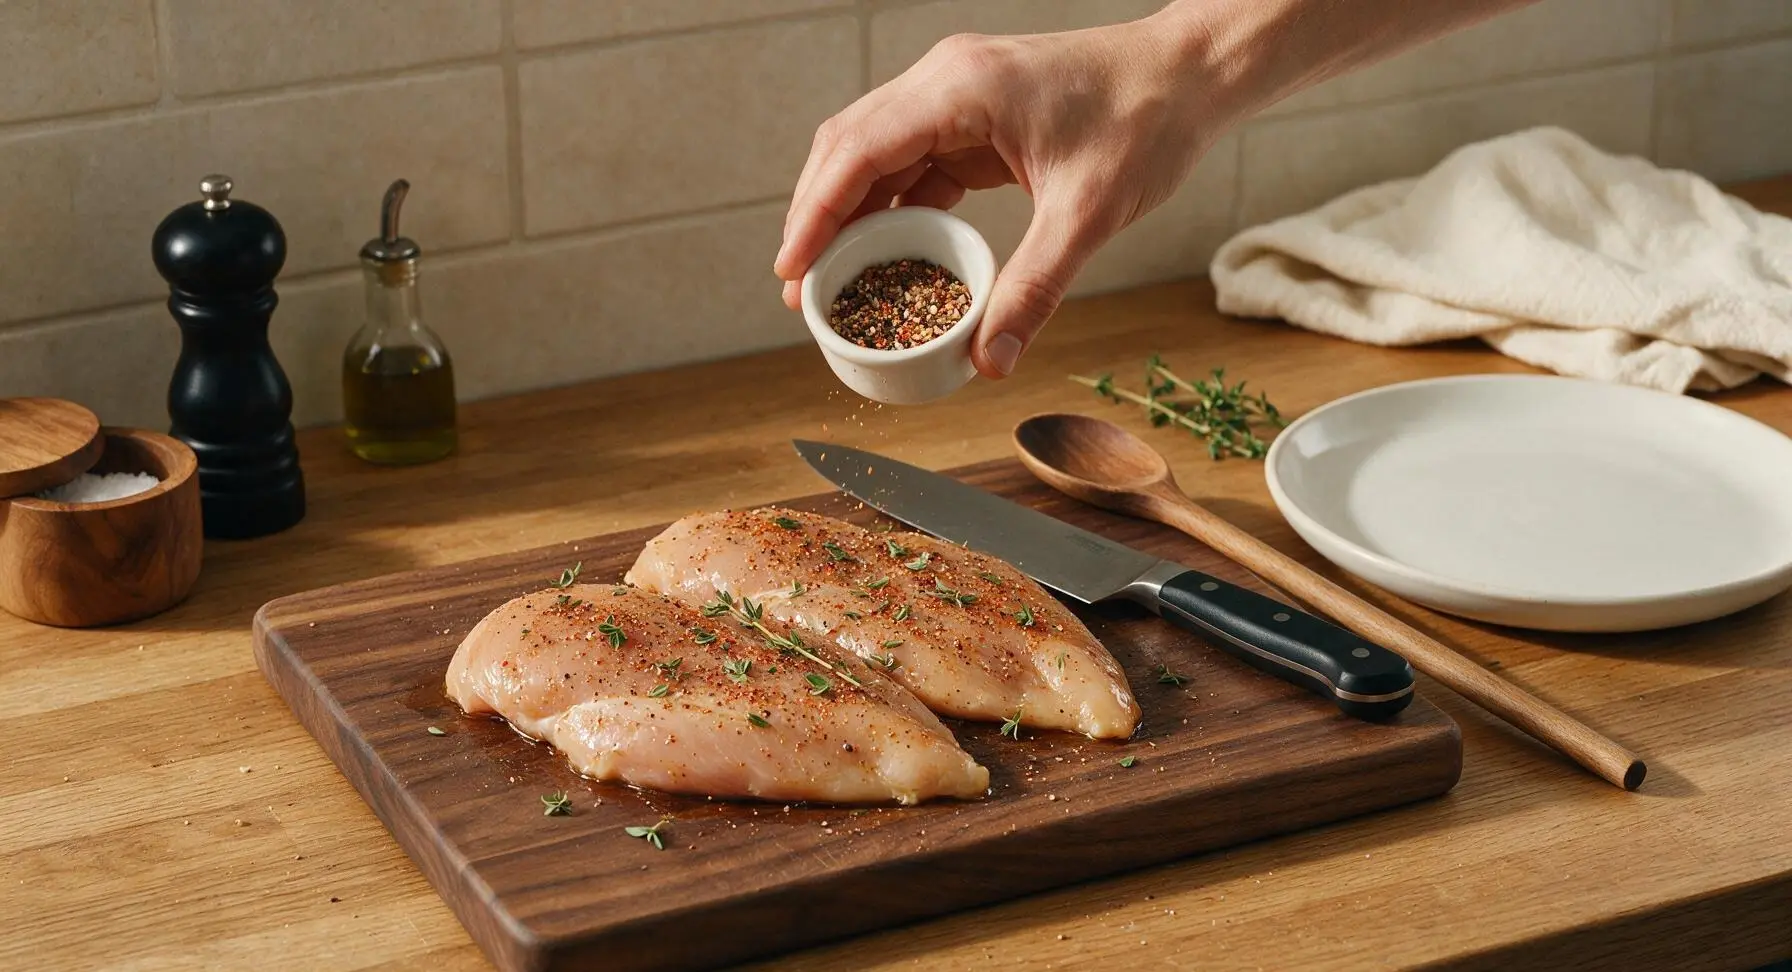
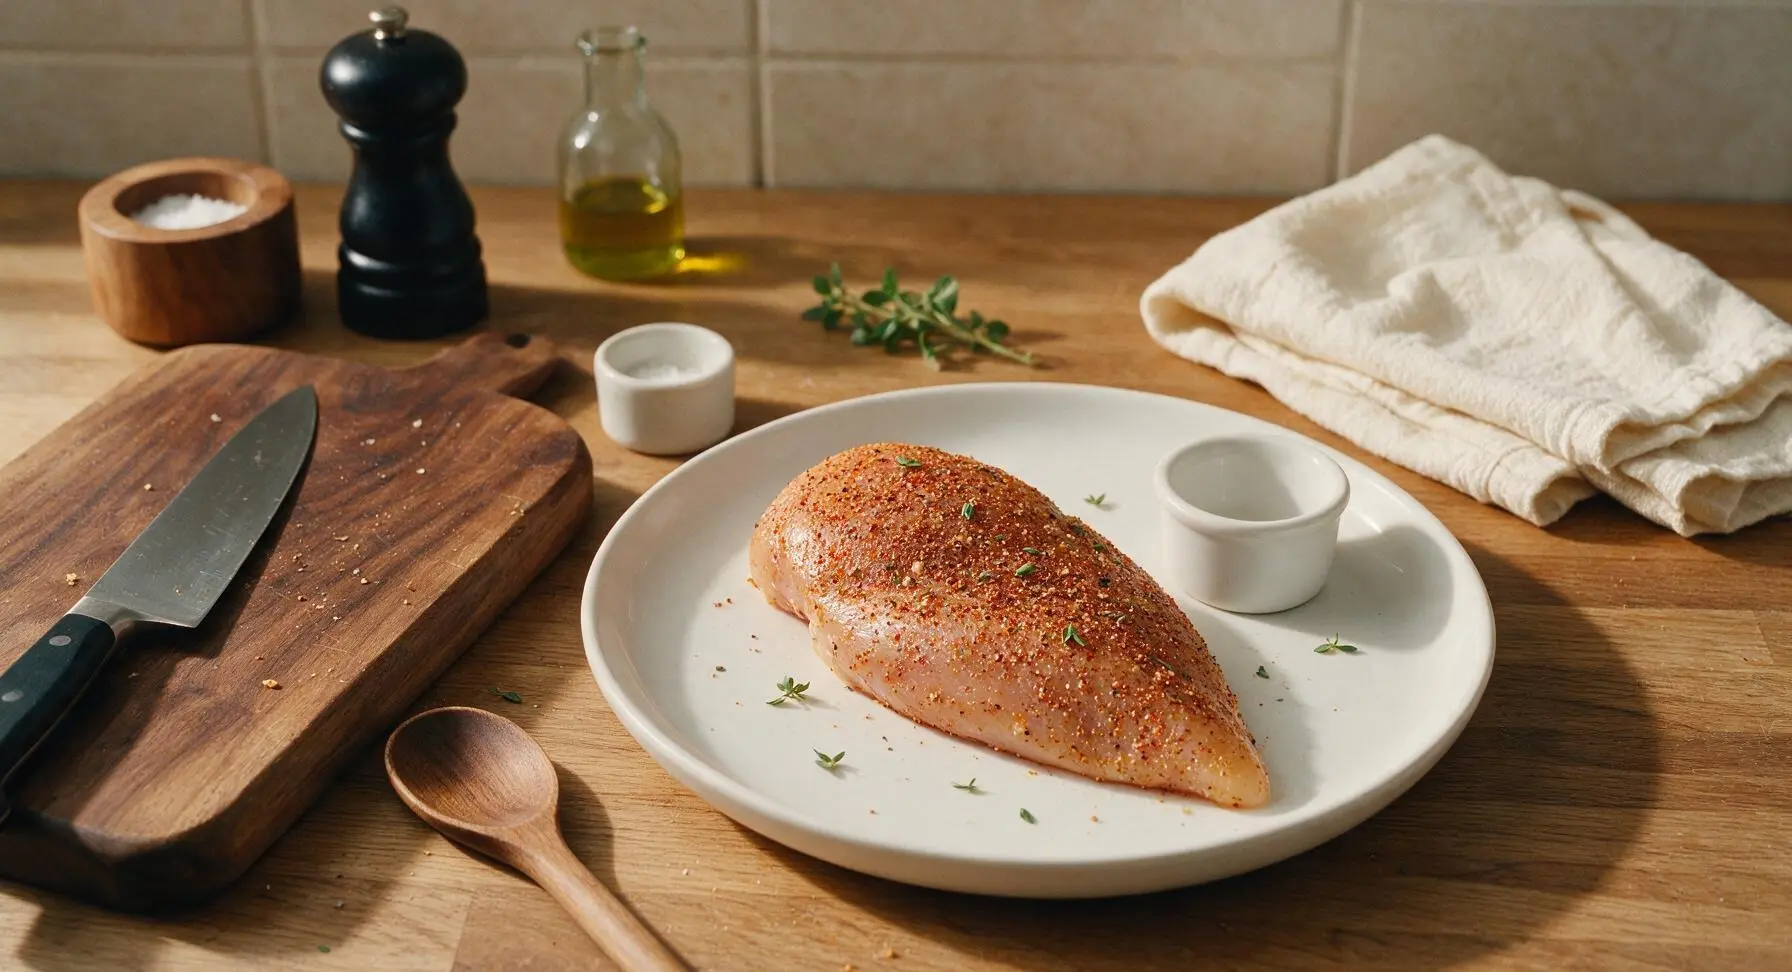
Sprinkle the pre-mixed spice blend evenly over all sides of the oiled chicken breasts, using your fingers to rub the seasoning into every crevice and edge, including the thin sides of the breasts, for consistent flavor in every bite. Pull leaves from 3 of the fresh thyme sprigs and scatter them over the seasoned chicken surface.
Arrange on Baking Sheet
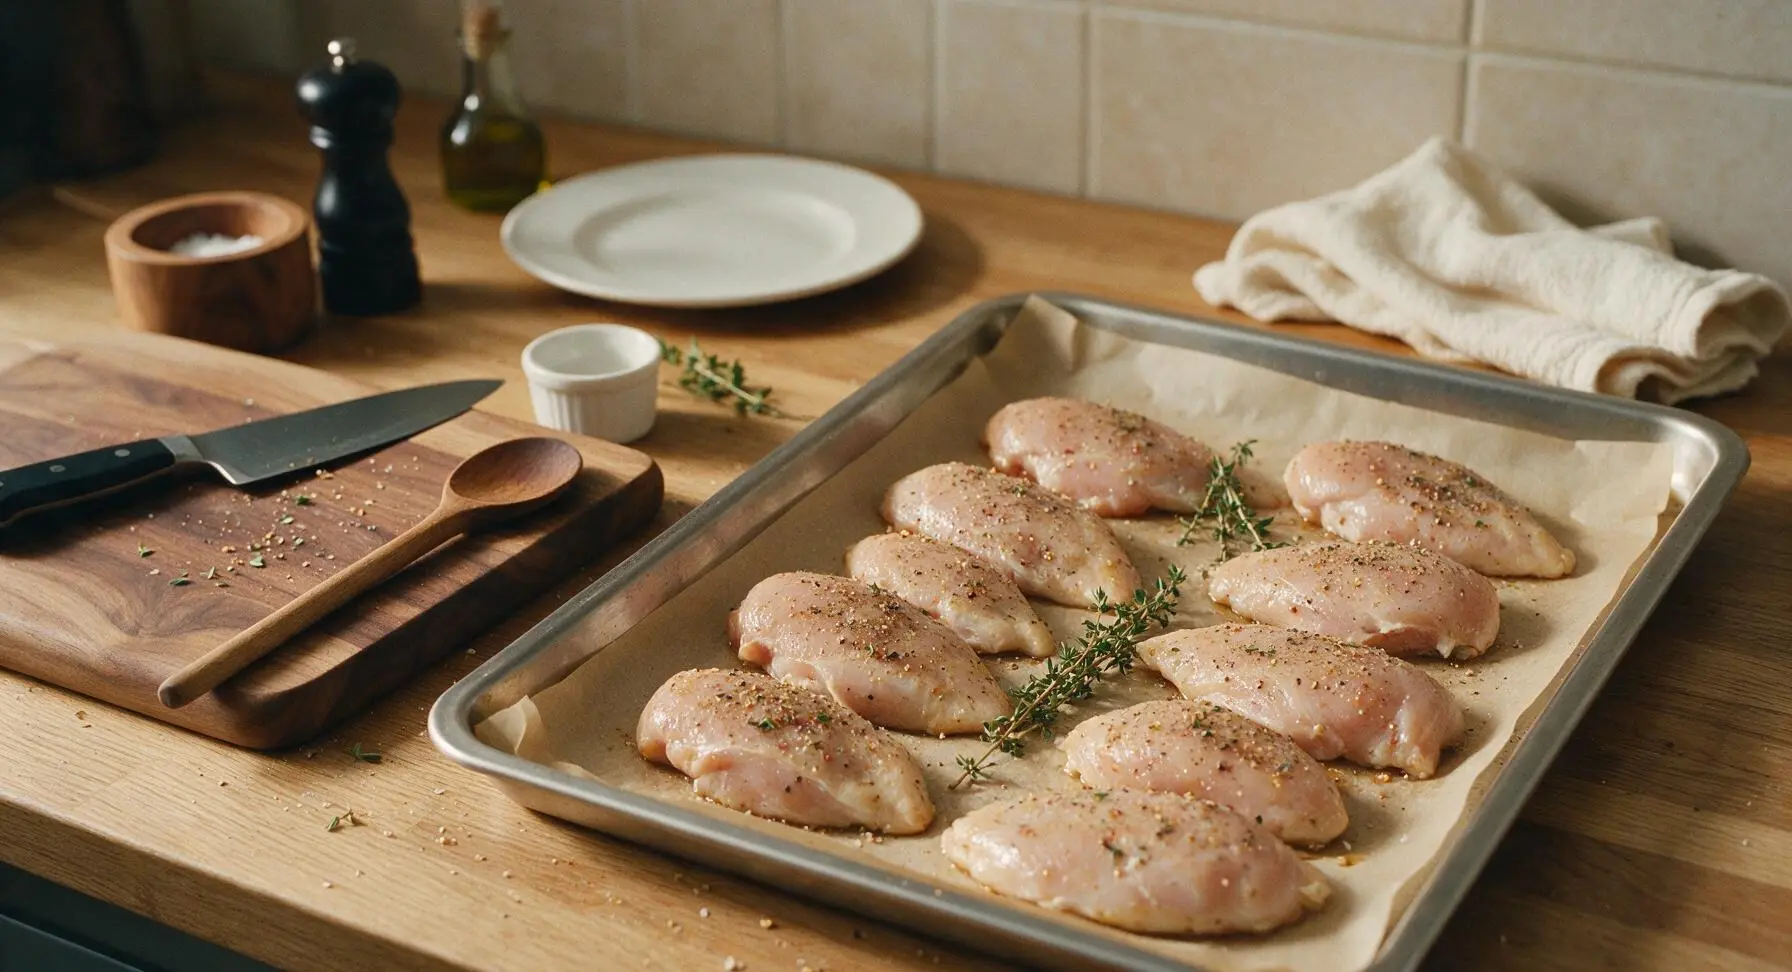
Use the stainless steel tongs to transfer the seasoned chicken breasts to the parchment-lined baking sheet, leaving at least 1 inch of space between each piece to allow hot oven air to circulate—this prevents steaming and creates a crisp exterior instead of soggy skinless chicken. Tuck the remaining 3 whole thyme sprigs around the chicken on the sheet.
Bake to Correct Temperature
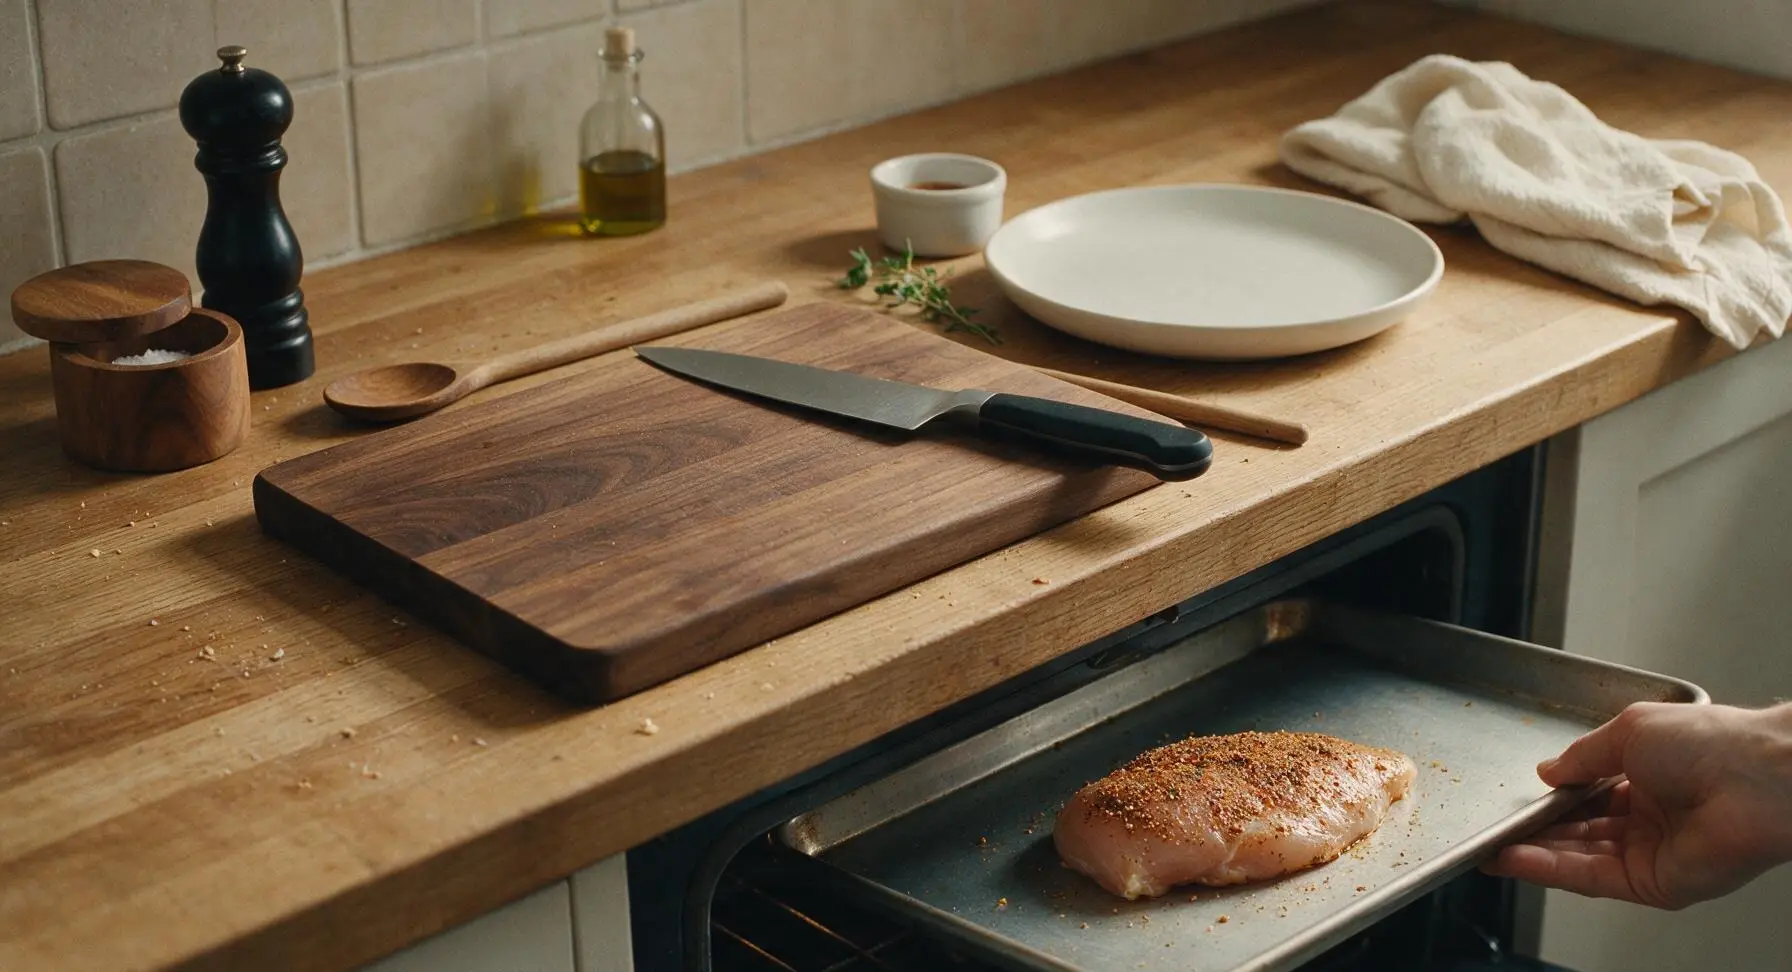
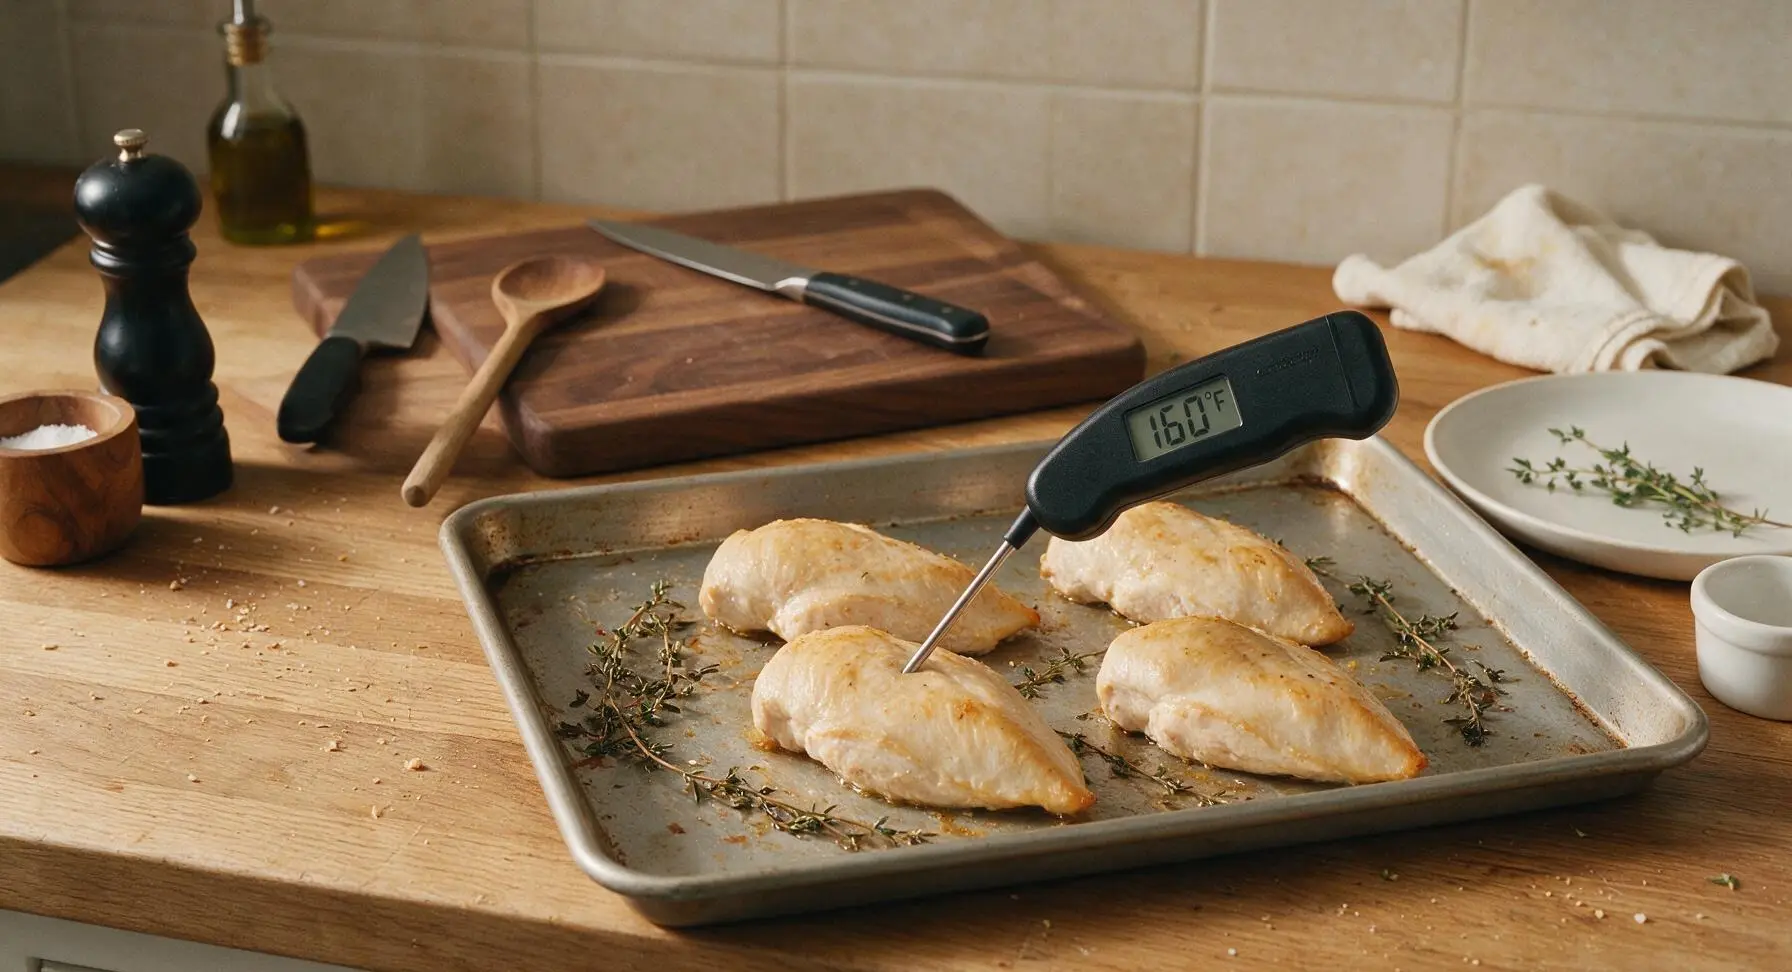
Carefully slide the baking sheet onto the middle rack of the preheated 425°F (220°C) oven. Bake for 22 minutes, then pull the sheet back out to the counter to check doneness. Insert the instant-read meat thermometer into the thickest part of each breast; chicken is ready when the internal temperature reads 160°F (71°C). If needed, return to the oven for 2-3 additional minutes to reach temperature.
Rest Chicken Before Serving
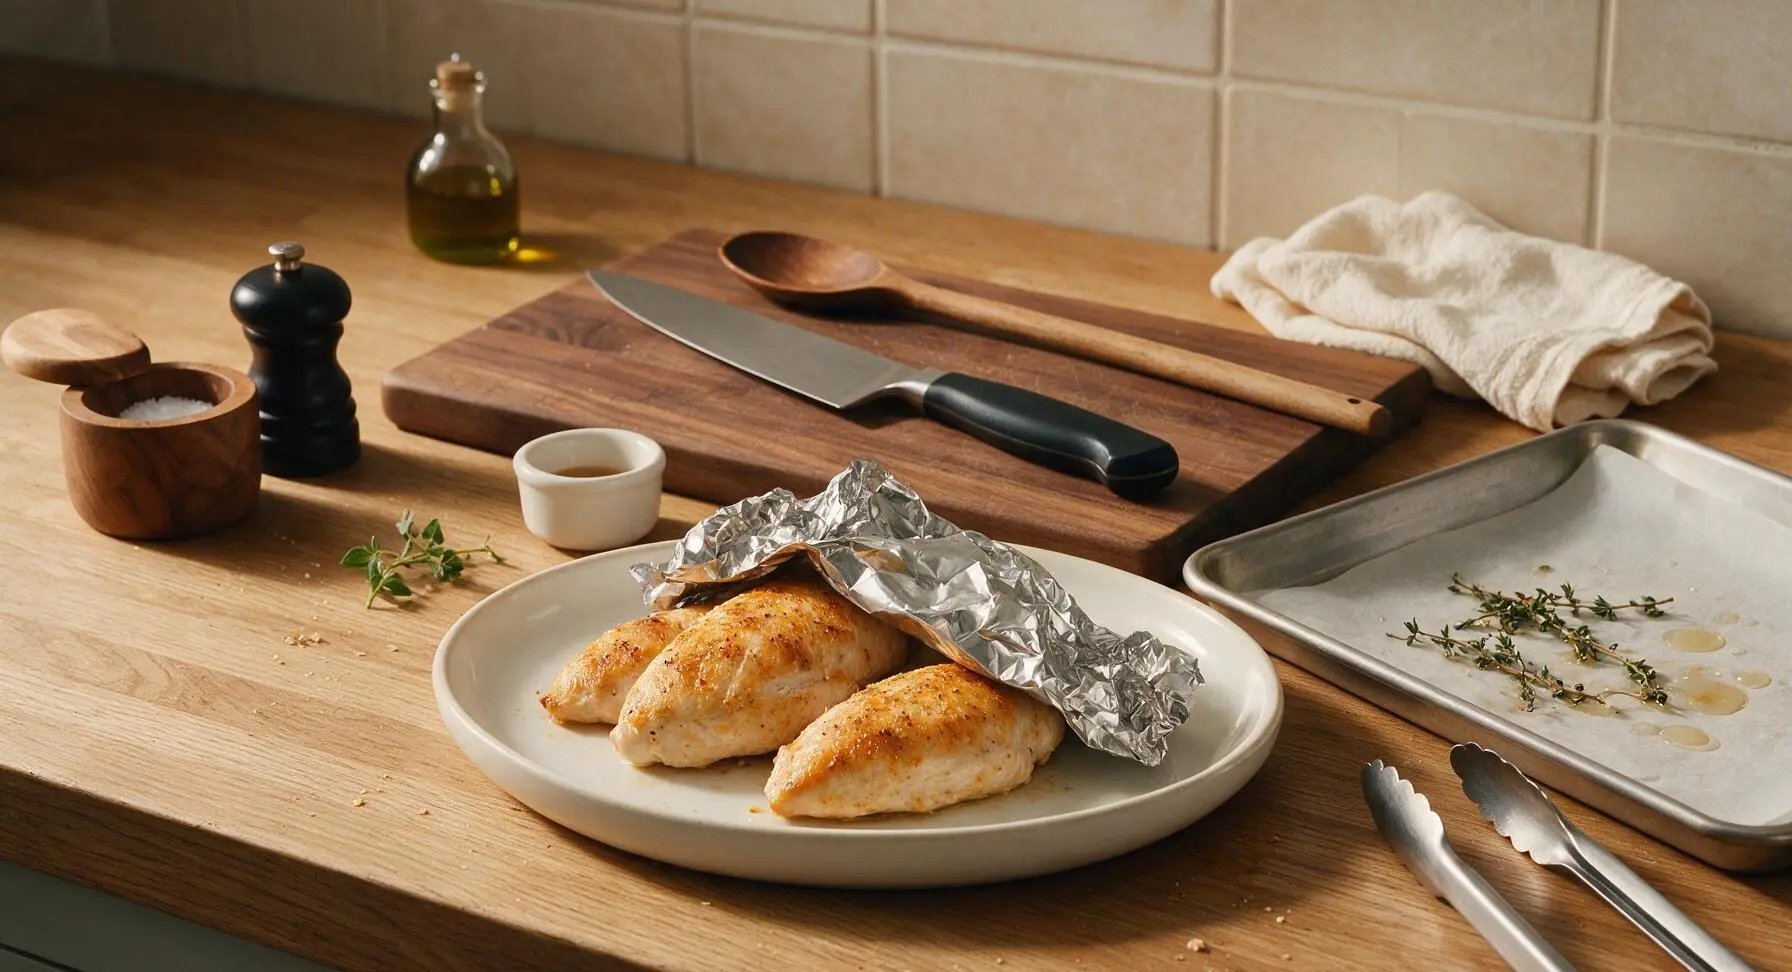
Use the stainless steel tongs to transfer the baked chicken breasts from the baking sheet to the creamy white stoneware dinner plate. Loosely tent a small piece of aluminum foil over the plate, and let the chicken rest for 5 full minutes. This allows muscle fibers to relax and reabsorb juices, ensuring every bite is juicy instead of having liquid run out when sliced.
Slice and Plate Chicken
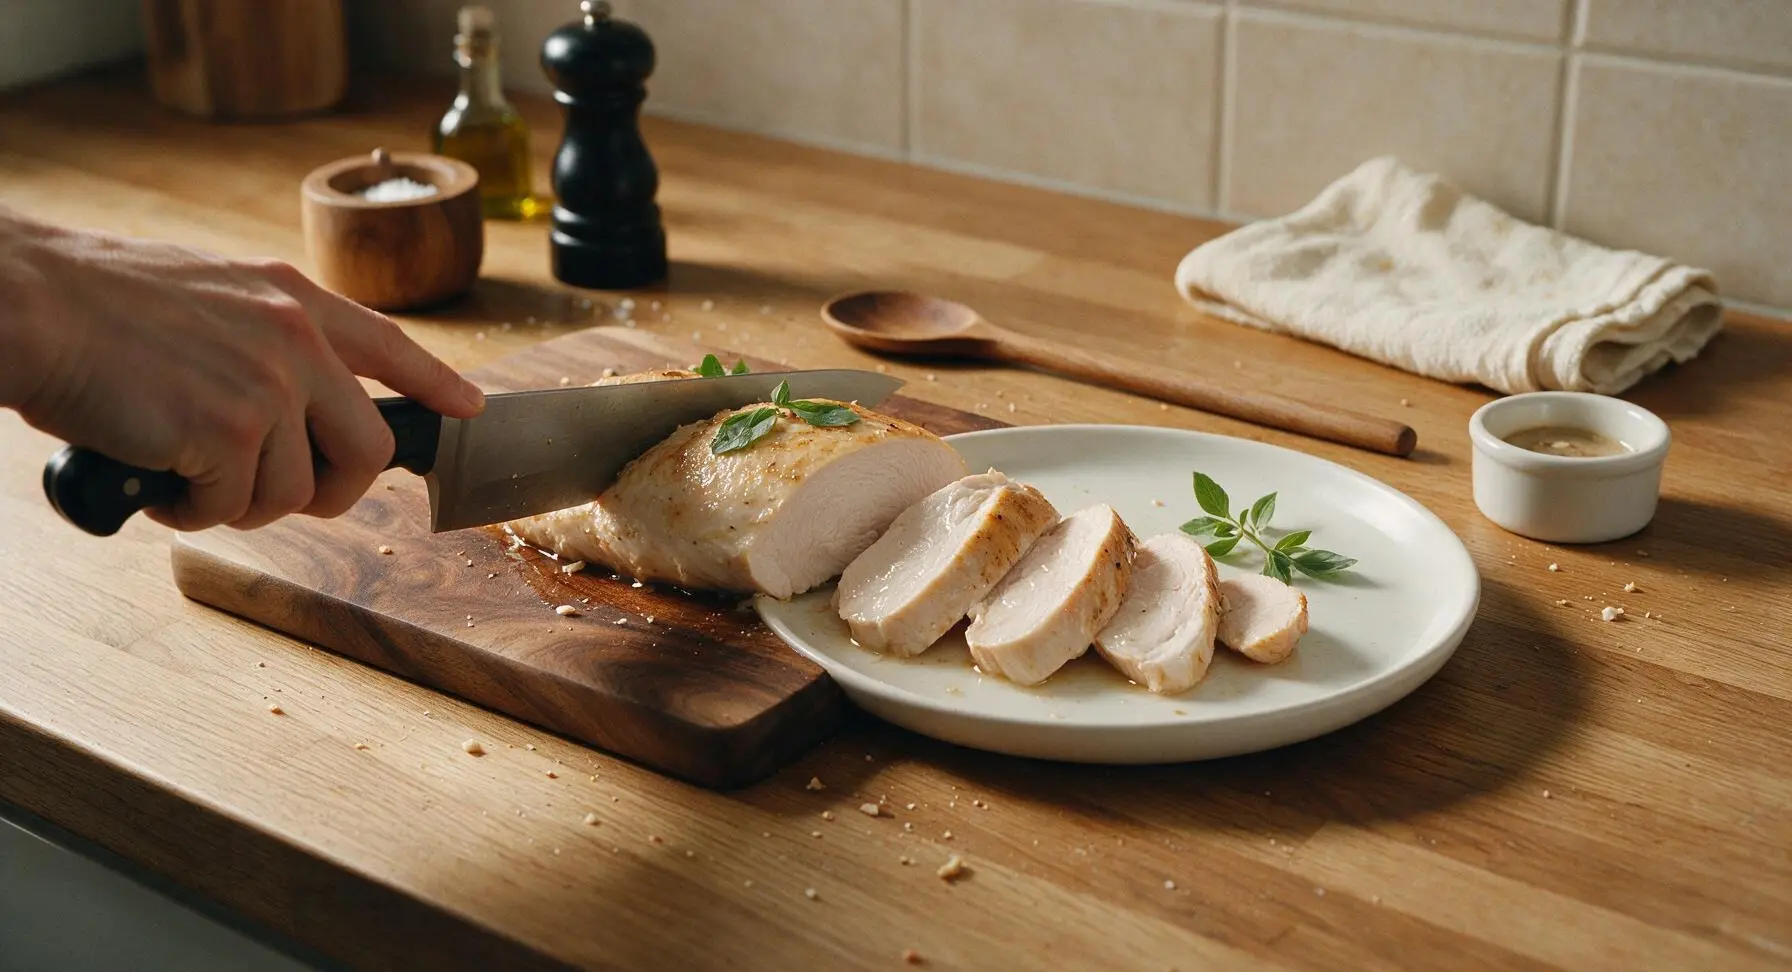
After the 5-minute rest, remove the aluminum foil tent. Use the chef knife to slice each chicken breast against the grain into 1/2-inch thick slices, fanning them gently across the stoneware plate for presentation. Garnish with a few extra fresh thyme leaves pulled from the remaining bunch before serving.
Tips
2.Pull chicken from the oven when the internal temperature hits 160°F (71°C), not 165°F (74°C): carryover cooking will raise the temperature by 5°F as the chicken rests, so pulling it early avoids dry, overcooked meat while still meeting FDA food safety guidelines.
3.Always let chicken rest for 5 full minutes before slicing: cutting into hot chicken immediately causes all the trapped, flavorful juices to run out onto the plate, leaving the meat dry even if it was cooked perfectly.






OMG this is a total game changer! I’ve always dried out baked chicken breasts no matter what I tried, and these came out perfectly juicy even when I got distracted helping with homework and left them in 2 minutes extra. My kids devoured them at dinner last night and asked for seconds! Even my pickiest eater who says chicken is “too dry” ate two whole pieces. 10/10 will be making this every week for family dinners.
SO good! I made a big batch on Sunday for my weekly meal prep and the chicken stayed juicy all week long in the fridge, even when I reheated it in the microwave for work lunches. No more sad, rubbery chicken for my midday meals! I seasoned half with cajun and half with garlic parmesan using this base method and both turned out chef’s kiss.
Pretty solid! I followed the temp guide exactly and it came out juicy, though I wish I’d added more salt before baking. Next time I’m gonna throw a little paprika and garlic powder on too, it needed a tiny bit more flavor for my taste. Still way better than my usual baked chicken that comes out like a hockey puck.
I made this for our neighborhood potluck last weekend and everyone was asking me for the recipe! Usually I pan fry chicken for potlucks because baking always dries it out, but this was so easy to make a big tray of, and it stayed juicy even sitting out for a little while while everyone served themselves. Total win.
As someone who eats chicken breast 4-5 times a week for protein, I cannot believe how much better this is than my usual method. No more choking down dry, chalky chicken to hit my macros! The trick of letting it rest after baking is no joke, all the juices stay locked in. 10/10, this is my new go-to.
Wait this is so easy even I didn’t mess it up?? I’m a total beginner living in the dorms with just a tiny toaster oven, and I followed the directions exactly and it came out perfect. My roommate even stole a bite and said it’s better than the dining hall chicken. Win for cheap, easy dorm meals!
I’ve been baking chicken for over 50 years and I’ll admit, I thought I had it down pat—but this method is even better than my old recipe! My grandson came over for Sunday dinner and said it was the juiciest chicken he’d ever had. I’ll be passing this tip along to my bridge club ladies this week.
Taste was great, but I think I overbaked mine a little? My oven runs hot so I should’ve adjusted the time, I guess. It was still way juicier than my usual attempts, just a little tougher around the edges than I wanted. I’ll definitely try again though, just lower the temp 25 degrees next time.
Used this chicken to make sliced chicken for tacos last night and it was *chef’s kiss*. So juicy, even when I sliced it thin and piled it on corn tortillas with salsa and guac. I’ll never use the grilled chicken method for taco night again, this was so much less hassle and way more moist.
25 minute cook time?? That’s a weeknight dream. I got home late from work, popped these in the oven, threw together a quick salad and roasted some broccoli, and dinner was on the table in under 30 minutes. No fuss, no fancy ingredients, just perfectly good chicken. Exactly what I needed on a chaotic Wednesday.
Great base recipe! I rubbed mine with a mix of chili powder, cumin, lime zest, and a little cayenne for a southwest kick, and it turned out fantastic. The only reason I’m not giving 5 stars is that I wish the recipe included a couple of seasoning blend ideas, but that’s a tiny complaint. Will make again.
Made this for date night last week when my boyfriend came over, and he was convinced I’d ordered takeout from that fancy chicken place downtown. He kept asking how I got it so juicy! Little does he know it was the easiest thing I’ve ever made, total weeknight win that feels fancy enough for guests too.
Just pulled these out of the oven and had to leave a comment immediately! I cut into the first one and the juices were running clear but it was so tender and juicy, no dry bits at all. I seasoned with garlic, rosemary, and a little lemon zest and it tastes like something you’d get at a nice restaurant. Can’t wait to make this again!