
baked boneless chicken thighs

title 1
baked boneless chicken thighs
⏱️ cook time 25 minutes
🍽️ servings 4
⚡ Difficulty easy

intro

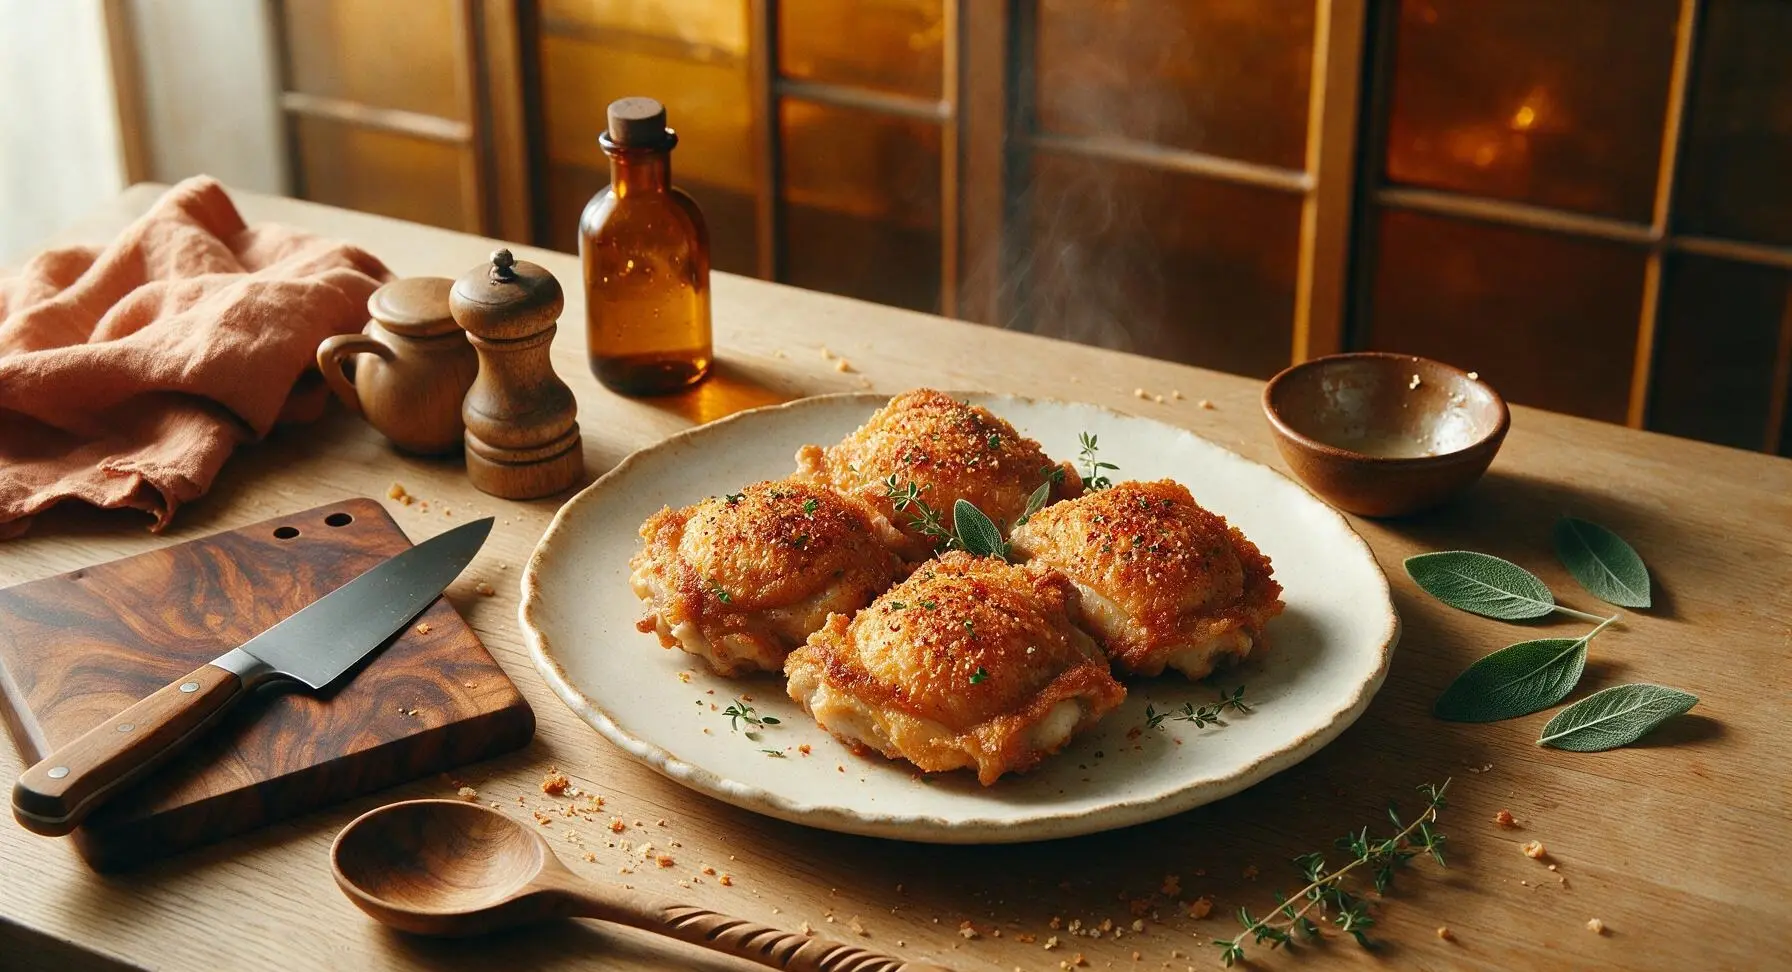
Juicy, shatteringly crisp baked boneless chicken thighs seasoned with smoky paprika and garlic, ready in under 40 minutes for a no-fuss, flavorful weeknight dinner.

Ingredients
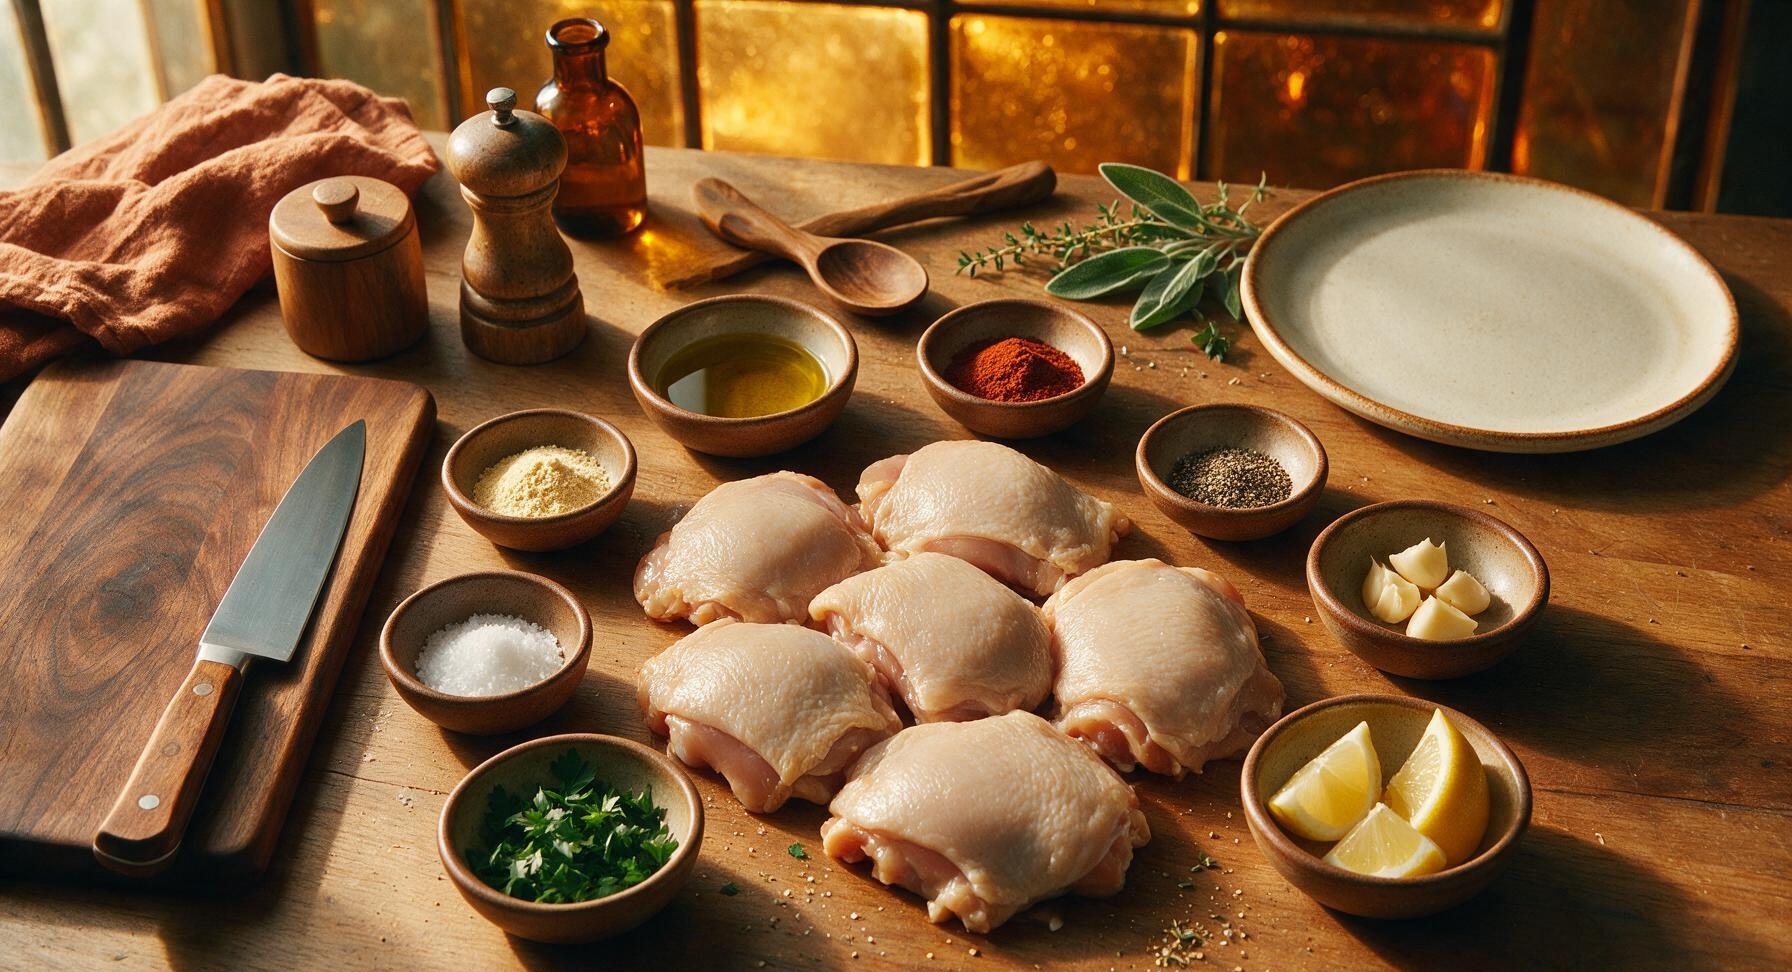
Boneless skin-on chicken thighs 1.5 lbs (6 pieces, ~680g)
Extra-virgin olive oil 1 tablespoon
Smoked paprika 1 teaspoon
Garlic powder 1 teaspoon
Kosher salt 1 teaspoon
Freshly ground black pepper ½ teaspoon
Garlic cloves 3 (crushed)
Fresh flat-leaf parsley 2 tablespoons (chopped, for garnish)
Lemon 1 (cut into wedges)

Steps

1

Preheat Oven and Prep Pan

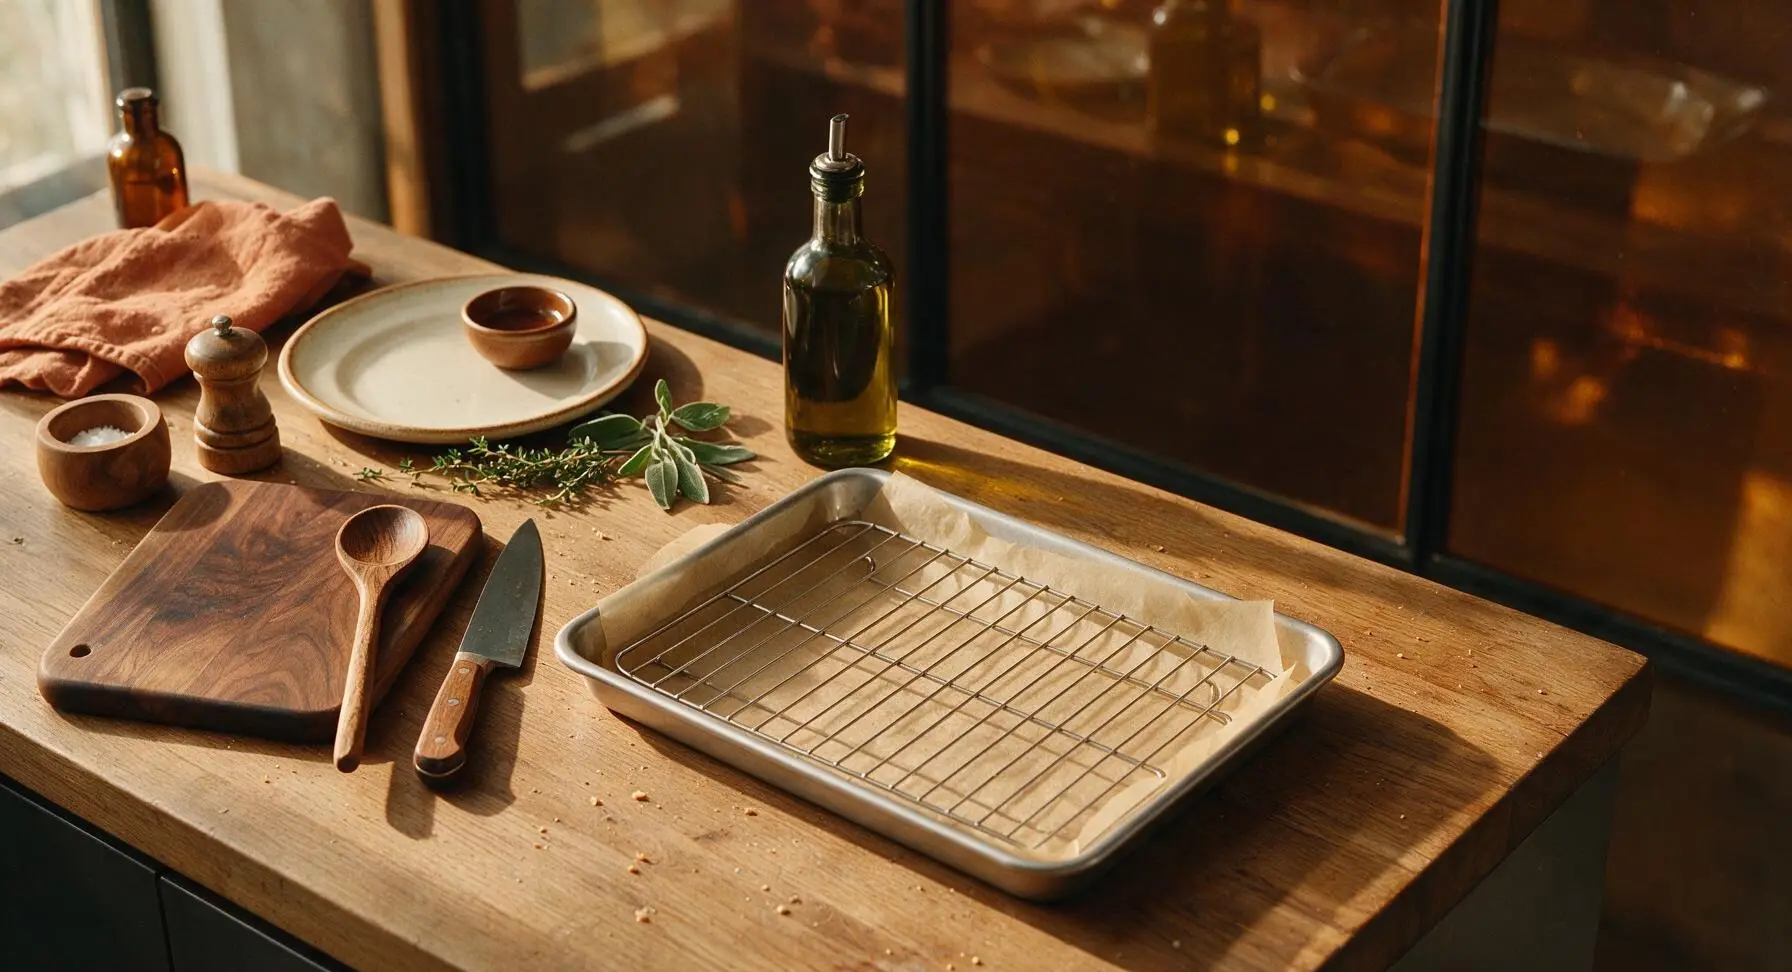
Adjust your oven rack to the middle position, then preheat the oven to 425°F (220°C). Line the matte silver stainless steel rimmed baking sheet with a sheet of unbleached parchment paper, then set the thin stainless steel wire cooling rack inside the baking sheet. Elevating the chicken on the rack allows hot air to circulate under the thighs for all-over crispness, instead of steaming one side against the pan.
Step 1
step1:Preheat Oven and Prep Pan
2

Pat Chicken Thighs Dry

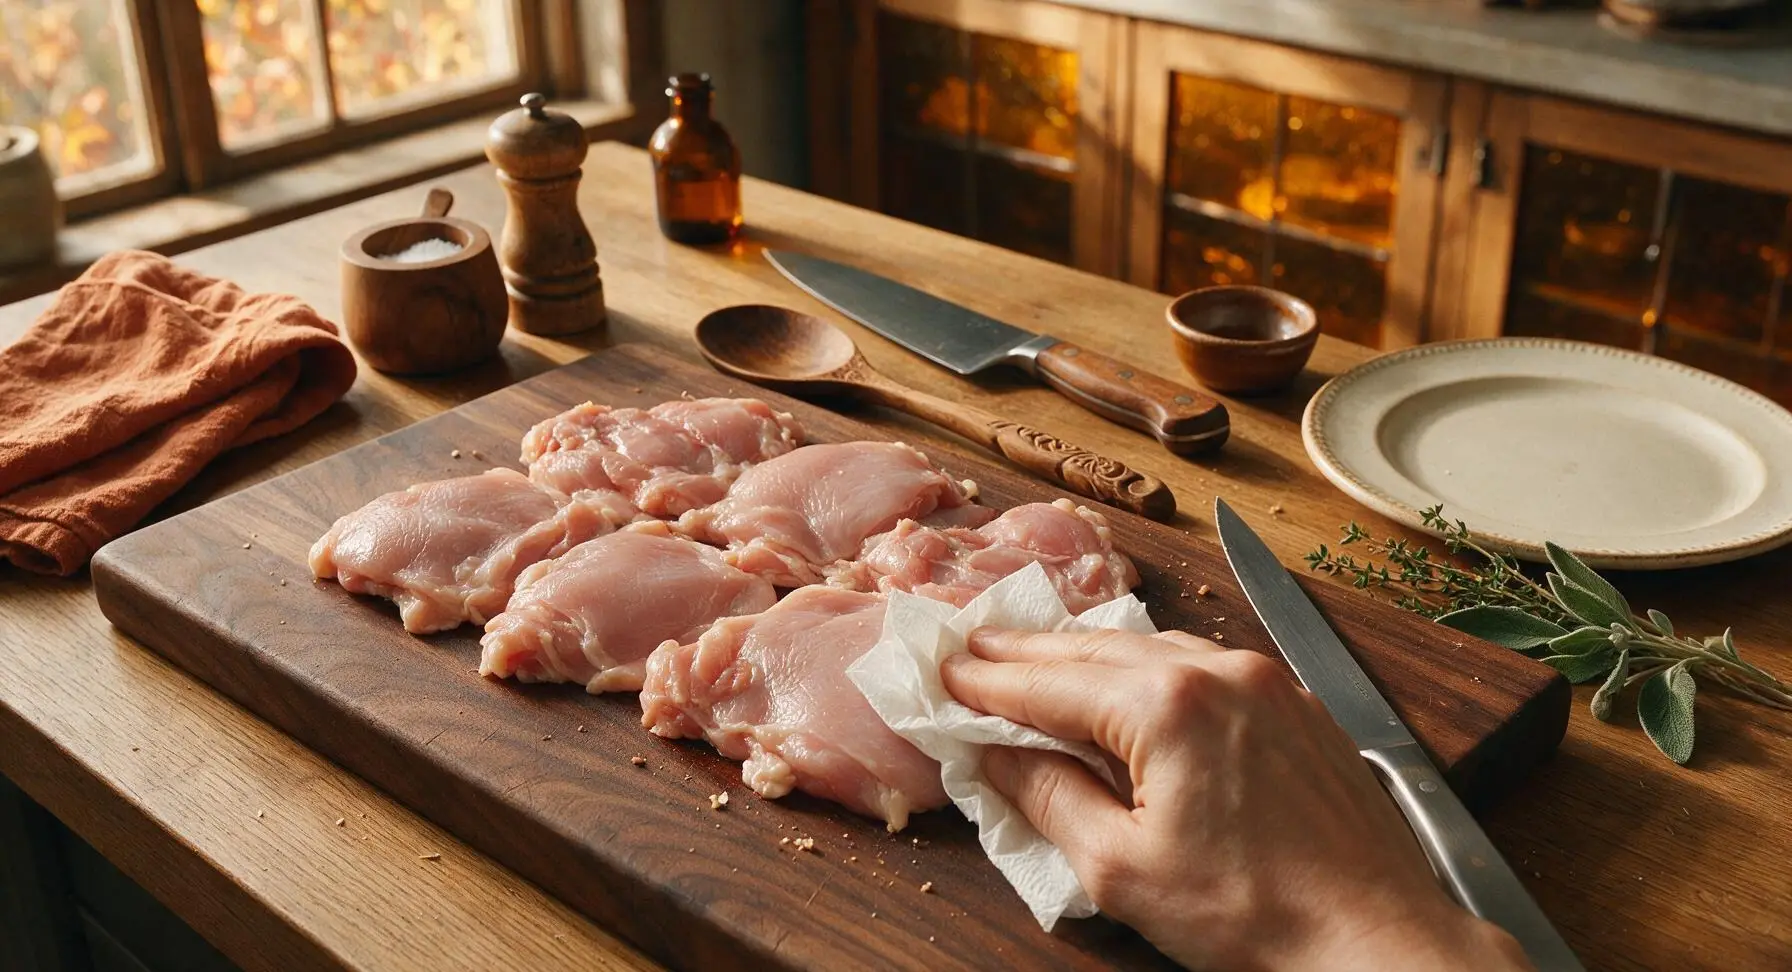
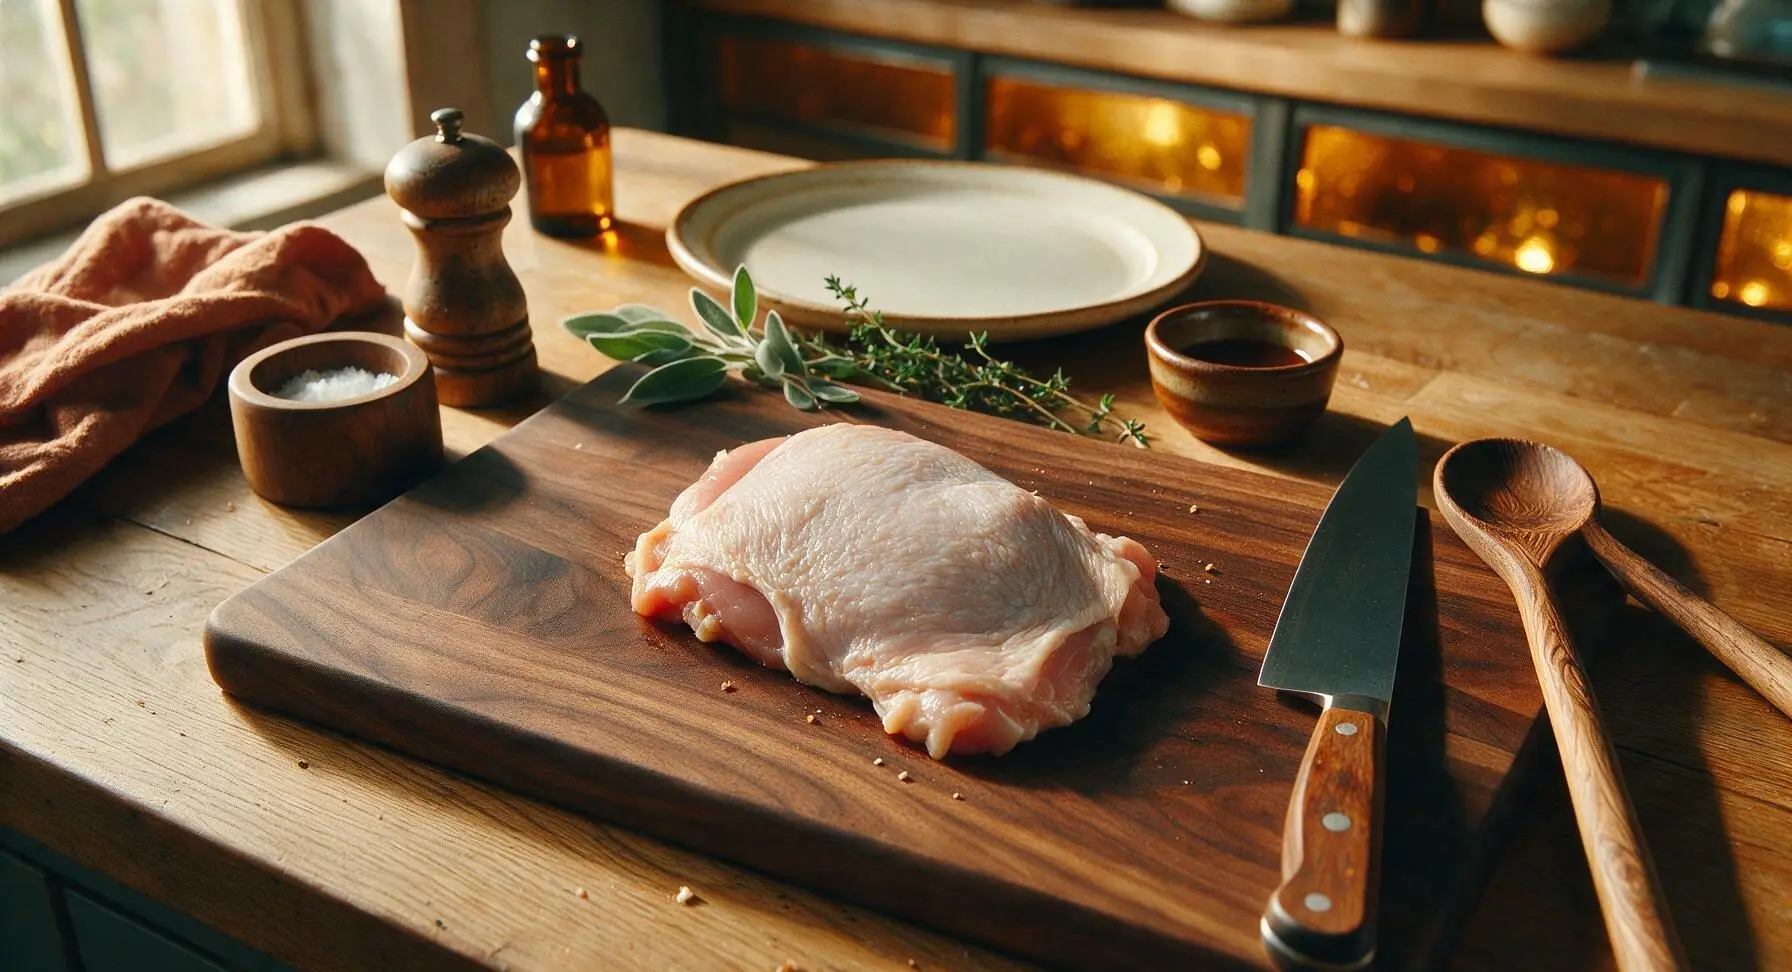
Remove the chicken thighs from packaging and arrange them in a single layer on the maple cutting board. Use clean paper towels to thoroughly pat every surface of the chicken completely dry, paying extra attention to the skin side. Dry skin is the non-negotiable foundation of crispy, non-rubbery baked chicken skin—any remaining surface moisture will create steam in the oven and prevent crisping.
Step 2
step2:Pat Chicken Thighs Dry
Step 2
step2:Pat Chicken Thighs Dry
3

Season Chicken Evenly

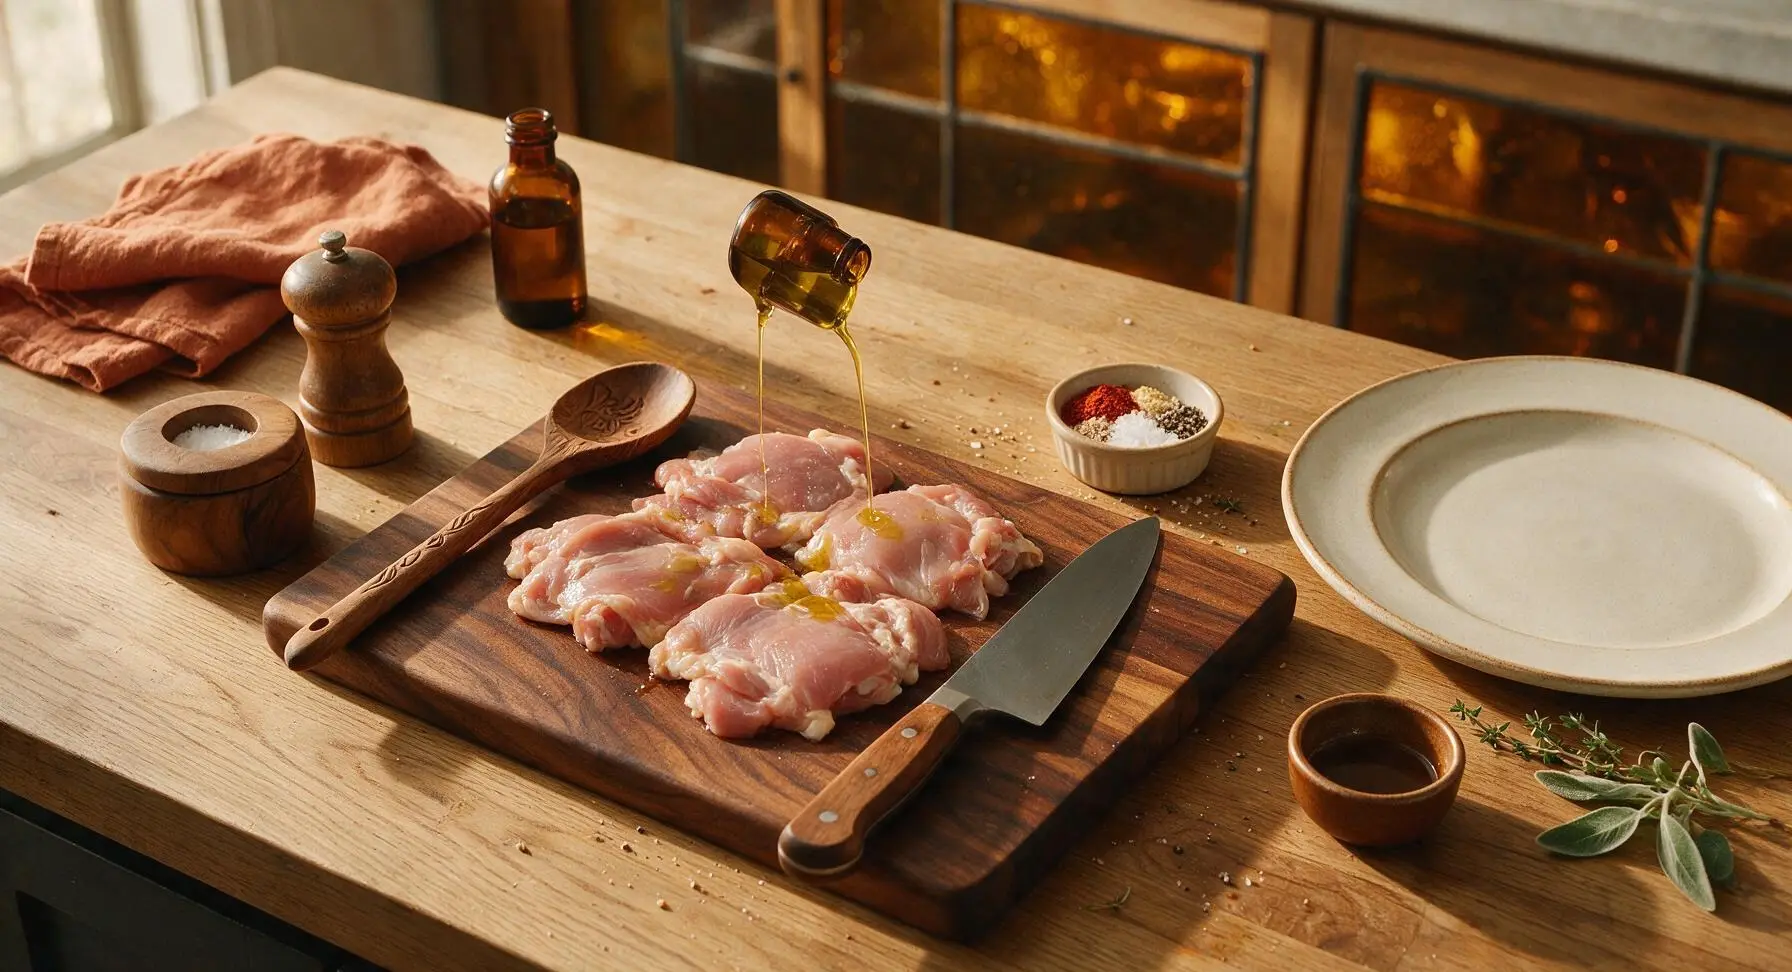
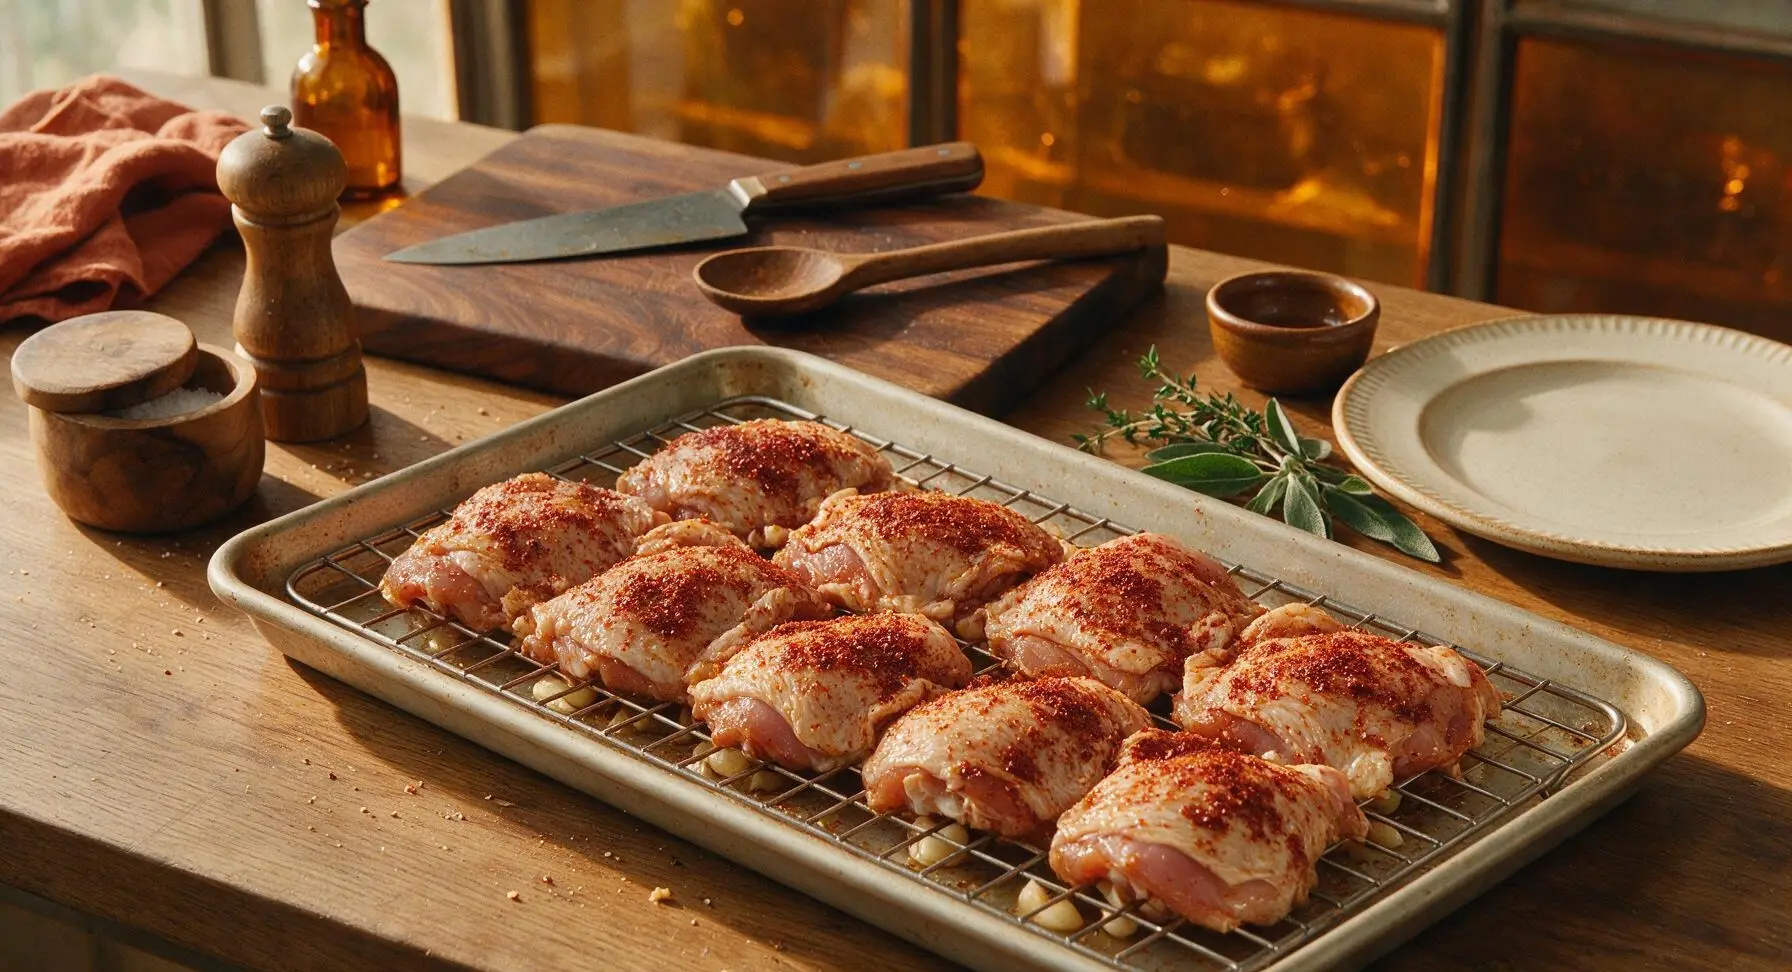
Drizzle the dry chicken thighs with 1 tablespoon extra-virgin olive oil, using clean hands to rub the oil across all surfaces of every thigh. In the warm oatmeal stoneware ramekin, mix 1 teaspoon smoked paprika, 1 teaspoon garlic powder, 1 teaspoon kosher salt, and ½ teaspoon freshly ground black pepper until evenly blended. Sprinkle the spice mix evenly over both sides of the chicken, rubbing gently to help the spices adhere. Tuck the 3 crushed garlic cloves between the wire rack slats under where the chicken will sit, to infuse the meat with garlic flavor as it bakes without burning.
Step 3
step3:Season Chicken Evenly
Step 3
step3:Season Chicken Evenly
4

Bake at High Heat

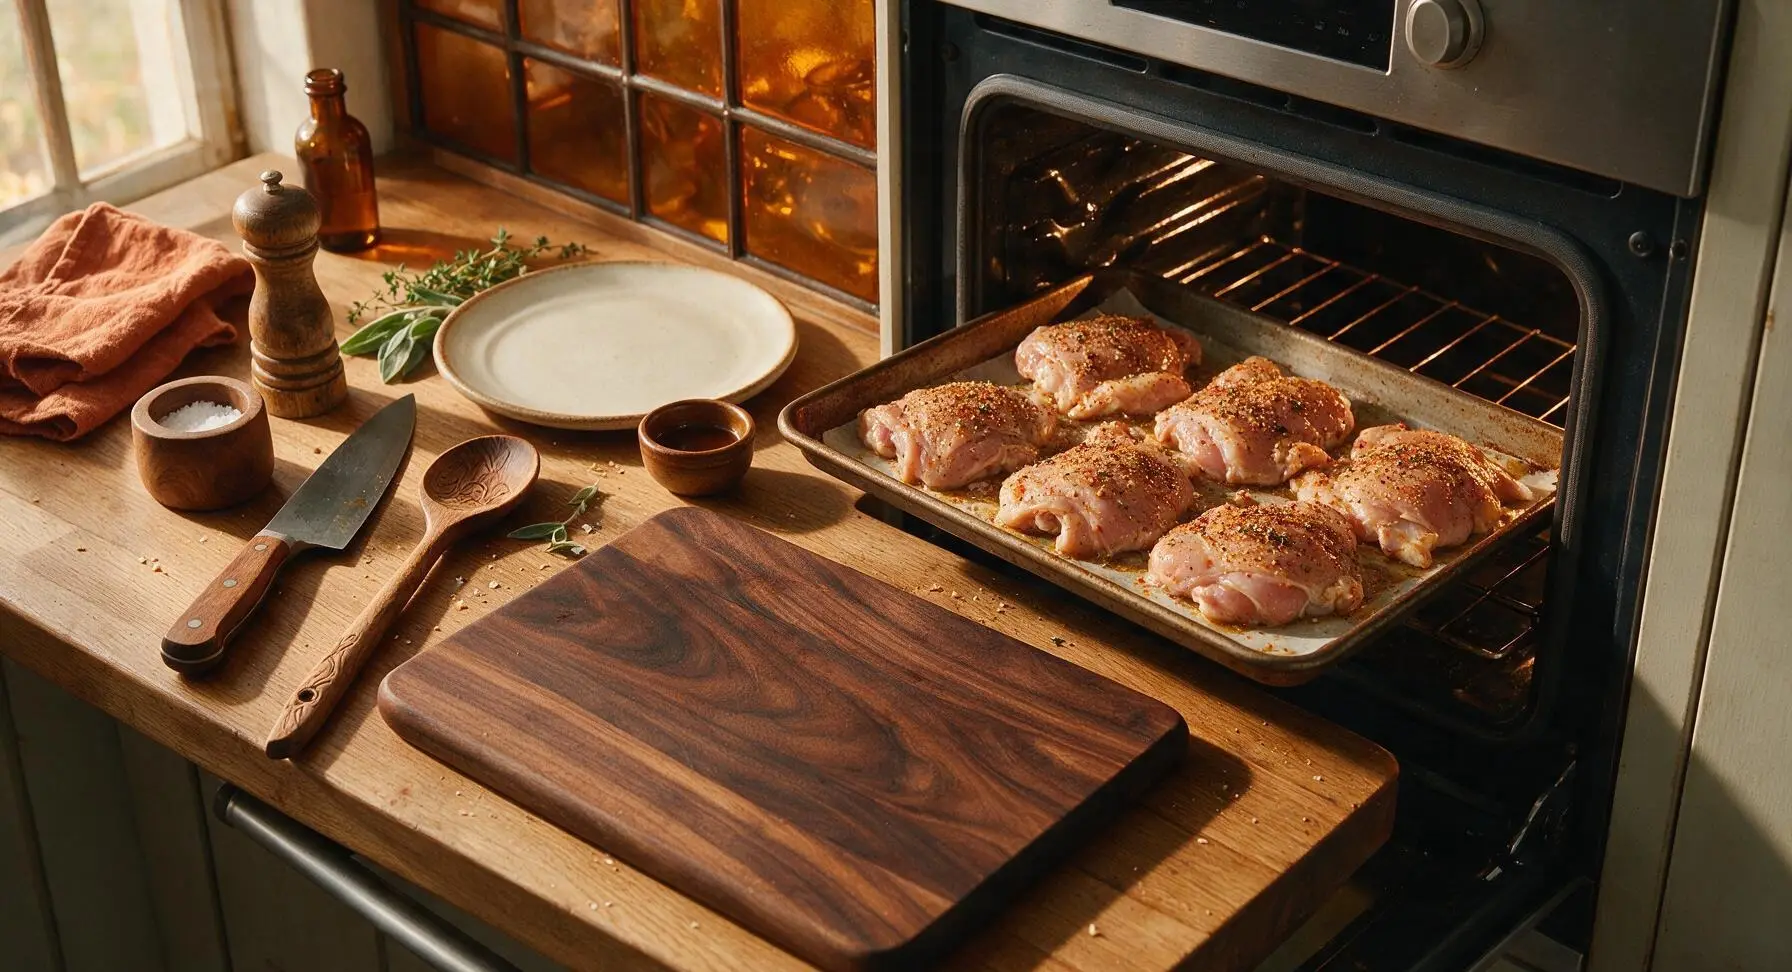
Carefully transfer the baking sheet to the preheated middle oven rack. Bake for 22-25 minutes, without flipping or moving the chicken, until the skin is deep golden brown and crispy around the edges. Avoid opening the oven door for the first 18 minutes of baking, as rapid temperature drops will prevent the skin from crisping properly and extend cook time.
Step 4
step4:Bake at High Heat
5

Check Chicken Doneness

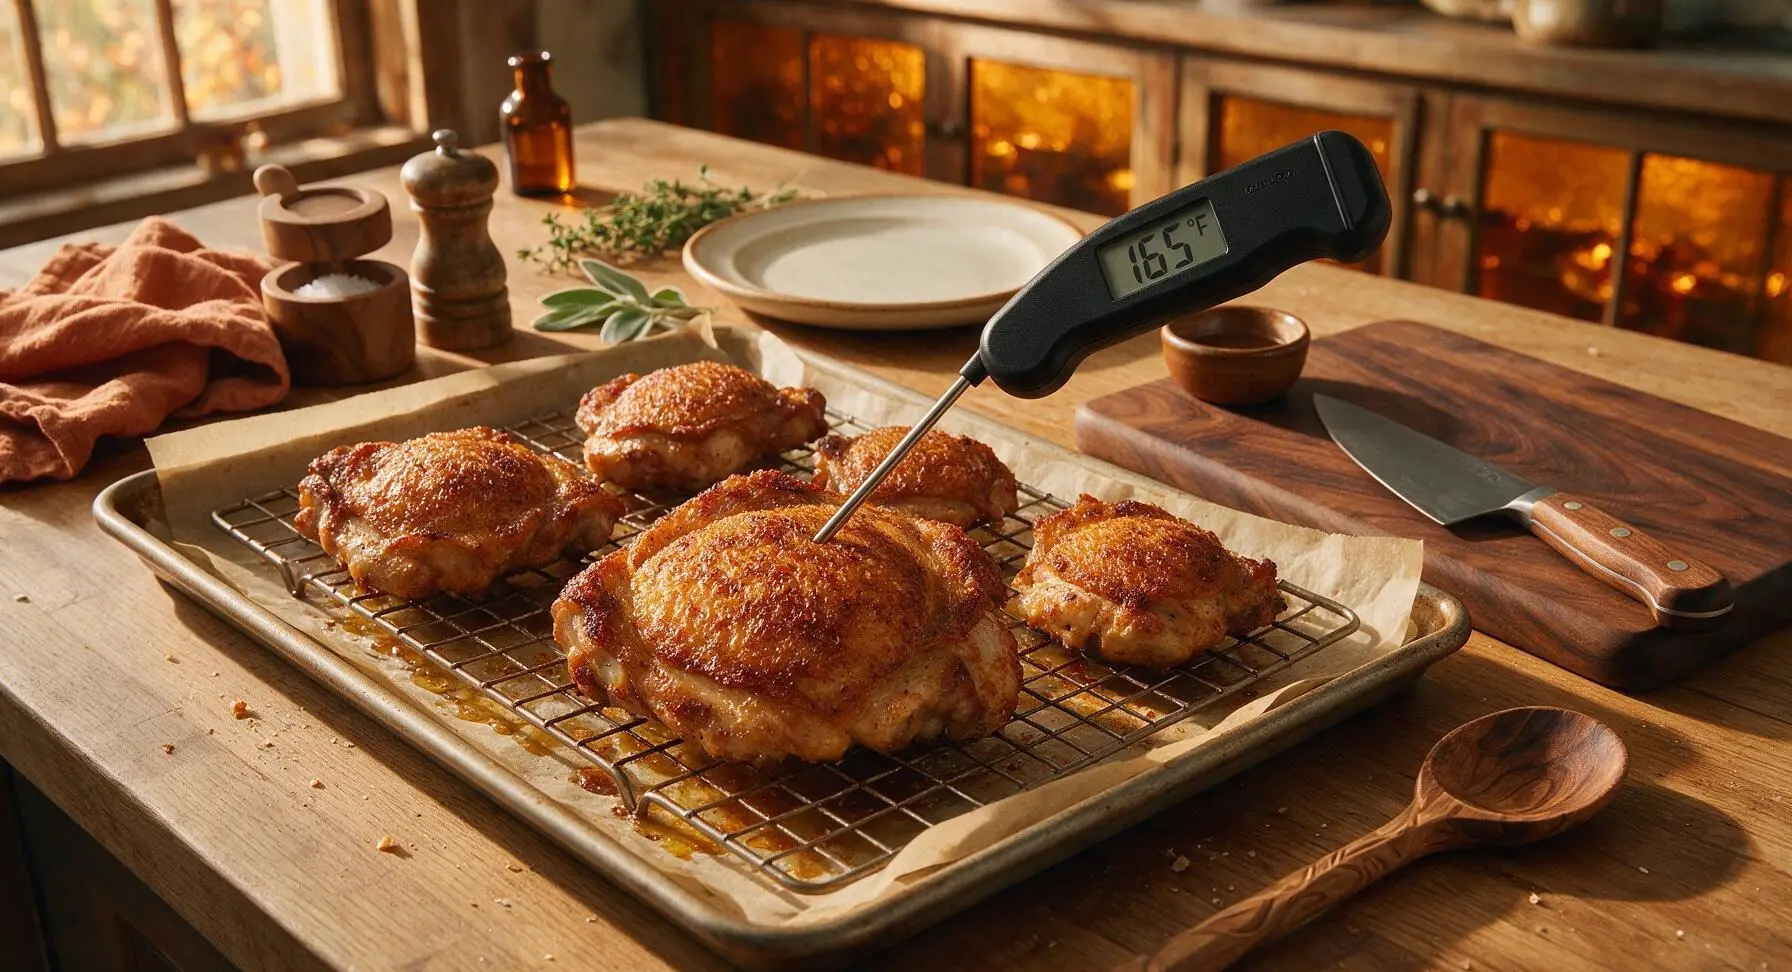
After 22 minutes of baking, carefully pull the baking sheet out of the oven and set it on a heat-resistant section of the counter. Insert the matte black digital instant-read meat thermometer into the thickest part of the largest thigh, avoiding any small bone fragments to get an accurate reading. Chicken is safe to eat at 165°F (74°C); if the temperature reads lower, return the pan to the oven for 2-3 more minutes before rechecking.
Step 5
step5:Check Chicken Doneness
6

Rest Chicken Briefly

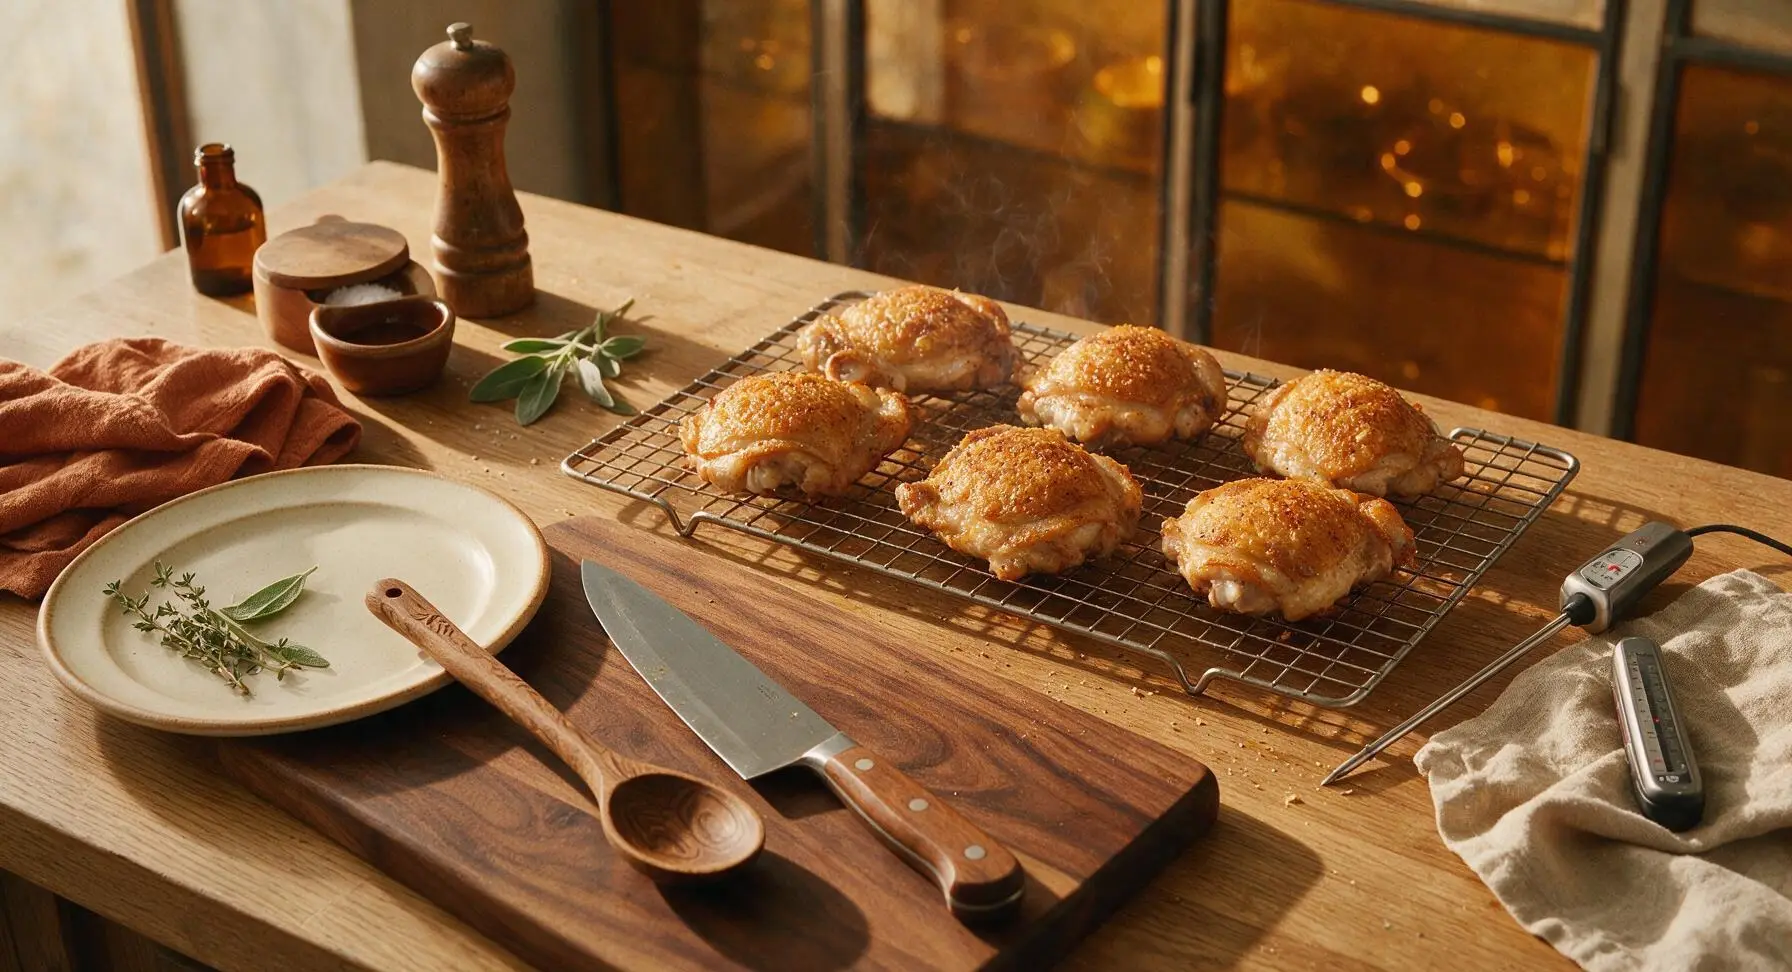
Once the chicken reaches the correct internal temperature, leave it on the wire rack on the counter for 5 minutes to rest. Resting allows the tight muscle fibers to relax and reabsorb their juices, so every bite is juicy instead of having juices run out onto the plate when cut. Do not cover the chicken while resting, as trapped steam will soften the crispy skin.
Step 6
step6:Rest Chicken Briefly
7

Plate and Garnish Chicken

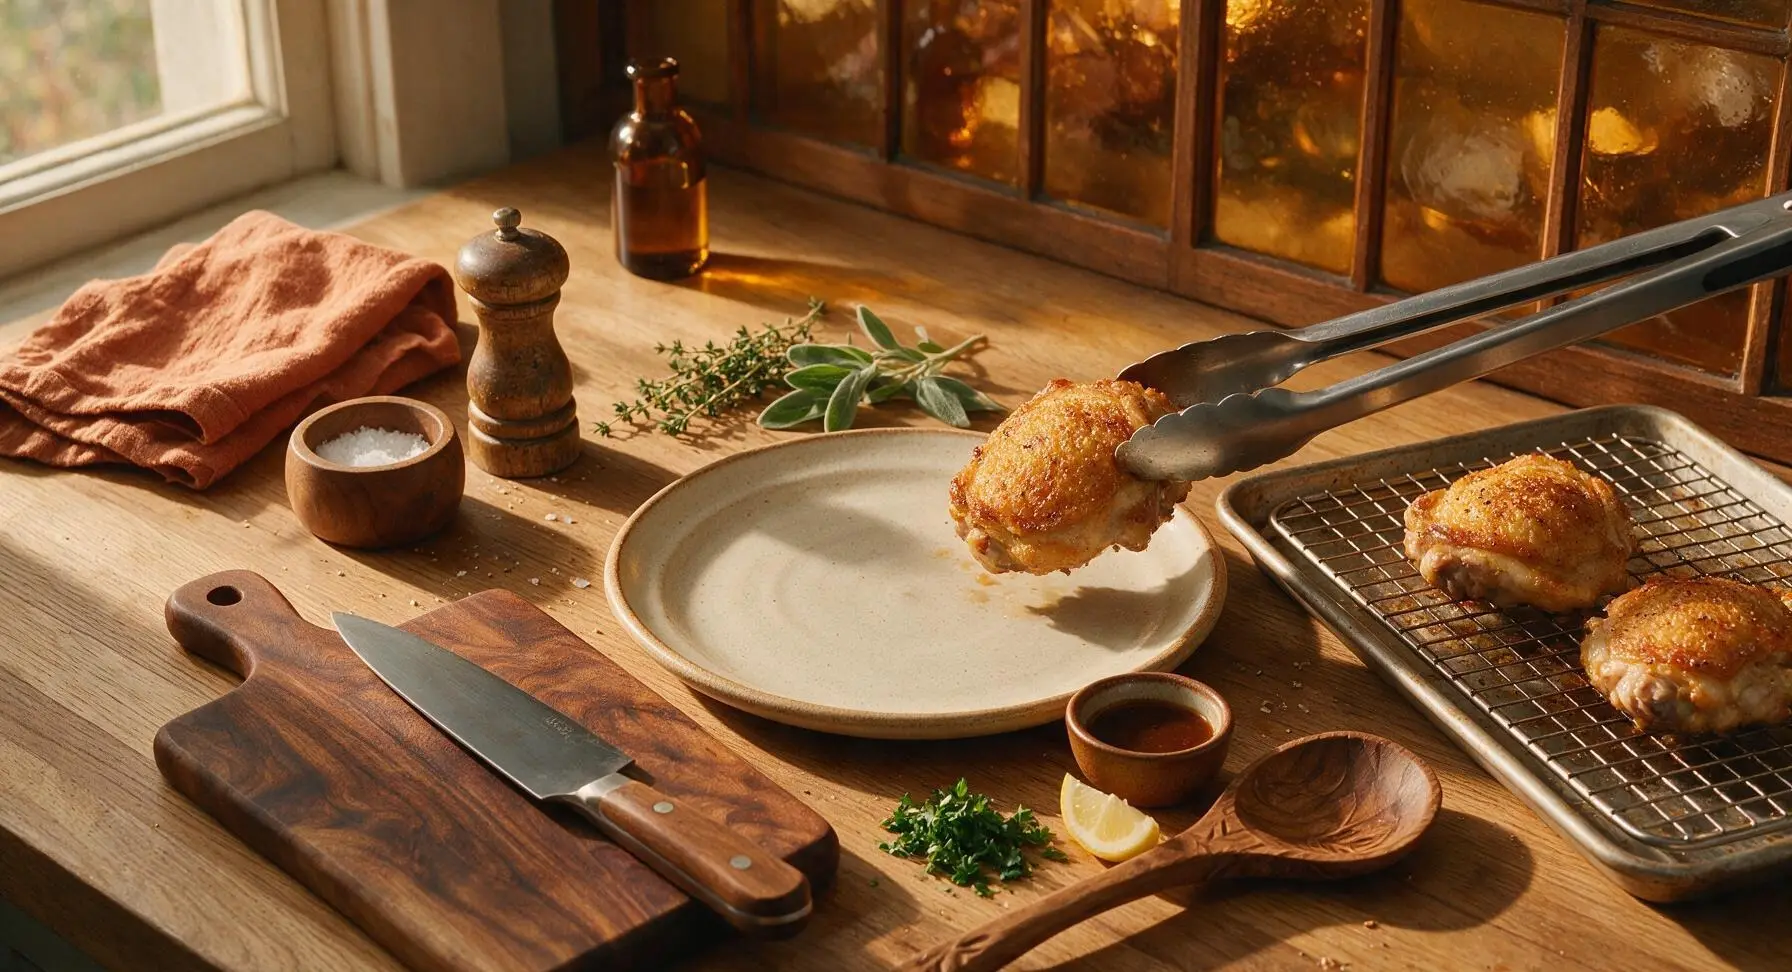
After resting, use the stainless steel kitchen tongs to transfer the chicken thighs to the top warm oatmeal stoneware dinner plate, arranging them slightly overlapping. Sprinkle the chicken with 2 tablespoons of chopped fresh flat-leaf parsley, and tuck lemon wedges around the edge of the plate for squeezing over top right before eating. Drizzle 1 teaspoon of the rendered pan juices over the chicken for extra savoriness.
Step 7
step7:Plate and Garnish Chicken

Tips

1.Always use an elevated wire rack inside your baking sheet: chicken sitting directly on the pan (or foil) will poach in its own rendered fat, leading to rubbery, soggy skin instead of crisp edges. The rack allows 360-degree hot air circulation for even browning on every side.
2.Account for carryover cooking: the chicken’s internal temperature will rise 3-5°F while resting, so pull it from the oven as soon as it hits 165°F at the thickest point. Cooking past 170°F will cause the thigh muscle fibers to seize and turn dry and tough, even though dark meat is more forgiving than breast meat.
3.For shatteringly crisp skin, try the pro air-dry trick: after patting the chicken dry, arrange it on the rack (unseasoned) and leave it uncovered in the fridge for 1-2 hours before baking. The circulating cold air will dry the skin surface completely, leading to extra crisp texture without adding extra oil or breading.


✨ You May Also Like

Main Course
🍜 United Kingdom

A showstopping classic of tender seared beef, savory mushroom duxelles, and crisp prosciutto wrapped in flaky golden puff pastry, baked to juicy perfection.

⏱️ 2 hours 1Main Course ★ 4.7
Main Course
🍜 India

Tender charred marinated chicken simmered in a rich, spiced creamy tomato sauce, this iconic Anglo-Indian curry pairs perfectly with basmati rice or warm naan.

⏱️ 50 minuteMain Course ★ 4.6
Main Course
🍜 Thailand

Classic tangy, sweet, and savory Thai stir-fried rice noodles with shrimp, tofu, and crunchy garnishes, balancing all five core Thai flavor profiles.

⏱️ 30 minuteMain Course ★ 4.5
Main Course
🍜 United Kingdom

Crispy golden beer-battered cod and fluffy double-fried chips, served with tangy tartar sauce and malt vinegar: the timeless, beloved British pub comfort classic.

⏱️ 45 minuteMain Course ★ 4.7
Main Course
🍜 Mexico

Smoky, chile-marinated pork tacos with caramelized pineapple, fresh cilantro, and lime: a beloved classic Mexican street food perfect for casual summer gatherings.

⏱️ 1 hour 45Main Course ★ 4.8
Main Course
🍜 United States

Crunchy Fritos corn chips layered with savory beef chili and melted cheddar, topped with cool, zesty fixings for a beloved, cozy Tex-Mex comfort food.

⏱️ 35 minuteMain Course ★ 4.8

baked boneless chicken thighs:Frequently Asked Questions

1.Do I need to keep the skin on the chicken thighs to get that signature crispy texture? ▾
Yes, the skin is non-negotiable for that shatteringly crisp bite, as it renders rich fat as it bakes. If you use skinless thighs, you’ll get nicely seasoned meat but not that iconic crunch. If you prefer skinless, pat the meat extra dry and add a light panko coating to mimic that crisp outer layer.
2.Why do my baked chicken thighs always turn out soggy instead of crispy? ▾
The number one culprit is excess moisture on the skin before baking. Pat thighs completely dry with paper towels first, ensure your oven is fully preheated, and don’t crowd the pan—leave space between each thigh so hot air can circulate to crisp skin instead of steaming the meat.
3.Can I swap boneless thighs for bone-in chicken thighs in this recipe? ▾
Absolutely! Bone-in thighs have even richer, juicier flavor, but you’ll need to add 8 to 12 minutes of extra baking time to reach a safe internal temperature of 165°F. Keep the seasoning and oven temperature the same, and use a meat thermometer to check doneness so you don’t overcook the meat.
4.What oven temperature gives the best crispy skin without drying out the chicken? ▾
I recommend 425°F for this recipe—it’s hot enough to quickly render the fat under the chicken skin and crisp it to golden perfection, but not so hot that the tender meat under the skin dries out before the skin crisps. Lower oven temps slow fat rendering and leave you with soft, rubbery skin.
5.Do I have to use a wire rack when baking these chicken thighs? ▾
A wire rack set inside your baking sheet is a great hack for all-around crispness, as it lets hot air circulate under the thighs instead of letting them sit in pooled rendered fat as they cook. If you don’t have a rack, bake them on a parchment-lined sheet and flip halfway through for even crisping.
6.How long do these boneless thighs need to bake to be fully cooked? ▾
At 425°F, boneless skin-on thighs usually take 25 to 30 minutes total to cook through, depending on their size. The most reliable doneness check is inserting an instant-read thermometer into the thickest part of the thigh—you’re looking for an internal temperature of 165°F, with deep golden, crisp skin.
7.Can I add extra seasonings beyond the smoked paprika, garlic powder, and kosher salt? ▾
Of course! That simple savory base is the perfect blank canvas. Try adding a pinch of cayenne for heat, dried oregano or thyme for herby depth, onion powder, a sprinkle of parmesan in the last 5 minutes of baking, or a light dusting of brown sugar for a sweet-smoky balance.
8.Should I marinate the thighs ahead of time for extra flavor? ▾
You don’t need to marinate for this quick weeknight recipe—the dry seasoning sticks beautifully to the oiled, dried skin for loads of flavor. If you do want to marinate, stick to oil-based blends without excess watery ingredients, and pat the skin completely dry again before baking to avoid soggy skin.
9.How do I store leftovers, and will the skin stay crispy? ▾
Store leftover thighs in an airtight container in the fridge for up to 4 days. The skin will soften as it chills, but you can bring the crisp back by reheating thighs on a wire rack in a 400°F oven for 8 to 10 minutes. Skip the microwave, as it will make the skin chewy and rubbery.
10.Can I make this recipe in an air fryer instead of a regular oven? ▾
Absolutely! Preheat your air fryer to 400°F, arrange the dried, seasoned thighs in a single layer without crowding, and cook for 18 to 22 minutes, flipping halfway through. You’ll get extra-crispy skin in slightly less time—just confirm that 165°F internal temp before serving.
11.Why won’t the seasoning stick evenly to the chicken skin? ▾
That almost always happens if the skin is still damp when you prep it. After removing thighs from the packaging, pat every inch of the skin completely dry with paper towels first, then rub with a thin layer of olive oil before sprinkling on spices. The oil acts as a glue to hold seasoning evenly.
12.What side dishes go best with these crispy baked chicken thighs? ▾
These versatile thighs pair well with almost any quick weeknight side! Try roasted broccoli, garlic mashed potatoes, a crisp green salad, buttered rice, roasted sweet potato wedges, or sautéed green beans. The smoky seasoning works especially well with bright, tangy sides like coleslaw or lemon-roasted asparagus.
13.Is it normal for a lot of fat to render out of the thighs while they bake? ▾
That is totally normal, and actually a good sign! The rendered fat is what helps the skin develop that perfect shatteringly crisp texture as it cooks. If you’re not using a wire rack, you can spoon off a little excess fat halfway through baking if you prefer, but don’t drain all of it—it adds great flavor.

Comments (12)

2 days ago

OMG these are a total game changer! I’ve tried so many baked chicken thigh recipes that come out soggy no matter what I do, but these got perfectly crispy in exactly 25 minutes like the recipe said. My 3 kids devoured them at dinner last night and asked for them again this week. I added a little extra paprika because we love spice, and it was chef’s kiss. 10/10 will be a weekly staple for our family dinners!

yesterday

Wait did you pat the chicken dry first? I keep seeing that tip but I’m always in a rush and skip it — wondering if that’s why mine never crisp up no matter what I try!

2 hours ago

So glad your family loved them! Great call adding extra paprika, that sounds delicious. And to answer MealPrepMama — yes, patting the chicken completely dry with paper towels is the #1 trick to getting that crispy skin in the oven without frying! It only takes 30 seconds and makes all the difference.

1 week ago

Made these for my Sunday football potluck with the guys and they were gone in 10 minutes flat. Everyone kept asking who made the chicken and begging for the recipe. I didn’t even tell them it was baked, they all thought I fried it lmao. So easy too, I threw it together while I was watching pre-game. No fancy ingredients, no mess, perfect crispy skin. Will absolutely make again.

5 days ago

Bro same! I made these for our watch party last weekend and my roommate ate 4 thighs in one sitting. He didn’t believe me when I said it only took 25 minutes in the oven either.

3 days ago

That’s the best compliment we could get! Love hearing these work for game day spreads — they’re perfect for feeding a crowd with minimal effort. Pro tip: toss them in a little buffalo sauce after baking for an extra game day kick!

2 weeks ago

I’m always looking for easy, high-protein meals for my weekly meal prep and these checked every box. They stayed juicy on the inside, crispy on the outside, and even reheated really well in the air fryer after 4 days in the fridge. I was worried boneless thighs would dry out, but they were so tender. I paired mine with roasted broccoli and quinoa for my lunches all week. Only thing I changed was using garlic powder instead of garlic salt to cut down on sodium, worked great!

1 week ago

How do you reheat them? I tried microwaving leftover chicken thighs last week and they got rubbery as hell, would love to not waste these if I make a big batch for the week.

5 days ago

So happy these worked for your meal prep! Great swap with garlic powder, that’s a smart adjustment for lower sodium. For reheating, pop them in a 375°F oven or air fryer for 5-7 minutes instead of the microwave — they’ll crisp right back up instead of turning rubbery, promise!

3 days ago

I’ve been cooking chicken for 50+ years and I have to say, this method is foolproof. My granddaughter is a super picky eater and she ate two whole thighs without complaining, which is basically a miracle in my book. I used a little seasoned salt instead of regular salt and added a pinch of thyme from my garden, turned out wonderful. So easy even my teenage grandson was able to follow the recipe when he helped me cook last night.

2 days ago

Aww that’s so sweet! My nephew is the pickiest kid ever, I’ve been trying to find something he’ll actually eat that isn’t fast food chicken nuggets — can’t wait to test these on him next time he visits!

yesterday

That makes our day, Maggie! There’s nothing better than a recipe that brings the whole family together, even the pickiest eaters. Adding fresh thyme from your garden sounds absolutely divine, I’m going to try that next time I make these myself!

yesterday

SO good! I got home late from work last night and needed something fast that didn’t taste like a rushed meal. These came together in literally 5 minutes of prep, 25 minutes in the oven, and my partner said it was better than the fried chicken we get at our local takeout spot. I didn’t even have to run to the grocery store, I had all the spices in my cabinet already. Absolute keeper for busy weeknights.

2 hours ago

We love a quick weeknight win! So glad these saved your busy evening — that’s exactly what this recipe is made for. No fancy ingredients, minimal prep, maximum flavor, perfect for those nights you don’t feel like spending hours in the kitchen.

5 days ago

I was skeptical of baked chicken being crispy, I usually grill all my chicken, but it was pouring rain last weekend so I gave this a shot. Color me impressed! The skin was shatteringly crisp, the meat was juicy, didn’t dry out at all. I brushed a little BBQ sauce on the last 5 minutes of cook time and it was chef’s kiss. My wife said I need to add these to the regular rotation even when it’s nice out.

3 days ago

So glad you gave these a try even when you couldn’t fire up the grill! Brushing on BBQ sauce during the last few minutes of cooking is such a smart move — that sticky, sweet layer pairs so perfectly with the crispy skin. We won’t tell if you skip the grill for these even on sunny days 😉

30 minutes ago

I mostly eat plant-based but my partner is a total meat and potatoes guy, so I made these for him for our date night in. He absolutely raved about them, said they were the best chicken I’ve ever made. I snuck a tiny bite and even I have to admit the crust was super flavorful and crispy! I served them with roasted sweet potatoes and a side salad, it made for the perfect cozy date night meal.

5 minutes ago

Wait, that’s such a date night win! My wife is mostly plant-based too and I’ve been bugging her for months to try more than a tiny bite of the chicken I make. I’m definitely making these next time we have a quiet night in to see if I can win her over lmao

1 week ago

Meal prepped 2 batches of these on Sunday for the kids’ school lunches and my work lunches all week. They’re so much better than the sad pre-cooked chicken I used to buy from the grocery store. The kids said their friends were jealous of their lunch when they brought these to school, which made me feel like dad of the year ngl. Super easy, cheap to make, way better than takeout.

2 hours ago

First recipe I’ve tried since moving into my dorm that didn’t turn out terrible! I don’t have a fancy oven or anything, just the tiny dorm oven, and these still got crispy. I didn’t have any paprika so I used a little cajun seasoning instead and it slapped. Way cheaper than ordering Uber Eats every night, will definitely be making these on repeat.

30 minutes ago

That’s so awesome to hear! You don’t need fancy equipment to make great food, and this recipe is perfect for small dorm kitchens. Cajun seasoning sounds like an amazing swap — I bet that added the perfect zesty kick. Great job cooking on a college budget, that’s such a smart move!

5 minutes ago

Made these last night for my roommate and I, and we both agreed we’ve been cooking chicken wrong our whole adult lives. How is it this easy to get crispy chicken in the oven without a ton of oil? I followed the recipe exactly, no changes, and it turned out perfect. Served with mac and cheese and green beans, total comfort food dinner. 10/10

yesterday

Tossed these in a little honey garlic sauce after baking and oh my GOD, it was unreal. The crispy skin held up to the sauce perfectly, no sogginess at all. My whole family went back for seconds, even my super picky teen who only eats fast food. Cook time was spot on, no guessing when it was done, the internal temp hit 165 right at 25 minutes like the recipe said. Will be experimenting with different sauces on these for sure.

2 hours ago

I was skeptical after ruining so many batches of baked chicken, but I tried this last night after seeing the tip about patting the chicken dry, and IT WORKED. Crispy, juicy, no soggy skin at all! I prepped 8 thighs to use for salads, wraps, and rice bowls all week, and I already know they’re going to make my lunches so much better. I added a little lemon pepper to the seasoning mix and it was *chef’s kiss*. So glad I found this recipe!

just now

That makes us so happy to hear! Nothing beats nailing crispy chicken after a few failed batches, right? Lemon pepper is such a good seasoning addition, that bright, zesty flavor pairs perfectly with the juicy chicken. Enjoy those meal prep bowls all week!



