
baked chicken
intro
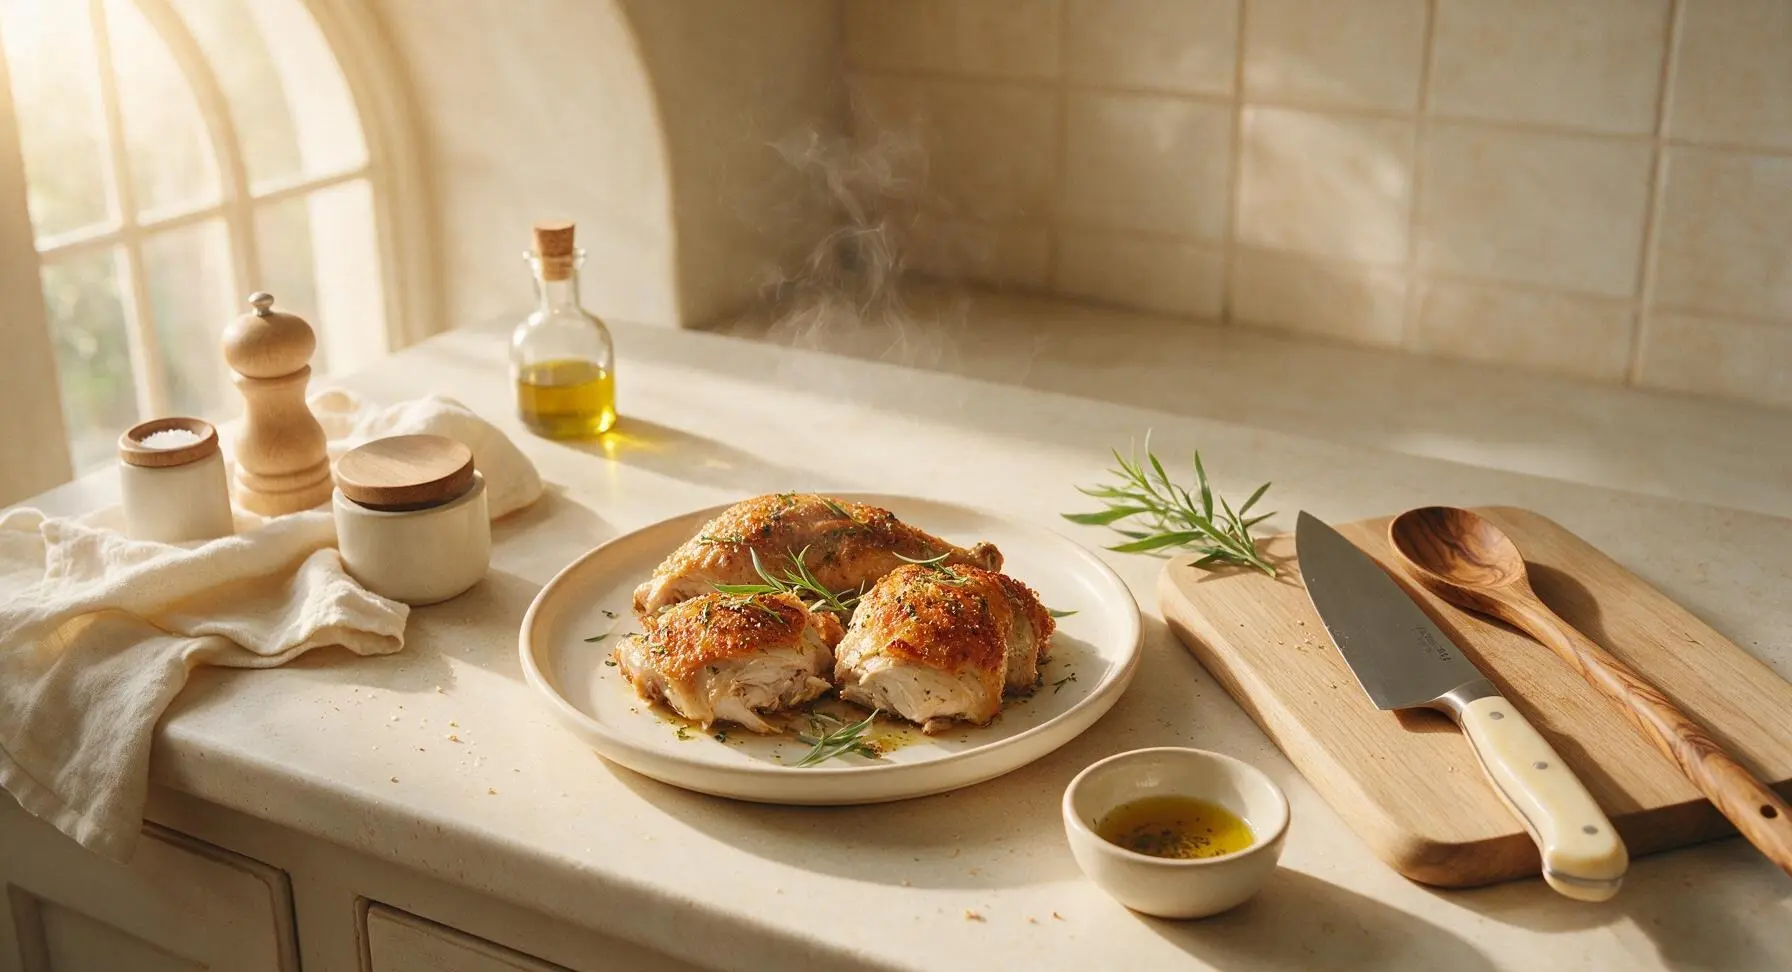
Crispy golden skin, juicy tender meat, and aromatic herb seasoning make this oven-baked chicken a foolproof, cozy favorite perfect for pairing with autumn side dishes.
Ingredients
Steps
Prep Pan and Preheat Oven
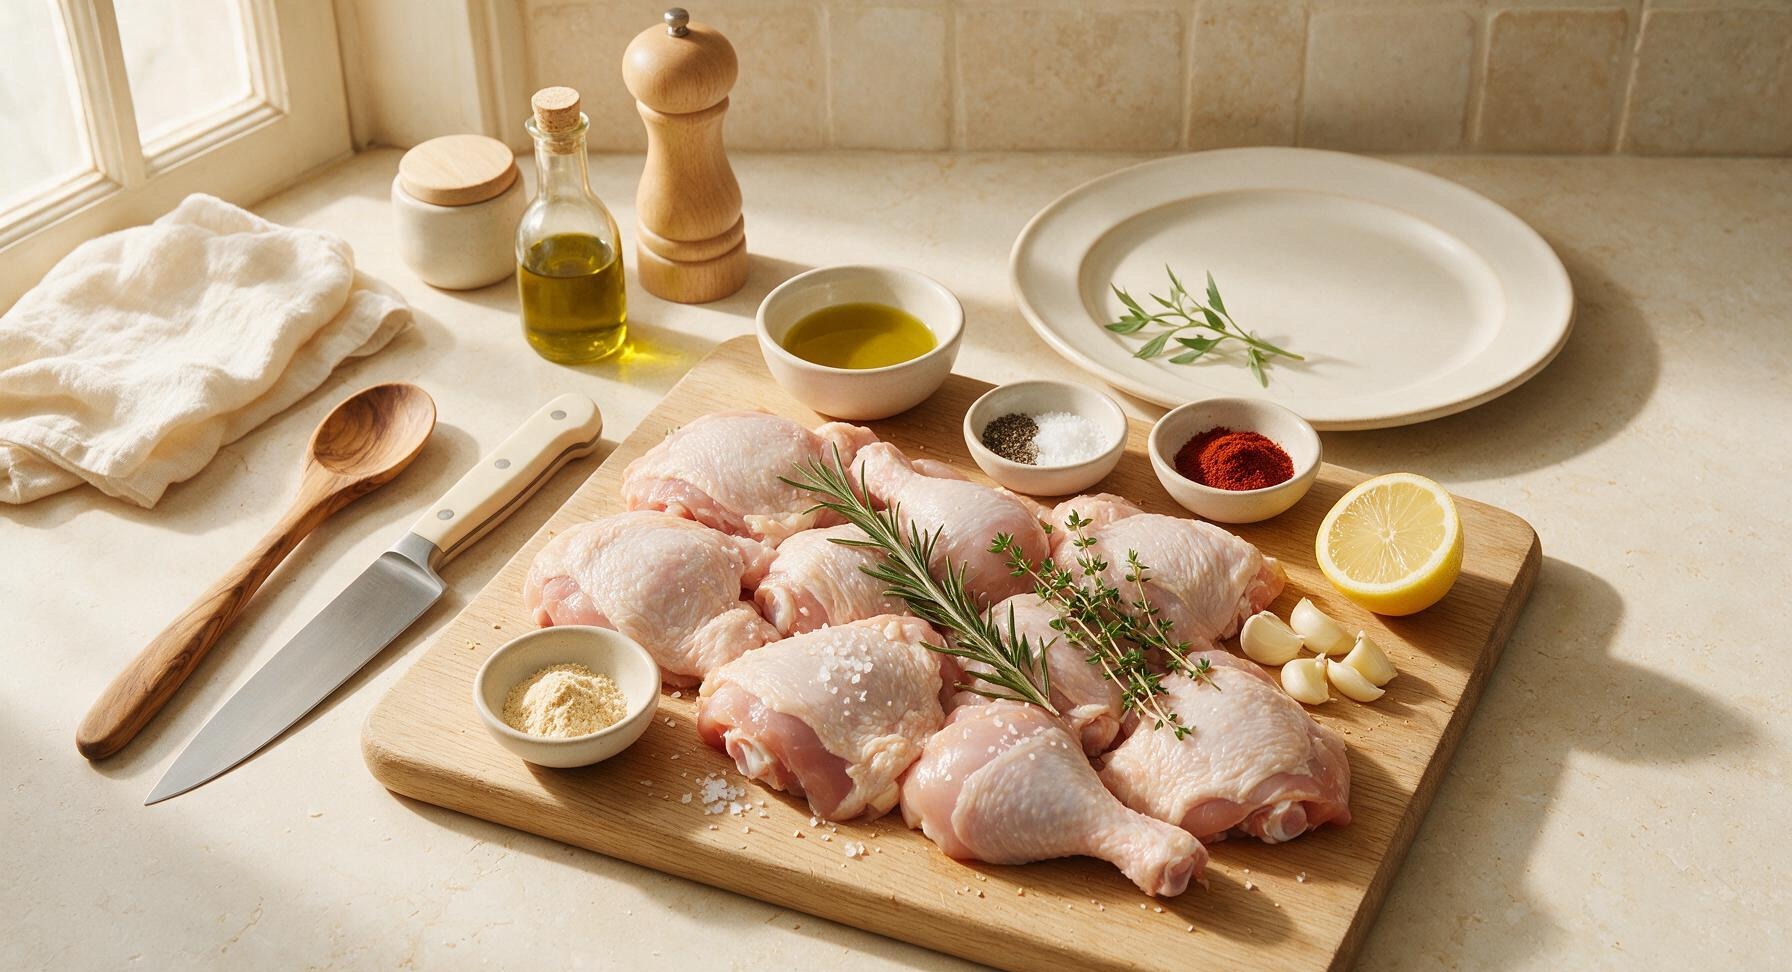
Adjust oven rack to the middle position, preheat oven to 220C (425F). Place the matte black wire roasting rack inside the rimmed aluminum baking sheet, lining the sheet under the rack with a sheet of unbleached parchment paper to catch drips for easy cleanup. The rack elevates chicken to allow air circulation for evenly crispy skin on all sides.
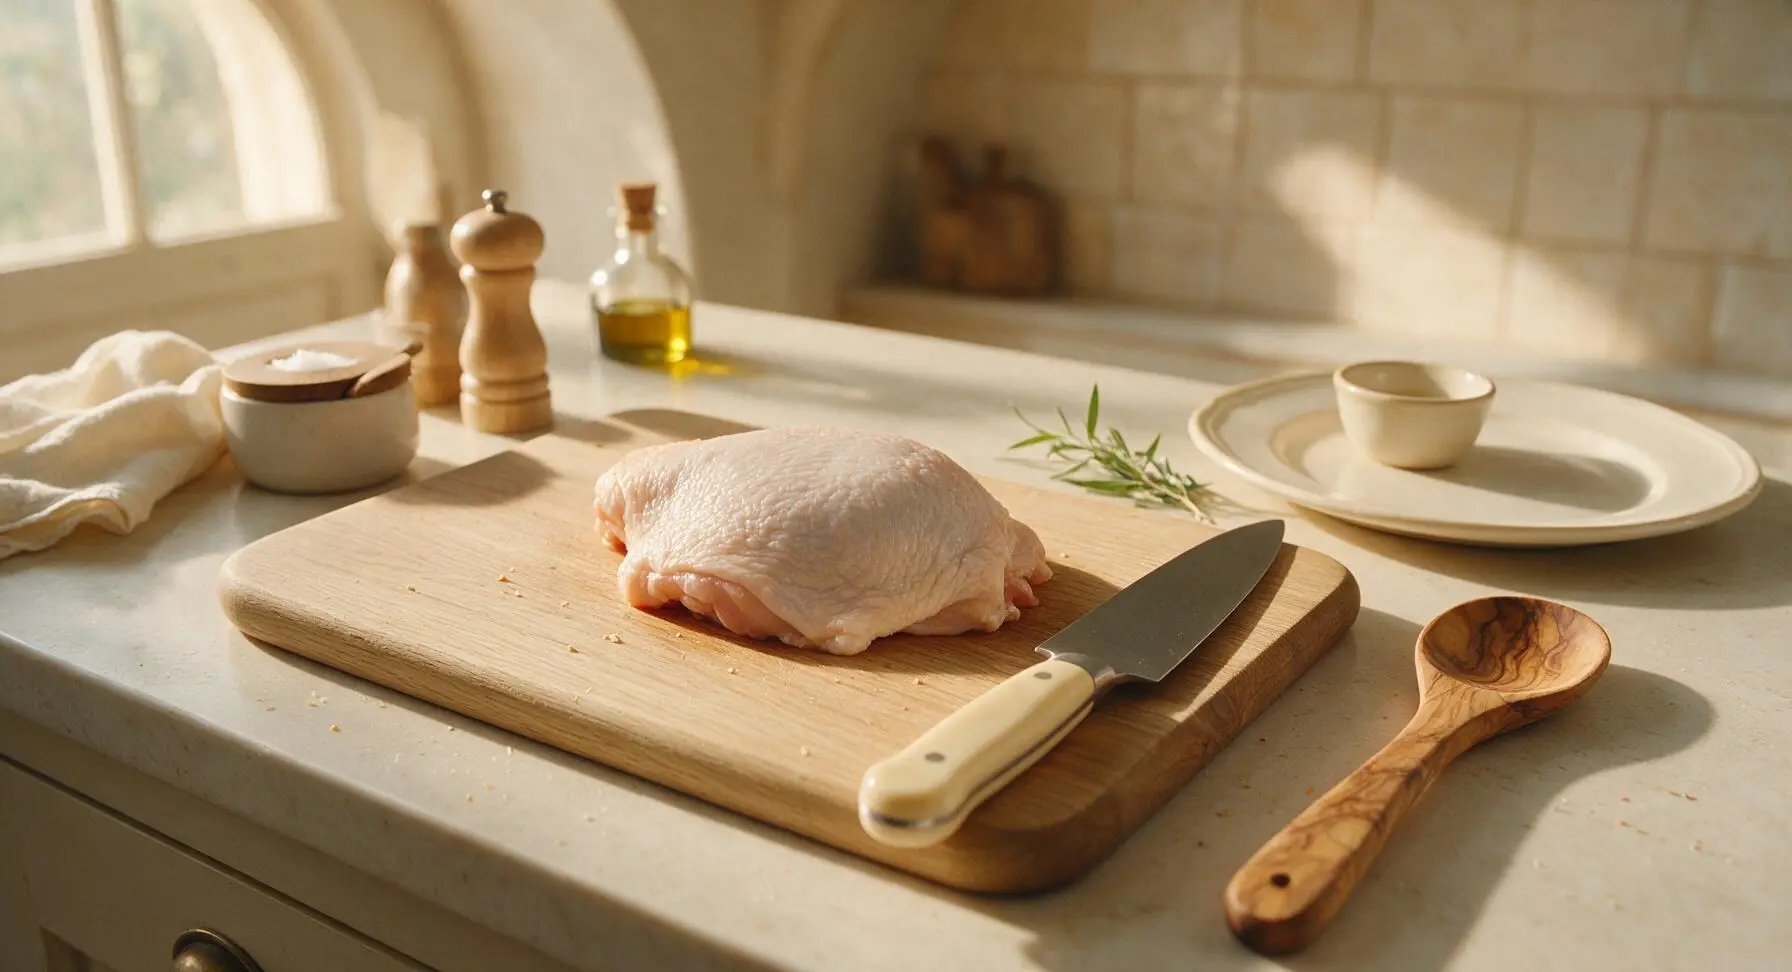
Pat Chicken Completely Dry
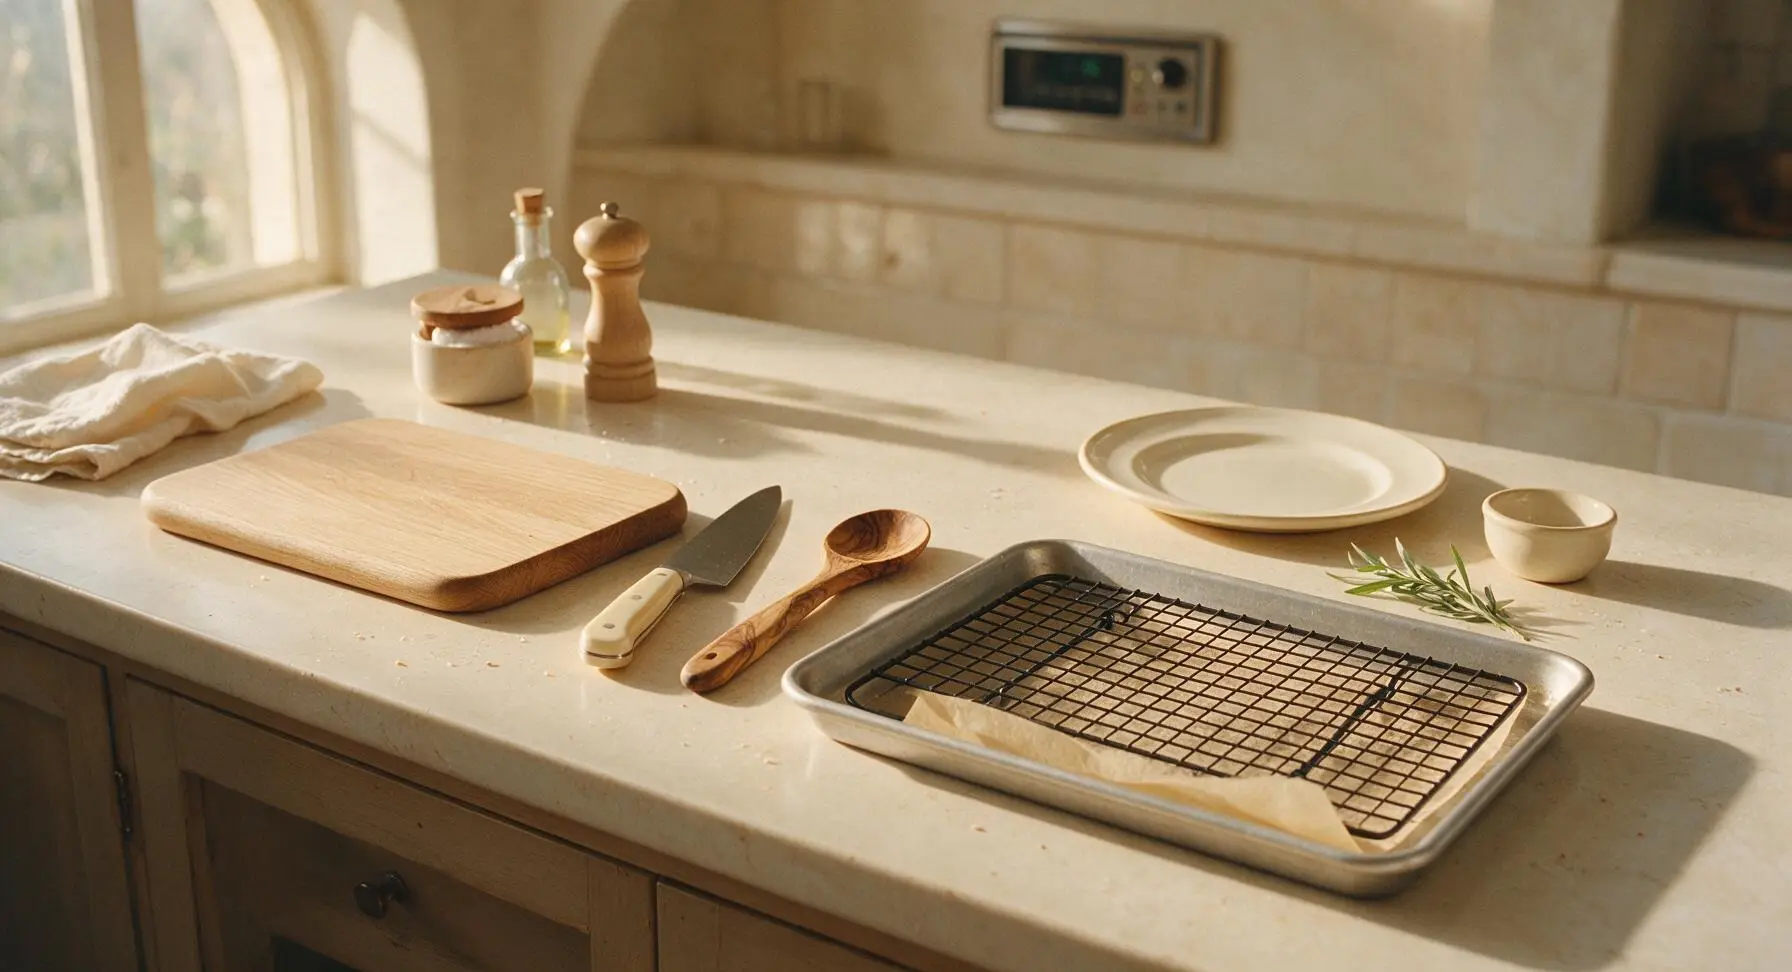
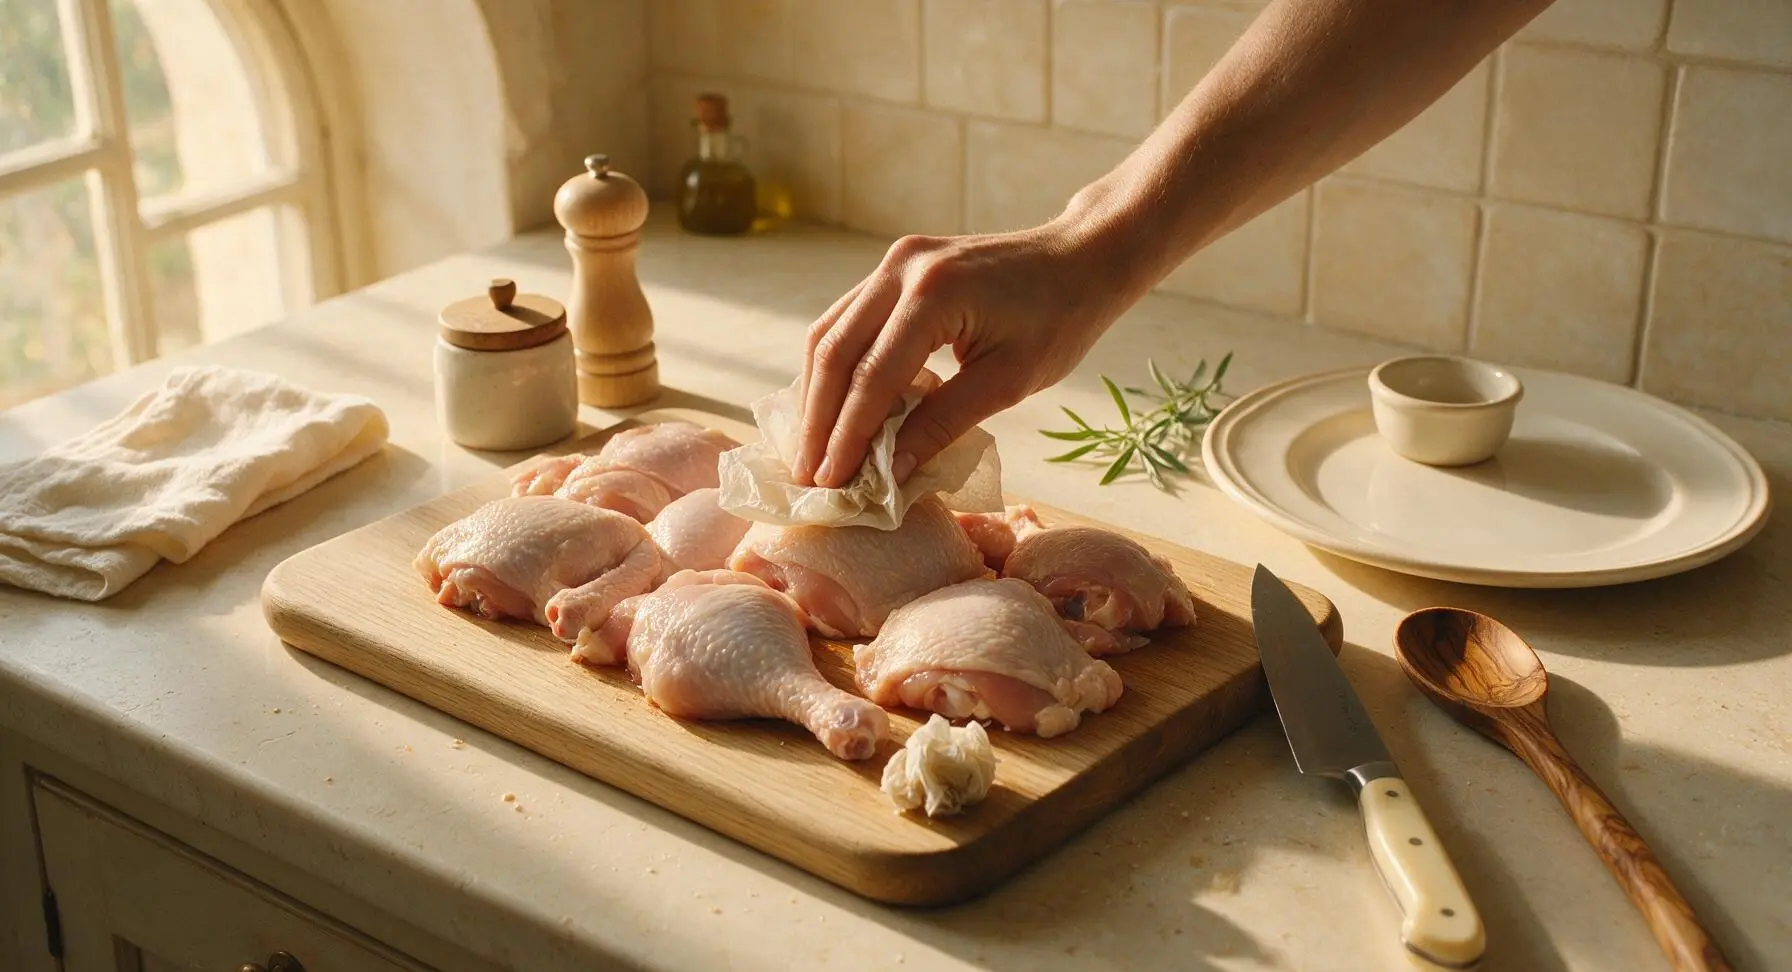
Remove chicken pieces from packaging, arrange on the maple cutting board. Use sheets from the unbleached paper towel roll to firmly pat every surface of the chicken skin completely dry, paying extra attention to crevices around the bone and skin edges. Dry skin is the single most important step to achieving shatteringly crisp baked skin, rather than soggy, rubbery skin.
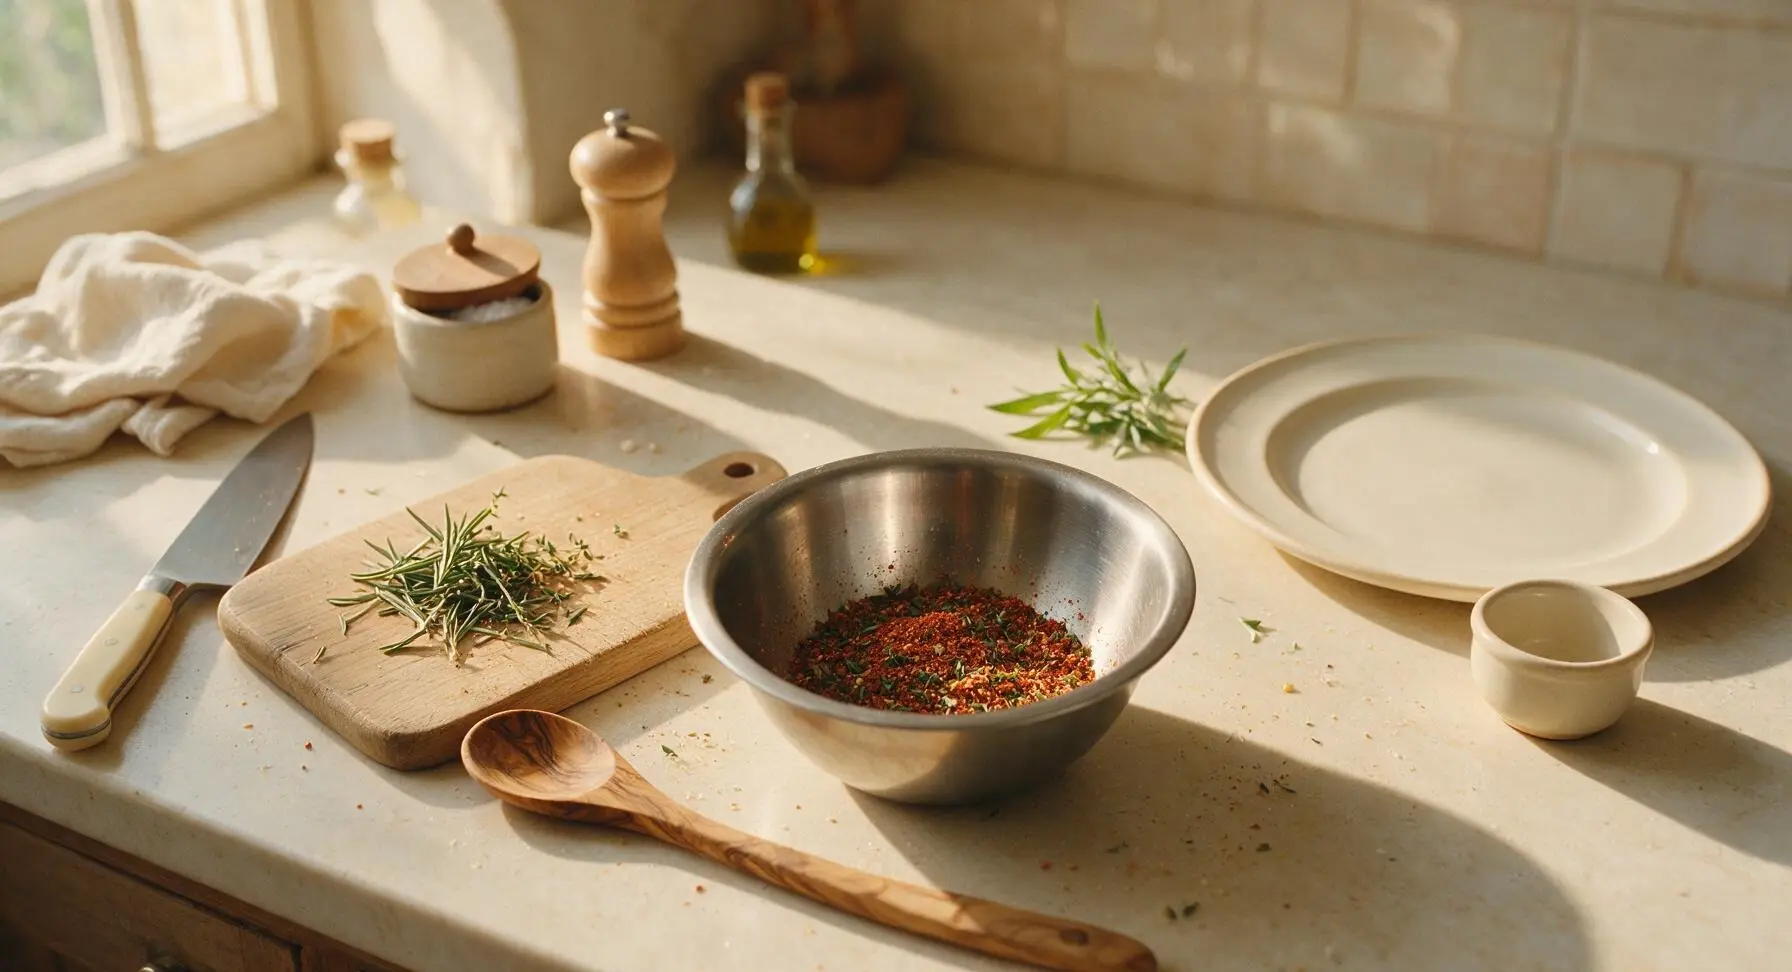
Mix Herb Spice Blend
In the small brushed stainless steel mixing bowl, combine 1.5 tsp kosher salt and 1 tsp black pepper from the terracotta ramekin, 1 tsp smoked paprika, and 1/2 tsp garlic powder. Strip leaves from 2 sprigs of thyme and 1 sprig of rosemary, chop finely, and add to the spice mix. Stir with a clean finger to evenly combine all ingredients.
Coat Chicken with Oil
Drizzle 2 tbsp extra-virgin olive oil over the dried chicken pieces on the cutting board. Use clean hands to rub oil over every surface of the chicken, ensuring skin and exposed meat are lightly and evenly coated, with no pools of excess oil left on the board.

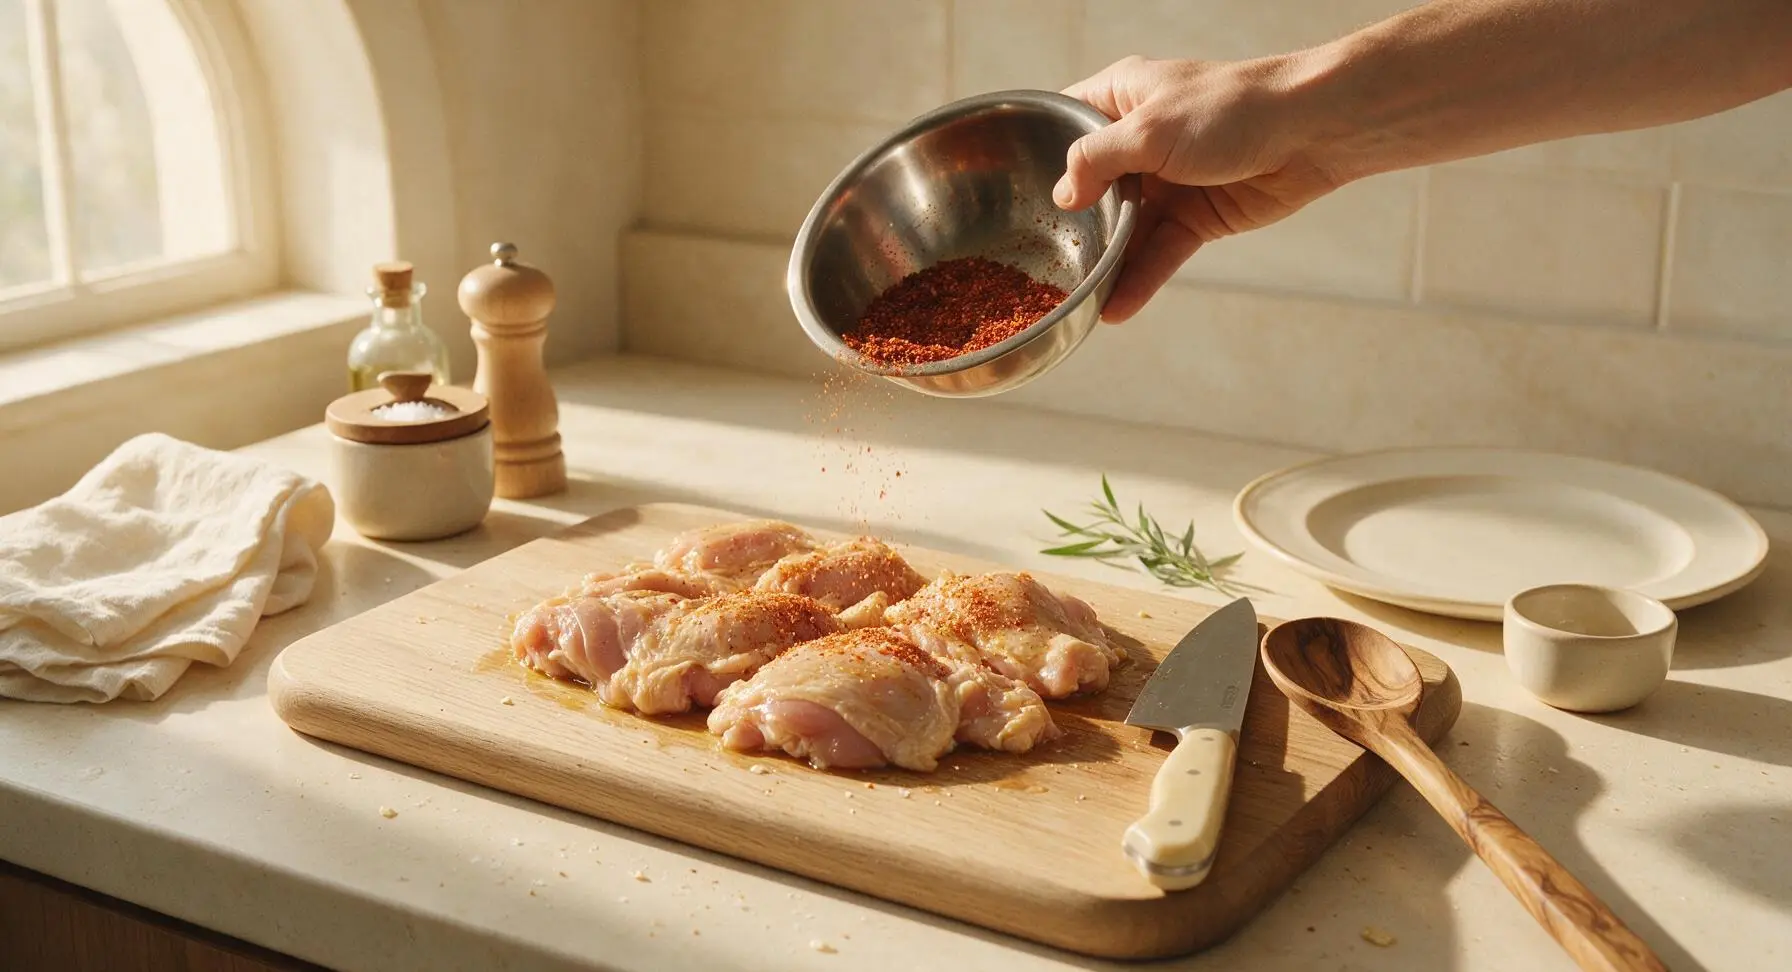
Season Chicken Evenly
Sprinkle the mixed herb and spice blend evenly over all sides of the oiled chicken pieces, using your hands to rub the seasoning into the skin and crevices so it adheres fully, leaving no bare patches of skin unseasoned. Tuck the remaining whole thyme and rosemary sprigs and crushed garlic cloves to the side for later use.
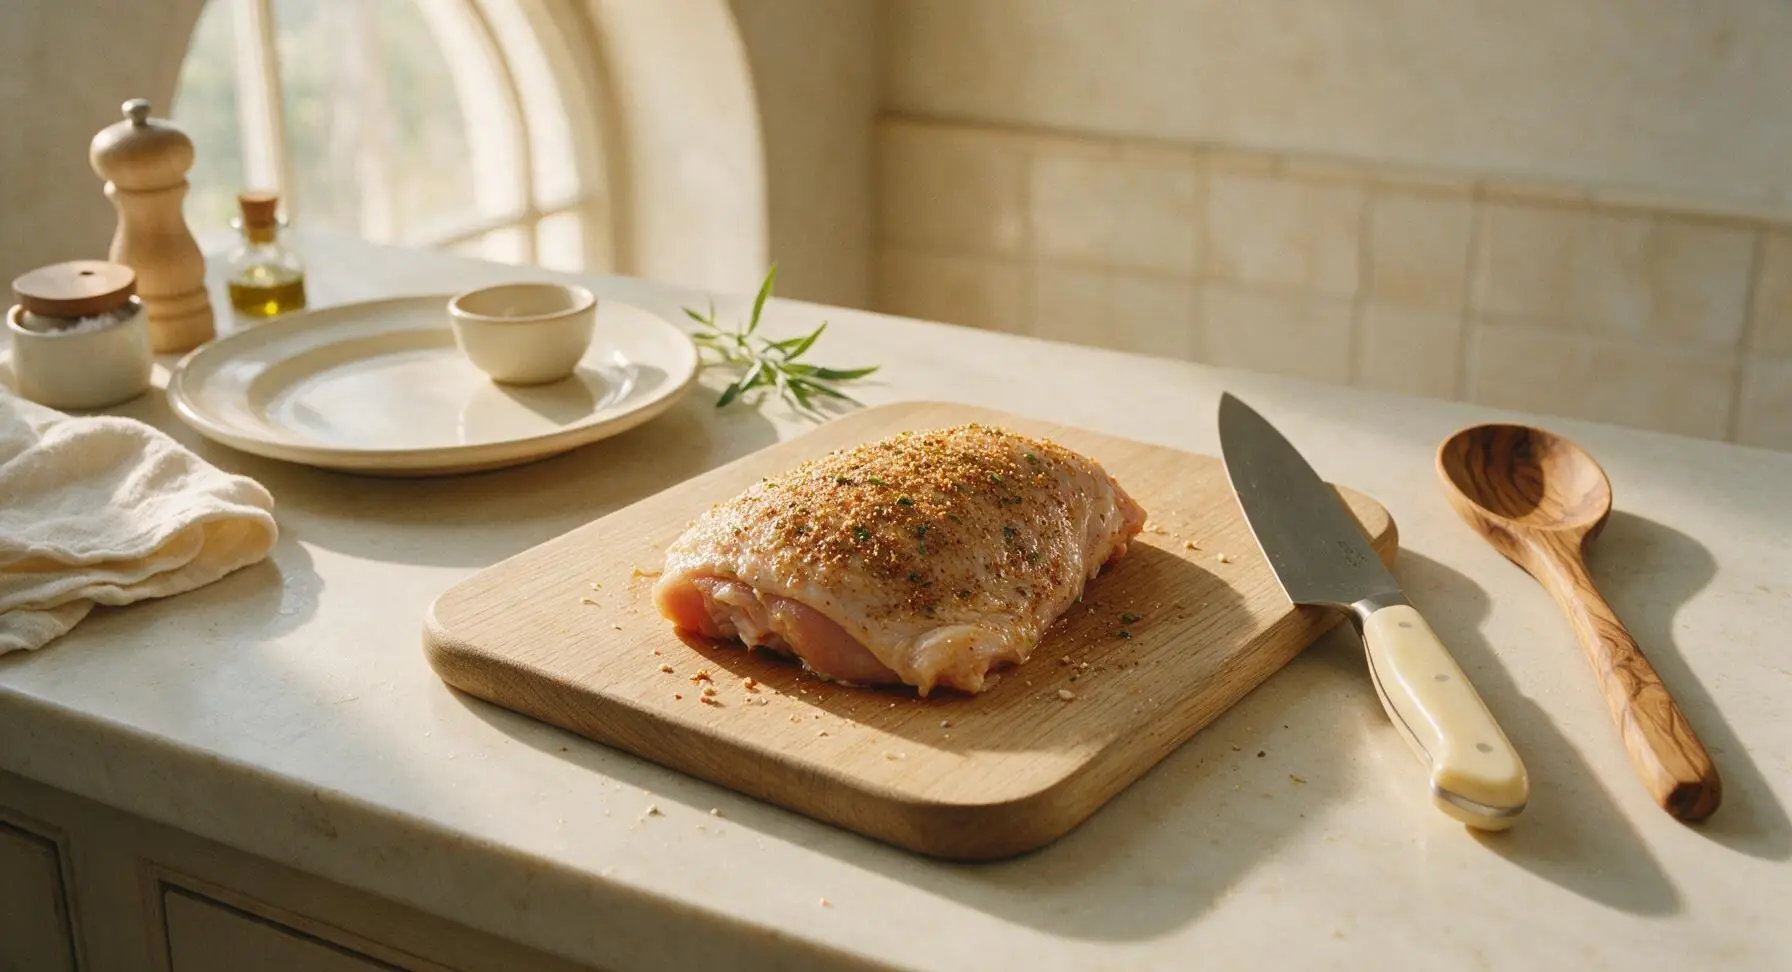
Arrange on Roasting Rack
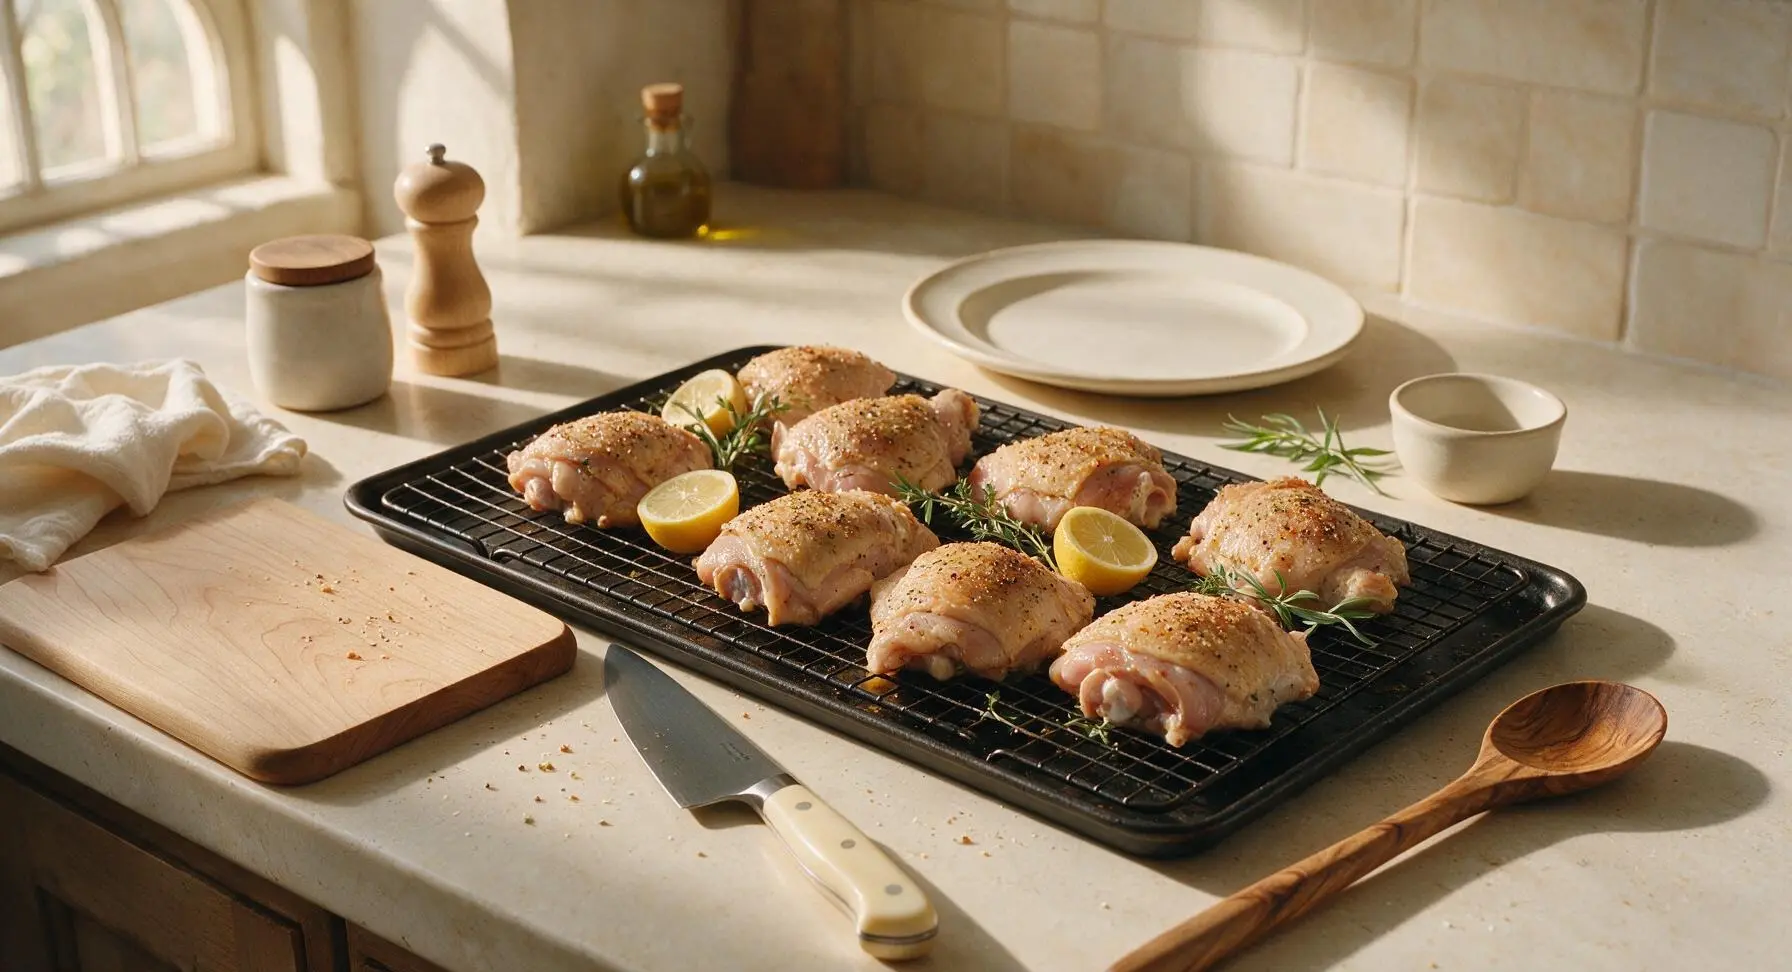
Transfer the seasoned chicken pieces to the wire rack set inside the prepared baking sheet, arranging them skin-side up with 1 inch of space between each piece to allow hot air to circulate. Do not crowd the pieces, as this will cause steaming rather than crisping. Tuck the halved lemon cut-side down on the rack between chicken pieces, along with the reserved whole herb sprigs and crushed garlic.
Bake to Crispy Perfection
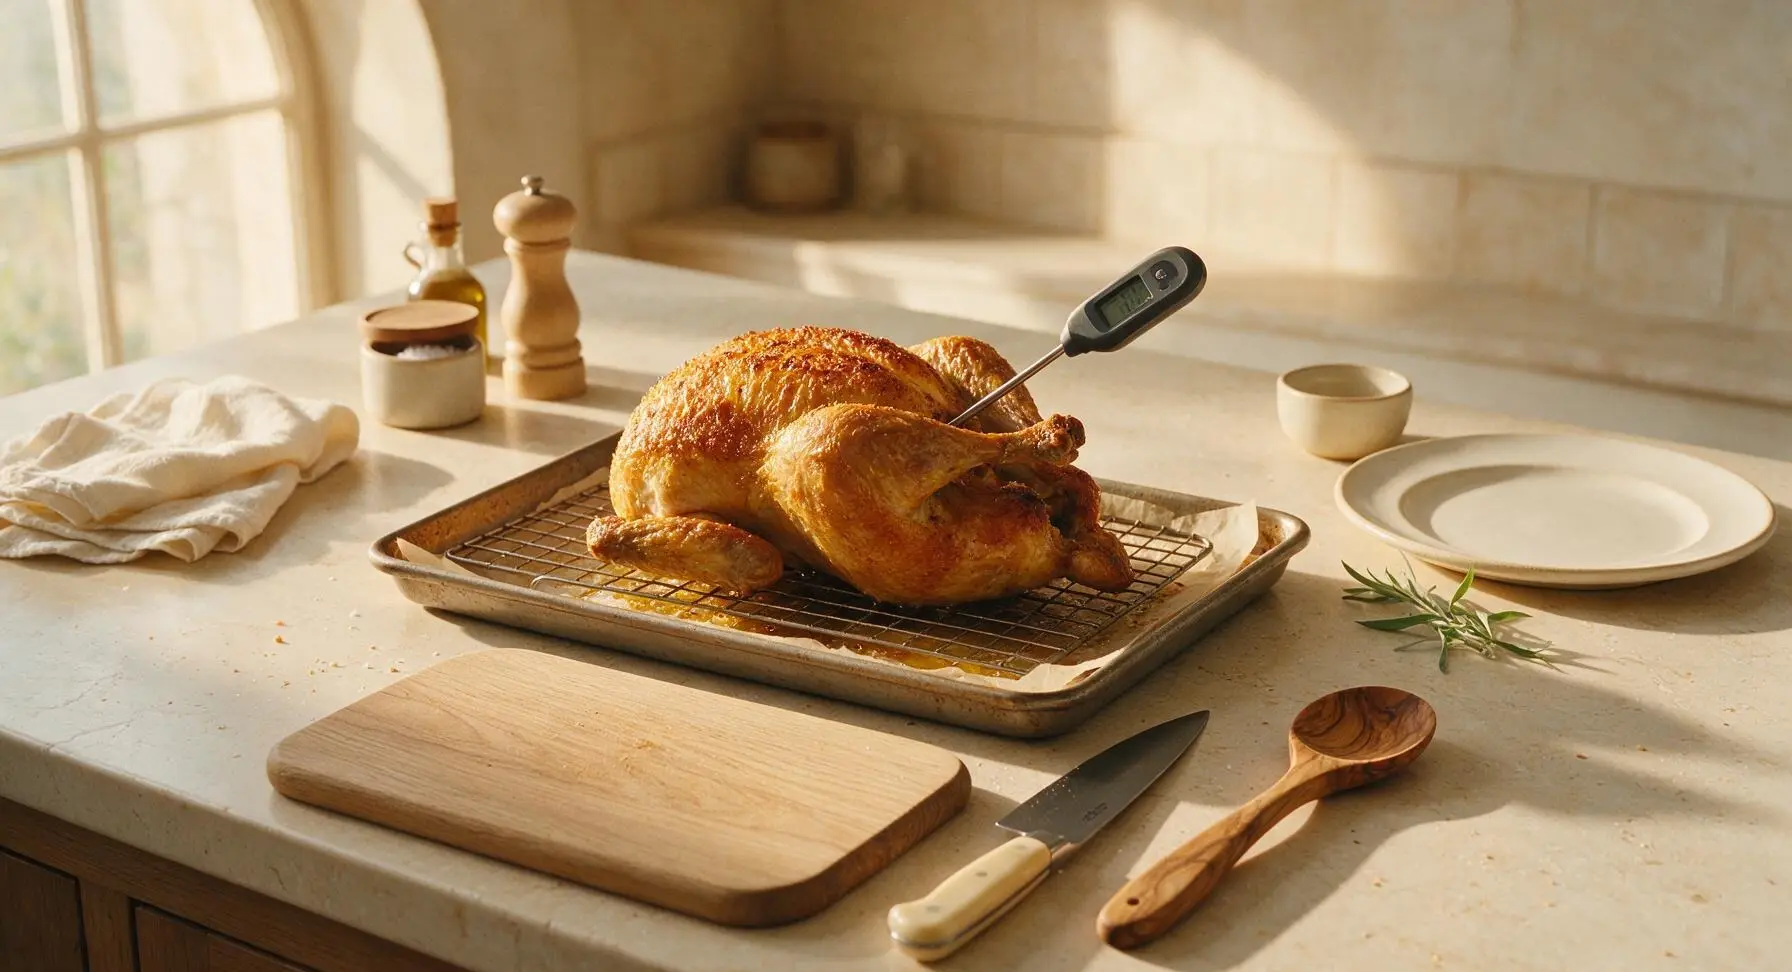
Place the baking sheet on the middle oven rack, bake for 45-50 minutes at 220C (425F), until chicken skin is deep golden and crispy, and the instant-read thermometer inserted into the thickest part of the thigh (not touching bone) reads 75C (165F). Do not flip the chicken during baking to keep the skin intact and crisp.
Rest Chicken Before Serving
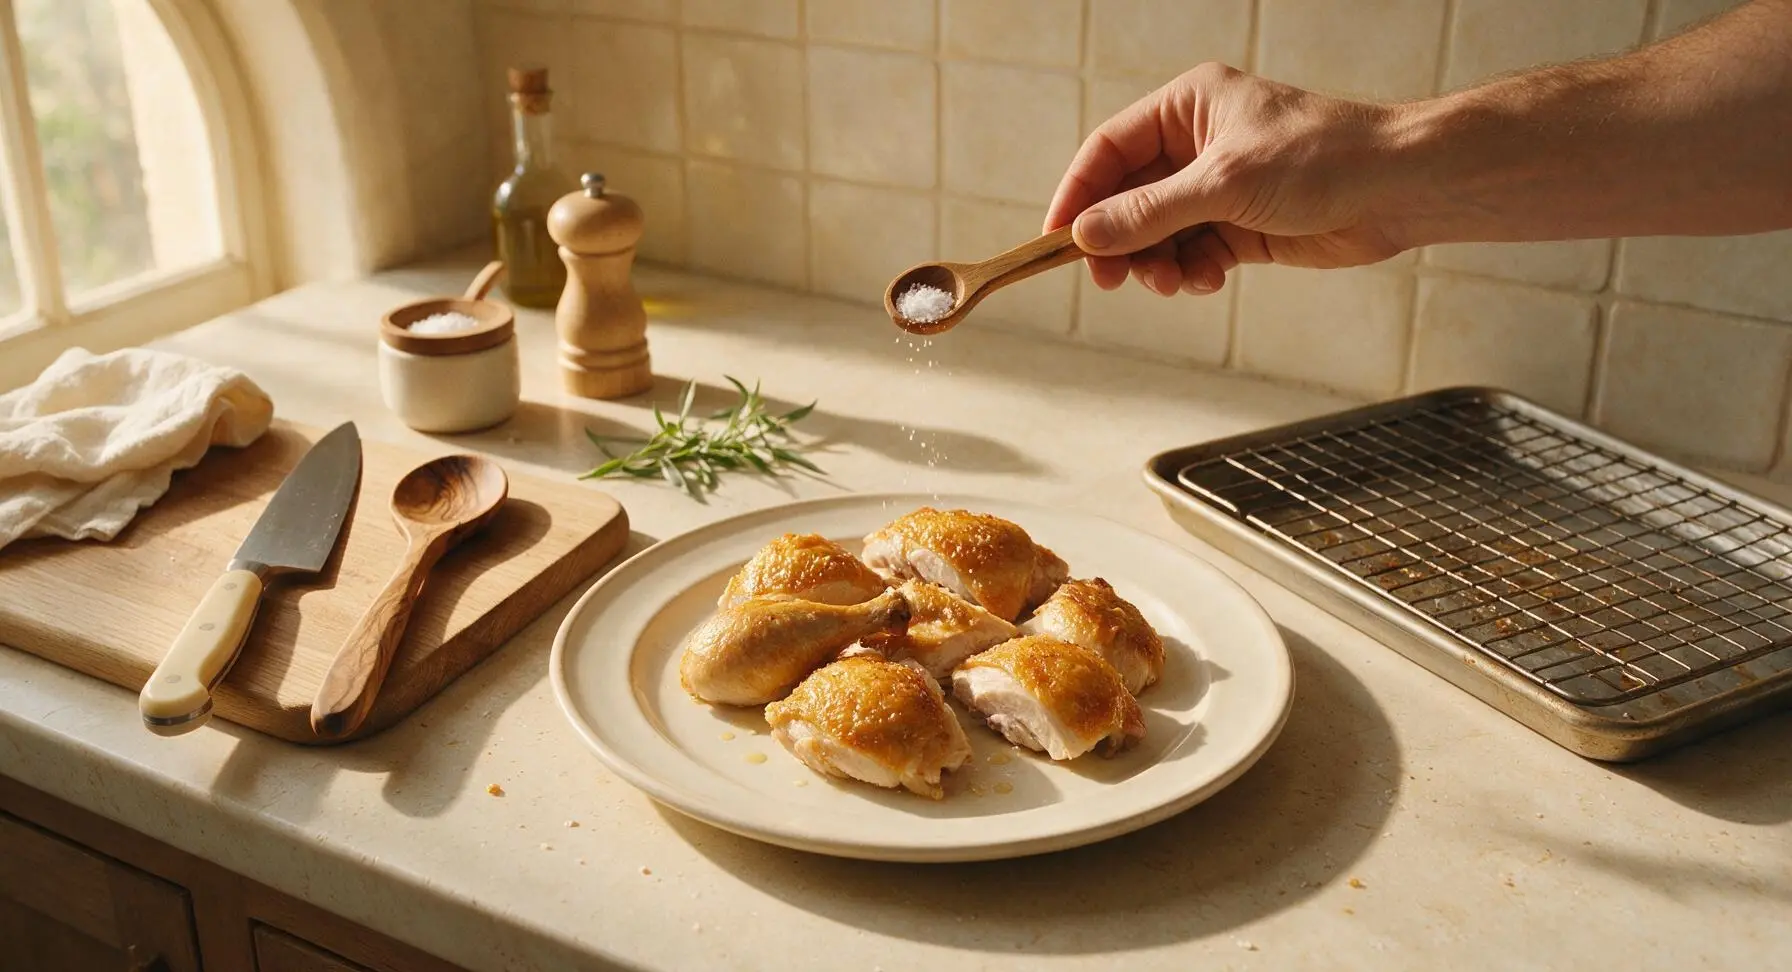
Once baked, transfer the chicken pieces from the rack to the matte cream ceramic dinner plate, allowing them to rest for 5 minutes to let juices redistribute through the meat, rather than running out when cut. Sprinkle lightly with flaky sea salt from the acacia salt cellar before serving.
Tips
2.Use a wire rack inside your baking sheet rather than placing chicken directly on the pan: elevating the chicken allows hot oven air to circulate under every piece, crisping skin on all sides instead of leaving the bottom soft and soggy from sitting in rendered fat during baking.
3.Resist the urge to cut into chicken immediately after baking: letting it rest for 5 full minutes allows muscle fibers to relax and reabsorb flavorful juices, so every bite stays moist instead of having all the juice run out onto the plate the moment you cut into it.






OMG this chicken came out PERFECT! I was so tired of rubbery baked chicken that had zero crunch, but this method is a total game changer. My husband asked if we can have this every Sunday for family dinner from now on. So juicy, the crust didn’t get soggy at all even after I let it sit for 10 minutes while I finished the mashed potatoes and roasted broccoli. 10/10!
Absolute meal prep WIN! I made a big batch of this on Sunday, portioned it out with rice and green beans, and it held up perfectly all week for lunches. Even reheated in the office microwave the crust stayed crispy and the chicken wasn’t dry at all. Who knew oven baked chicken could be this good??
Super easy to make in my tiny dorm oven! I didn’t have all the exact spices so I just used what I had (garlic powder, paprika, a little seasoned salt) and it still came out so good. Way cheaper and better than ordering takeout fried chicken. Will definitely make again when I’m sick of ramen.
I brought this to our neighborhood potluck last weekend and people were begging me for the recipe! Every single piece got eaten, even the picky toddler next door went back for seconds. The only thing I changed was adding a little extra parmesan to the coating because I love that cheesy crispy crust. SO good.
Wait, I followed the recipe exactly but my crust didn’t get nearly as crispy as the photos show? The chicken was juicy inside, no complaints there, but I was really hoping for that shatteringly crisp outside. Did I do something wrong? Maybe my oven temp is off?
This is a solid base recipe! I added a teaspoon of cayenne and a little smoked paprika to the coating to give it a kick, and it was chef’s kiss. Crispy, juicy, zero sogginess. 10/10 will be in my regular rotation.
My kids LOVED this! I’ve been struggling to find a chicken recipe they don’t push around their plates, and they both asked for seconds before they even finished their first piece. No weird ingredients, super fast to prep even on a chaotic school night. Total win in my book.
Great high protein option for my cutting phase! I used whole wheat panko and skipped the butter to lighten it up a little, sprayed the rack with olive oil spray, and it still came out crispy and juicy. Way better than plain boiled chicken I’ve been forcing myself to eat. Game changer for meal prep.
I’ve literally never successfully cooked chicken that wasn’t dry or burnt before, so I was shocked how good this turned out! The directions were so easy to follow, no fancy skills required. My roommate thought I ordered takeout lmao. Will be making this every other week for sure.
Made this gluten free by using GF panko breadcrumbs and it worked perfectly! No weird texture, the crust was just as crispy as the regular version. My whole family (even the non-GF members) loved it. So happy to have a baked chicken recipe I can eat too!
I was skeptical that oven baked chicken could be as crispy as fried, but you all were right. I smoked the paprika first before adding it to the coating for an extra depth of flavor, and it was unreal. Way less mess than frying too, which is a huge win. Will be making this for our next game night.
This recipe is so versatile! I made it with thighs instead of breasts because I prefer dark meat, and it came out even juicier if that’s possible. The seasoning blend is perfect, not too salty, just the right amount of savoriness. Served it with a little hot honey on the side and *chef’s kiss*.
I’ve been making baked chicken for 40 years and this method is easily one of the best I’ve tried. The trick of patting the chicken completely dry before coating is non-negotiable for crispiness, and I love that the recipe emphasizes that. My only note is I added a little garlic salt to the flour base for extra punch, but otherwise it’s flawless.
Made this for our extended family Sunday dinner last week and everyone raved. Even my 82 year old dad who swears nothing is as good as his mom’s fried chicken said this was a close second. Less grease, easier cleanup, perfectly juicy. I’ll be passing this recipe down to my kids for sure.
Really solid recipe! The only reason I’m not giving it 5 stars is I wish the cook time was a little shorter for super busy nights, but 50 minutes total is still totally doable even with after school sports and homework. The chicken was crispy and juicy, no complaints from the family, will be making again.