
baked chicken breast
intro
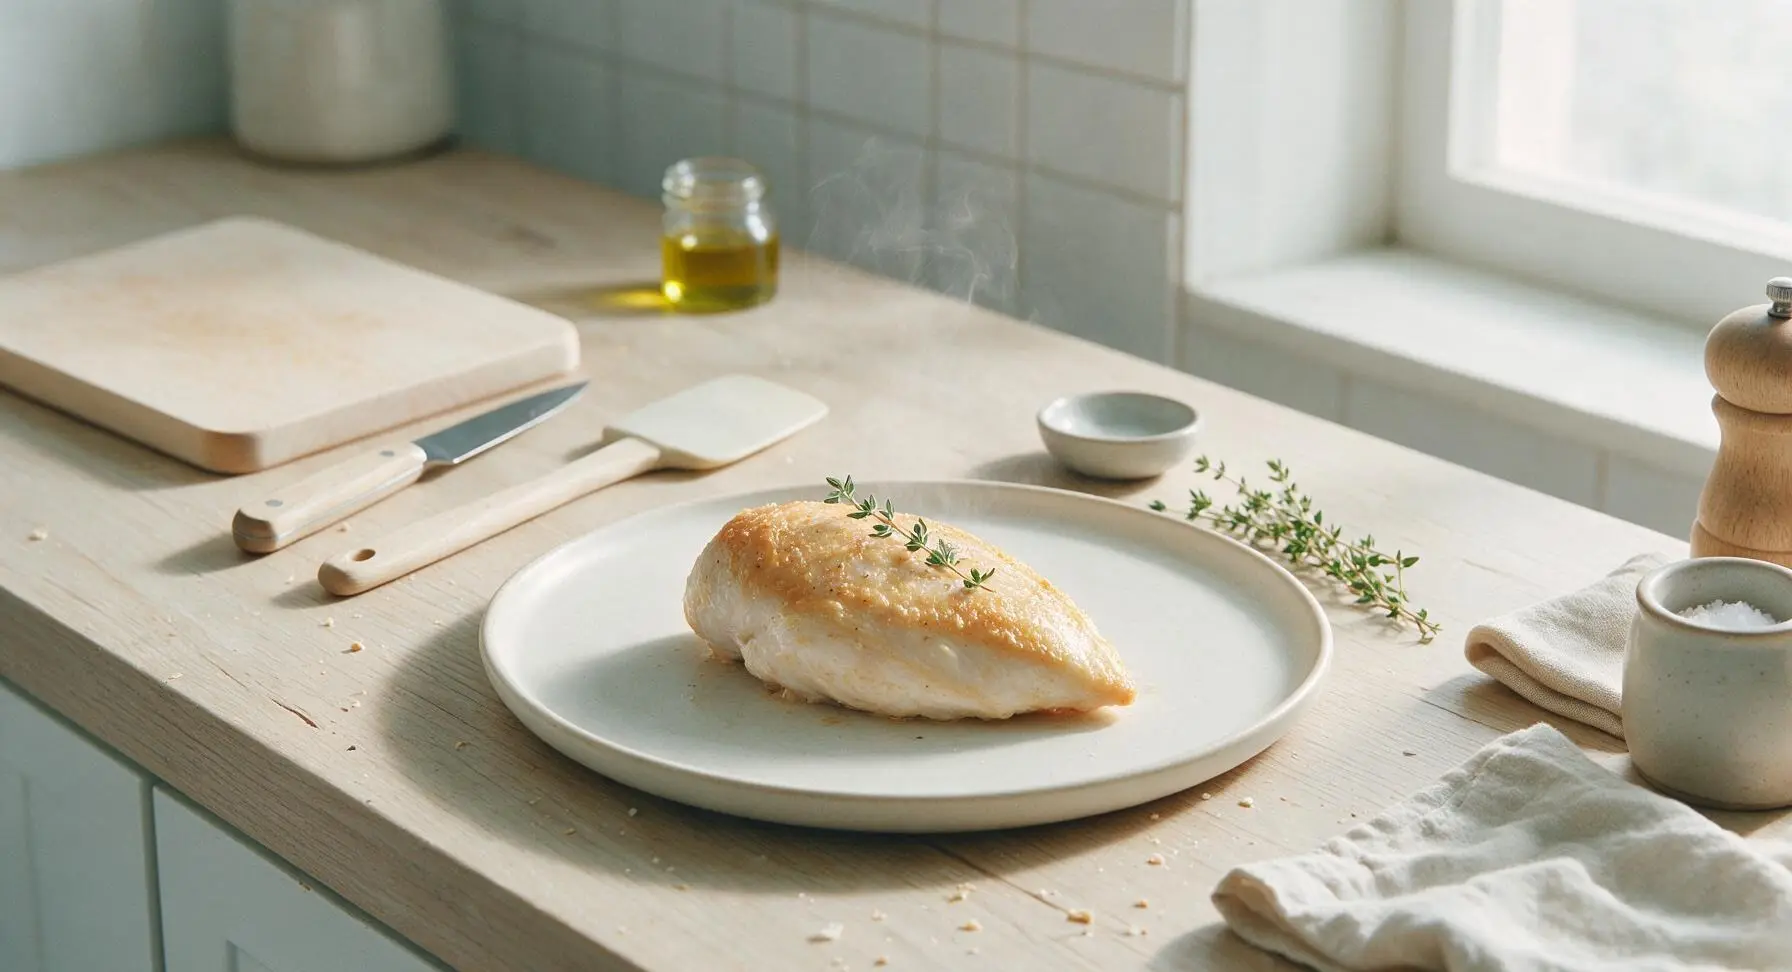
Juicy, tender baked chicken breast with a light golden crisp crust, seasoned simply for versatile, no-fuss serving—no dry, rubbery texture guaranteed.
Ingredients
Steps
Pound Chicken to Even Thickness
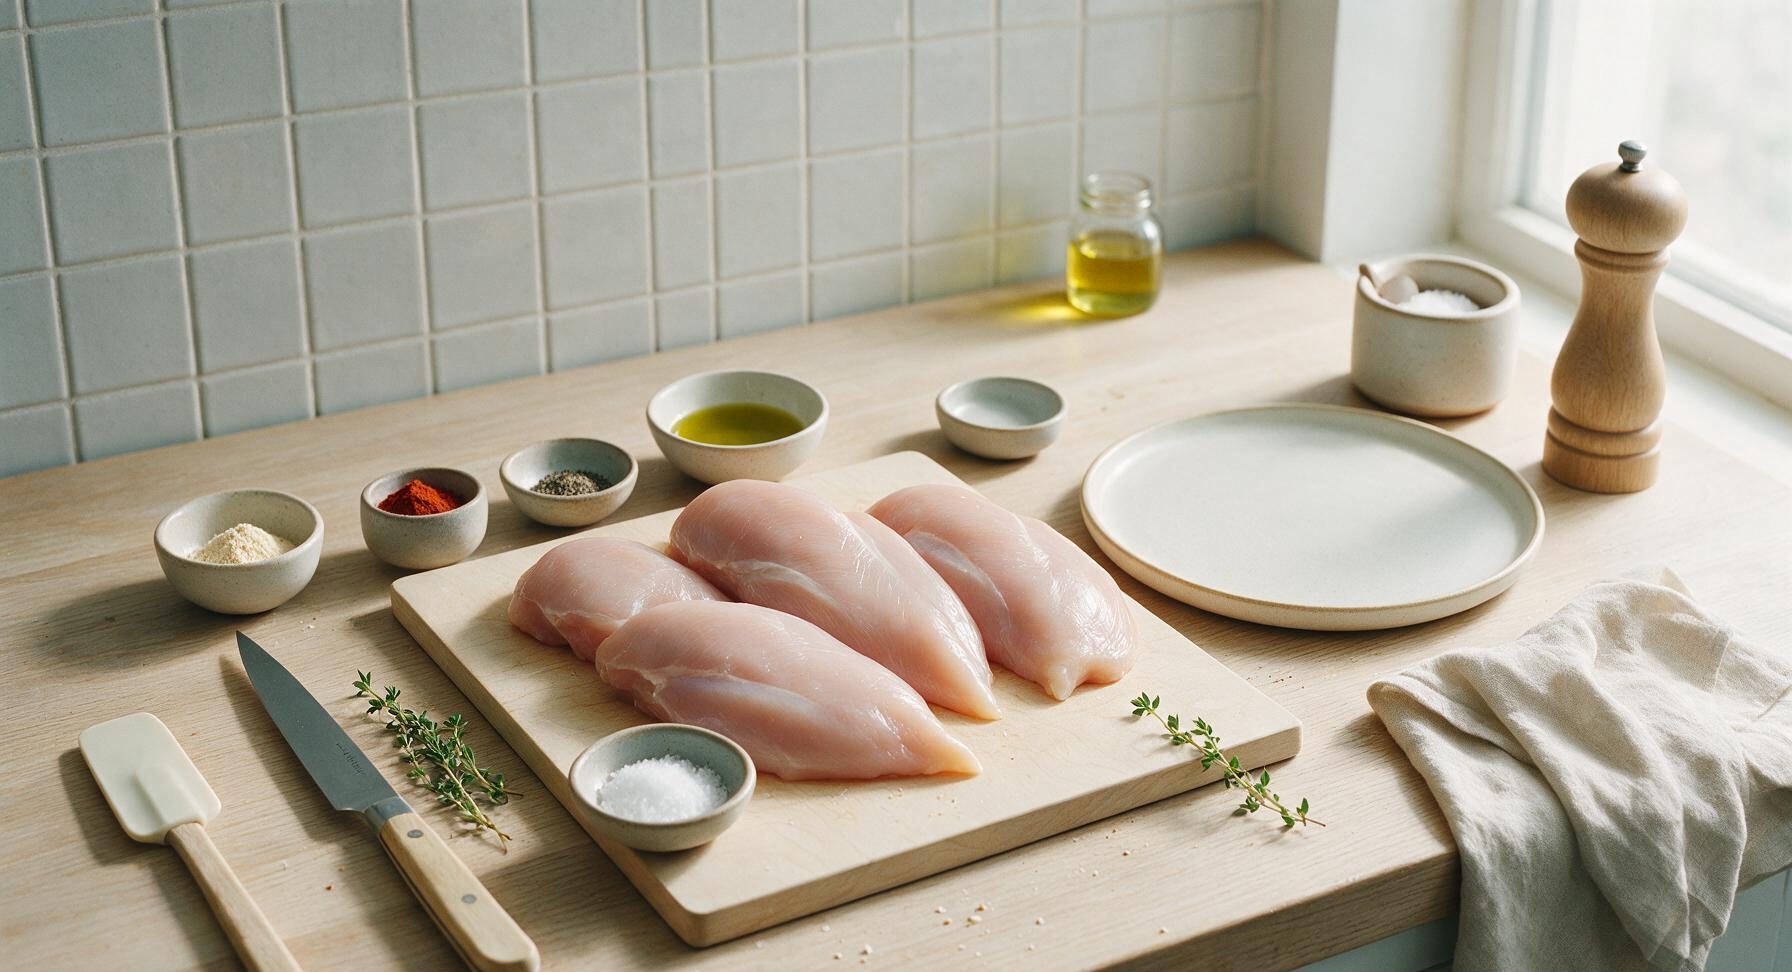
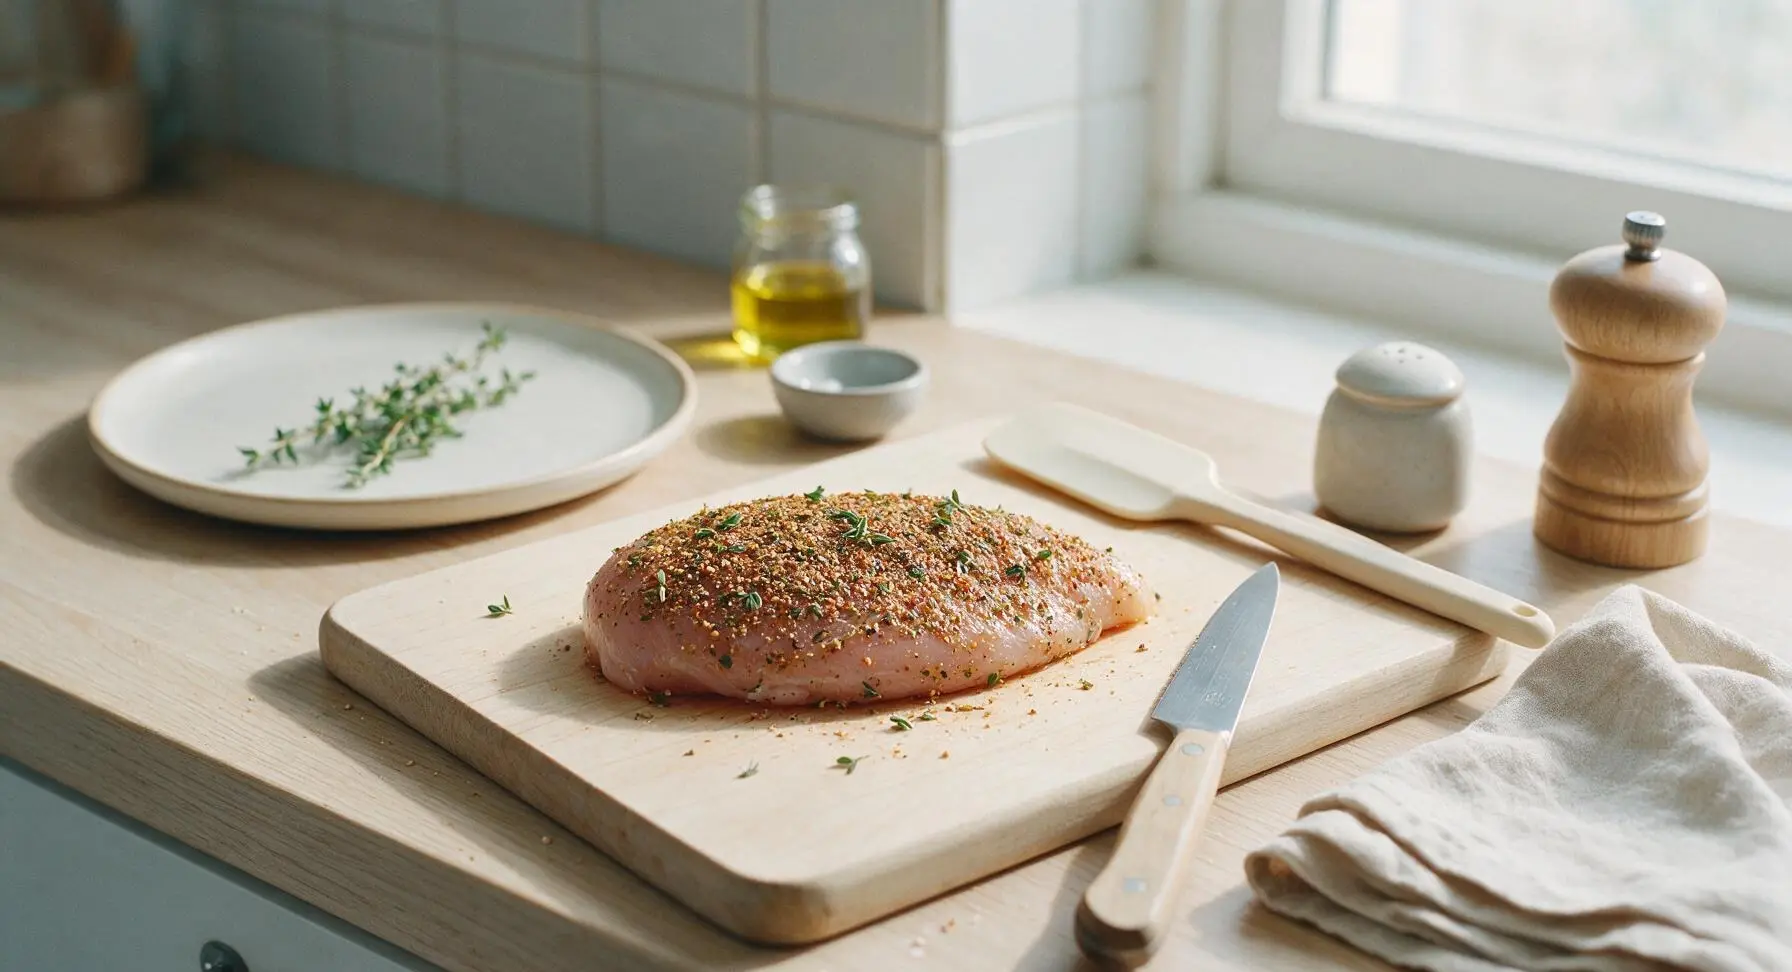
Remove chicken breasts from packaging, pat completely dry with paper towels, and place on the light maple wood cutting board. If any breast is thicker than 1 inch at its tapered thick end, cover with a small piece of plastic wrap and gently pound the raised section with the flat side of the 8-inch chef’s knife to create a uniform 1-inch thickness across every breast. Uniform thickness eliminates uneven cooking, preventing dry, overcooked thin edges before the thick center is done.

Preheat Oven and Prep Pan
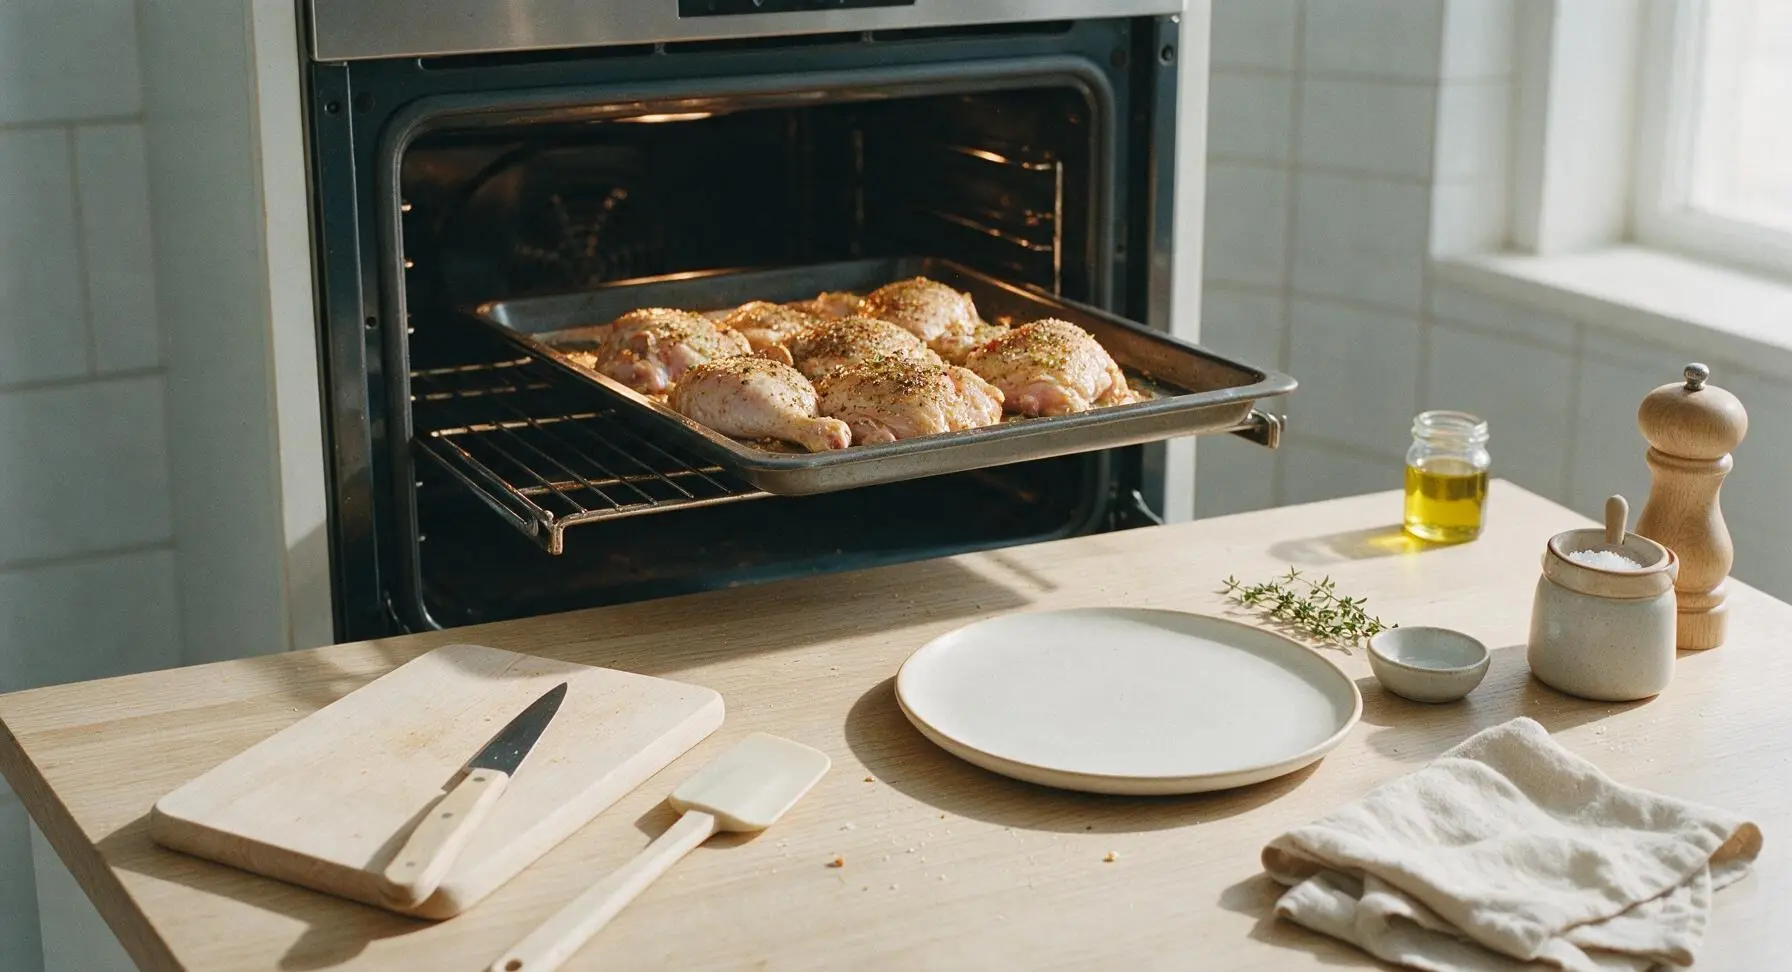
Adjust your oven rack to the middle position, then preheat the oven to 425°F (220°C). Line the rimmed aluminized steel baking sheet with a sheet of unbleached parchment paper, leaving a 1-inch overhang on the short ends for quick, easy cleanup. Set the prepared pan on the center of the counter.

Coat Chicken with Oil
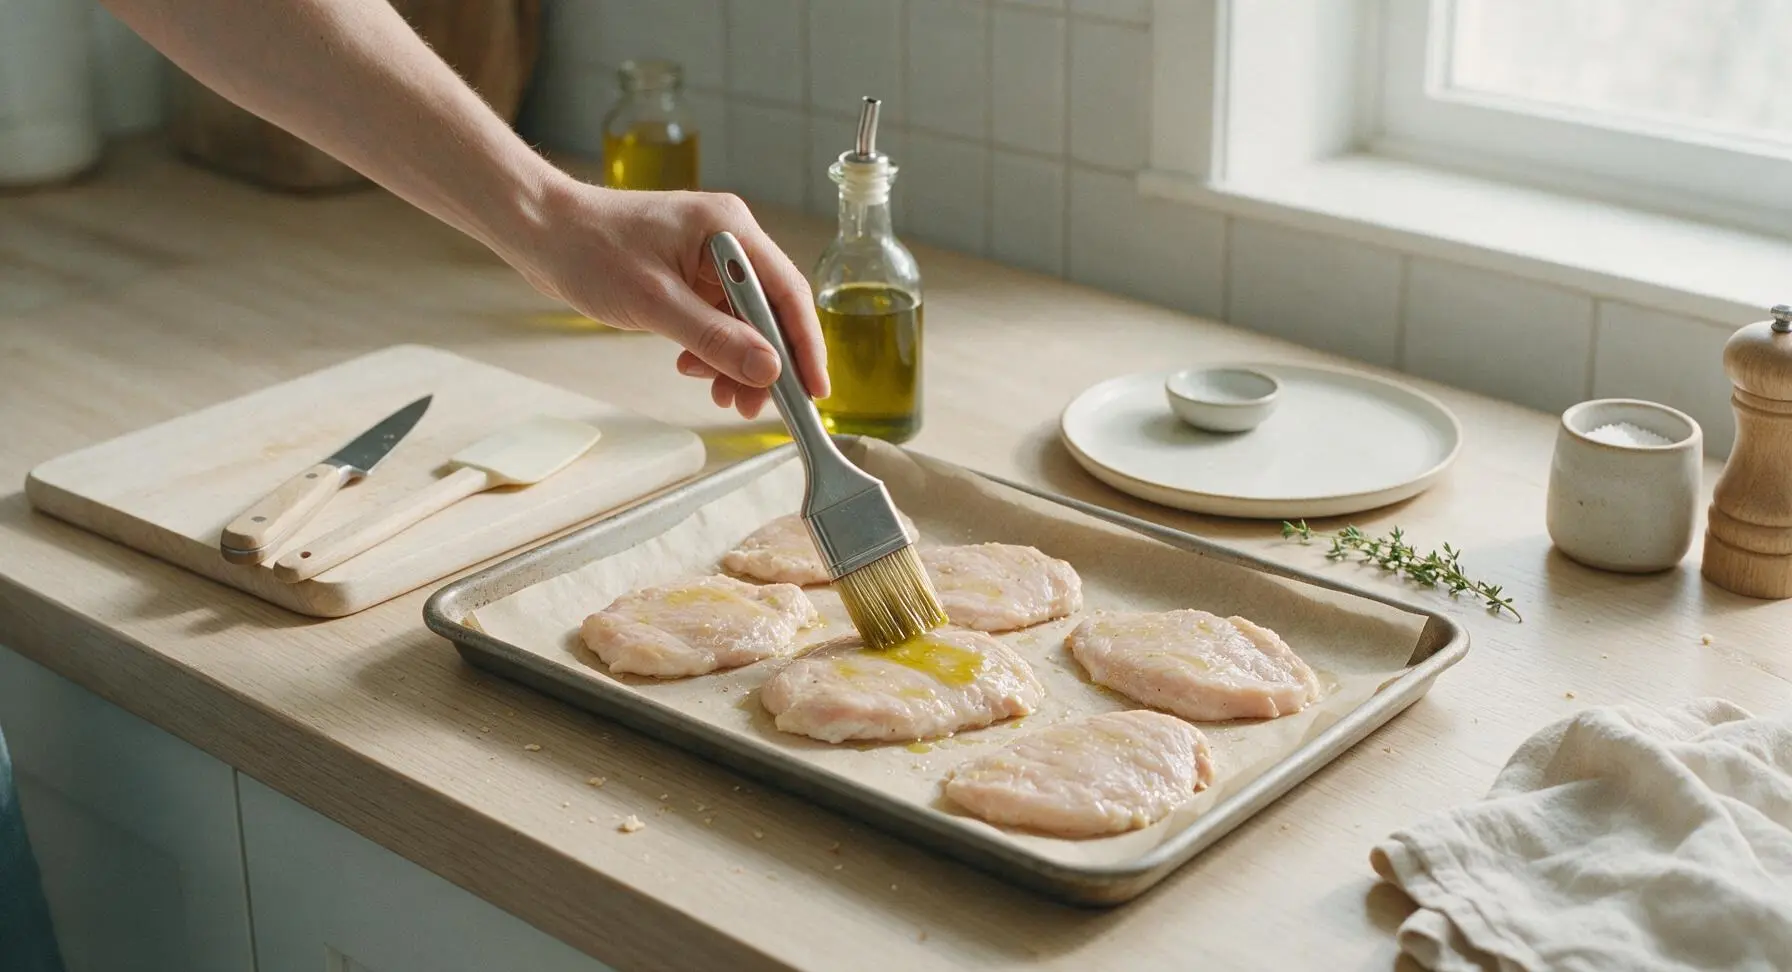
Transfer the evenly pounded chicken breasts from the cutting board to the prepared parchment-lined baking sheet, spacing them 2 inches apart to allow hot oven air to circulate between each piece. Use the stainless steel pastry brush to coat all sides of every breast with 1 tablespoon of extra-virgin olive oil, ensuring no dry, matte spots remain on the meat surface. The oil helps seasoning adhere and creates a light, crisp golden crust as the chicken bakes.
Season Chicken Evenly
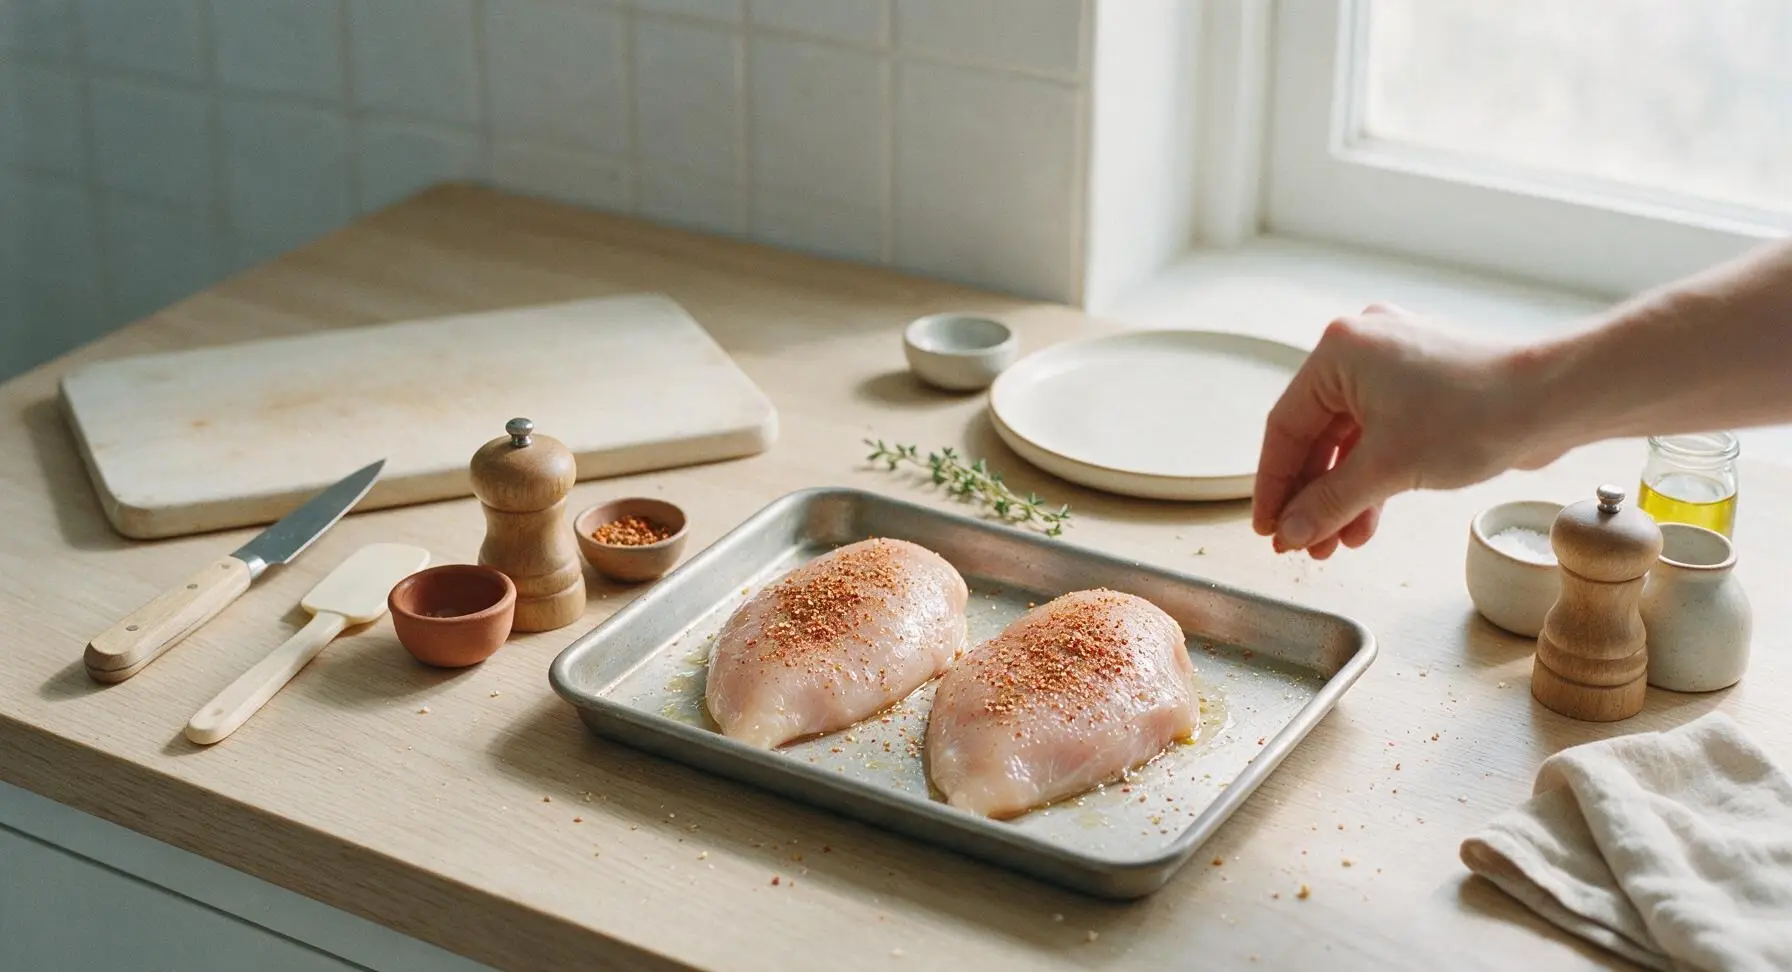
In a small mixing bowl, combine 1 teaspoon kosher salt, 1/2 teaspoon freshly ground black pepper, 1/2 teaspoon garlic powder, and 1/4 teaspoon smoked paprika, stirring until evenly blended. Sprinkle the spice mix evenly across the top oiled surface of the chicken, then flip each breast and season the reverse side, using all of the spice blend. Pluck leaves from 2 sprigs of fresh thyme and scatter them across the seasoned chicken surface.
Bake to Safe Temperature
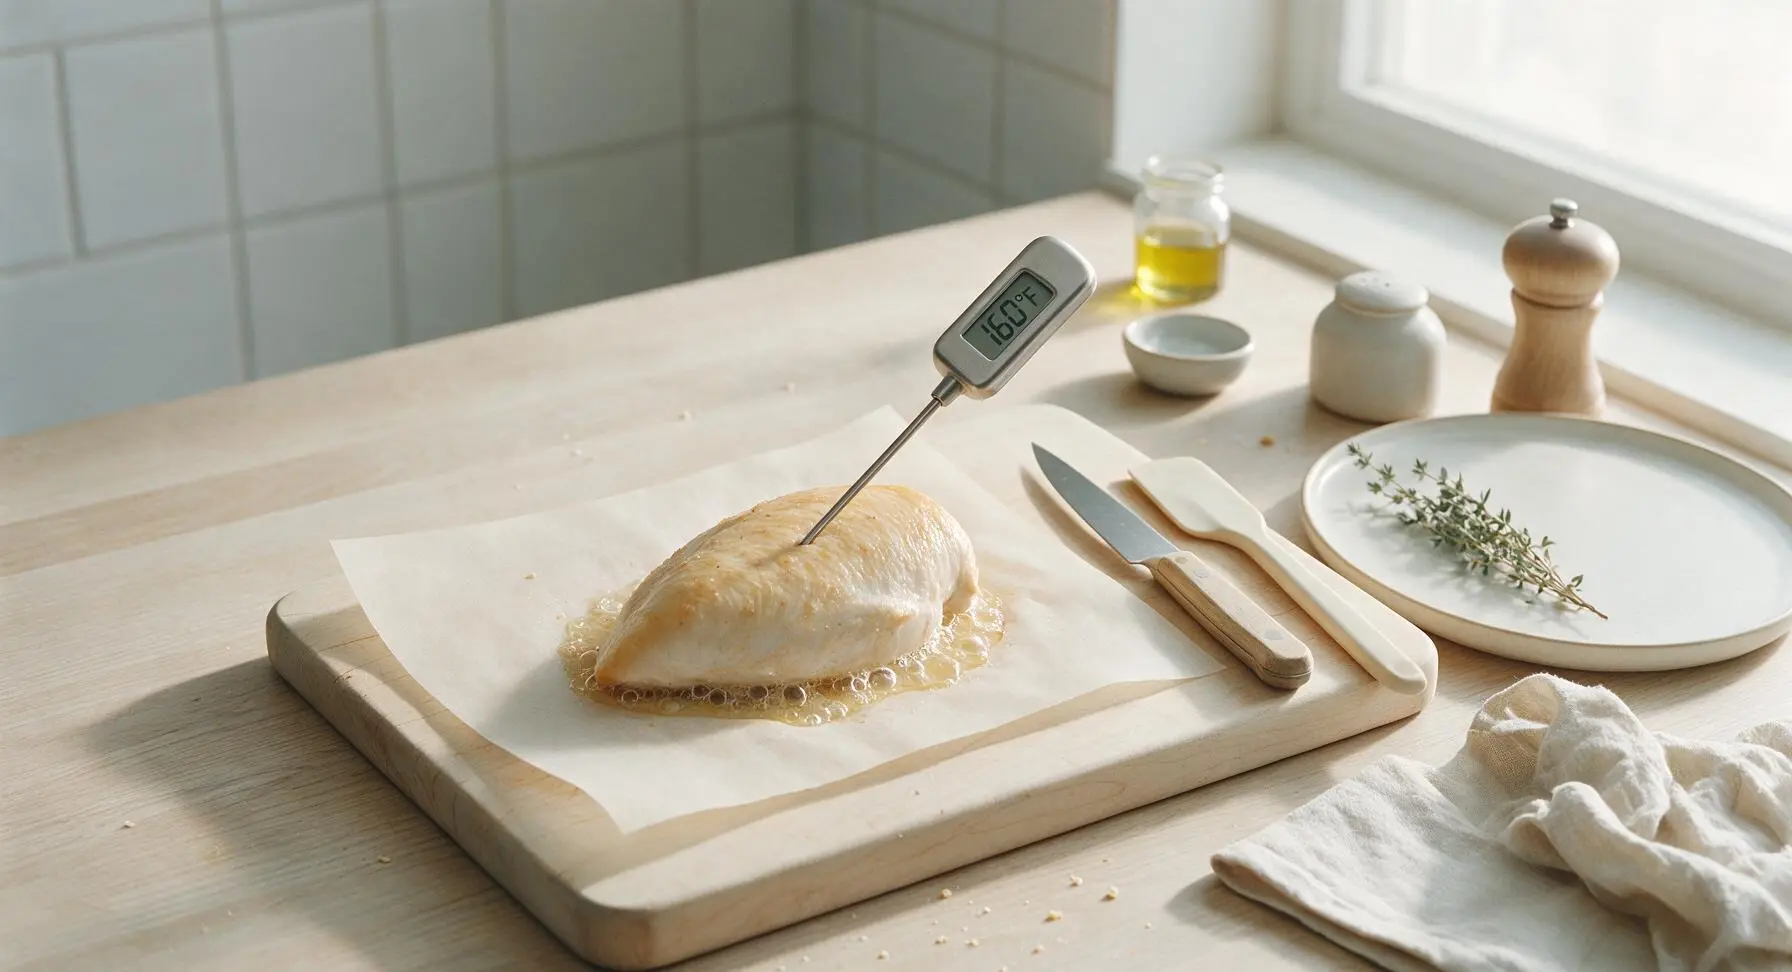
Carefully transfer the seasoned chicken on the baking sheet to the preheated middle oven rack. Bake for 18 to 22 minutes, checking doneness at 18 minutes by inserting the instant-read meat thermometer into the thickest part of the largest breast. Remove the chicken when the internal temperature reads 160°F (71°C); residual carryover heat will bring the final temperature to the food-safe 165°F (74°C) as it rests, preventing overcooked dry meat.
Rest Chicken for Juiciness
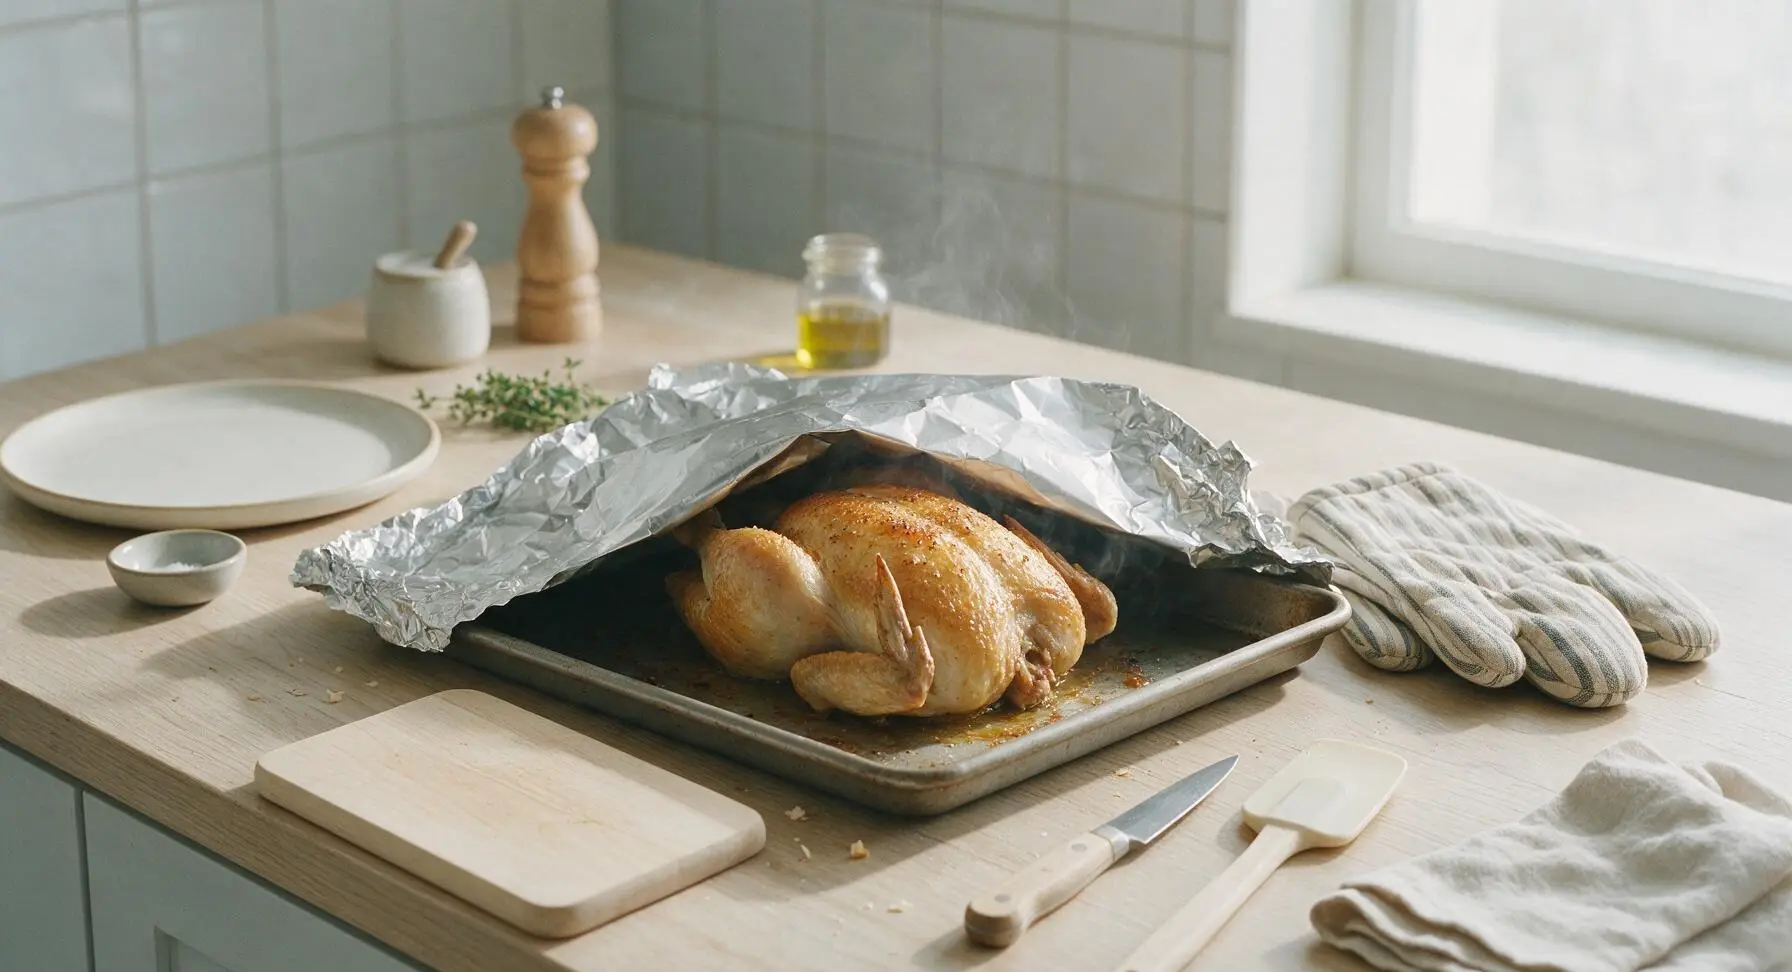
Use the cotton striped oven mitts to carefully remove the hot baking sheet from the oven, setting it back on the center counter. Loosely tent the pan with a small sheet of aluminum foil, and let the chicken rest undisturbed for 5 full minutes. Resting allows the tight muscle fibers to relax and reabsorb hot juices, so juice stays in the meat instead of running out onto the plate when sliced.
Slice and Plate to Serve
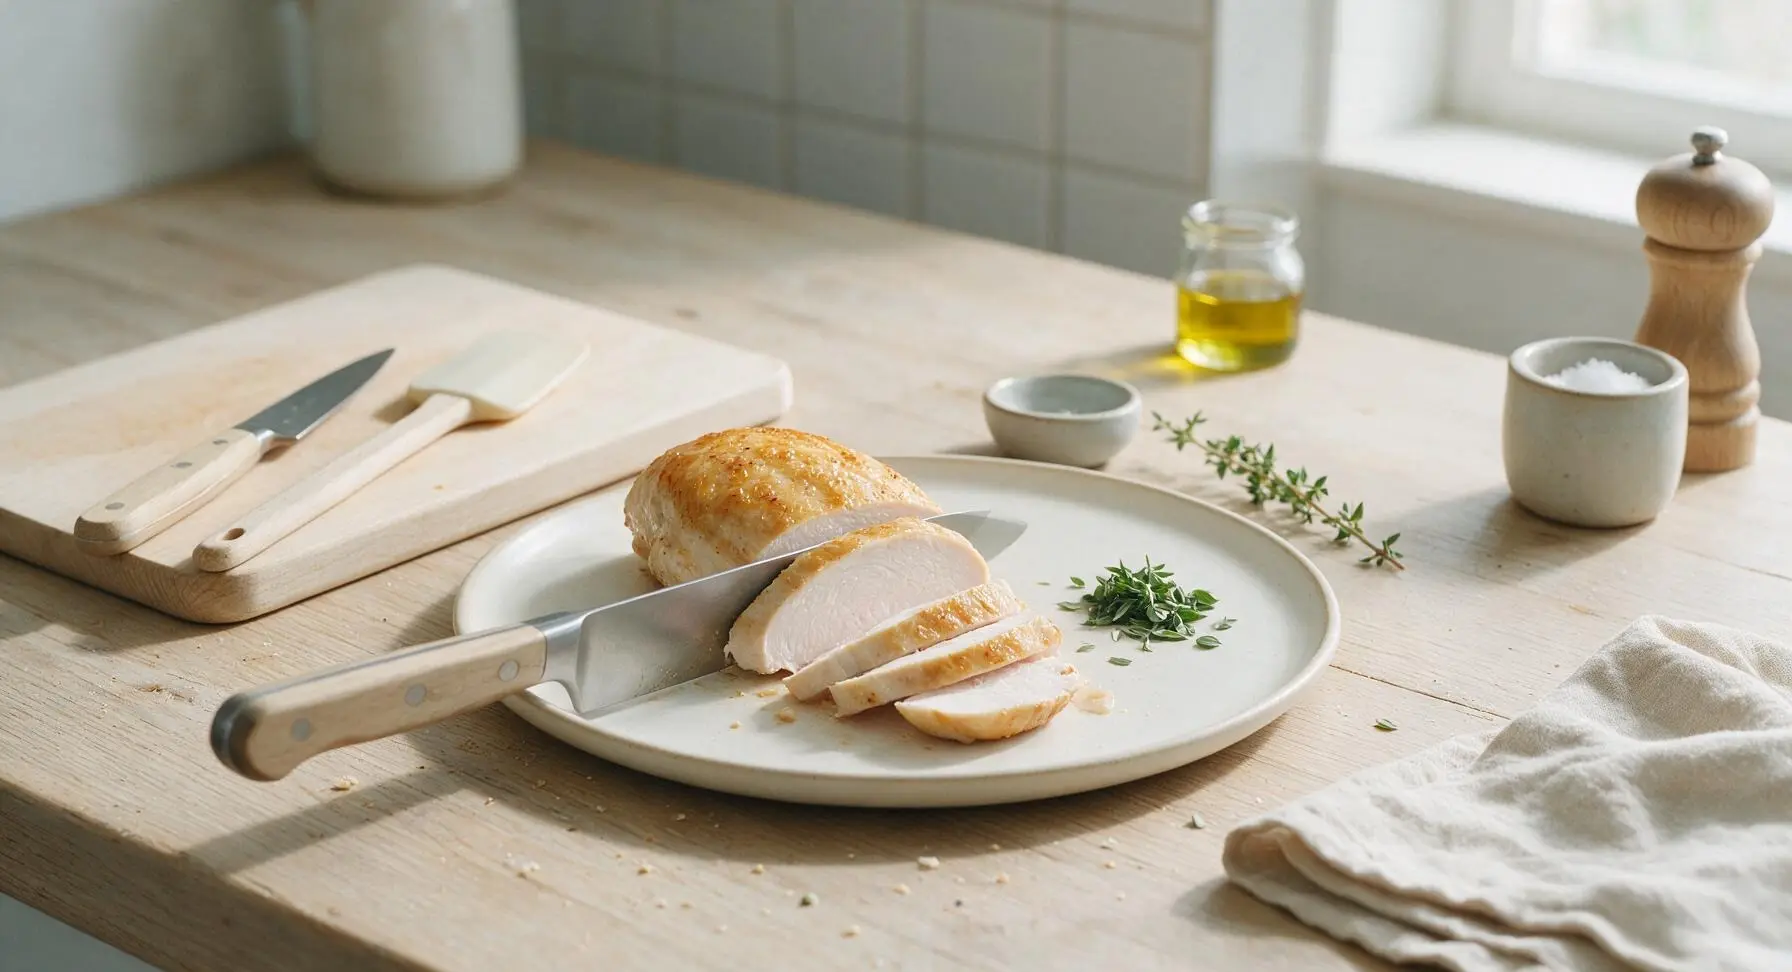
After the 5-minute rest, discard the foil tent. Transfer the chicken breasts to the matte cream white ceramic dinner plate. Slice each breast against the grain into 1/2-inch thick slices, fanning them gently across the plate. Garnish with leaves plucked from the remaining fresh thyme sprig before serving.
Tips
2.Do not cook chicken past 160°F at the time of removal from the oven: carryover cooking will raise the internal temperature to the food-safe 165°F during resting, and cooking to higher temperatures will squeeze moisture out of the meat fibers, resulting in dry, rubbery chicken.
3.Slice rested chicken against the grain (perpendicular to the direction of the visible muscle fibers): this shortens the tough muscle fibers, making each bite feel more tender even if the chicken is cooked perfectly.






OMG this is a total game changer! I’ve been overcooking chicken breast for YEARS because I was scared of undercooking it, and this 22 minute cook time had me skeptical at first but it came out SO juicy. My kids ate two servings each at dinner last night, no complaints at all!
I made this for my office potluck last week and people were asking me for the recipe left and right! I was worried oven-baked would be dry compared to grilled, but no, every bite was perfect. I seasoned it with a little extra paprika per my preference and it slapped.
Wait quick question – does this work if I don’t have a meat thermometer? I’m still building my kitchen supplies and I don’t want to mess this up! The recipe looks so easy I want to try it tonight for date night.
SO good. I eat chicken breast 4-5 times a week for my meal plan and I thought I’d tried every method out there. This one takes less time than my air fryer recipe and comes out juicier? Wild. 10/10.
I made this for my grandkids when they visited over the weekend and even my pickiest granddaughter who says she “hates chicken” cleaned her plate. I used a little garlic powder and parsley like I always do, followed the cook time exactly, and it was perfect. Easy enough for an old lady like me too!
Wait I used this chicken to chop up for tacos last night and it was chef’s kiss. No dry taco chicken filling for the first time ever! I tossed it with a little taco seasoning before baking and it worked like a charm.
As someone who’s living off a dorm kitchen with just a tiny toaster oven and barely any cooking skills, this was so easy to pull off! No fancy ingredients, no fancy equipment, came out juicy even in my janky little appliance. 10/10 will be making this every week now.
So happy this is naturally gluten free with no weird marinade additives! I’ve been searching for a basic, reliable chicken breast recipe I can use for weeknights and this is it. No weird store-bought sauce needed, just simple seasonings I already have in my pantry.
Okay full transparency I burned the first batch because I cranked the oven too high by accident (oops) but the second batch I followed the temp exactly and it was perfect. Even my roommate who’s a line cook said it was really good, which is high praise!
Made this for our usual Sunday family dinner paired with roasted veggies and mashed potatoes, and everyone went back for seconds. I usually brine chicken for hours to get it juicy but this method skips all that extra work and delivers the same result? Unreal.
Added this to my weekly meal prep rotation! It stays juicy for 3-4 days in the fridge which is a total win for packing school lunches for the kids and work lunches for me and my husband. No more sad, dry lunch chicken!
I was fully expecting this to be another dry chicken breast recipe that overpromises juiciness, but color me impressed. Followed the directions to a T, let it rest like it said, and it was even juicier than the chicken I get at my local casual dining spot. Wild.
Tried this for a date night last week and it was a hit! I’m usually a terrible cook so I was panicking the whole time, but the easy steps and short cook time meant I didn’t have to spend all night in the kitchen and got to actually hang out with my partner instead of stressing. Will make again.
I added a little cayenne and hot honey drizzle after baking and it was *chef’s kiss*. The base recipe is so neutral you can literally take it in any flavor direction you want, which is perfect for someone like me who gets bored of plain chicken fast.
22 minute cook time? That’s a lifesaver for days when I’m back to back in work meetings and forget to plan dinner until 5pm. I threw this in the oven while I hopped on my last call, made a quick side salad, and dinner was on the table before the kids even started asking what was for dinner. SO good.