
baked chicken leg quarters

title 1
baked chicken leg quarters
⏱️ cook time 50 minutes
🍽️ servings 4
⚡ Difficulty easy

intro

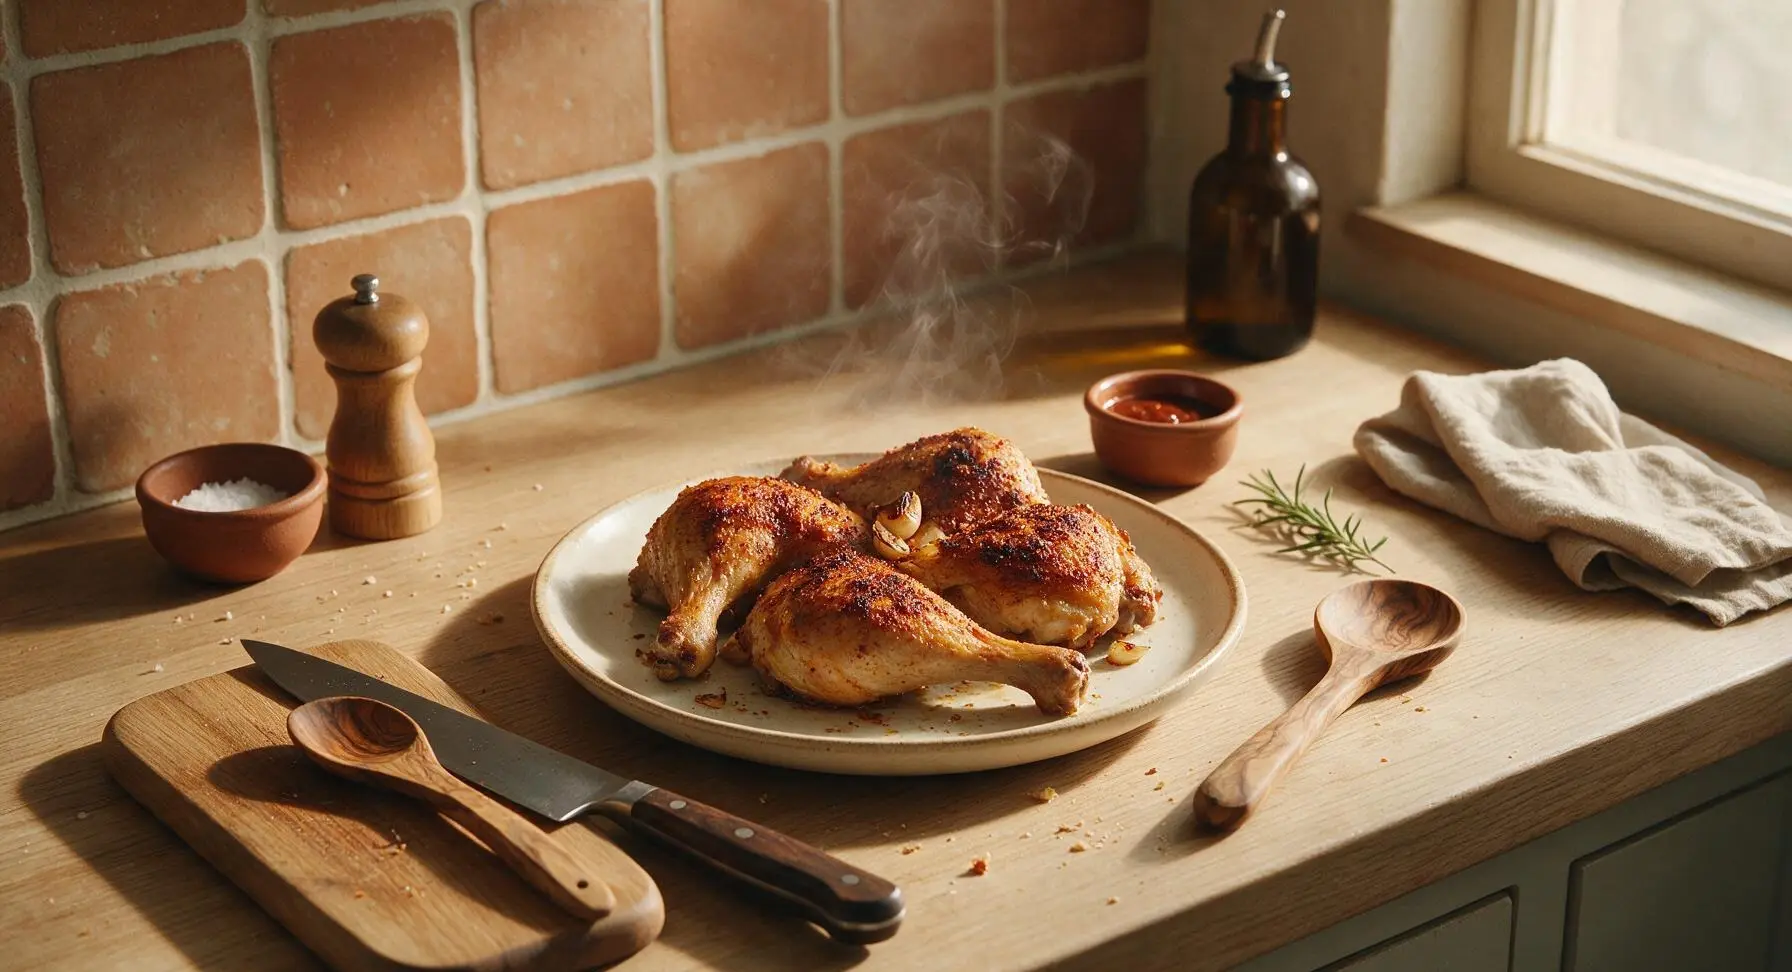
Crispy, golden-skinned baked chicken leg quarters, seasoned with smoky paprika and garlic, roasted to juicy perfection for a no-fuss, comforting family meal.

Ingredients
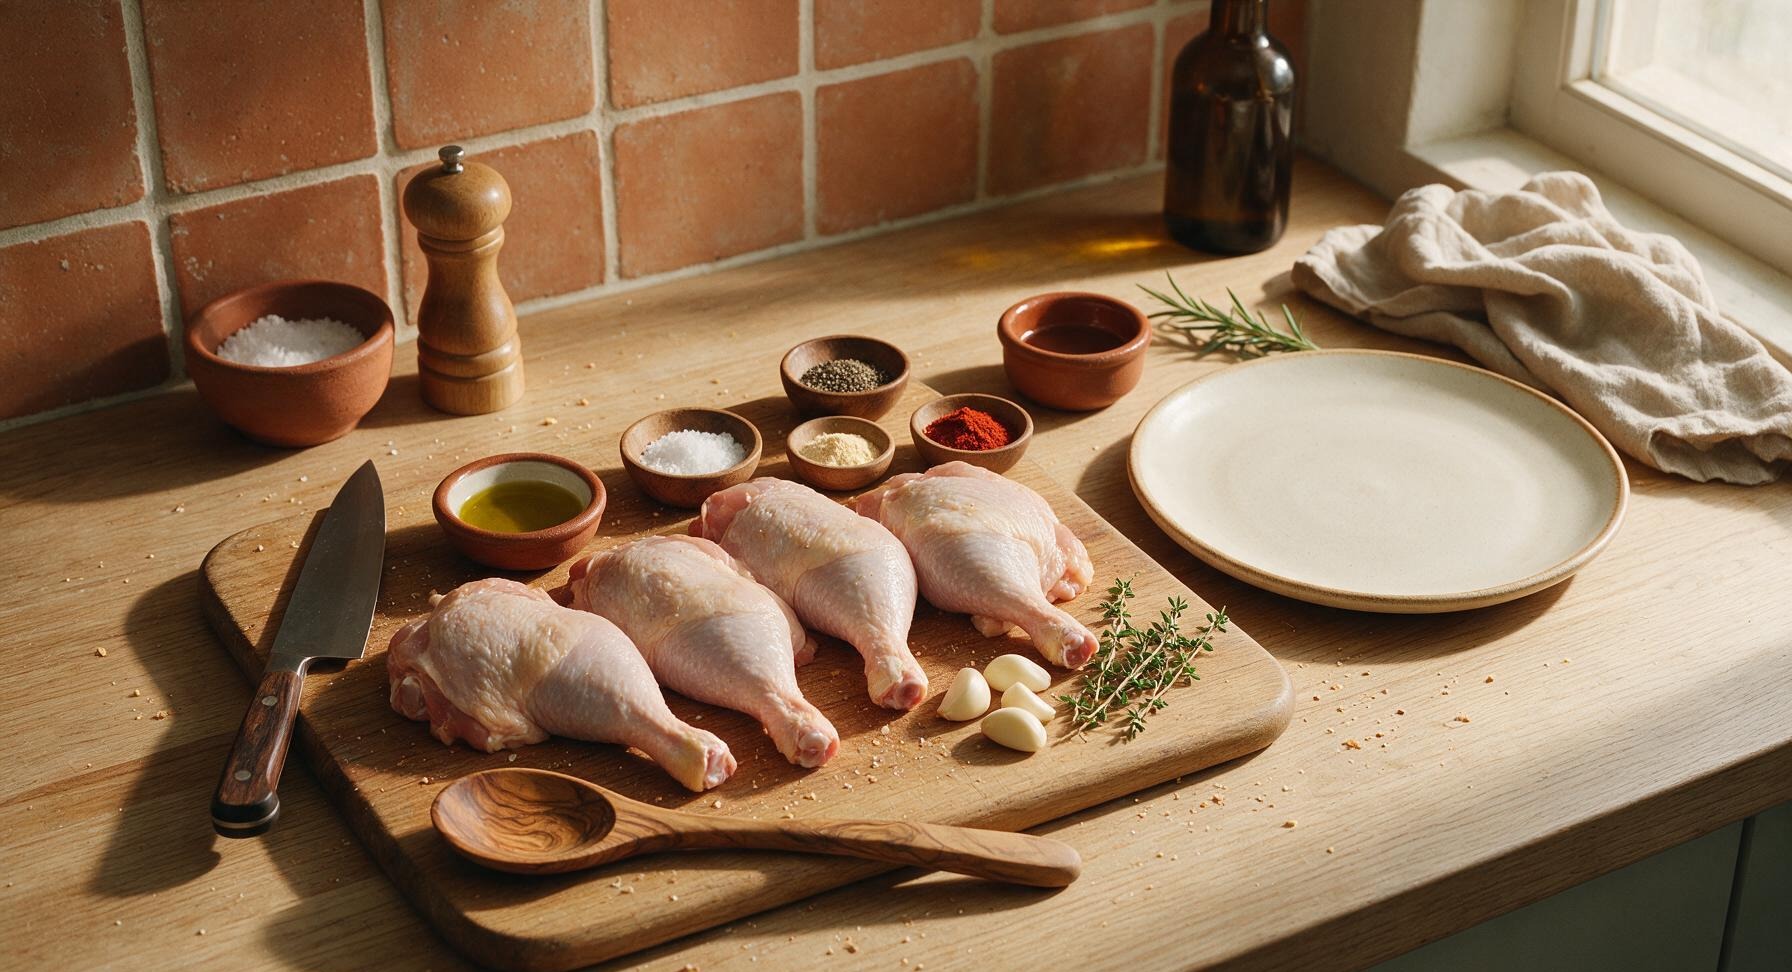
Bone-in, skin-on chicken leg quarters 4 pieces (1.8kg total)
Extra-virgin olive oil 2 tablespoons
Kosher salt 1.5 teaspoons
Freshly ground black pepper 1 teaspoon
Smoked paprika 1 teaspoon
Garlic powder 1 teaspoon
Whole garlic cloves 4 cloves
Fresh thyme sprigs 6 sprigs

Steps

1

Preheat Oven and Pan

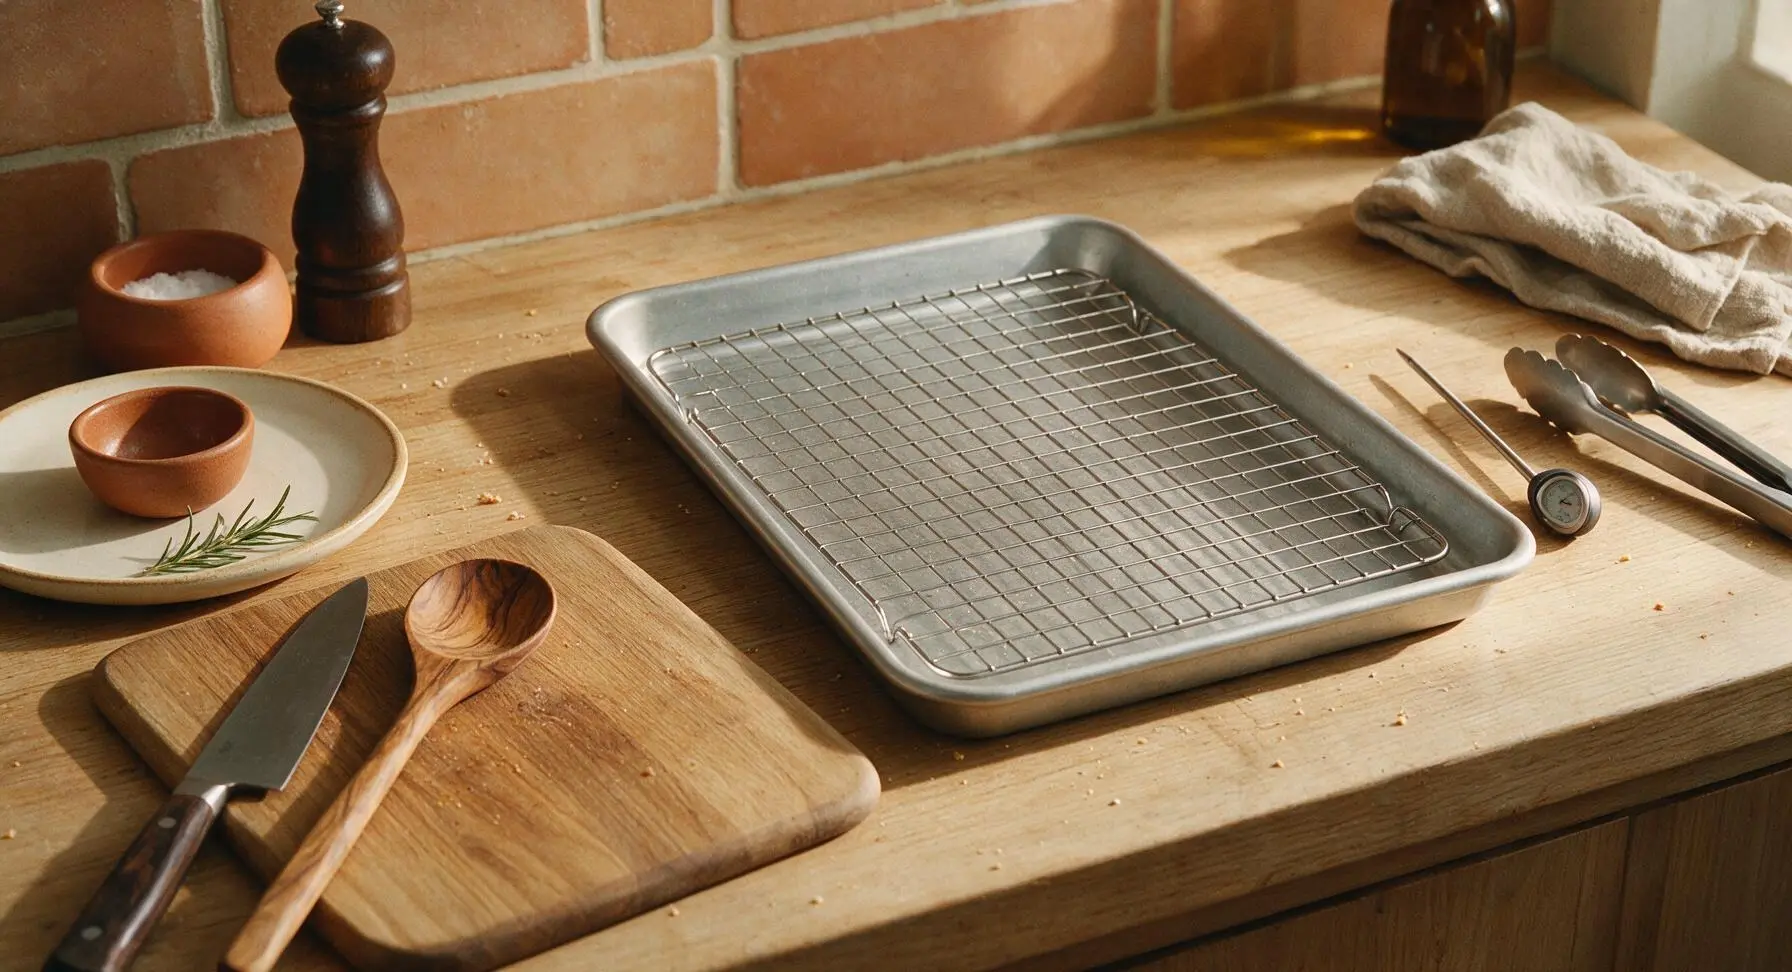
Adjust oven rack to the middle position, preheat oven to 425°F (220°C). Pull the heavy-gauge aluminum baking sheet from its stored position against the backsplash to the center work area, then place the chrome wire baking rack inside the baking sheet so it sits level, elevated above the pan surface. For easy cleanup, you may line the pan under the rack with a sheet of parchment paper, though this is optional.
Step 1
step1:Preheat Oven and Pan
2

Pat Chicken Completely Dry

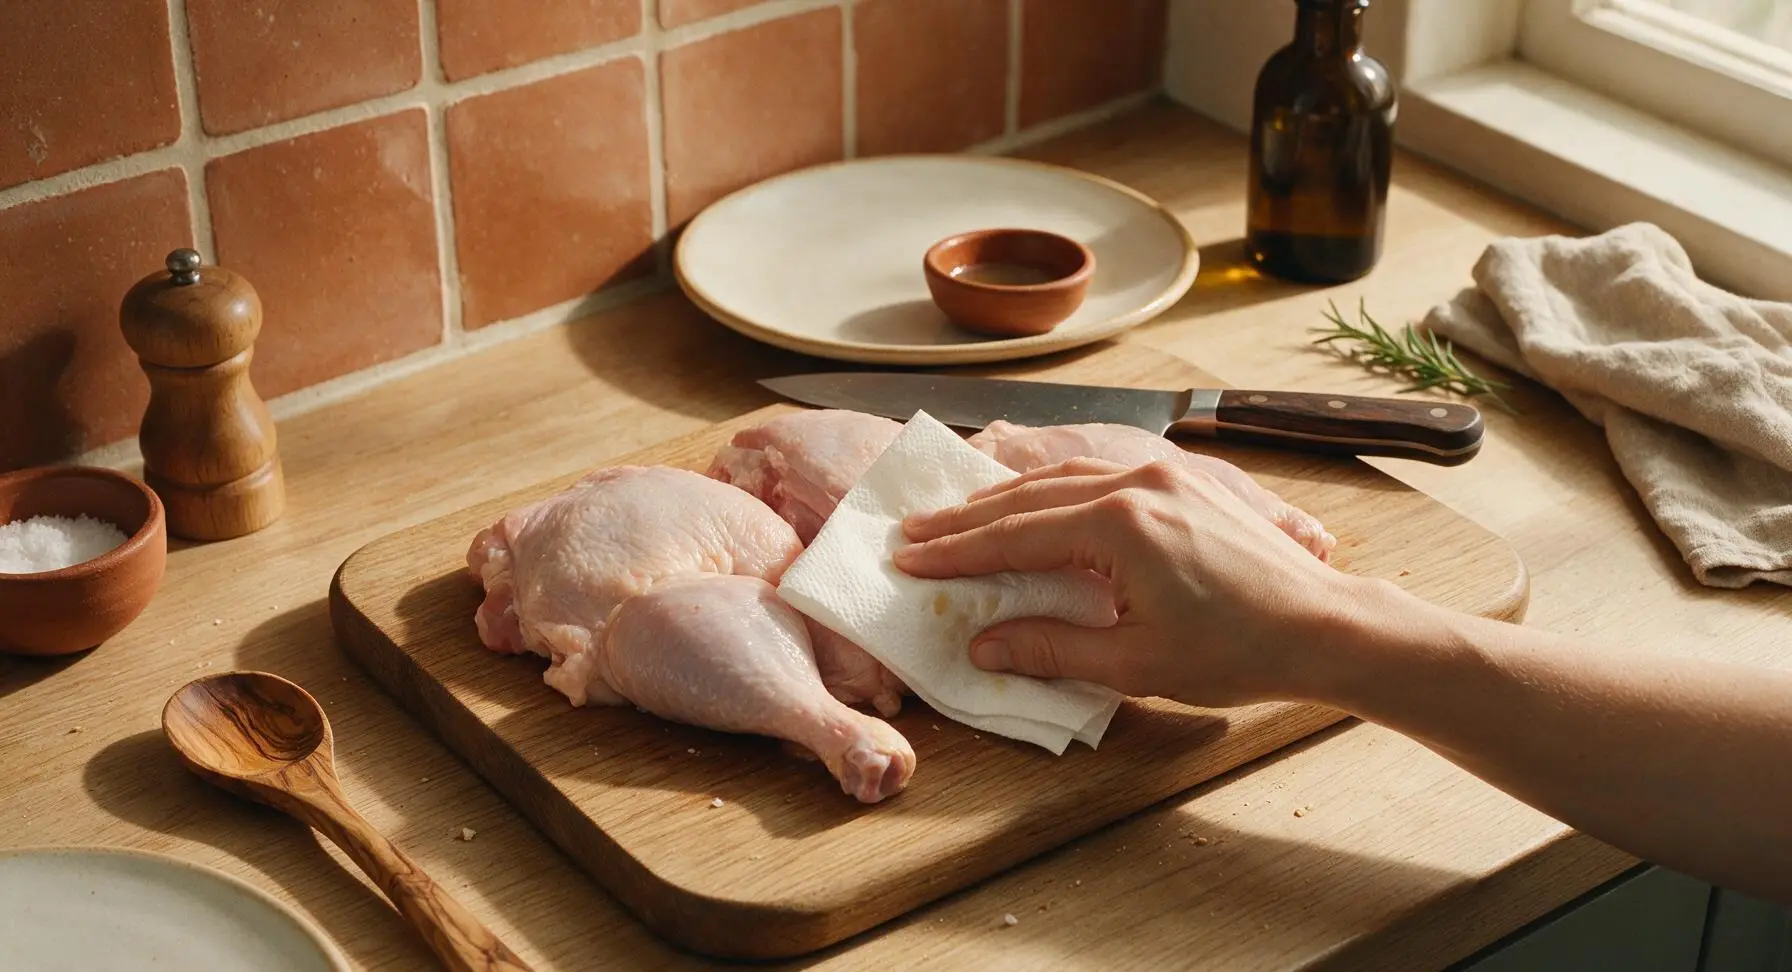
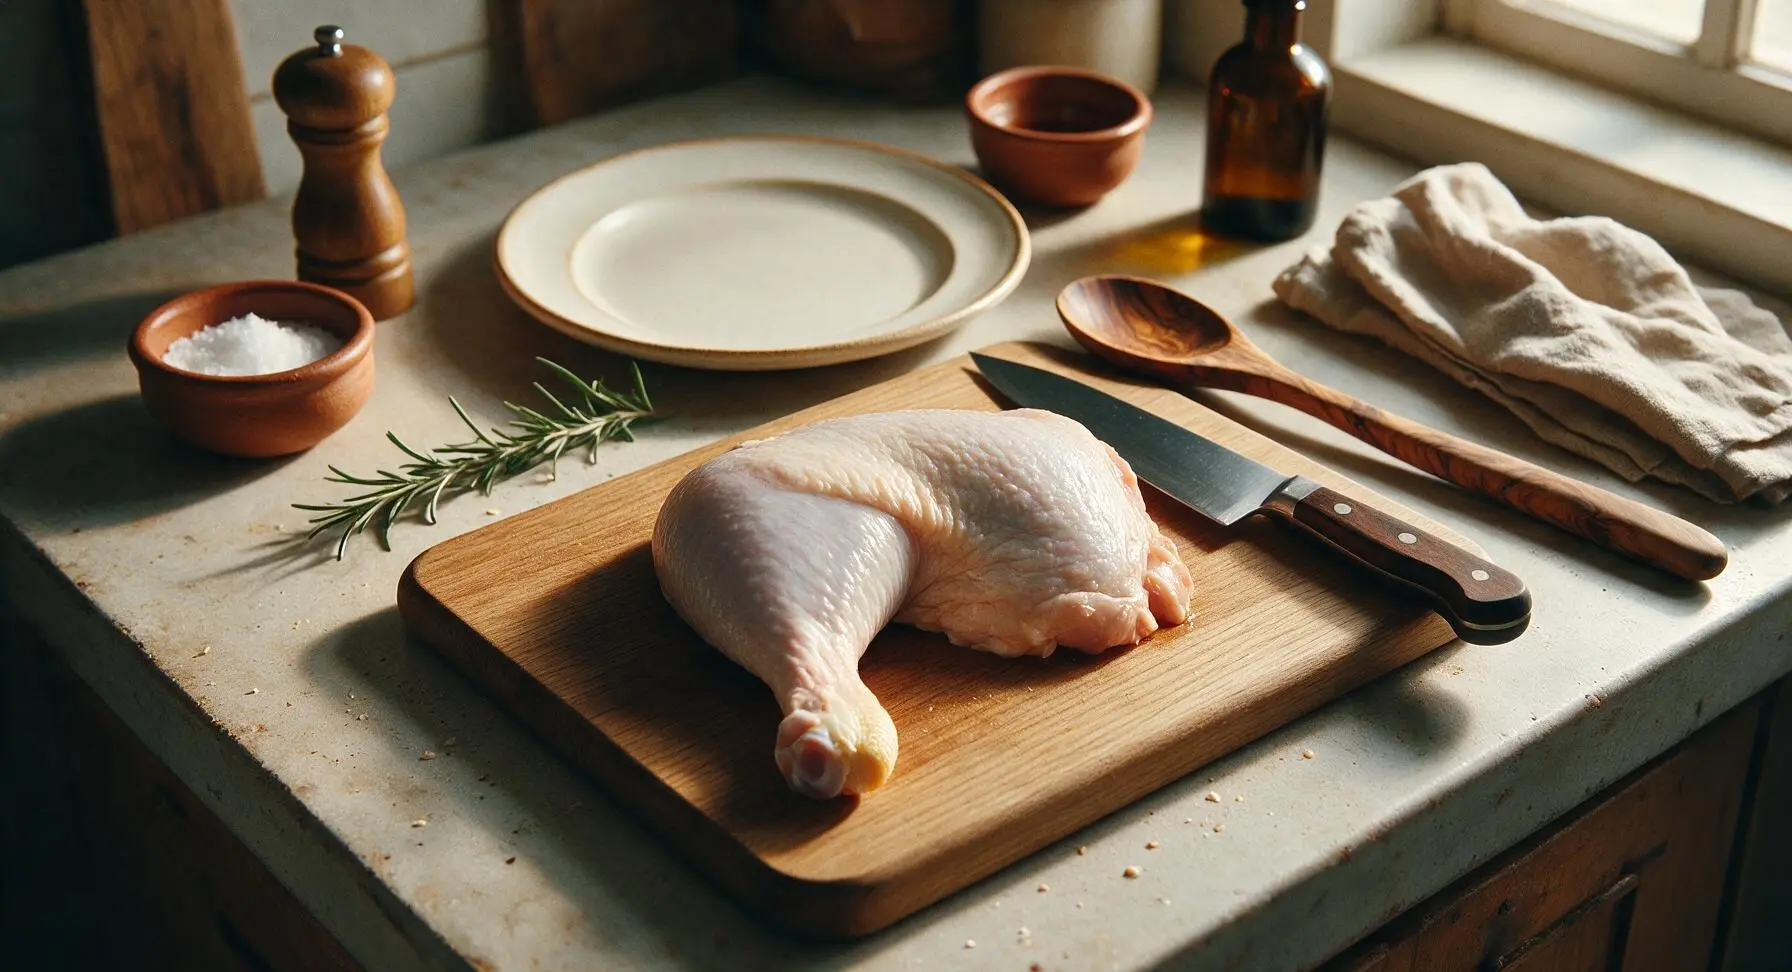
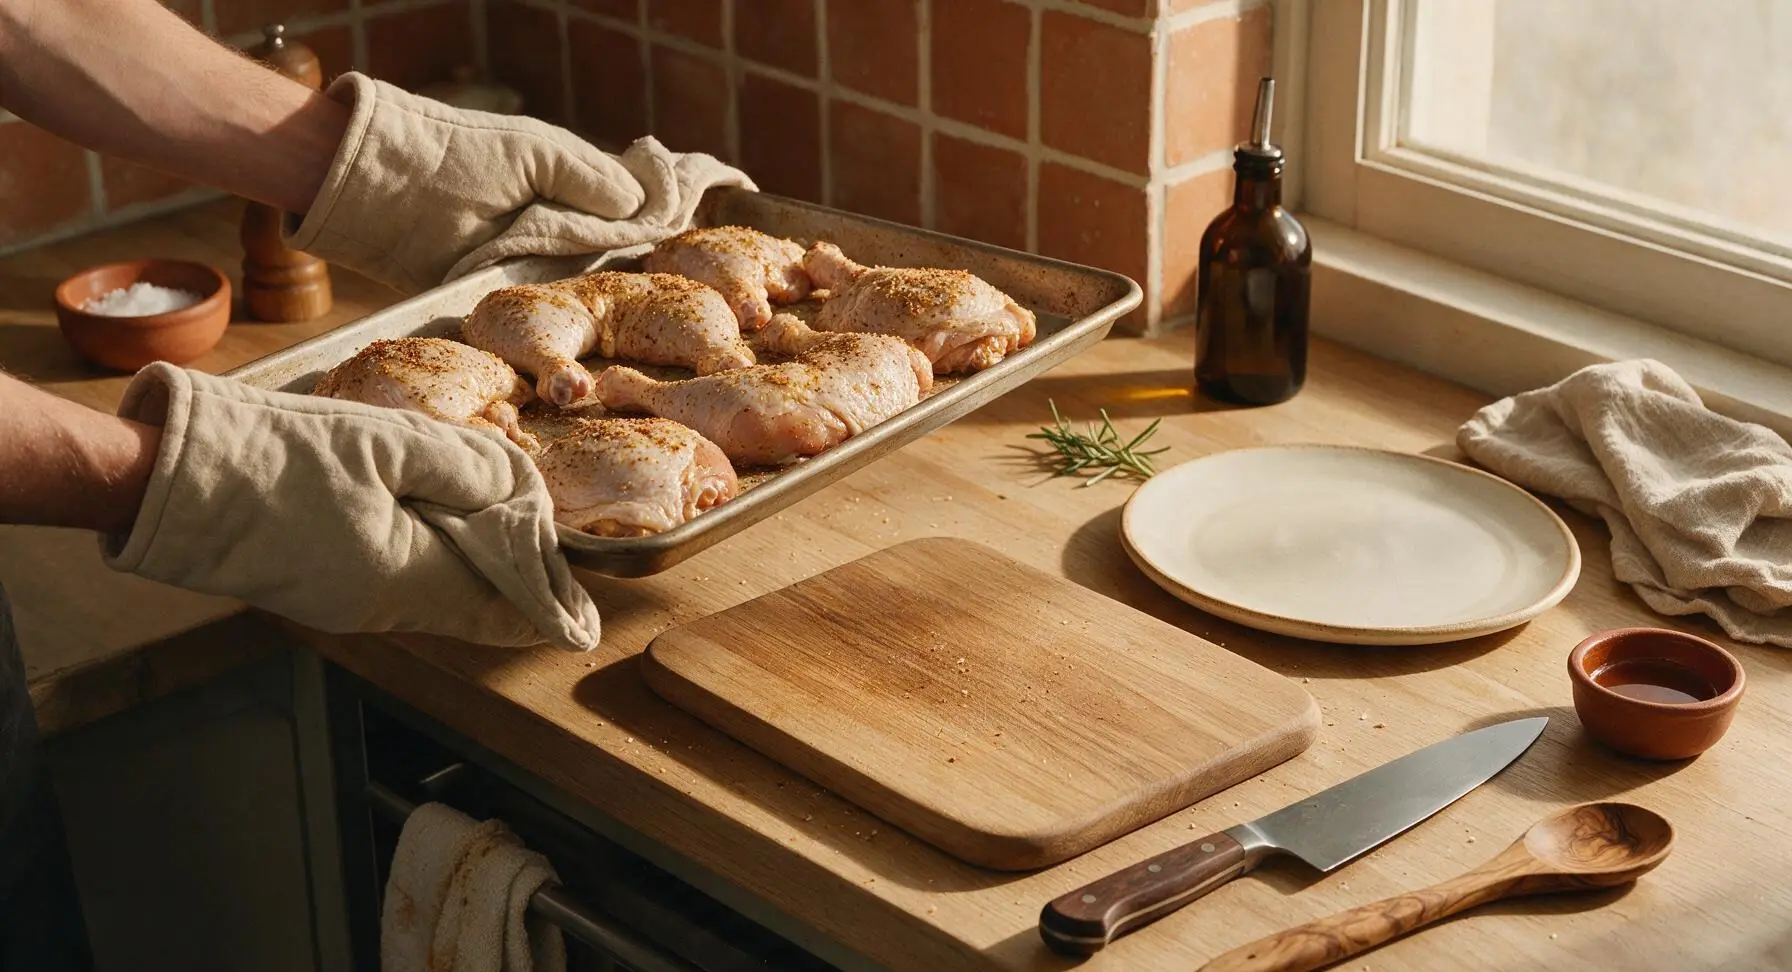
Remove chicken leg quarters from packaging, place them on the light oak cutting board. Use clean paper towels to thoroughly pat every surface of the chicken skin and flesh completely dry, paying extra attention to the crevice where the thigh meets the drumstick. Dry skin is the most critical step to achieve shatteringly crisp roasted skin; stop when no damp, glossy, or slimy patches remain on the skin surface.
Step 2
step2:Pat Chicken Completely Dry
Step 2
step2:Pat Chicken Completely Dry
3

Season Chicken Evenly

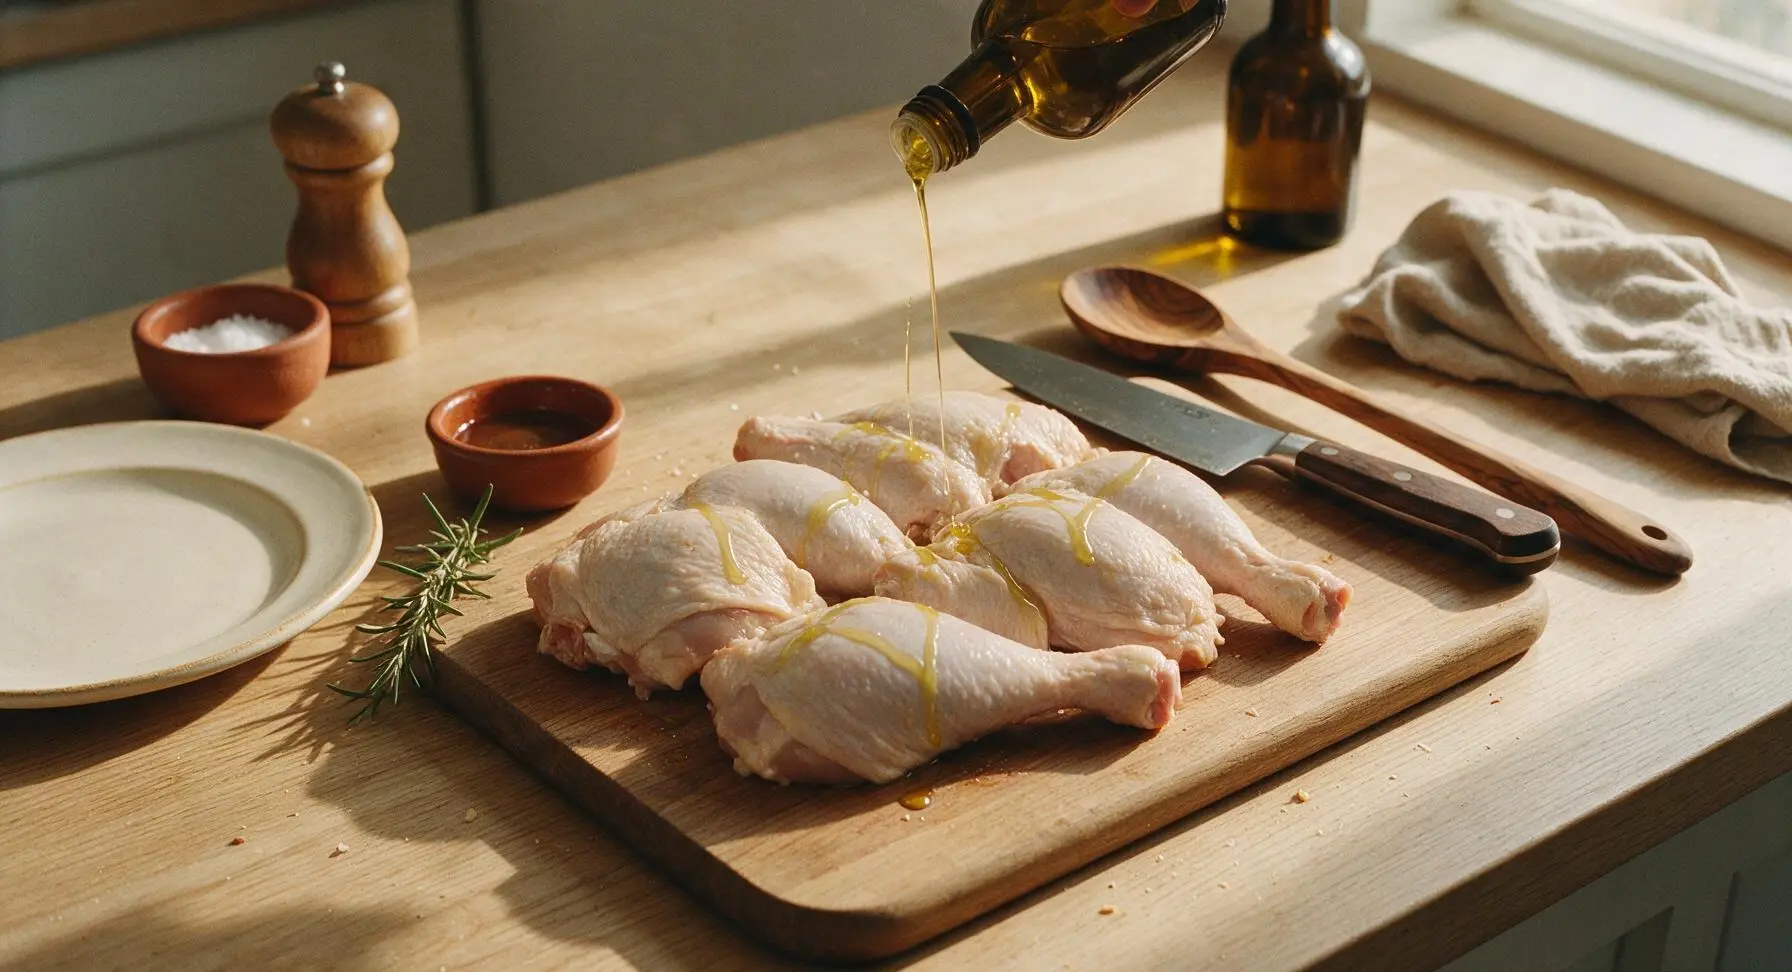
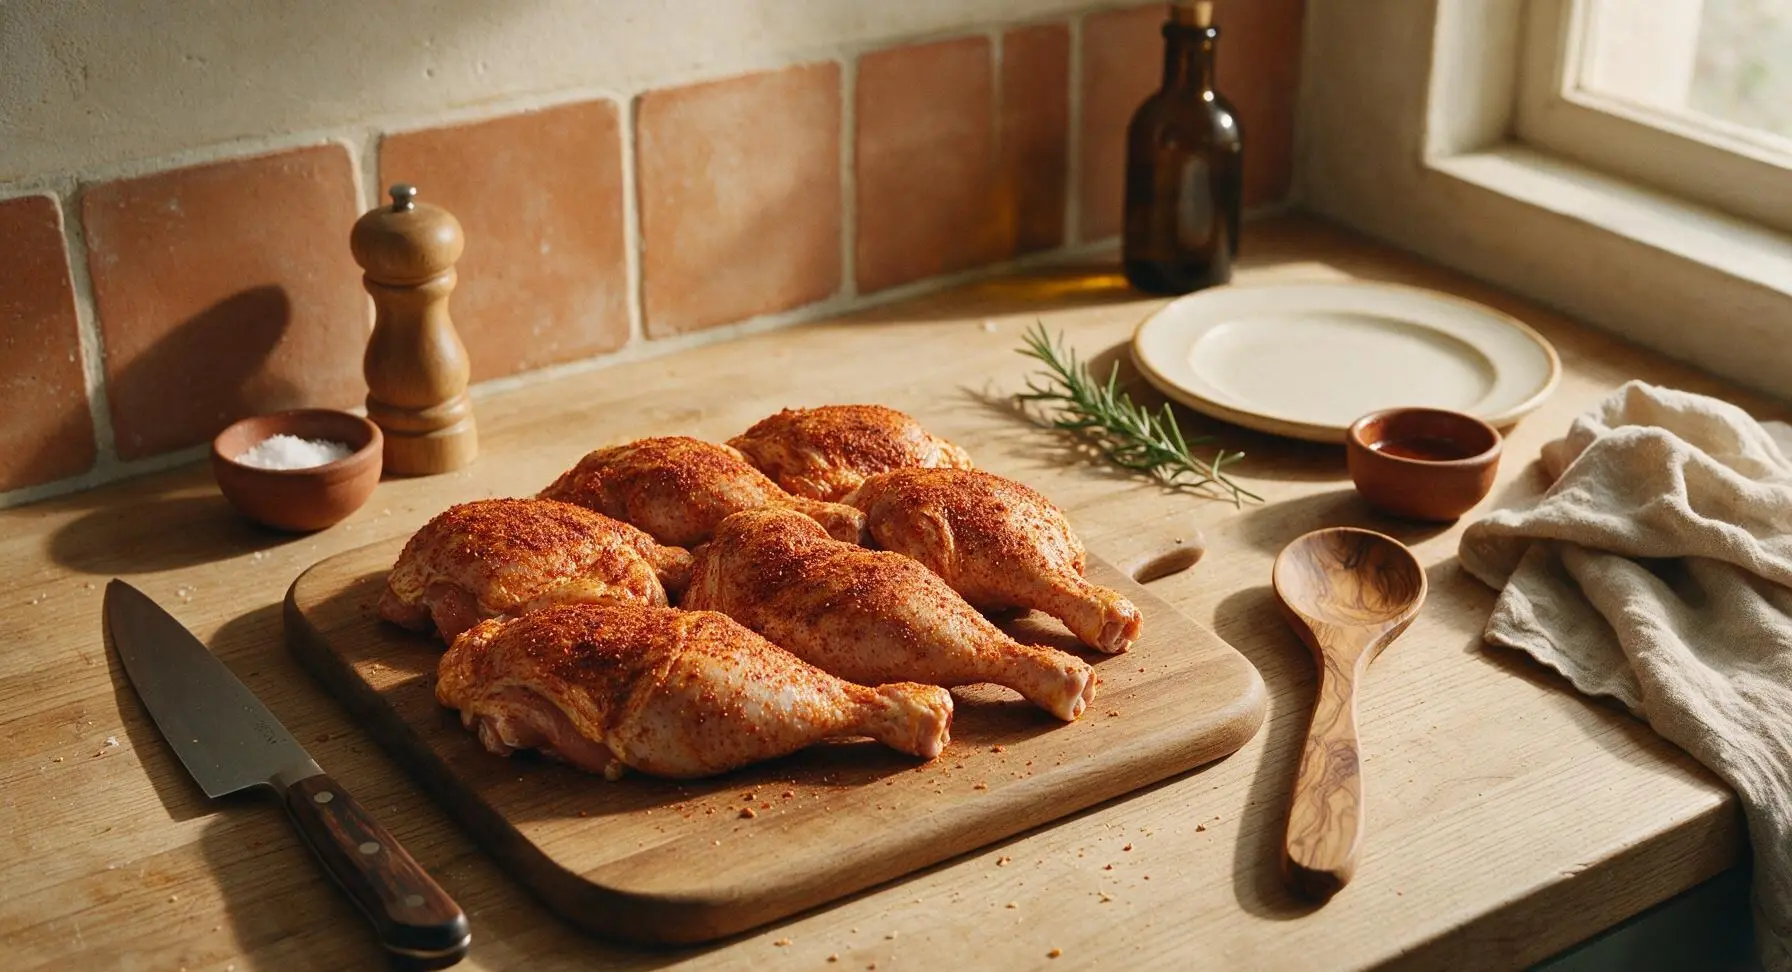
Drizzle the 2 tablespoons of olive oil over the dry chicken quarters, use clean hands to rub the oil across every skin and flesh surface. In one of the small white ramekins, mix the 1.5 teaspoons kosher salt, 1 teaspoon black pepper, 1 teaspoon smoked paprika, and 1 teaspoon garlic powder until evenly blended. Sprinkle the spice mixture evenly across all sides of the chicken, pressing gently so the seasoning adheres to the oiled skin, leaving no large bare patches.
Step 3
step3:Season Chicken Evenly
Step 3
step3:Season Chicken Evenly
4

Arrange on Baking Rack

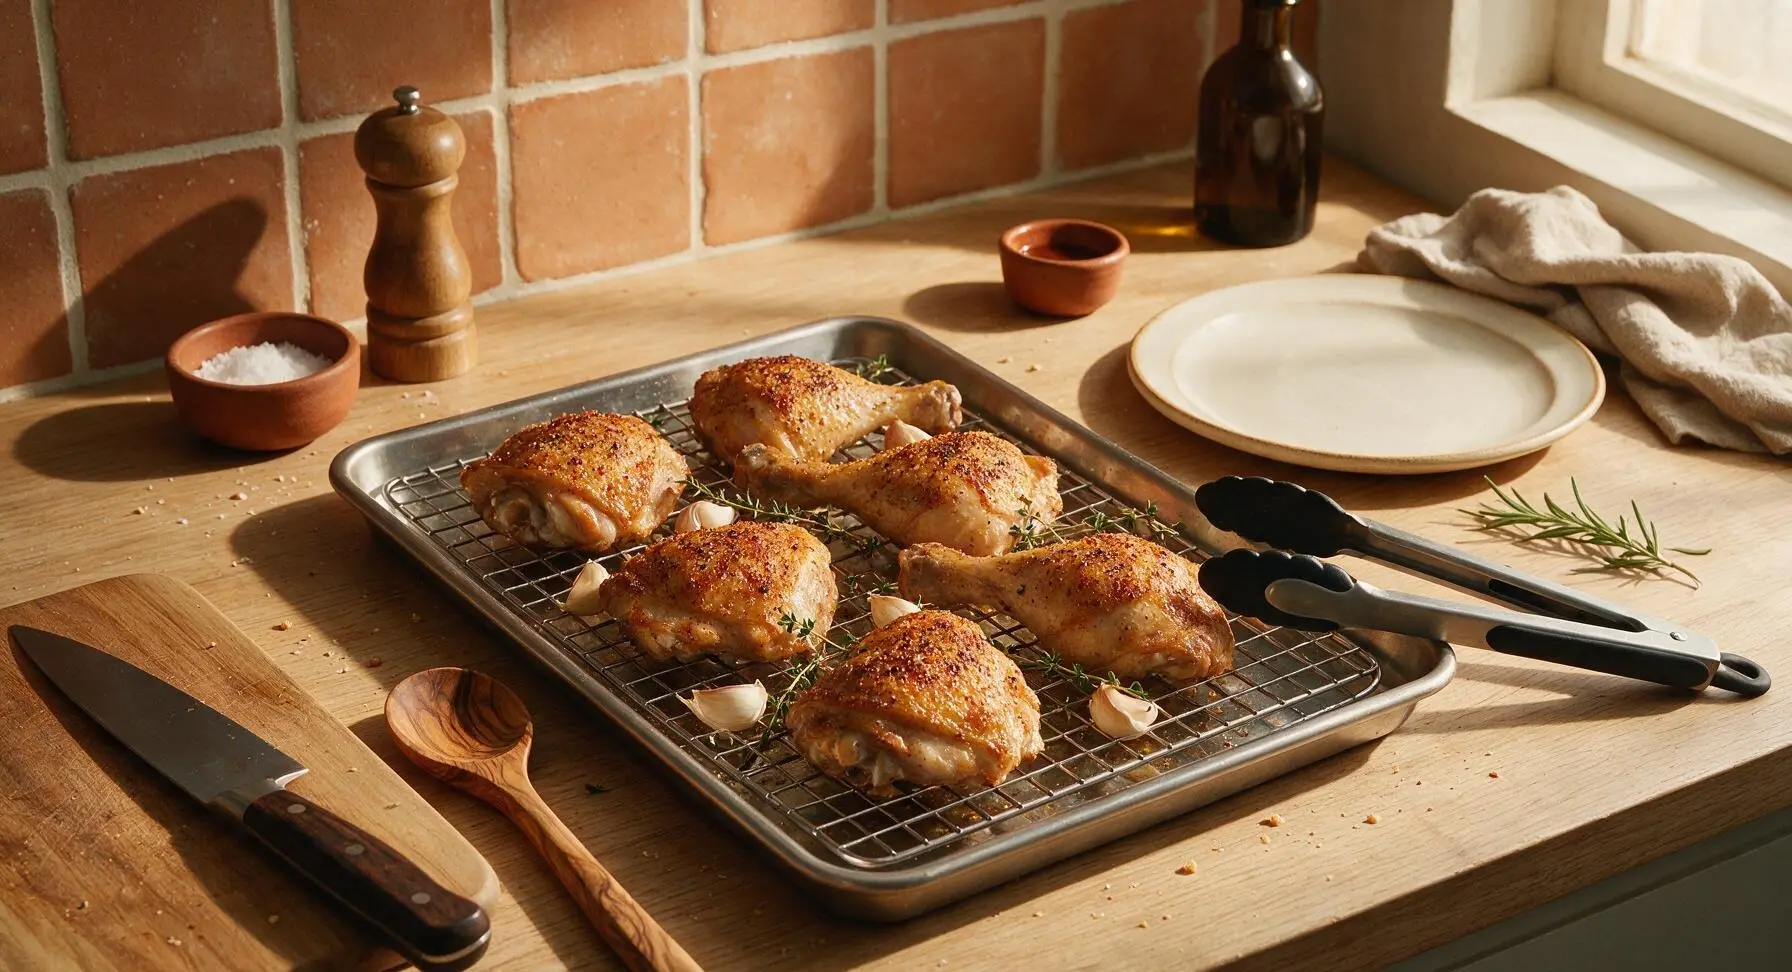
Use the stainless steel tongs to transfer each seasoned chicken leg quarter to the wire rack inside the prepared baking sheet, positioning them skin-side up with at least 1 inch of space between each piece to allow hot oven air to circulate. Tuck the 4 whole unpeeled garlic cloves and 4 of the thyme sprigs around the chicken on the rack. Do not crowd the pan, as trapped steam will soften the chicken skin instead of crisping it.
Step 4
step4:Arrange on Baking Rack
5

Roast to Crispy Perfection

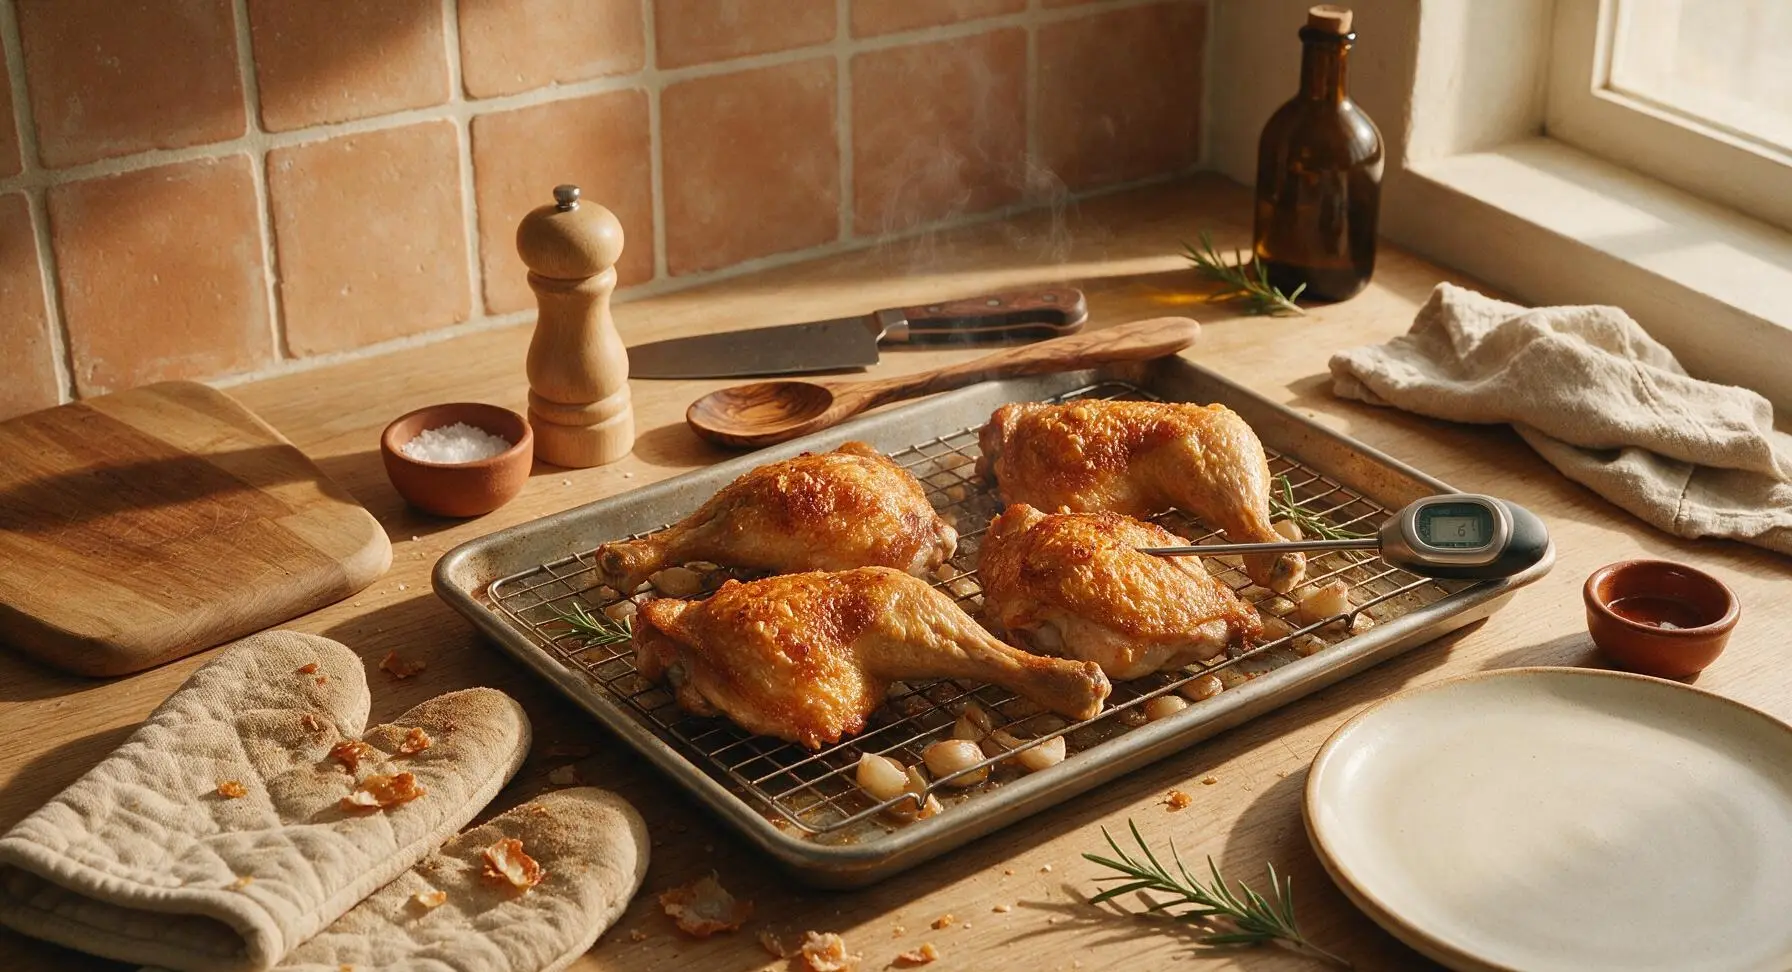
Carefully transfer the baking sheet to the preheated middle oven rack. Bake for 45-50 minutes without flipping the chicken, until the skin is deep golden brown and crispy across the entire surface, and the instant-read thermometer inserted into the thickest part of the thigh (not touching bone) reads 175°F (79°C). Visual cue: chicken juices will run completely clear, with no pink tinge, when the thigh is pierced with the tip of the chef knife.
Step 5
step5:Roast to Crispy Perfection
Step 5
step5:Roast to Crispy Perfection
6

Rest Chicken Briefly

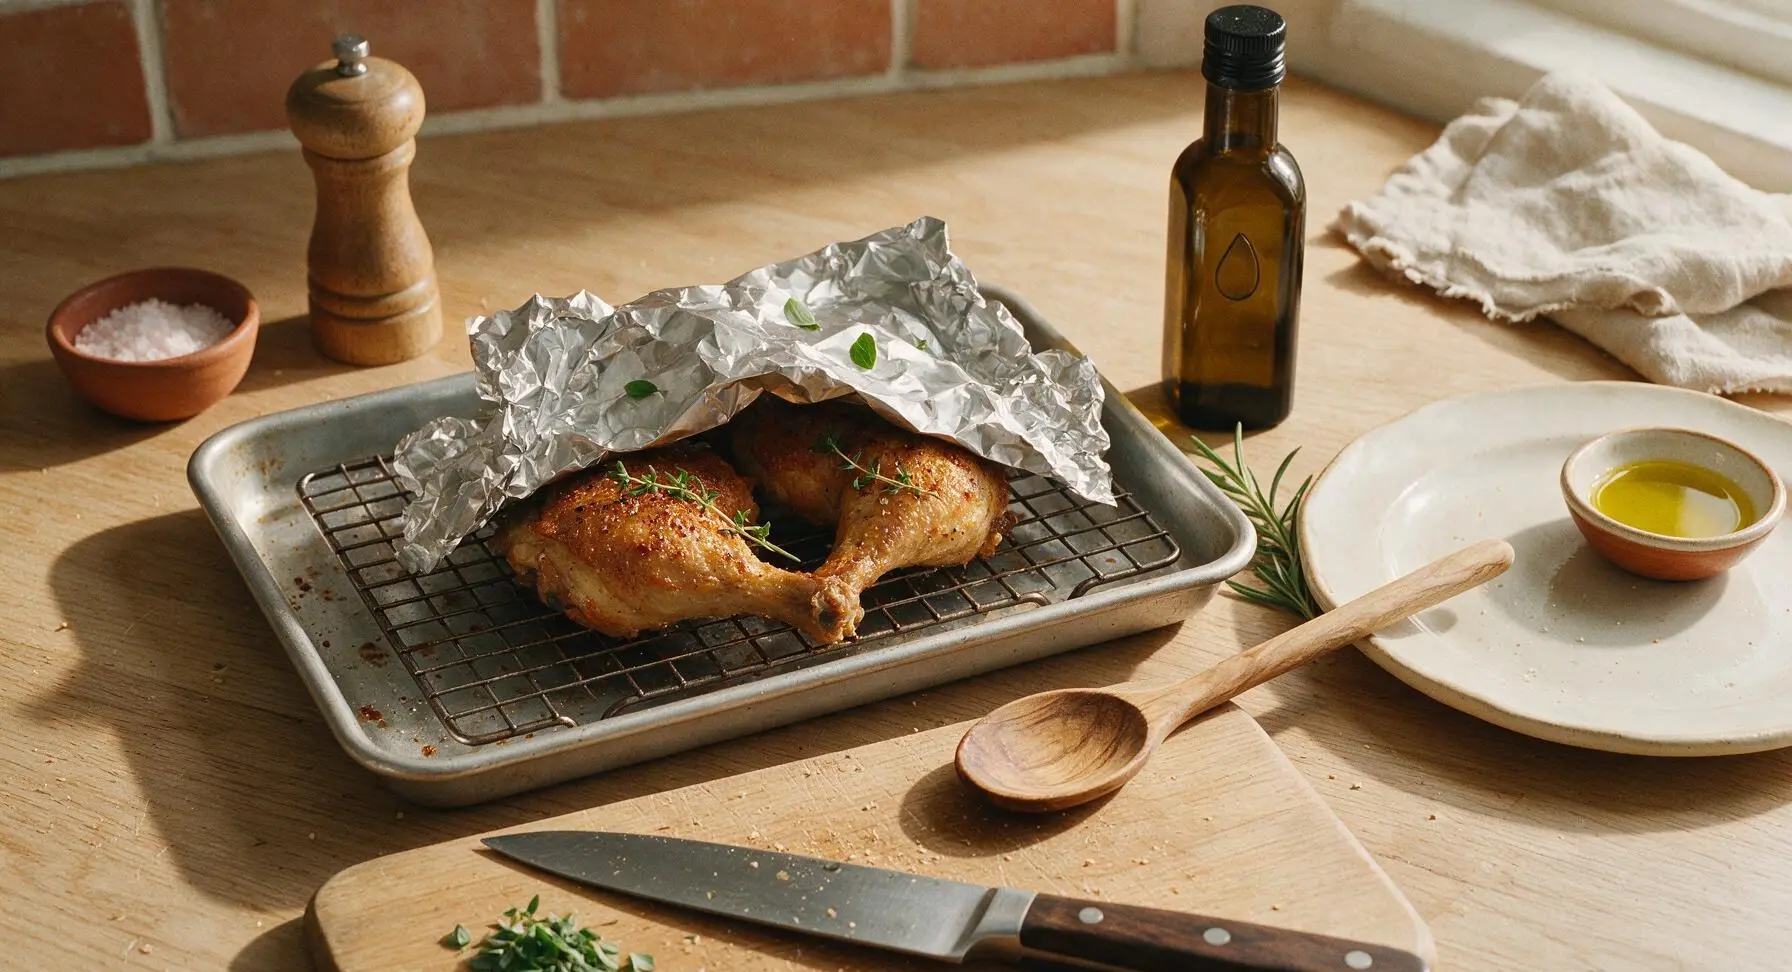
Once removed from the oven, leave the chicken on the wire rack, tent loosely with a small crumpled sheet of aluminum foil, and let rest for 5 minutes. This short rest allows muscle fibers to relax and reabsorb juices, preventing juice from running out onto the plate when served. While the chicken rests, pick leaves from the remaining 2 fresh thyme sprigs to use as garnish.
Step 6
step6:Rest Chicken Briefly
7

Plate and Garnish

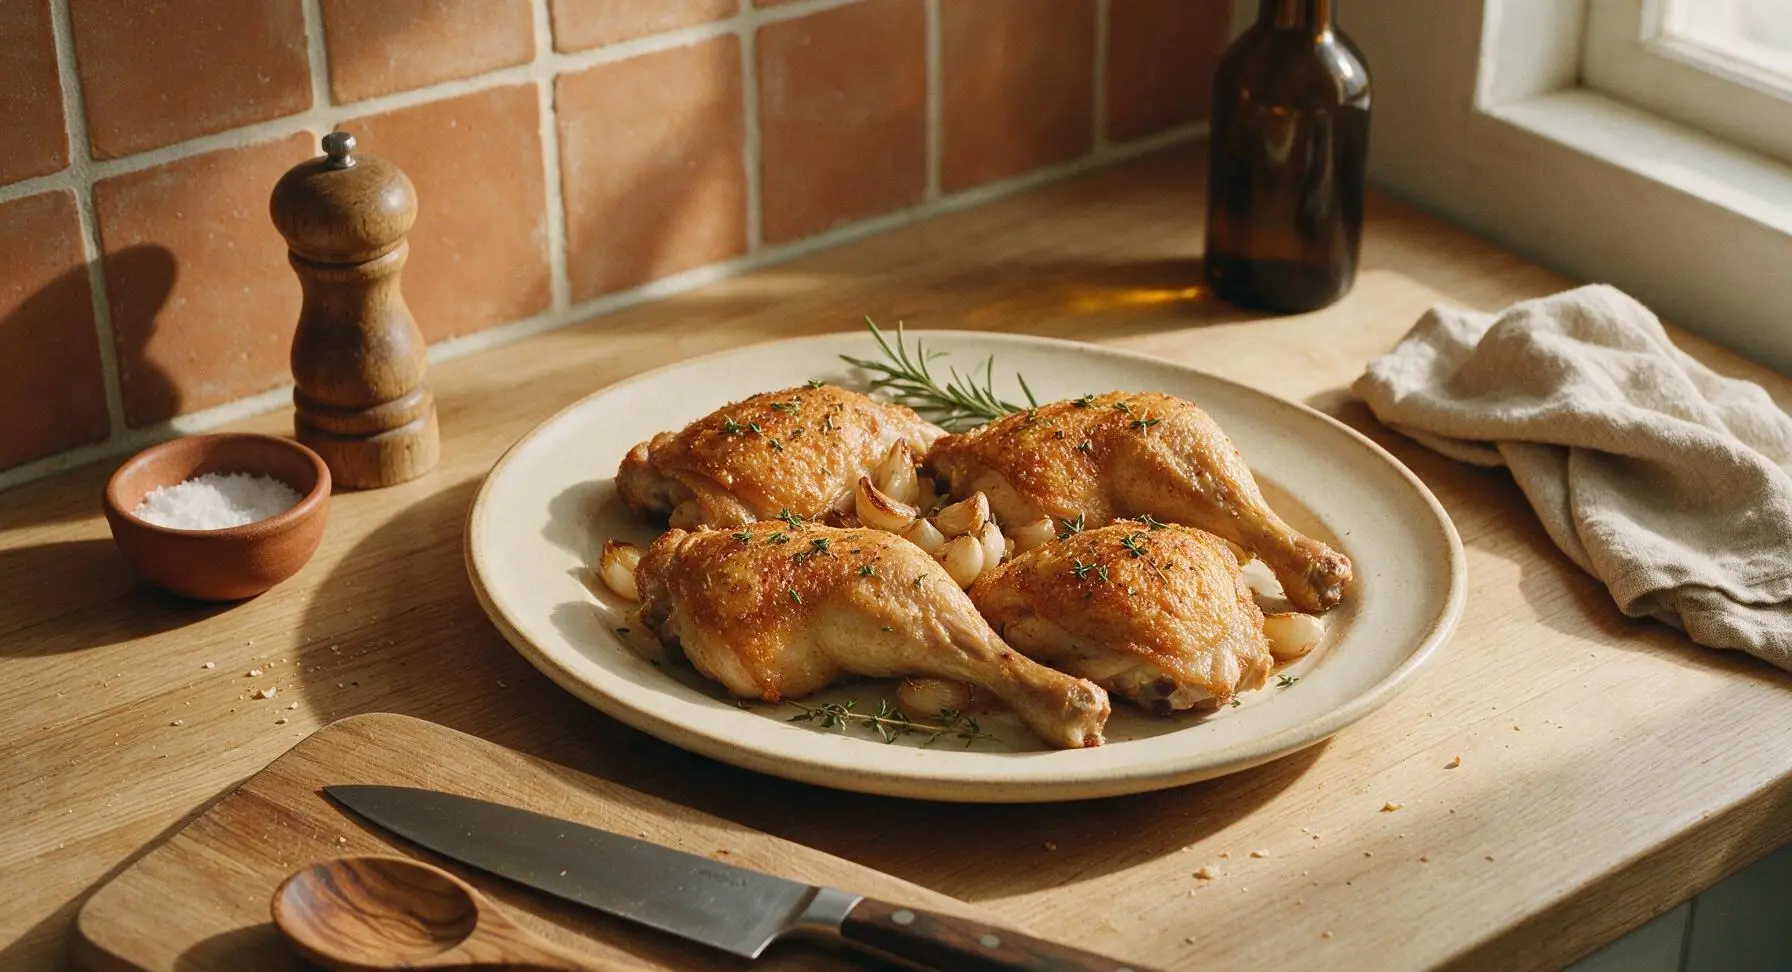
Arrange the four rested chicken leg quarters on the matte warm cream ceramic dinner plate for family-style service, tuck the soft, caramelized roasted garlic cloves between the pieces, sprinkle the picked fresh thyme leaves evenly over the crispy chicken skin, and serve immediately while the skin is still crisp and the chicken is hot.
Step 7
step7:Plate and Garnish

Tips

1.For extra-crispy skin, place the seasoned, unroasted chicken on the wire rack over the baking sheet and leave it uncovered in the refrigerator for 1 to 2 hours before cooking. The dry circulating fridge air pulls additional moisture from the skin, creating an even shatteringly crisp texture after roasting.
2.Avoid placing chicken directly on the baking sheet without a rack: direct contact with the hot pan will cause the skin to stick and become soggy on the bottom, while elevating the chicken allows air to flow under and around every piece for all-over crispness.
3.Resist the urge to baste the chicken with pan drippings while it roasts: pouring liquid over the skin will soften the crisped surface and undo the work of drying and high-heat roasting. The rendered fat under the skin will naturally baste the meat as it cooks.


✨ You May Also Like

Main Course
🍜 United Kingdom

A showstopping classic of tender seared beef, savory mushroom duxelles, and crisp prosciutto wrapped in flaky golden puff pastry, baked to juicy perfection.

⏱️ 2 hours 1Main Course ★ 4.7
Main Course
🍜 India

Tender charred marinated chicken simmered in a rich, spiced creamy tomato sauce, this iconic Anglo-Indian curry pairs perfectly with basmati rice or warm naan.

⏱️ 50 minuteMain Course ★ 4.6
Main Course
🍜 Thailand

Classic tangy, sweet, and savory Thai stir-fried rice noodles with shrimp, tofu, and crunchy garnishes, balancing all five core Thai flavor profiles.

⏱️ 30 minuteMain Course ★ 4.5
Main Course
🍜 United Kingdom

Crispy golden beer-battered cod and fluffy double-fried chips, served with tangy tartar sauce and malt vinegar: the timeless, beloved British pub comfort classic.

⏱️ 45 minuteMain Course ★ 4.7
Main Course
🍜 Mexico

Smoky, chile-marinated pork tacos with caramelized pineapple, fresh cilantro, and lime: a beloved classic Mexican street food perfect for casual summer gatherings.

⏱️ 1 hour 45Main Course ★ 4.8
Main Course
🍜 United States

Crunchy Fritos corn chips layered with savory beef chili and melted cheddar, topped with cool, zesty fixings for a beloved, cozy Tex-Mex comfort food.

⏱️ 35 minuteMain Course ★ 4.8

baked chicken leg quarters:Frequently Asked Questions

1.Why isn’t my chicken skin getting crispy when I bake these leg quarters? ▾
The number one culprit is damp skin! Pat your leg quarters completely dry with paper towels before seasoning—any surface moisture will steam instead of crisp. For extra crunch, set chicken on a wire rack inside your baking sheet to let hot air circulate all around, make sure your oven is fully preheated, and skip early basting that softens crisping skin.
2.What temperature and cook time keeps the chicken juicy instead of drying out? ▾
Bake at 425°F for 35 to 45 minutes, until the thickest part of the thigh (not touching bone) hits 175°F on an instant-read thermometer. Let the chicken rest 5 full minutes after pulling it from the oven so juices redistribute, so every bite is tender instead of having all the flavorful juice run out onto your plate when you cut in.
3.Can I add extra seasonings beyond the core recipe without ruining the crispy skin? ▾
Absolutely! As long as you stick to dry seasonings applied directly to the patted-dry skin, you won’t hurt that perfect crunch. Try adding garlic powder, onion powder, a pinch of cayenne for heat, dried thyme, or light bright lemon zest. Skip wet sauces or marinades brushed on pre-bake, though—those will make skin soggy instead of crisp.
4.Do I need to flip the chicken leg quarters while they are baking? ▾
If you’re using a wire rack set over your baking sheet, you won’t need to flip them at all—the elevated rack lets hot air reach every side for even, all-over crisping. If you place chicken directly on the baking sheet, flip once at the 20-minute halfway mark to make sure skin browns evenly and doesn’t stick to the pan.
5.Can I prep these chicken leg quarters ahead for busy weeknight dinners? ▾
You sure can! Pat the chicken dry, rub it with olive oil and all your seasonings, then store it covered on a wire-rimmed baking sheet in the fridge for up to 24 hours before baking. The dry fridge air actually helps skin dry out more for extra crispness, and you can pop the pan straight in the preheated oven when you’re ready to eat.
6.My pack of leg quarters has varying sizes—how do I get even cooking? ▾
First, pull chicken out of the fridge 20 minutes before baking to let it come to cool room temperature for more uniform, even cooking. Arrange the largest pieces closest to the oven edges where heat is strongest, and check smaller pieces 5 to 10 minutes early, pulling them as soon as they hit the 175°F safe internal temp mark.

Comments (10)

2 days ago

OMG these came out SO crispy I honestly thought I’d messed up the first time because I didn’t fry them! My kids devoured two quarters each at dinner last night, even my picky 7 year old who usually turns down chicken skin asked for seconds. Total game changer for weeknight dinners, no messy oil splatters to clean up either.

1 week ago

How well do these hold up for meal prep? I make 5 days of lunches every Sunday and usually chicken skin gets soggy in the fridge by day 3. Would love to add this to my rotation if the crispiness sticks around even a little!

5 days ago

Great question! If you store them in an airtight container lined with paper towels and reheat on a wire rack in the oven at 375F for 8-10 minutes, the skin crisps right back up! They hold up really well for meal prep if you skip the microwave for reheating.

2 weeks ago

Made these for our neighborhood block party potluck last weekend and people were asking me for the recipe left and right! I sprinkled a little extra paprika and garlic powder on mine because we like extra flavor, zero complaints. So easy to throw together even when you’re running late to an event.

1 week ago

Did you line your baking sheet with parchment or just put them straight on the rack? I’m making these for my book club potluck this weekend and don’t want soggy bottoms!

1 week ago

Love that you added extra spices! For the best crisp, we recommend placing the chicken on a wire rack set inside a baking sheet (no parchment under the chicken!) so air circulates all the way around each quarter. That’ll eliminate those soggy bottoms every time.

30 minutes ago

Total beginner here, first time making chicken that didn’t come out dry! The cook time was spot on for my oven, I didn’t even have to temp check extra, the juices ran clear at 50 minutes exactly. Skin was shatteringly crispy, meat was juicy. Can’t wait to make this again.

5 minutes ago

Pro tip for next time: pat the chicken completely dry with paper towels before seasoning, it makes the skin even crispier! I was shocked how big of a difference that step makes.

3 days ago

Chicken leg quarters are so cheap at my local grocery store, this recipe is going to be a staple for me when I’m trying to keep grocery costs down. Tastes way better than the fried chicken from the fast food place down the street for a fraction of the price. 10/10.

5 days ago

I tossed a little cayenne and hot honey on mine the last 5 minutes of cook time and WHEW, chef’s kiss. Sweet heat hits so good with that crispy skin. My roommate walked in from work and immediately stole a drumstick off my plate lmao.

3 days ago

Oh the hot honey addition sounds INSANE, how much cayenne did you use? I don’t want it too spicy for my partner who can barely handle mild salsa.

2 days ago

I only used 1/4 teaspoon of cayenne for 4 quarters, just enough for a little tingle, no real burn! Drizzled about a tablespoon of hot honey total across all the pieces right when they came out of the oven. You could even leave the cayenne off half if your partner’s spice tolerance is super low!

yesterday

Made this for our usual Sunday family dinner, served it with roasted broccoli and mashed potatoes, and my dad said it was better than the fried chicken my grandma used to make. High praise, let me tell you! Super easy, no fancy ingredients needed, which is my favorite kind of recipe.

2 hours ago

That is such high praise! So glad this worked out for your family dinner, it sounds like the perfect cozy Sunday spread. Thanks for giving it a try!

1 week ago

So happy this is naturally gluten free without any weird swaps! I have celiac and so many crispy chicken recipes call for flour or breading that makes me sick, this just uses seasoning and gets perfectly crispy. Finally a chicken recipe I don’t have to modify at all!

5 days ago

Wait do you use any specific seasoning blends? I have to make sure all my seasonings are GF too for my son’s wheat allergy, would love to know what you used!

3 days ago

We’re so glad this works for your dietary needs! The base recipe just uses salt, pepper, garlic powder, onion powder, and paprika, all of which are naturally gluten free as long as you check for cross-contamination labels on your specific bottles. No flour or breading required for that crisp!

2 hours ago

Great protein count for my bulk, way less fat than fried chicken but still tastes like a treat. I eat this 2-3 times a week now, season it different every time so I never get bored. Last night I did lemon pepper, next week I’m trying ranch seasoning. So versatile.

5 minutes ago

Wait, do I need to flip these halfway through cook time? I don’t see it mentioned in the instructions and I don’t want to mess them up, they’re in the oven right now! Prepping was super easy so far, I just don’t want to end up with one crispy side and one soggy side 😅

just now

No need to flip! If you’re using the wire rack method, air hits both sides the whole cook time, so the skin will crisp up evenly all around without flipping. Hope they turn out amazing for you!



