
baked chicken legs and thighs

title 1
baked chicken legs and thighs
⏱️ cook time 45 minutes
🍽️ servings 4
⚡ Difficulty easy

intro

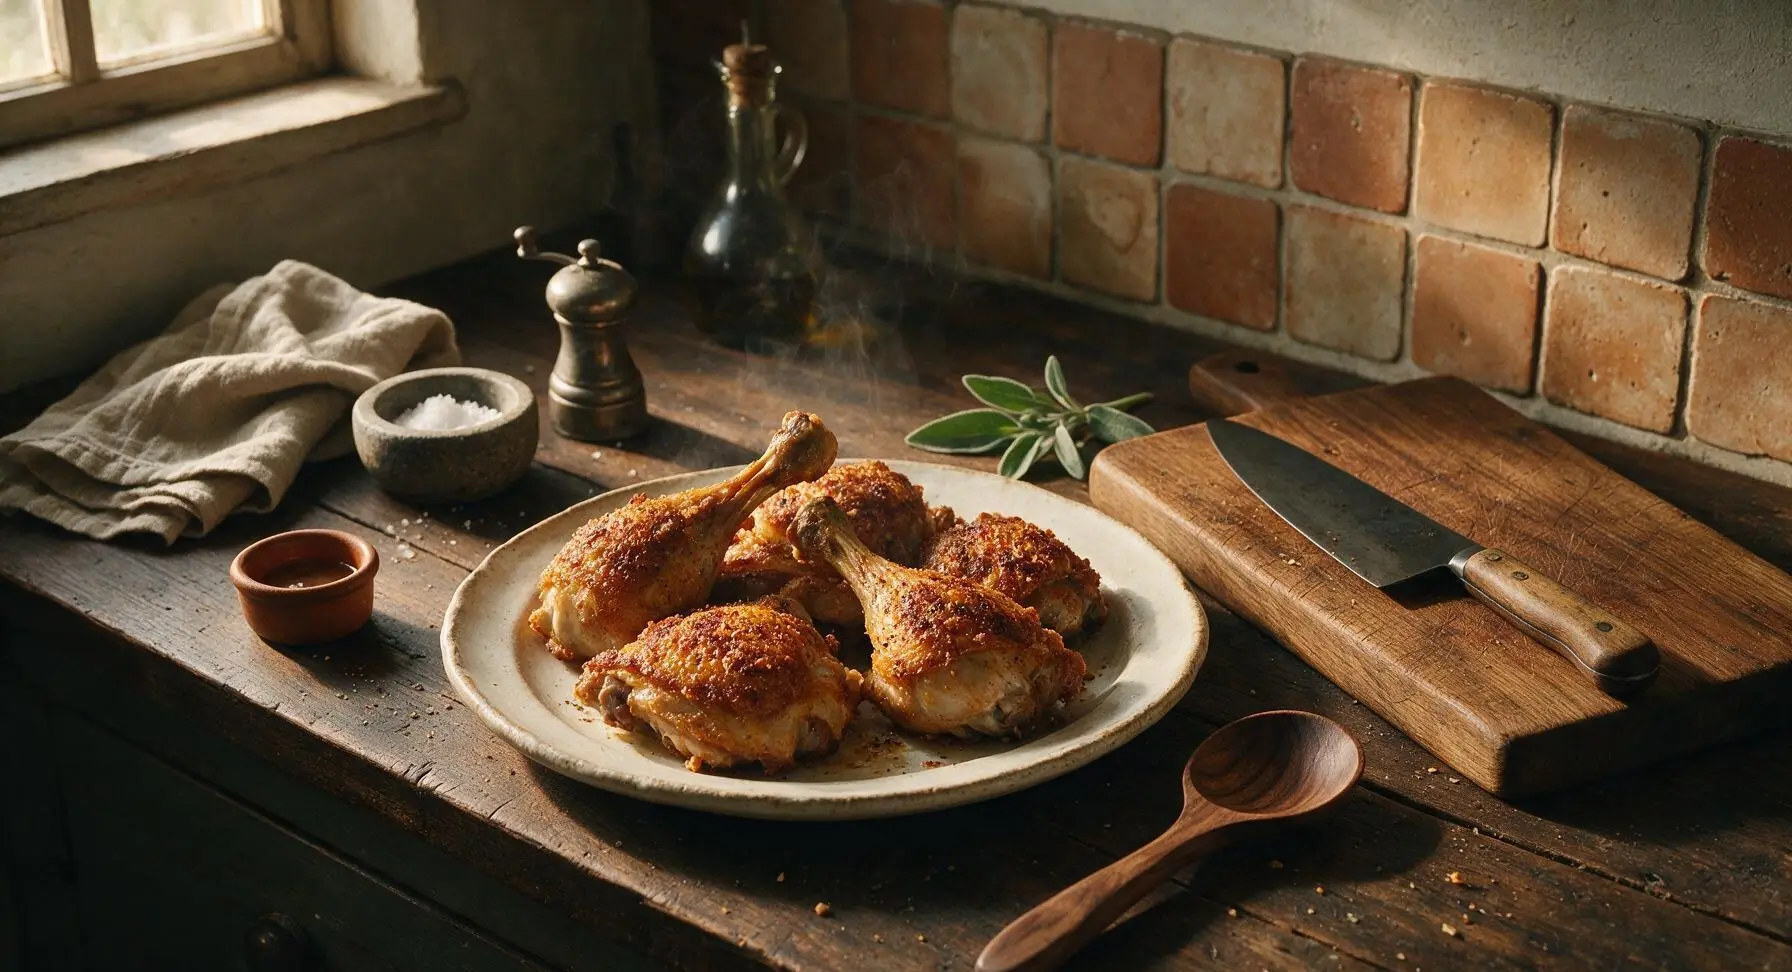
Shatteringly crisp, juicy bone-in baked chicken legs and thighs, seasoned with simple pantry spices, for a low-fuss, cozy family meal with minimal cleanup and maximum flavor.

Ingredients
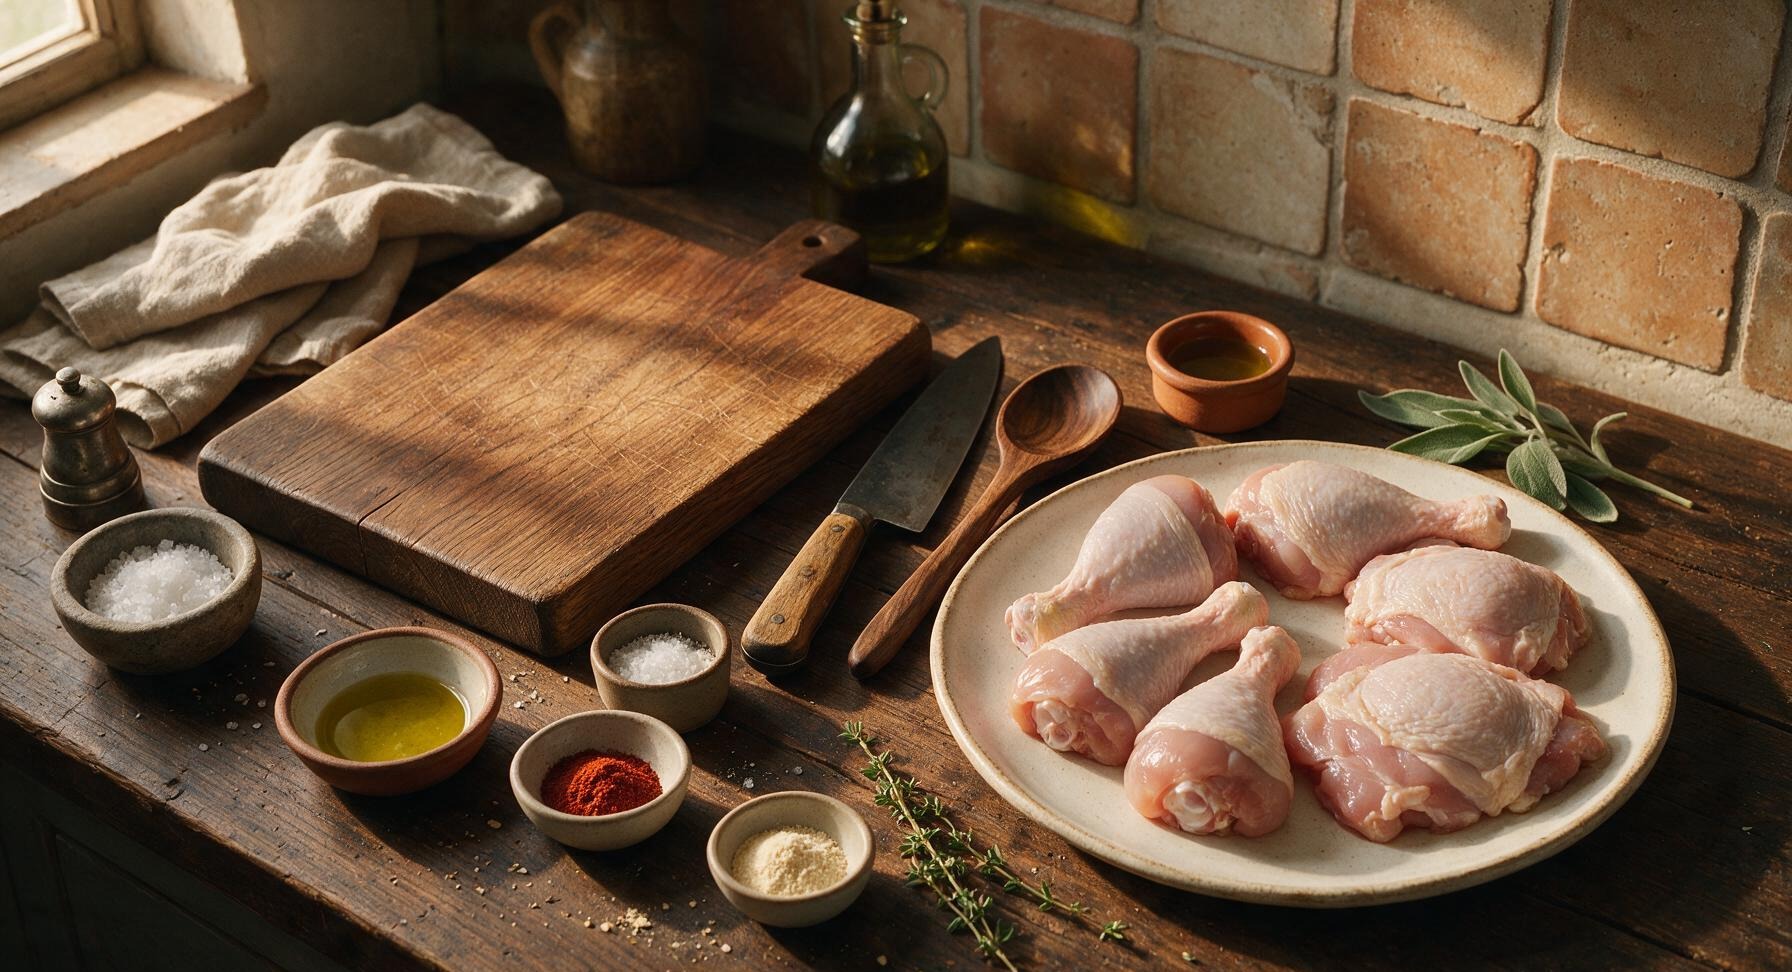
Bone-in, skin-on chicken drumsticks 4 pieces (480g total)
Bone-in, skin-on chicken thighs 4 pieces (440g total)
Extra-virgin olive oil 1 tablespoon
Kosher salt 1.5 teaspoons
Freshly ground black pepper 1 teaspoon
Smoked paprika 1 teaspoon
Garlic powder ½ teaspoon
Onion powder ½ teaspoon
Dried thyme ¼ teaspoon
Fresh thyme sprigs (for garnish) 2 sprigs

Steps

1

Prep Pan and Preheat Oven

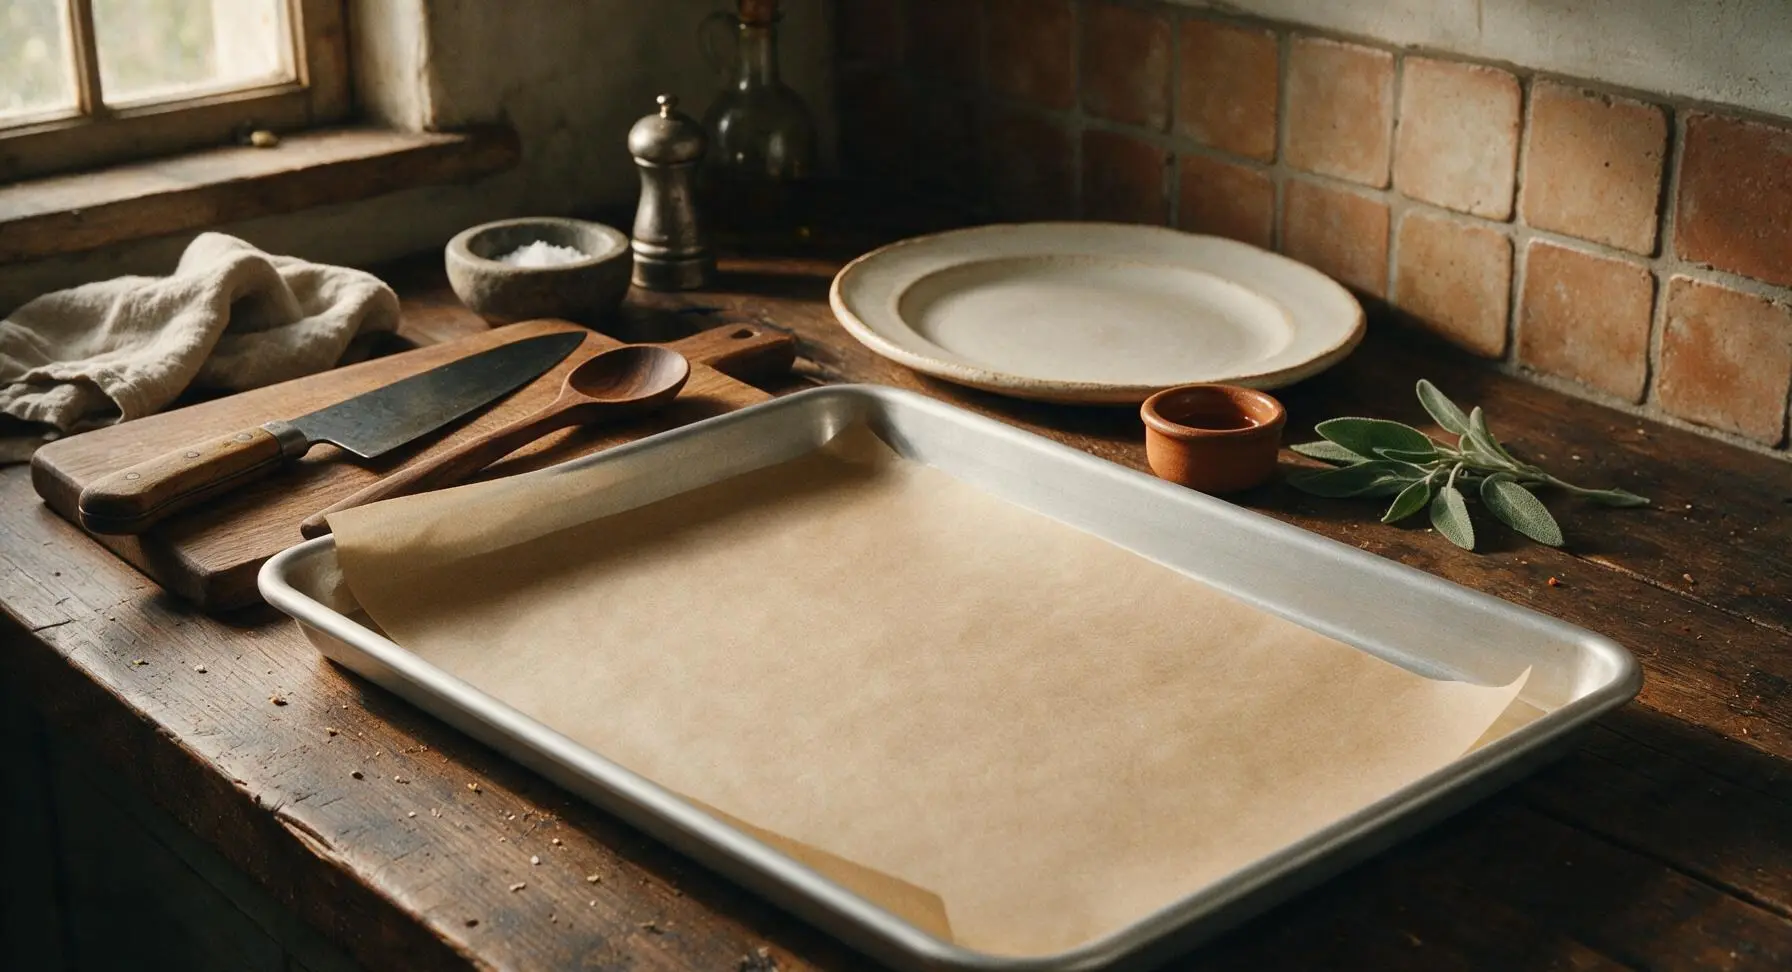
Adjust your oven rack to the middle position, then preheat the oven to 425°F (220°C). Line the large rimmed matte silver aluminum baking sheet with the cut unbleached parchment paper, leaving a 1-inch overhang on the long sides for easy cleanup. Set the prepared pan on the back section of the counter until needed.
Step 1
step1:Prep Pan and Preheat Oven
2

Pat Chicken Dry

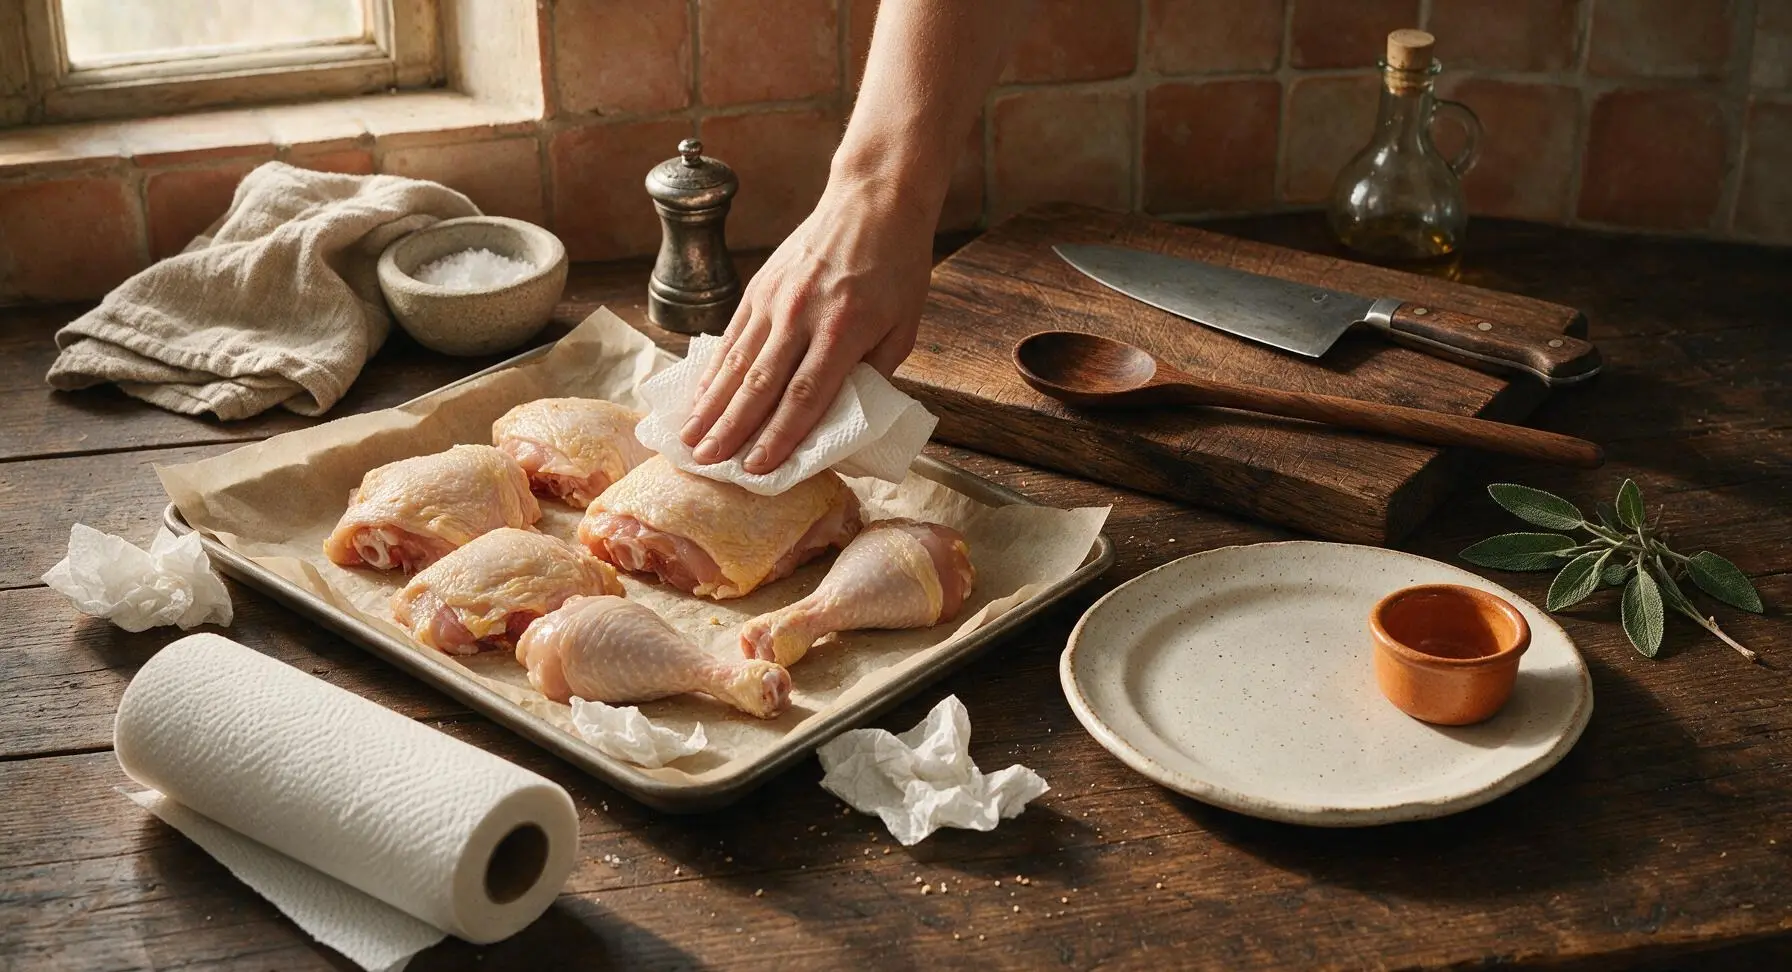
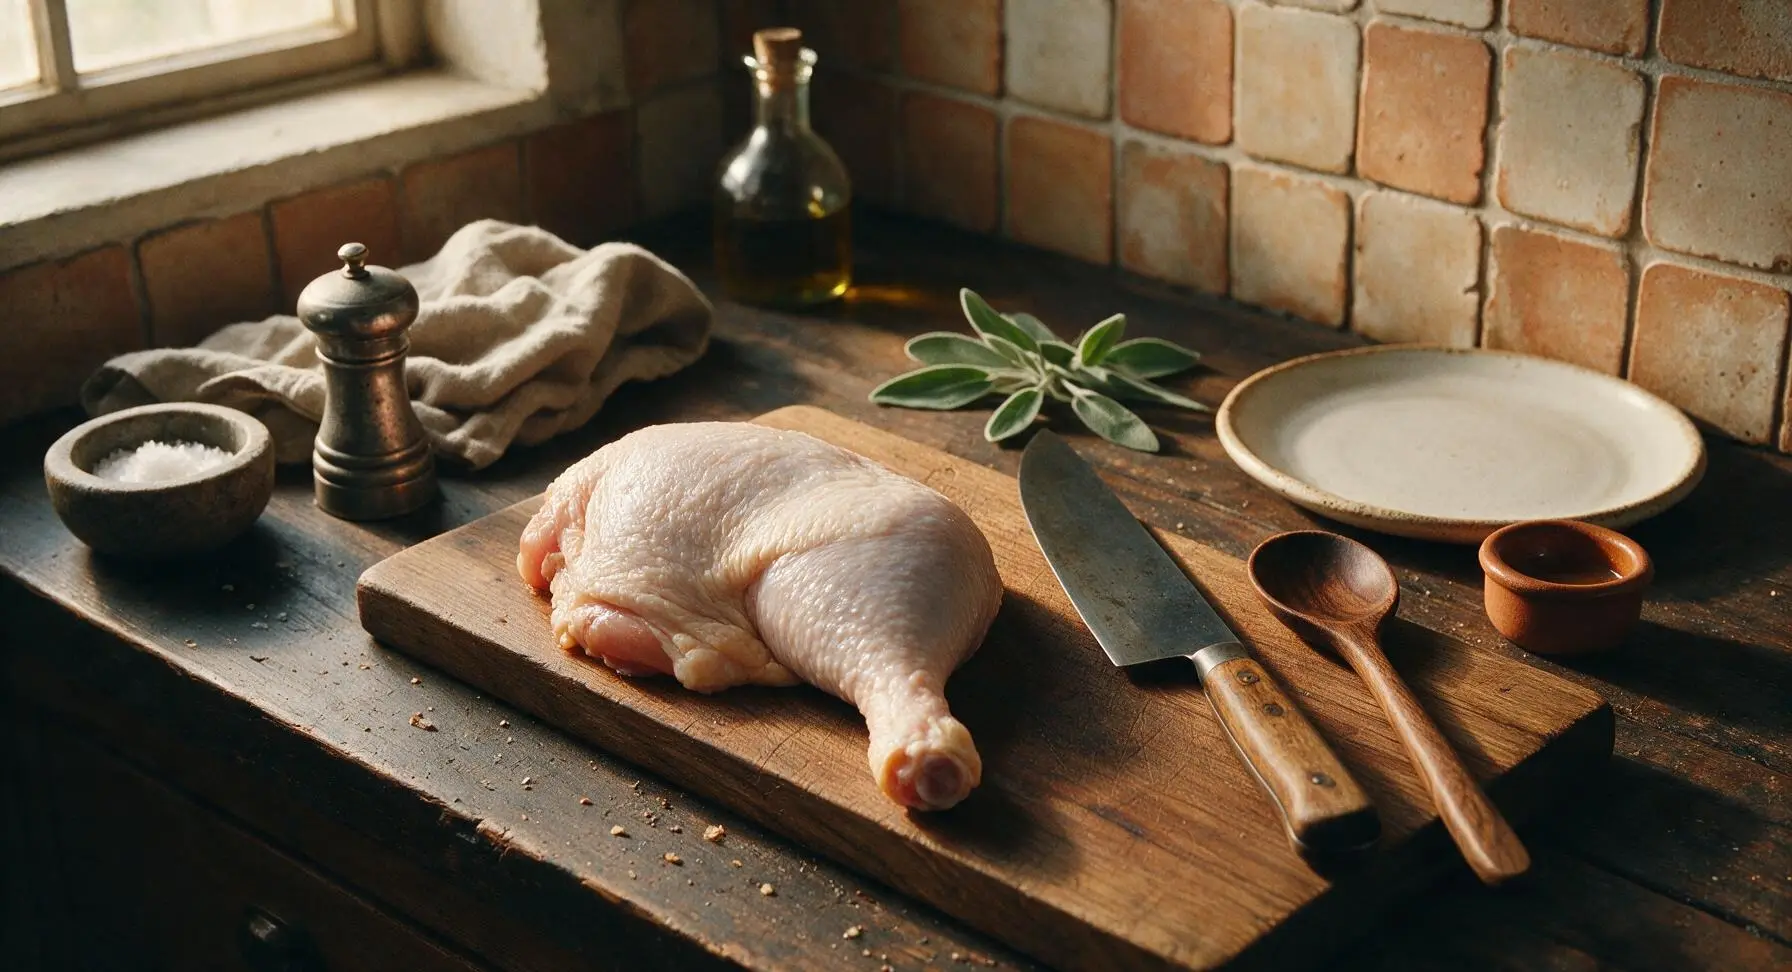
Remove the raw chicken legs and thighs from their packaging, and pat every surface of the skin and exposed meat thoroughly dry with sheets of paper towel from the half-used white roll. Pay extra attention to crevices around the bone and folded skin—any remaining surface moisture will create steam in the oven and prevent crispy skin from forming. Discard used, damp paper towels in a nearby bin.
Step 2
step2:Pat Chicken Dry
Step 2
step2:Pat Chicken Dry
3

Coat Chicken with Oil

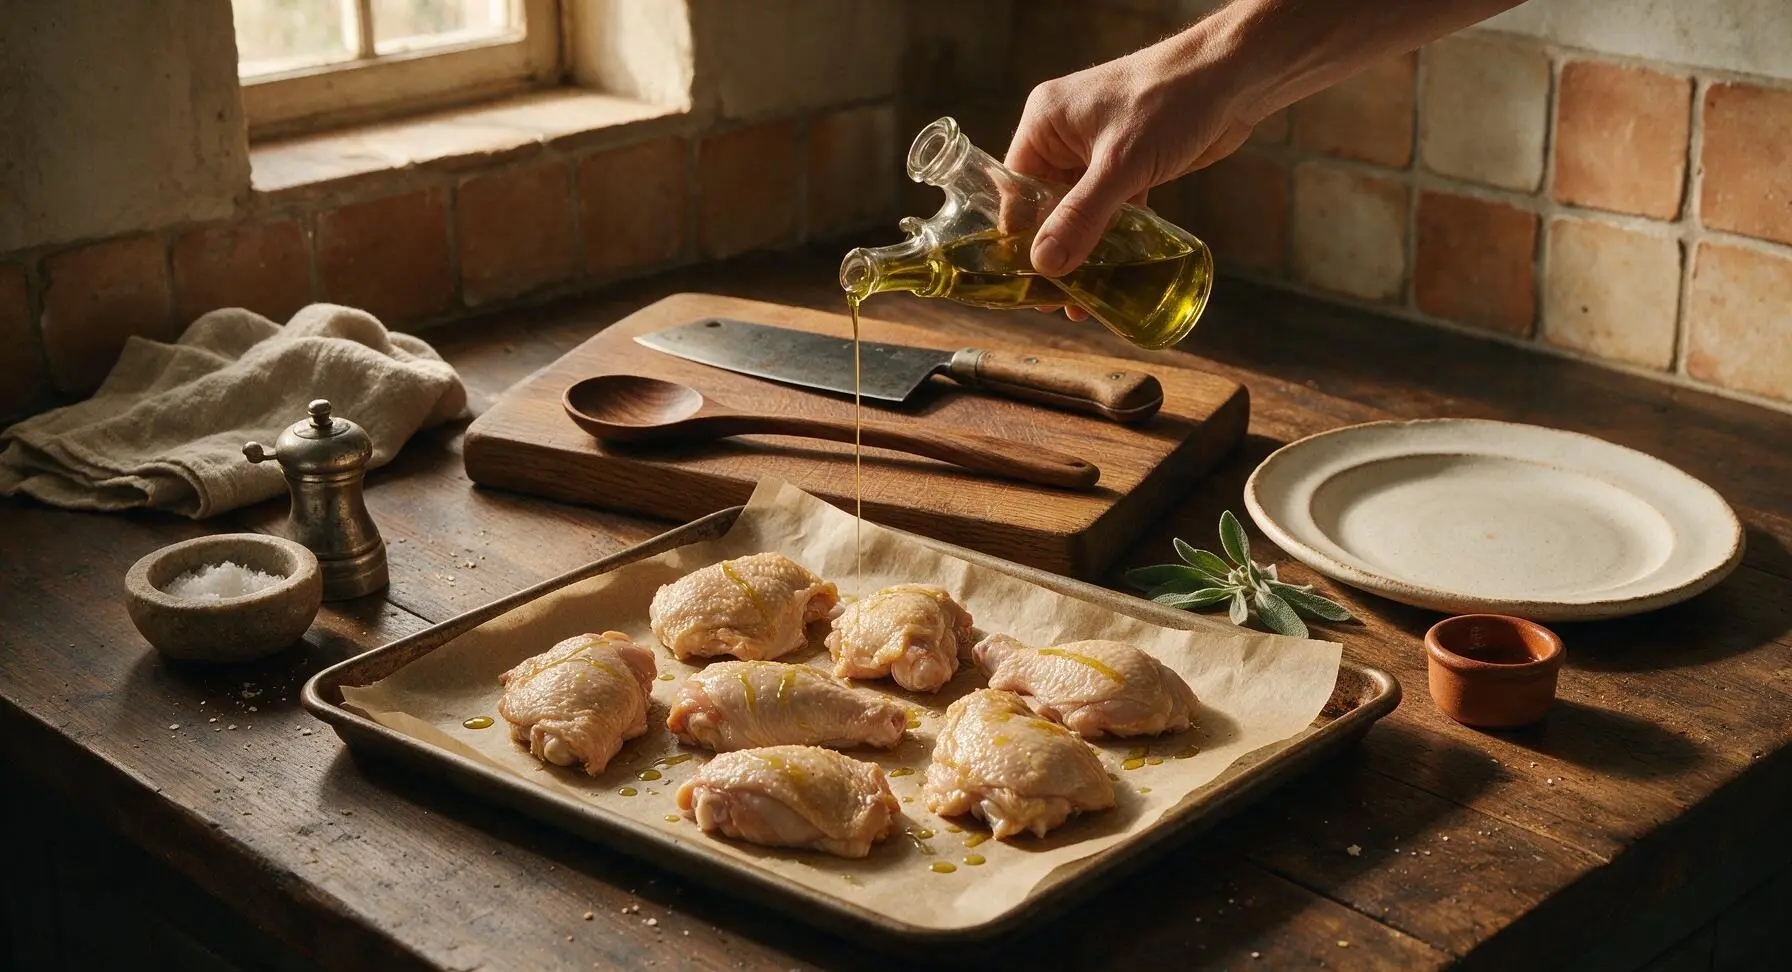
Drizzle the 1 tablespoon of extra-virgin olive oil evenly over all the dry chicken pieces. Use clean hands to rub the oil over every surface of the skin and exposed meat, creating a thin, even coating that will help spices adhere and encourage even crisping during baking.
Step 3
step3:Coat Chicken with Oil
4

Mix and Apply Seasoning

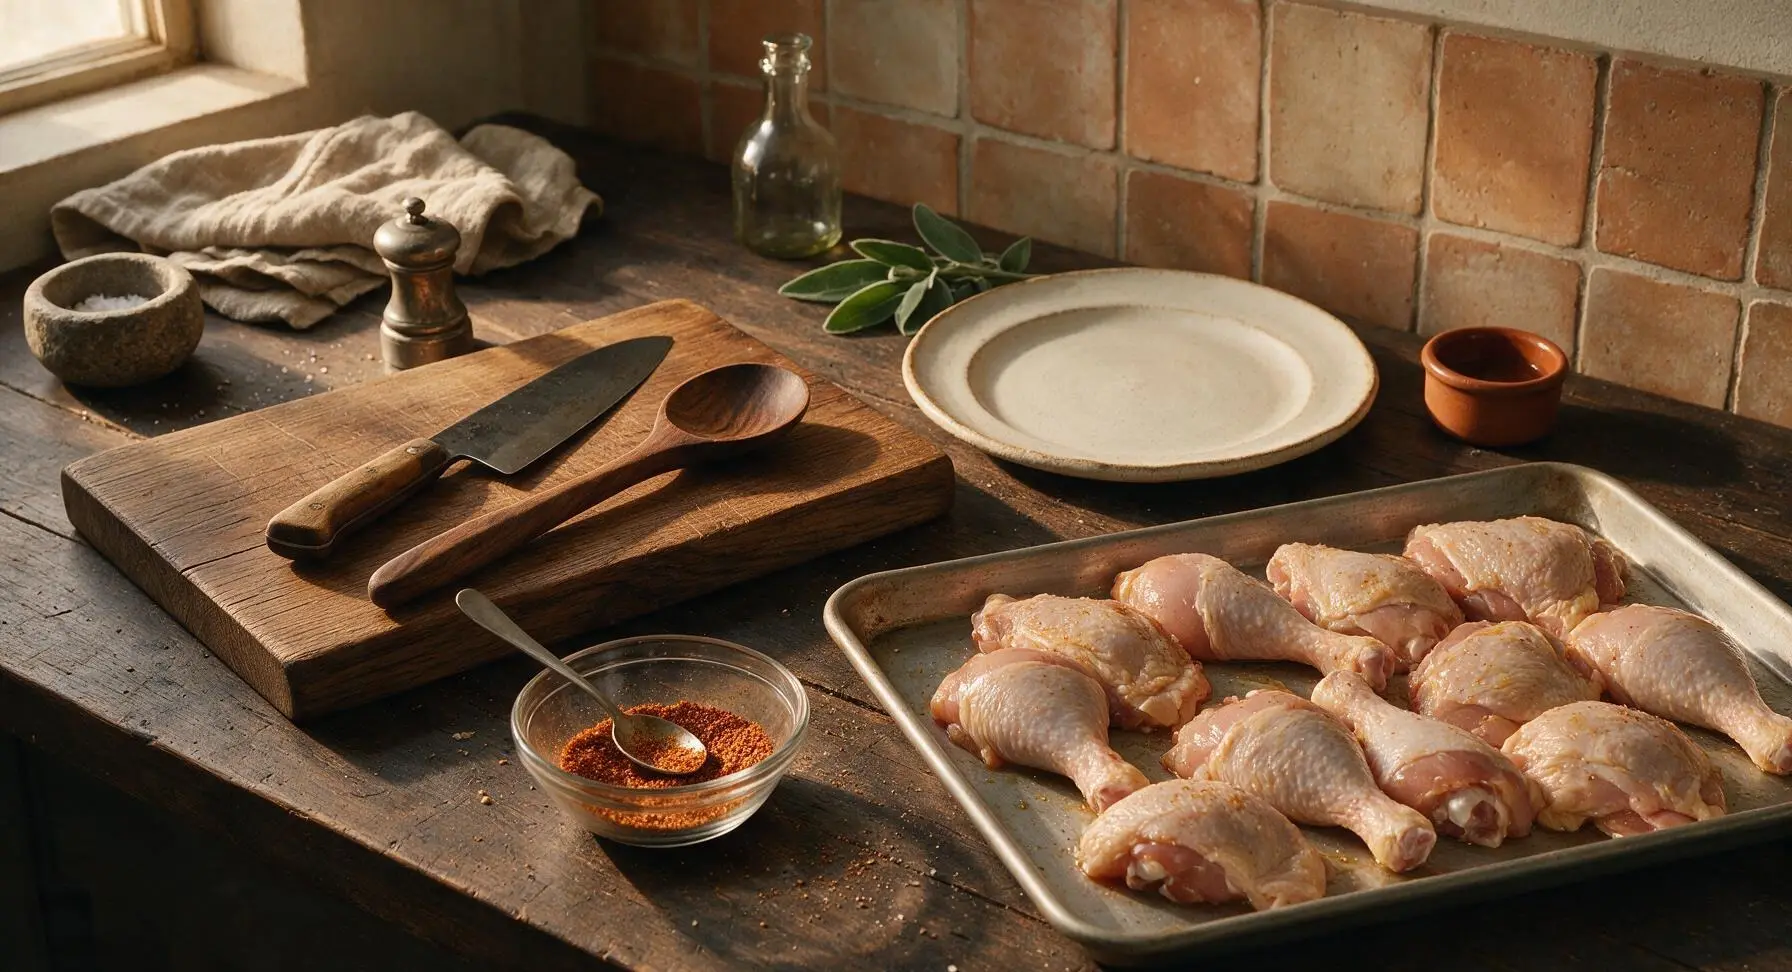
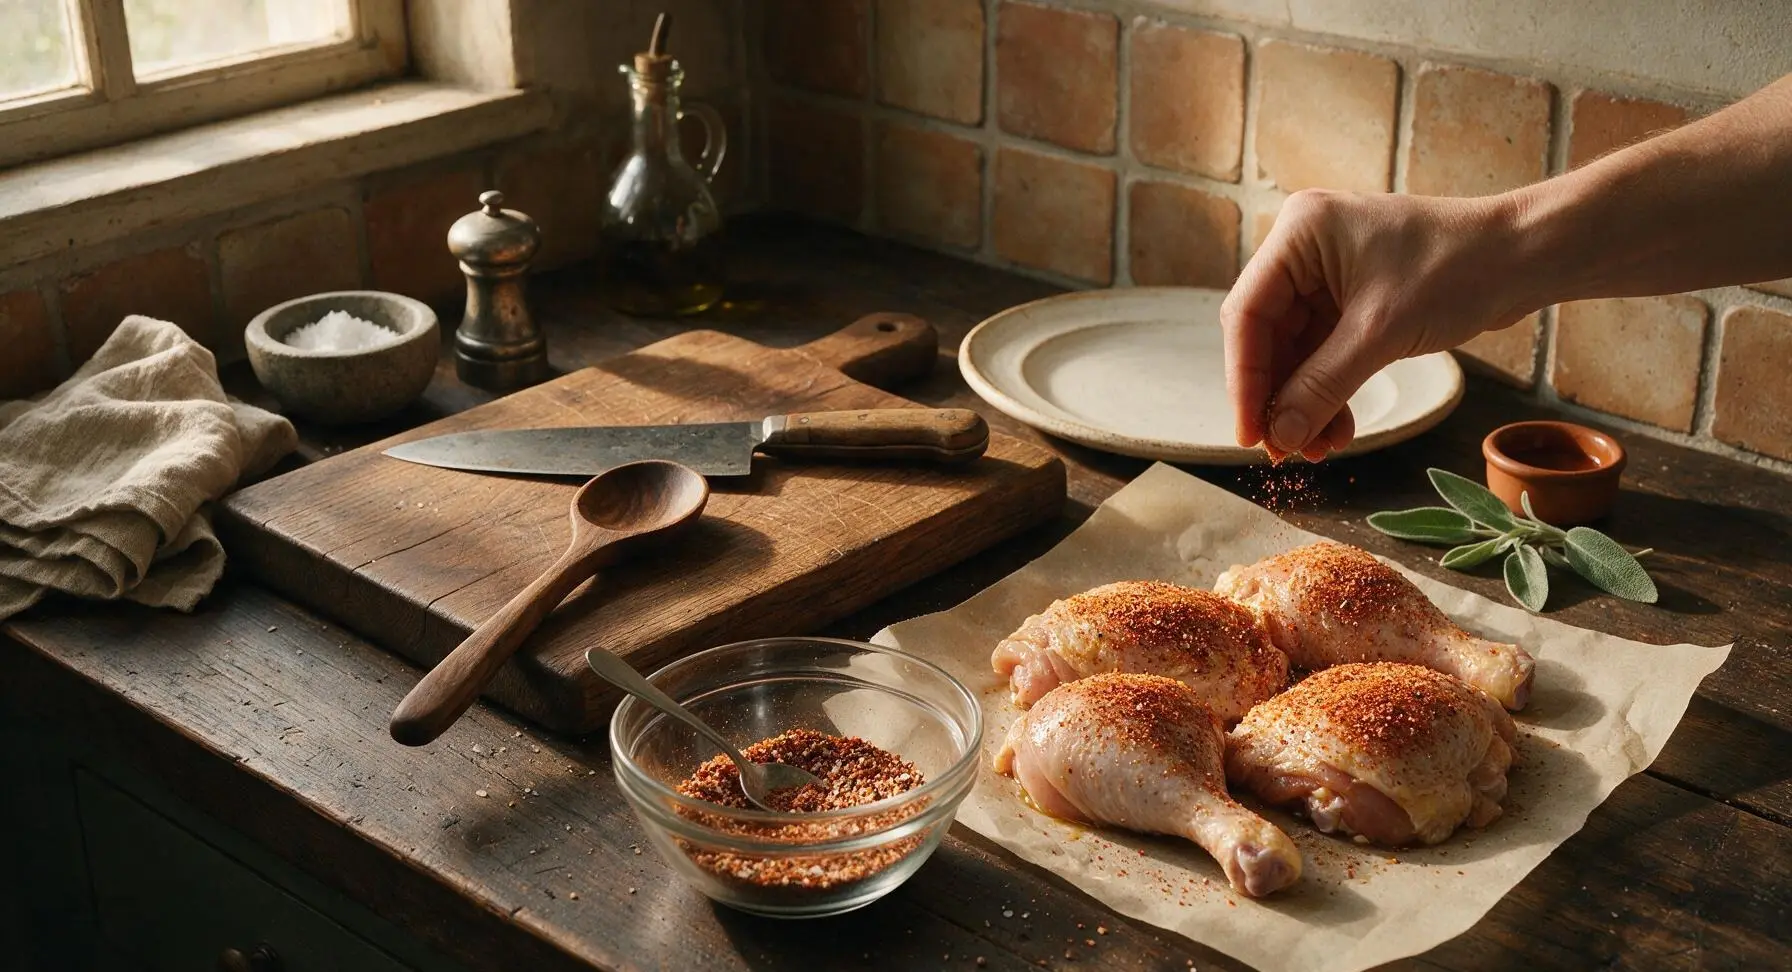
Combine the 1.5 teaspoons kosher salt, 1 teaspoon black pepper, 1 teaspoon smoked paprika, ½ teaspoon garlic powder, ½ teaspoon onion powder, and ¼ teaspoon dried thyme in the small clear glass mixing bowl, stirring with the small stainless steel spoon until evenly blended into a warm reddish-brown spice mix. Sprinkle the spice blend generously over every side of the oiled chicken pieces, pressing lightly to help the spices stick to the skin. Ensure no large bare patches of skin remain unseasoned.
Step 4
step4:Mix and Apply Seasoning
Step 4
step4:Mix and Apply Seasoning
5

Arrange Chicken Evenly

Rearrange the seasoned chicken pieces on the parchment-lined baking sheet so they sit in a single, even layer with ½ inch of open space between each piece, positioned skin-side up. Do not overlap pieces, as tight contact will cause steaming instead of crisping. Tuck any loose, dangling skin edges under the pieces to prevent them from burning during baking.
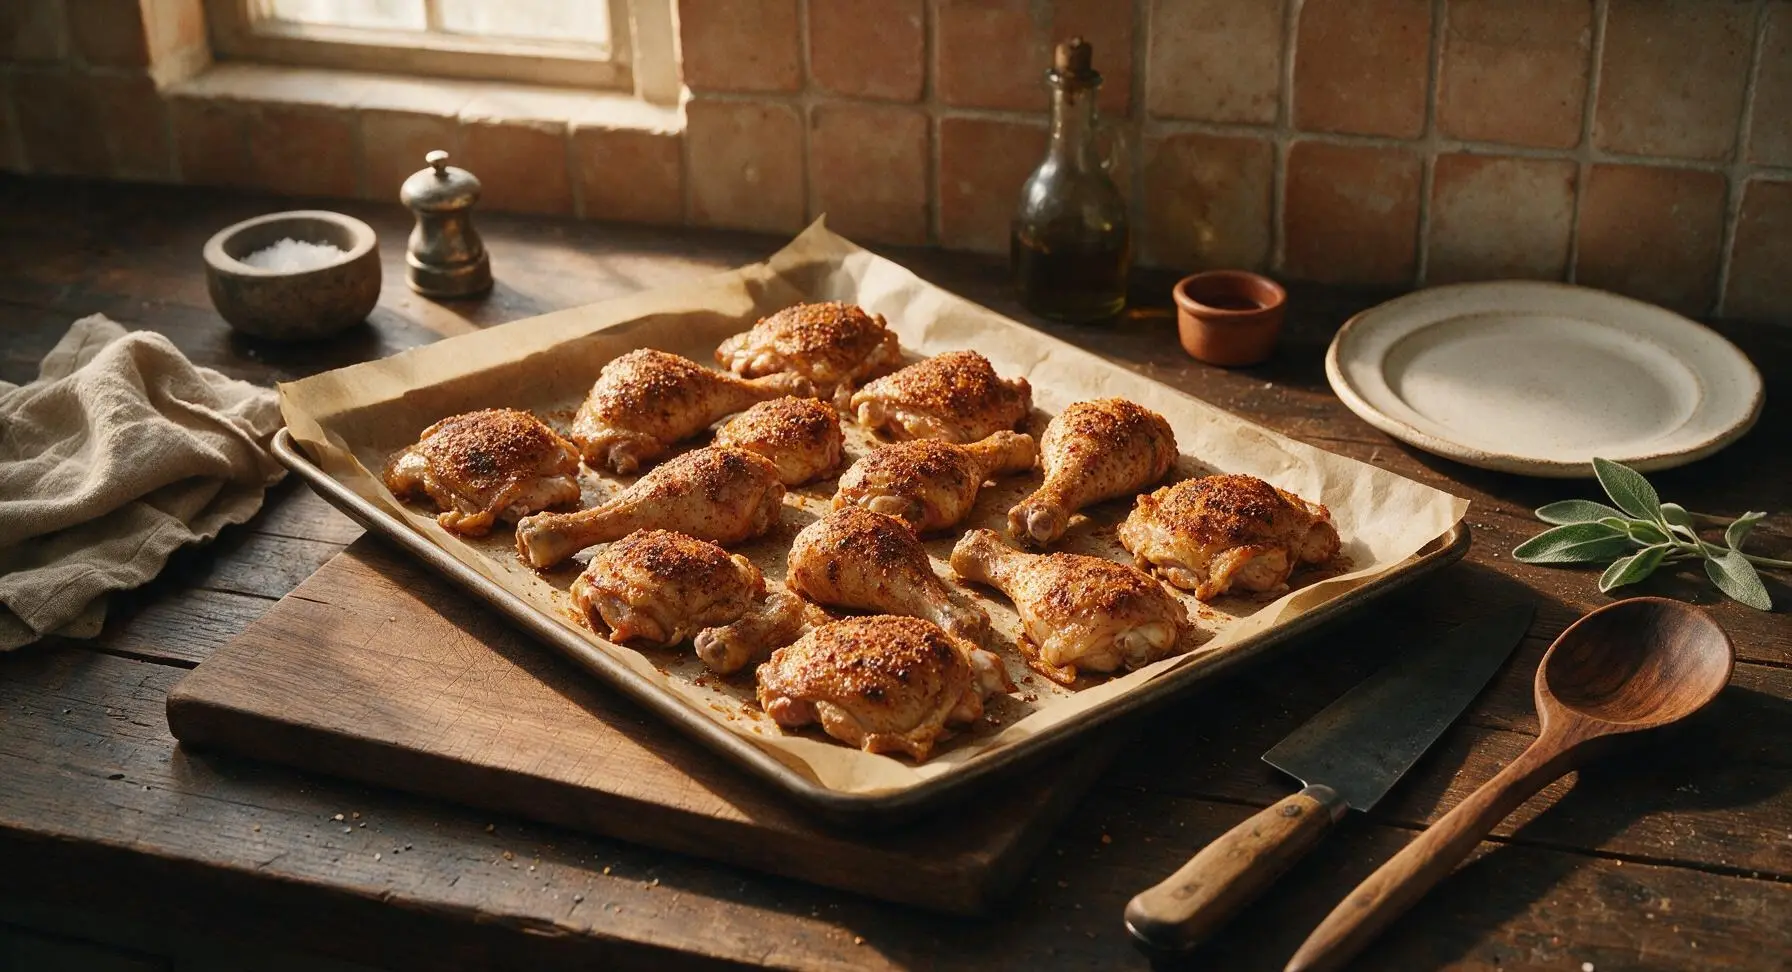
Step 5
step5:Arrange Chicken Evenly
6

Bake to Crispy Perfection

Carefully place the baking sheet on the preheated middle oven rack and bake for 40-45 minutes, without flipping the chicken, until the skin is deep golden brown and crispy, and the internal temperature of the thickest part of each piece reaches 165°F (74°C) when measured with the digital instant-read thermometer. Rendered chicken fat will bubble gently around the pieces as the skin crisps.
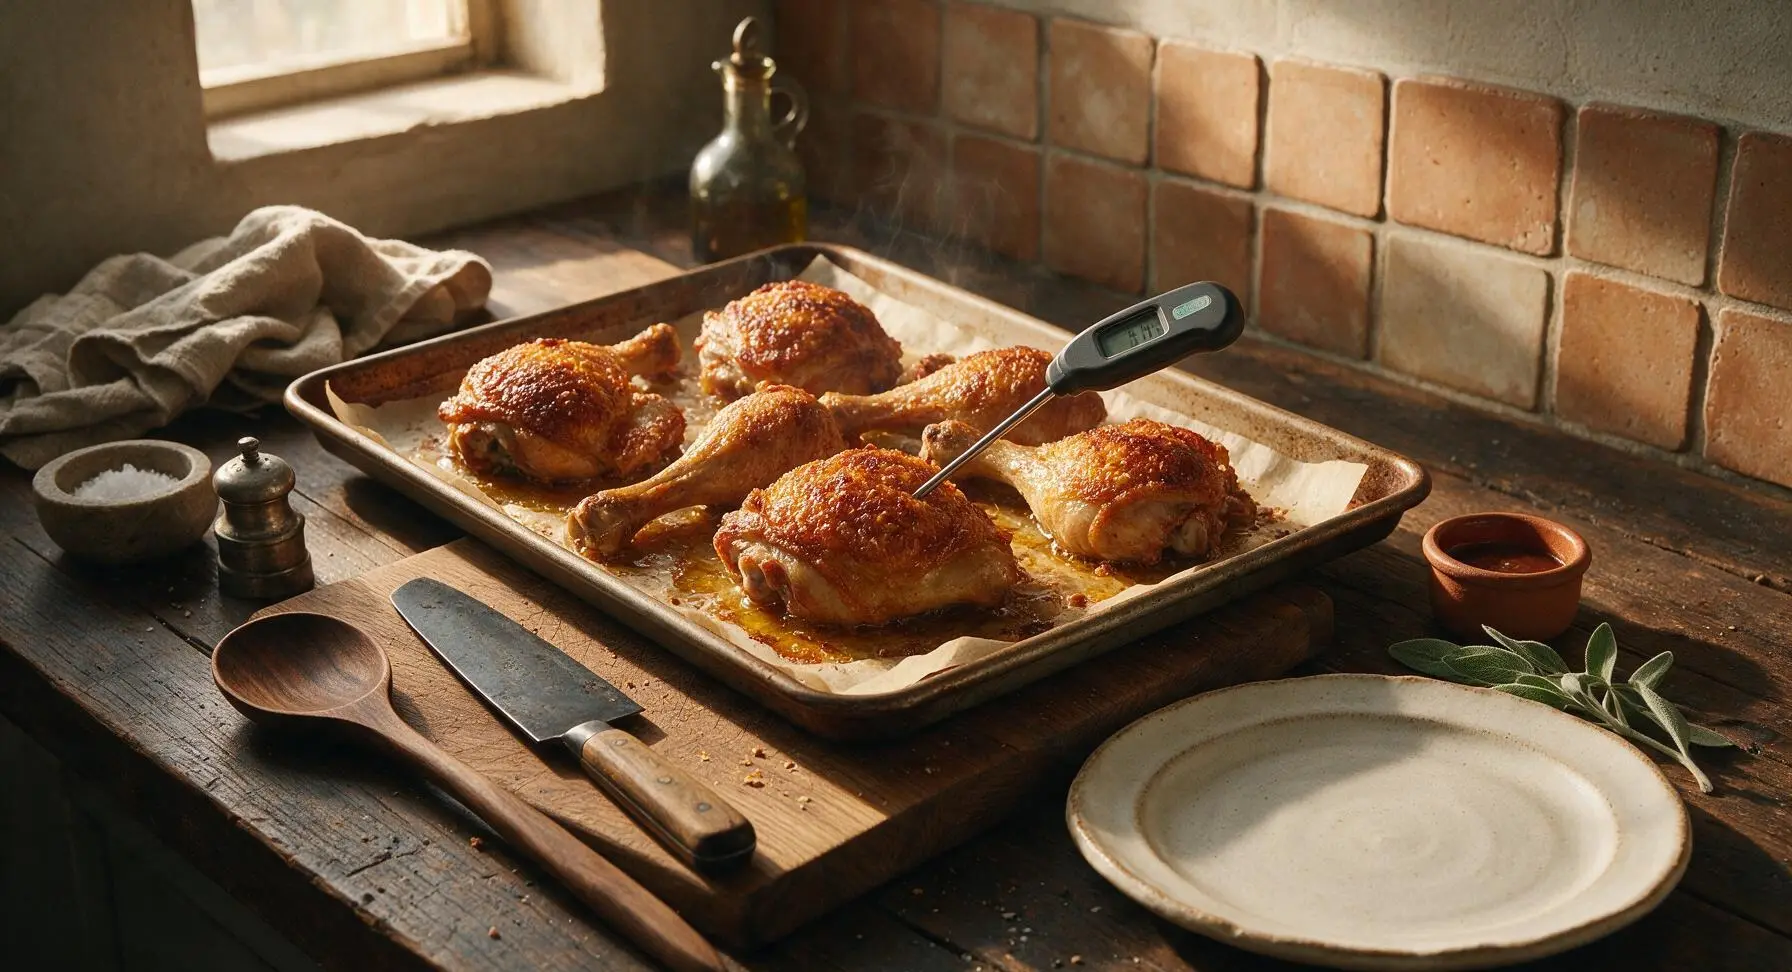
Step 6
step6:Bake to Crispy Perfection
7

Rest and Plate Chicken

Let the chicken rest for 5 minutes on the hot baking sheet to allow muscle fibers to relax and juices to redistribute. Use the stainless steel kitchen tongs to transfer the pieces to the matte off-white stoneware dinner plate, arranging drumsticks and thighs in a loose, inviting pile. Tuck the 2 fresh thyme sprigs between the pieces for a bright, fresh garnish before serving.

Step 7
step7:Rest and Plate Chicken

Tips

1.Patting chicken dry is non-negotiable for crispy skin: even small beads of surface moisture will turn to steam in the hot oven, leading to rubbery, soft skin instead of the shatteringly crisp texture you want. Take an extra 30 seconds to dry every crevice for best results.
2.Resist the urge to flip the chicken while it bakes: keeping the skin facing up for the full cook time allows the fat under the skin to render slowly, basting the skin from below and creating an evenly crisp surface that won’t stick to the parchment.
3.Don’t skip the 5-minute rest after baking: cutting into chicken immediately after it comes out of the oven will cause all the hot, flavorful juices to run out onto the plate, leaving you with dry meat. The short rest lets juices redistribute back into the muscle for juicy bites every time.


✨ You May Also Like

Main Course
🍜 United Kingdom

A showstopping classic of tender seared beef, savory mushroom duxelles, and crisp prosciutto wrapped in flaky golden puff pastry, baked to juicy perfection.

⏱️ 2 hours 1Main Course ★ 4.7
Main Course
🍜 India

Tender charred marinated chicken simmered in a rich, spiced creamy tomato sauce, this iconic Anglo-Indian curry pairs perfectly with basmati rice or warm naan.

⏱️ 50 minuteMain Course ★ 4.6
Main Course
🍜 Thailand

Classic tangy, sweet, and savory Thai stir-fried rice noodles with shrimp, tofu, and crunchy garnishes, balancing all five core Thai flavor profiles.

⏱️ 30 minuteMain Course ★ 4.5
Main Course
🍜 United Kingdom

Crispy golden beer-battered cod and fluffy double-fried chips, served with tangy tartar sauce and malt vinegar: the timeless, beloved British pub comfort classic.

⏱️ 45 minuteMain Course ★ 4.7
Main Course
🍜 Mexico

Smoky, chile-marinated pork tacos with caramelized pineapple, fresh cilantro, and lime: a beloved classic Mexican street food perfect for casual summer gatherings.

⏱️ 1 hour 45Main Course ★ 4.8
Main Course
🍜 United States

Crunchy Fritos corn chips layered with savory beef chili and melted cheddar, topped with cool, zesty fixings for a beloved, cozy Tex-Mex comfort food.

⏱️ 35 minuteMain Course ★ 4.8

baked chicken legs and thighs:Frequently Asked Questions

1.Why isn’t my baked chicken skin getting that shatteringly crisp texture the recipe promises? ▾
Great question! First, pat every piece of chicken completely dry with paper towels before seasoning—any lingering surface moisture will steam the skin instead of crisping it. Don’t overcrowd your baking pan, and always let your oven fully preheat before adding the chicken; that initial hot blast kickstarts fat rendering for that signature shatteringly crisp crunch.
2.Can I use boneless, skinless chicken thighs or drumsticks for this recipe? ▾
You absolutely can, but you won’t get that signature crispy skin this recipe is built for! If you go boneless, skinless, cut the total bake time by 8 to 10 minutes to avoid drying out the meat, and toss with a light panko coating if you still want a satisfyingly crisp outer layer.
3.What internal temperature should I cook the legs and thighs to for safe, juicy meat? ▾
Always cook bone-in dark meat chicken to an internal temperature of 175°F, measured at the thickest part of the cut away from the bone, for the juiciest results. Unlike white breast meat, dark meat stays tender at that slightly higher temp, as it breaks down tough connective tissue for that perfect pull-apart bite.
4.Do I need to use a wire rack when baking these chicken pieces? ▾
A wire rack set inside your baking sheet is ideal, because it elevates the chicken so hot oven air circulates all the way around each piece, crisping skin on every side instead of making the bottom soggy where it sits in pooled fat. If you don’t have one, flip the chicken halfway through baking to crisp both sides evenly.
5.Can I add extra seasonings beyond salt and pepper without ruining the crispy skin? ▾
Absolutely! Stick to dry seasonings like garlic powder, smoked paprika, onion powder, dried thyme, or a pinch of cayenne to complement the base kosher salt and black pepper without ruining crispness. Wet seasonings, sugary sauces, or fresh herbs added before baking add excess moisture that makes skin soggy—save wet glazes for the last 5 minutes of baking if you want them.
6.How long do I need to let the chicken rest after taking it out of the oven? ▾
Let the baked chicken rest for 5 to 7 minutes after pulling it from the oven, just like you would a steak. This short rest lets the hot, juicy meat reabsorb its internal juices instead of having them run all over your plate when you take the first bite, and it won’t make crispy skin go soggy in that short window.
7.Why does my chicken come out dry even when I follow the recommended bake time? ▾
The most common culprits are an oven that runs hotter than its dial reads, or overcrowding the pan which leads to uneven, overcooked spots. Grab an inexpensive oven thermometer to confirm your temperature is accurate, and pull the chicken as soon as it hits 175°F internally to lock in all that juicy dark meat flavor.
8.Can I prep these chicken legs and thighs ahead of time for easy weeknight meals? ▾
You sure can! Pat the chicken dry, toss it with extra-virgin olive oil and your seasonings, then store it covered in the fridge for up to 24 hours before baking. The extended dry chill actually helps skin crisp even better, especially if you leave it uncovered for the last 30 minutes of chill time to wick away extra surface moisture.
9.What’s the easiest way to cut down on cleanup when making this recipe? ▾
For super fast, minimal cleanup that matches the recipe’s low-fuss vibe, line your baking sheet with aluminum foil or parchment paper before setting your wire rack on top. Once you’re done eating, let the pan cool completely, toss the foil, and give the rack a quick scrub—no stuck-on burnt grease to scrape off the pan itself.

Comments (7)

just now

So happy I stumbled on this recipe! It’s naturally gluten free (no weird breading required!) which is perfect for my youngest who has celiac. We tossed these chicken legs and thighs on a sheet pan with sweet potato wedges and broccoli last night for a full one-pan dinner, and clean-up took all of 3 minutes. The chicken was juicy, the skin was shatteringly crispy, and even my moody teenager who complains about every single meal ate two whole thighs. SO good, this is going straight into our permanent weeknight rotation.

2 hours ago

Love this recipe, I’ve made the skin-on version three times already and it comes out perfect every time! Quick question — is there a way to make these without the skin? I’m cutting extra fat for my current fitness cut but I miss having tasty chicken legs that aren’t boiled and bland. Would the cook time still be 45 minutes if I take the skin off?

30 minutes ago

I made them skinless last week! I gave them a light spray of olive oil so the seasoning would stick, added a tiny pinch more salt, and cooked them for the same 45 minutes and they came out great, not dry at all.

5 minutes ago

Great tip from LowCarbLiz! If you’re making them skinless, that light olive oil coat is key to keeping the meat juicy and helping the seasoning stay put. Just keep an eye on them the last 5 minutes of cook time since there’s no skin protecting the meat from the direct heat.

yesterday

Total newbie cook here, almost burned my last attempt at baked chicken so I was super nervous to try this. Turns out it’s SO easy! The skin was crispy, the meat was juicy all the way through, no weird raw spots near the bone. I can’t believe I didn’t mess this up, gonna make this for my date next week lol.

2 hours ago

Pro tip for your date: serve these with roasted broccoli and cheddar mashed potatoes, it’s the perfect cozy meal and it looks way fancier than it is to throw together! I did that for my partner’s birthday last month and he was obsessed.

3 days ago

OMG these crispy baked chicken legs were a total game changer for our Sunday family dinner! I was so sick of soggy baked chicken skin, followed the recipe exactly and it was CRUNCHY just like fried but way less mess. My kids went back for seconds, even my super picky 7 year old! 10/10 will be adding this to our weekly rotation.

2 days ago

Wait did you pat the chicken dry first like the recipe says? I tried a similar recipe before and it was total soggy skin city, wondering if that step is actually make or break?

2 days ago

So glad your family loved them! Patting the chicken completely dry with paper towels before seasoning is absolutely key to getting that crispy skin without frying — don’t skip that step, and make sure your oven is fully preheated before popping the tray in for best results!

5 days ago

Made these for our neighborhood potluck last weekend and they were gone in 10 minutes flat! Everyone was hounding me for the recipe, I felt like a total rockstar. So much easier than frying a big batch of chicken for a crowd, no hot oil splatters all over my kitchen to clean up after, win win.

3 days ago

That’s such a perfect use for this recipe! So happy they were a hit at your potluck — baking them means you can make a big tray all at once without standing over the stove babysitting hot oil the whole time. Total crowd pleaser every time!

1 week ago

I was skeptical that baked chicken could get as crispy as my grandma’s cast-iron fried chicken, but y’all, this recipe delivered! I added a little pinch of cayenne for a tiny kick and it was chef’s kiss. Only thing I did different was set the chicken on a wire rack over the baking sheet like I do for my bacon, to let air circulate all around.

5 days ago

The wire rack trick is such a good call! It lets air flow under the chicken so every side gets evenly crispy, no need to flip them halfway through cooking if you use that method. Love the cayenne addition, that little heat sounds absolutely delicious.

2 weeks ago

Super easy recipe, took almost exactly 45 minutes like it said which is perfect for busy weeknights. I tossed in a little extra paprika and garlic powder because that’s what we like, and the skin still got perfectly crispy. Only knock is I wish there was a suggested seasoning blend note for people who don’t want to experiment on their own, but overall it’s great for meal prep too, it reheats really well in the air fryer for quick lunches.



