
baked chili dogs
intro
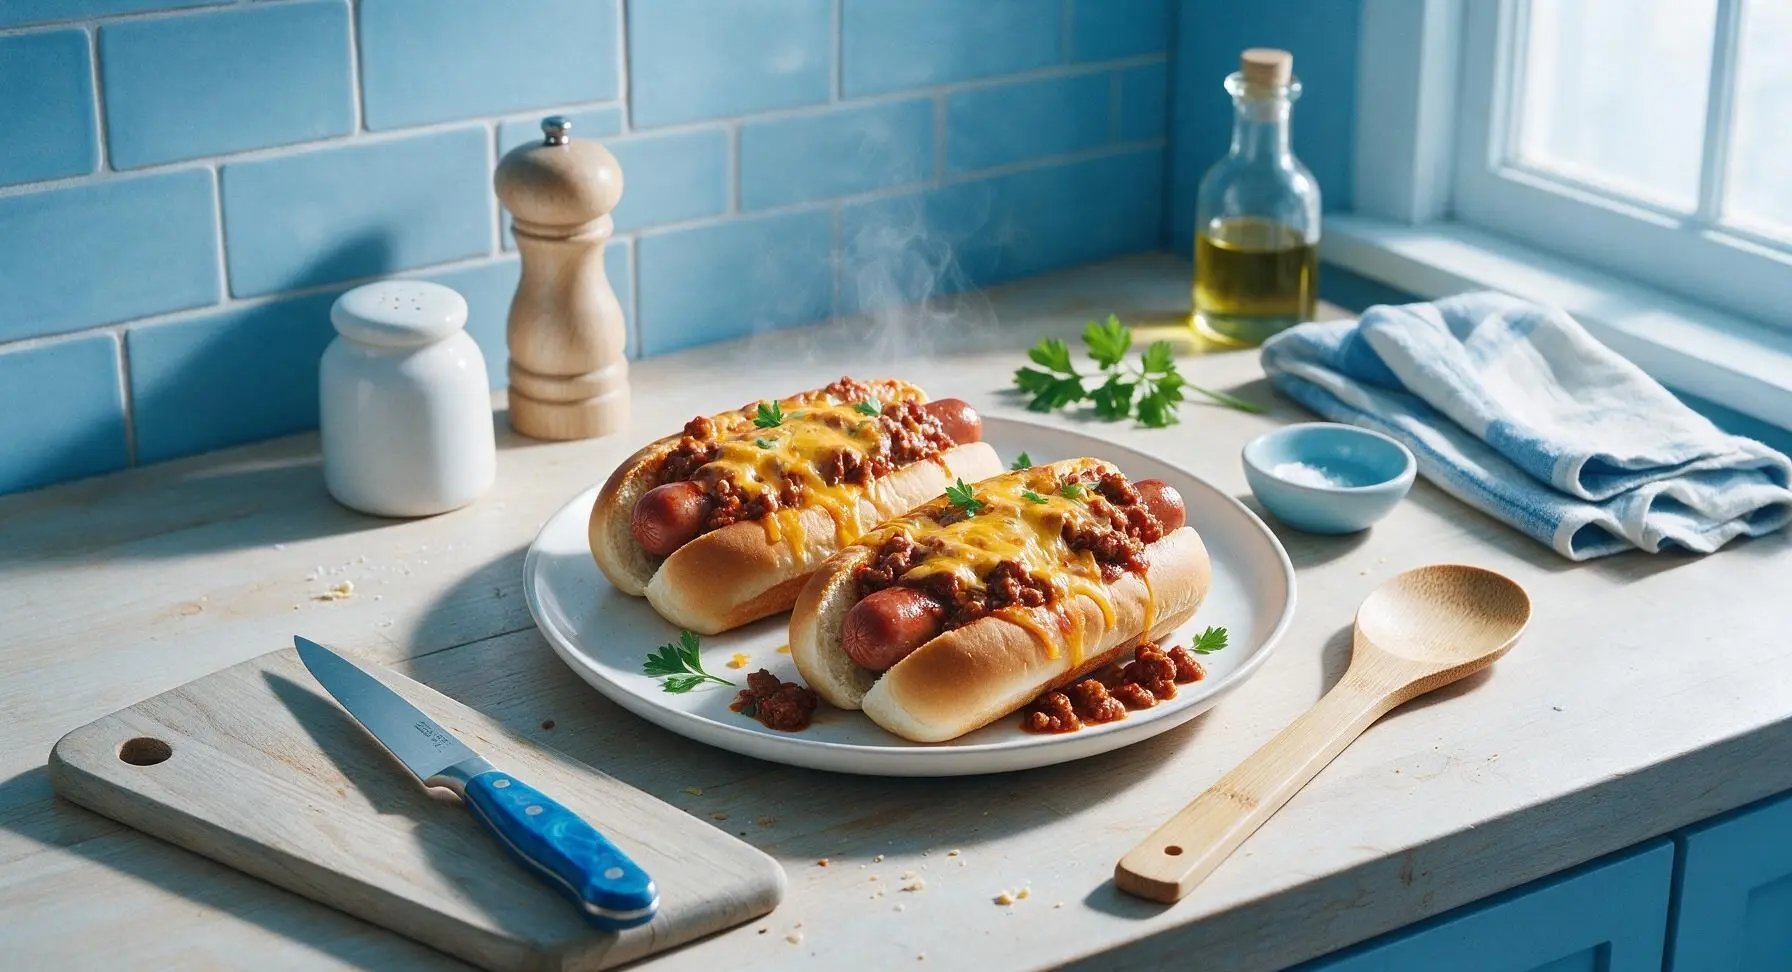
Juicy all-beef hot dogs tucked in soft toasty buns, smothered in hearty beef chili and bubbly melted cheddar, baked to cozy, crowd-pleasing perfection.
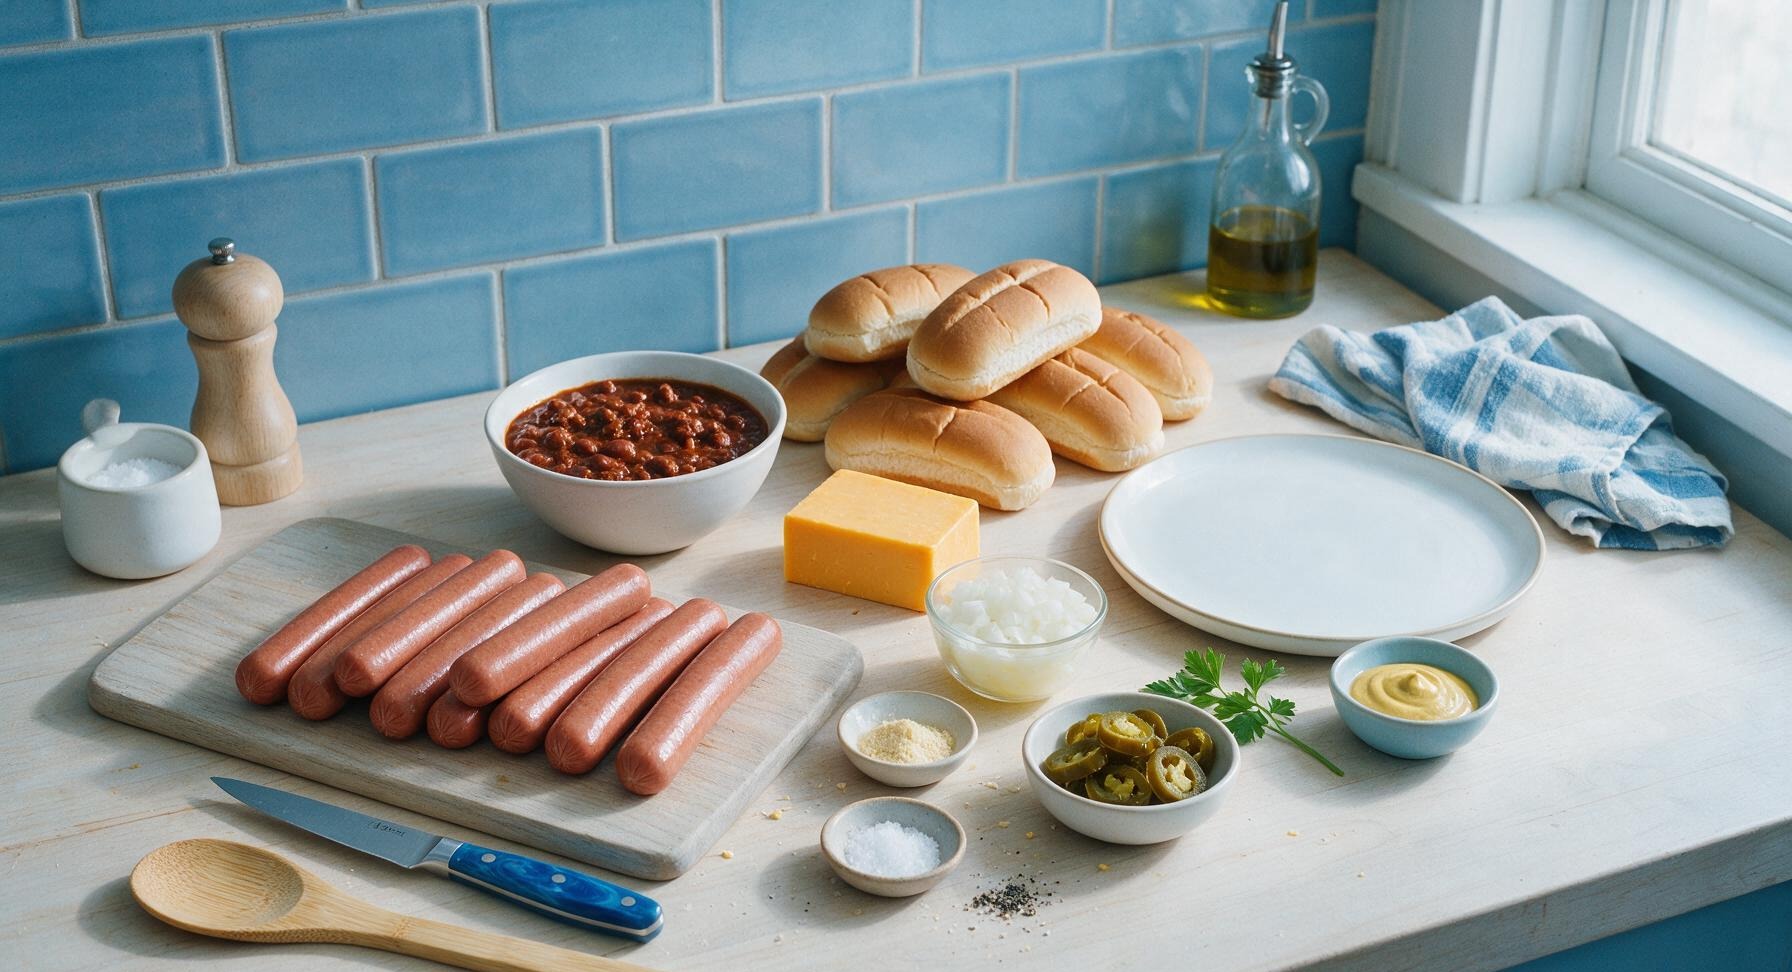
Ingredients
Steps
Prep Buns and Oven
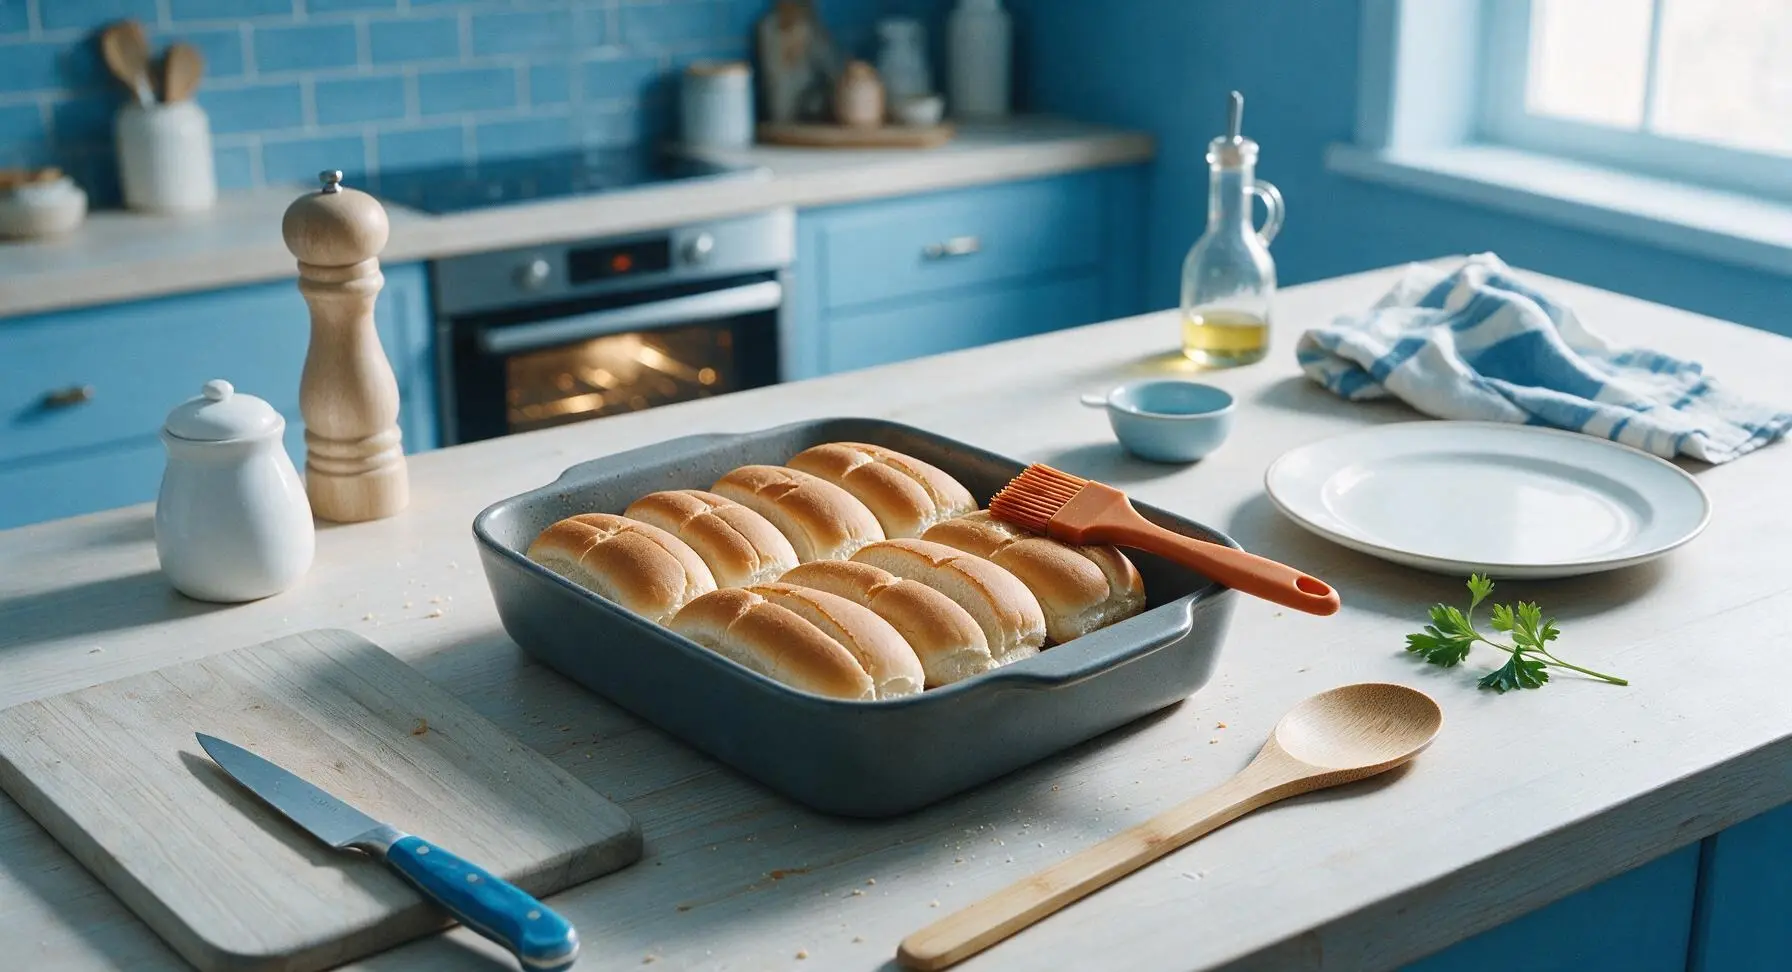
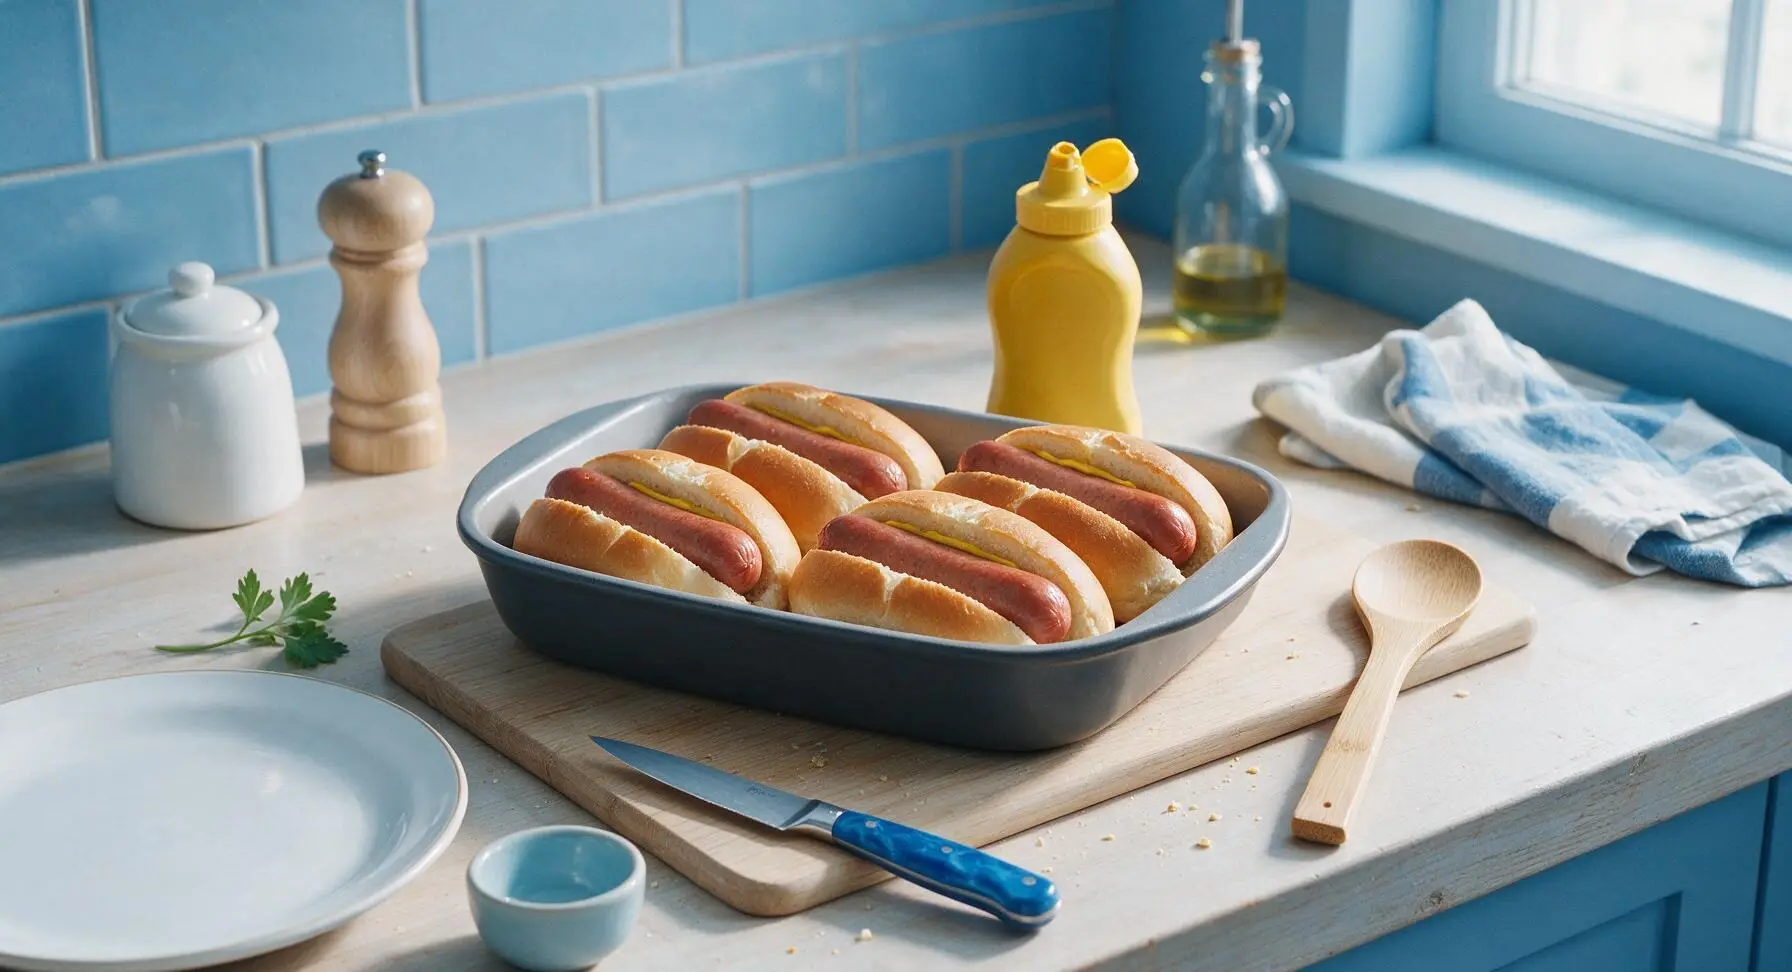
Preheat your oven to 375°F (190°C) and set the wire rack to the lower third position. Arrange the 8 split-top hot dog buns snugly in the 9x13 inch matte dark grey ceramic baking dish, cut side facing up. Use the silicone basting brush to coat the inside of each bun lightly with melted butter, then sprinkle with ½ tsp garlic powder and a pinch of kosher salt. Split any uncut buns with the chef’s knife first, taking care not to slice all the way through the bun base.
Shred Sharp Cheddar
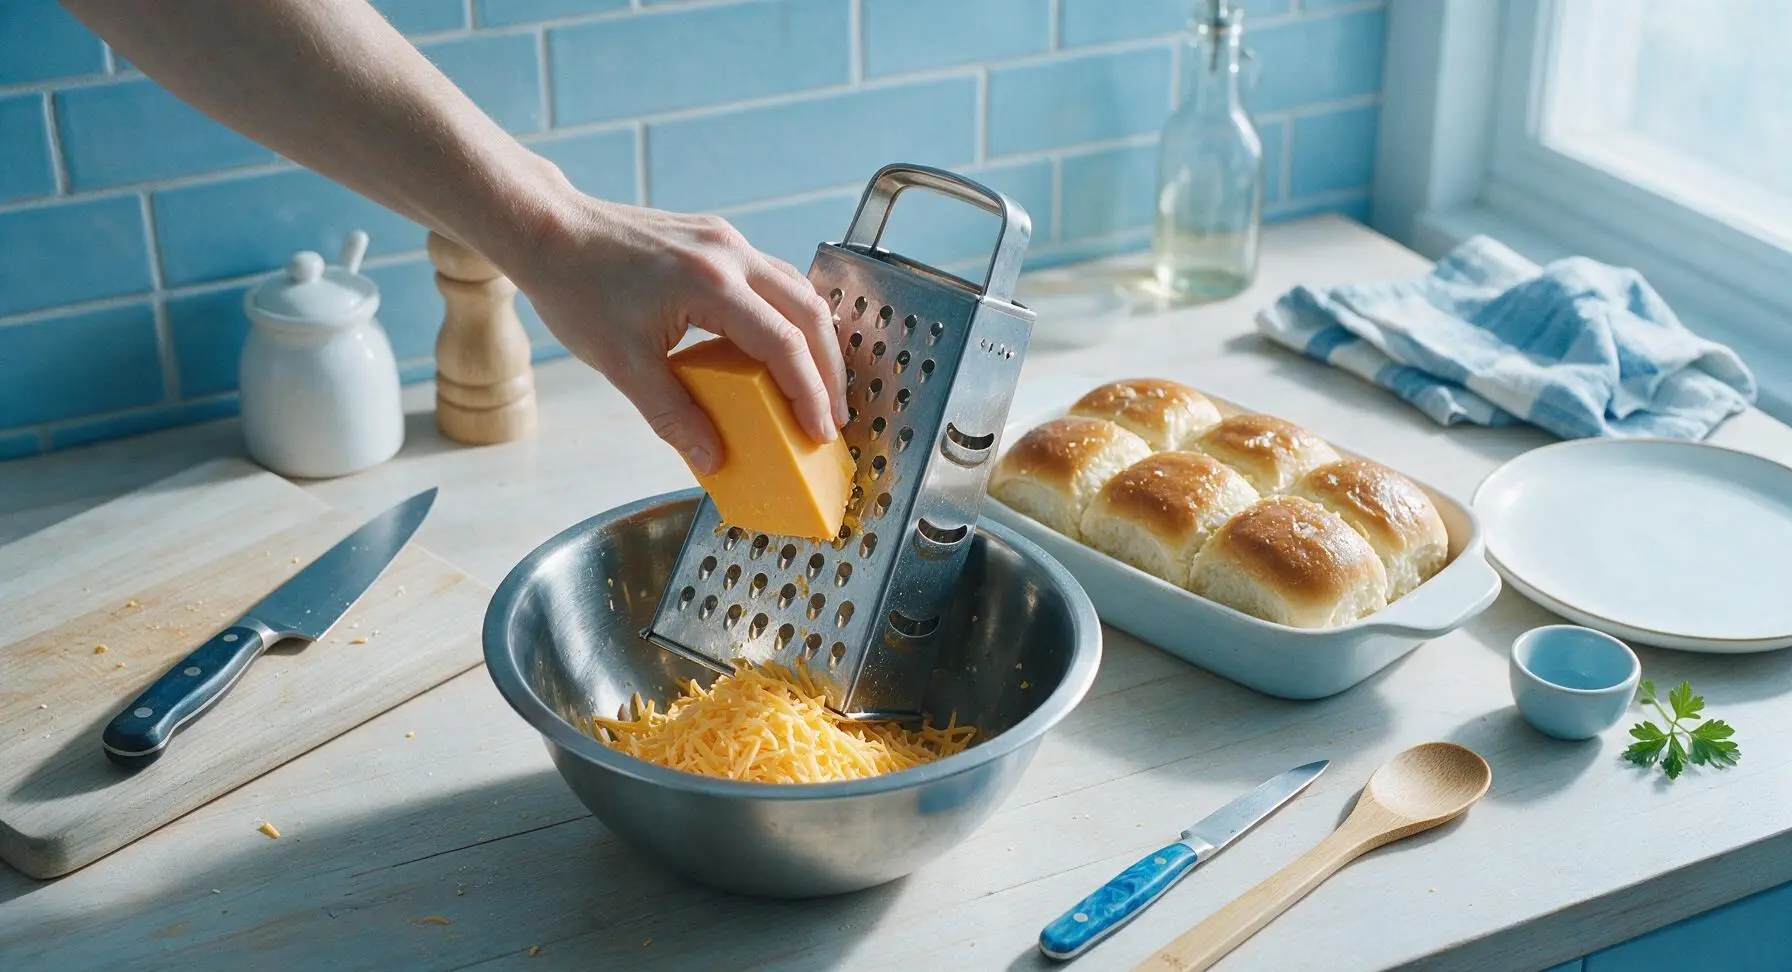
Set the stainless steel box grater inside the medium stainless steel mixing bowl. Hold the block of sharp cheddar firmly and shred against the large grater holes until you have 1.5 cups of loosely packed shredded cheese. Set aside 1/3 cup of unseasoned cheese for the top layer, then toss the remaining cheese with ½ tsp freshly ground black pepper for even flavor distribution.
Nestle Hot Dogs
Squeeze a thin, even line of yellow mustard down the buttered inside of each bun. Nestle one all-beef hot dog into each split bun, pressing down gently so the dog sits securely without tipping. The snug fit of the buns in the dish will hold the dogs and toppings in place during baking to prevent messy spills.
Spoon Chili Over Dogs
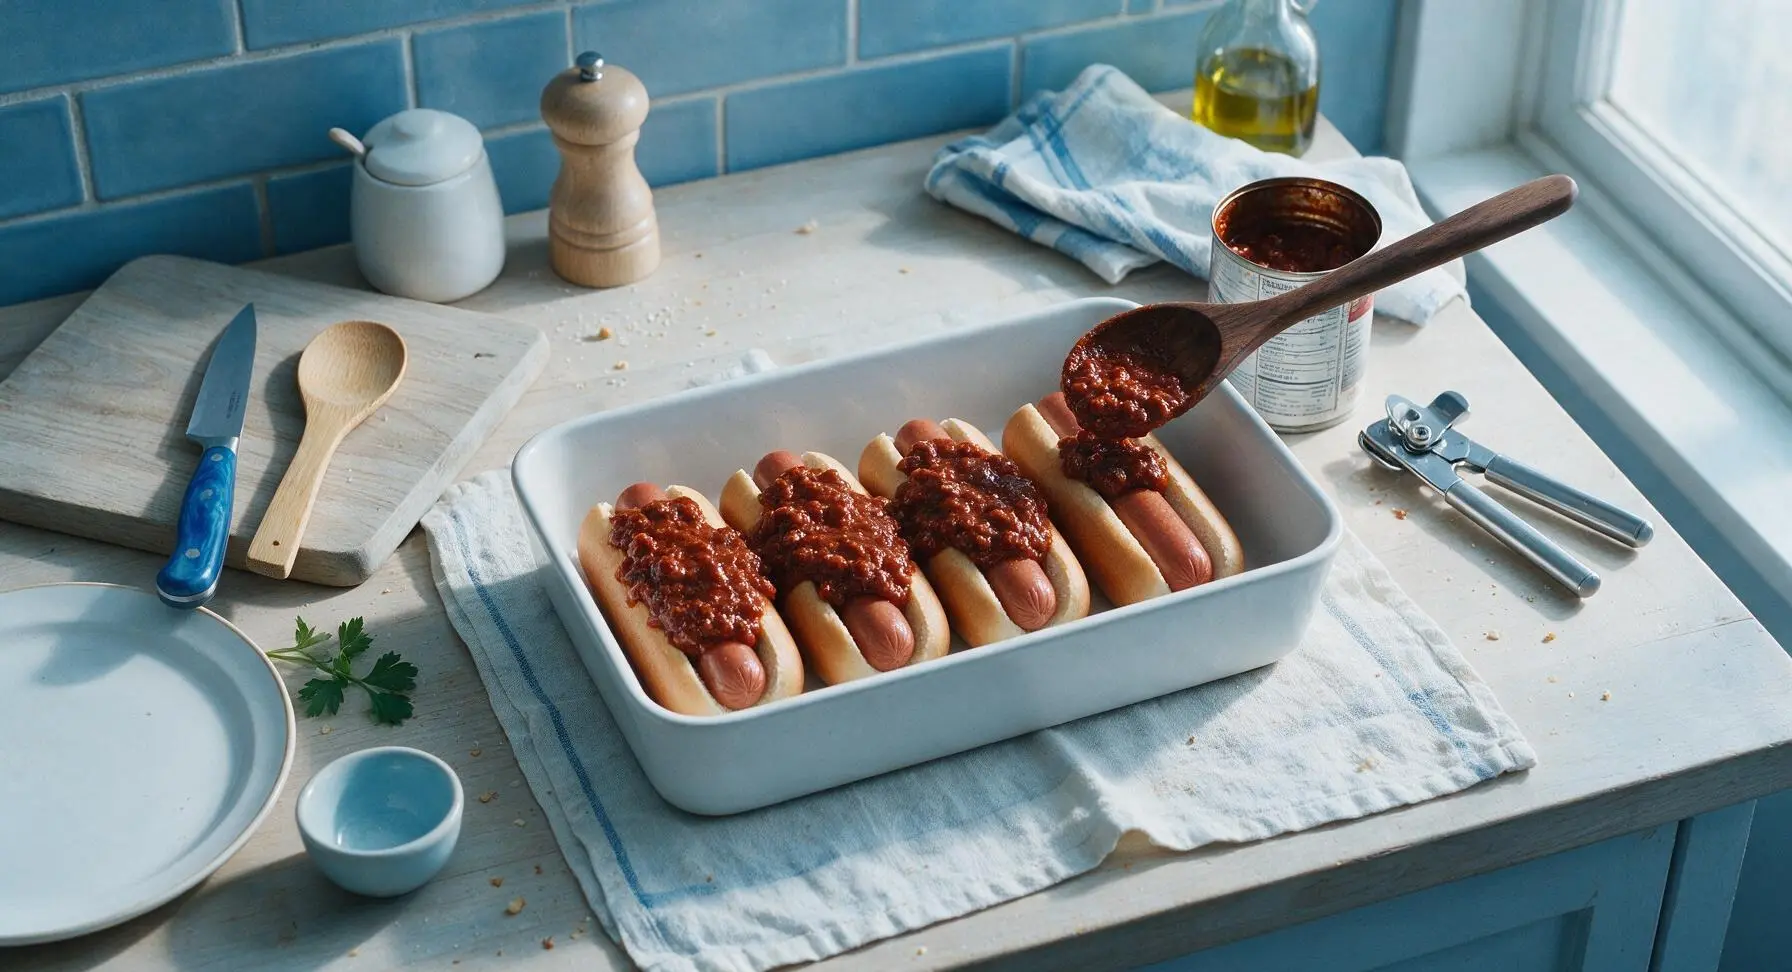
Use the stainless steel can opener to open the container of beef chili, stirring briefly with the dark walnut wooden spoon to break up any large meat chunks. Spoon ¼ cup of chili evenly over each hot dog, spreading it gently to cover the length of the dog without spilling over the bun edges. Leave a ½ inch border at each bun end to keep the finished dogs easy to pick up.
Top with Shredded Cheddar
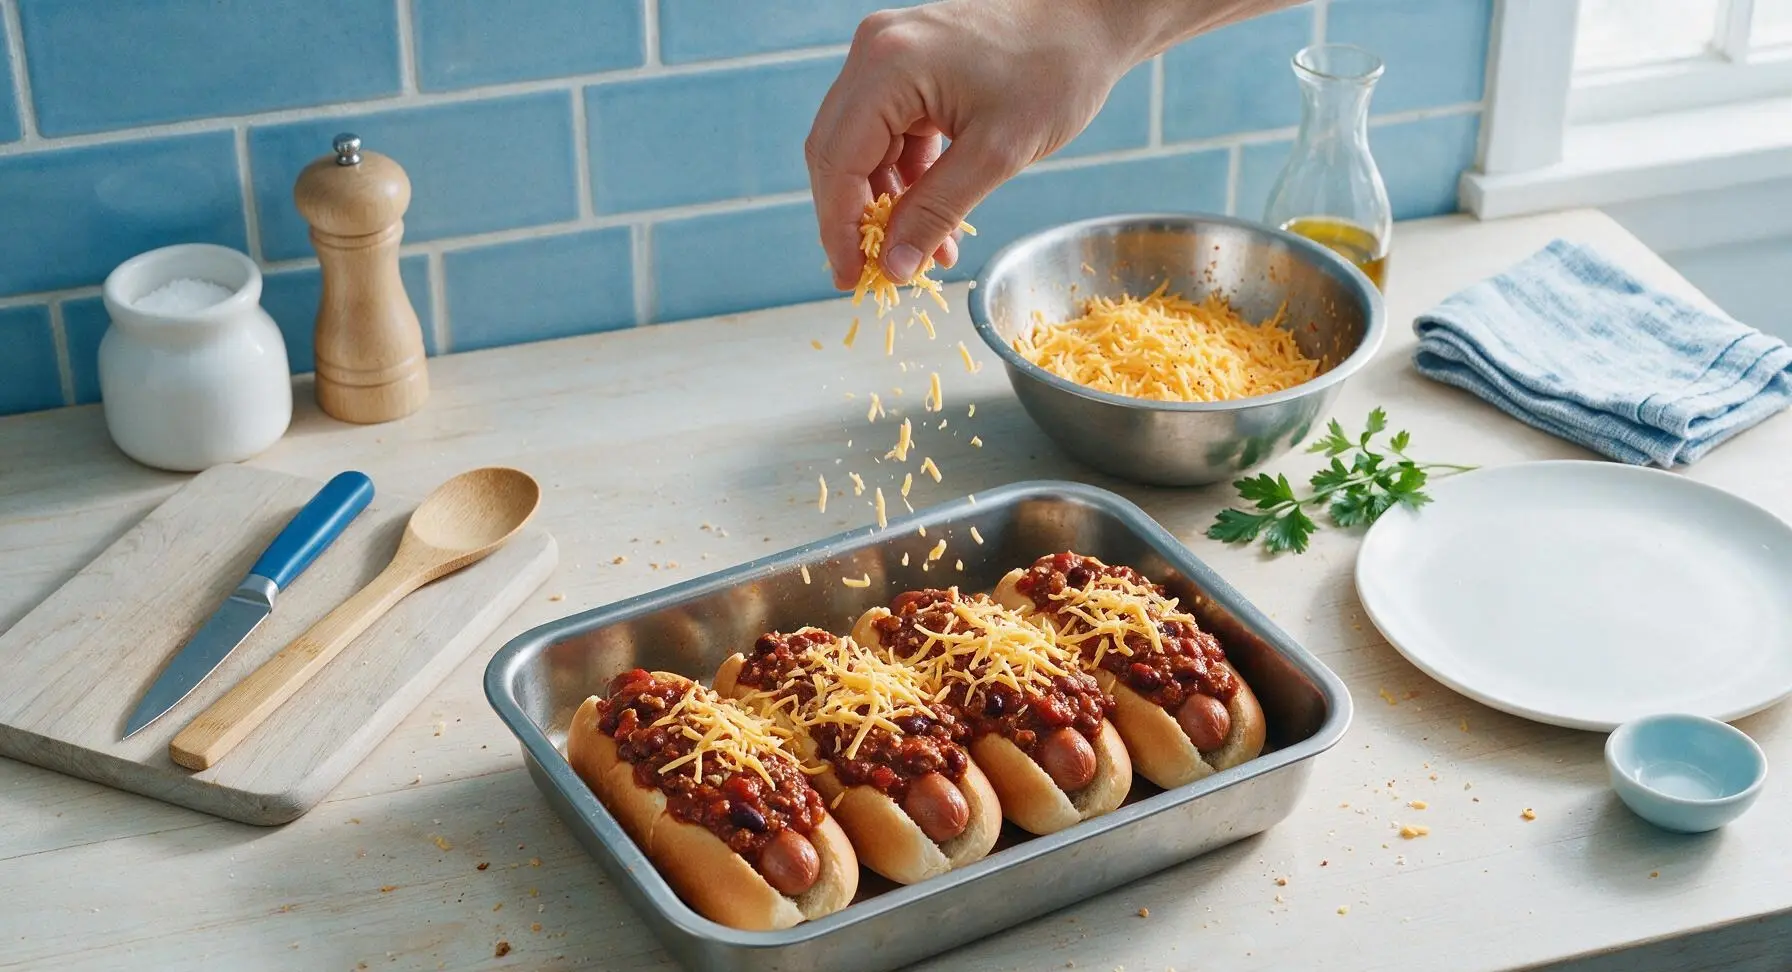
Sprinkle the pepper-tossed shredded cheddar evenly over the chili-topped hot dogs, covering most of the chili surface. Finish with the reserved 1/3 cup of plain shredded cheddar for an extra gooey, evenly melted top layer. Tuck any loose cheese shreds that fall onto the baking dish back onto the dog tops to avoid burnt cheese residue on the dish.
Bake Until Bubbly
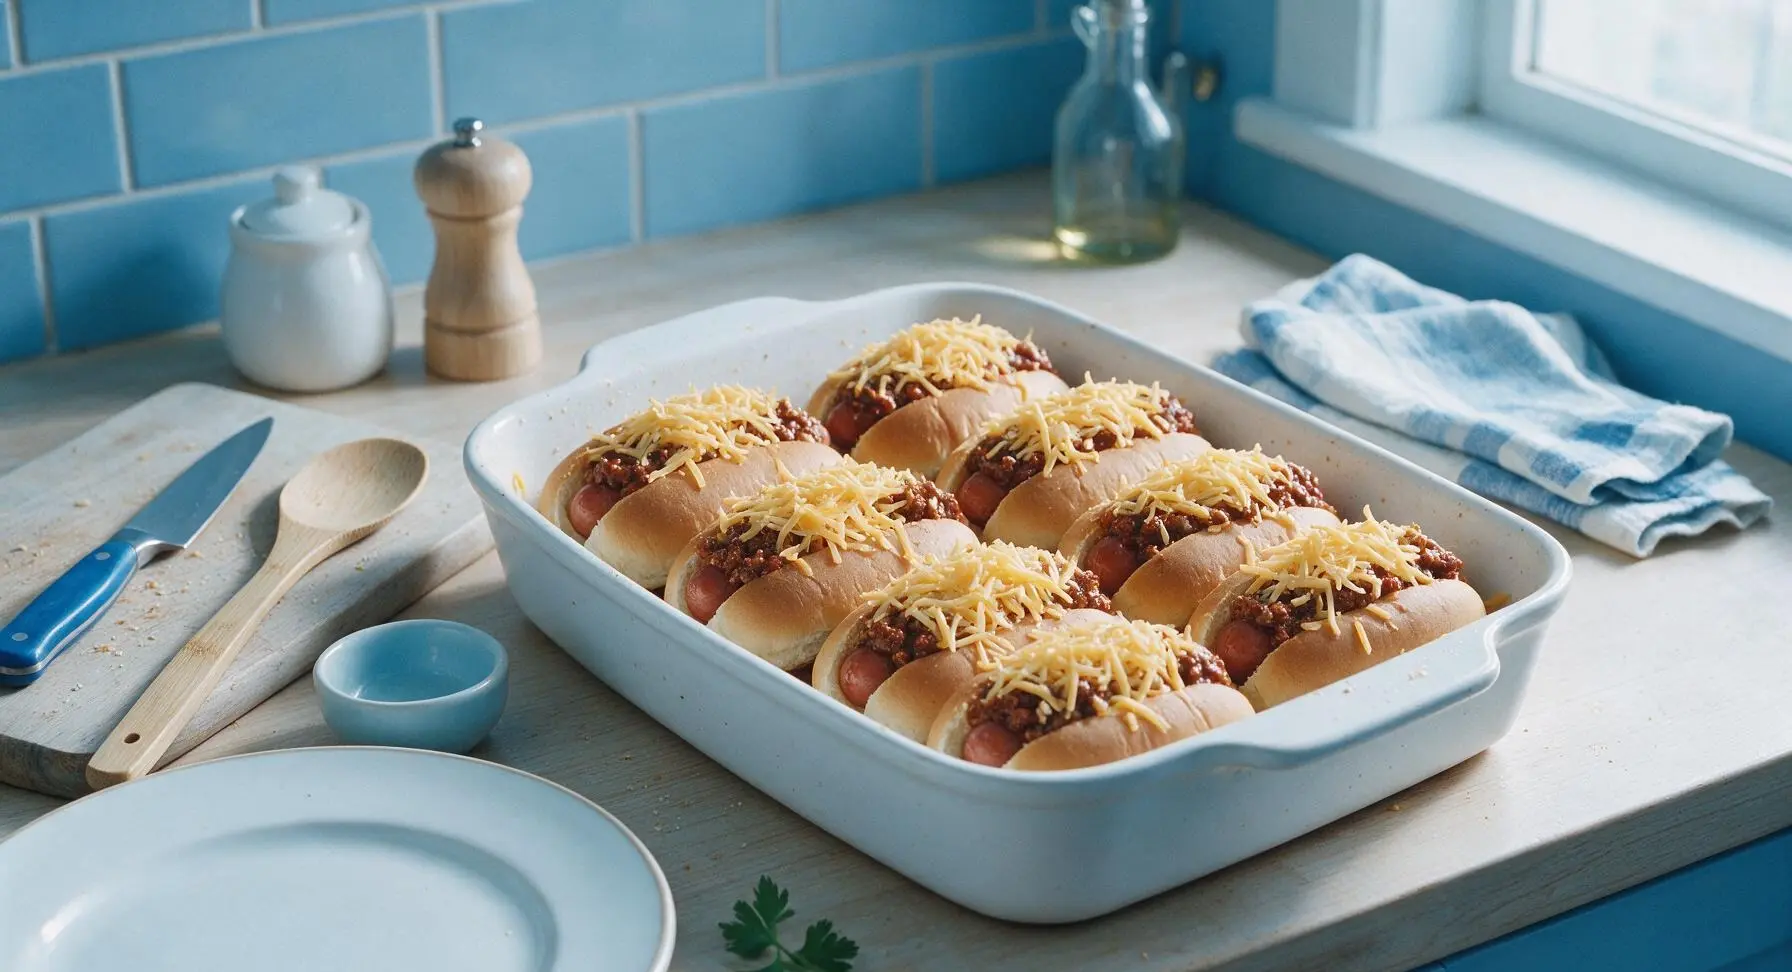
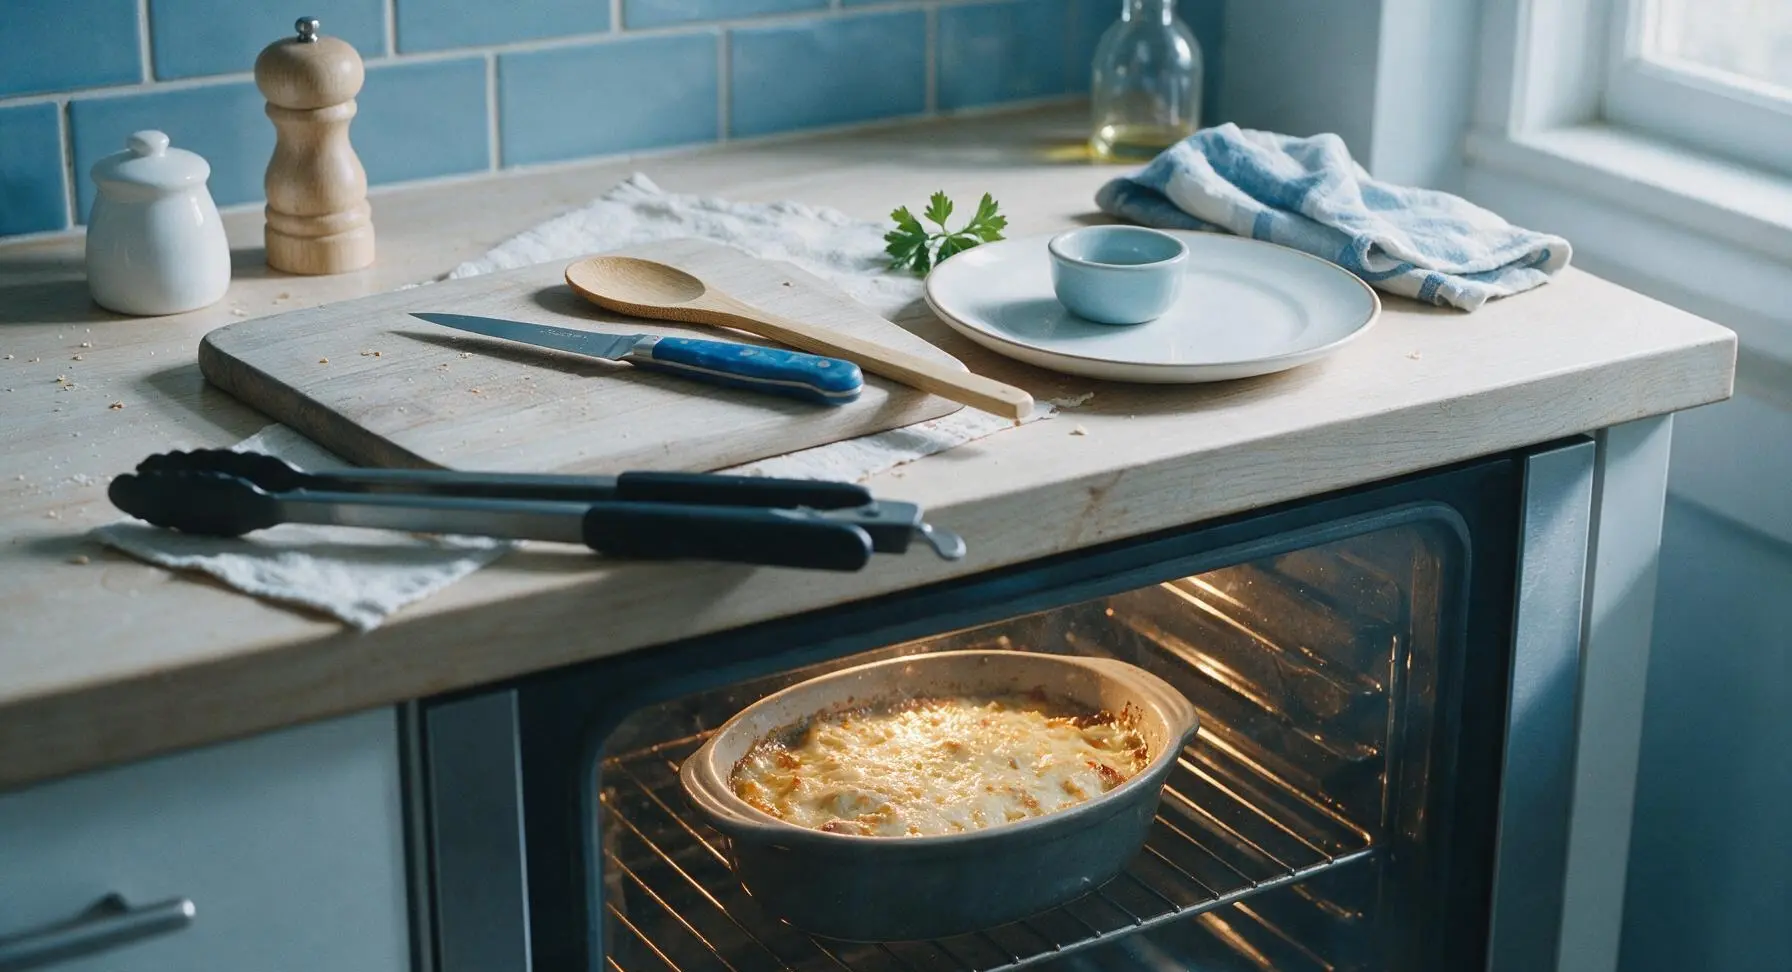
Carefully slide the loaded baking dish onto the lower oven rack. Bake for 20 minutes at 375°F (190°C), until the cheese is fully melted and bubbly around the edges, the hot dogs reach an internal temperature of 165°F (74°C), and the exposed bun edges are lightly golden and toasty. Avoid overbaking, as this will turn the bun bases soggy.
Garnish and Rest
Use the silicone-tipped tongs to carefully pull the hot baking dish from the oven, setting it back on the counter to rest for 3 minutes. Sprinkle the diced yellow onion evenly over the melted cheese tops, and add pickled jalapeño slices if using. The short rest allows the cheese to set slightly and the chili to thicken for less messy eating.
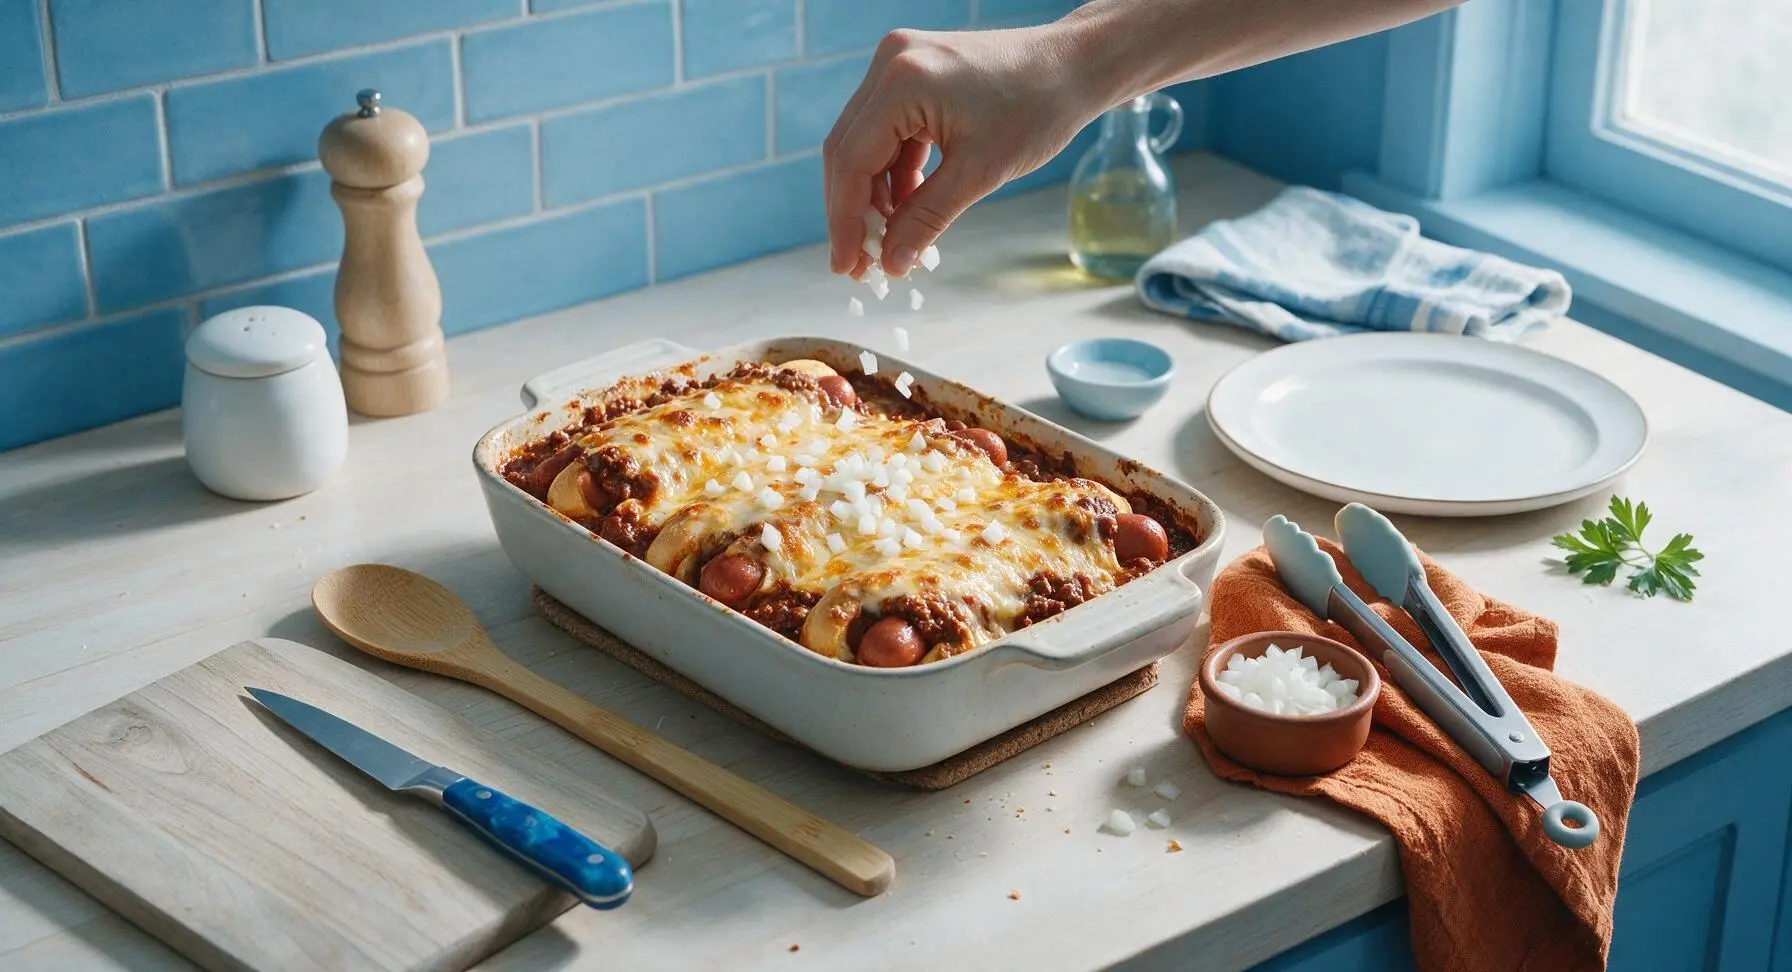
Plate and Serve
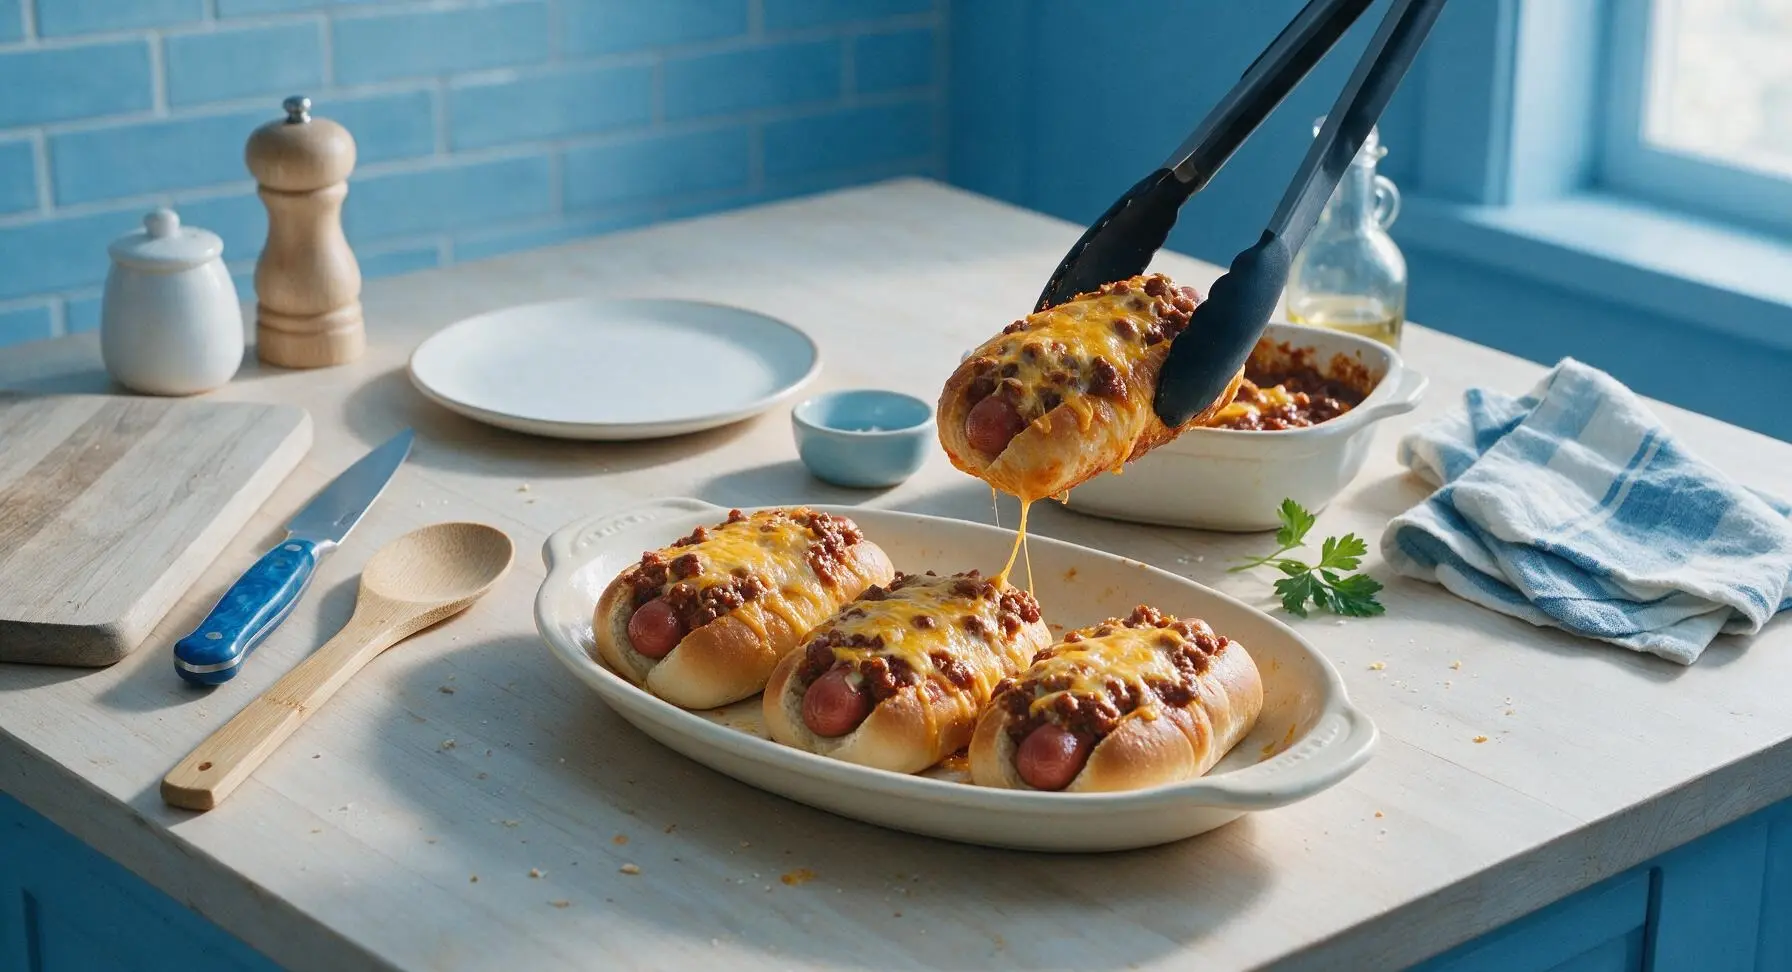
Use the silicone-tipped tongs to transfer two baked chili dogs to each section of the rustic cream-white ceramic serving platter. Drizzle a thin zig-zag of extra yellow mustard over the top if desired, and serve immediately while the cheese is still stretchy and gooey.
Tips
2.Avoid overloading buns with chili: using more than ¼ cup per dog will cause chili to spill over the bun sides during baking, leading to burnt messes on the dish and soggy bun bases; the ½ inch end border keeps dogs easy to pick up and eat.
3.For extra smoky depth with no extra work, swap ½ cup of the regular sharp cheddar for smoked cheddar and add a pinch of smoked paprika to the chili before topping—this mimics the flavor of grilled chili dogs without requiring a grill.






OMG this was such a game changer for our weeknight family dinner! I was so tired of the same old hot dog night, and baking them with chili and melted cheese made them feel like a whole new meal. My 3 kids devoured theirs in 5 minutes flat and asked for seconds. SO easy to throw together too, only 20 minutes total which is perfect for busy practice nights.
Made these in my dorm oven for my roommates during our Sunday football watch party and everyone went crazy. Cheap, fast, tastes way better than the concession stand chili dogs. 10/10 will be making these every game day from now on.
Solid baked chili dog recipe! I used my leftover smoked brisket chili instead of canned and it slapped. Only reason I’m not giving 5 stars is I wish the recipe noted to put a baking sheet under the dish to catch bubbly cheese drips – made a little mess in my oven. Still tasted incredible though.
I brought these to our neighborhood block party potluck last weekend and they were the first dish gone! People kept coming up to ask for the recipe, I couldn’t believe how simple they were to make ahead and pop in the oven when we got to the park. Even the picky teens were raving about them.
Never thought to bake chili dogs instead of boiling or grilling the dogs first? Game. Changer. The buns get slightly toasty, the cheese melts all the way through, the chili warms up perfectly without making the bread soggy. Absolute perfection, no notes.
These work surprisingly well for meal prep! I assembled them Sunday night, kept them in an airtight container in the fridge, and baked portions each night for dinner after work. Held up way better than I thought they would, just had to add a couple extra minutes of cook time for the cold ones. Only con is they don’t freeze super well, the buns get a little mushy when you thaw them.
Made these for my grandkids when they visited over the weekend and they told me these were better than the chili dogs we get at the local ballpark. High praise coming from those two, they are tough food critics! Used a little extra shredded cheddar on top like my mom used to do, came out perfect.
These were tasty, but I found the cook time a little off for my oven? I baked them for 20 minutes at the temp listed and the buns were still a little pale and the cheese wasn’t fully melted in the middle. Ended up adding 7 extra minutes and they turned out fine, just thought I’d mention it for other people with older ovens!
I have the world’s pickiest 7 year old who refuses to eat almost anything I make, and he ate TWO of these for dinner tonight. I almost cried. I added a little diced onion on top of mine and it was chef’s kiss. This is going into our permanent weeknight rotation, no question.
Super easy recipe, perfect for when I don’t feel like putting a ton of effort into dinner. I swapped the beef hot dogs for turkey dogs to lighten it up a little and used veggie chili, and it still tasted so indulgent. Great base recipe you can tweak to fit whatever you have in the fridge.
Made these for our Super Bowl watch party last year and people still talk about them. I line the baking dish with tater tots first, pour a little chili over them, then add the hot dogs in buns with more chili and cheese? Insane. Total comfort food, perfect for a crowd.
As someone who burns almost everything I try to cook, these were foolproof! Even I couldn’t mess this up. The steps are super straightforward, no fancy ingredients, and they came out looking exactly like the recipe photos. 10/10 for beginner cooks like me.
Just pulled these out of the oven and took my first bite, and wow. I thought chili dogs were only good from a food cart or ballpark, but these might be better. The cheese gets all crispy on the edges of the baking dish? That’s the best part, I’m scraping every last bit of that off.
I make these for every potluck I go to now, they are always a hit. I set out little topping bowls on the side – diced onions, jalapeños, sour cream, mustard, relish – so people can dress their dogs up however they want. Makes it super interactive and fun for groups.
Great recipe, total weeknight lifesaver. My only heads up is don’t overstuff the buns with chili or it will bubble over and make a huge mess (trust me, I learned that the hard way). I also added a handful of crispy fried onions on top during the last 2 minutes of baking, *chef’s kiss*.
I made these for my little brother’s birthday dinner and he said they were better than the ones we get at our local carnival. I added a drizzle of yellow mustard on top before baking and it gave the whole thing the perfect tang. So easy even a high schooler can make them, no parent help needed.
I cannot believe how simple and delicious these are. I’ve tried so many complicated weeknight recipes that take over an hour to make, and this is 20 minutes, minimal cleanup, and everyone in my house cleans their plate. Served it with a side of coleslaw and potato chips, perfect easy dinner.